[ad_1]
For some, poring over Lightroom for hours on end to create the perfect edit, is the only way to go. For others, the mere thought of sitting down at a computer and fashioning raws into something more usable is at best an inspiration for procrastination and at worst something to avoid all together.
Lightroom, particularly if you do not use it much, can be a daunting and overwhelming program. But it doesn’t have to be that way. If you adhere to the 1/99% rule you will soon find yourself getting great shots with minimal effort. The 1/99% rule suggests that you use 1% of the features, 99% of the time. That is something that is perfectly possible with Lightroom. Today we are going to tell you how.
Preselection
One of the biggest mistakes you can make, and one that will definitely put you off editing, is to simply sit with Lightroom and edit each and every photo. This is a time consuming and fruitless pursuit.
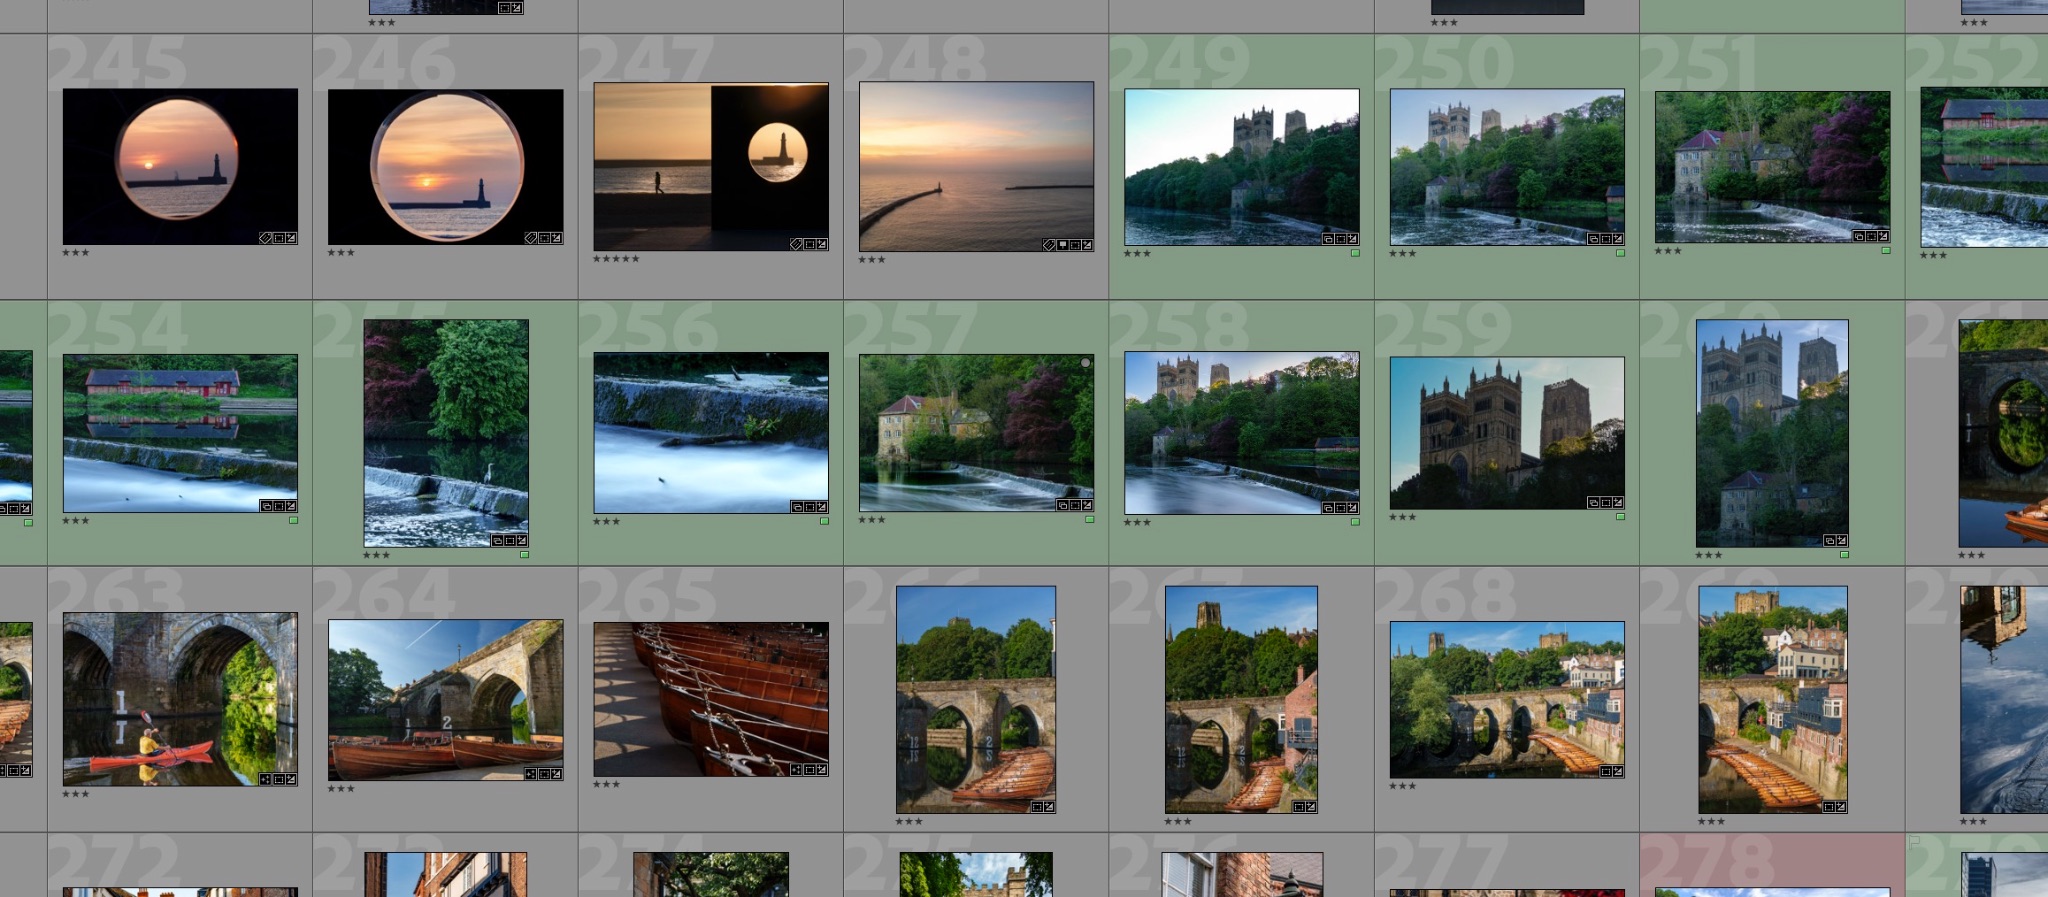
It’s much better to use Lightroom’s simple but powerful rating system to find the best images to edit. In the Library module, open the first image of the shoot. You can create your own system but for simplicity, if the image is not worth editing, do not give it a rating. If it’s a maybe, assign it a 3 star rating. If it’s a must edit, give it 5 stars. You can easily assign the star rating using the number keys on your keyboard. Then hit the right arrow to advance to the next image and rate that. In no time at all you will have a selection of 5 star images to edit. Use the filters at the top of the Library module to filter 5 star images only.

Make Use Of Presets
If you really do struggle with editing, then presets are the way to go. Whilst there are a number of photographers that sell presets, there is also a very good selection provided by Adobe.
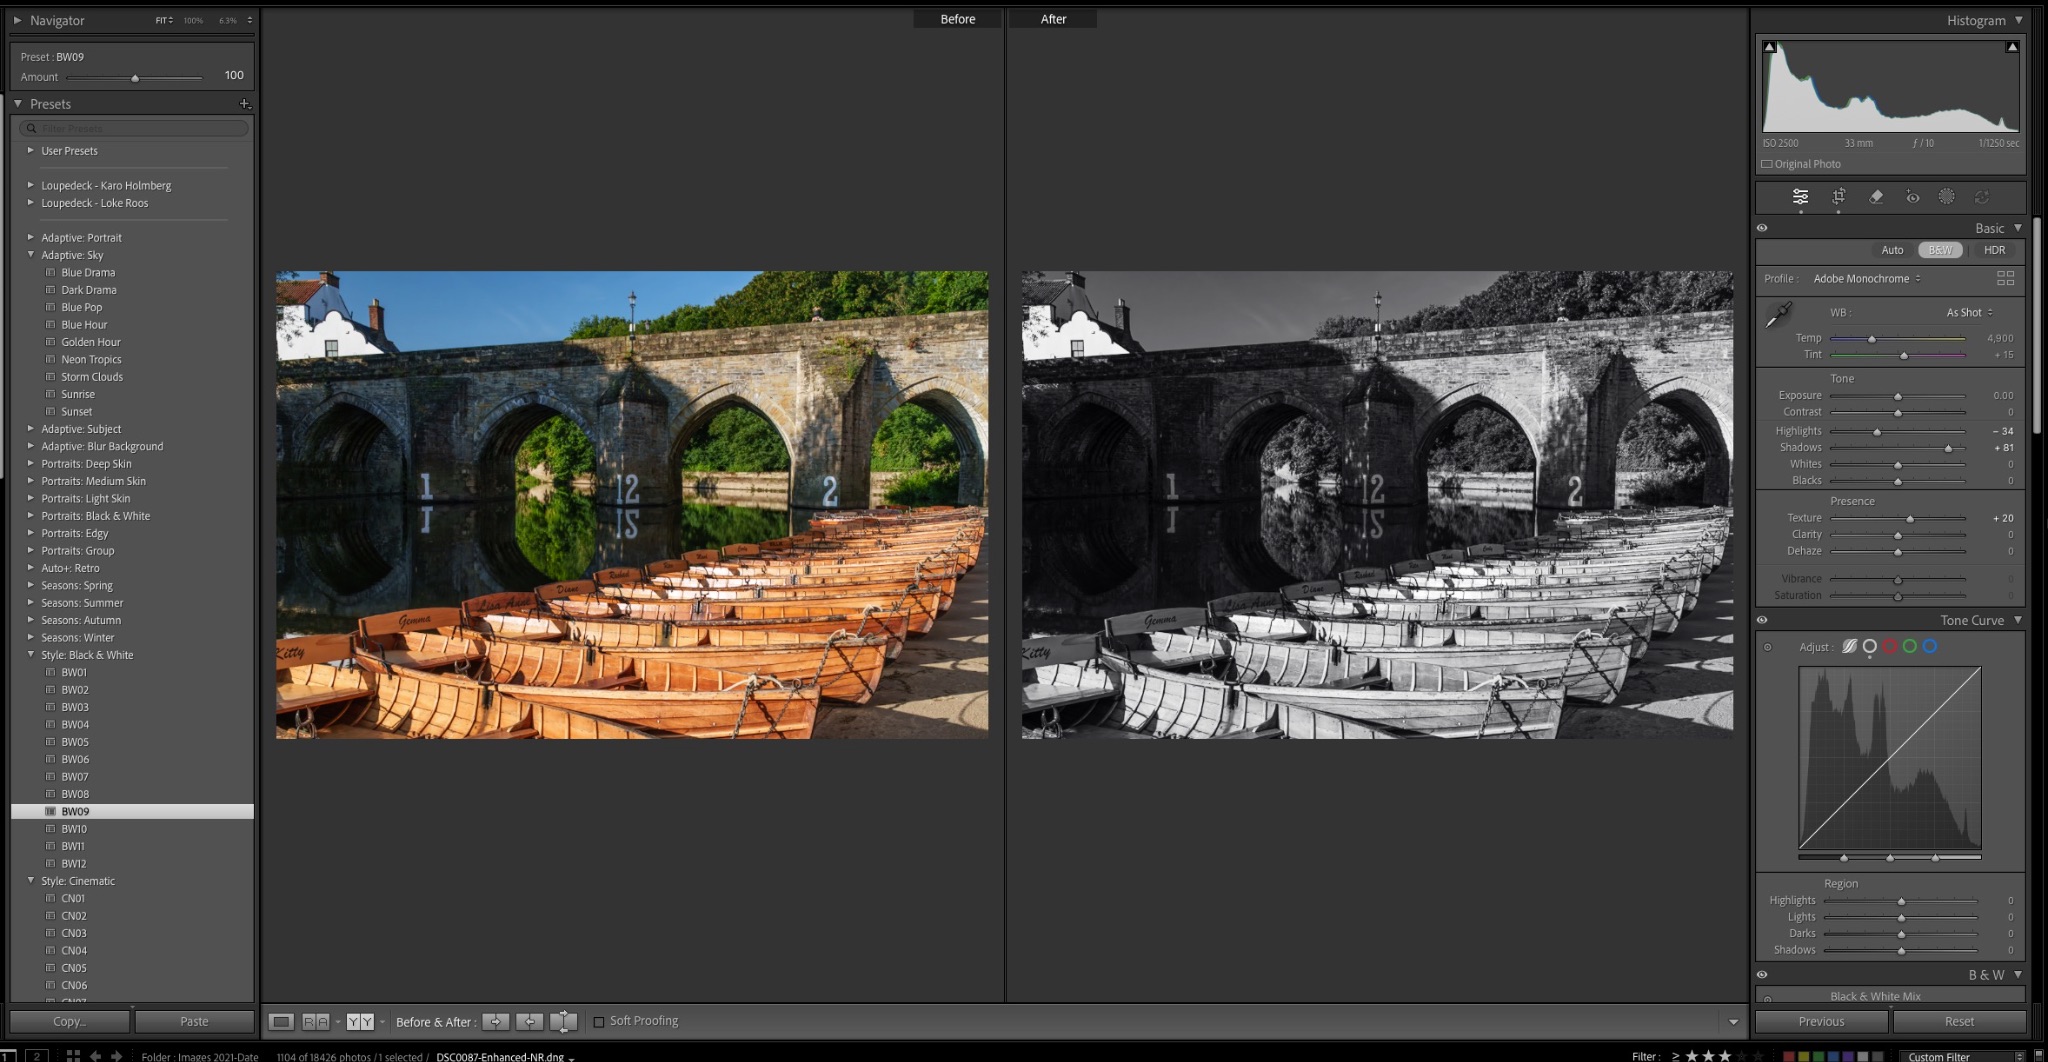
To apply a preset open the image in the “Develop” Module. On the left side of the screen you will see a plethora of different types. You don’t actually have to click on a preset to see what it will look like on your image. Instead simply roll your cursor over each of them. When you find one that you like, click it and the preset will be applied.
If there is a particular preset that you find yourself gravitating to often, you can choose to apply it on import. To do this, in the import window, to the right click on “Develop Settings.” You will see all the presets that you have installed in a drop down list. Simply select the one you like and all images will have that preset applied as they are imported.
Don’t worry if you are not happy, you can clear any preset by right clicking on it in the “Library” module and selecting “Develop Settings” – “Reset.” This will return the image to its out of camera look. You can do this to multiple images by holding “CMD/CTR” and left clicking all the images you wish to reset. Then with the mouse over one of the selected images, use the same procedure.

If you prefer not to use a preset, Lightroom allows you to make automatic corrections. These can be very useful for very quick edits.
In the “Develop” Module under the “Basic” tools there are two “Auto” options. The first, at the very top is called “Auto.” When you click this, Lightroom will work out what it thinks the image needs based on the histogram. It will apply exposure, contrast and saturation as well as lifting shadows and dropping highlights. It’s not a perfect tool, but for quick edits, it does a decent job.
The other very useful tool is the “White Balance dropper” tool. It is found at the top left of the White Balance section.
To use this tool simply click on it and move the dropper to a section of the image that you know to be a neutral grey. Lightroom will then correct the white balance to make sure that grey area becomes neutral.

Use The Basic Editing Sliders
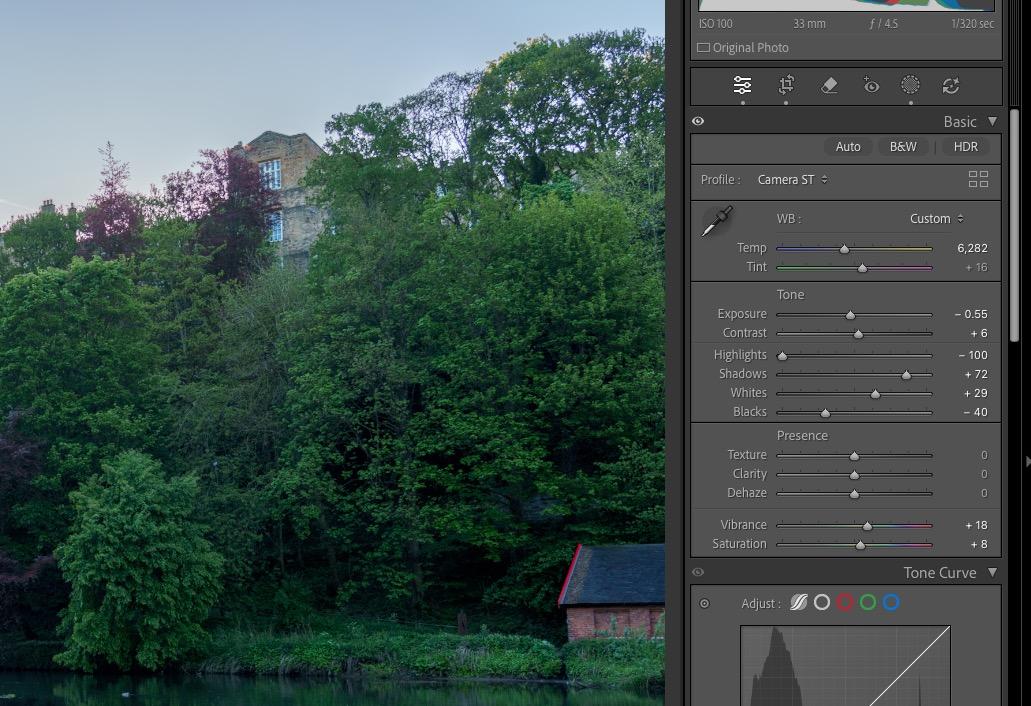
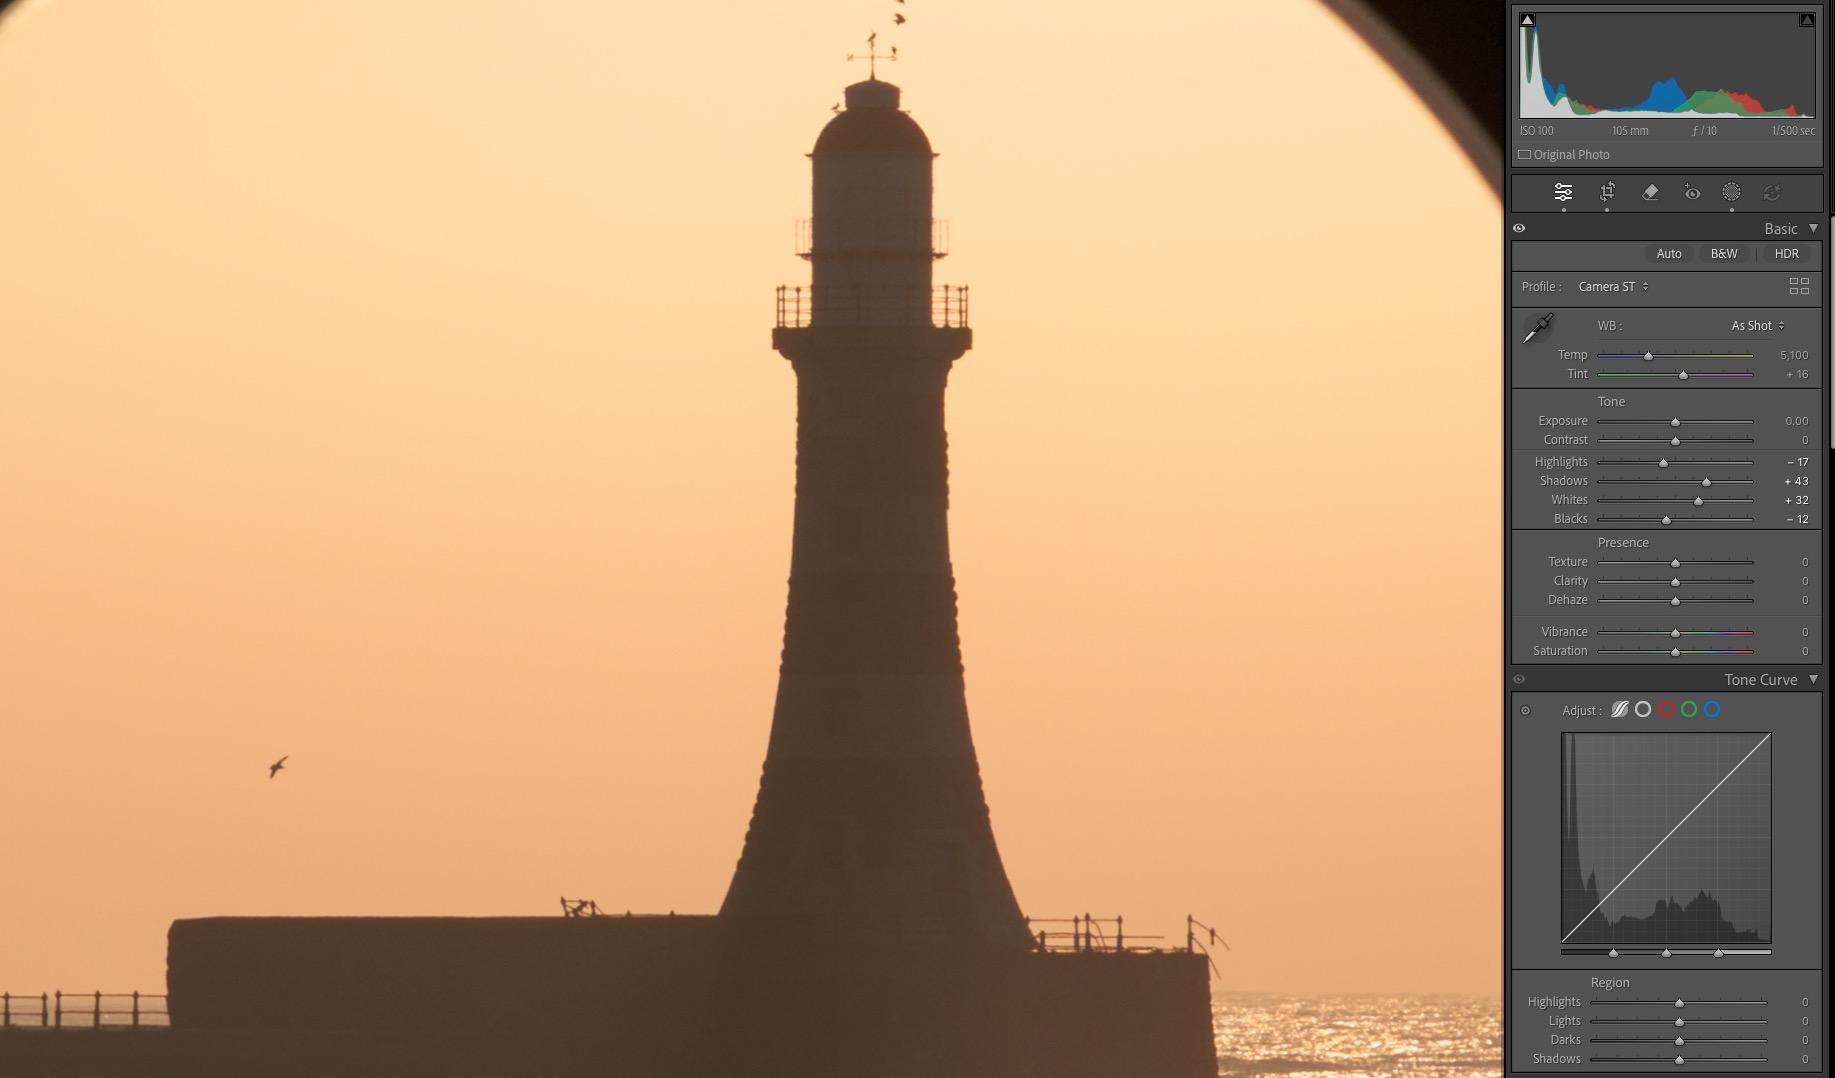
If you want to have a little more control over your images, then confining yourself to the basic correction tools is a good way to go. These are Exposure, Contrast, Highlights, Shadows, Blacks and Whites.
For a very simple, fast edit, first move the Exposure slider, to get the bulk of the Histogram to the middle. Then simply move the Black slider until the edge of the histogram hits the left side. Do the same with the White slider until the histogram hits the right side. This will give you optimum contrast and exposure. If you want to edit a touch more, use the Highlight and Shadow tool to get the look you want.
If you like that look you can then apply it easily to the other 5 star images in your shoot. To do this, simply right click on the edited image, select “Settings” – “Copy Setting” then from the window click ‘Check All.”
Now you can scroll through your 5 star images and apply that setting to each one. To do that, bulk select the images in the “Library” Module, right click on one of them and select “Develop Settings” – “Paste Settings.” You might need to go back and tweak one or two, but overall this should give you a fast and consistent edit.


Find A Workflow That Suits You
Repetition is a good way to get efficient in Lightroom, so developing your own short workflow will help you breeze through the editing process. It doesn’t have to be complicated, just import, rate, quick edit and export the ones you want to show.
By repeating the same workflow you will soon find yourself being able to edit images in minutes rather than hours.
Editing can be an off putter to some photographers. It can be time consuming and frustrating. However using some or all of the tips above, you will soon find editing in Lightroom doesn’t have to be a chore. The end benefit will be a definite upturn in the quality of your images. That has to be a win-win.
Further Reading
[ad_2]
Source link

دیدگاهتان را بنویسید