[ad_1]
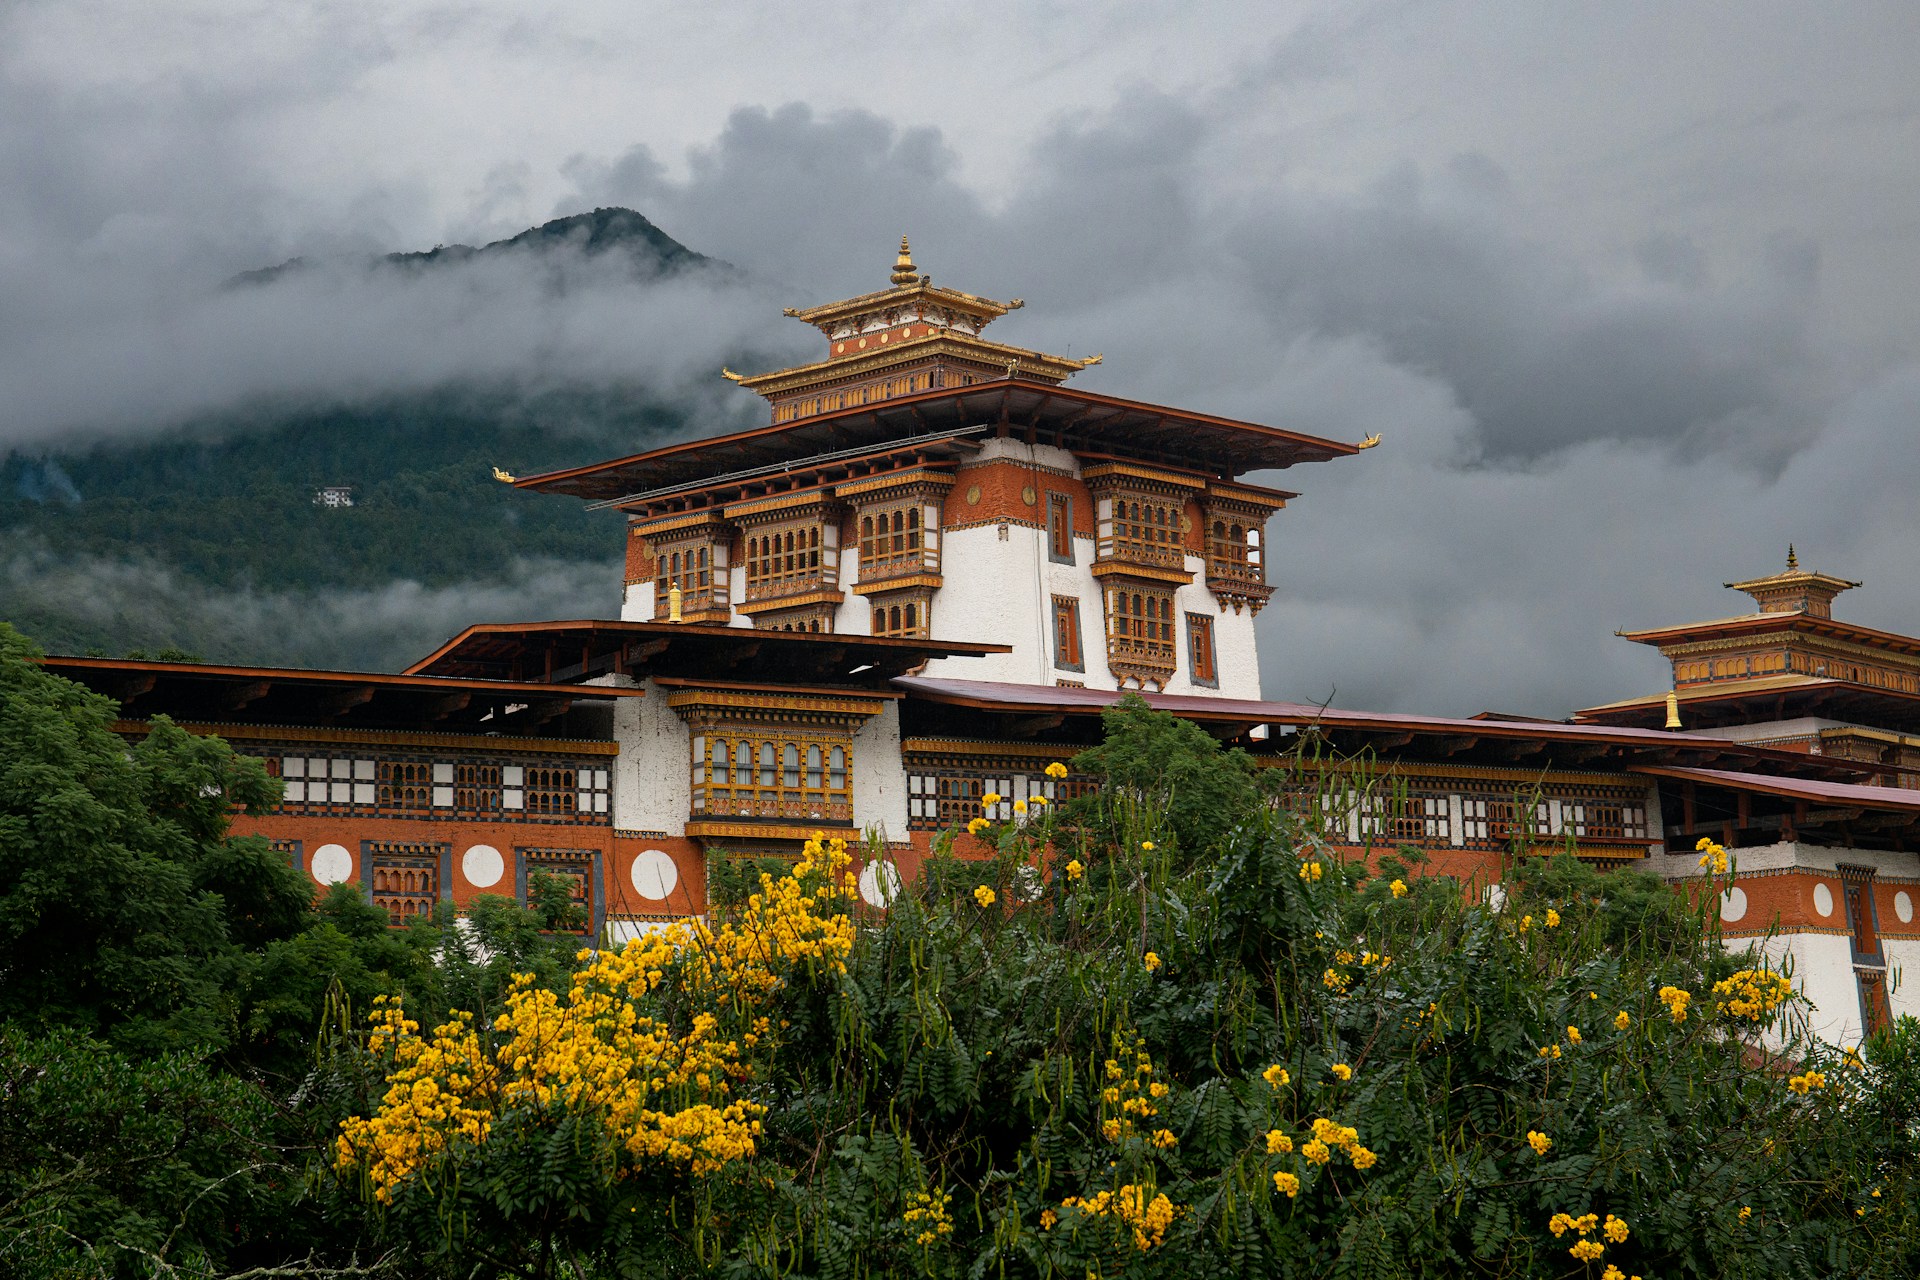
Architectural photography is not about capturing photos of just buildings, but also about capturing meaningful photographs of structures, their stories and sometimes closer photos of cityscapes as well. A lot of photographers consider it to be a boring genre or one that is used for real estate purposes but if you look closely and work with the best light conditions, while also using the right focal length, architectural photographs can be stunning and very interesting subjects for photography. These can also be combined with other genre like portraits, street, documentary, etc.
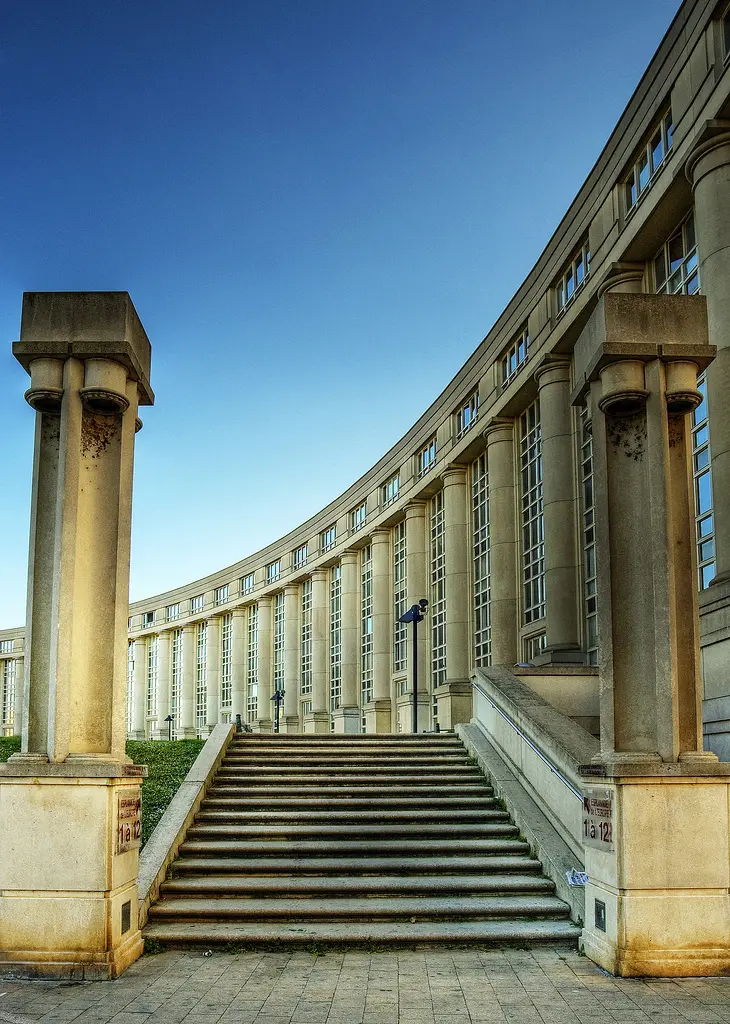
When it comes to architectural photography, it almost always involves geometry in it and using geometry in compositions can be a powerful way to capture compelling photographs. Architectural photography can be of both interior and exterior photographs of architecture and if you are new to architectural photography, learn how to capture better architectural photos with the resources listed below.
When it comes to architectural photography, there are quite a lot of factors that need to be taken onto account. Depending on what you wish to shoot and the results you are looking to achieve, starting from the focal length used, you will need to take care of the aperture values, iso, shutter speed, stabilisation, the verticals and so on. This article discusses seven tips to capture perfect architectural photographs.

Outdoor architecture is one where the photographer captures the exteriors of an architectural structure, be it the entire structure or part of it. When capturing outdoor images of architectural structures, do not just point and shoot what is right in front of you or just capture the entire building and stop with that. Close observations under the right light conditions will reveal the intricate details and colours in architectural structures and this article talks about five things you need to consider when photographing outdoor architecture.

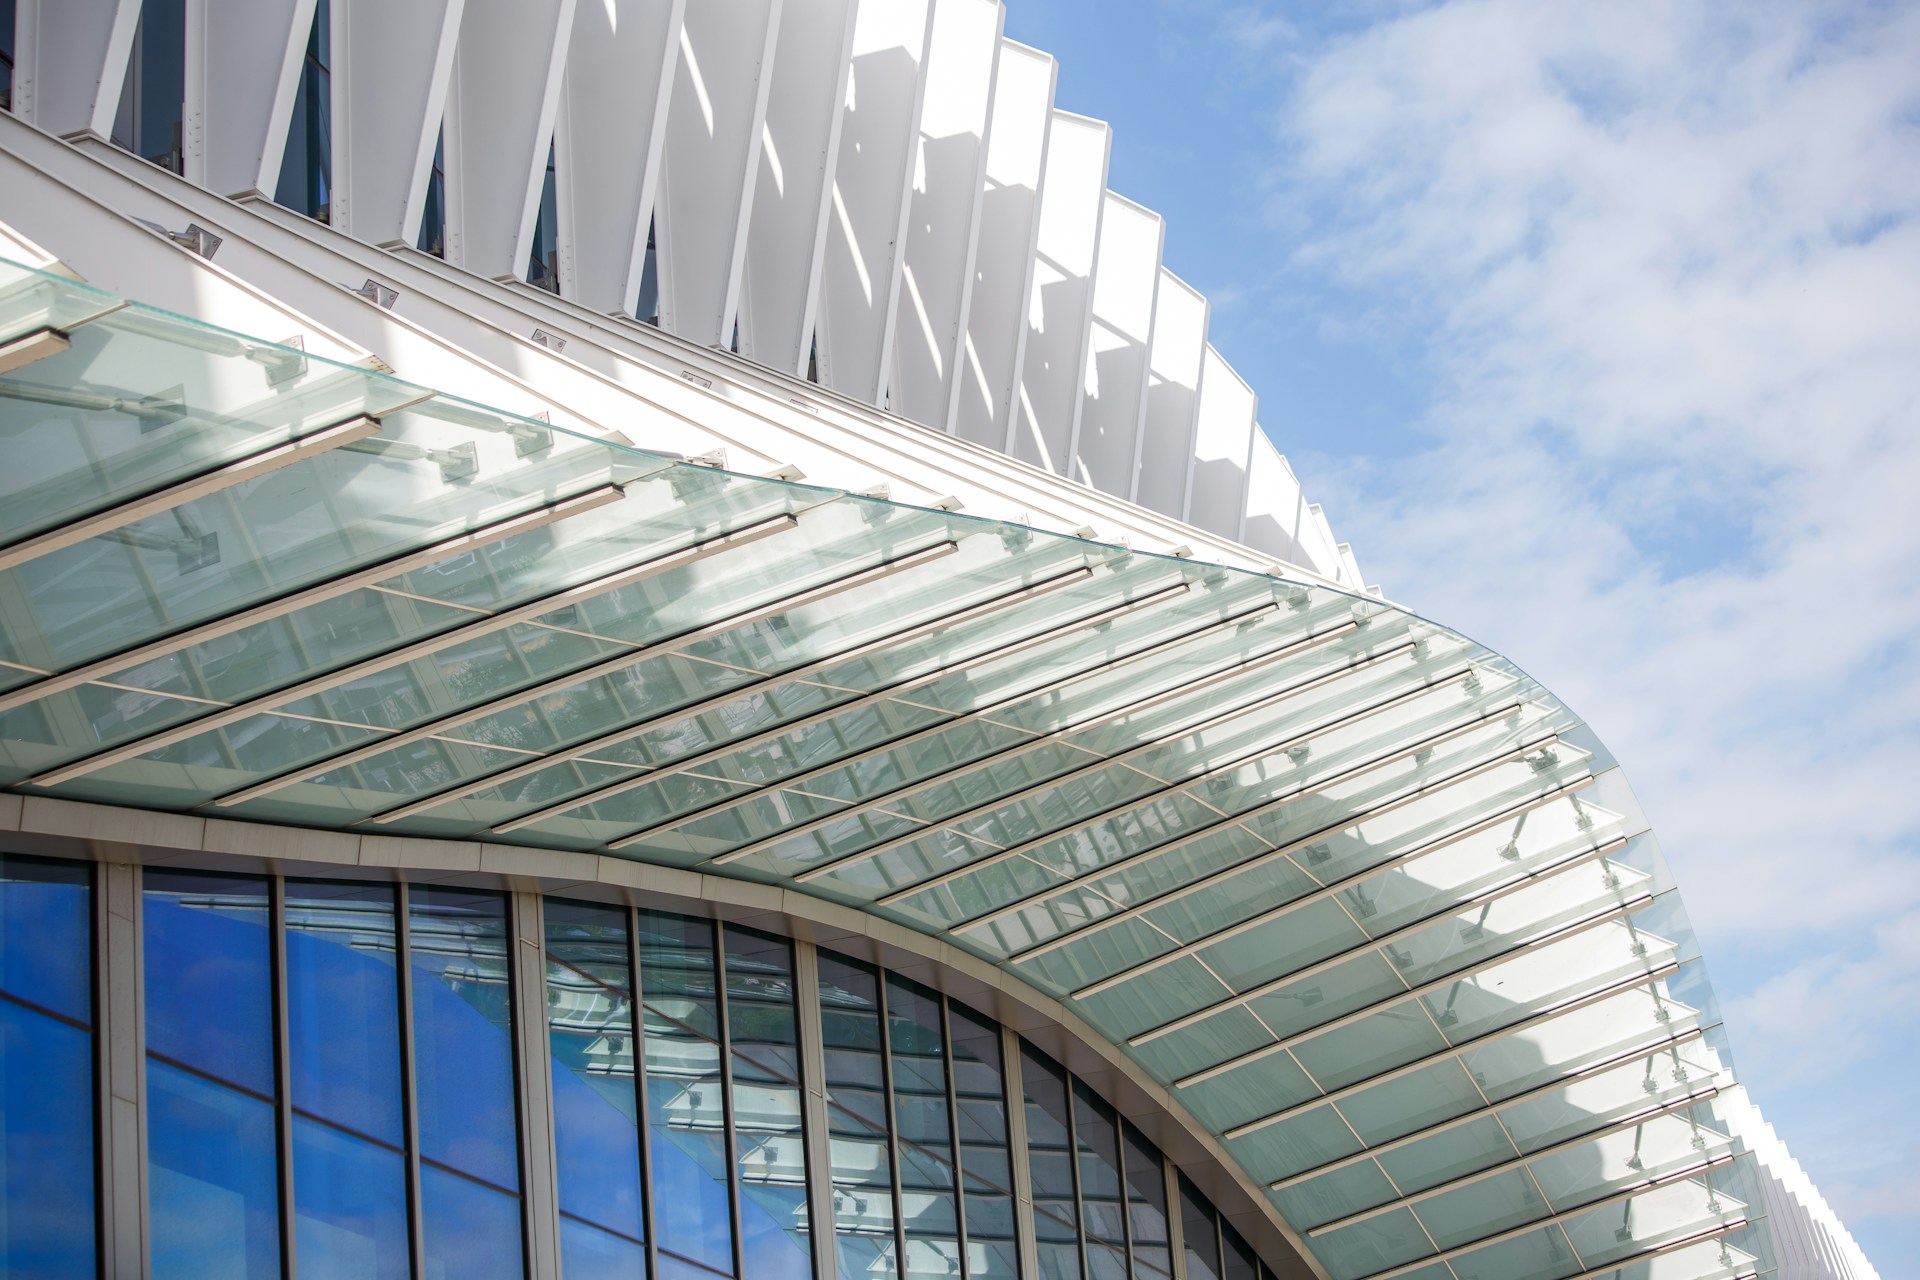
There was a time when photographers thought that architectural photographs could only be captured using a wide angle lens, because most photographers, even when closer to the structure, thought that the structure needs to be completely included in the frame. Architectural structures come with stunning details and colours – the patterns and the geometry can be very compelling and there are many ways in which a photographer can photograph a part of an architectural structure and this article discusses a few.
Landscape and nature photography are stunning and there are a ton of opportunities to photograph subjects in nature. The same applies for buildings that range from ancient historical structures, ruins, religious structures, cultural architecture to modern architecture. Architectural photography can also help the photographer slow down and learn to use the camera, especially if you are beginner as there are buildings and structures all around us. This article provides eight reasons why you should try architectural photography.

There are a multitude of religions across the world and they all have places of worship or other religious structures built for various purposes. Religious structures can look complicated both on the inside and the outside, but the intricate details are stunning to photograph, if taken time to observe and compose. This article shares some secrets to capture amazing religious architecture.
Architectural subjects can be great for long exposure photography, where you have a powerful static subject which is your architectural structure, and then you can capture the movements around the structure, be it people, swaying trees in the wind, clouds, water, traffic light trails and so on. Capturing long exposure images of architecture can boost the visual impact of the frame itself and this article is a good guide to long exposure architectural photography.

Whether you are a real estate photographer or someone interested in capturing the interiors of buildings and other structures, interior architectural photography brings out the character of a building, and shows what the great structures really look like on the inside. It can be quite tricky to capture interiors because of the limited light, sometimes also the limited or huge space inside and composition can also be quite tricky. This article provides some tips to capture indoor architecture easily.
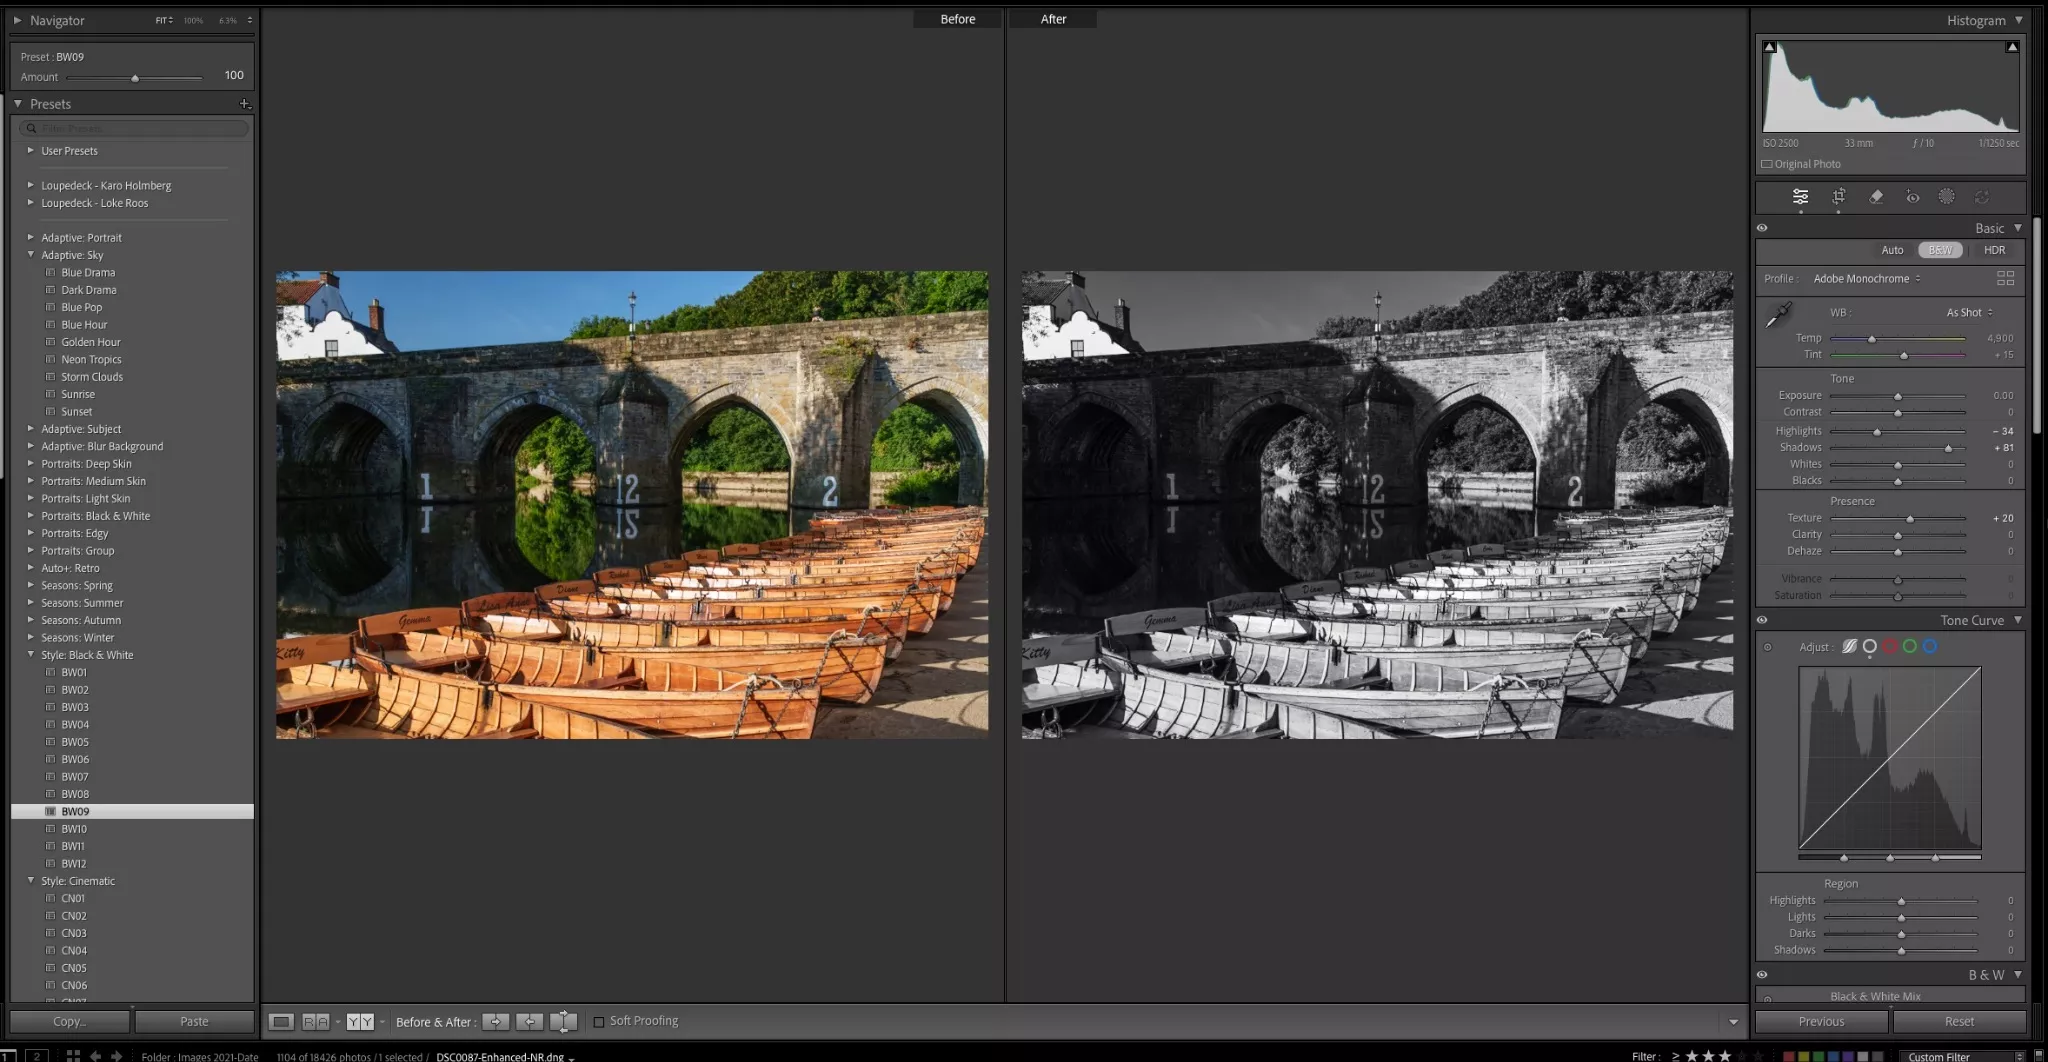
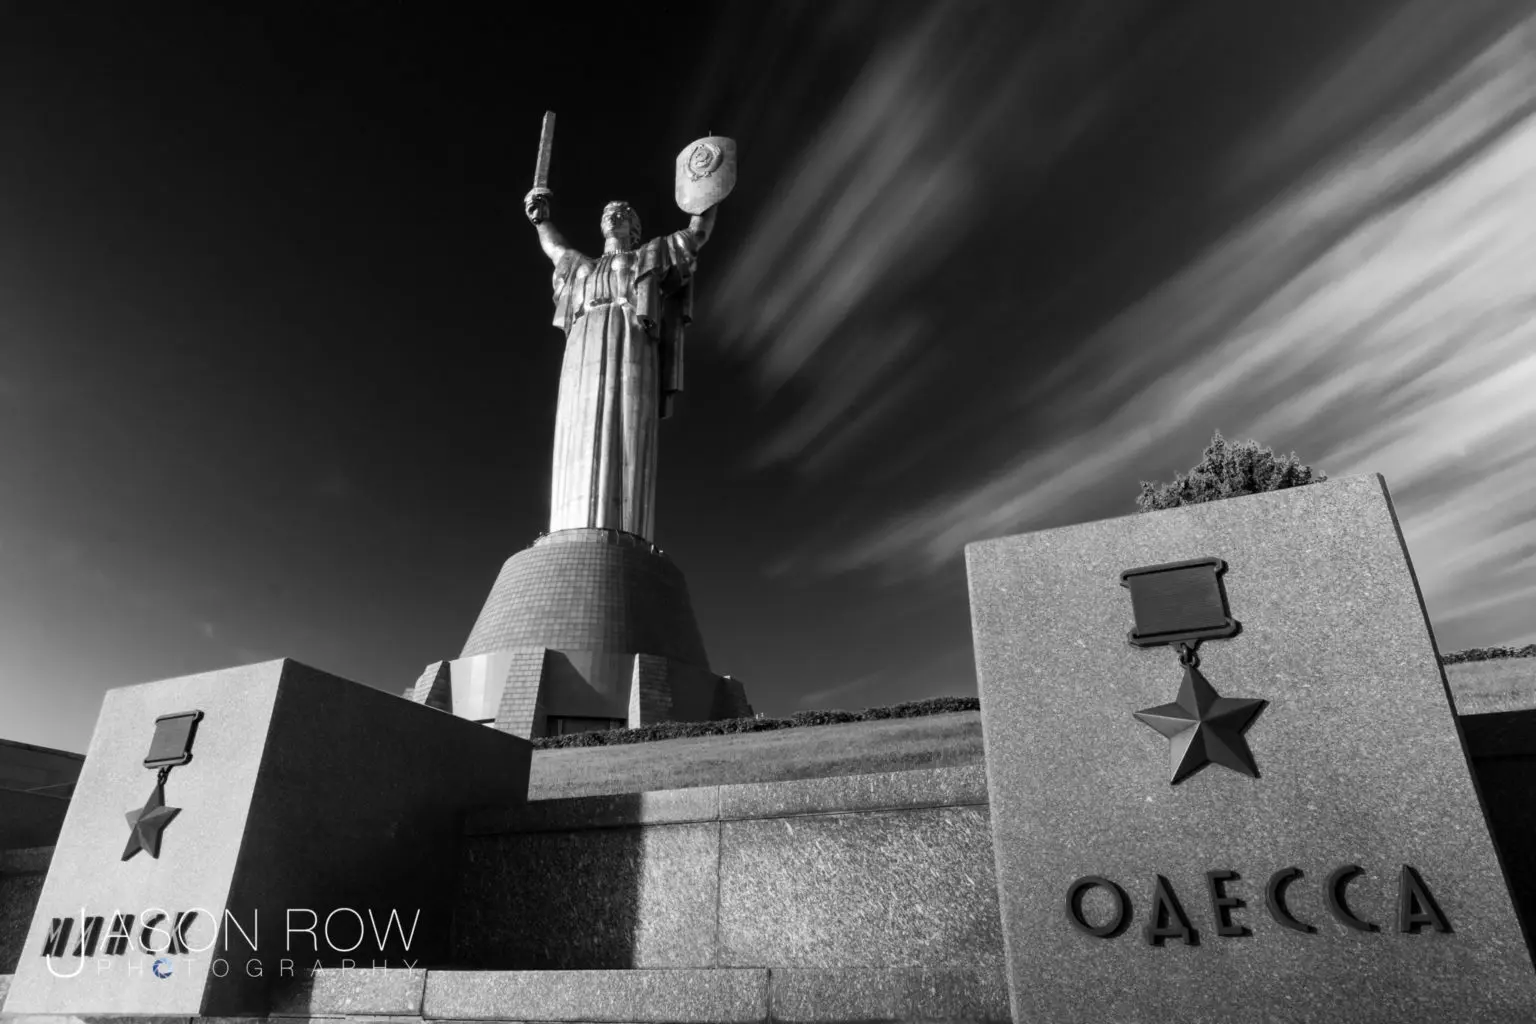
If you are someone who is interested in black and white photography, architectural structures can be great subjects for black and white photography, if done well. Good light, tonal range, patterns or textures, composition, are some important factors to look out when shooting for black and white conversion. This article discusses the art of urban black and white photography.

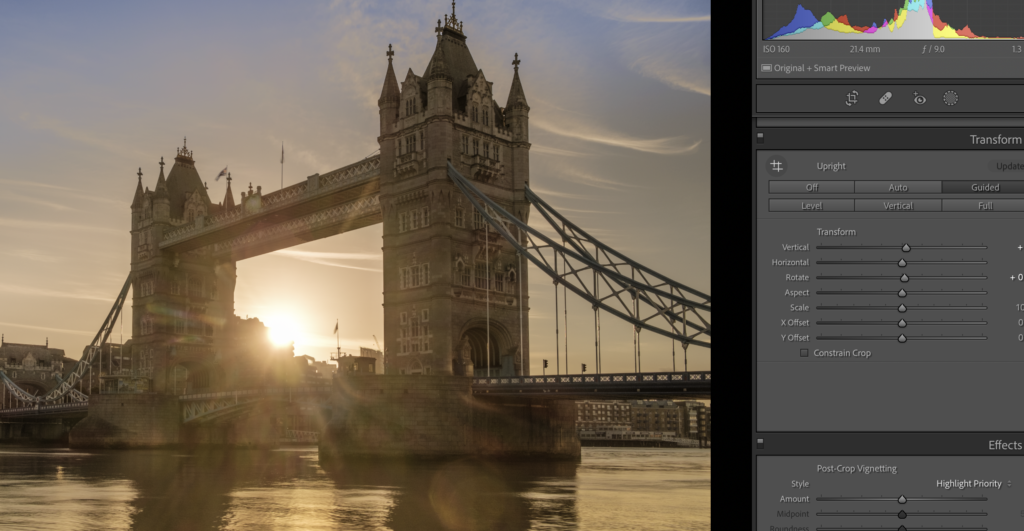
Converging verticals can be a problem in architectural photography and when shooting certain buildings and structures, it can look stunning and artistic for some buildings/structures but quite odd for the others. Architectural photographers most of the time try to get those verticals right, in order to get the best results. If you are looking for ways to get the verticals straight in your architectural images, check out this article that discusses a few tips.
Further Reading
[ad_2]
Source link