[ad_1]
Crooked collars, uneven sleeves, lopsided hems—these small details can make even high-quality products look unprofessional. For apparel product shots, getting perfect symmetry is one of those skills that separates amateur shots from photos that serve as sales tools.
Clothing doesn’t cooperate like rigid products do. But there are plenty of proven tips and tricks to help with the three stages—prep, shooting, and post-production—so you can consistently create balanced, professional photos that convert.
Why symmetry matters in apparel product photography
Put simply, symmetry is pleasing to the eye. It represents order that our brain likes. Like a bookshelf with perfectly aligned spines or evenly stacked towels. But if you look at a building that has every window perfectly aligned except one, you’d notice it immediately.
The same applies to your product photography. If your apparel shots are crooked, unbalanced, or asymmetrical, shoppers notice—and not in a good way. Symmetry triggers trust, which in turn can help boost your sales.
When buyers see balanced, well-aligned product images—like The Wildlife Trusts online storefront—they perceive higher quality and professionalism. It’s a subconscious signal that you care about details, which translates to caring about your products.

Pre-shoot preparation: setting up for symmetry
The right prep can save you hours of editing later and help you achieve that balanced, professional look from the start.
Choosing the right garments and prep
- Select quality samples: Choose garments in excellent condition without permanent wrinkles, stretched fabric, or damaged seams that can’t be easily fixed.
- Steam thoroughly: Remove all wrinkles and creases before shooting. Pay extra attention to sleeves, collars, and hems where asymmetry is most noticeable.
- Know your fabrics: Delicate materials like silk need gentle handling and may require clips to maintain shape (without over stretching). Heavier fabrics like denim hold their form better but need proper steaming.
- Arrange details evenly: Position buttons, zippers, and accessories symmetrically before shooting.
- Check seam alignment: Ensure shoulder seams, side seams, and collar edges are properly positioned and won’t create uneven lines.
Mannequin and display preparation
- Choose proper sizing: Select mannequins (or models) that fit your garments without stretching or bunching the fabric. You can turn images into ghost mannequins later.
- Align mannequin straight: Position mannequins facing directly forward. Shoot straight-on or at a slight up/down angle.
- Support flat lays: Use foam core boards or batting inside garments to add structure and eliminate wrinkles for flat lay shots.
- Add dimension: Stuff sleeves and body sections with batting to create natural-looking volume and shape.
- Pin invisible points: Secure fabric from behind using straight pins to keep symmetrical draping.
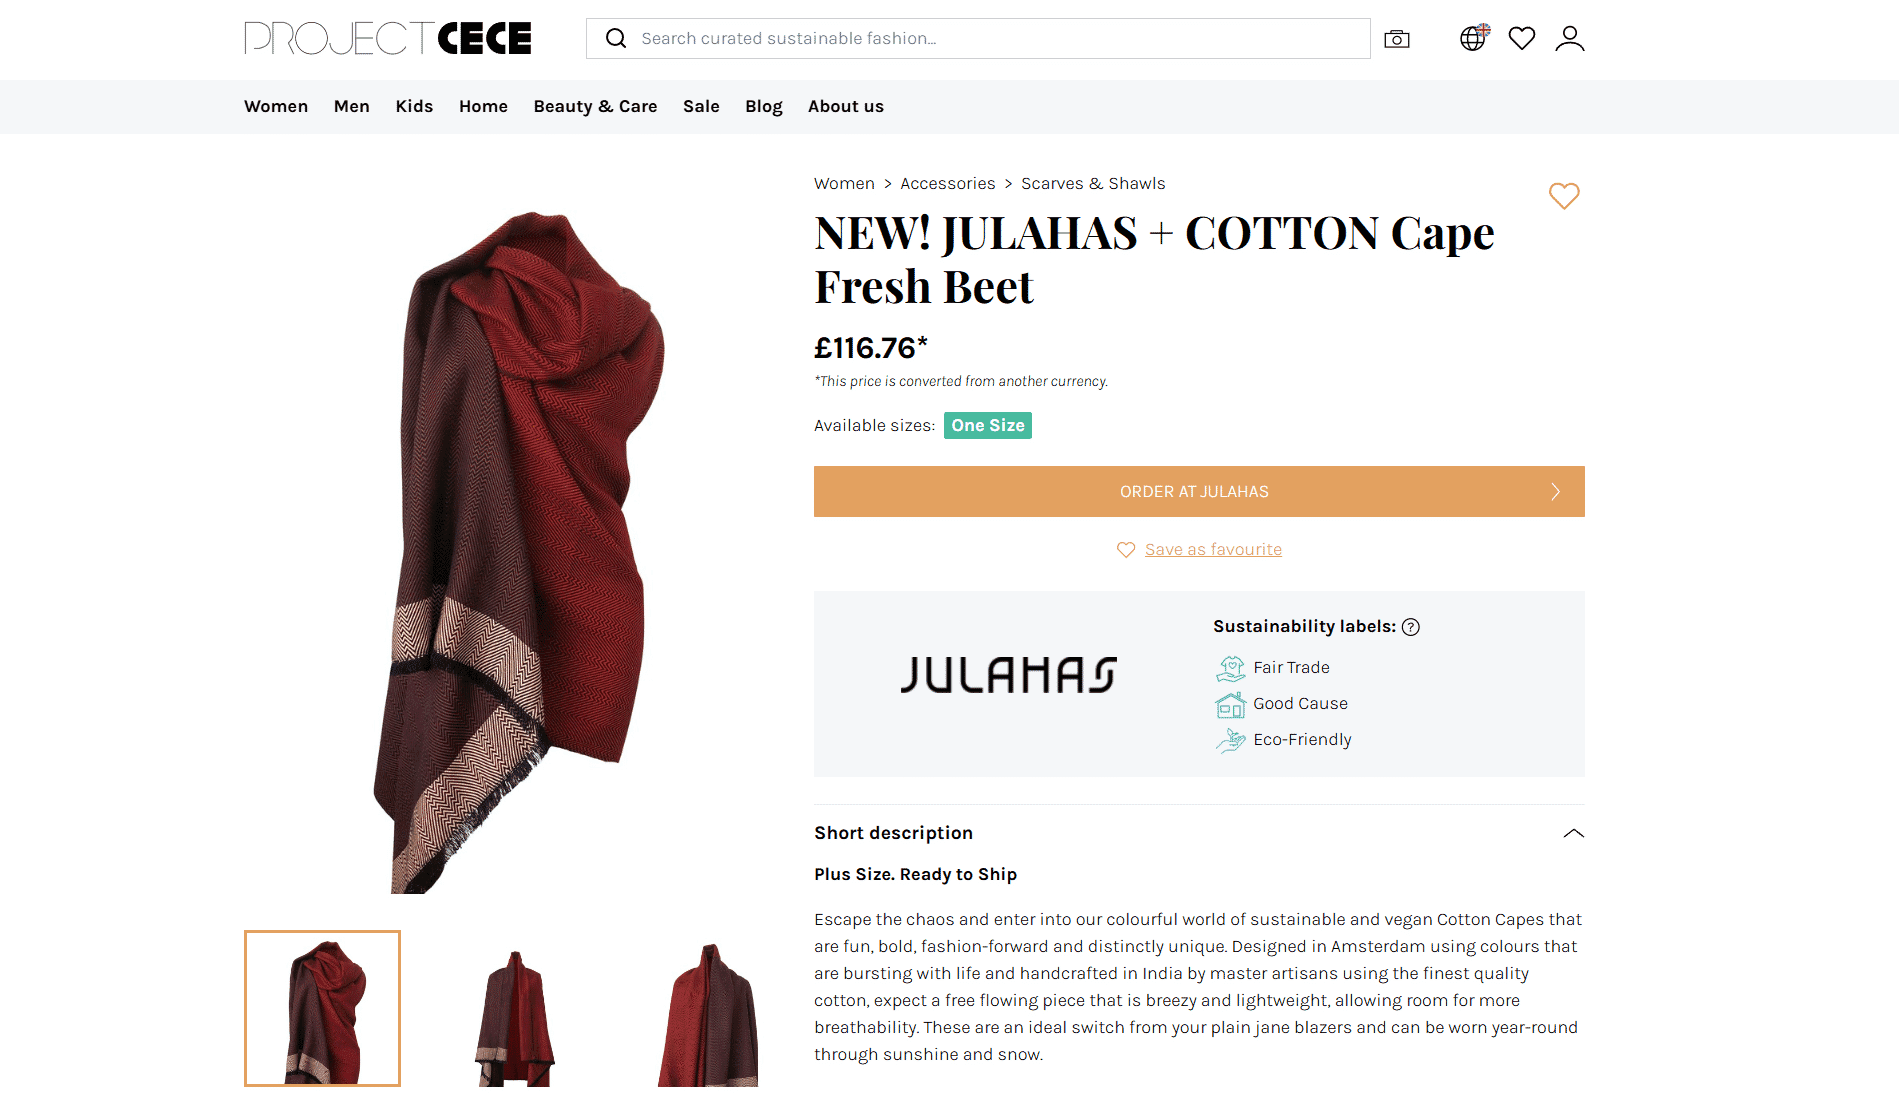
Some pieces won’t work symmetrical and that’s fine. Still apply all other prep and shooting tips to get high quality photos. For example, this cape on Project Cece’s online shop is asymmetrical and calls for balanced composition rather than forced symmetry.
During the shoot: capturing balanced apparel images
Photographing and arranging products isn’t quick work—even teams with professional stylists might max out at 10 items per shoot day, though dedicated studios with specialized workflows can typically process more.
Camera settings for optimal symmetry
- Choose longer focal lengths: Use 50mm, 85mm or longer to minimize distortion that can make clothing look uneven or warped. If you’ve got limited space, zoom lenses can come in handy.
- Set consistent aperture: Shoot around f/8-f/11 to keep the entire garment in sharp focus from front to back.
- Position camera center: Keep your camera dead-center and level. For top-down shots, ensure the camera is truly overhead to avoid skewing.
- Use a sturdy tripod: Essential for consistent framing, sharp images, and avoiding camera shake.
- Set up even lighting: Use two lights (ideally), positioned on either side to eliminate uneven shadows. Adjust angles based on fabric thickness.
- Enable camera gridlines: Use your camera’s grid overlay to align garments perfectly within the frame. You can also shoot tethered and connect to a monitor to catch any issues in real-time.
- Frame precisely: Frame your shots exactly as needed from the start. If you plan on removing background or doing other edits like drop shadow, you can always adjust canvas size during editing. Just make sure to fully capture your product so you have plenty to work with in editing.
Styling techniques for balance
Different garments will benefit from different arm positions—some look better with hands close to the body, others with arms slightly bent away. Whatever you choose, make sure both sides match for symmetrical posing.
- Use clips, pins, and even tape behind the garment to create perfect draping while keeping them invisible from camera view.
- Review each shot immediately to catch issues before moving to the next setup. What looks balanced to your eye may appear crooked in the photo.
- Make small adjustments between shots rather than major repositioning.
Post-production: fine-tuning your symmetry
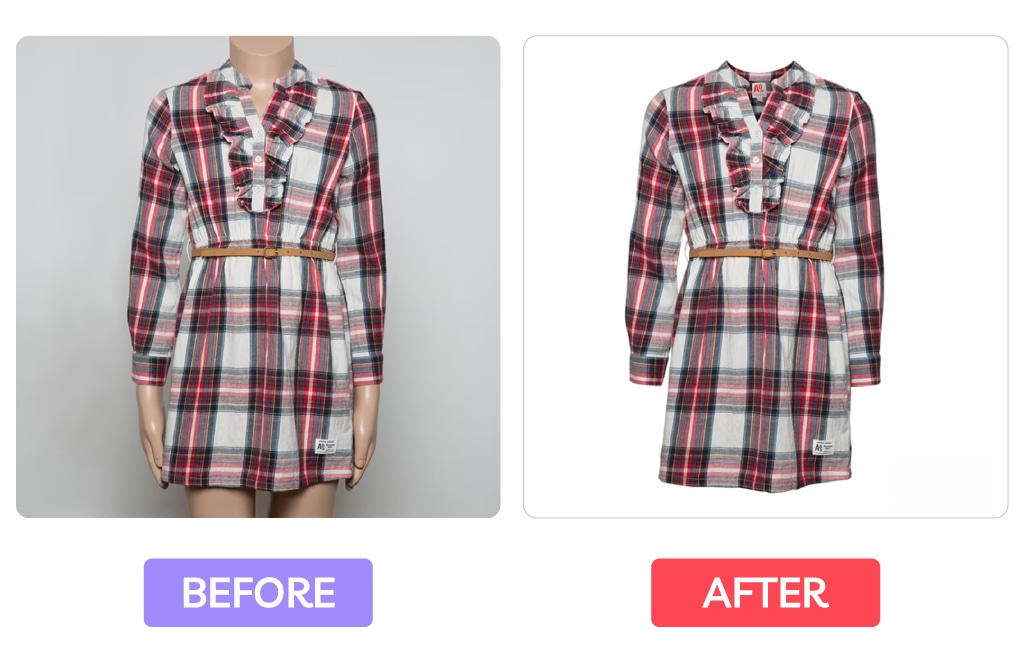
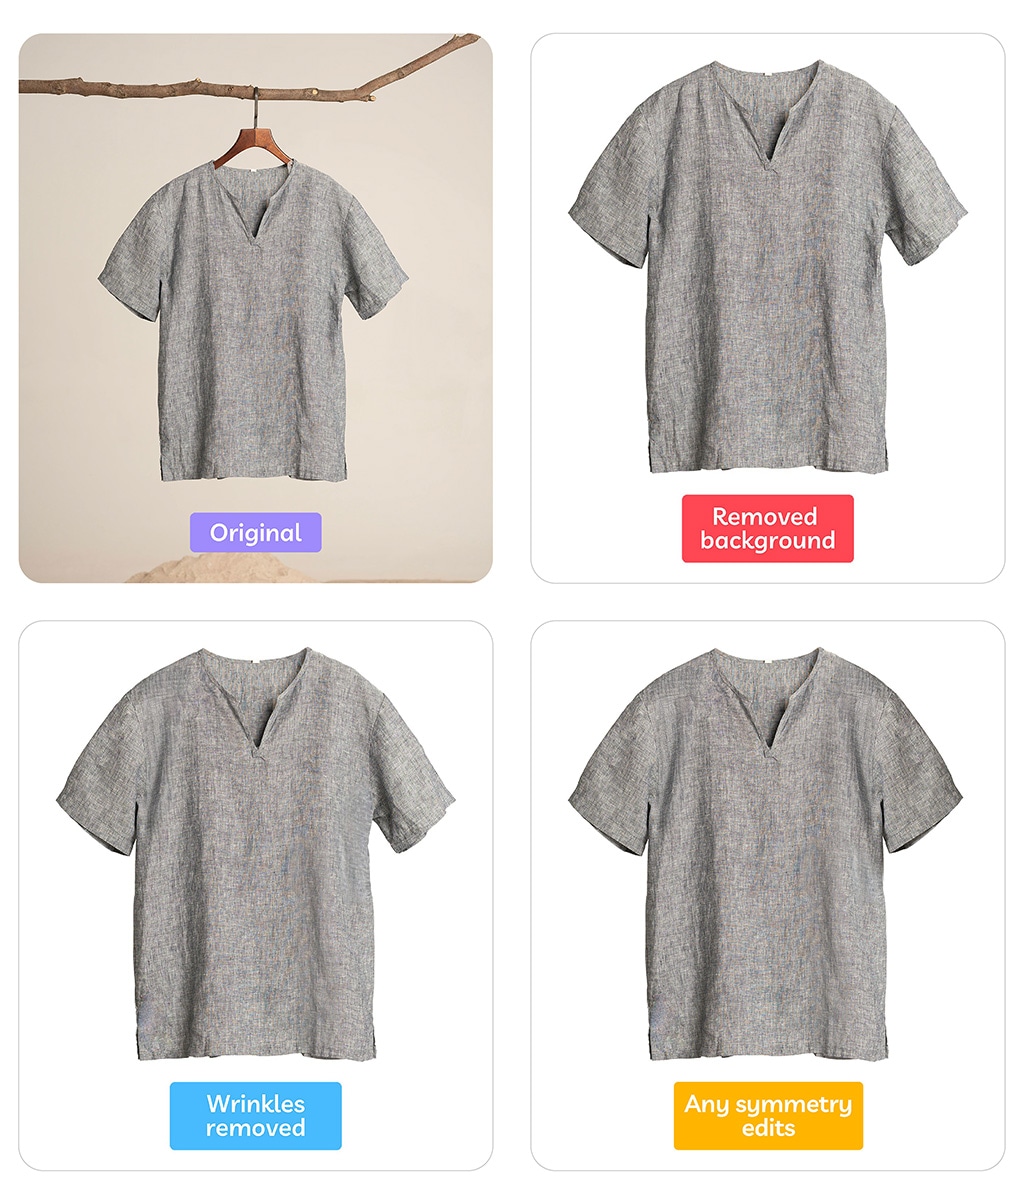
Even with perfect shooting, most apparel photos need symmetry adjustments. Good clothing editing fixes natural flaws without making products look artificial and matches both sides, not copy-pastes half a garment.

Basic symmetry edits anyone can do
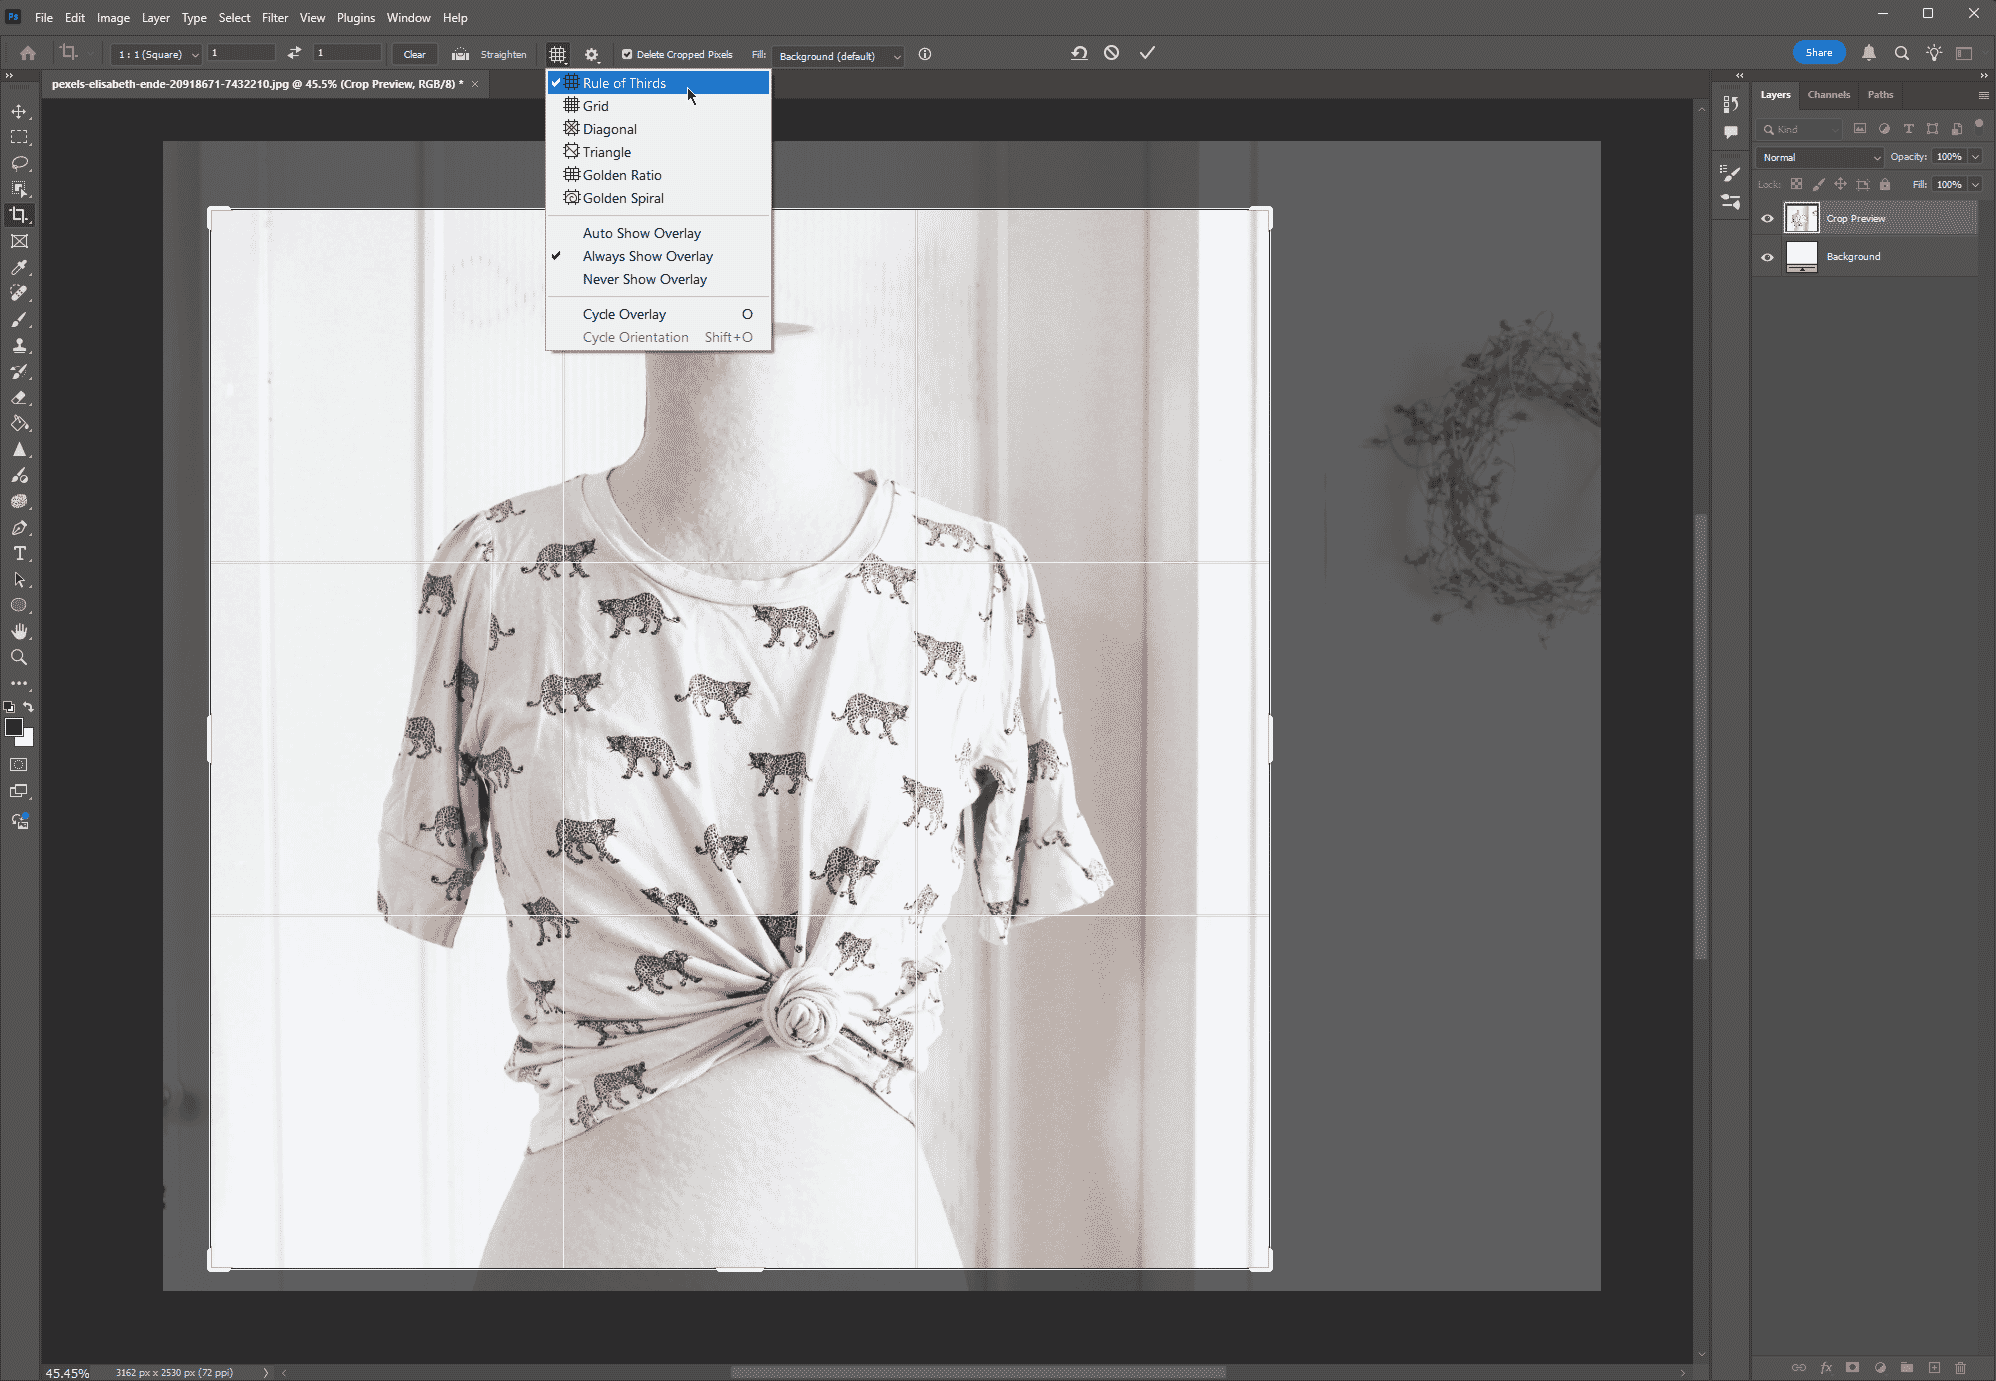
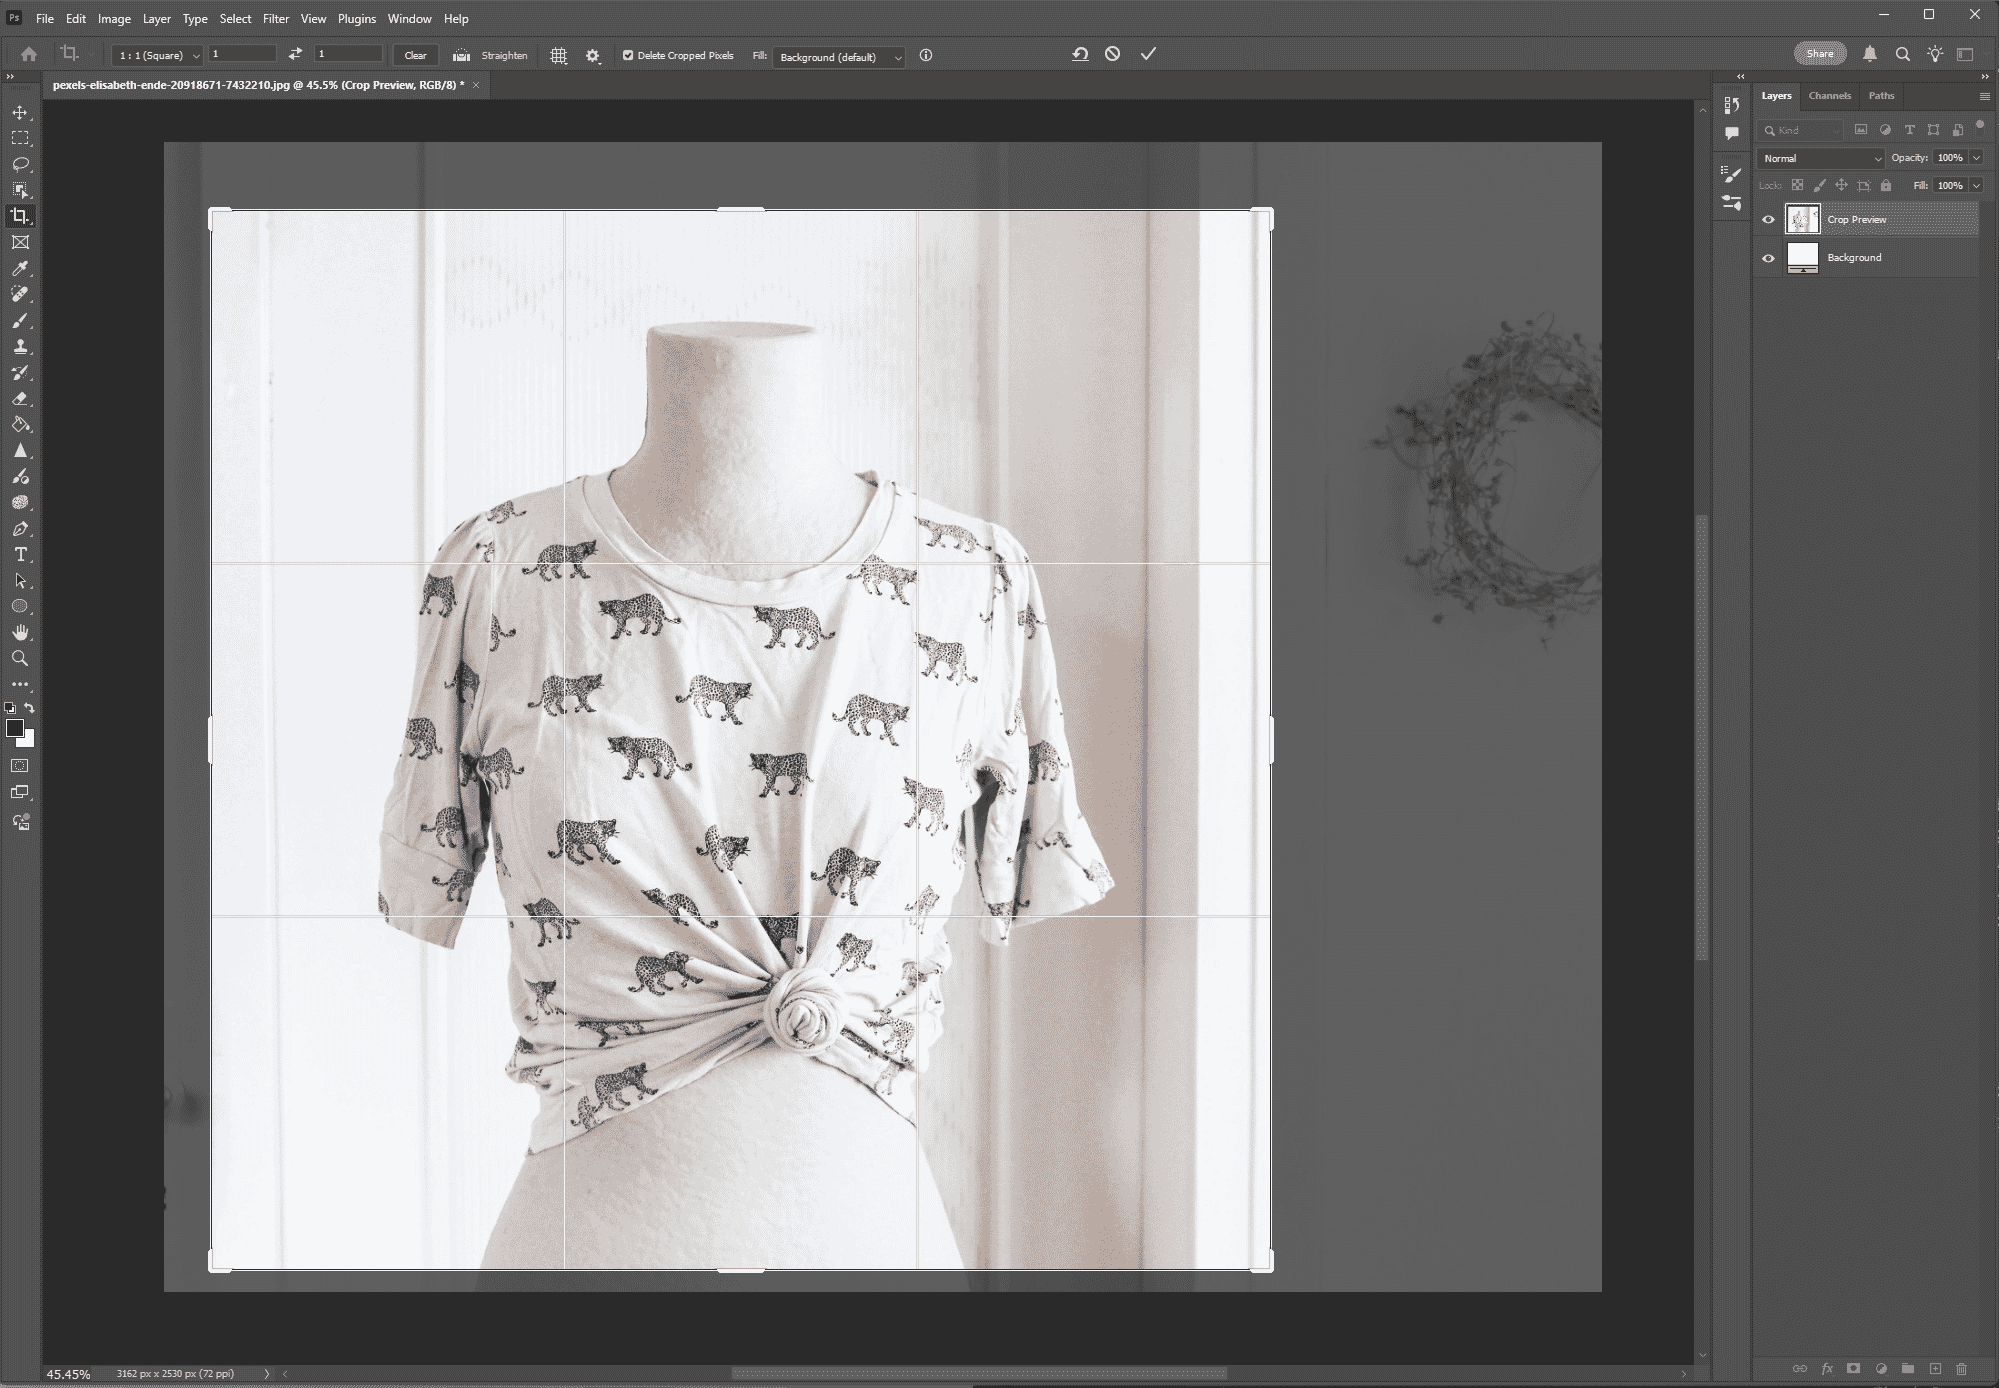
- Crop and straighten: Use your editing app’s grid overlays to align garments perfectly within the frame and correct any camera tilt. In Adobe Photoshop, you can select several grids when cropping, such as Rule of Thirds or Triangle (both great for quickly centering your shots) or Grids (for more precision).
- Make minor adjustments: Fix small imperfections like uneven hems or slightly askew collars using basic retouching tools.
- Address wrinkles: You can’t get true symmetry on wrinkled fabric, so make sure to smooth out any obvious creases.
Professional symmetry editing techniques
Professional symmetry editing involves complex, precise adjustments that require advanced skills:
- Sleeve alignment: Matching sleeve length, cuff positioning, and draping between left and right sides
- Side-edge corrections: Ensuring garment edges create perfect parallel lines and consistent silhouettes
- Curve refinement: Smoothing necklines, armholes, and hemlines for balanced curves
- Detail alignment: Positioning pockets, buttons, zippers, and decorative elements to mirror exactly
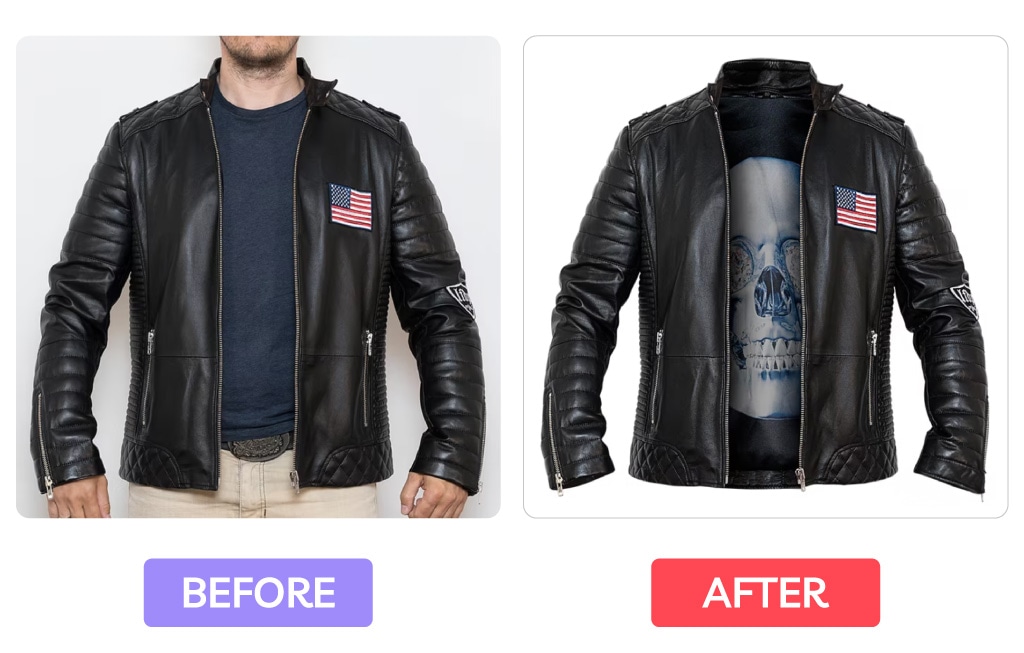
These edits involve reshaping fabric digitally while keeping realistic texture and natural draping. Our mirror image symmetry service handles these complex fixes so you can focus on shooting and growing your business instead of spending hours on detailed post-production.
When to DIY vs. when to outsource
Not every symmetry issue can be fixed with editing. Major fabric distortions or non-mirrored patterns need to be corrected during shooting—no amount of post-production can create symmetry that wasn’t captured originally.
Some garments, like the patterned shirt from Omnes, look balanced in shape but have naturally asymmetric designs. For these pieces, focus on getting the overall structure right during shooting, then handle simple fixes like ghost mannequin effects, lighting adjustments, and wrinkle removal.

Basic edits like cropping and straightening work fine as DIY projects. But complex symmetry corrections can take hours per image. For busy photographers and ecommerce brands, professional editing usually costs less than your time while delivering better results.
And with marketplaces like Amazon requiring high-quality images, professional symmetry editing gives you that polished result that DIY edits can’t always achieve.
Symmetry checklist
Check all these before approving your images and you’re good to go:
- No obvious wrinkles (natural fabric draping is fine)
- Sleeves and hems are aligned and match in length
- Collar and necklines are centered and balanced
- Buttons, zippers, and pockets are positioned symmetrically
- Fabric drapes evenly on both sides
- Lighting is balanced with no uneven shadows
Consistently balanced shots for every product
Not only does symmetrical apparel photography help your products look appealing, it also meets the high standards that customers expect in ecommerce. Whether you edit in-house or outsource the tricky stuff, what matters is finding the approach that works for your workflow and quality needs.
Need help getting perfect symmetry? Path’s editors handle complex apparel fixes, saving you time while delivering professional results for any marketplace.
The post How to Take Symmetrical Apparel Photos for Ecommerce appeared first on Path Edits.
[ad_2]
Source link
دیدگاهتان را بنویسید