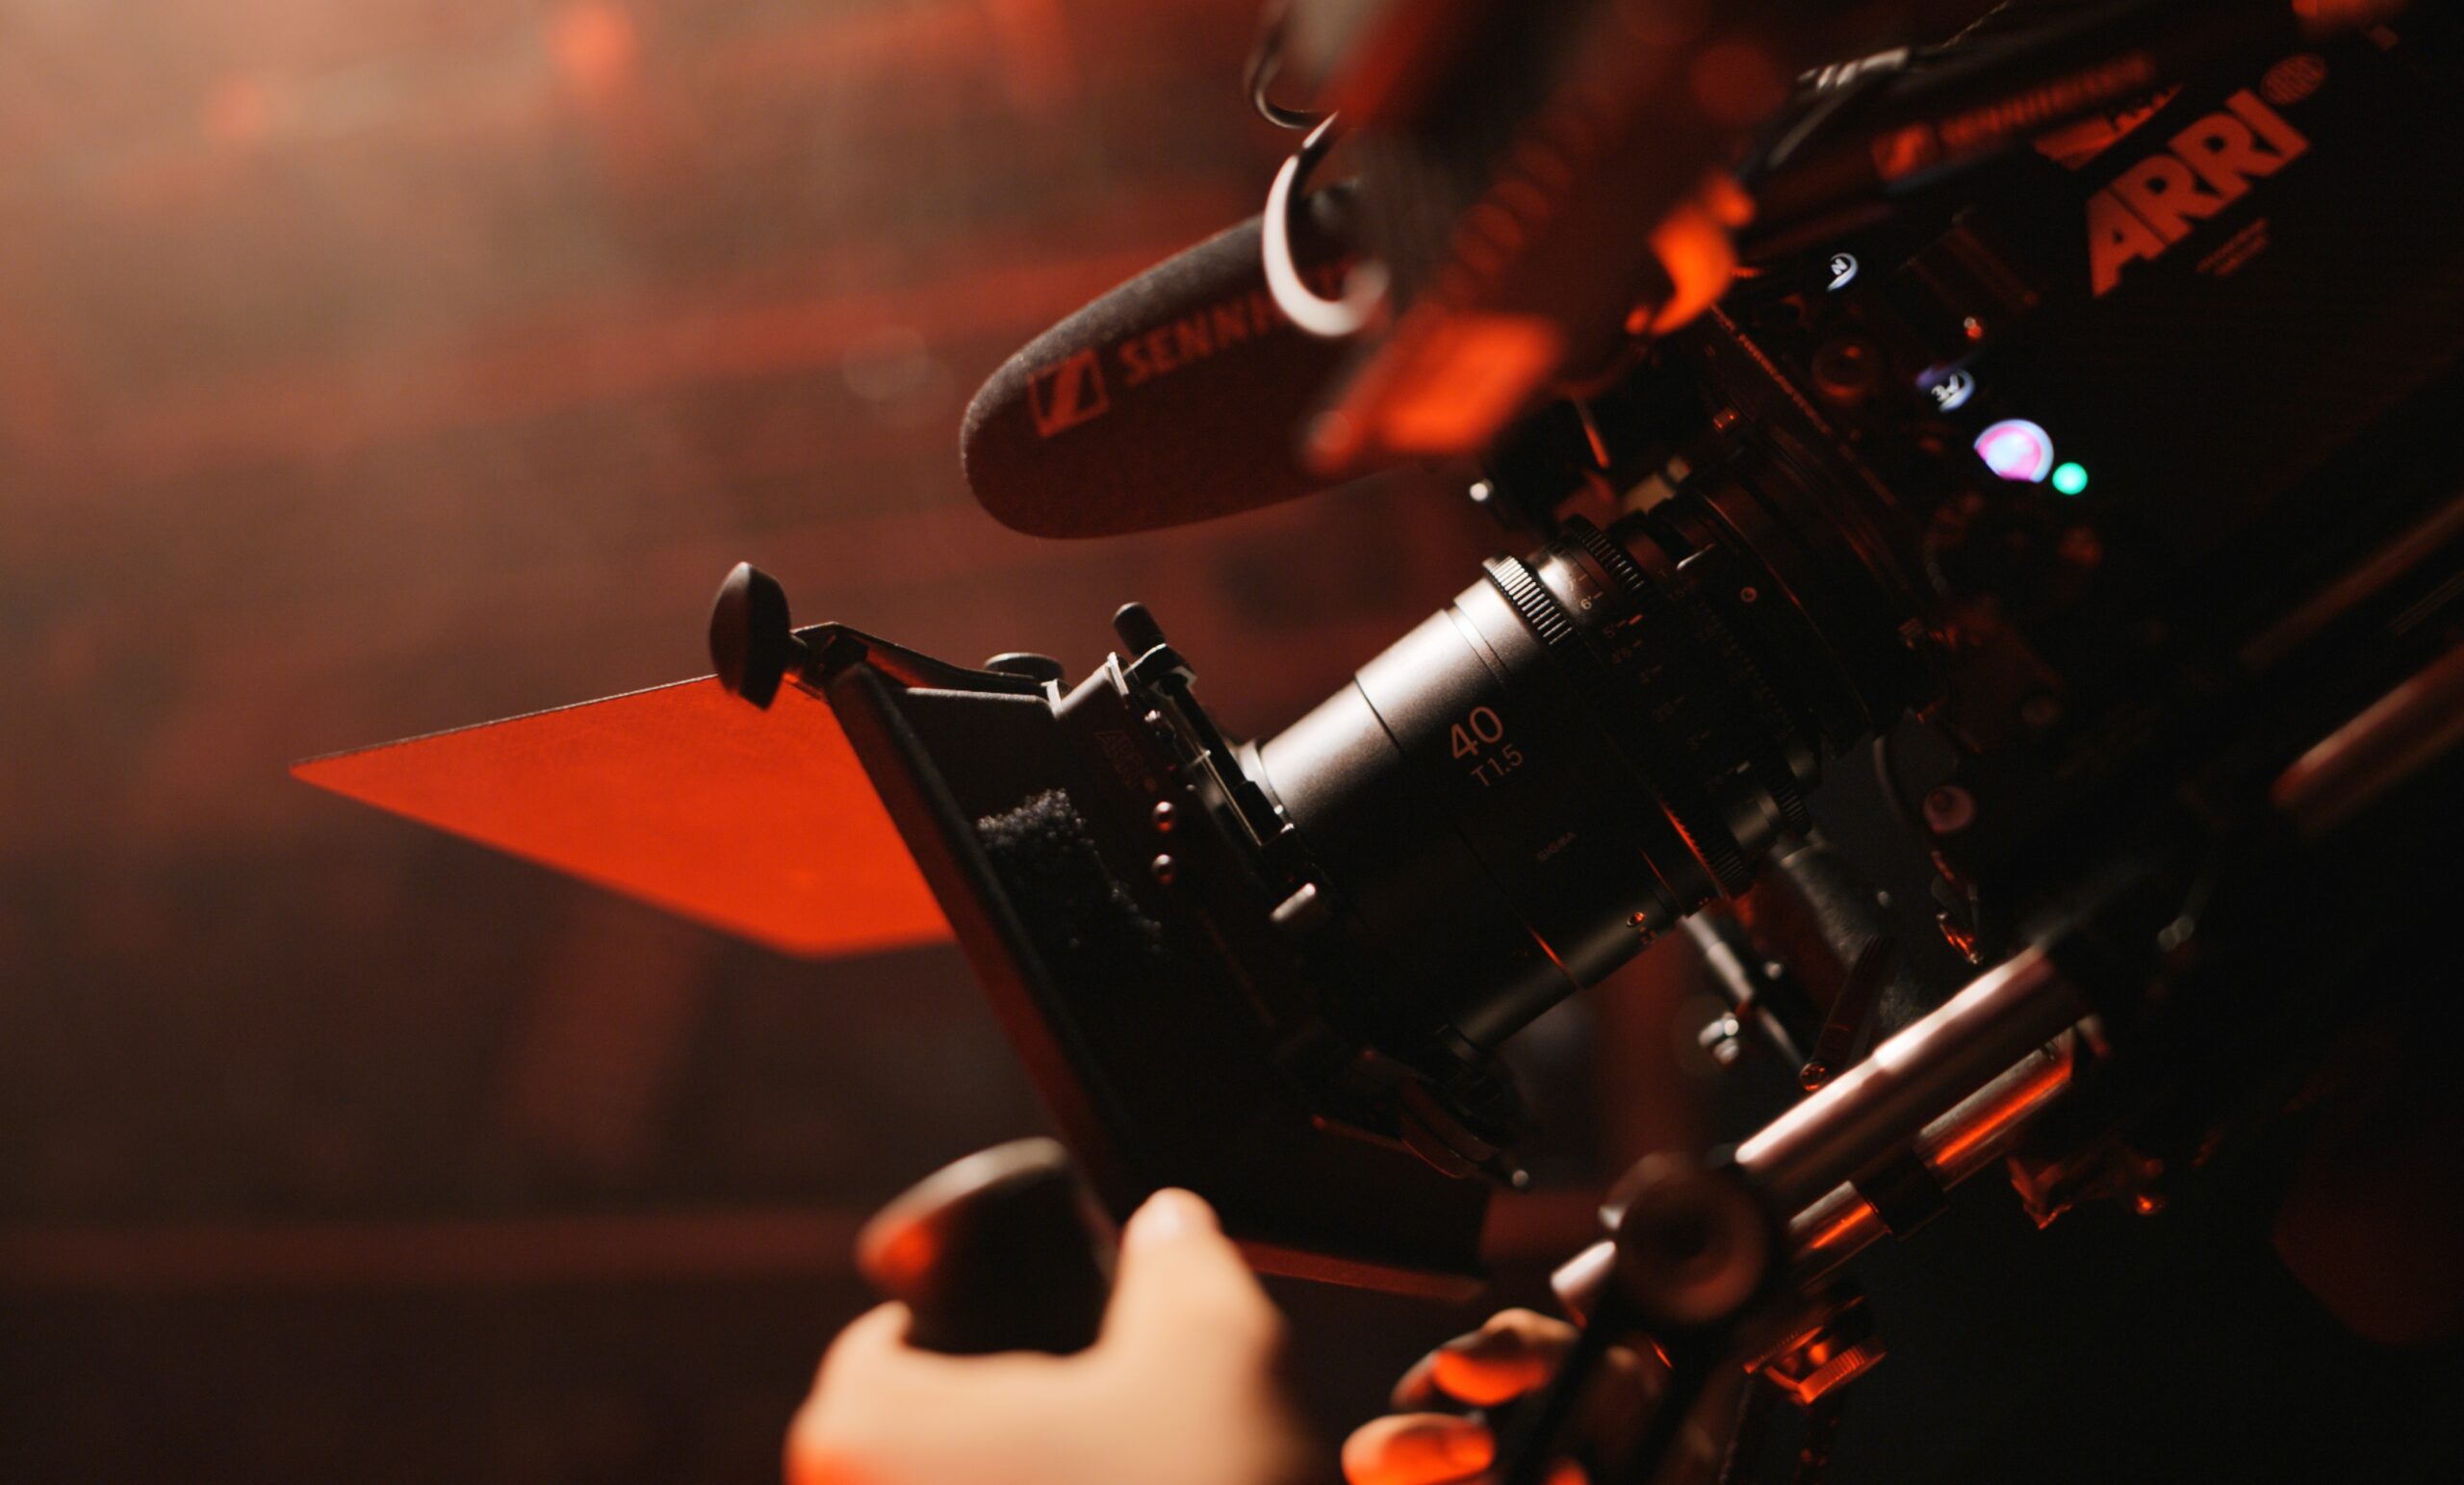
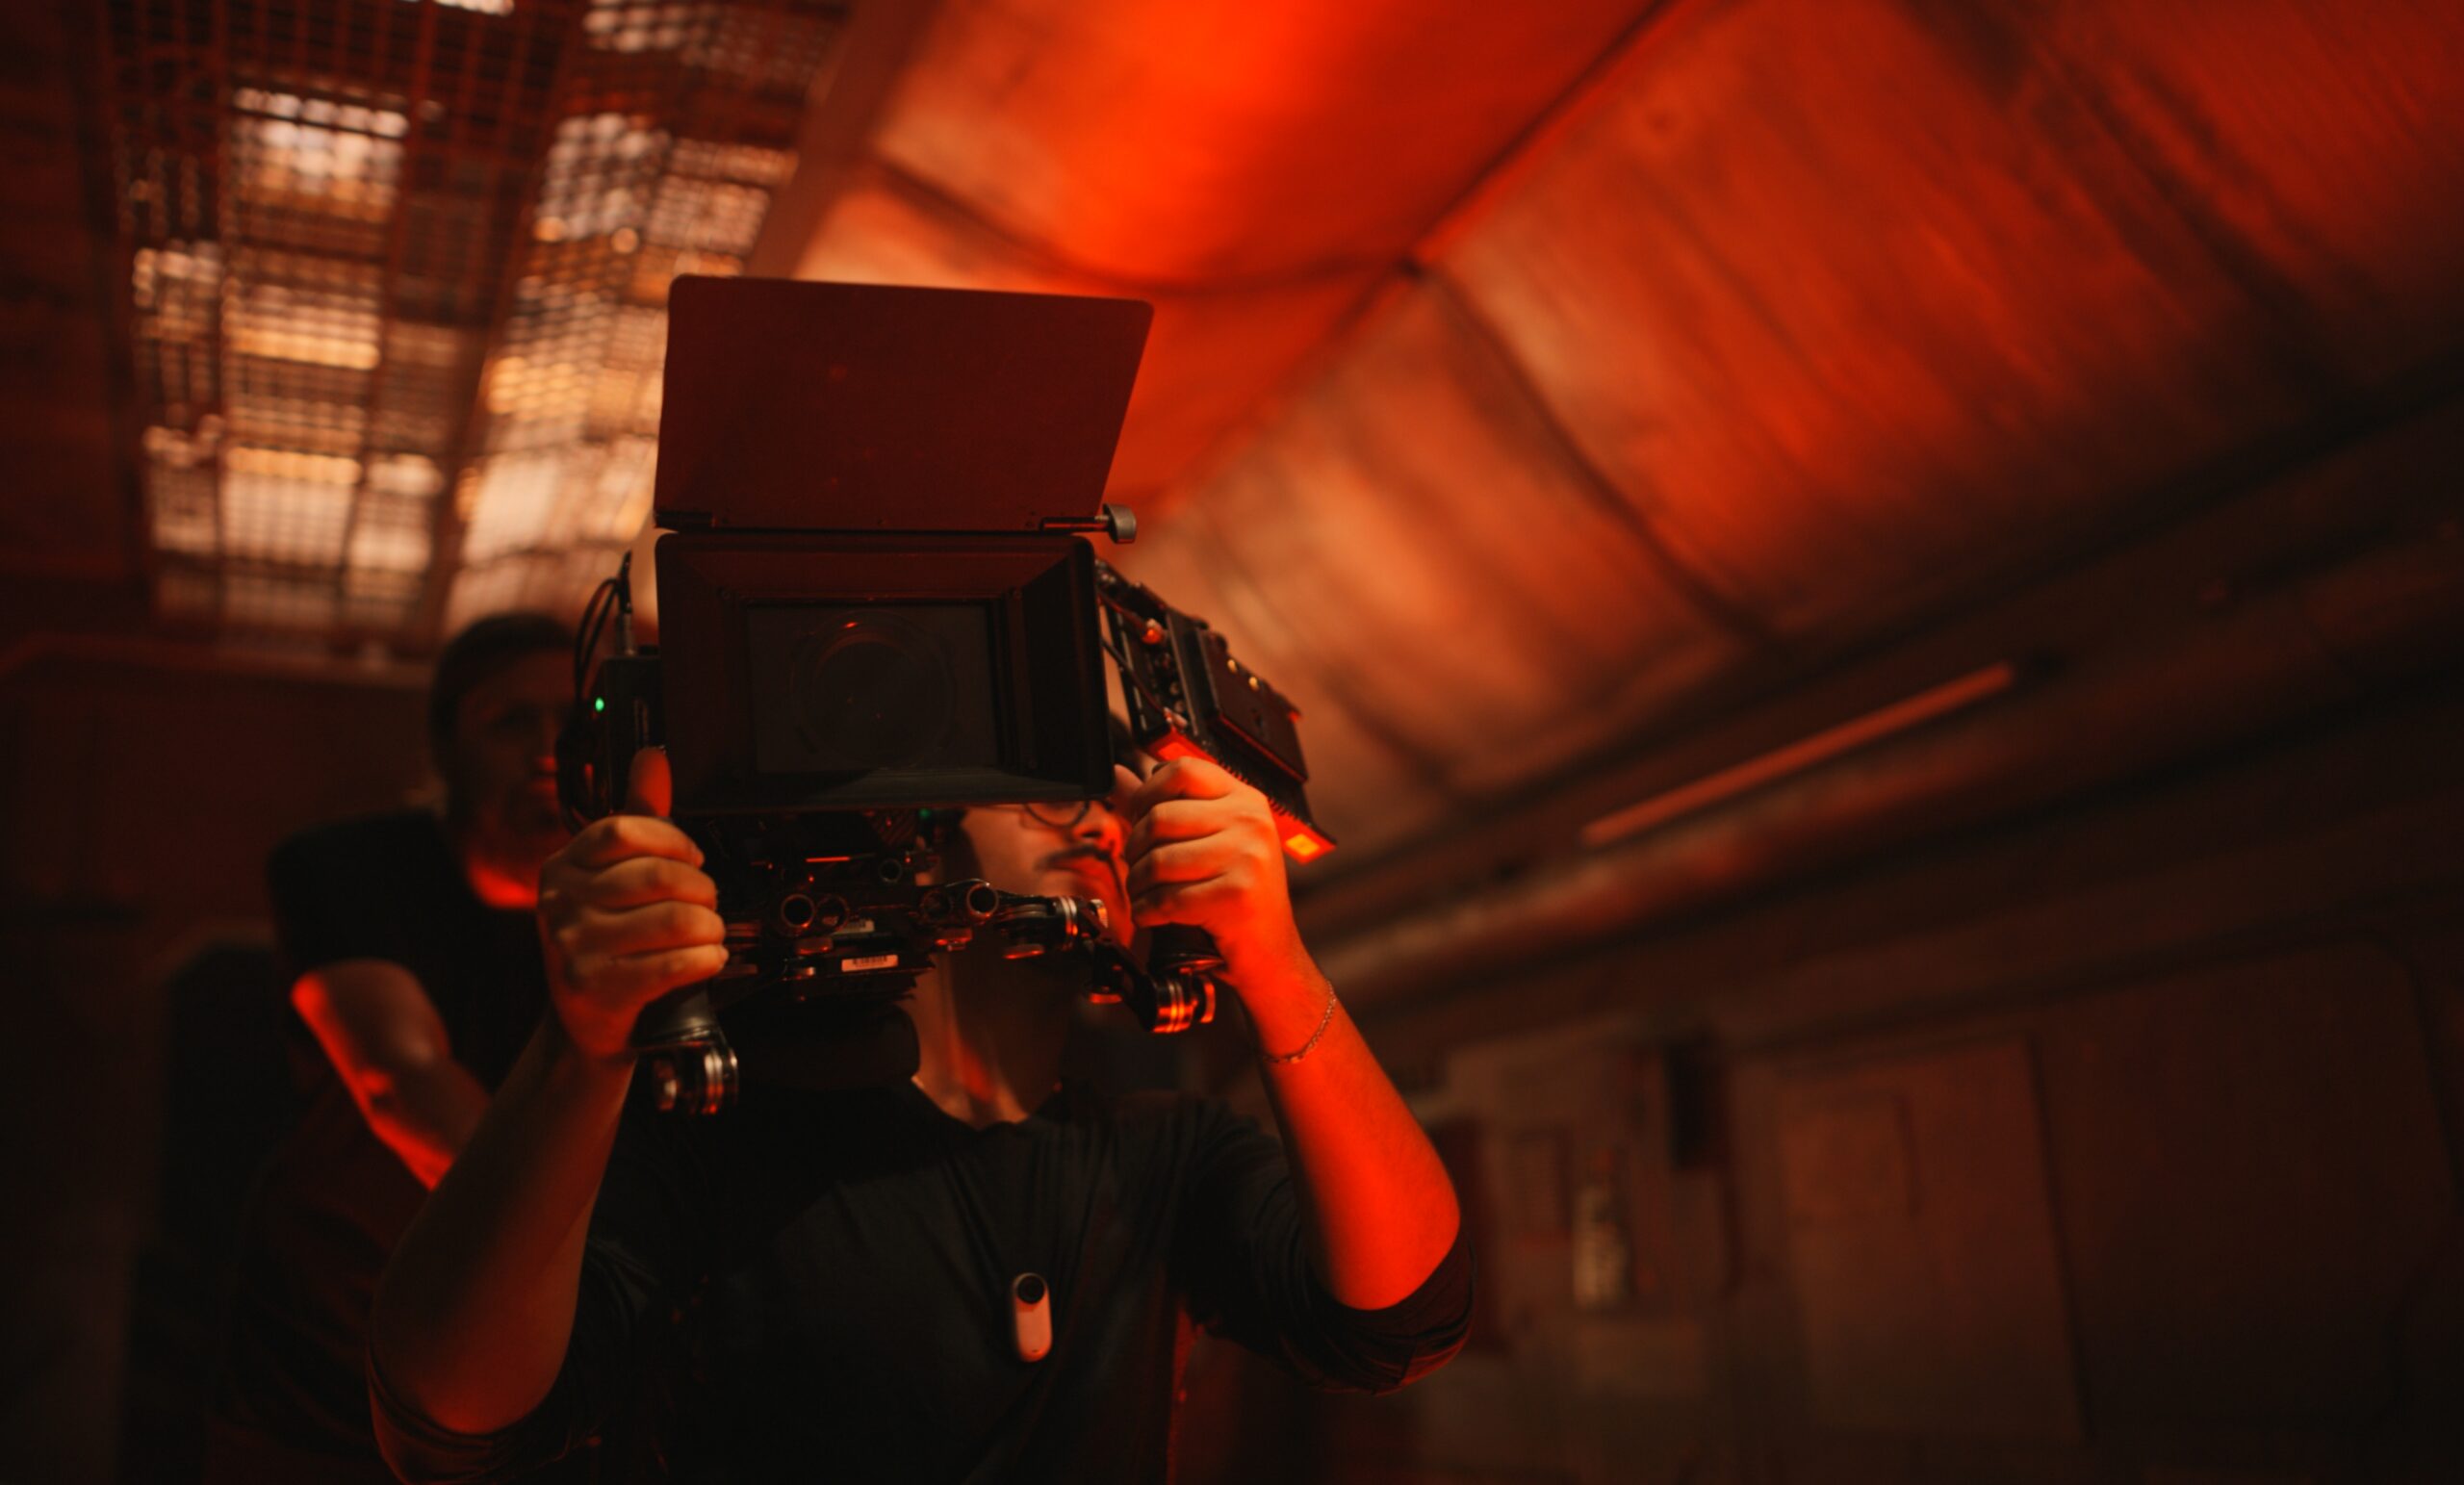
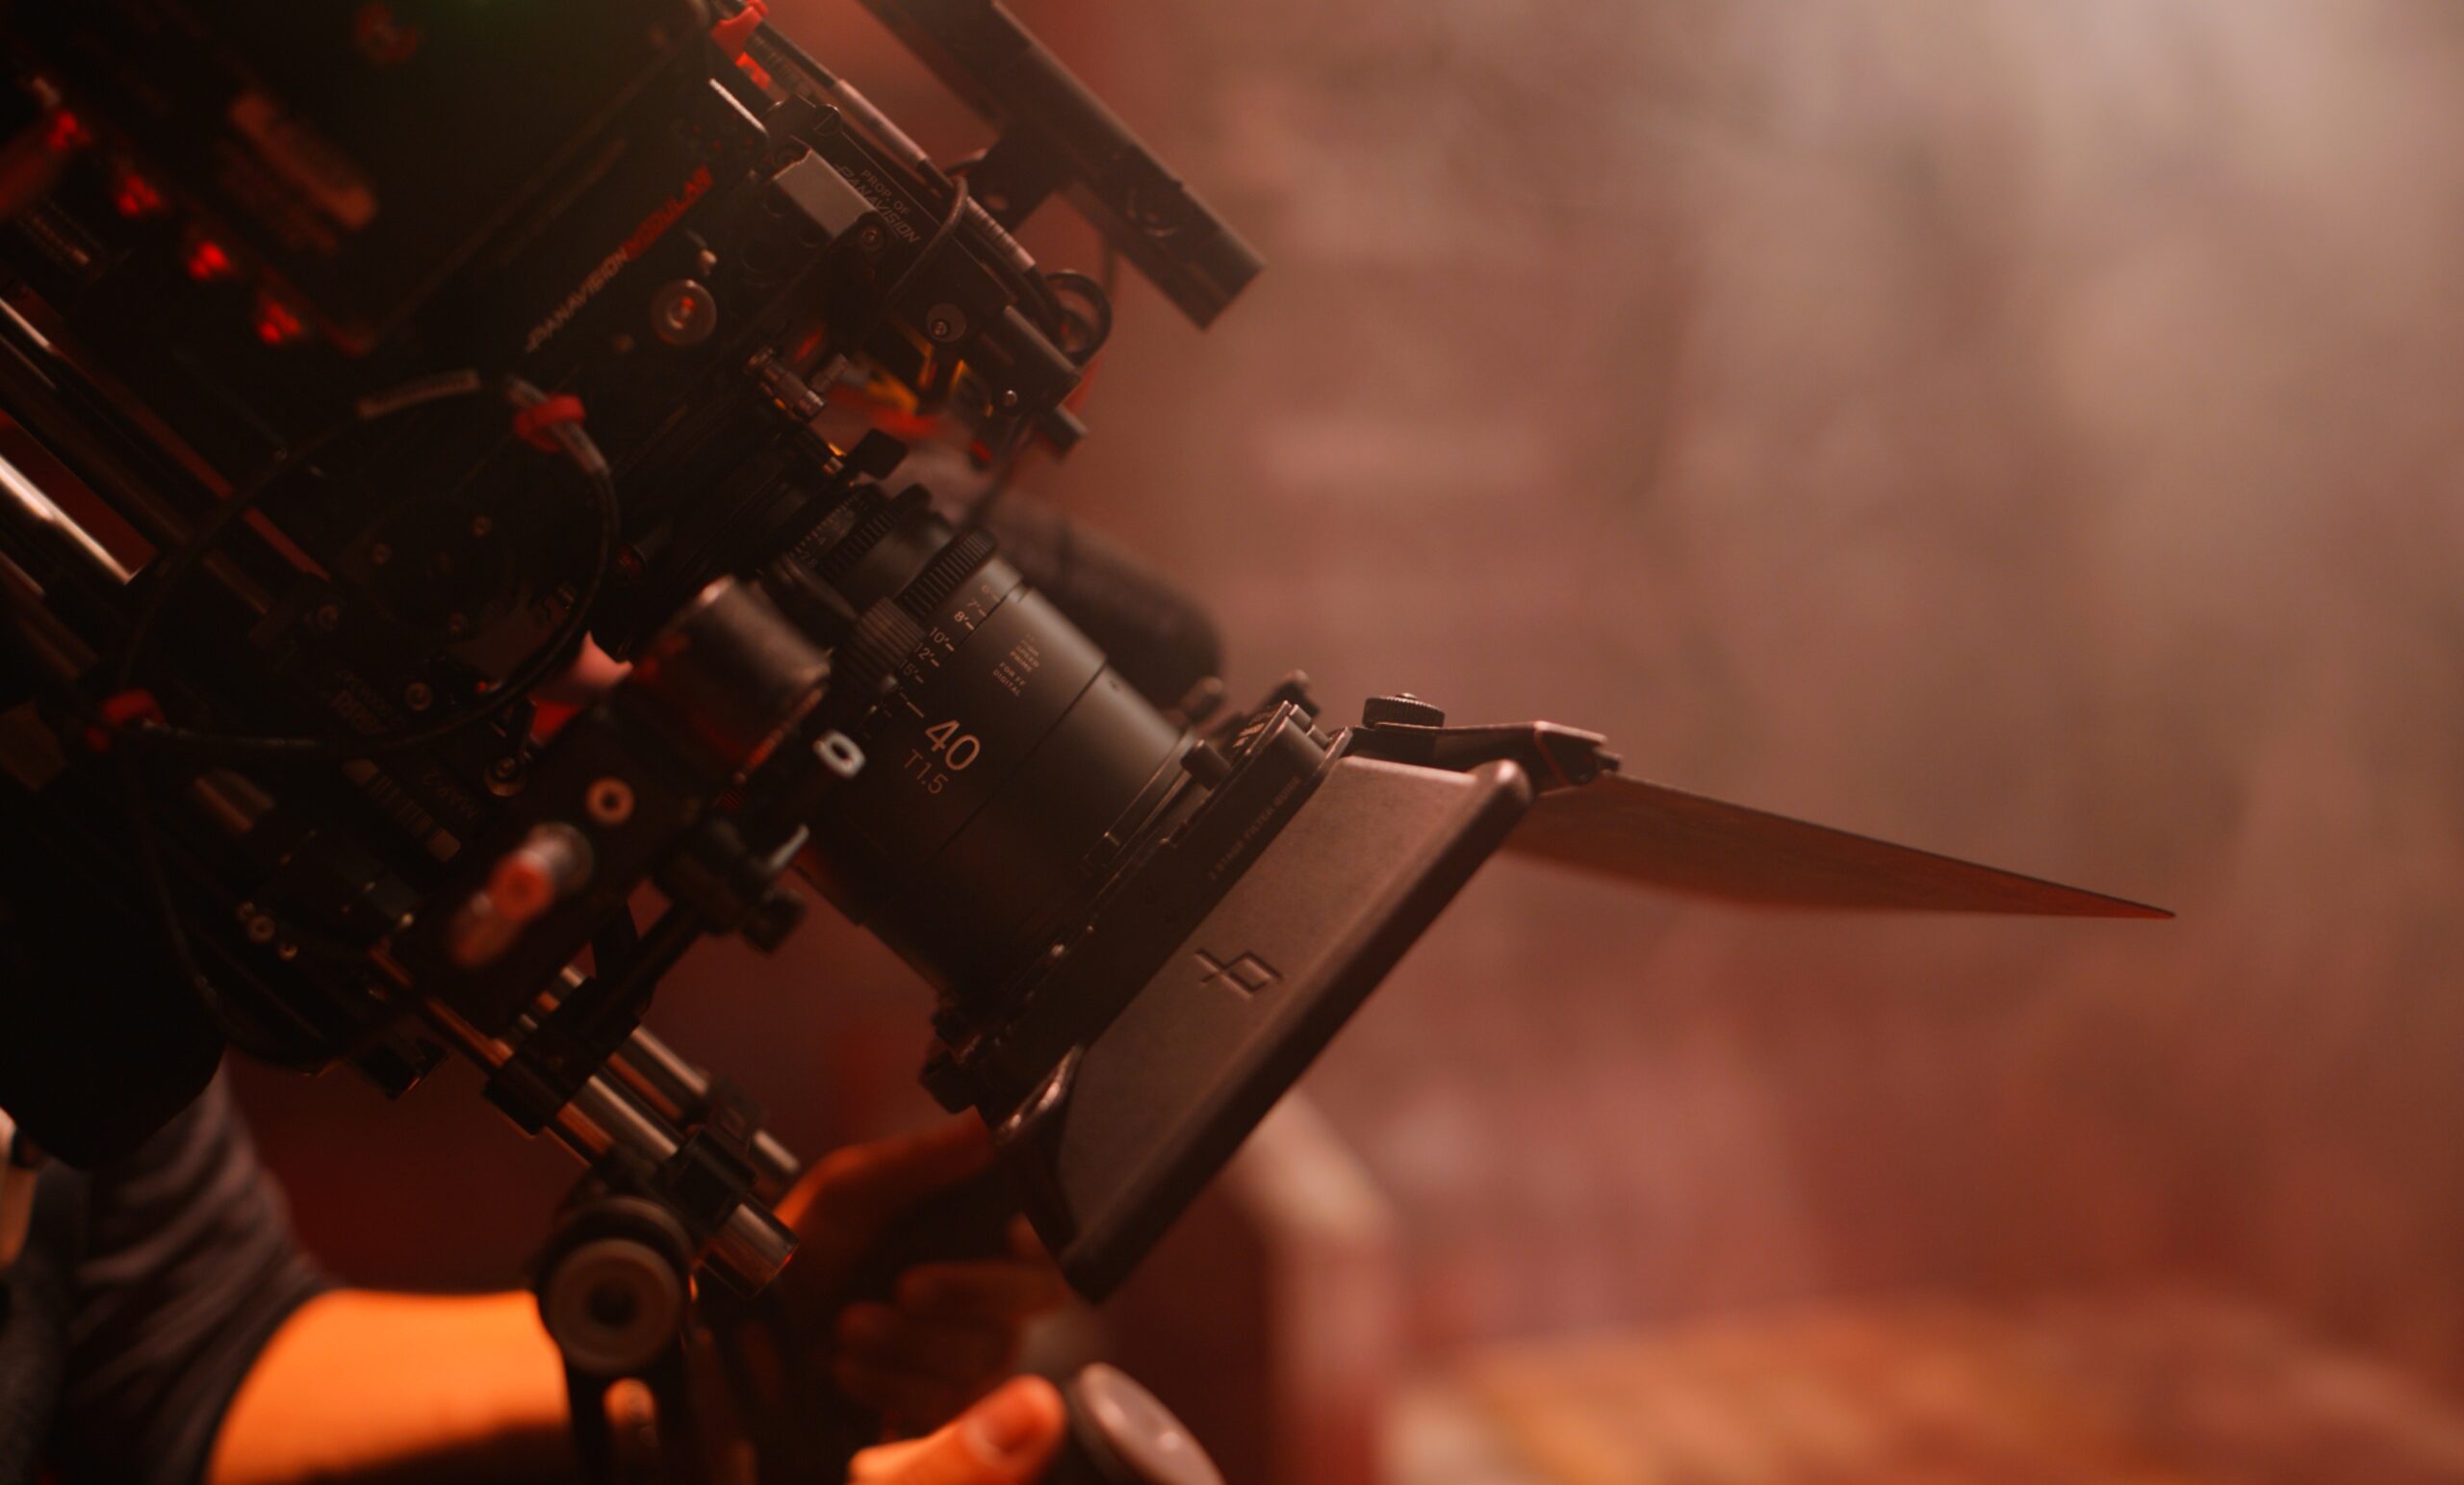
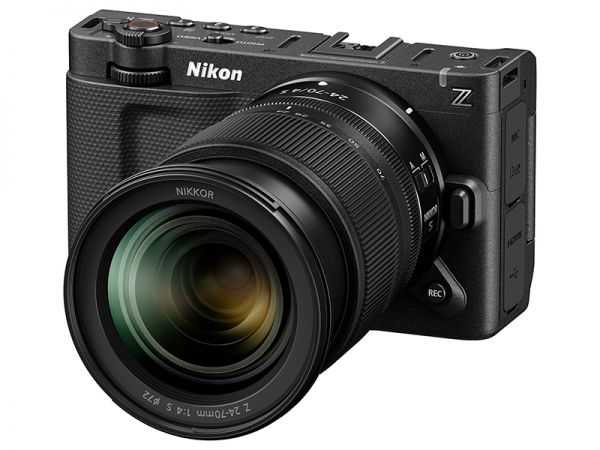
Nikon has announced its very first cinema camera: the ZR. The compact full-frame “Z Cinema” camera is the first Nikon camera developed with RED, which the Japanese company acquired in 2024. Boasting a very compact form factor, the ZR features a magnesium alloy chassis (like the Z6 III) and an efficient thermal management design (sans cooling fan) that Nikon claims allows for long record times. The ZR is the first camera to use the new 12-bit RAWCODE RAW (R3D NE) codec, facilitating full control over ISO, exposure and color in post.
The ZR is built around the partially-stacked 24.5-megapixel full-frame CMOS sensor and EXPEED 7 processing engine found in the Z6 III. The camera can record 6K/60p from the full sensor width in 12-bit RAW internally, 4K/60p with no crop, and 4K/120p using the DX portion of the sensor. Offering 7.5 stops of in-body image stabilization, the ZR boasts various features aimed at pro videographers, including dual base ISO 800/6400, custom in-camera LUT support, and the ability to set shutter angle.
While the ZR has no electronic viewfinder, Nikon has equipped it with a high-quality 4-inch 3.07M-dot vari-angle DCI-P3 touchscreen display with a peak brightness of 1,000 nits. The camera also has built-in support for 32-bit float audio, and ports for a mic, headphones, HDMI, and USB charging.
Available in late October 2025, the Nikon ZR will have a body-only price of $2,200. Among the kit configurations on offer will be the camera paired with the Z 24–50mm f/4–6.3 for $2,500.
When purchasing underwater photography equipment like the products mentioned in this article, please support DPG by supporting our retail partner—Backscatter.com.

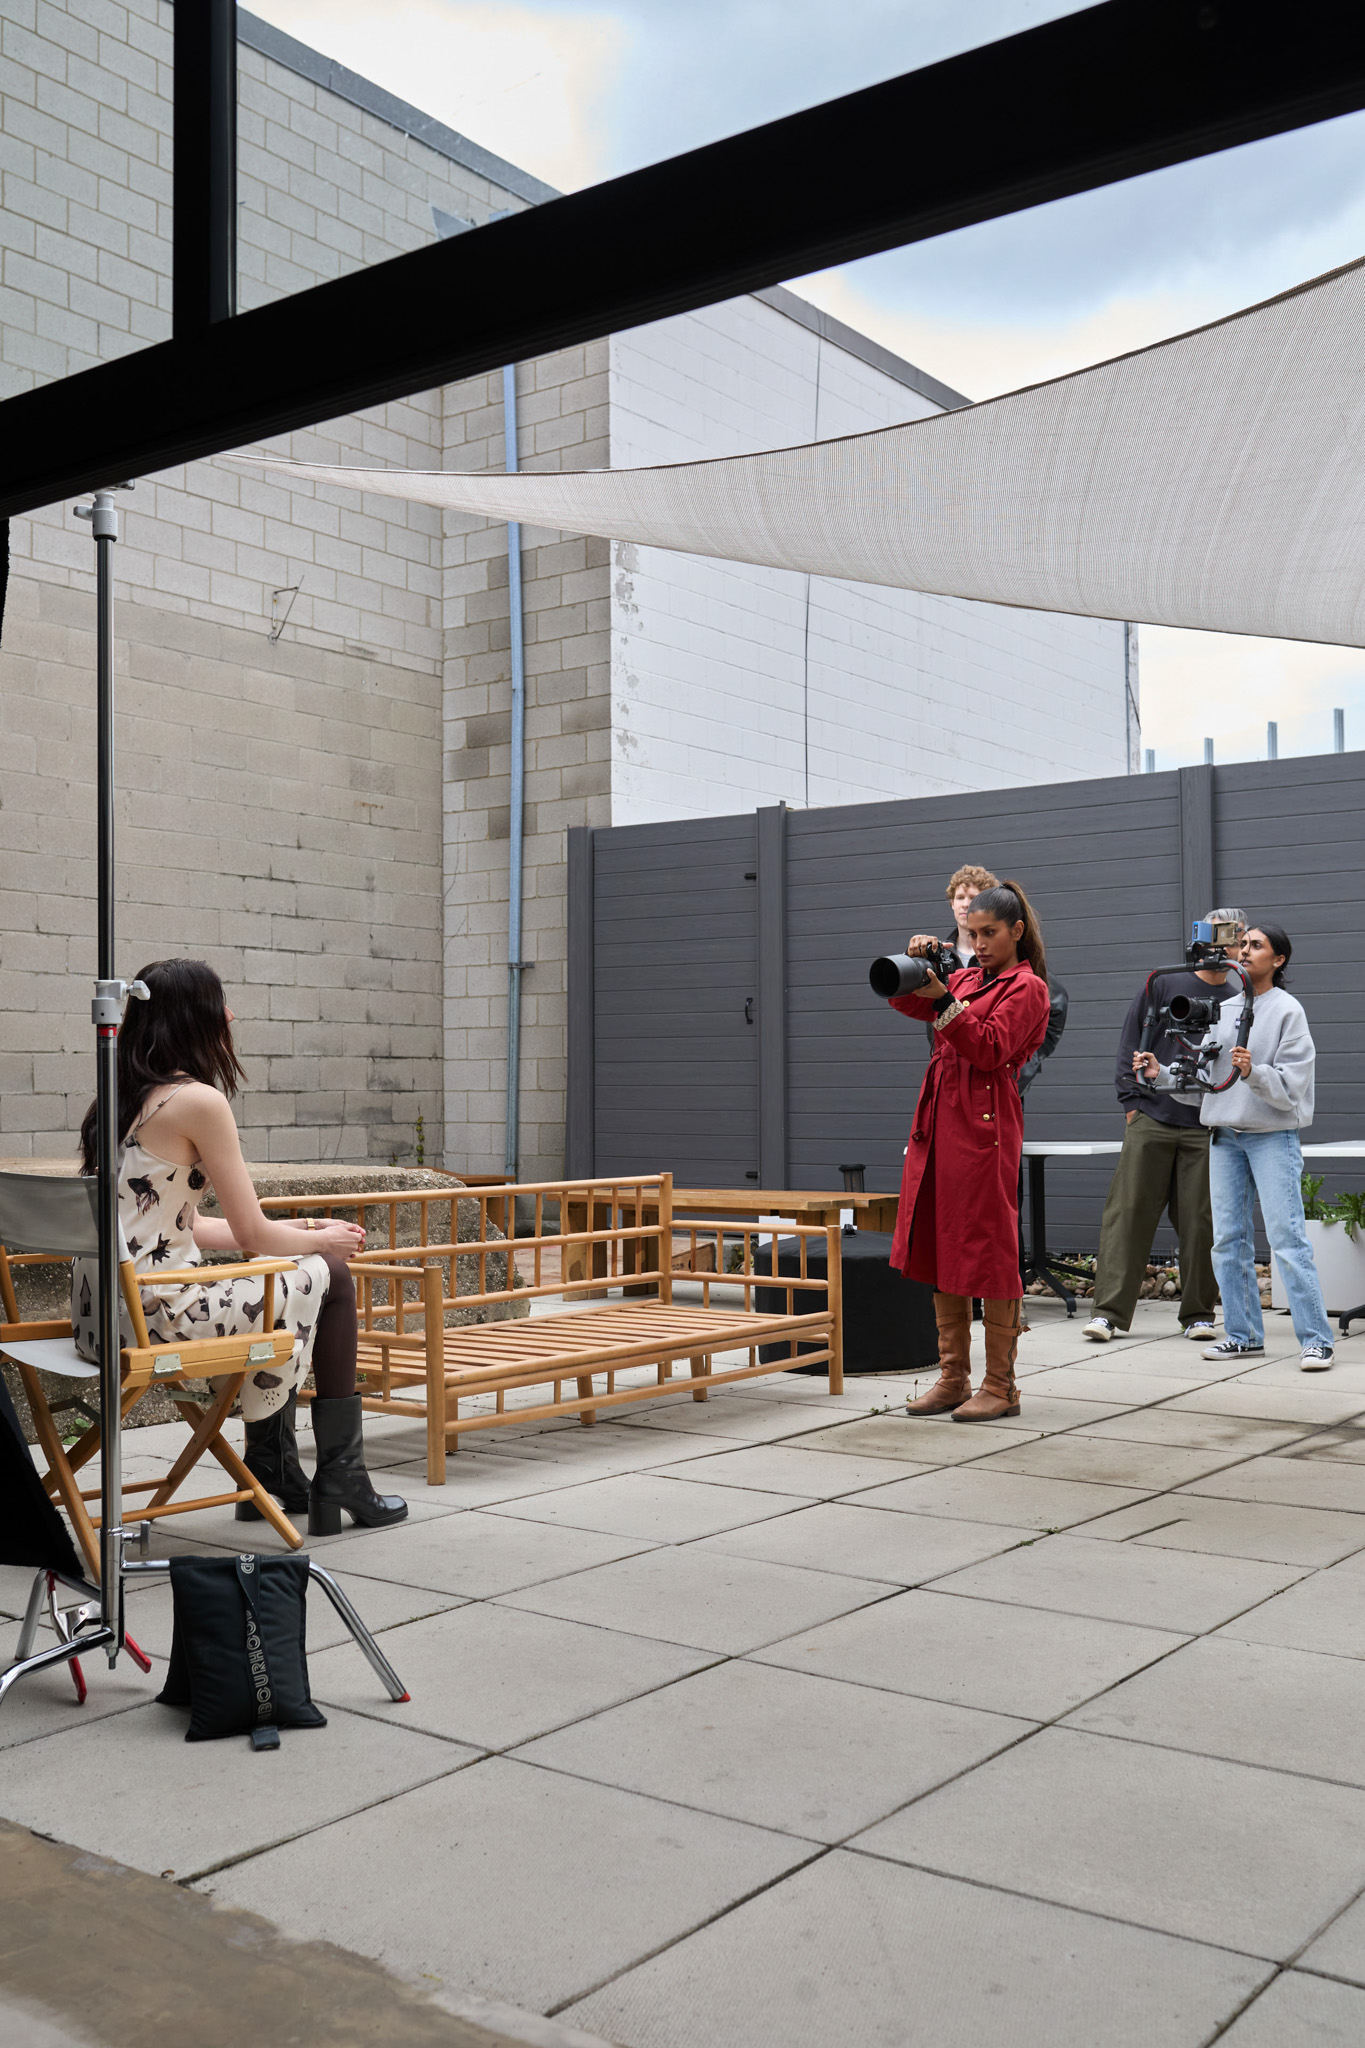
PRESS RELEASE
THE NIKON ZR: A NEW ERA OF LIMITLESS CINEMATIC POSSIBILITIES, BORN FROM NIKON’S SYNERGY WITH RED DIGITAL CINEMA
The first Nikon Camera in the Z Cinema Series Combines Nikon’s Optical expertise and High-Performance AF with RED’s Color Science and Cinematic DNA
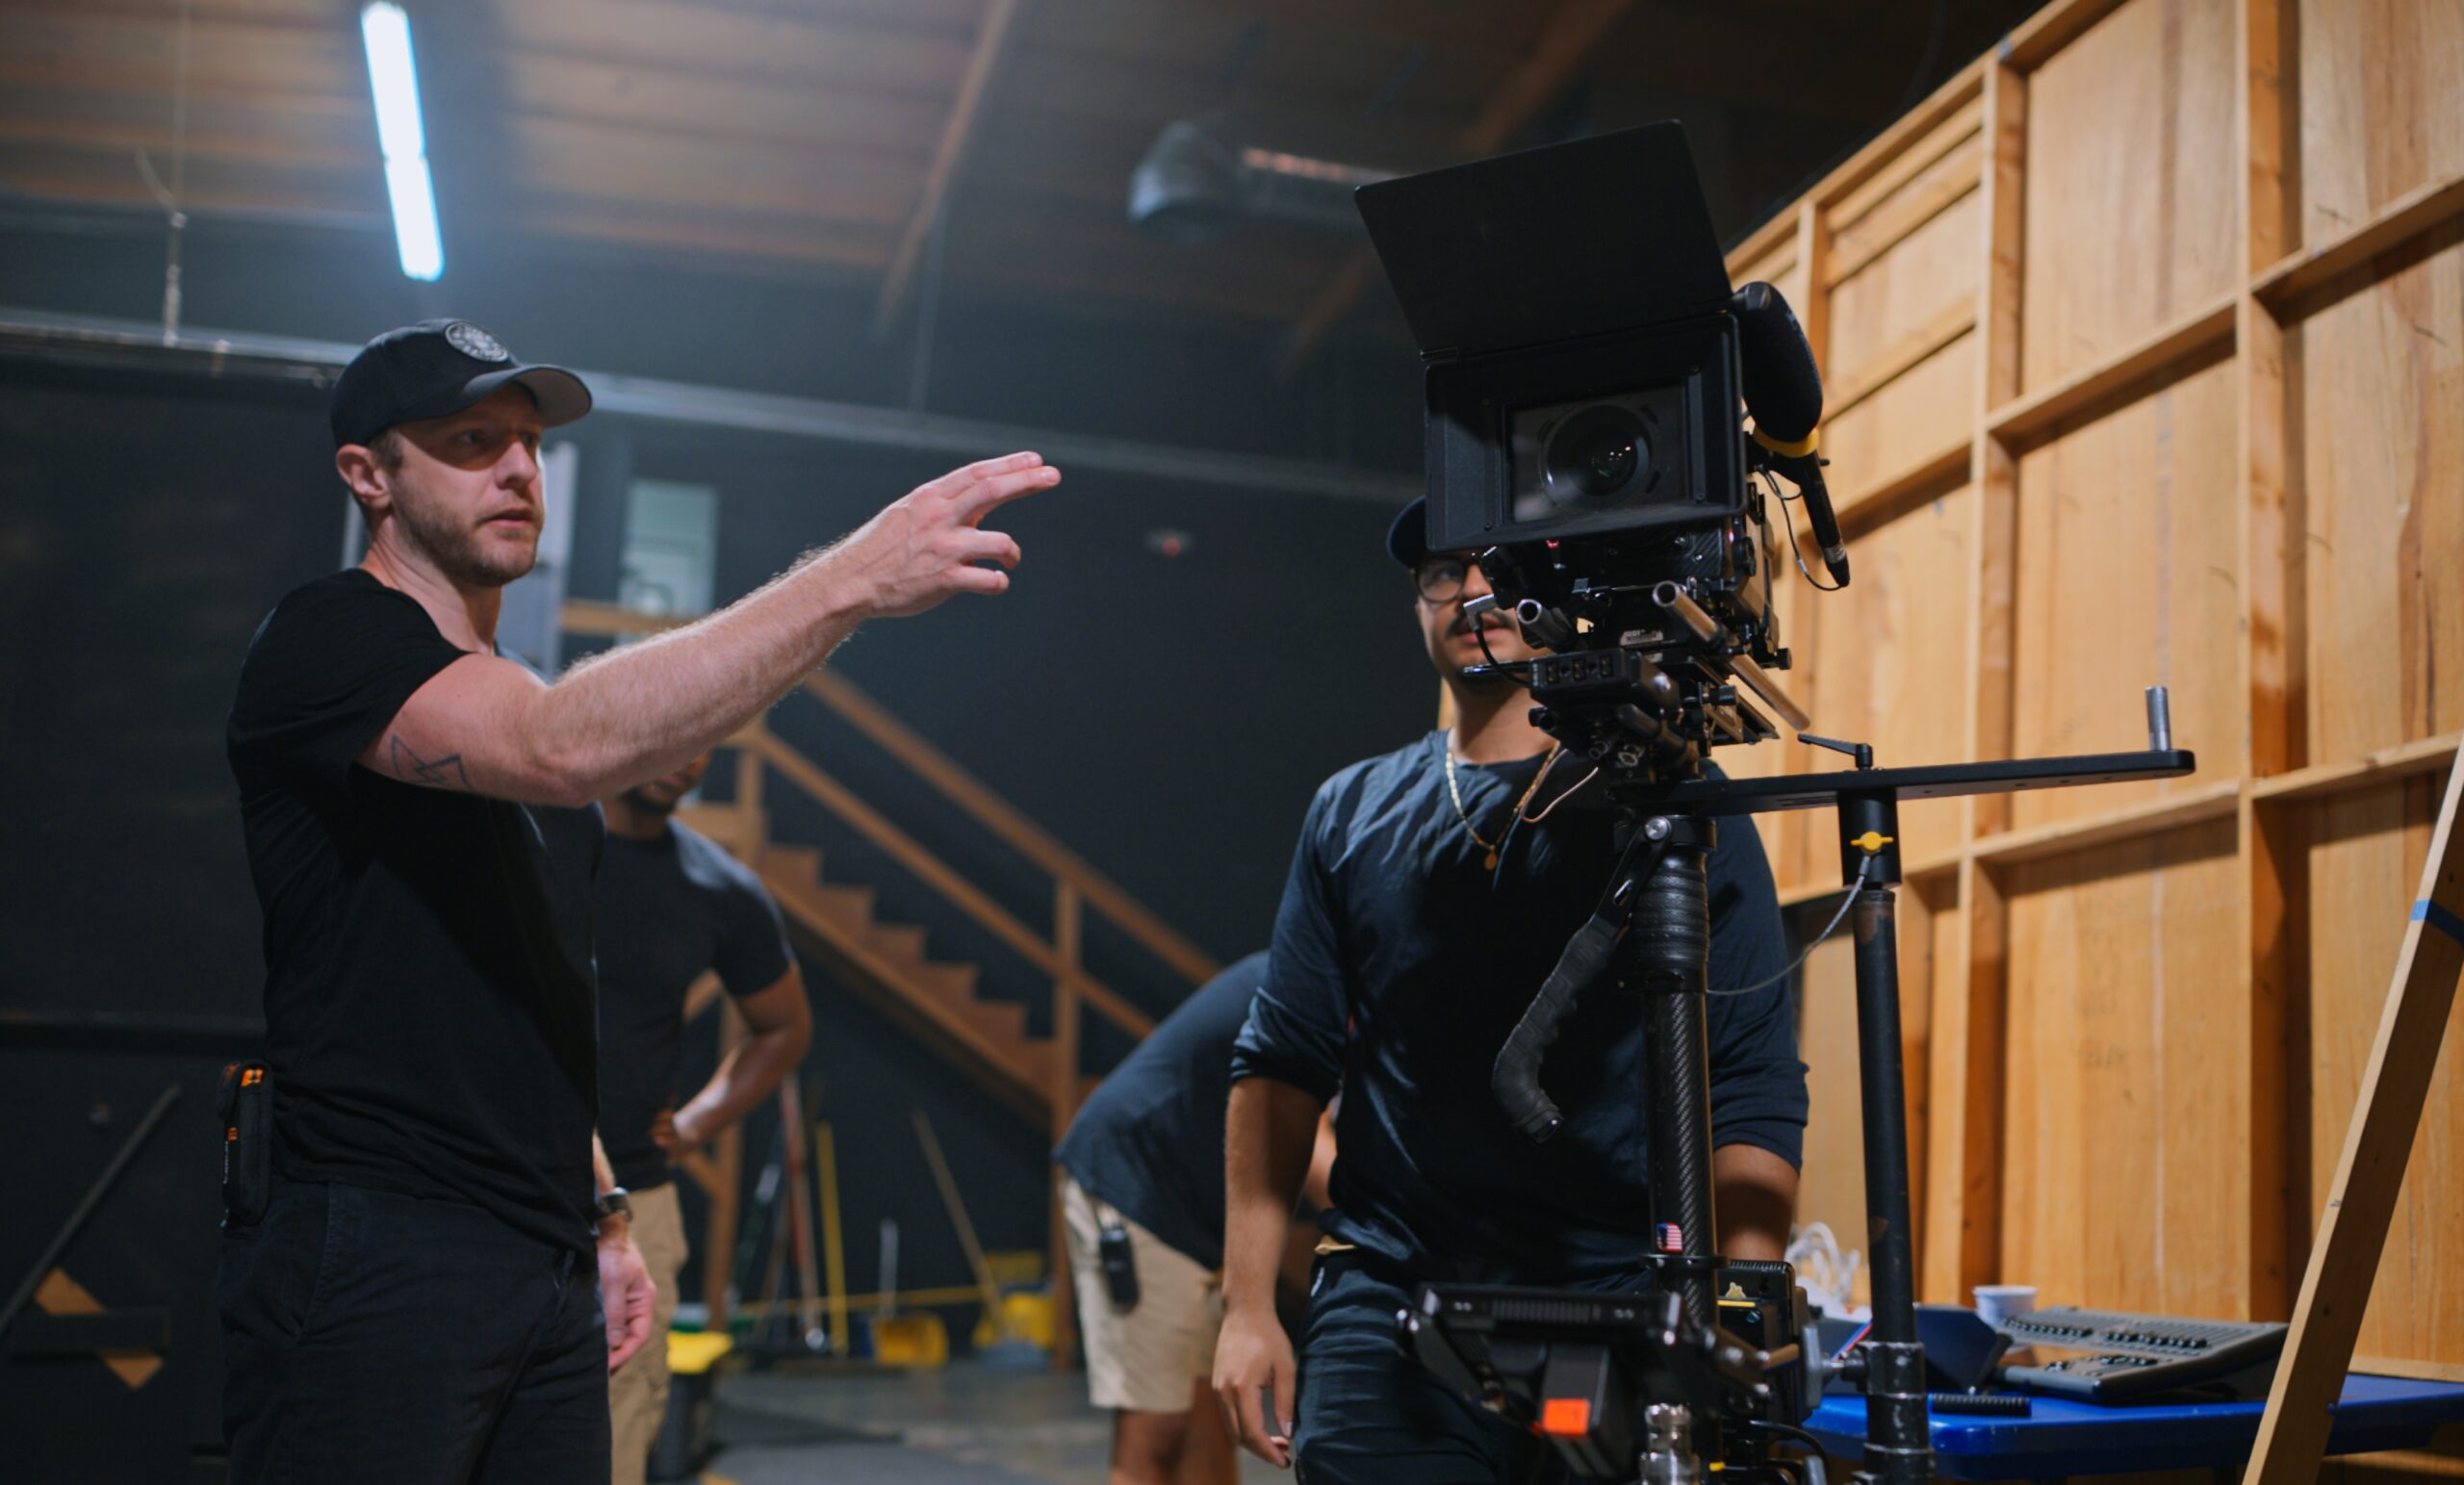
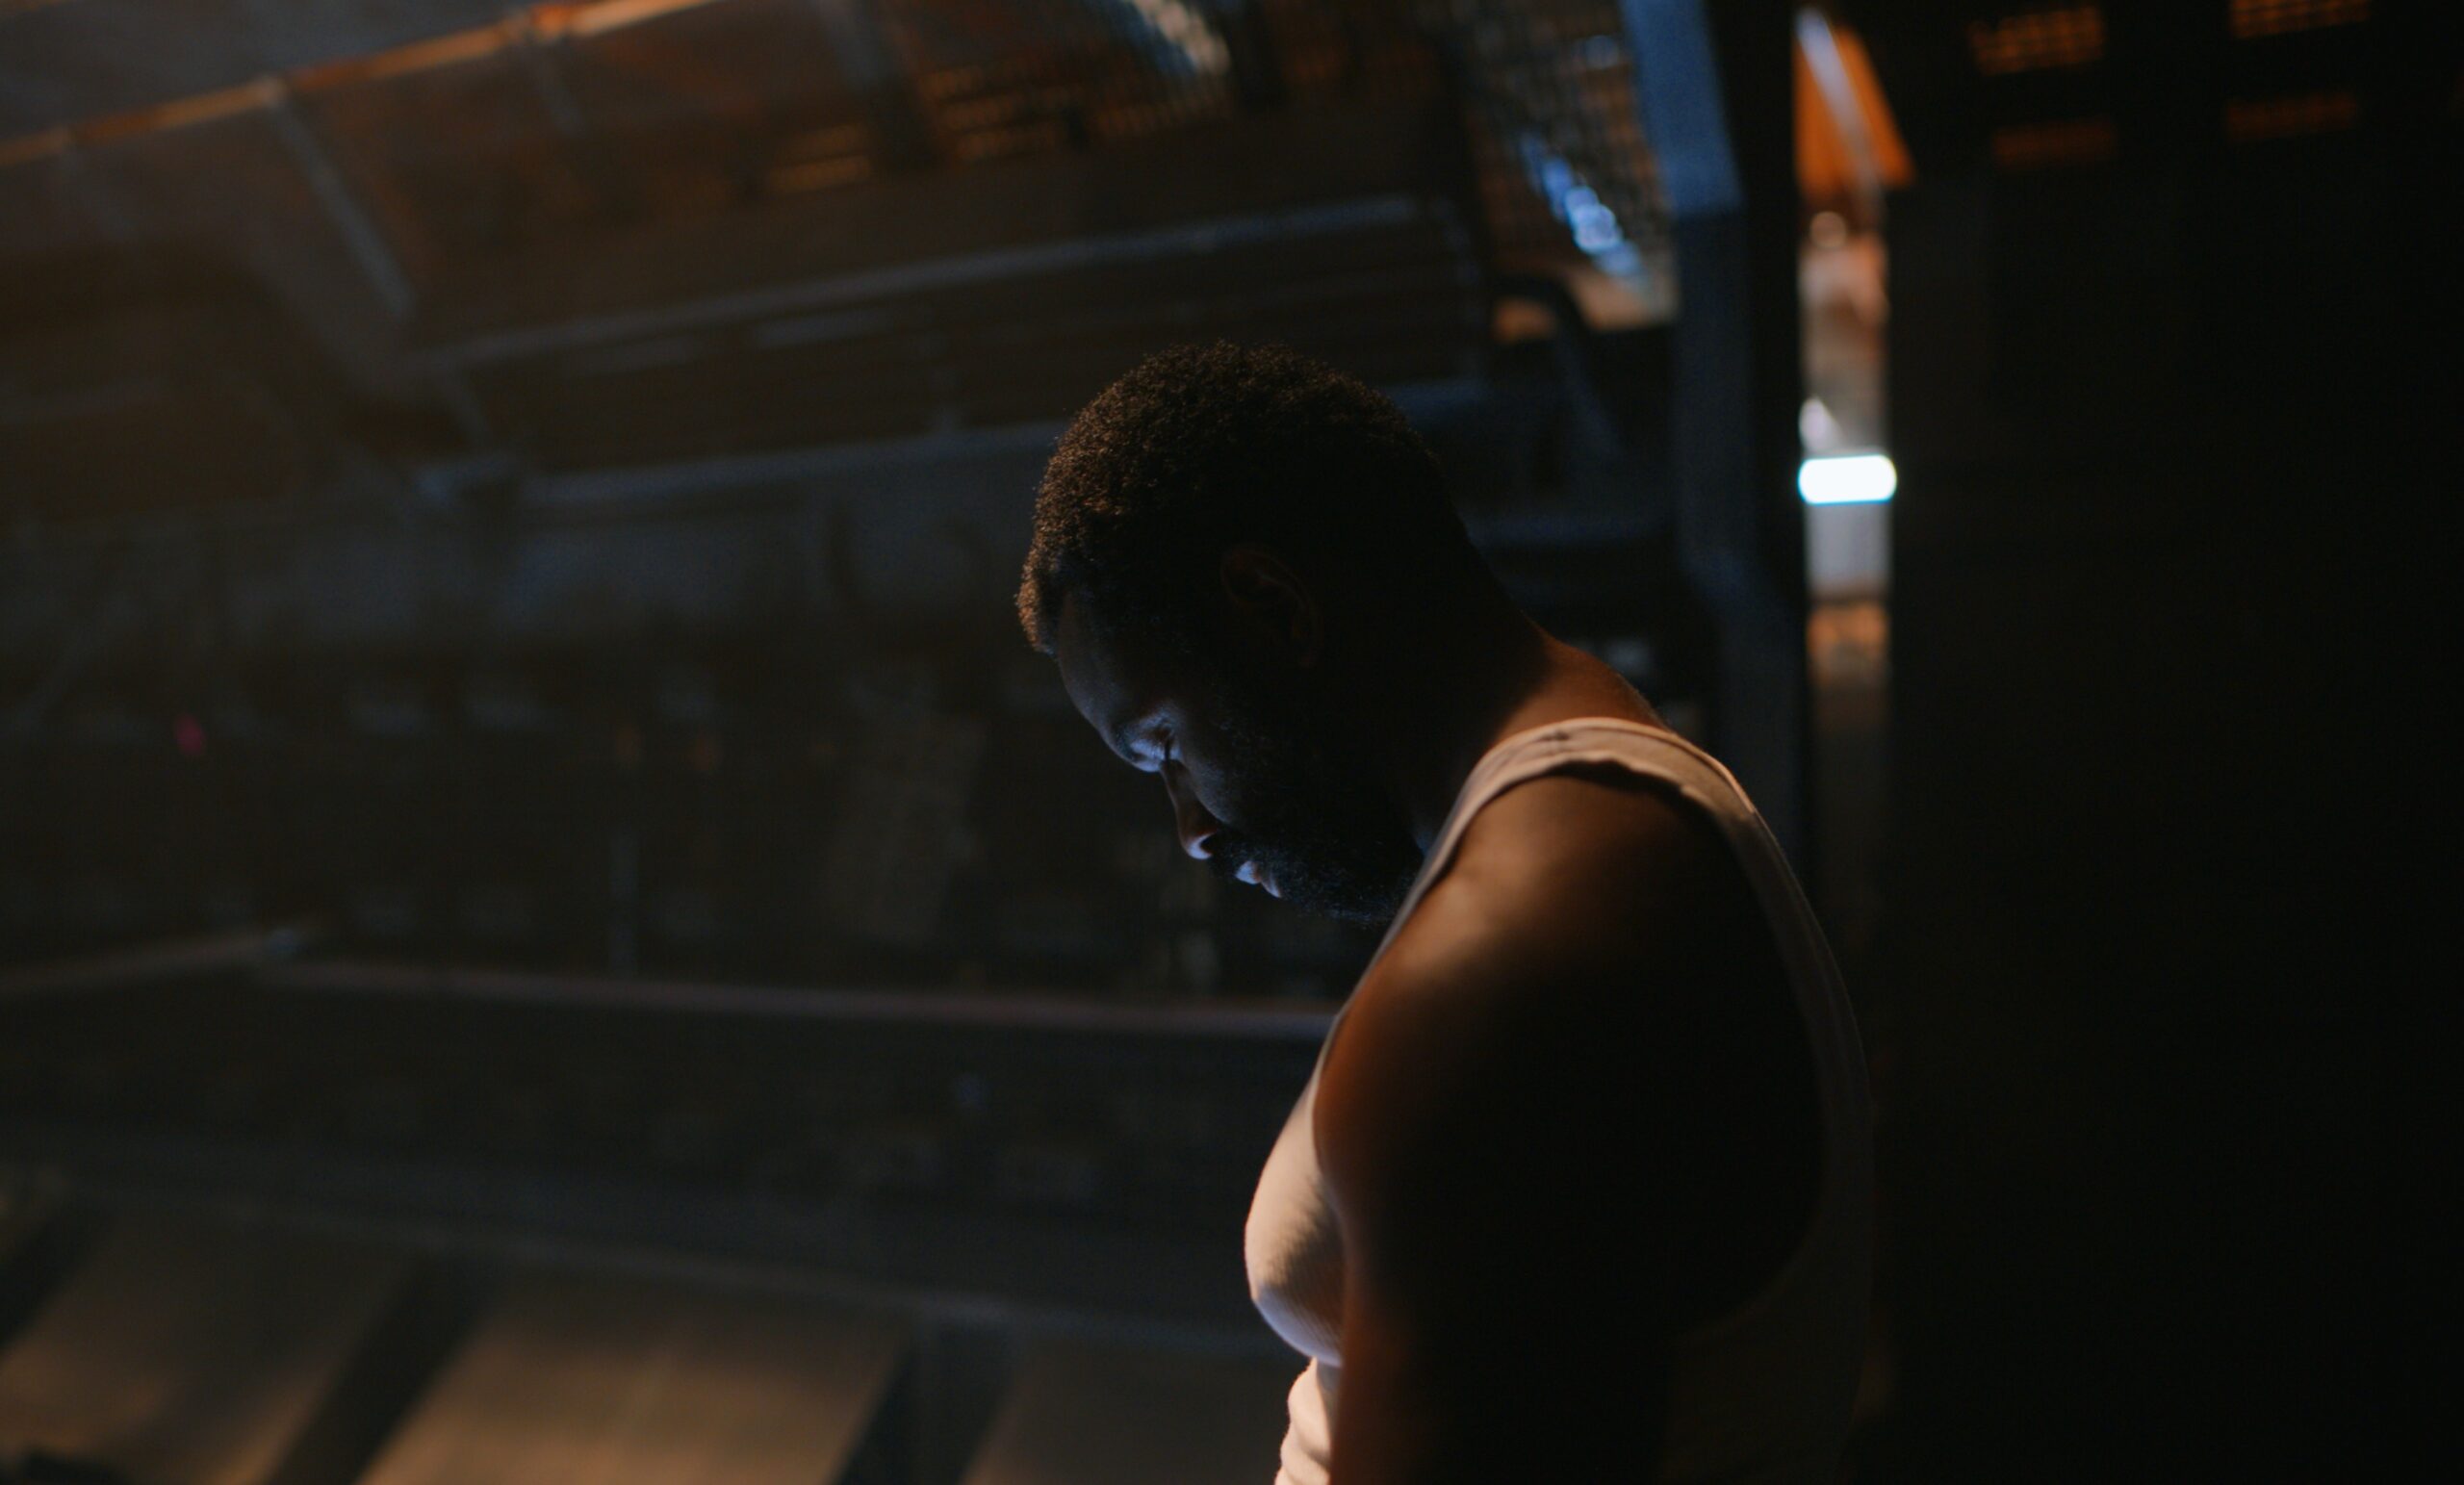
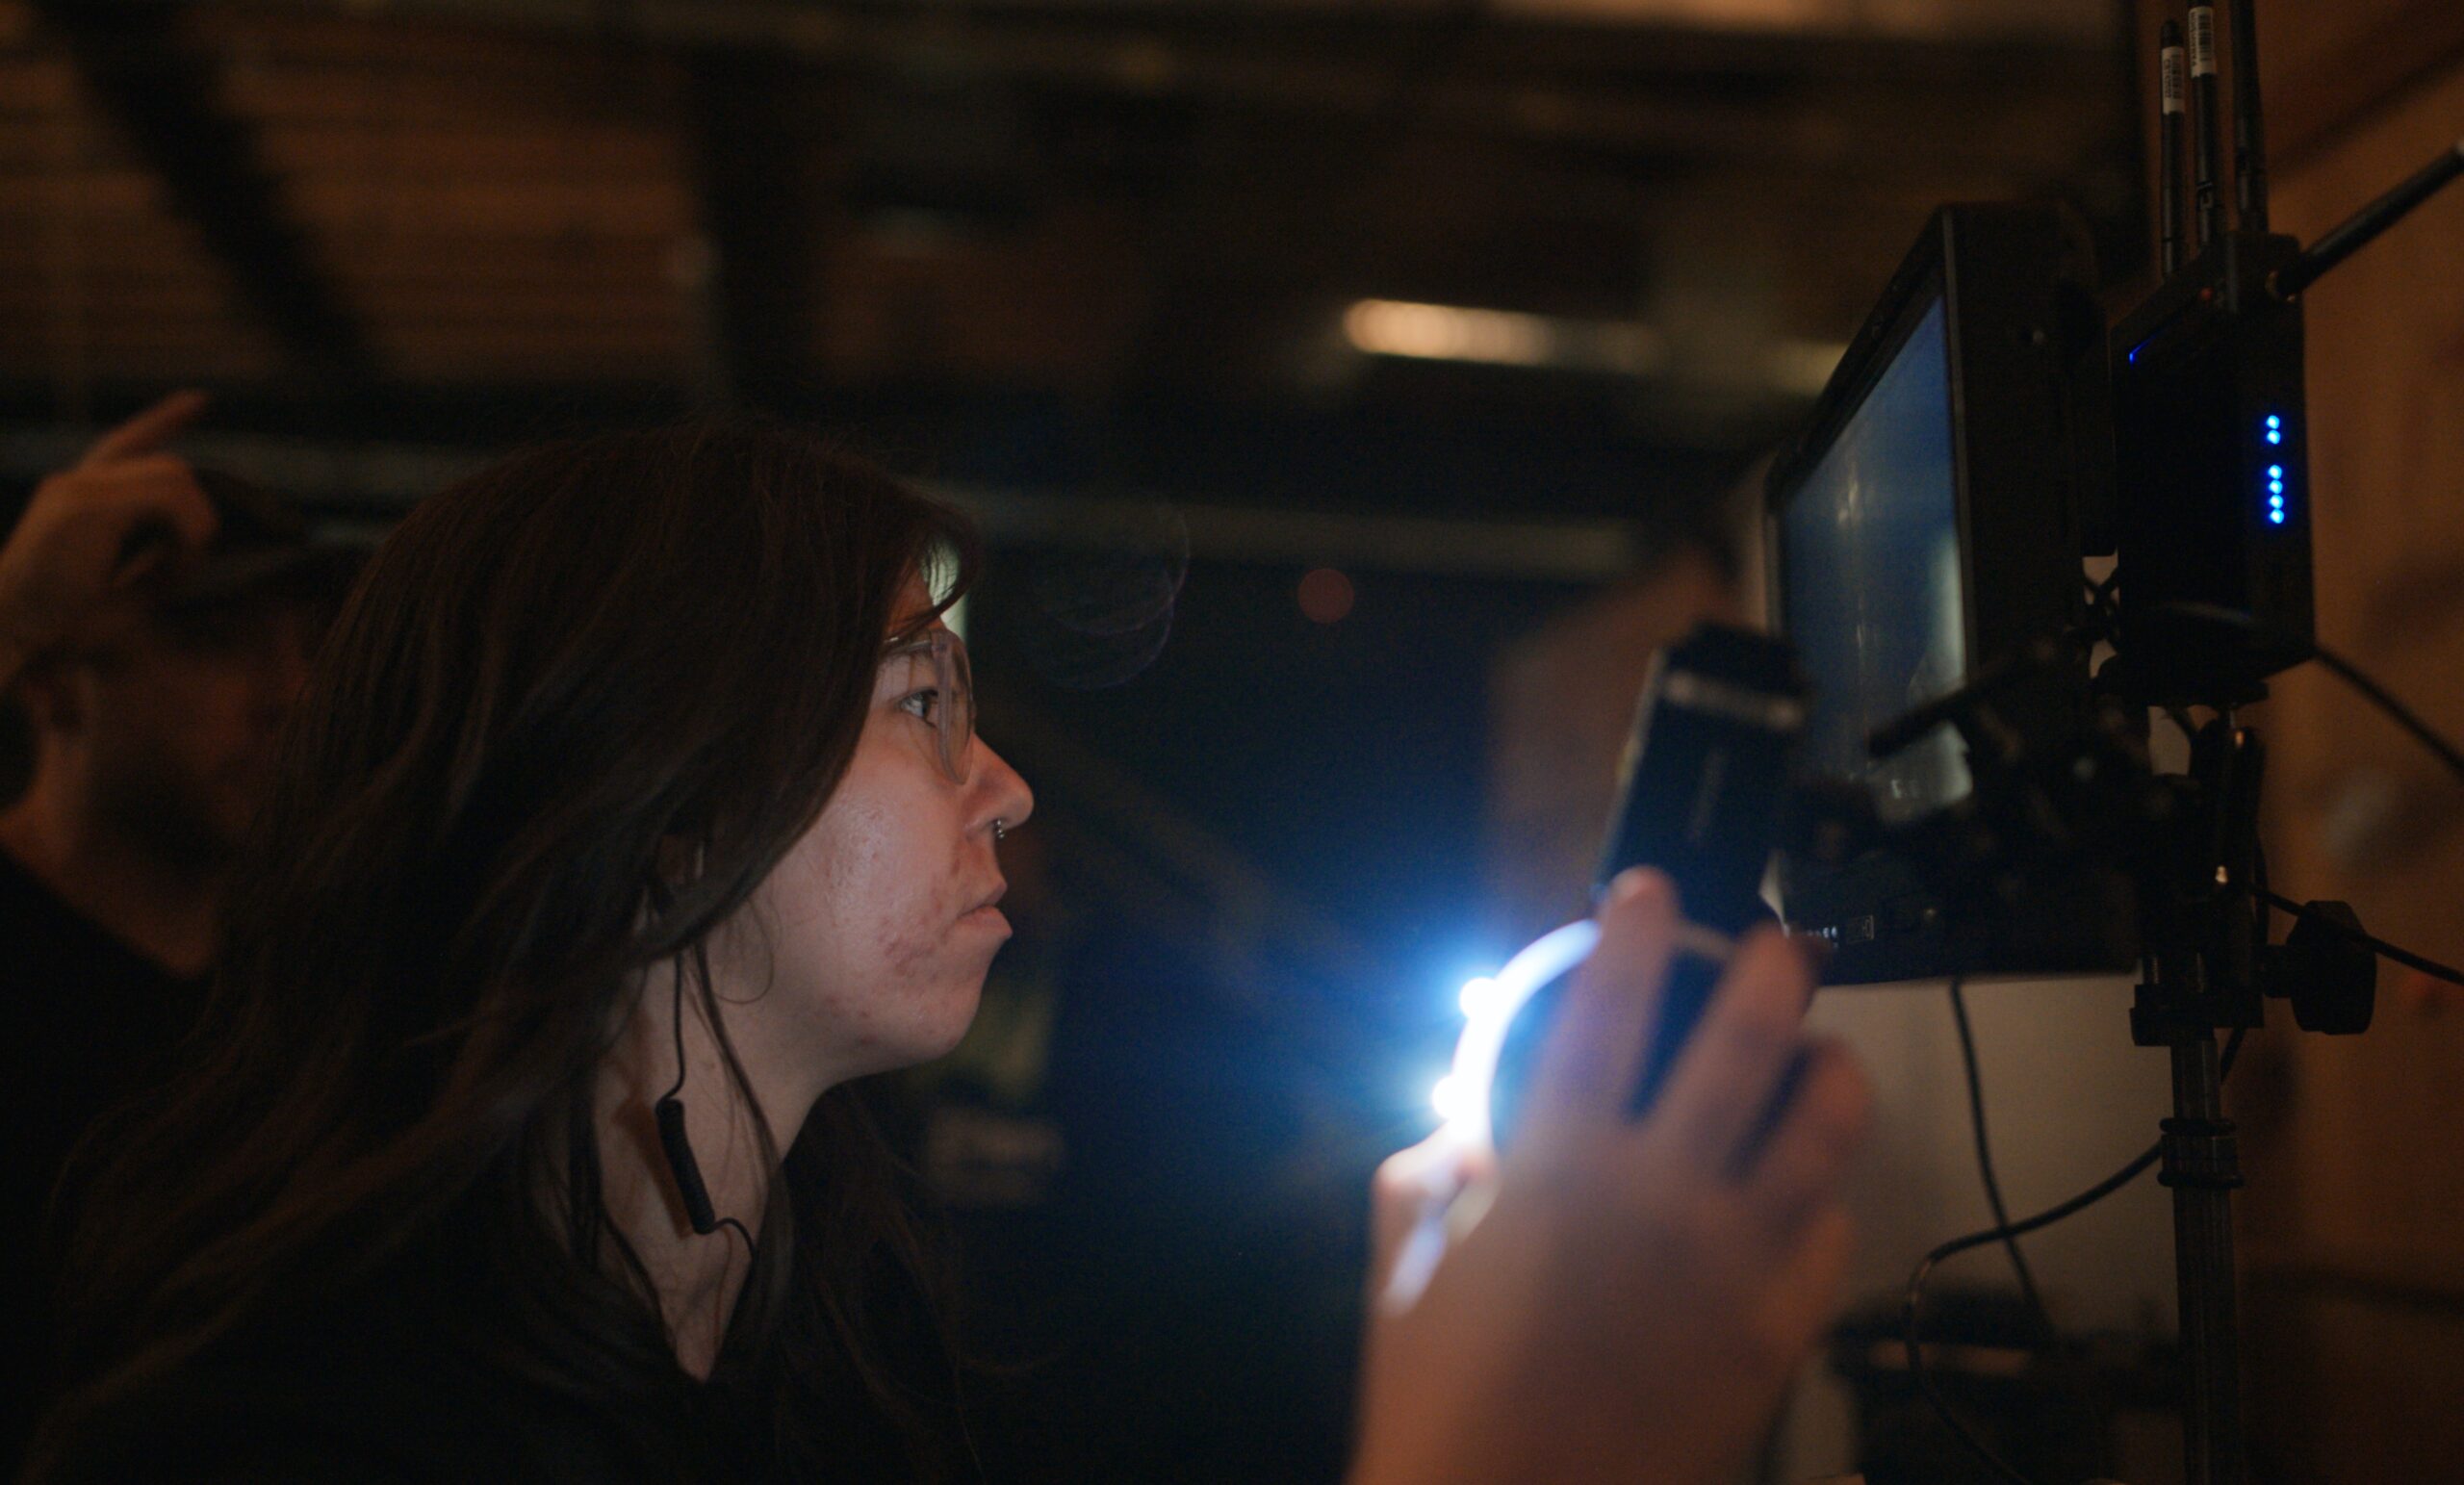
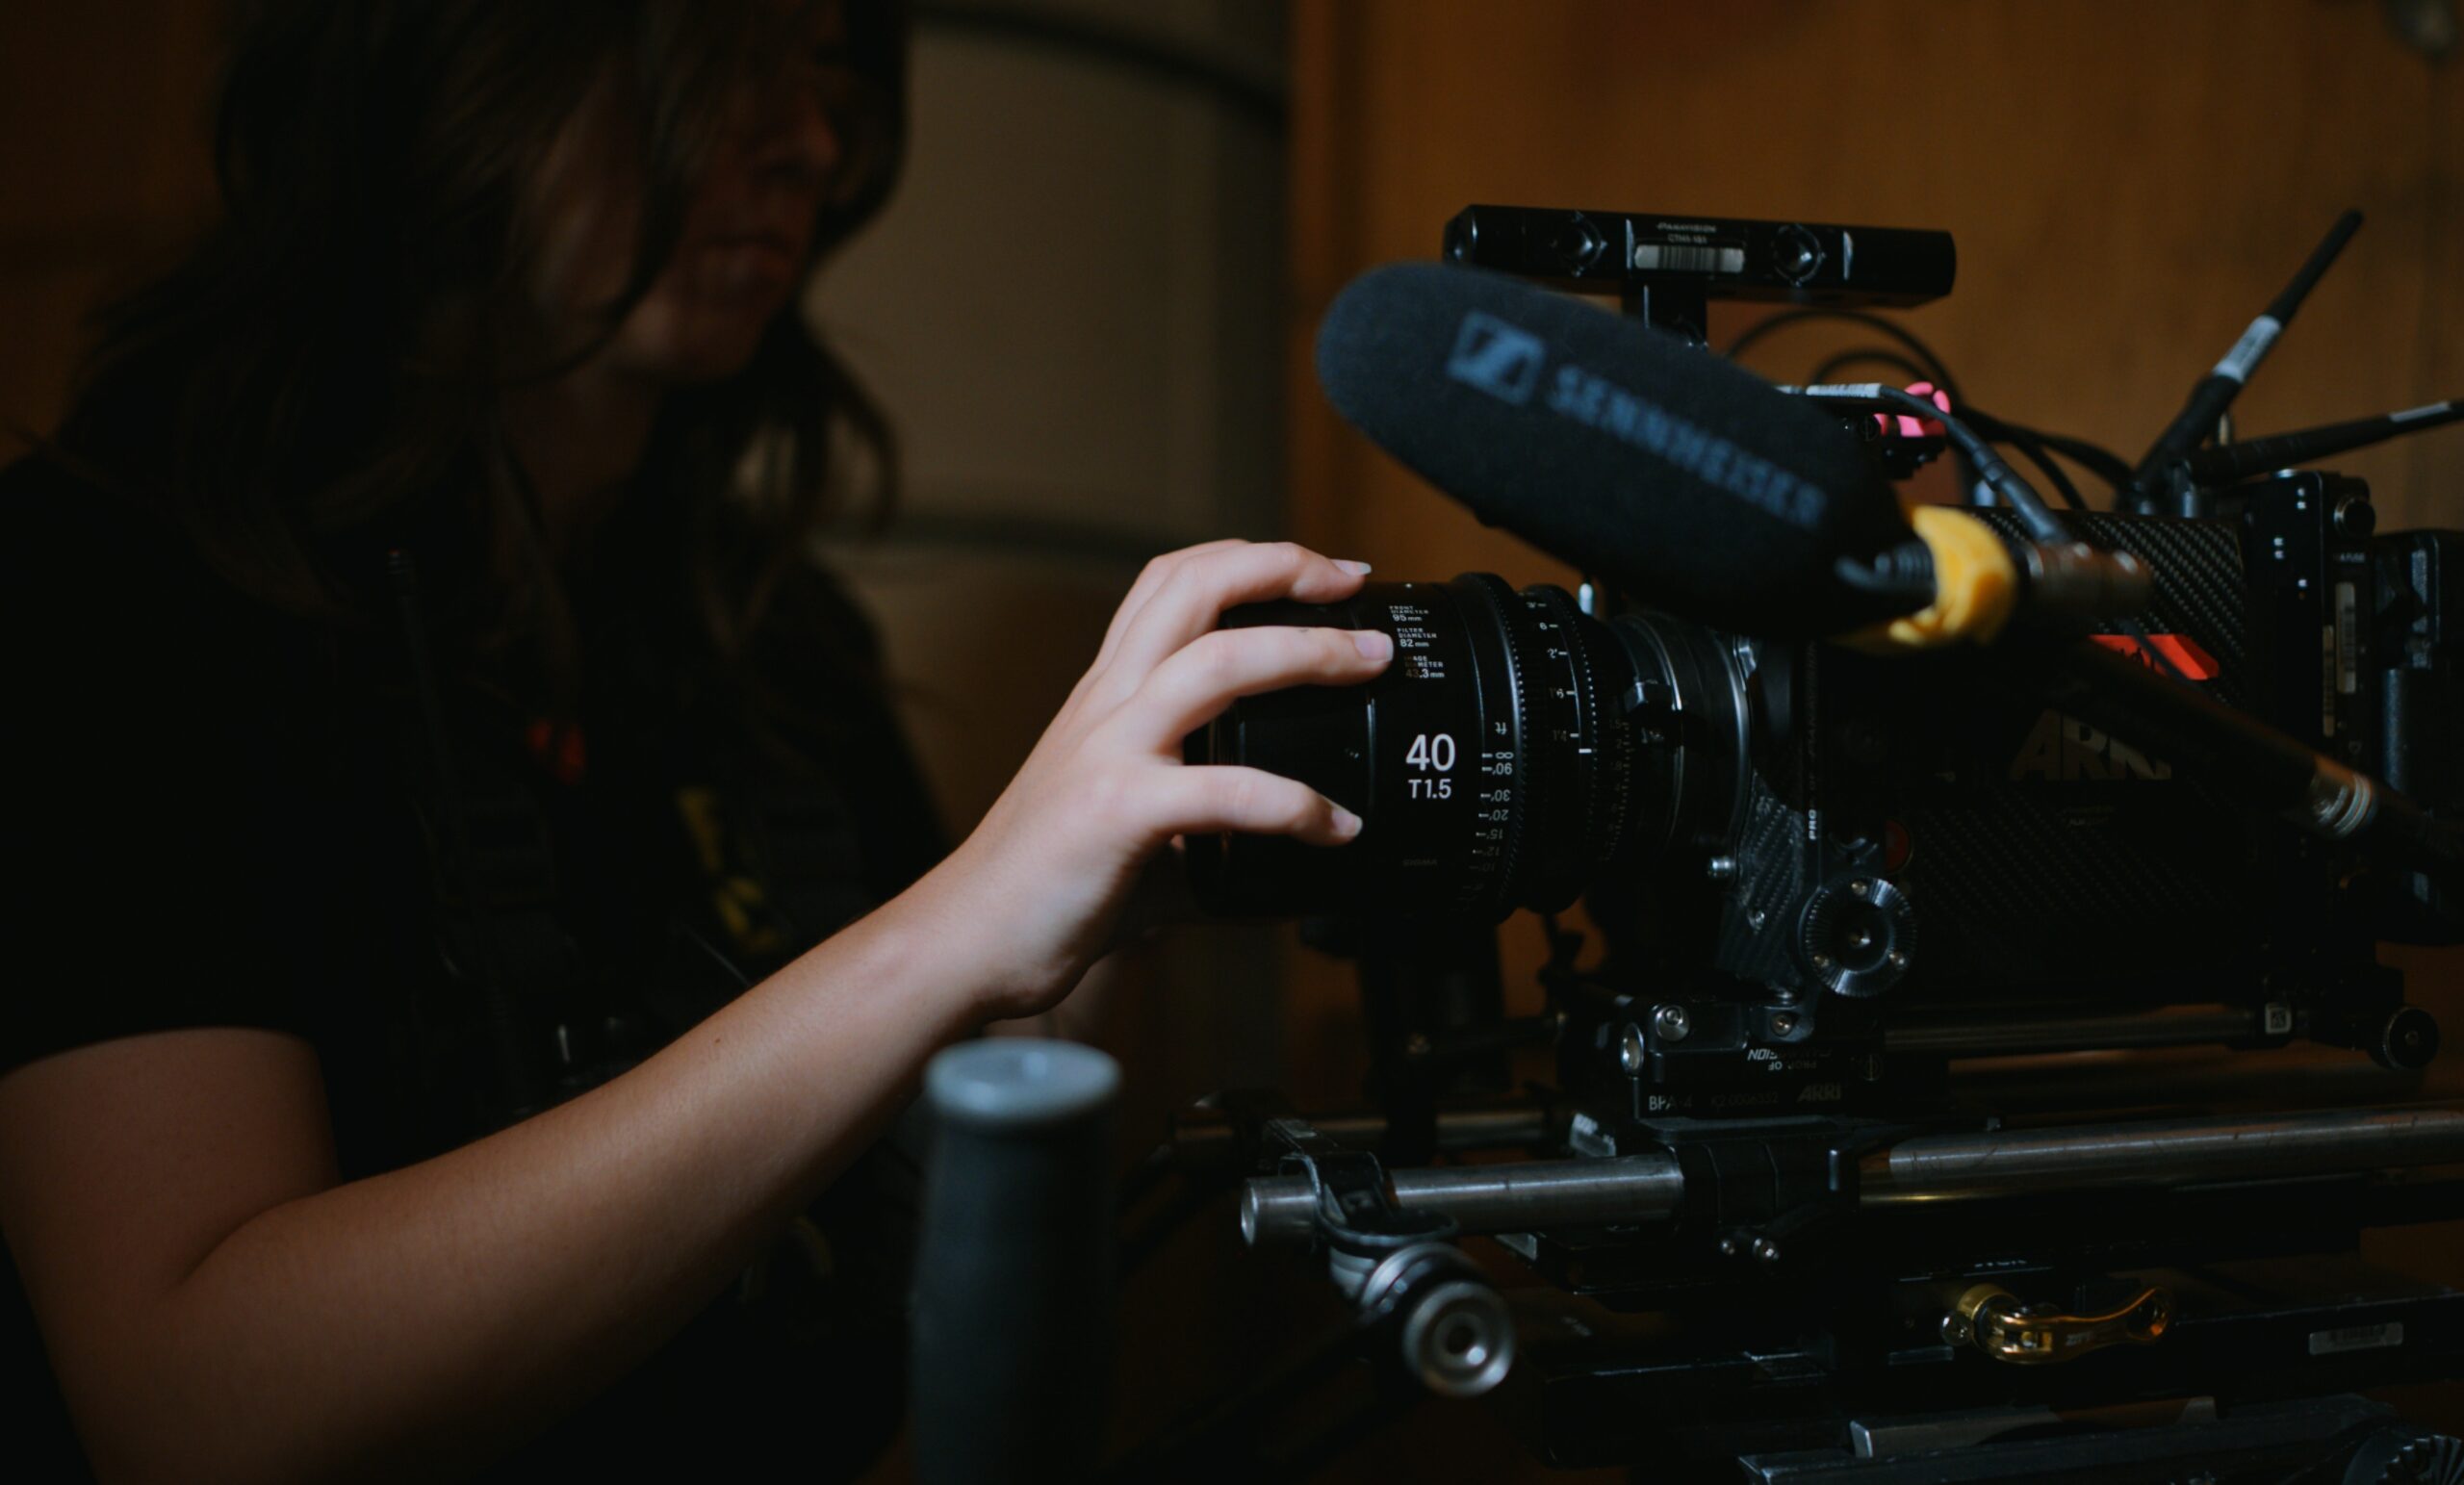
MELVILLE, NY (September 10, 2025) – Today, Nikon announced their first cinema camera made for filmmakers, the ZR. The ZR is an ultra-lightweight, full-frame camera that marks an audacious introduction to the Z Cinema series, a collection that invokes the best technologies and philosophies of both companies. Designed for emerging cinematographers and high-end content producers, the supremely capable Nikon ZR packs an unparalleled amount of professional video production features at a price that puts cinematic quality within reach for all types of filmmakers.

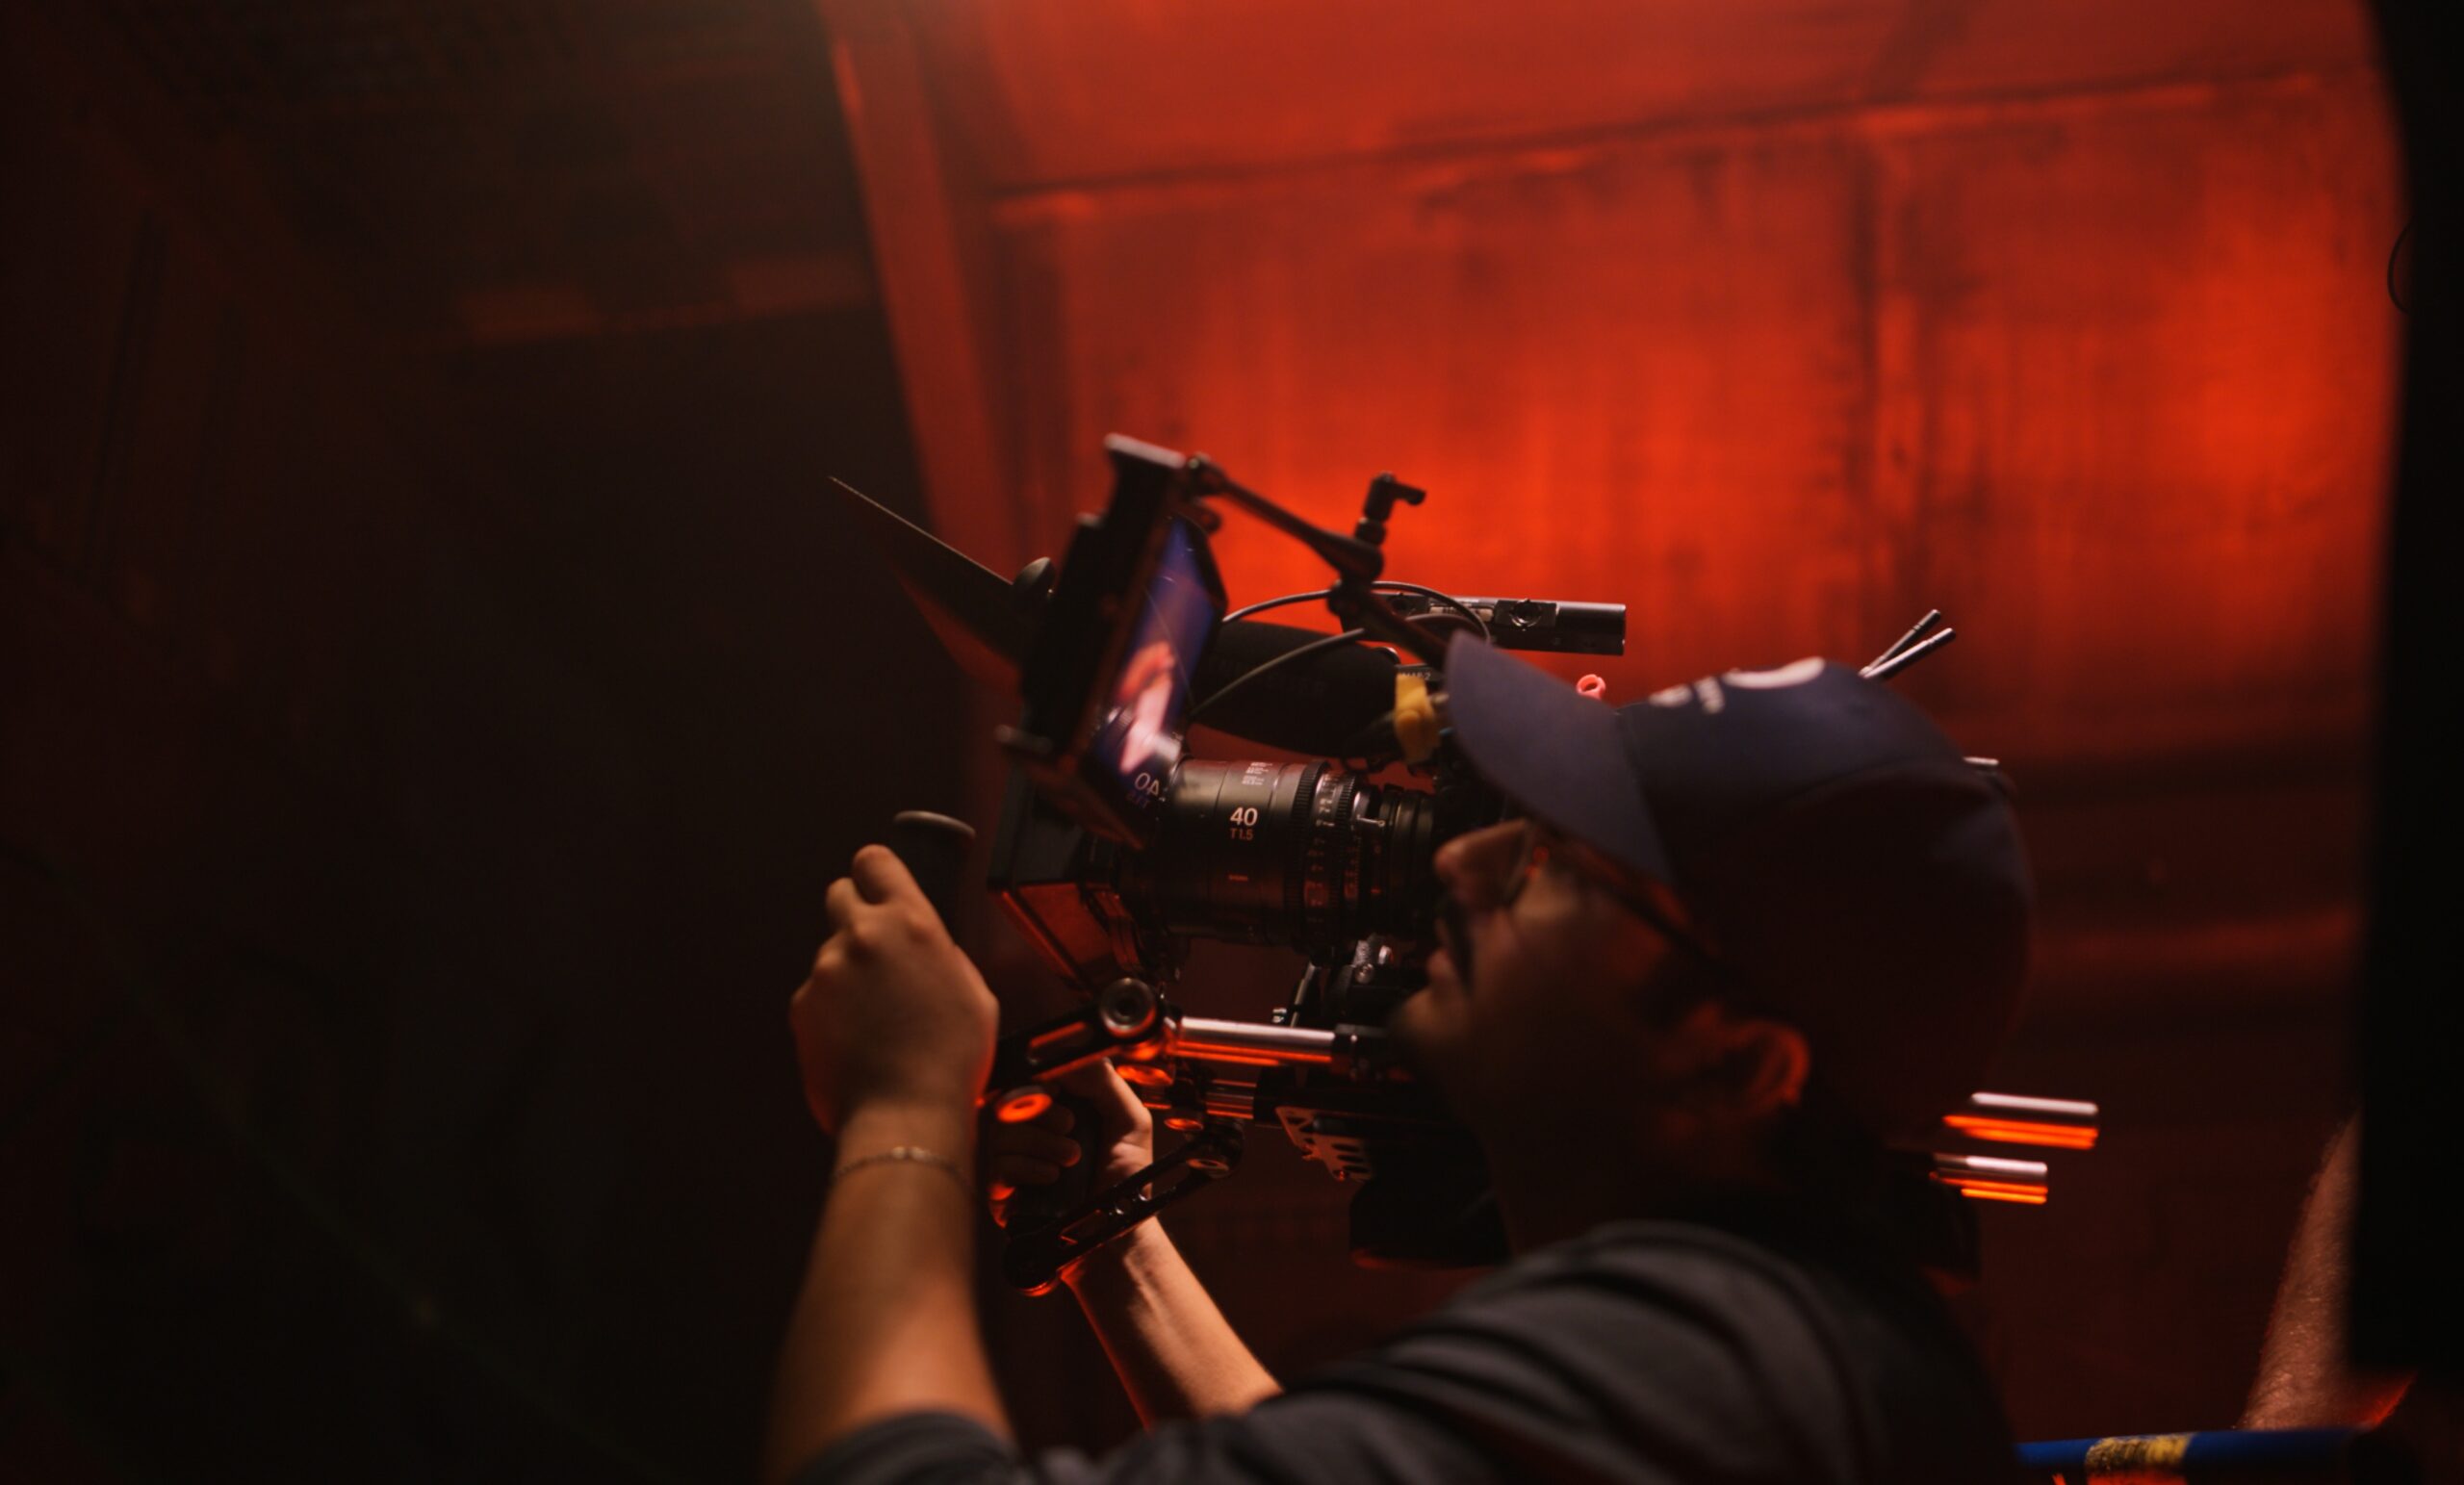
The Nikon ZR is as versatile as it is powerful, with a multitude of original and class-leading capture and workflow features never seen before in this level of camera. The new Nikon ZR can record up to 6K/60p (59.94p) and incorporates the new R3D NE1 RAW video file format with RED color science based on RED’s popular R3D RAW codec, with 15+ stops2 of dynamic range. This new codec uses color science and exposure standards of RED cameras to ensure accurate color matching, even for multi-cam shoots. The impressively huge 4 in. DCI-P3 LCD is nothing short of stunning, and bright enough to be used even in direct sunlight, while often eliminating the need for an external monitor. It also has class-leading audio capabilities such as 32-bit float audio from built-in and external microphones, plus OZO3 directional audio. The ZR also has 7.5 stops of built-in image stabilization (IBIS) and unlocks a whole new world of optical versatility, since the wide Nikon Z mount enables a large variety of lenses to be adapted using third-party lens adaptors4.
“We aren’t holding anything back – our first Nikon camera developed with RED has all the creative controls that filmmakers need, with features that have never been seen in this level of handheld cinema camera,” said Fumiko Kawabata, Sr. Vice President of Marketing and Planning, Nikon Inc. “The Nikon ZR is the camera that will challenge the established video market and will demonstrate Nikon’s commitment to advancing the tools available to video production professionals.”

Legendary RED Color Science, Built-In
The new ZR features a full-frame sensor for excellent depth of field and video quality and supports internal recording up to 12-bit RAW 6K/60p. This is the first camera to use the new 12-bit R3D NE RAW codec, a new RAW format which REDCODE RAW users will find familiar. By leveraging its broad 15+ stop dynamic range, it achieves well-balanced image quality from highlights to shadows. Support for Log3G10 and the REDWideGamutRGB gamut reproduces exposure standards and colors consistent with RED color science, with true RED color tonality, skin tone integrity and tonal roll-off – similar to the output of RED’s cinema cameras such as the V-RAPTOR [X] and KOMODO-X. Two base ISO sensitivities are available, ISO 800 and ISO 64005, allowing users to choose the best option for a particular scene or situation such as bright daylight or low-light interior scenes. However, just like REDCODE RAW, ISO in R3D NE files is fully adjustable in post for maximum flexibility.
Furthermore, users also have the option to shoot in N-RAW, ProRes RAW, and other formats to best suit their production and workflow. The camera also features a new view assist function which allows the user to store and select from up to ten LUTs in the camera. This will let the filmmaker preview the effect of the color grade in real time using the monitor. Three types of LUT data (17-point, 33-point, 65-point6) can be loaded into the camera. RED’s Creative LUT Kit is available for free via the RED website here.
The ZR features a new Cinematic video mode, a user preset for those who want to easily enjoy the RED cinematic look with a faster workflow in less data-intensive non-RAW formats. Cinematic mode automatically adjusts the shutter angle to 180 degrees, changes the frame rate to 24 fps, and applies the RED Cine Bias Picture Control for gorgeous yet simple cinematic color. What’s more, nine RED-curated cinematic Picture Controls based on RED creative LUTs will be available for free download via Nikon Imaging Cloud, expanding possibilities for more diverse imaging expression.

Incredible Audio: 32-Bit Float Audio Recording + OZO Audio Support for Built-In Mic
With uncompromising attention to audio capabilities, the ZR is the world’s first7 cinema camera to support 32-bit float audio recording with both built-in and external microphones, as well as through the 3.5mm microphone jack. This unique ability enables the recording of clear, distortion-free sound from quiet to loud, without requiring on-location gain adjustment. It supports recording a wide range of sound sources, from interviews to live concerts, with maximum audio flexibility in post. The three high-performance mics built into the camera use Nokia’s OZO Audio technology to realize cutting-edge audio recording. Filmmakers can choose from one of the five polar pickup patterns8 — [Front (Super directional)], [Front], [All directions], [Rear], and [Stereo (binaural)] — that best suits the situation, from interviews or product tutorials to immersive audio applications.
The ZR is also the first Nikon camera to feature a digital accessory shoe, which enables two-way digital communication between the camera and compatible accessories, allowing for advanced functionality such as tally lamp and microphone LED control. Additionally, the camera can supply power directly to supported accessories, eliminating the need for separate batteries or cables. The newly designed rubber shoe cover provides excellent dust and drip resistance, ensuring reliable performance in a variety of shooting environments. Going forward, Nikon will collaborate with third-party accessory manufacturers to offer a wide range of solutions that meet the diverse needs of filmmakers.

High-Performance Autofocus with Nikon’s Deep Learning-Based AI Technology
The impressive processing power of the EXPEED 7 image-processing engine installed in Nikon’s flagship camera Z9 and AI technology that utilizes deep learning, enables more accurate subject detection and tracking for optimal image processing in accordance with the subject, scene and situation. This makes capturing the intended subject with greater accuracy much easier, significantly expanding possibilities for film production. The camera also detects nine types of subjects automatically, including people, animals and vehicles. It even detects small faces occupying as little as 3% of the long side of the frame for precise focusing on distant human subjects. Users can also adjust AF speed and sensitivity to suit their creative style, enabling a slow rack for cinematic effect or fast-paced focus for action.
Designed to Thrive in any Production Environment
The ZR uses an innovative fanless design, with the entire camera body contributing to efficient heat dissipation and thermal management. This design decreases audible noise, enhances battery life and increases durability. The ZR can shoot uninterrupted recording for up to approximately 125 minutes9. Additionally, USB power delivery capability allows for long takes and worry-free shooting at events that require extended recording, such as weddings, concerts and interviews.
With its magnesium alloy chassis, the ZR inherits the same rugged durability standards of Nikon’s Z6III. This means it’s designed to handle the pressures of professional production environments—indoors or out. The body is resistant to dust, sand and moisture, thanks to careful sealing at critical points like buttons, seams and ports. It’s a tool designed for real-world filmmaking—resilient under pressure and ready to shoot on location. The controls on the ZR also reflect a new filmmaker-oriented UI, with familiar menus, a new quick menu for filmmakers, as well as customizable button placement made for a cinematographer’s most used features.

Additional Features of the Nikon ZR
- Super lightweight with small footprint at just 1.19 lb. (body only).
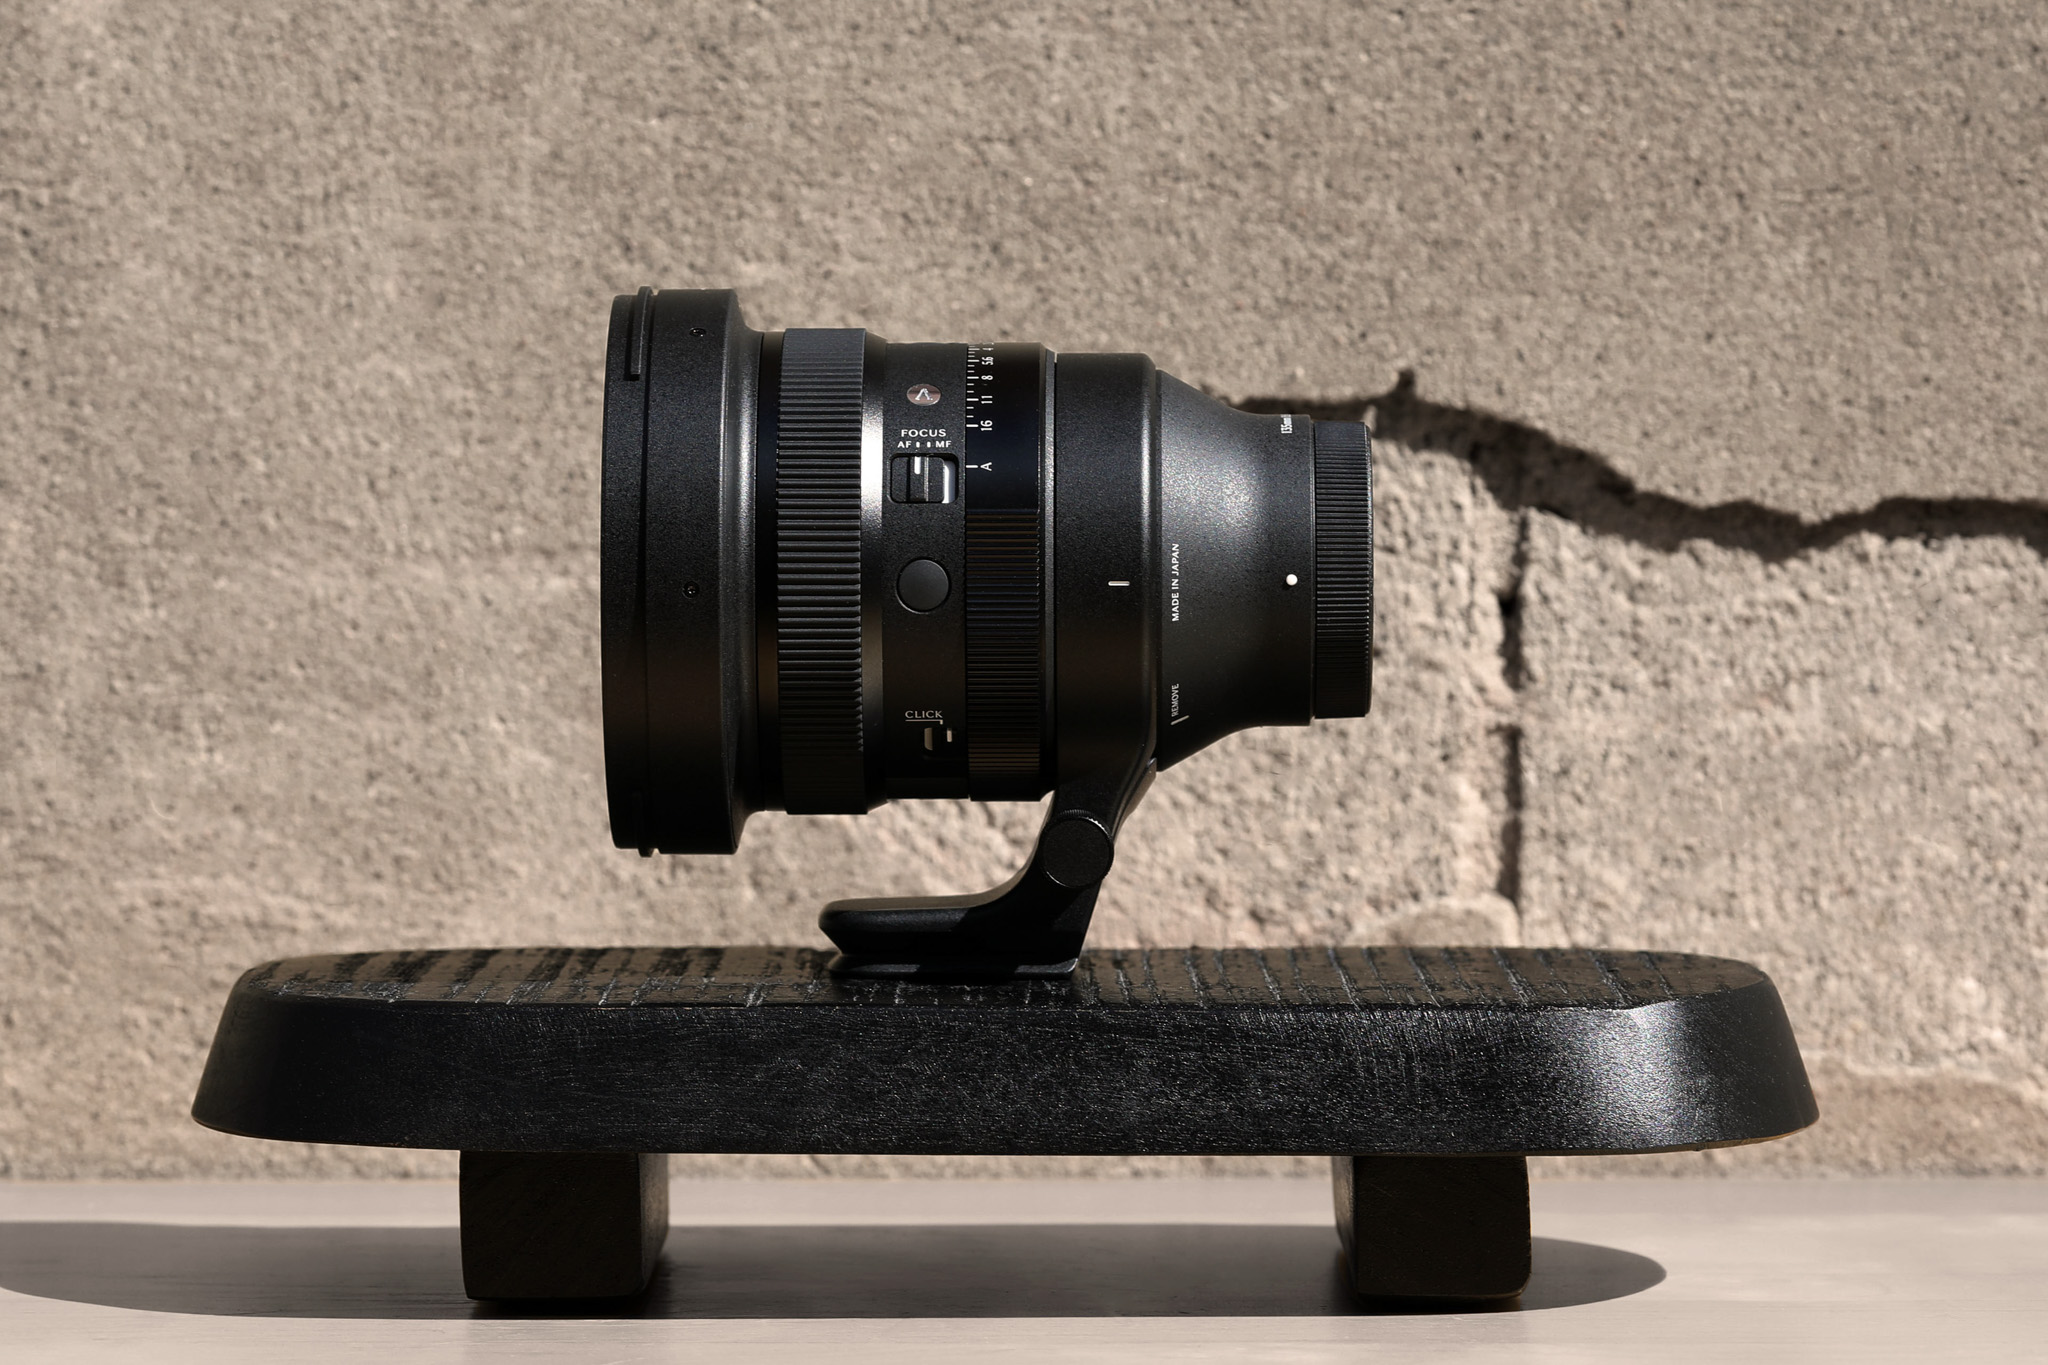
- A short 16mm flange focal distance (the shortest among full-frame cameras) offers greater flexibility in the lenses that can be used, allowing filmmakers to make the most of their existing lens assets.
- The shutter angle can be adjusted from 5.6° to 360° for video recording. Shutter speed is also available.
- The brightness of the information display (histogram/waveform monitor size, transparency and position, and zebra pattern color) can be changed.
- Automatic rotation of vertical video for social media content creation.
- A front tally light /rec lamp lets subjects know you are recording. Additionally, it receives tally control signals10 input via HDMI-CEC11 and displays the status of each camera when multiple cameras are used.
- A superior dust- and drip-resistant, durable construction expands shooting possibilities.
- Equipped with advanced still photography features inherited from the Z6III, as well as new features such as a preset for starscape photography and a new dehaze function.
- Slow-motion presets: Instant access to 4K/119.88p12 and Full HD/239.76p cinematic motion, as well as user modes for 4x and 5x slow-mo.
- It also supports Frame.io Camera to Cloud using NX MobileAir, automatically transferring video data directly to the cloud for a faster and more efficient post-shooting workflow.

RED Digital Cinema, Inc. Releases the V-RAPTOR XE
RED Digital Cinema, Inc., a subsidiary of Nikon Corporation, is pleased to announce the release13 of the new V-RAPTOR XE digital cinema camera, which was released on September 9, 2025. The newest addition to its acclaimed Z CINEMA camera lineup, this streamlined version of the revolutionary V-RAPTOR [X], curates the essential tools for cinematic storytelling. Designed for independent creators who demand uncompromising image quality, the V-RAPTOR XE delivers large-format, cinema-grade features at a more accessible price point. The new camera retains RED’s industry-leading 8K large format (VV) global shutter sensor found in the V-RAPTOR [X] series, ensuring cinematic image fidelity, dynamic range, and low-light performance that filmmakers trust. Nikon and RED will meet a wide range of needs in film production with an extensive lineup of cinema-oriented products under the Z CINEMA series.
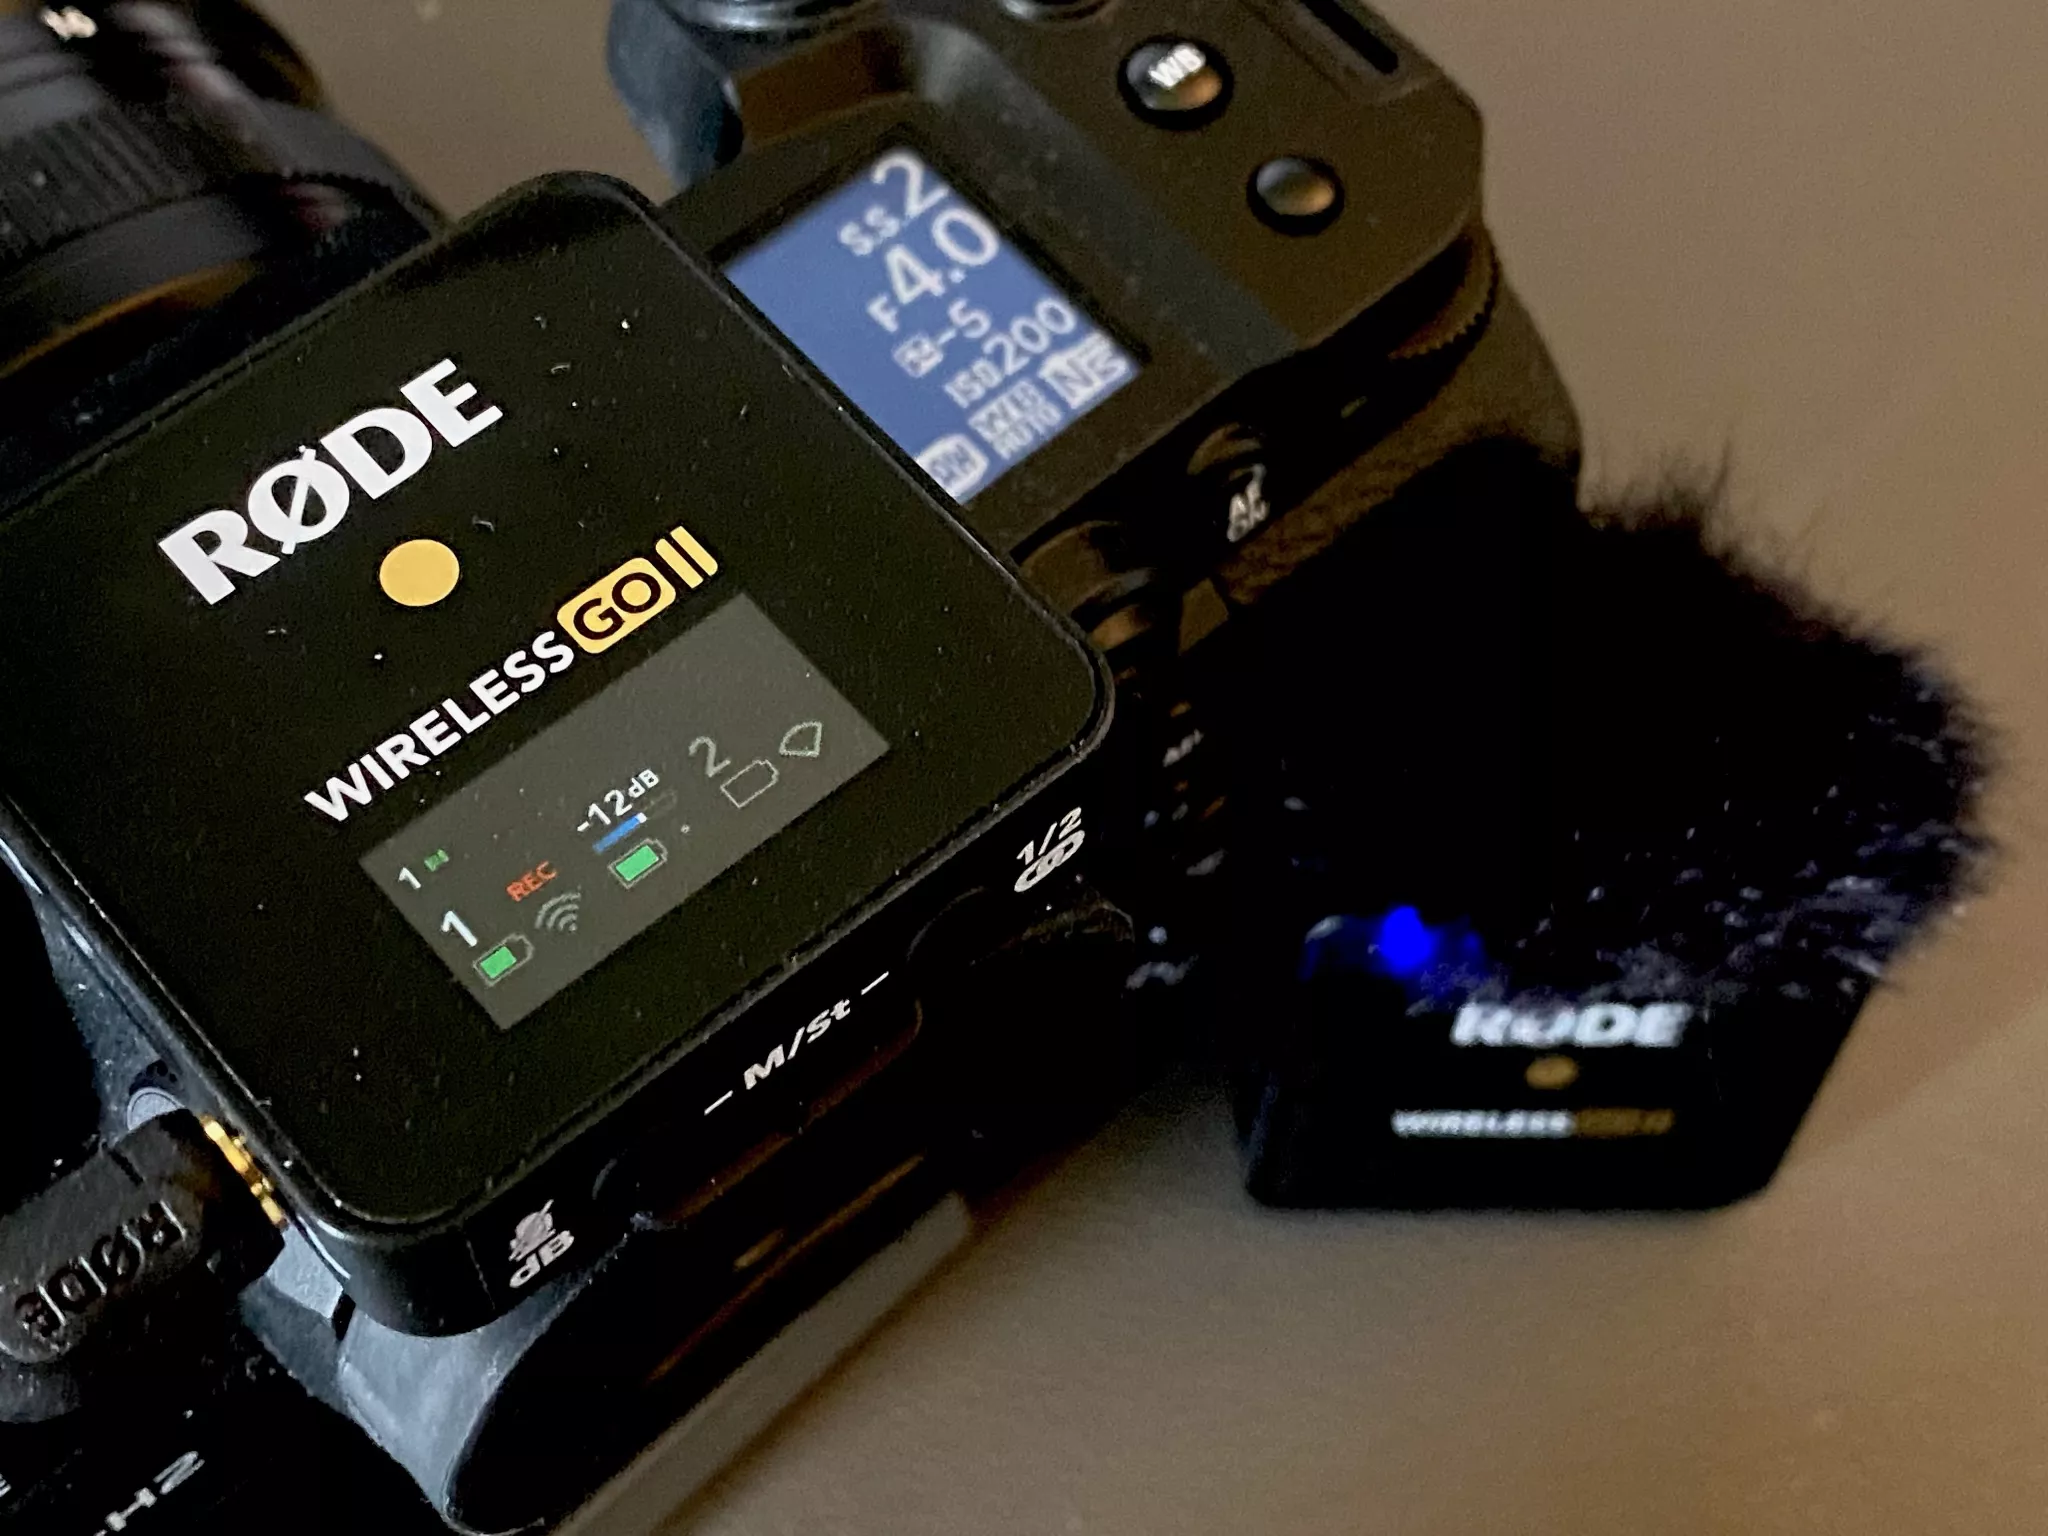
New ME-D10 Shotgun Microphone
The ME-D10 is a 32-bit float shotgun microphone compatible with the new digital accessory shoe developed for the ZR. It requires no battery or cable and has built-in shock mounts to minimize any interference. It offers two recording modes, PURE and FOCUS, which can be selected with a switch on the microphone. PURE mode features a wide dynamic range and a sound design true to the original source, allowing natural and accurate capture of raw audio, including the ambient atmosphere. FOCUS Mode accurately captures the intended voice, even in noisy surroundings such as those outdoors, ensuring clear audio for product presentations and live streams.

Price and Availability
The new Nikon ZR Cinema Camera will be available in late October 2025 for a suggested retail price of $2,199.95* for the body only. Additional kit configurations include: the body with the NIKKOR Z 50mm f/1.8 lens for $2,749.95*, with the NIKKOR Z 35mm f/1.4 for $2,849.95*, or with the NIKKOR Z 24-50mm f/4-6.3 for $2,499.95*. The ME-D10 shotgun microphone, also scheduled for release in late October, has a suggested retail price of $339.95*.
For more information about the latest Nikon products, including the vast collection of NIKKOR Z lenses and the entire line of Z series cameras, please visit nikonusa.com.
Specifications, equipment, and release dates are subject to change without any notice or obligation on the part of the manufacturer.
1. A dedicated codec developed for Nikon cameras to record video in R3D format. The file extension is “.R3D”.
2. Value based on measurement performed by Nikon
3. OZO is a registered trademark of Nokia Technologies Oy.
4. Certain features may be unavailable when other brands’ lens adapters are used.
5. With R3D NE recording.
6. With recording at video frame rates of 23.976p, 25p, 29.97p, 50p, and 59.94p.
7. Among cameras with interchangeable lenses that record audio via the built-in microphone and 3.5-mm stereo mini-pin jack.
8. Available when recording with H.264 or H.265 at 59.94p or lower.
9. R3D NE 6K/59.94p: [Auto temperature cutout]: [High], at 25°C/77°F, using portable battery or other external power source.
10. Supports Cerevo tally lamps.
11. Up to six cameras can be connected.
12. In DX crop mode
13. The V-RAPTOR XE will be available from RED Digital Cinema, Inc. and RED authorized dealers. Visit RED’s official website for product details, as well as for information on release dates and sales regions.
*SRP (Suggested Retail Price) listed only as a suggestion. Actual prices are set by dealers and are subject to change at any time.