نویسنده: AliBina

  • Godox Has Announced Ultra Compact Affordable Flash – The New iT20/iT22

    Godox Has Announced Ultra Compact Affordable Flash – The New iT20/iT22


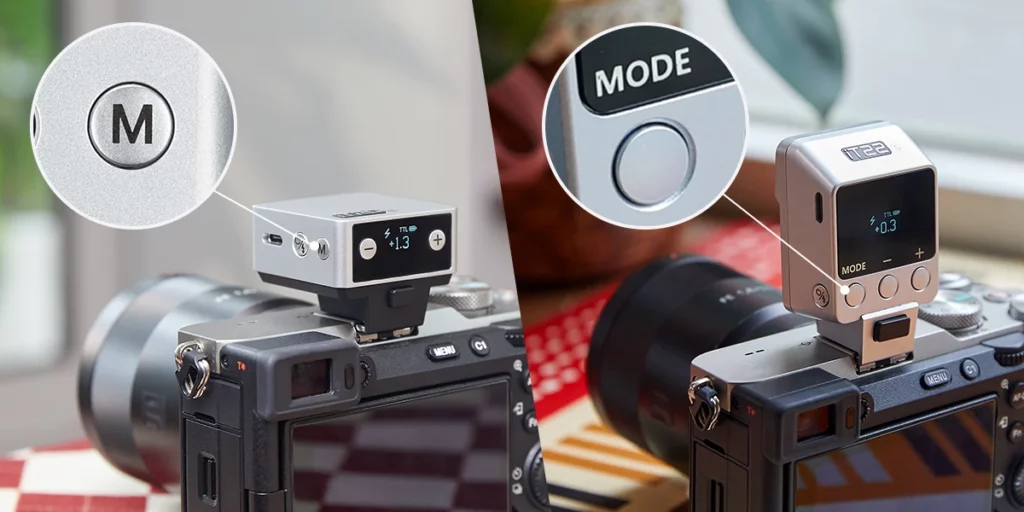
    Godox, a company popularly known for photography lighting equipment, has recently released a couple of mini TTL flashes – the Godox iT20 and iT22, that are ultra compact and will easily fit into your pocket. These camera flashes are perfect for both indoor and outdoor photography use, and come with magnetic accessories for quick switching between light effects.

    Image via Godox

    The mini flashes are almost identical with the iT20 slightly smaller than the iT22 and come in an ultra compact design and weigh only 45g (iT20) and 52g (iT22), which means they can be carried in your pocket, ready to be grabbed and used when needed. There is a dedicated button that allows the user to toggle between manual and TTL modes. Real time settings are displayed, so one can view them for any adjustments required.

    Image via Godox

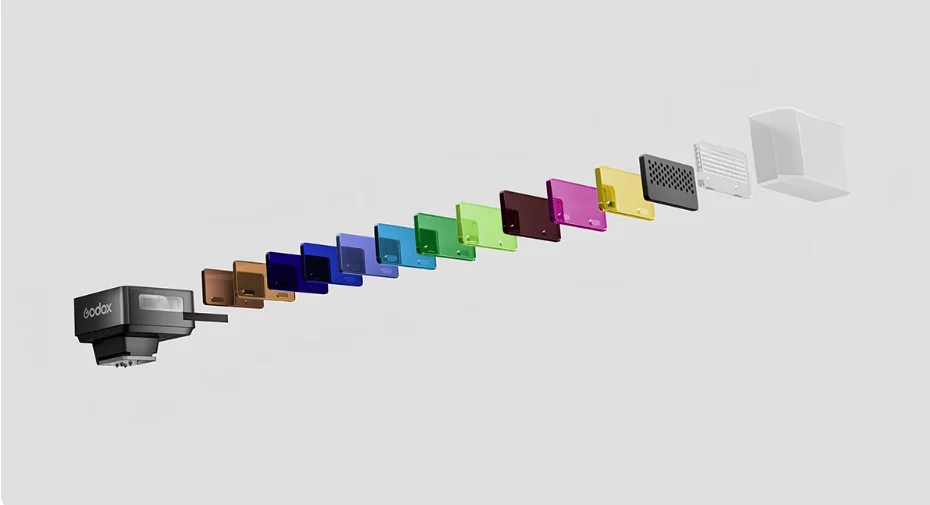
    The accessories that come with the flash like the light spreader or diffuser and two color filters, are all magnetic, so they can be easily snapped on to the flash when required. There are also other optional accessories that can be purchased, like diffuser, gels and honeycomb grids which are magnetic. These accessories help with capturing creative and atmospheric effects in your photograph.

    Image via Godox

    The flash intensity can be adjusted across 6 stops in steps of 1/3. The recycling time for the flashes is 1.5s at full power and a single charge lasts more than 700 flashes. The built-in lithium battery can be charged quickly (approximately 1h 10mins) with a USB-C cable.

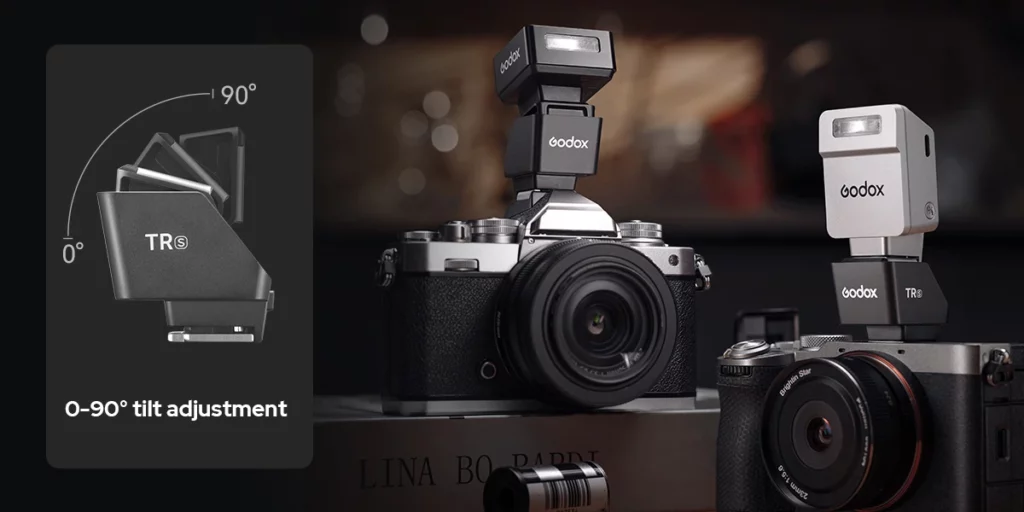
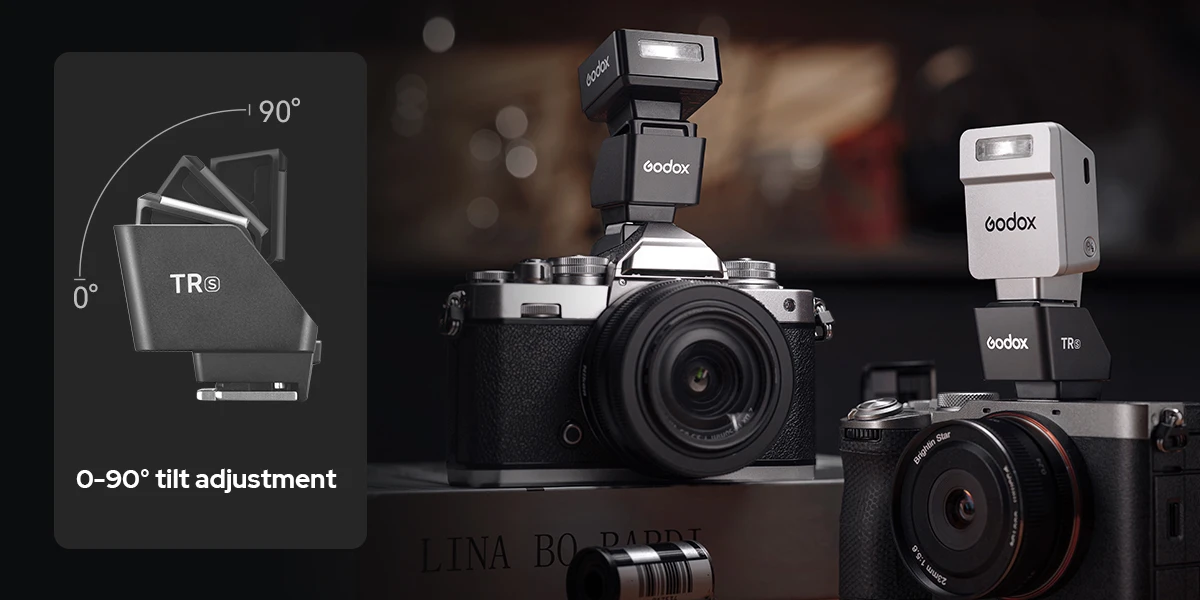
    Another optional accessory is the “Hot Shoe Riser” that helps to lift the flash by 30mm, so it has clear spread of light without blockage, when using wide angle or long lenses. There is also a 0 – 90 degrees tilt adjustment that helps to bounce light off the flash when required.

    The flash is compatible with Canon E-TTL II, Nikon i-TTL, Sony, Fujifilm, OM System and Panasonic TTL systems, supporting both auto flash and High-Speed sync functions. More details about the flash can be found here.

    The flash is available to pre-order and costs less than $50.00. We have more news for you to read if you are interested at this link here.


    Source link

  • Megumi Bacher – A Photo Editor


    The Art of the Personal Project is a crucial element to let potential buyers see how you think creatively on your own.  I am drawn to personal projects that have an interesting vision or that show something I have never seen before.  In this thread, I’ll include a link to each personal project with the artist statement so you can see more of the project. Please note: This thread is not affiliated with any company; I’m just featuring projects that I find.  Please DO NOT send me your work.  I do not take submissions.


    Today’s featured artist:   Megumi Bacher

    THE ART OF IN-BETWEEN

    PORTRAITS OF BICULTURAL KIDS AND THEIR IDENTITIES

    A Celebration of Children with Japanese-American Roots

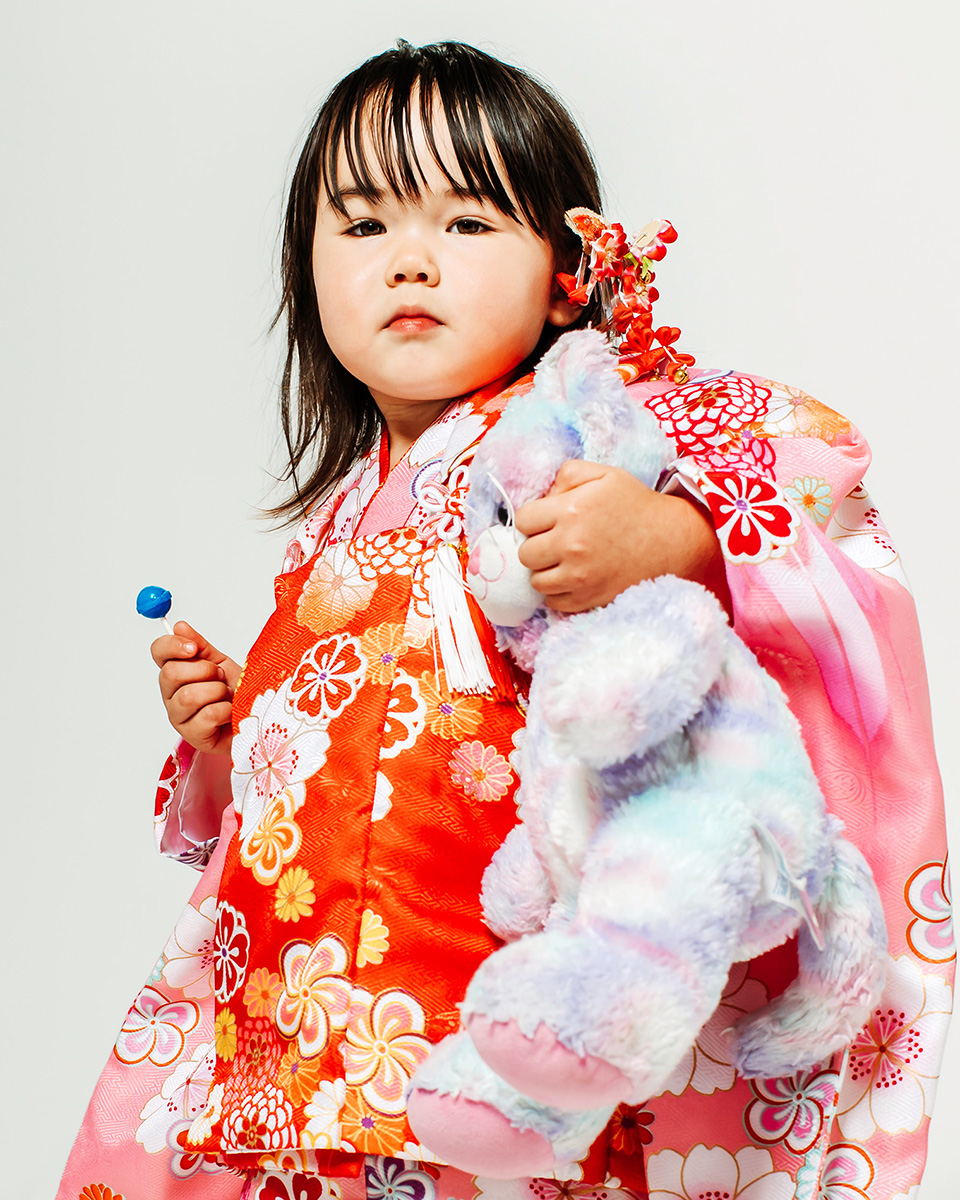
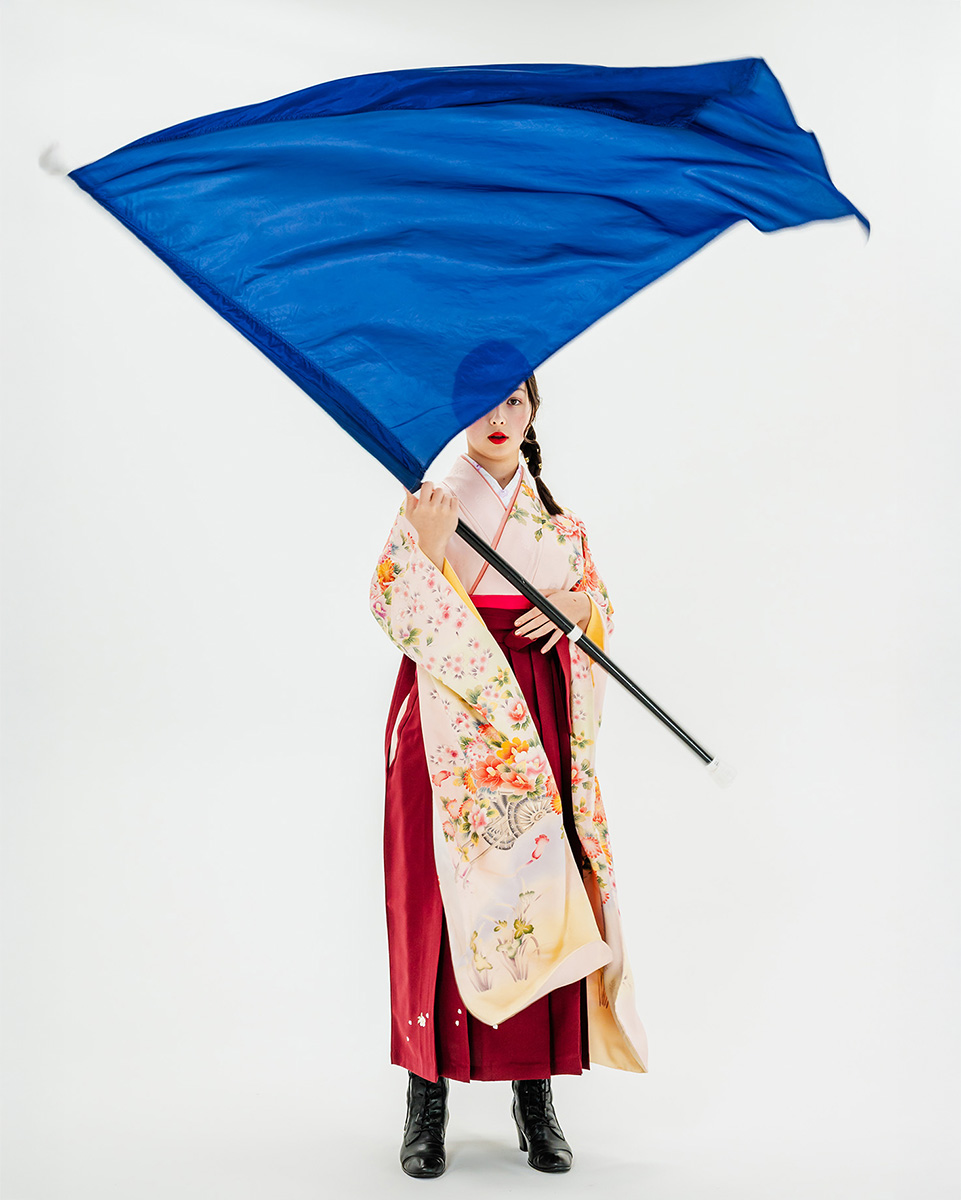
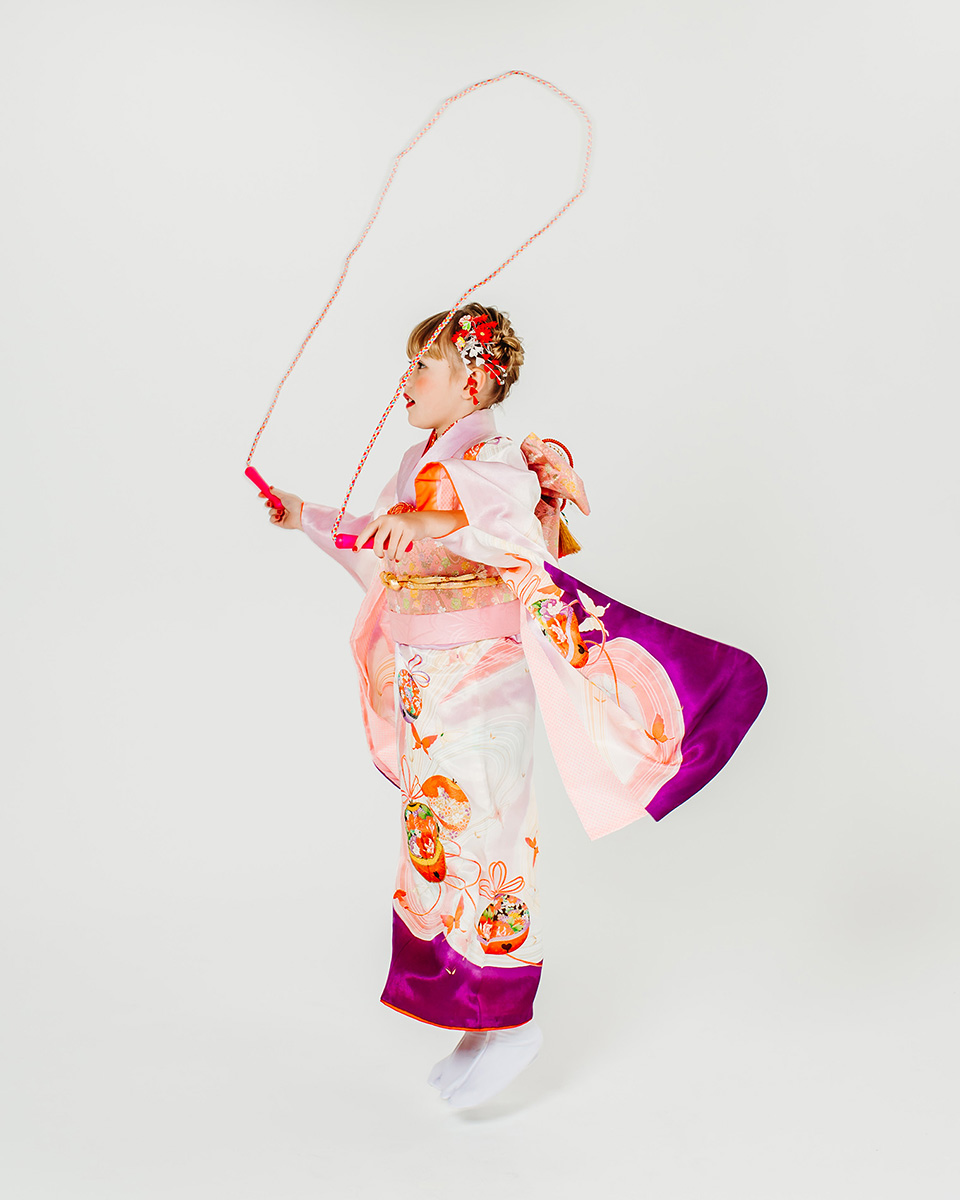
    In The Art of In-Between, I explore the evolving meanings of cultural identity through the eyes of Japanese-American children. At the heart of this series is the kimono—a garment that once served as everyday attire in Japan and has since become a symbol of ceremony and tradition. Today, it is worn to mark significant milestones such as Shichi-Go-San (ages of 7-5-3 celebration), Seijinshiki (Coming of Age Day), graduations, and weddings. Beyond its beauty and formality, the kimono now carries a deeper meaning: an intentional act of cultural pride, belonging, and remembrance.

    As a Japanese immigrant and photographer based in the U.S., I see these garments not only as expressions of heritage but as living visual narratives—threads that connect generations, carry unspoken stories, and shift with the people who wear them. For those of us living between cultures, tradition is not something fixed; it is fluid, responsive, and continually reimagined.

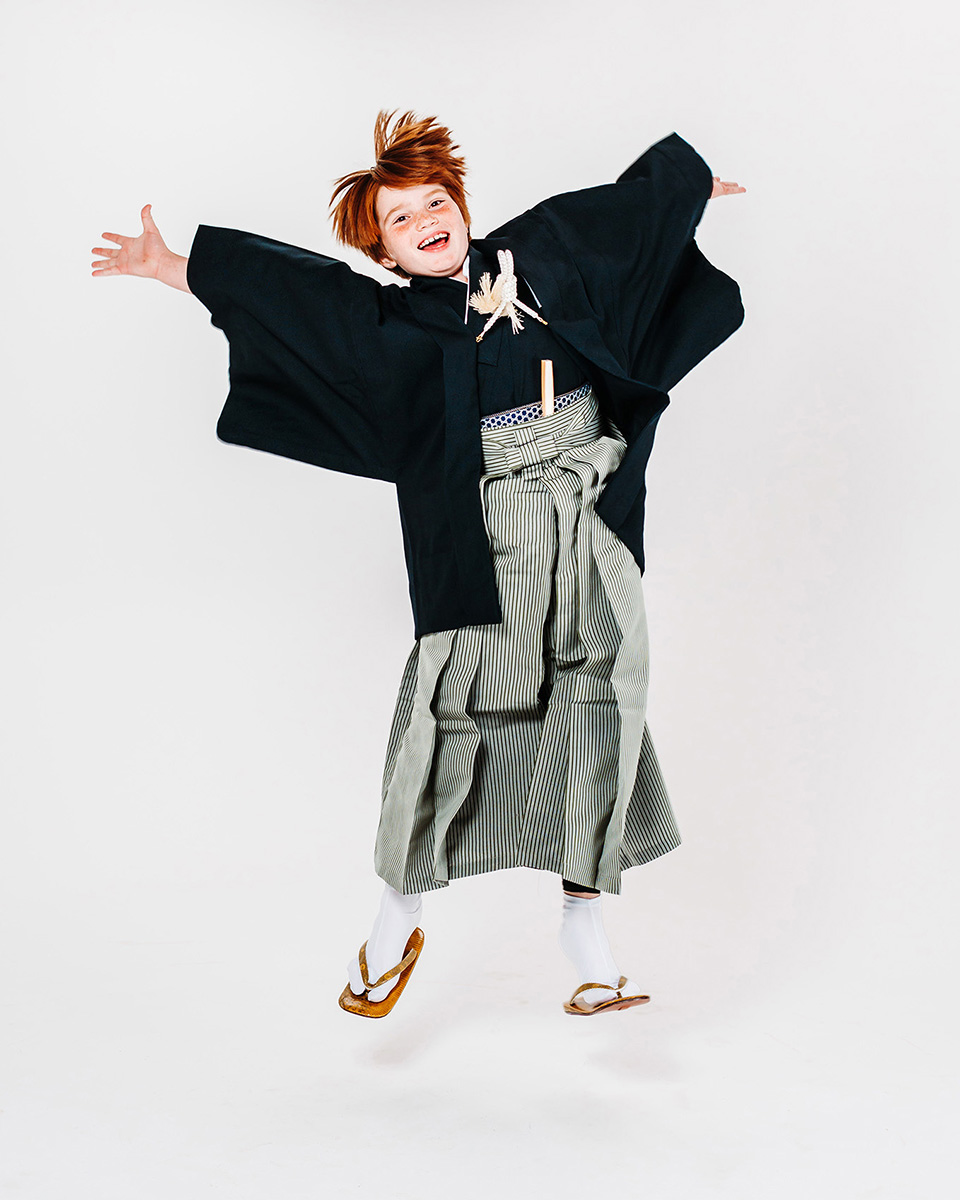
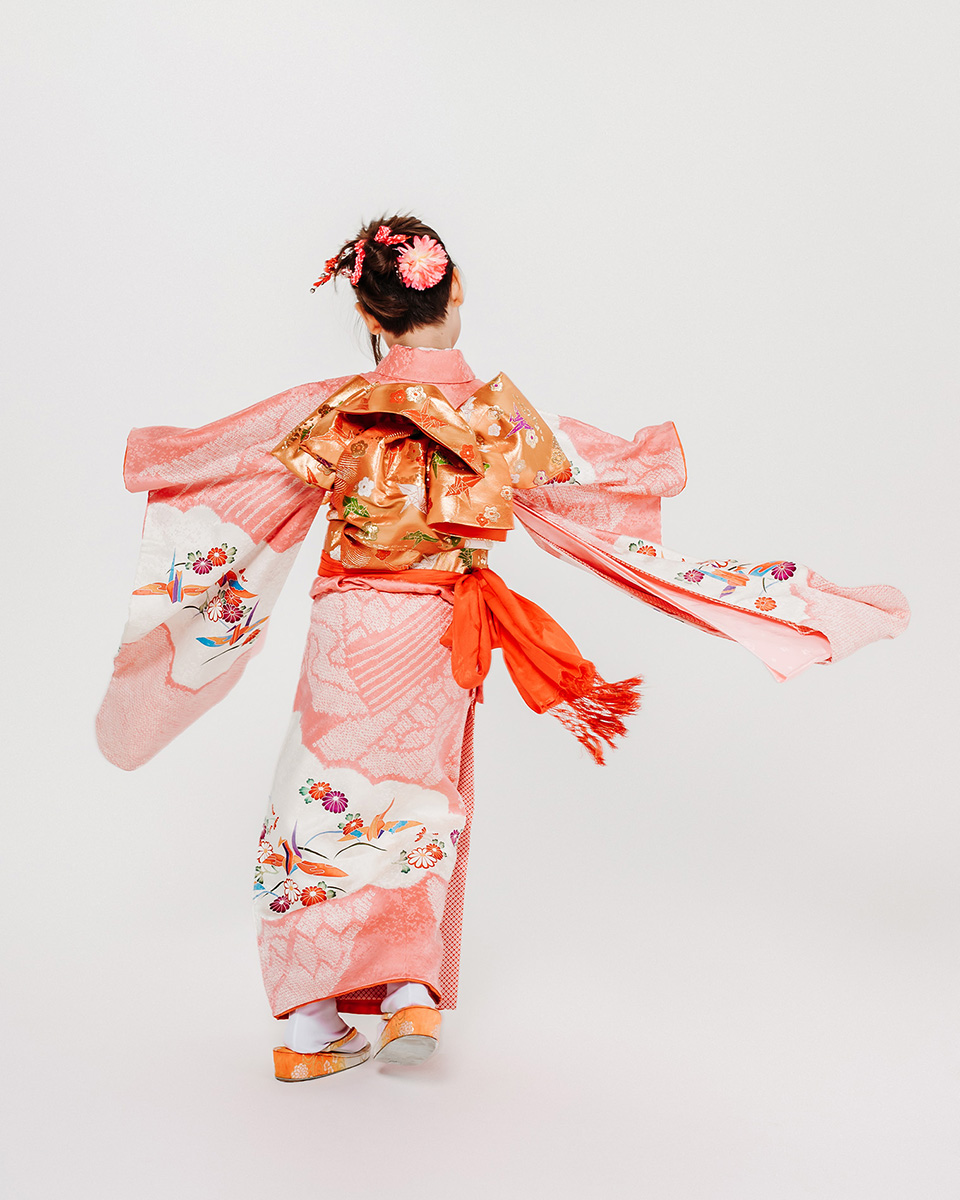
    This photo series reinterprets the kimono through a bicultural lens. Rather than presenting it as a restrained or static artifact, I invite Japanese-American children to wear it as themselves—encouraging them to move, play, and express their quirks and uniqueness freely. Each portrait reflects more than heritage—it captures the individuality, curiosity, joy, and vulnerability of each child. It celebrates how culture and self-expression can not only coexist but enrich one another.

    At its core, The Art of In-Between is a celebration of children growing up across cultural lines—not in conflict, but in conversation. It honors their lived experiences and identities as both fully Japanese and fully American, without asking them to choose These portraits offer a space where representation, strength, softness, and cultural nuance can exist together

    This work speaks to the emotional truth of the in-between—how identity is layered, how tradition lives and breathes, and how children, when seen and supported, become powerful carriers of culture in motion. My goal is to share a vision of heritage that is not preserved in stillness, but shaped with intention, joy, and playfulness. Through these portraits, I hope to contribute to a living tradition—one that evolves across generations, and one that children feel welcomed and empowered to carry forward as their own

    To see more of this project, click here

    Instagram

    Suzanne Sease is a creative consultant and former ad-agency senior art buyer. She works with both emerging and established photographers and illustrators to create cohesive, persuasive presentations that clients can’t resist.

    Suzanne offers something rare: an insider’s perspective on how client’s source creative talent. Her deep understanding of the industry is underscored by her impressive resume: 11 years as senior art buyer at The Martin Agency, seven years as an art producer for Capital One, and stints with the art-buying department at Kaplan-Thaler and the creative department at Best Buy, where she applied her expertise to reviewing bids to see which were most likely to come in on budget. Over the years, Suzanne has worked with a wildly diverse range of clients, including Seiko, Wrangler, Bank One, AFLAC, and Clairol Herbal Essence. Now, as a consultant, she is equipped to problem-solve for her clients from an unusually dynamic point of view.

    As a longtime member of the photo community, Suzanne is also dedicated to giving back. Through her Art of the Personal Project column on the popular website aphotoeditor.com, she highlights notable personal projects by well-known and up-and-coming photographers. The column offers these artists excellent exposure while reflecting Suzanne’s passion for powerful imagery.

    Instagram


    Source link

  • Ikelite Launches Two More OM System TG-7 Housing and Ecko Strobe Kits

    Ikelite Launches Two More OM System TG-7 Housing and Ecko Strobe Kits


    Underwater Housing for OM System Tough TG-7, TG-6 and Ecko Strobes Wide Angle Kit


    After launching of its Ecko Fiber and Ecko DS strobes, Ikelite released, in June, two kits bundling the fiber-optically triggered model with the OM System Tough TG-7 camera, housing, and various accessories—one bundling a single strobe and another bunding a pair of strobes.

    The kits are perfect for shooters starting out with nothing, since the camera itself is included, but for owners of the OM System TG-7 or the Olympus TG-5 or Olympus TG-6 (all of which have the same basic functionality), Ikelite has introduced two new kits that bundle the Ecko Fiber with just housing and accessories.

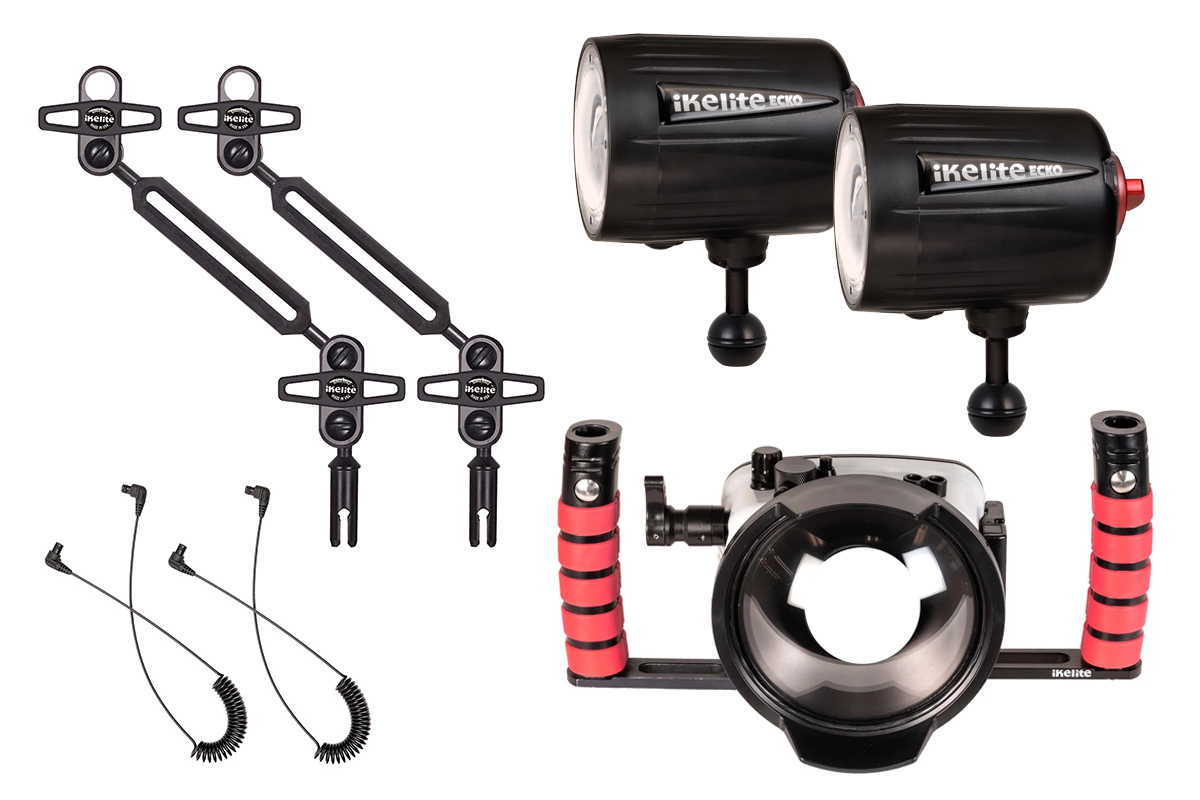
    The first kit, the “Wide Angle Kit” (above), comprises the housing with six-inch dome port, tray with dual handles, two Ecko Fiber strobes, strobe arms, and fiber-optic cords. The camera is not included and neither is the Olympus FCON-T02 fisheye lens for which this setup is specifically designed. Note that you’ll still get the benefits of the dome port even without the fisheye lens, but it’s highly recommended for a proper wide-angle perspective.

    The second kit, the “Deluxe Kit” (below), comprises housing, tray with single handle, single Ecko Fiber strobe, strobe arm, and fiber-optic cord. The camera itself isn’t included. With this housing, you still have the option of adding the FCON-T02 lens and dome port later—and, of course, a second strobe if you want.

    Available from Ikelite, the new “Wide Angle Kit” is retailing for $2,020, while the new “Deluxe Kit” costs $1,145.

    Underwater Housing for OM System Tough TG-7, Olympus TG-6 Camera and Ecko Strobe Deluxe Kit


    When purchasing underwater photography equipment like the products mentioned in this article, please support DPG by supporting our retail partner—Backscatter.com.


    Source link

  • First Impressions: Sigma Aizu Prime Cine Lenses

    First Impressions: Sigma Aizu Prime Cine Lenses


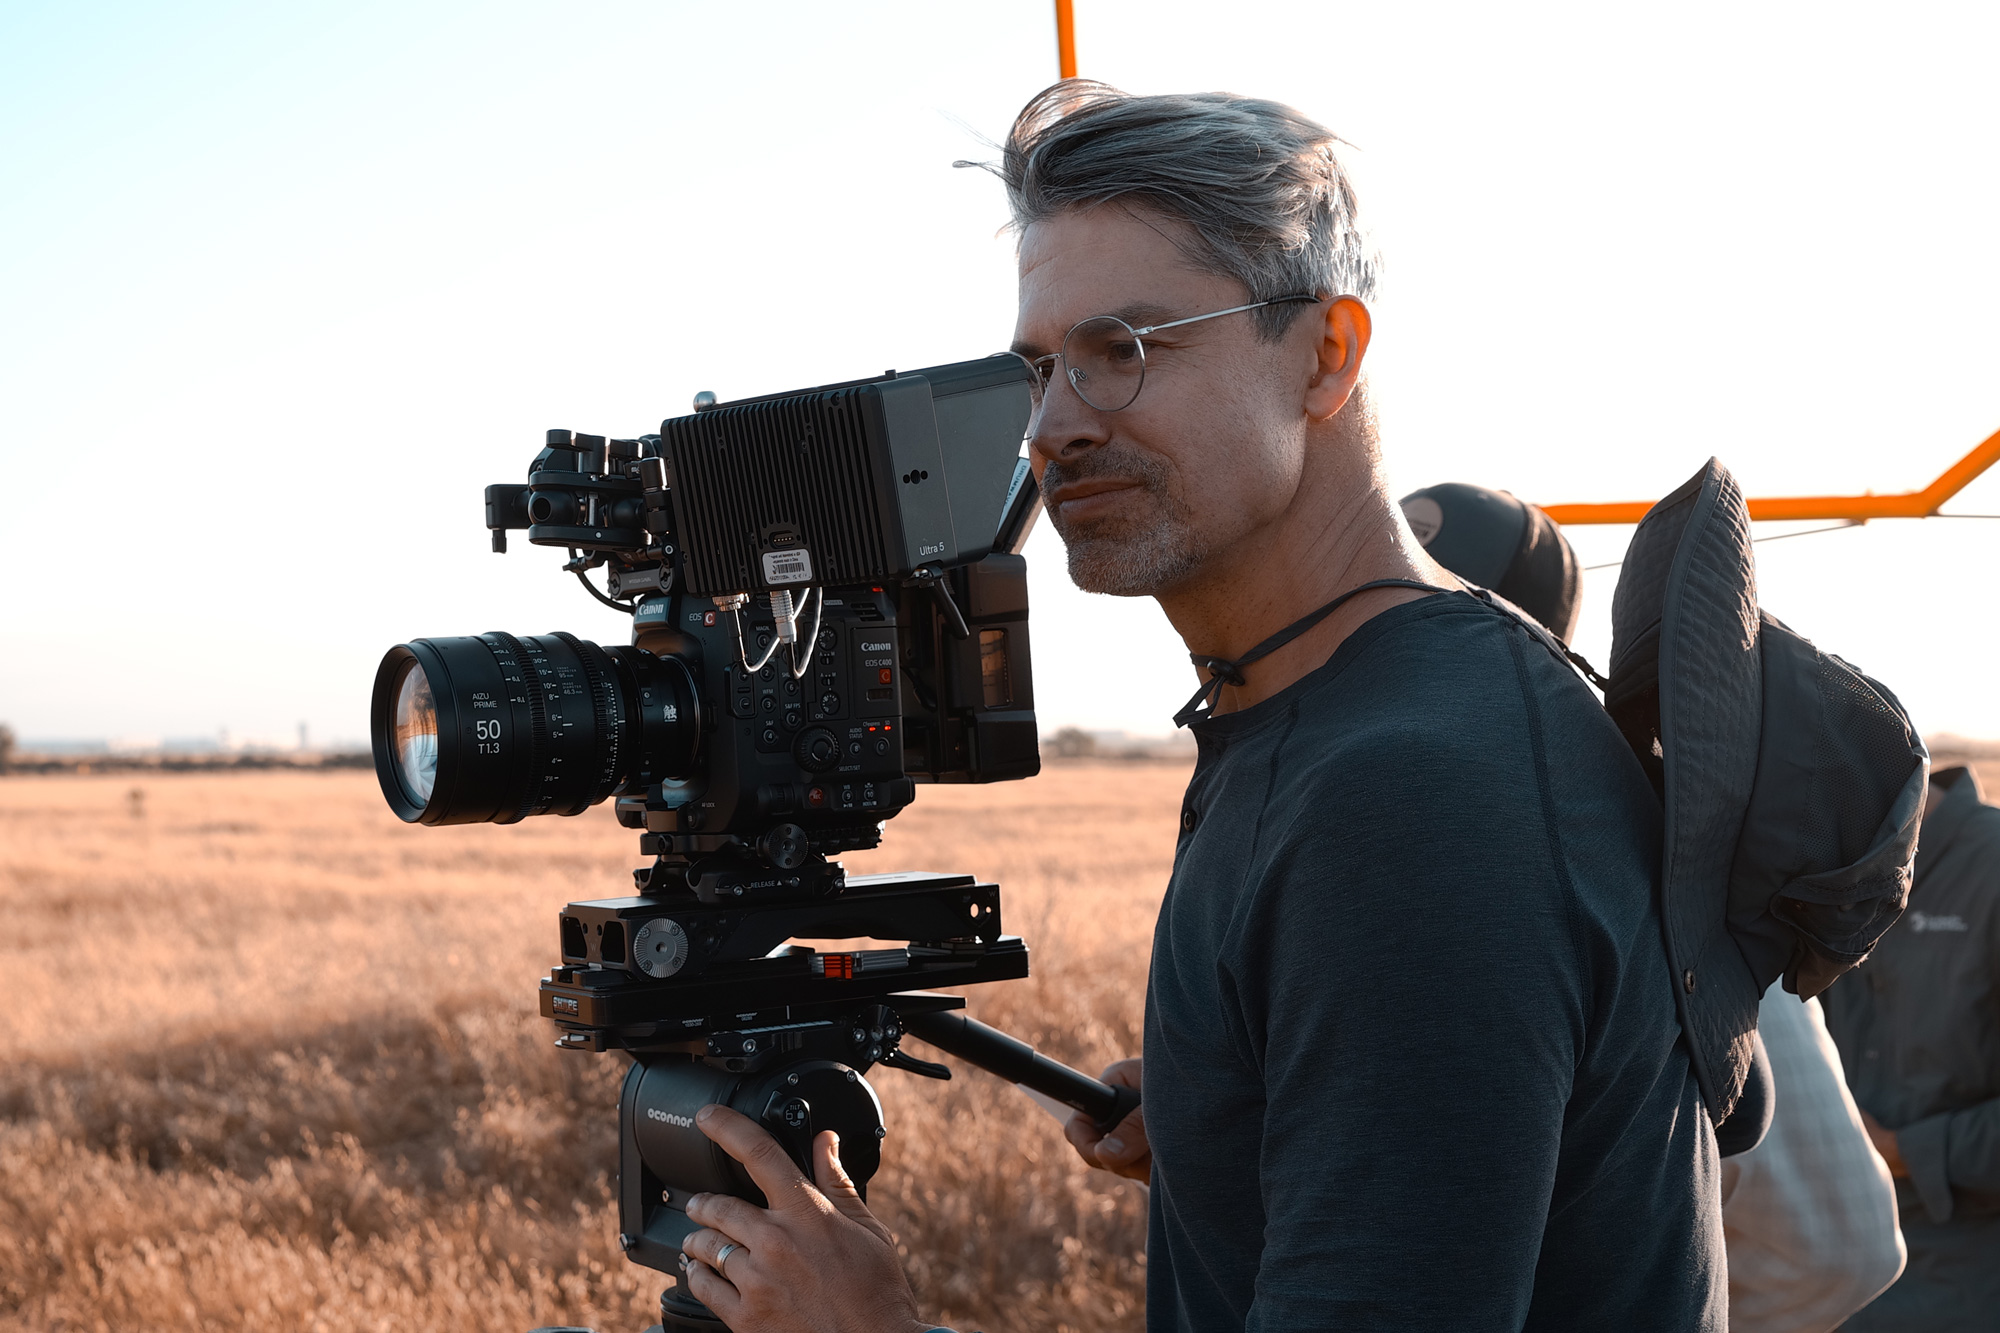
    As an ICG Local 600 Director of Photography working on everything from scripted to comedic stage shows to wildlife to true crime, I ask a lot out of the technology I film my projects with.

    As a Sigma Ambassador, I have also been immersed in all things Sigma since 2017, and I’ve used dozens of different focal lengths and different types of zooms as I’ve bounced from project to project. The Full-Frame High Speed Primes in particular have been a staple for me with their consistent sharp look and gorgeous bokeh (especially that 105mm). Lately, I’ve been finding a home for Art line lenses as well, such as the 28-105mm F2.8 DG DN | Art and 28-45mm F1.8 DG DN | Art on my various Sony E-mount documentary rigs.

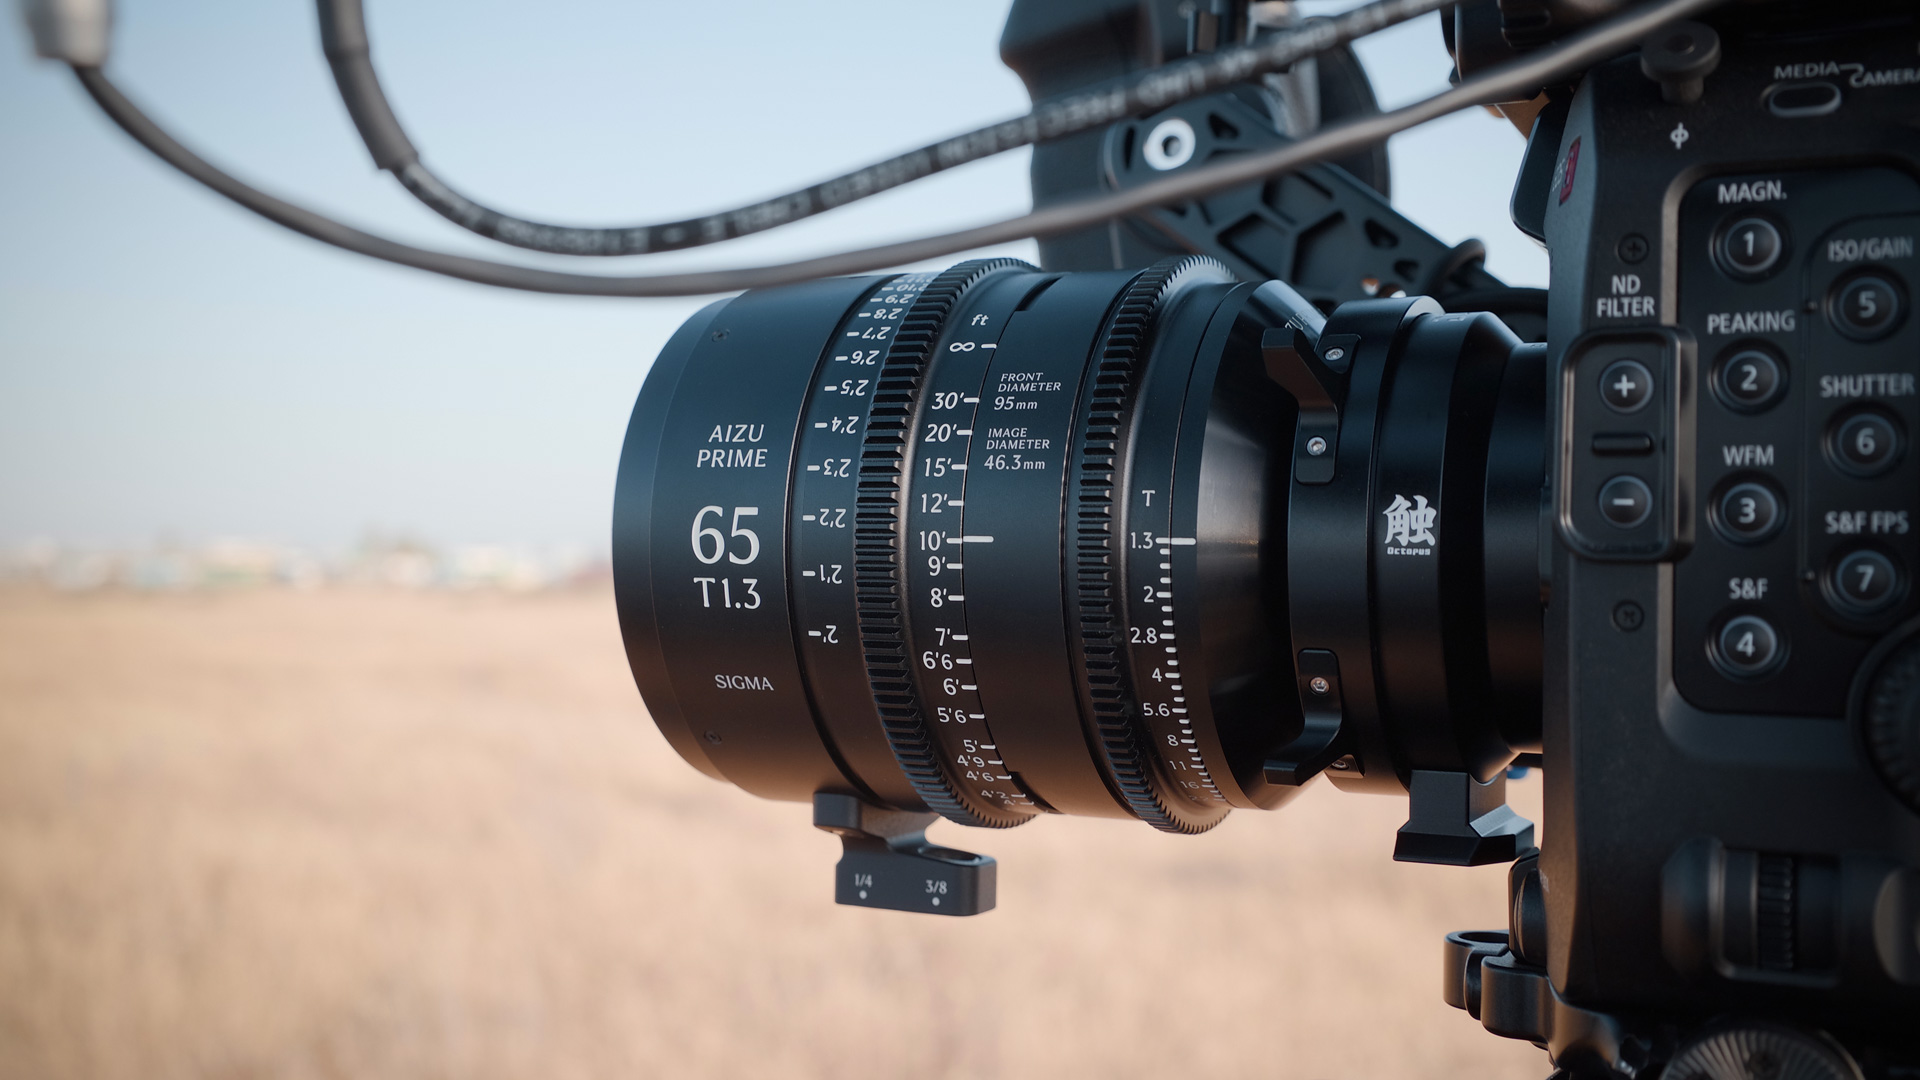
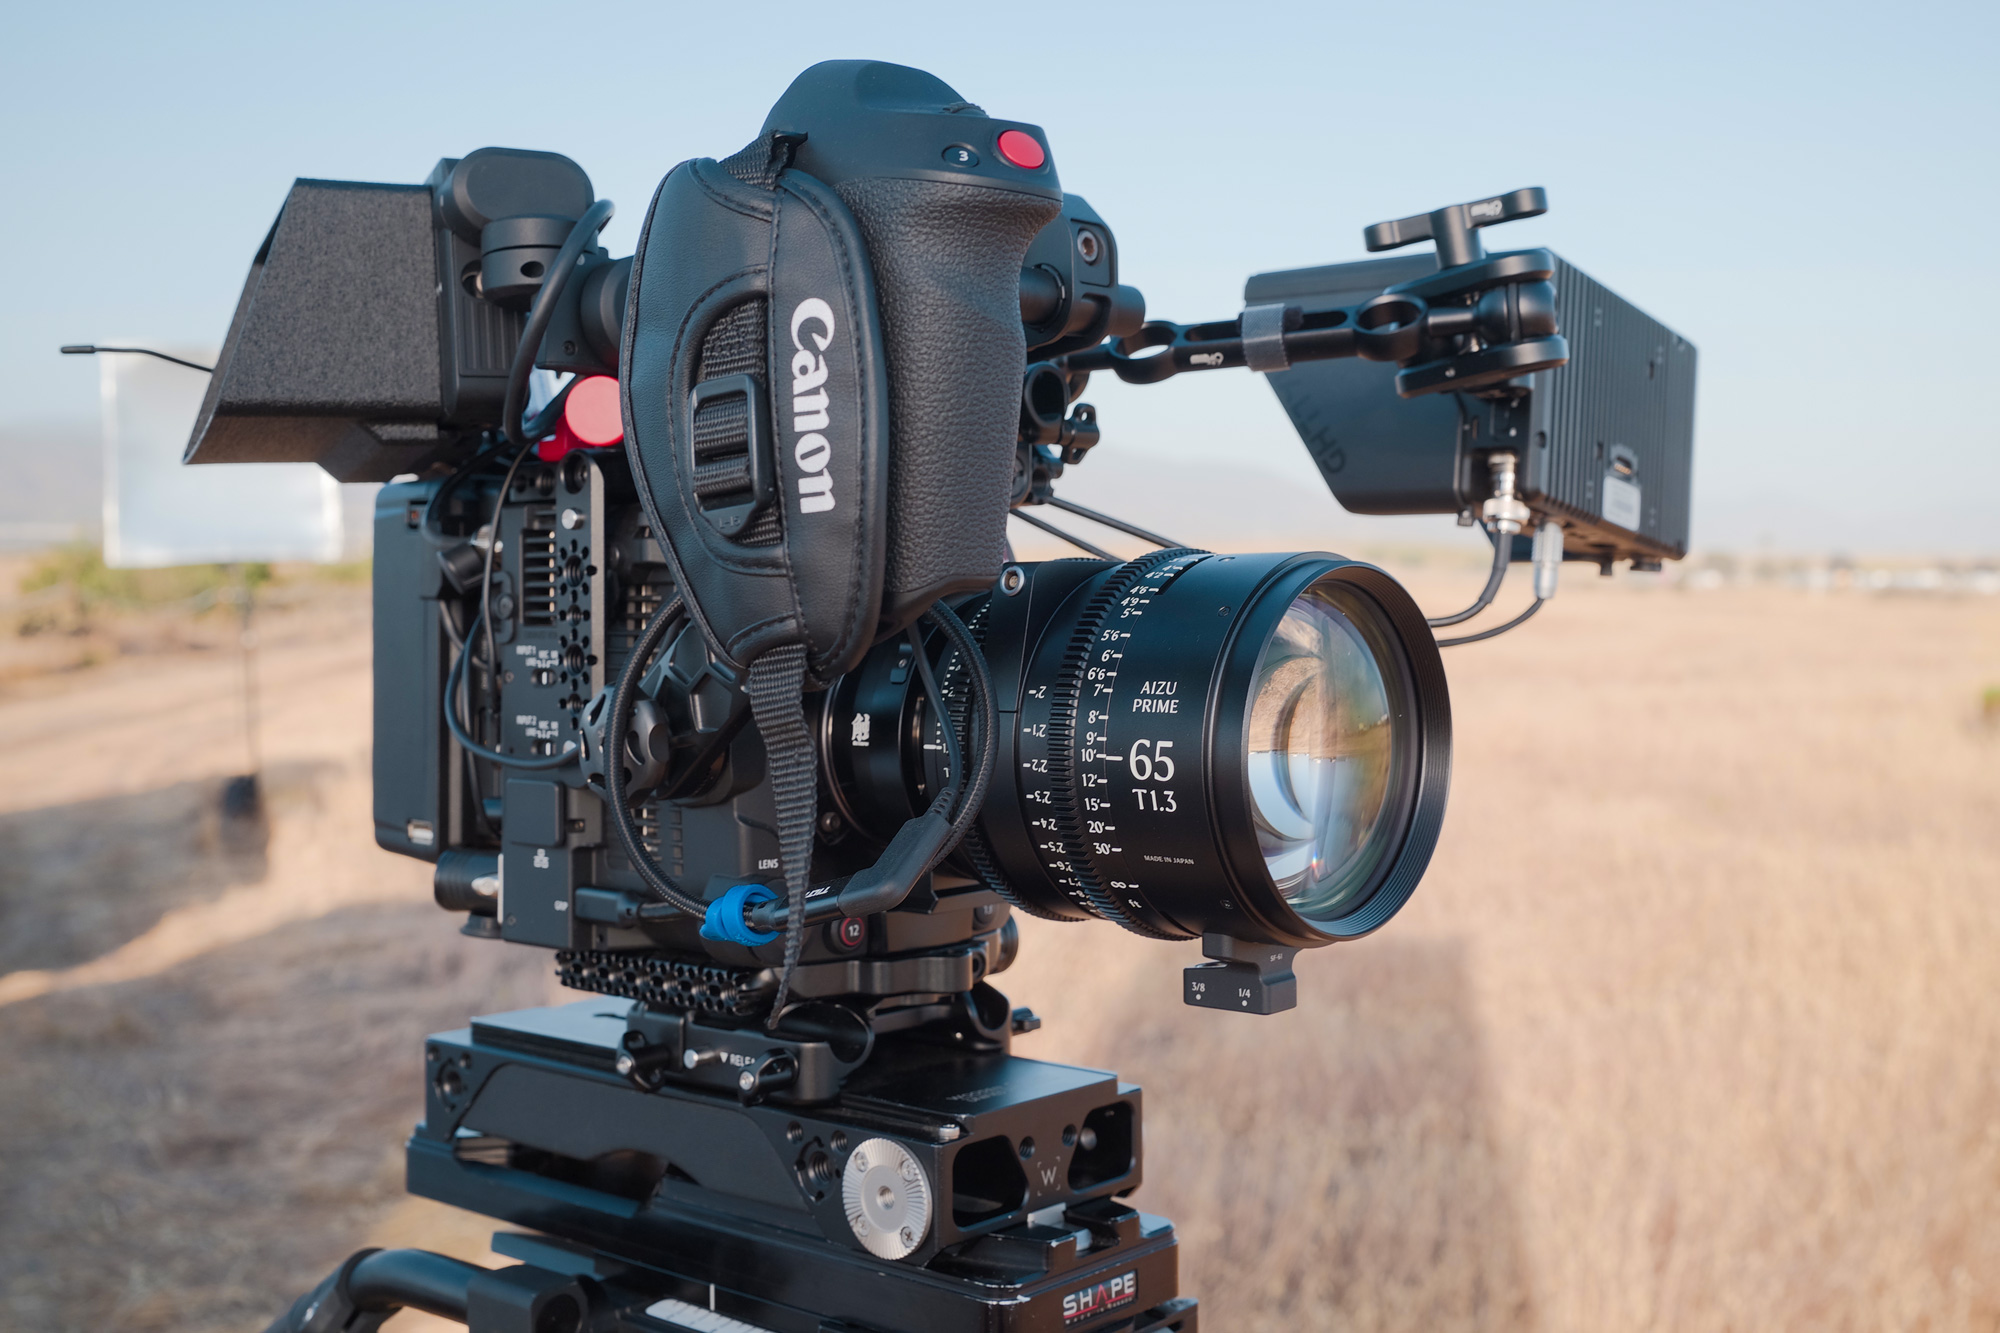
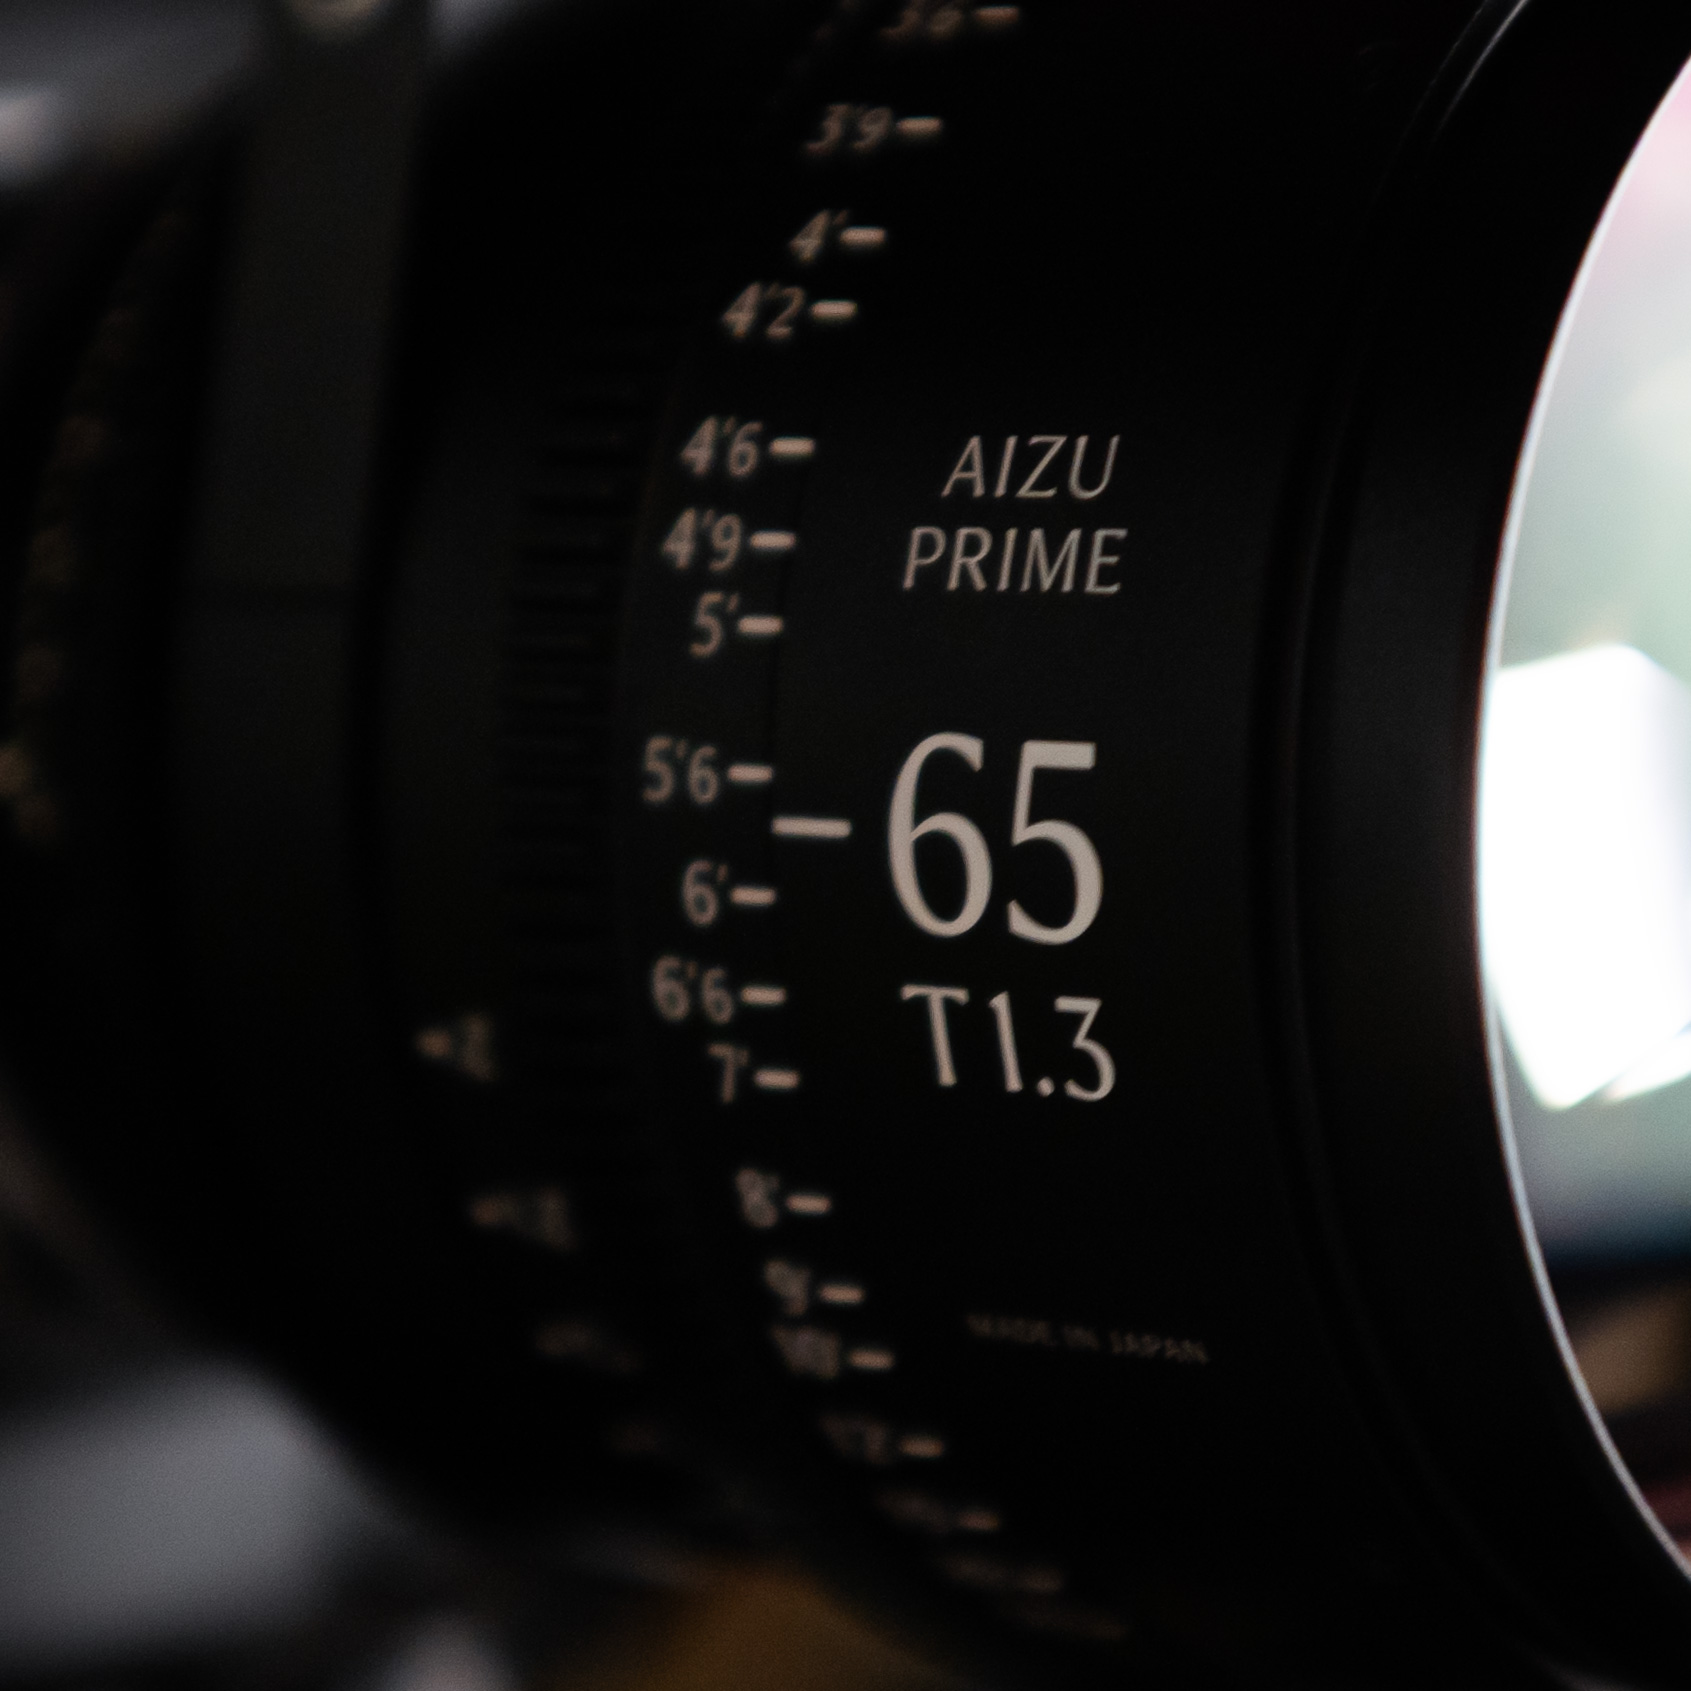
    The new Aizu Primes are something special — the result of over two years of work by engineers in at the Sigma factory in… you guessed it… Aizu, Japan! Unlike the High Speed prime lenses, which were based on the beloved Art line of photo lenses, the Aizu Primes are entirely new — though the rugged engineering will feel comfortably familiar to fans of Sigma’s existing cine lenses.

    Our factory in Aizu, Japan is the pride of the company, which is why we named our most premium line of lenses after the region.

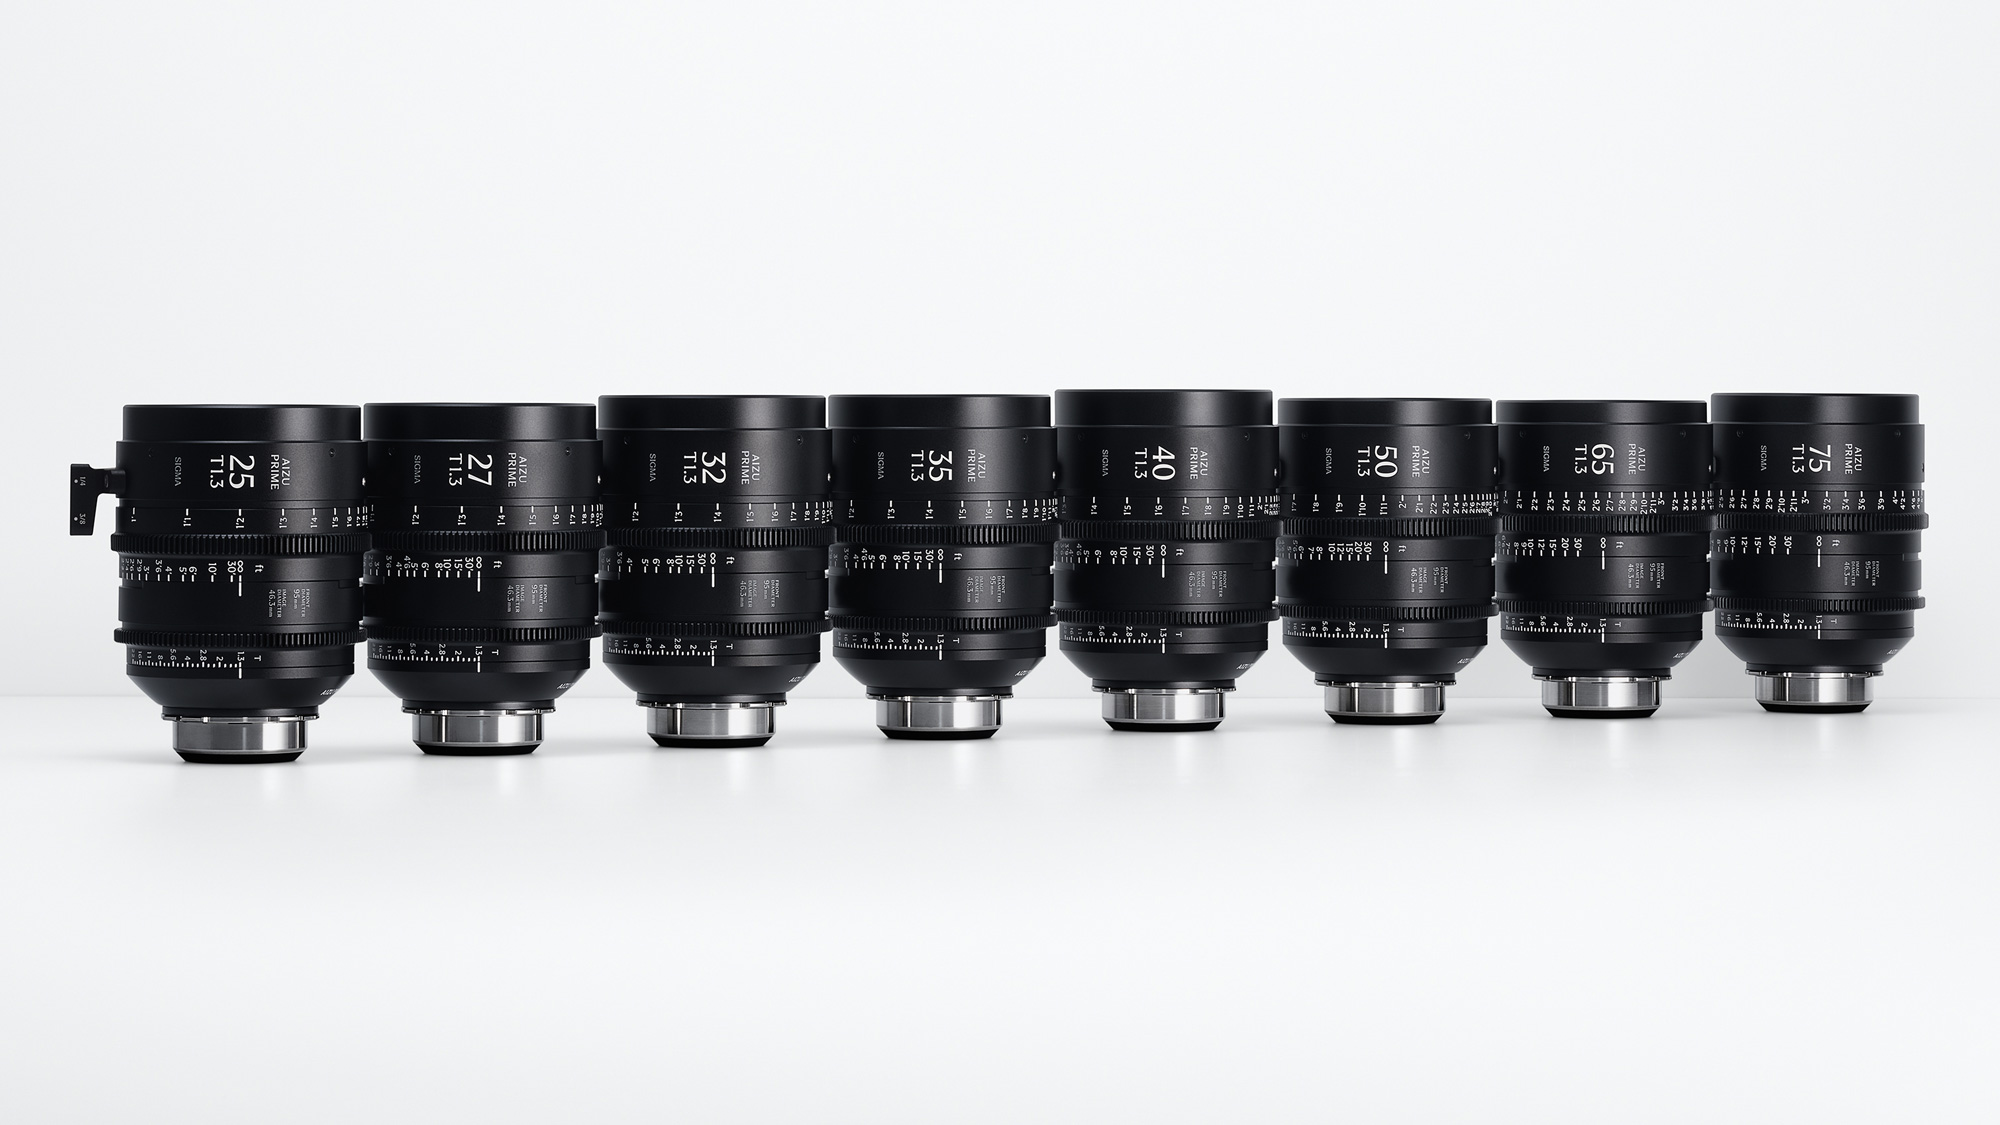
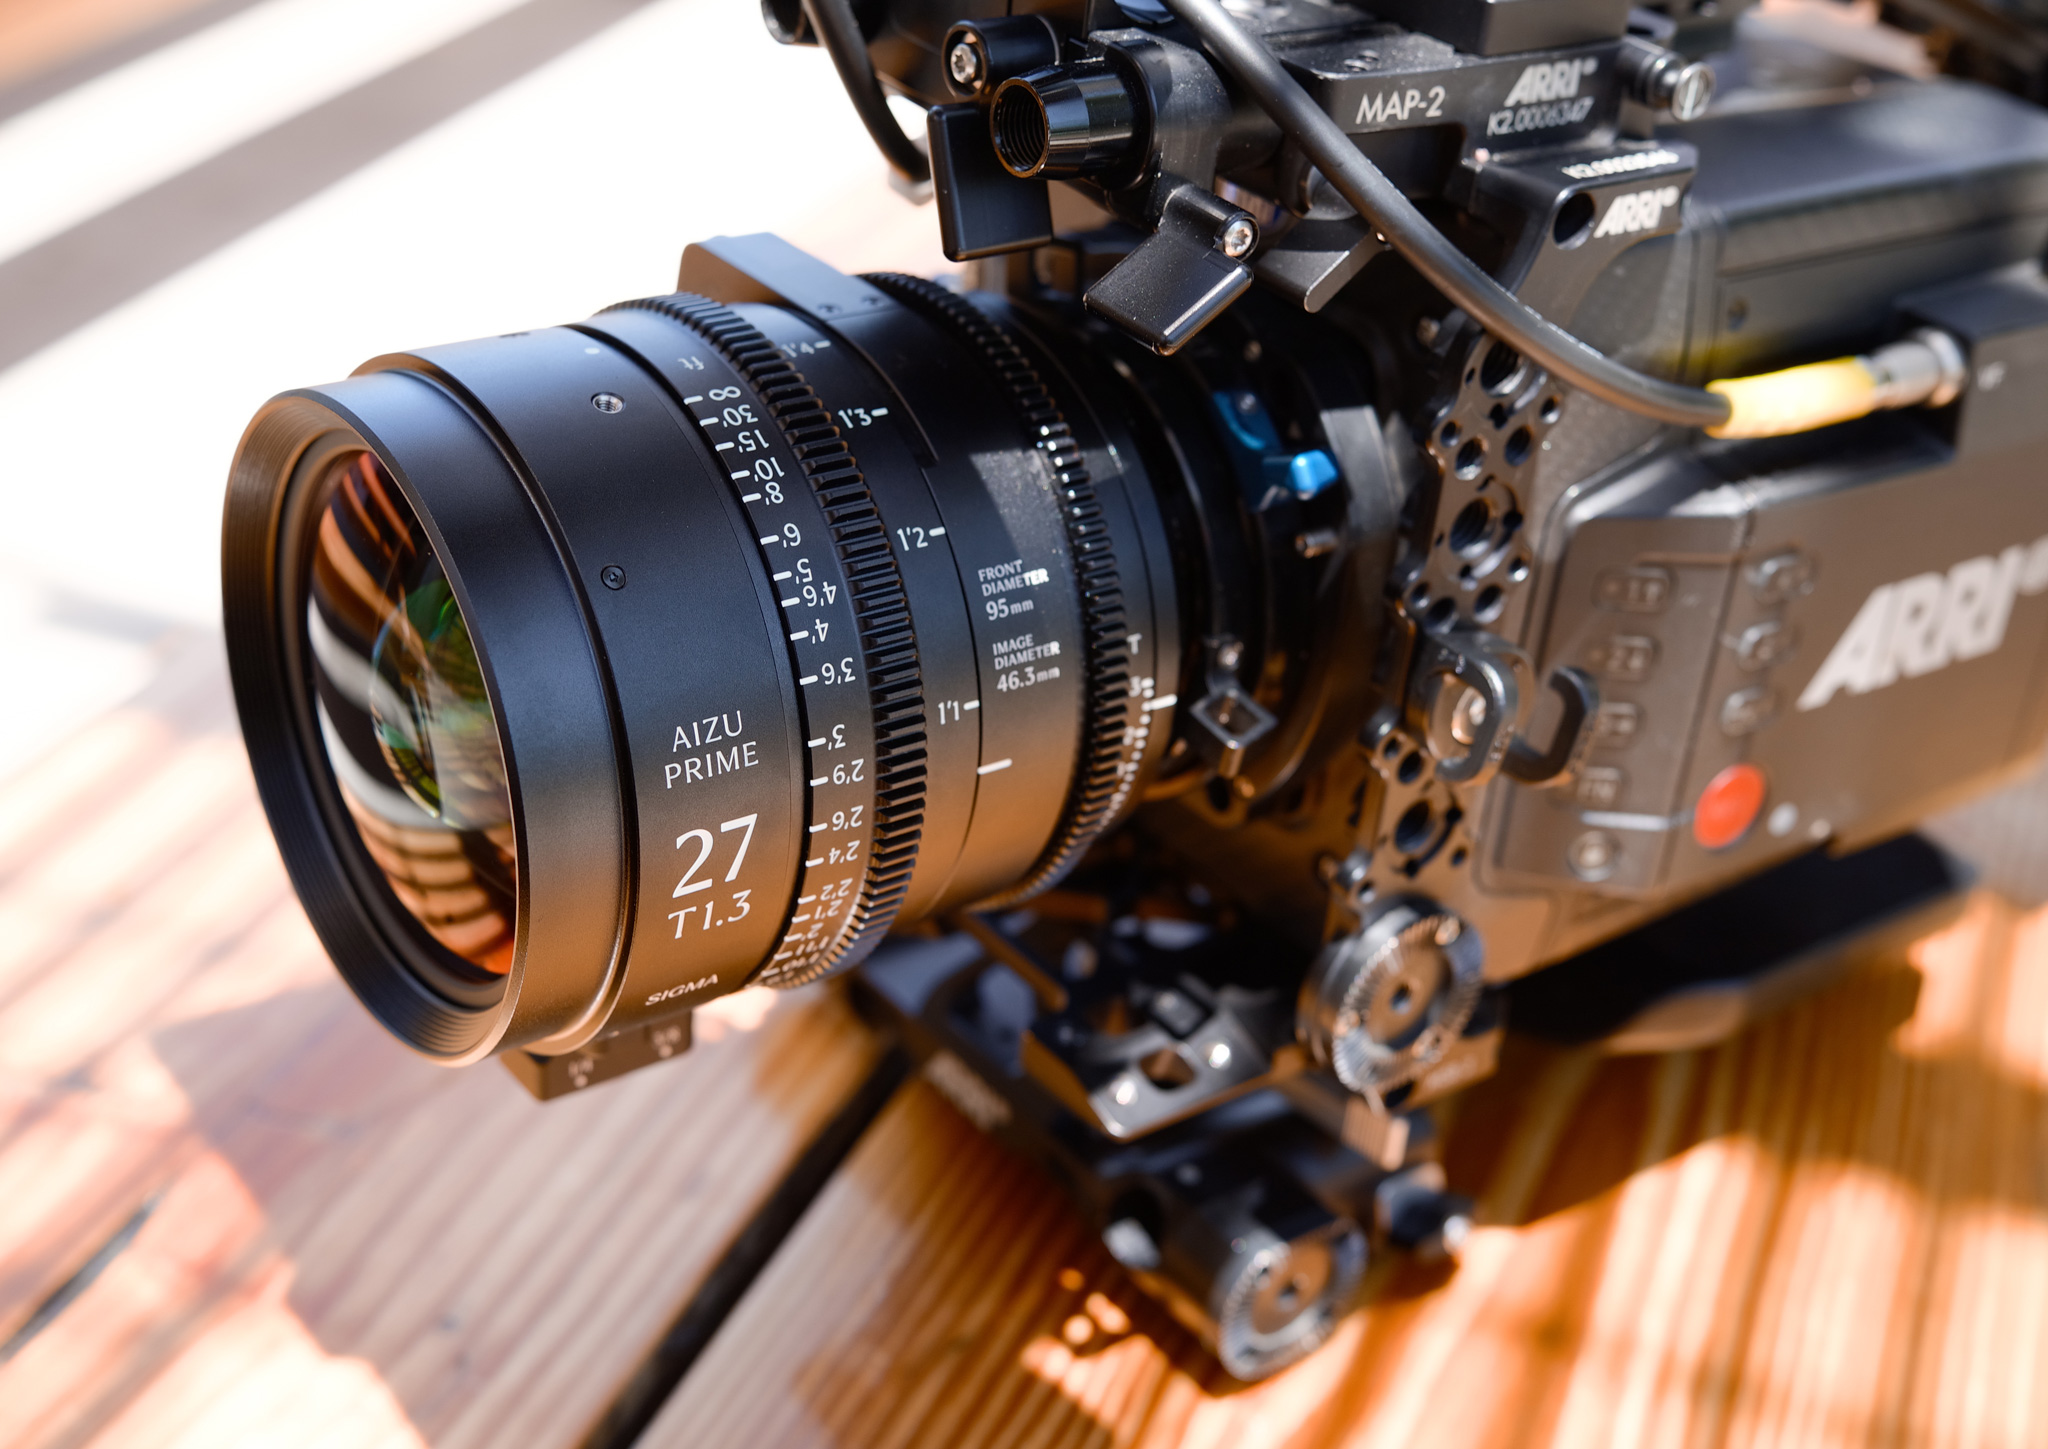
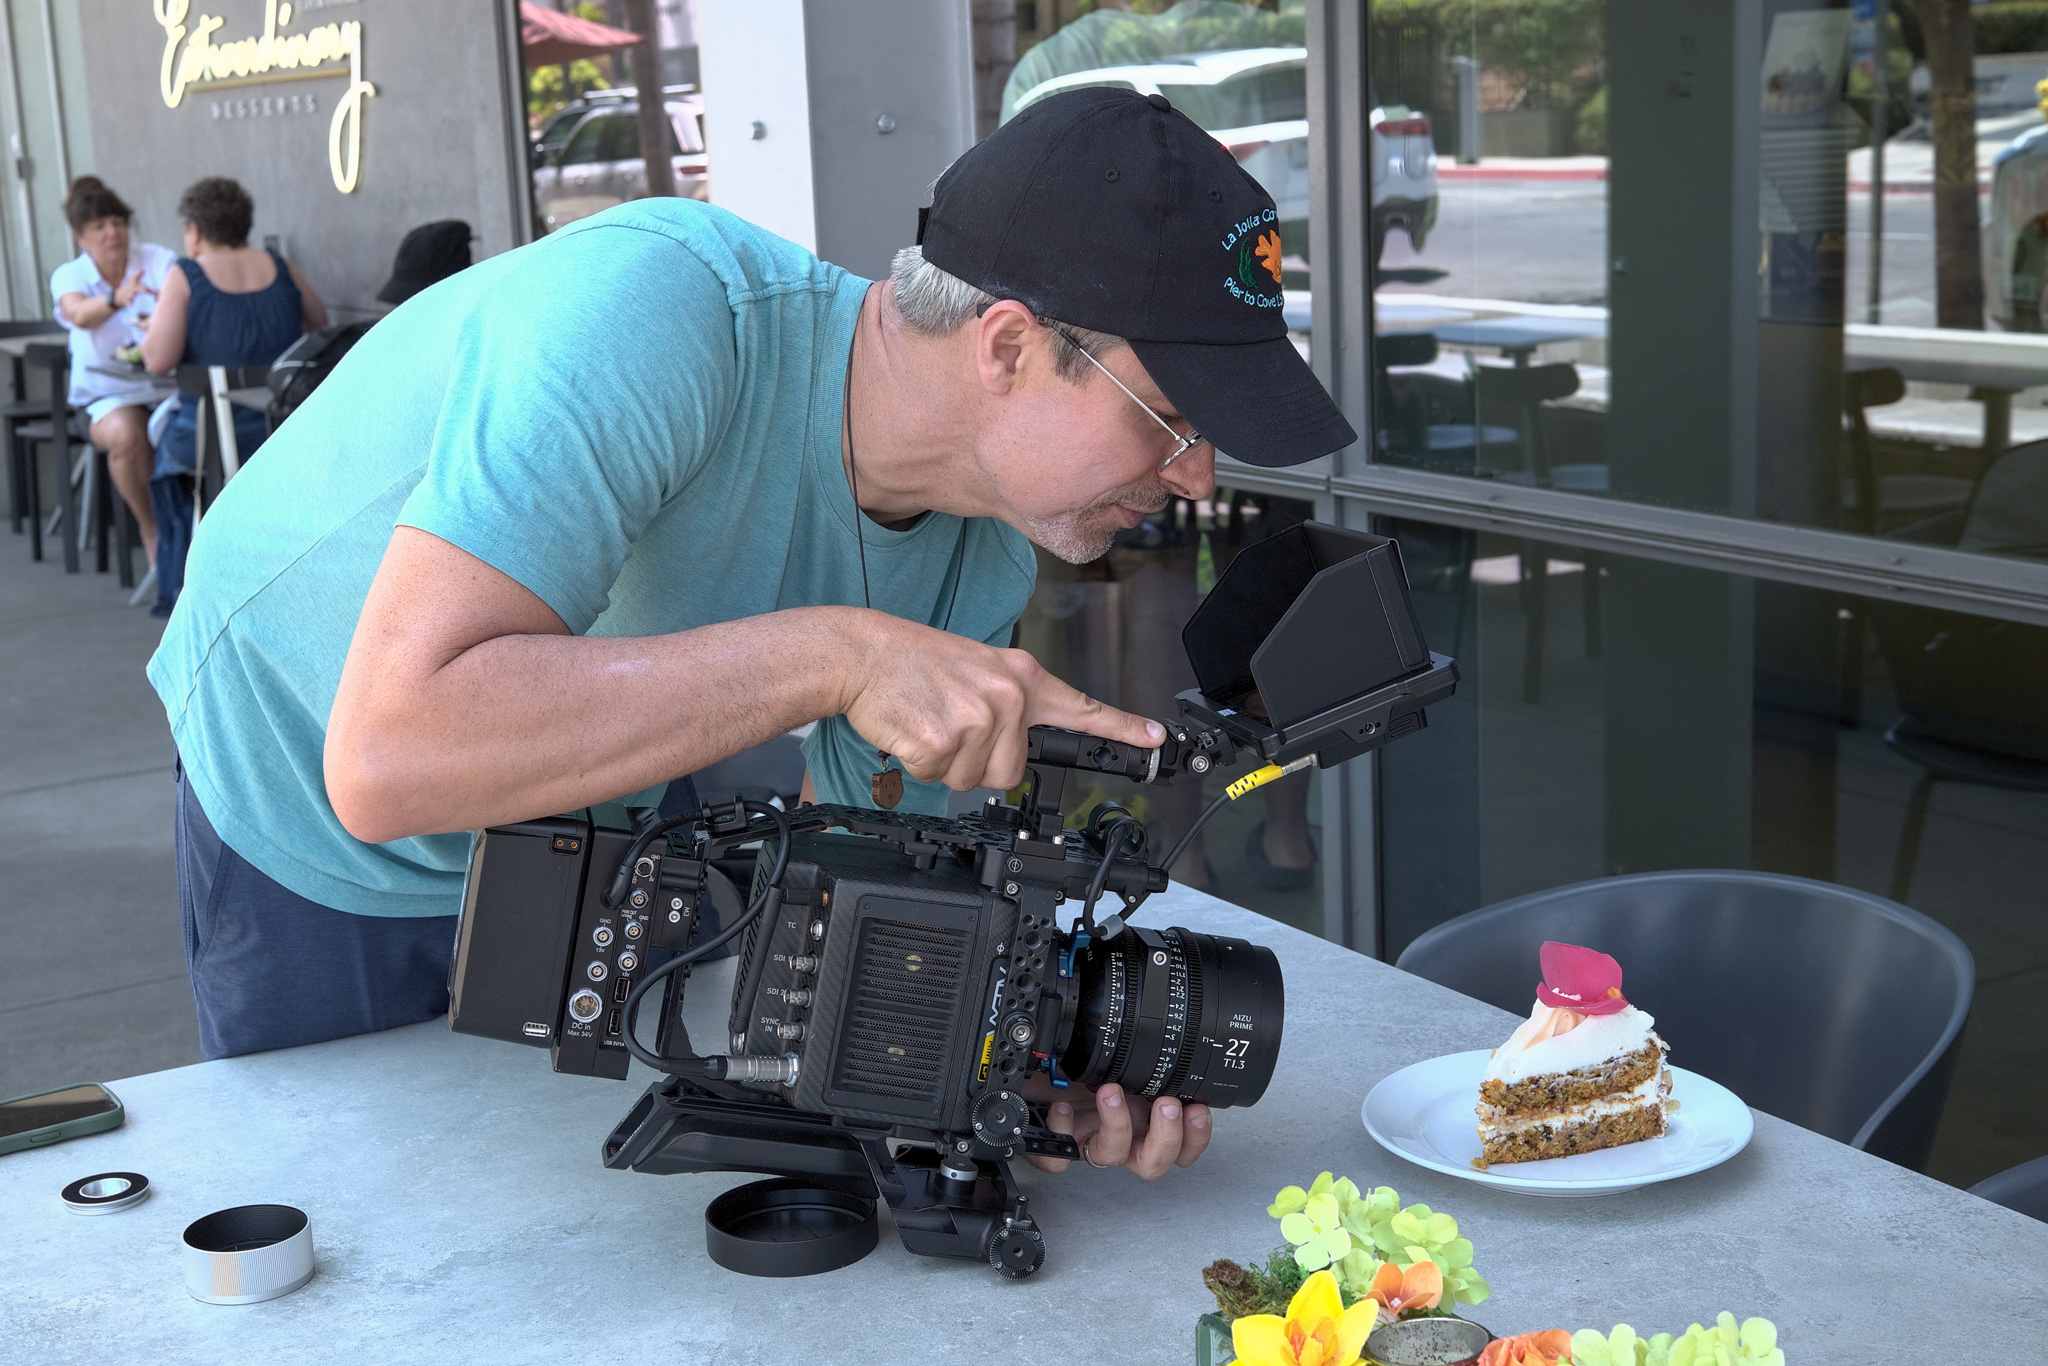
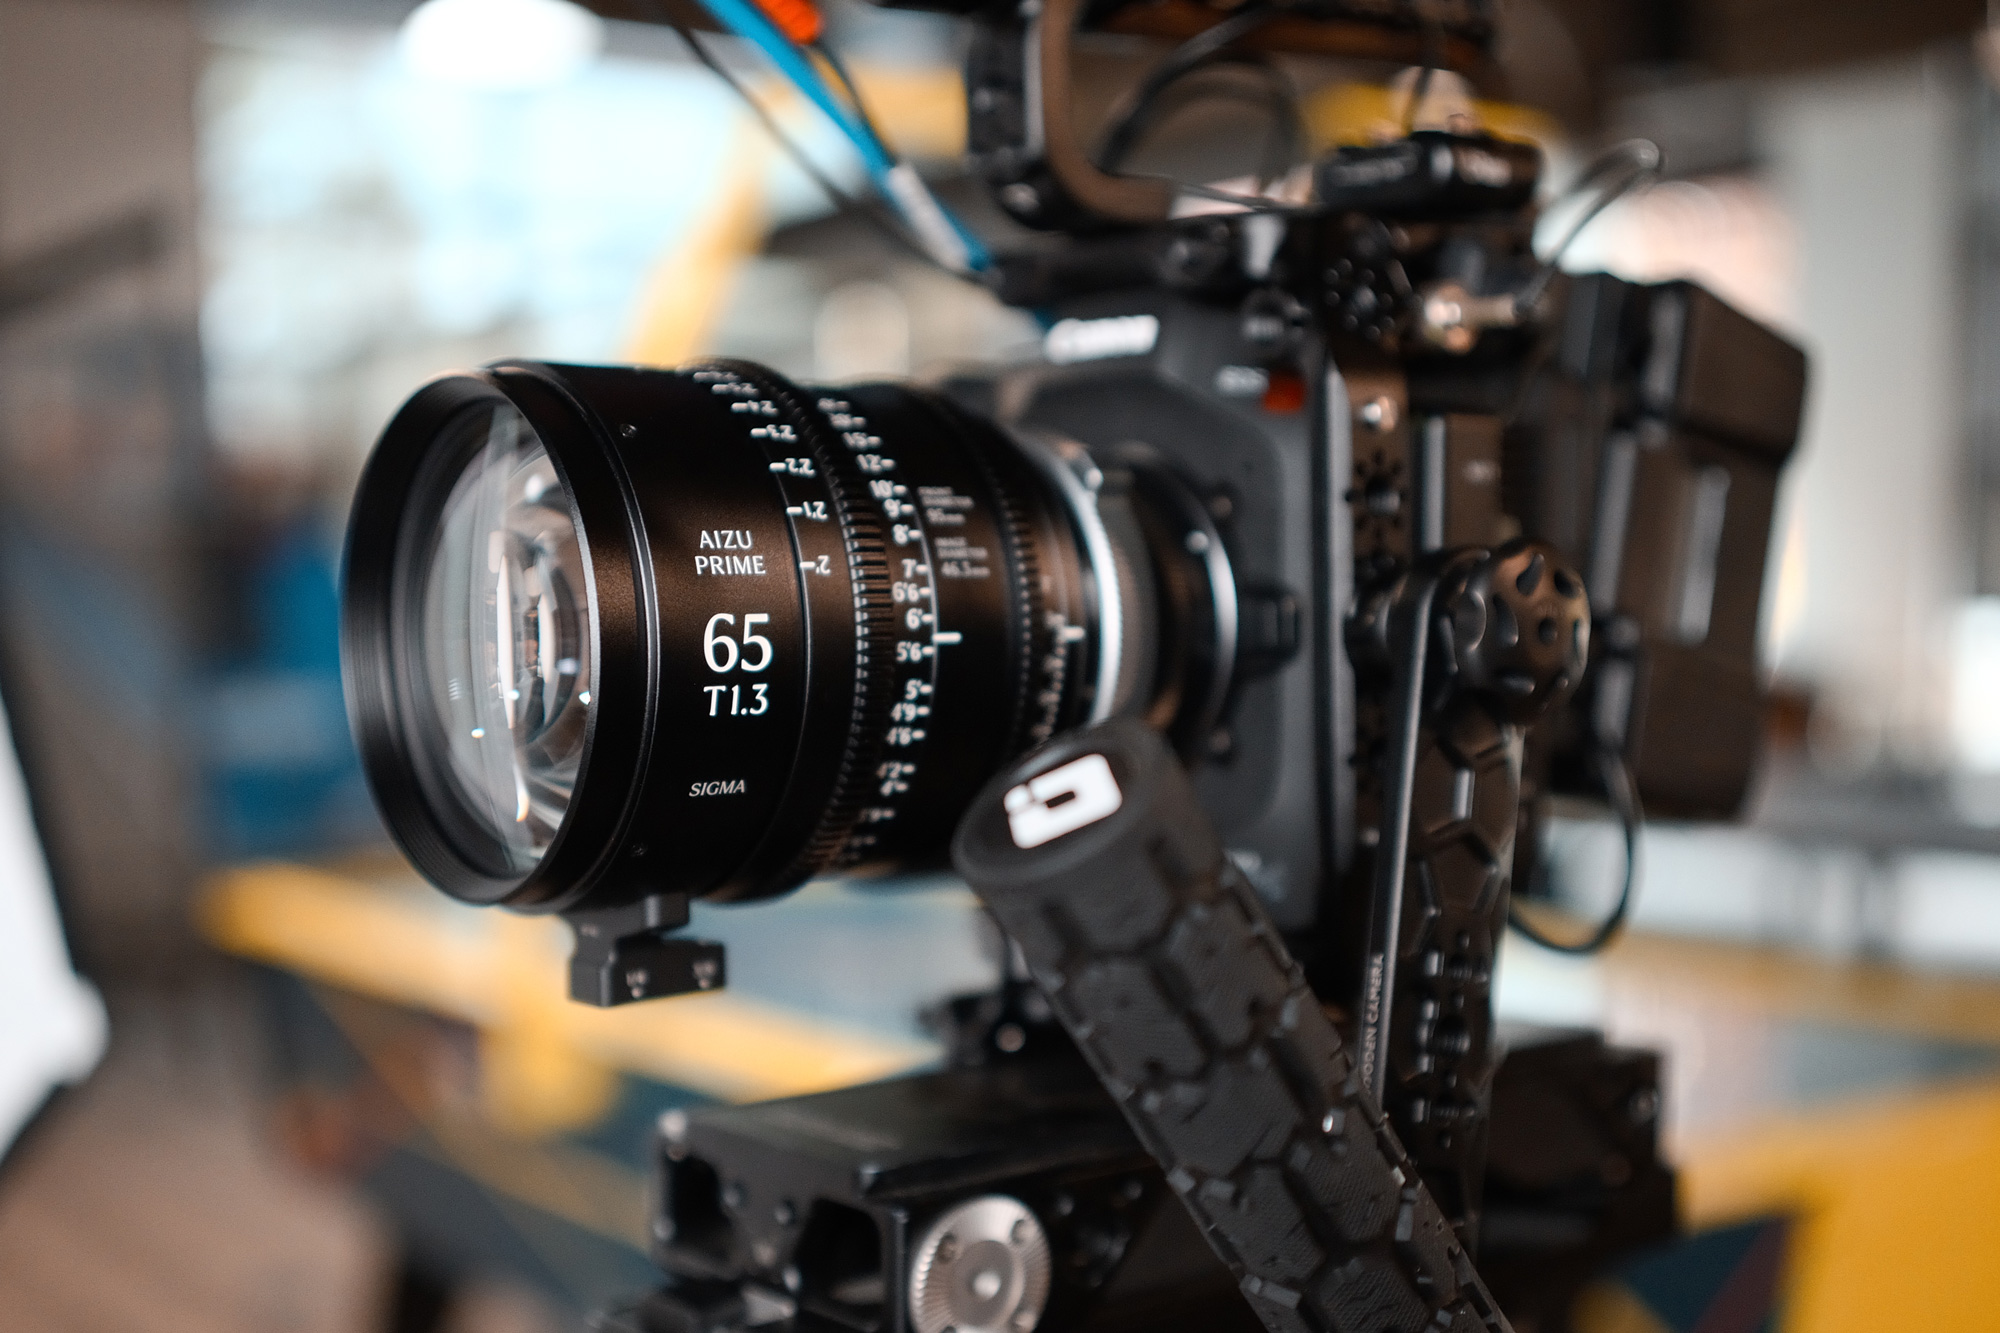
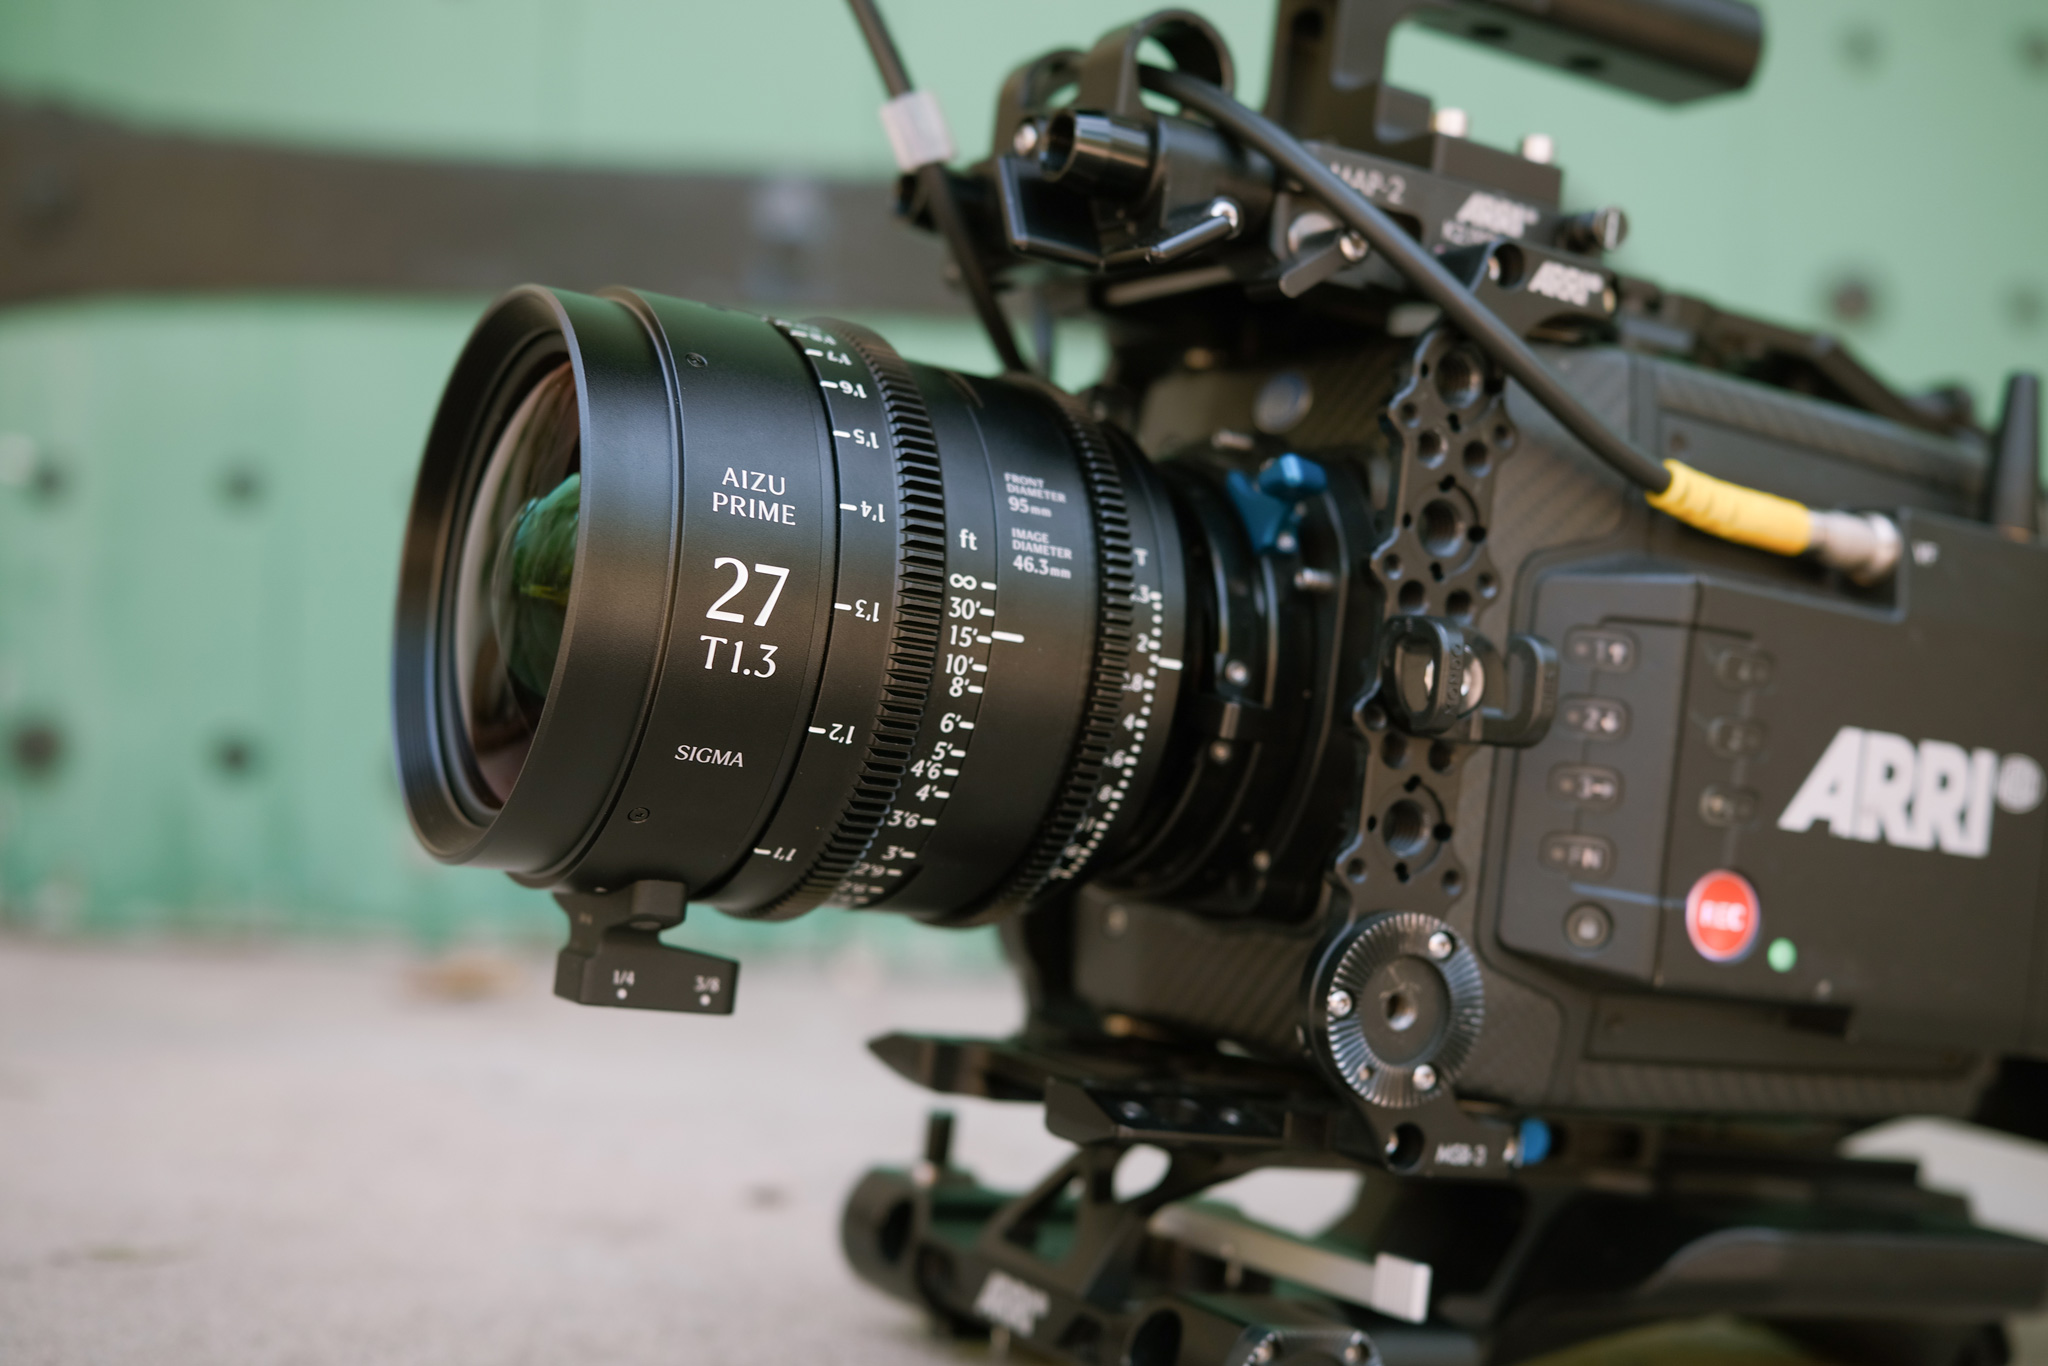
    Some quick specs: 95mm front diameter, 3.6 pounds average weight, 0.8 pitch gears (with a uniform placement from focal length to focal length) and a luminous paint job on all markings (helpful for dark sound stages) make these primes camera department approved. We can move fast when switching matte boxes and follow focuses, and that means a lot as camera teams everywhere have been asked to deliver more with less. I’m also happy that the set includes both a 27mm and a 32mm — two focal lengths that I’ve often wished more manufacturers embraced.

    These twelve lenses (8 at launch, 4 more coming in 2026) are the world’s first T1.3 primes covering large-format camera sensors (especially Alexa Mini LF in Open Gate). But being first for the sake of being first means nothing if the lenses don’t perform optically. And, perform they do.

    I was lucky enough to receive a few Aizu focal lengths for testing on a recent shoot for NBC’s Wild Kingdom as well as a commercial shoot, and I immediately threw them into the mix. There is indeed an organic feel to their look, but it is the three-dimensional nature of their look that first stood out to me. Lens nerds of all kinds call this feel different things — for example, this look could be called “pop” or “separation” too.

    In short, there is a beautiful three-dimensional feel that separates the in-focus foreground subject and the background. I love it, and it’s one of my favorite things about the Aizu Primes. Pair that with a modern and flattering level of sharpness that your on-camera talent will love, and you have a look that isn’t too aggressive but sharp enough to bring out the details in any situation.

    The close focus performance with this set is also extraordinary, with the 25mm close focus landing at just 1 foot (31cm), for example. That’s not measured from the front of the lens — that’s 1 foot from the sensor of the camera. This simply means you are reaching for your macro lens less.

    With the Aizu Primes, there can be some subtle flare from light sources, but that too isn’t overwhelming. If you want a flare in your scene you can make it happen, but you don’t need to be afraid that every light source will lead to a flare that may distract from the performance of your subject. The flare handling is a great balance.

    Oftentimes, we associate different looks with different genres (for better or for worse) — for example, the current in-vogue look in true crime tends to be cooler, darker and sharper. Rom Coms tend to be more warm and saturated. The Sigma Aizu Primes work in both worlds and a wide spectrum in between, and that also means, for me, they are safer choices to own. Simply put, they work in more circumstances and thus the investment makes more sense to me as an owner/op or from a rental house perspective.

    The Zeiss eXtended Data port based on Cooke’s i/Technology protocol also future proofs the Aizu Prime line for owners and users. You may or may not work with post VFX teams currently, but the post team will love access to lens characteristics data to help their environments feel more real. All you need is a 4-pin LEMO cable going from the lens to your favorite camera body with a compatible port. Again, you may not need it on every project, but you’ll be surprised how quickly this functionality becomes “mandatory” for a variety of different departments.

    We don’t talk about this enough, but I also know that Sigma has my back from a service perspective. Having worked in military planes and even on the side of F1 tracks in Austria, I know that stuff happens and there is a level of comfort knowing that if I need a repair I can make that happen quickly and keep on filming.

    The Aizu Prime line of lenses checks a lot of boxes for cinematographers, especially those who want consistency and unwavering quality. Of course, if you’re looking for more versatility, Sigma’s upcoming AF Cine Line — which includes the aforementioned 28-45mm and 28-105mm lenses, revamped for cine applications — is going to be another impressive addition. As an avid E-mount user, I’m going to keep my eyes open for more news there.

    It isn’t lost on me that there is a lot of choice in the cinema lens market. For me, beyond the gorgeous look of the Aizu Primes, it comes down to trust. Having worked with Sigma lenses for years now, I know I can take these new lenses into the snow, jungle and desert with confidence.


    Source link

  • How to Take Incredible Photographs of Flowers

    How to Take Incredible Photographs of Flowers


    This is a guest post from Izabela Korwel. Check out Iza’s amazing macro photography on her blog, follow her on Twitter, Facebook and also on Google +!

    Flowers are the easy subjects to come by and to photograph, even close to home. You can go to local park or find a flower bed downtown or at the mall. You can visit a botanical garden, there is one in every major city. You can ask the neighbors if you can photograph in their garden. You can also just go the flower shop and buy potted or cut flowers, and set them up in your living room.

    The easiest way, as I discovered this year, is to plant small flower garden in front of your house. Even for the sole purpose of having a photographic subject handy, they do not require that much work, especially if you choose the local wild flowers. The diversity in types and colors will help keeping you interested and returning often to add to the collection of images. Each day, the flowers will looks different, some will be already dying, and some will just start to bloom. There are new and different photos to be taken each and every day.

    Don’t Forget to Check The Weather!

    Weather is going to be your worst enemy. Sun and wind are two ingredients you need to be aware of at any moment.

    They say that macro photography of flowers (and other plants) is the one type of photography allowed in the midday harsh light. Don’t believe it. It will at times create as much contrast between your highlights and shadows as for any other subject. Unless of course your flower subjects are in the shade or under a scrim. Pay attention to the light, and either photograph during “golden hour” or at times when the sun in on opposite side of the house. It will create far more beautiful images.

    It is going to be quite difficult to avoid the wind. Even a small breeze can shake high stem flowers enough to result in blurry images. Especially if you photograph in the shade, with stepped down aperture (large f/ stops) for increased depth of field, the shutter speeds will be slow and the slightest movement of the flower will be magnified in your photograph. There is not much you can about it. Check the wether and pick the day of the week and the time of the day with the calmest conditions. Pick the side of house for your garden opposite to prevailing wind direction in your area. But also, you can just incorporate the movement into your photographs for fresh, creative look.

    What Gear Do You Need for Flower Photography?

    Photography of flowers is oftentimes at borderline of close-up and macro work.

    If you have a point and shoot camera, many have excellent macro mode, which will allow you to get close. Turn it on.

    On a dSLR, you will get the best results from dedicated macro lens. They come in few focal lengths, which vary by manufacturer. I found the Nikkor 85 mm works well for me and my shooting style. In fact, all images in this post but one were take with this lens. You can rent and try different lenses from one of several reputable online services (like BorrowLenses.com, LensRentals.com, LensProToGo.com) or check in local camera store before investing your money in one. Also consider that many all-in-one zoom lenses, like the Nikkor 18-200 mm or Sigma 18-300 mm I use, will allow you to focus from just few inches away. Other options include extension tubes and macro filters. This last option is the least recommended, but the least expensive at the same time.

    Use These Settings for Best Results

    The camera settings you choose will have strong effect on the final image. Play with them, if your camera allows it.

    The ISO is best left alone on the highest setting you are comfortable on your camera. The higher the ISO, the shorter your shutter speed will be, but the more noise you will get. On most dSLRs, 400 or 800 is the best choice.

    The other parameter you probably don’t need to worry much is the white balance. First, most dSLRs are quite good on the Automatic mode. Secondly, if you shoot RAW, you will have the most flexibility to change it afterwards. Third, the flower images are usually fine art not documentary, and as such are subject to artistic freedom. You might even try changing the white balance to warmer or colder for some artistic reason.

    The Aperture priority or Manual mode will give you the most control over remaining settings. But stay away from really wide open apertures like f/1.8, or even f/5.6. Many beginners enjoy the shallow depth of field, especially shortly after upgrading from point-and-shoot which typically have unlimited depth of field. When you are close to the subject, the depth of field is too narrow and just not enough for any part of the flower to be in sufficient focus. You will quickly realize that anything starting from f/11 or even f/14 gives enough depth of field to avoid the feeling of out-of-focus, blurry image. Many times it is best to go as high as lens allows, up to f/22 or f/32 depending on the lens. Be also careful in how you position the camera in relation to the flower. The more parallel the sensor and the part of flower you want in sharp focus are, the easier it will be to achieve crispy look.

    At the same time, the stepped down aperture might cause your background to come in focus and make the image too cluttered. To avoid it and have more control over the aesthetic of your background, replace it with your own. Take several different out of focus photographs- of cloudy sky, trees in several shades of green etc. If it is not single, solid color, it will look more natural. Print them as 11×14, and glue them onto foam core for more sturdiness and use as on-demand background. The more color choices, the more flexibility.

    Getting Better Flower Photos With Precision

    The last two pieces of advice in this post are going to have the most impact on your flower photography. These are also the two things too many of beginning photographers ignore, thinking they will be just fine without them. The results are mediocre instead of excellent.

    First, put the camera on tripod. Really. It does not need to be fancy setup with ball head and removable center column, although it helps. What it has to be, however, is sturdy enough to keep the weight of the your camera. I am using Manfrotto 055XPROB with 488RC2 ball head. I went through several cheap, plastic tripods before giving up and finally investing into it. Avoid my mistake.

    Secondly, use manual focus. Even with stepped down aperture, the depth of field will still be narrow. With the stabilized tripod, now you can make the decision if the middle of the flower or the petals are where you want viewers to look first.

    I hope those few basic tips will get you interested in finding some flowers now and photographing them. Be creative. Have fun. And if you feel there is anything important I forgot, please ask a question or add your tips in the comments section.
    Source link

  • New Sea&Sea YS-D130R Strobe Under Development

    New Sea&Sea YS-D130R Strobe Under Development


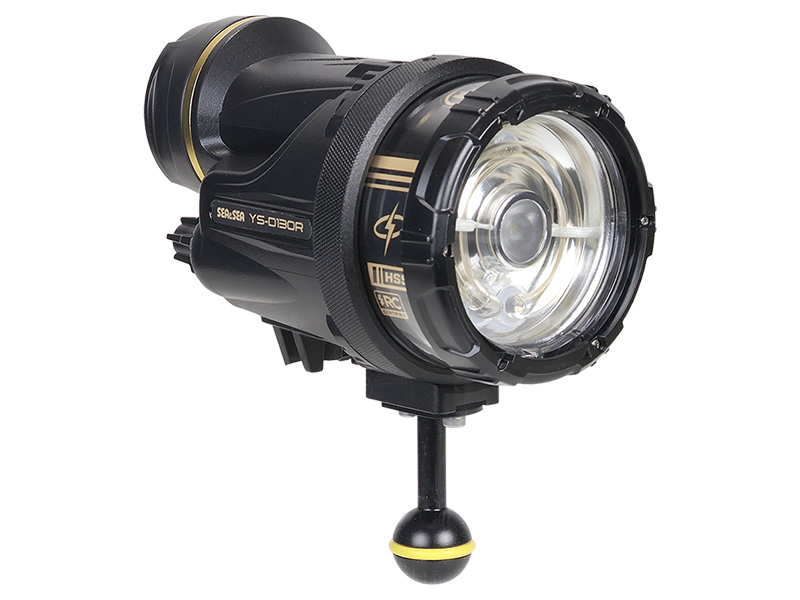
    Not to be outdone by the slew of manufacturers flooding the strobe market of late—think AOI Q1i, Ikelite Ecko, Ikelite RC165/DS165, Isotta RED64, Kraken Sports KR-S40 and Retra Flash Pro Max II—Sea&Sea has teased a new strobe currently “under development” called the YS-D130R.

    The Japanese company isn’t giving too much away, but their product page refers to a “high-output strobe equipped with a circular flash tube designed to deliver smooth, even lighting distribution.” Promising that “advanced customization options allow for precise control across a wide range of camera systems and shooting styles,” the new strobe offers manual power settings as well as DS-TTL and OM System’s RC TTL. Sea&Sea also says the new model features a “redesigned battery system.”


    Interestingly, Sea&Sea make a point of showing where exactly the YS-D130R will sit in their range—namely, at the very top, above the YS-D3 DUO, the YS-01 SOLIS and the YS-03 SOLIS. While no number is given to indicate power, it’s notable that the new strobe sports a circular flash tube like the much-loved-but-long-discontinued YS-250PRO, which claimed a guide number of 32.

    No pricing is currently available, but retailers such as Backscatter are already taking pre-orders for the Sea&Sea YS-D130R.


    When purchasing underwater photography equipment like the products mentioned in this article, please support DPG by supporting our retail partner—Backscatter.com.


    Source link

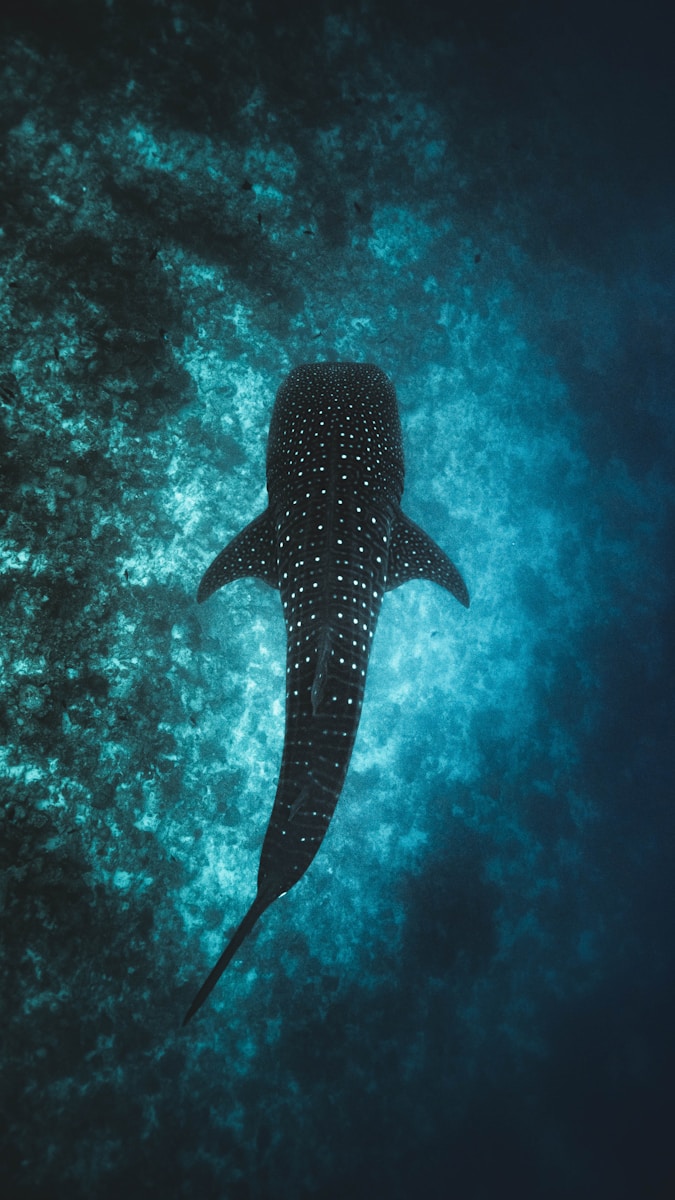
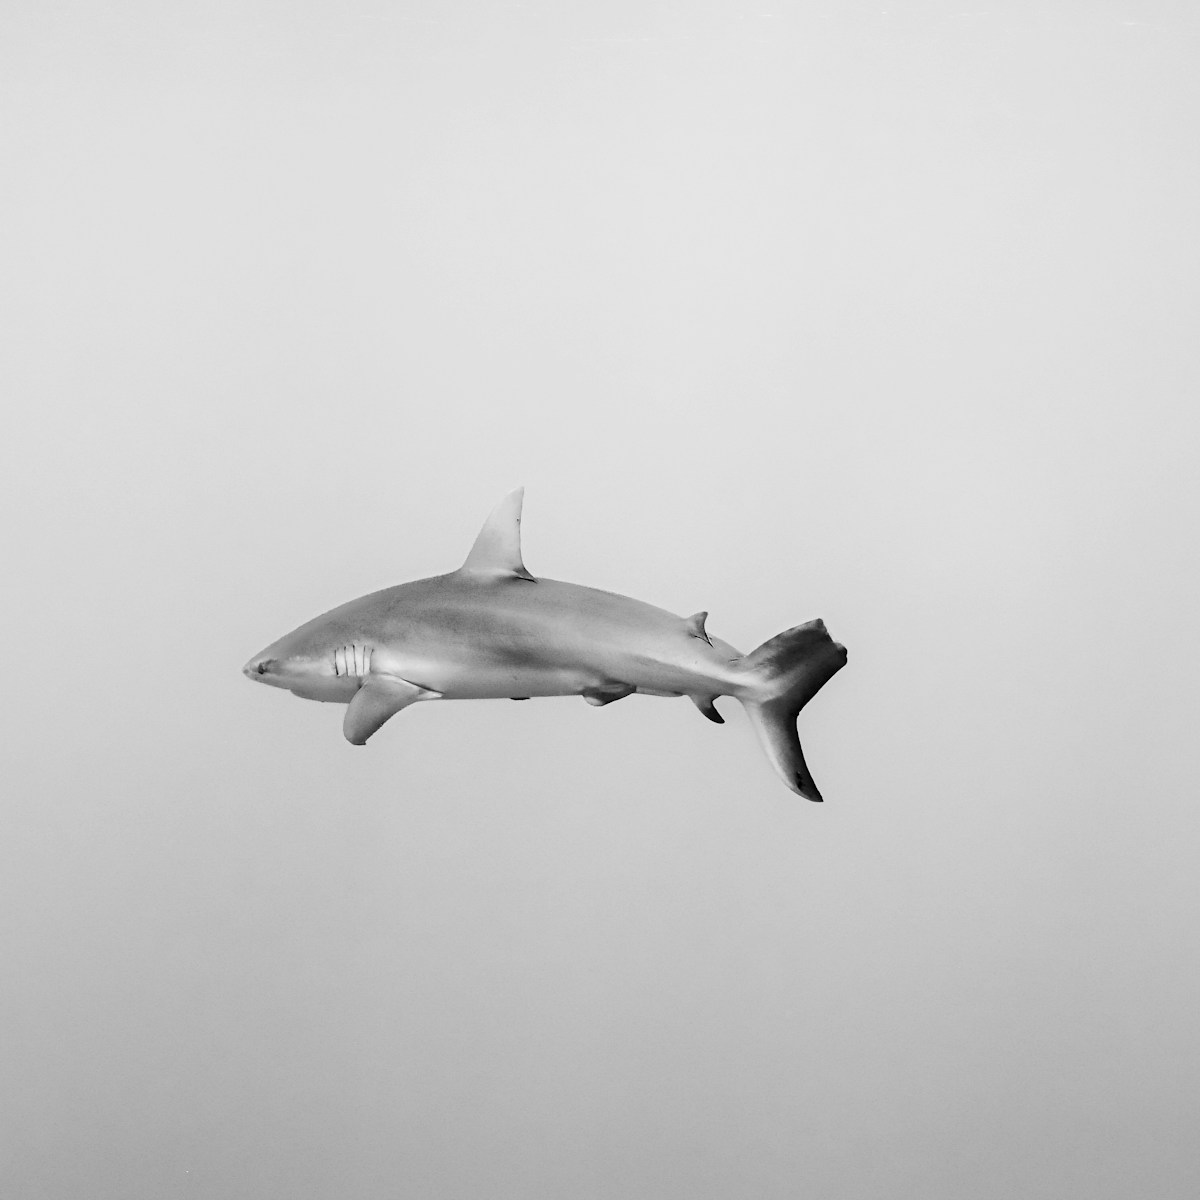
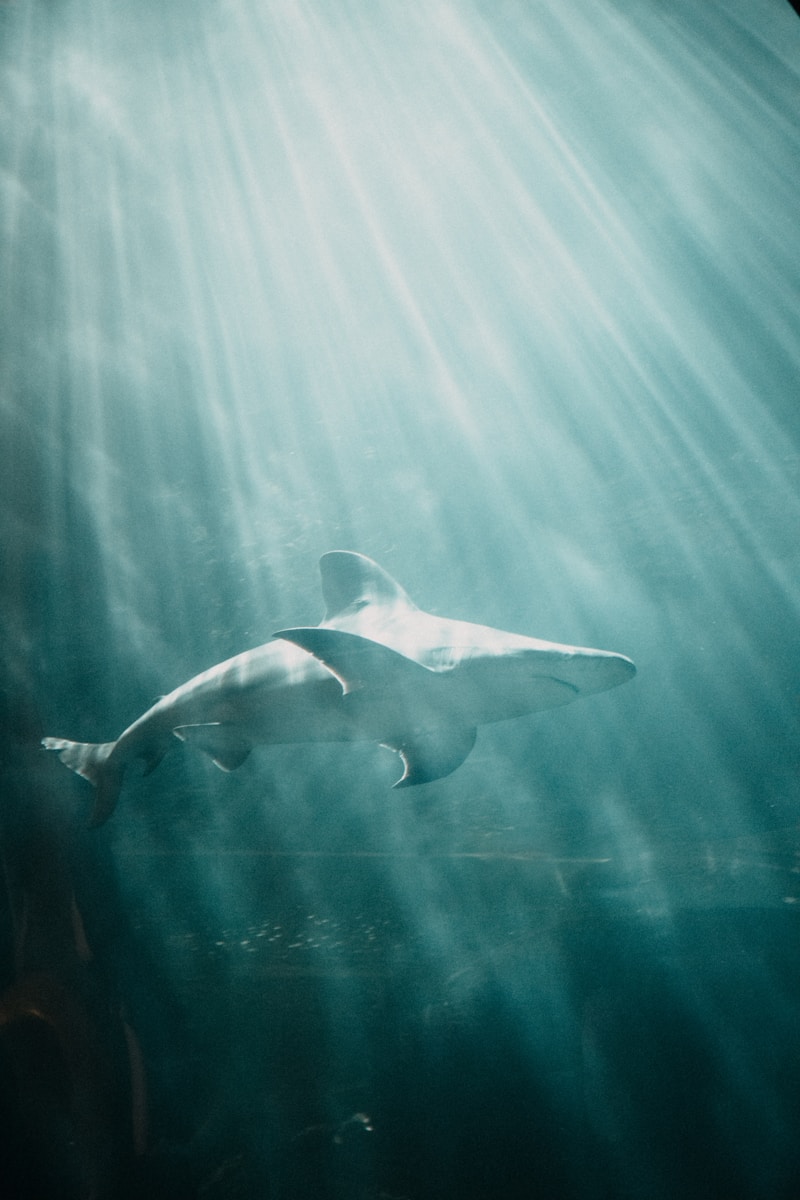
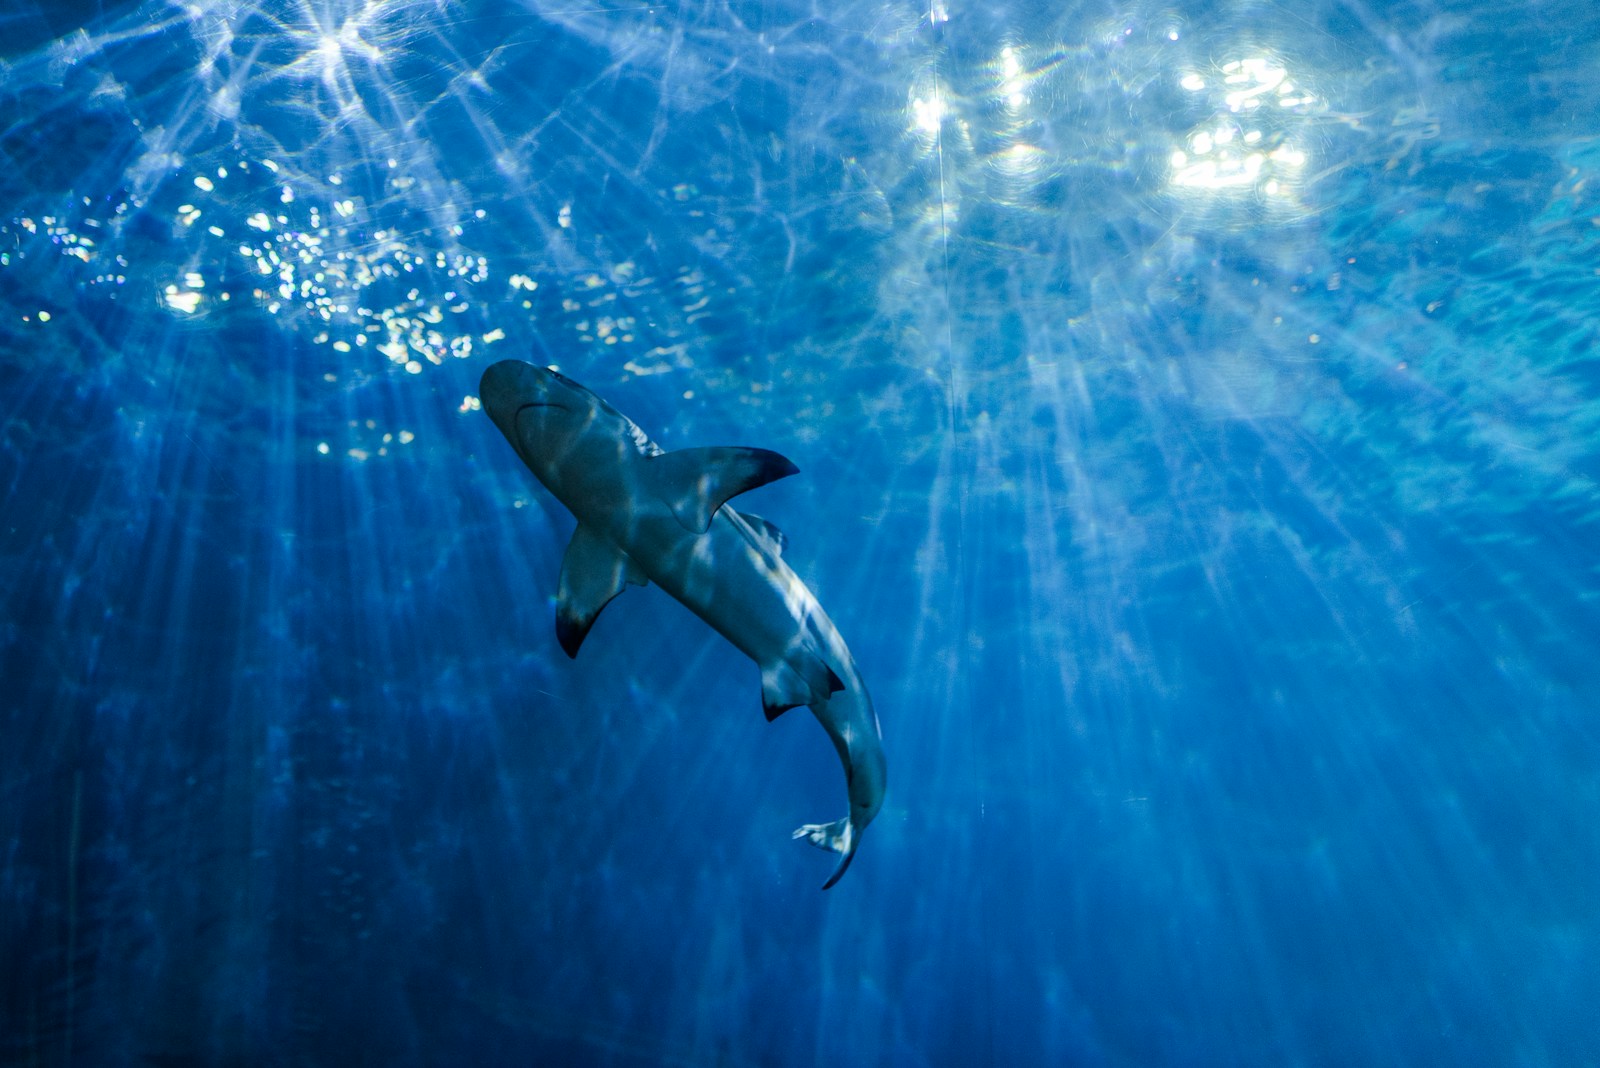
  • 17 Creative Photos of Sharks for Shark Week 2025!

    17 Creative Photos of Sharks for Shark Week 2025!


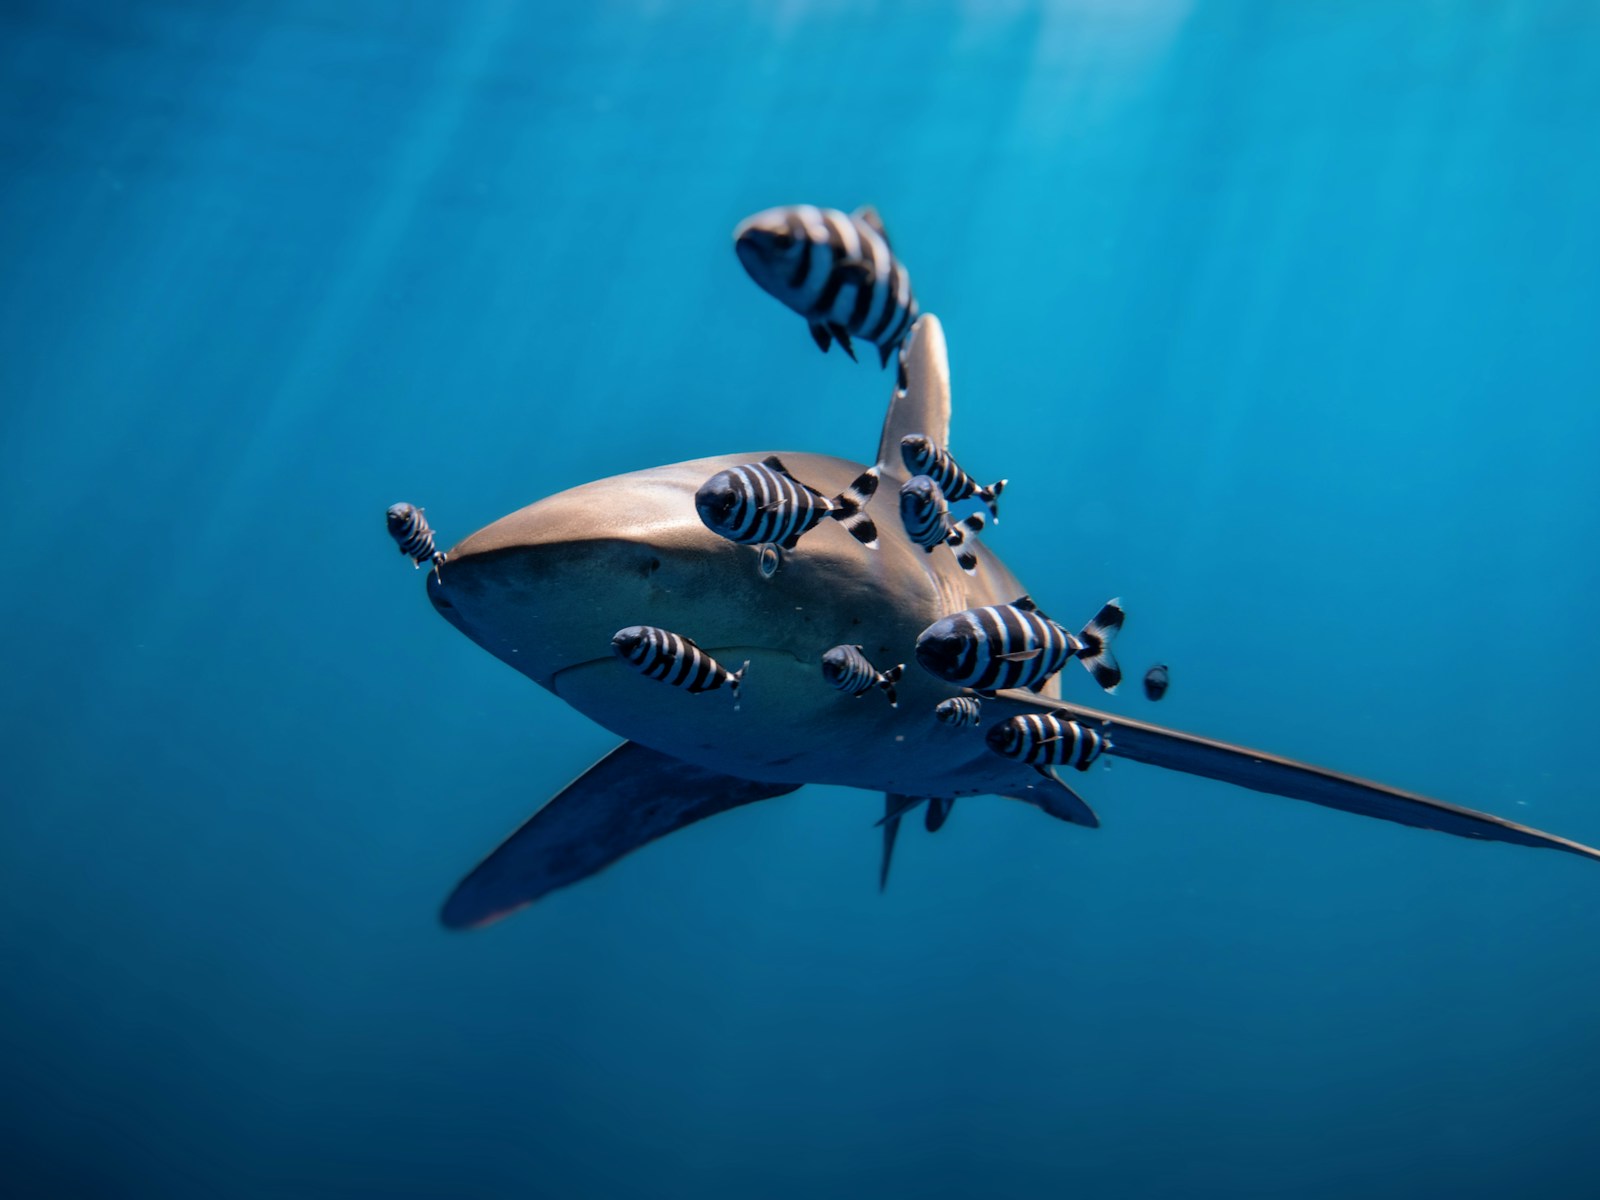
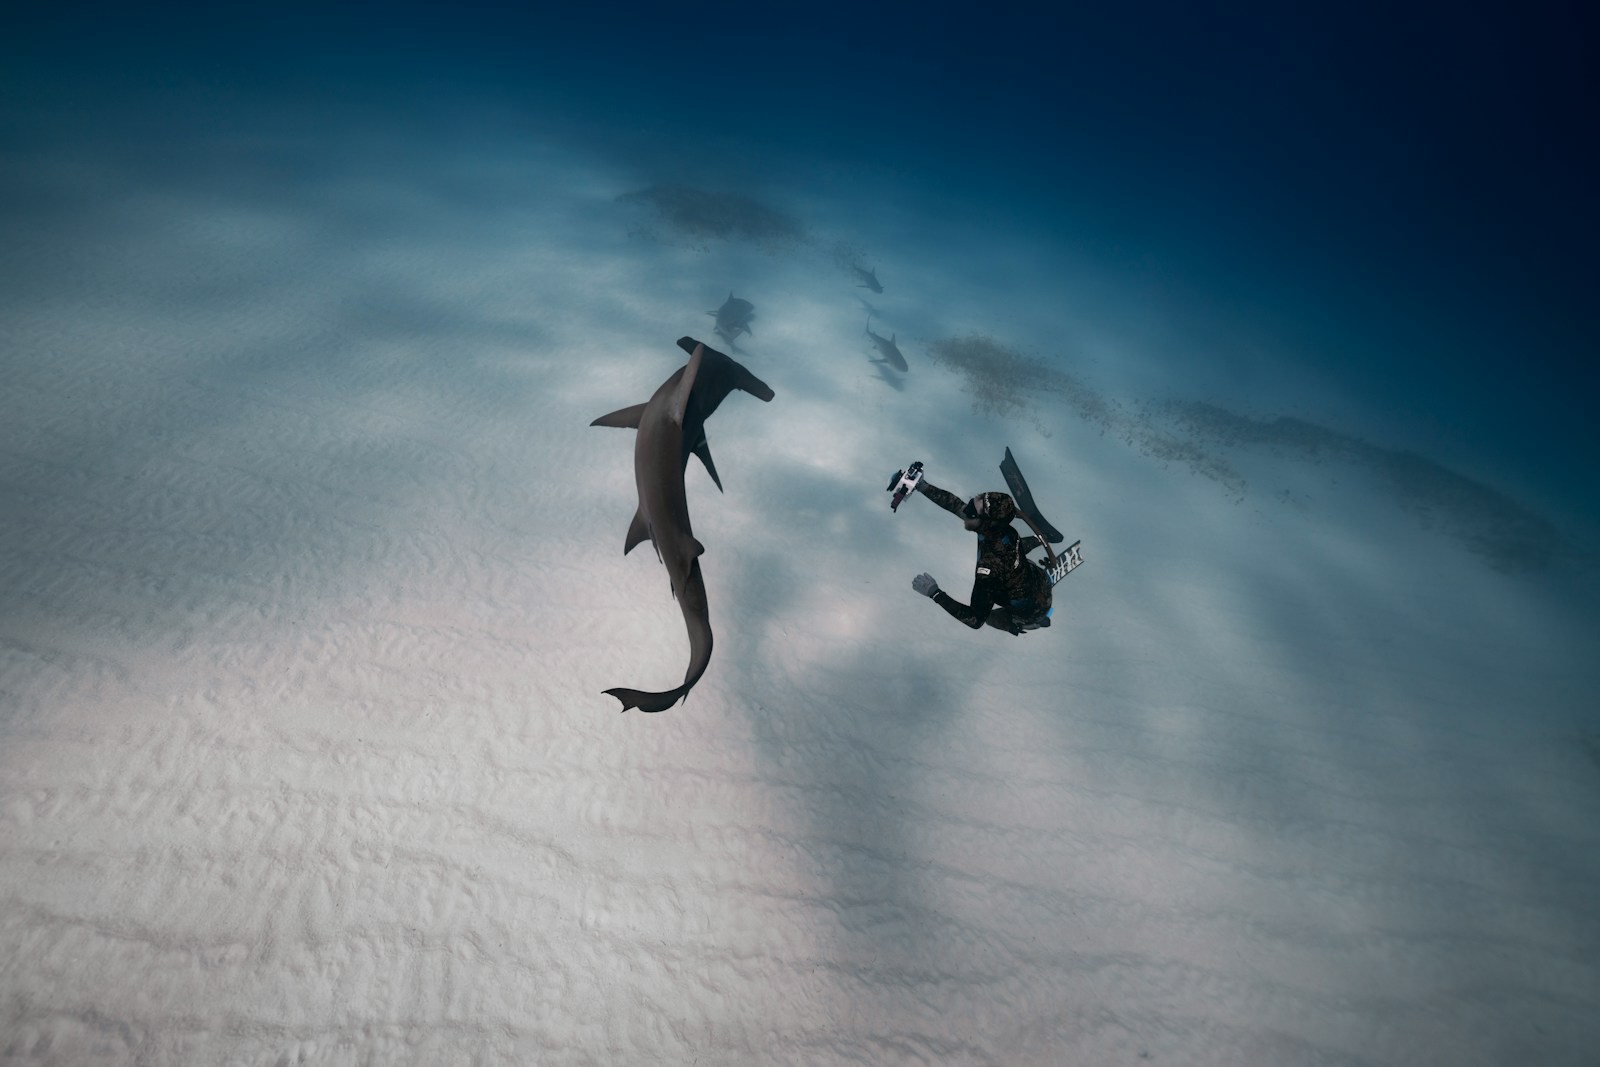
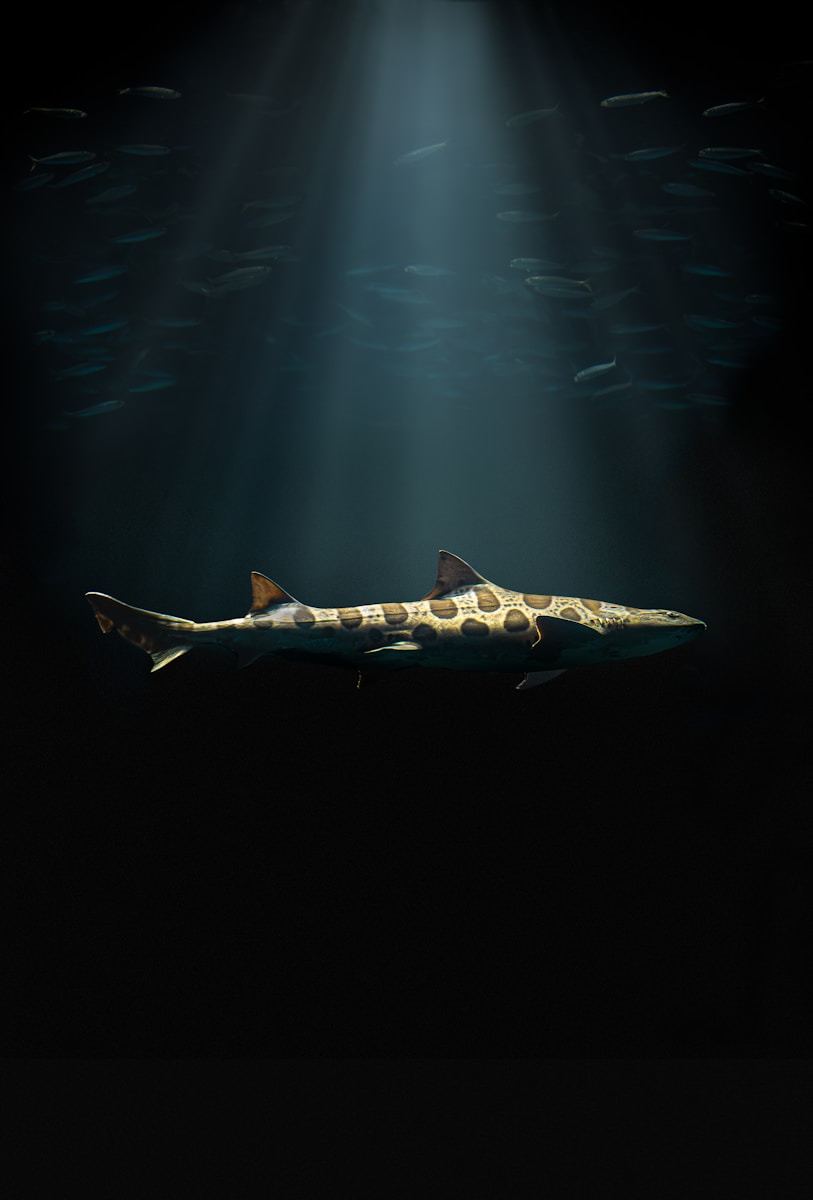
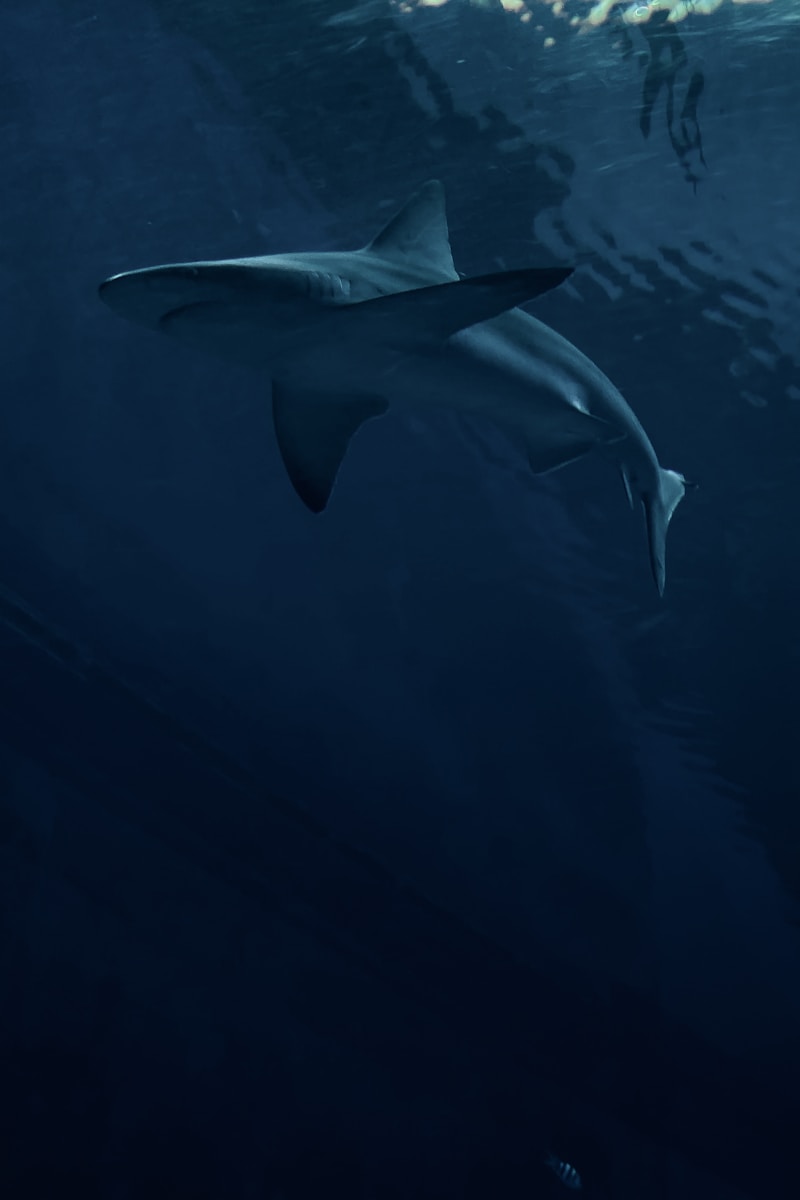
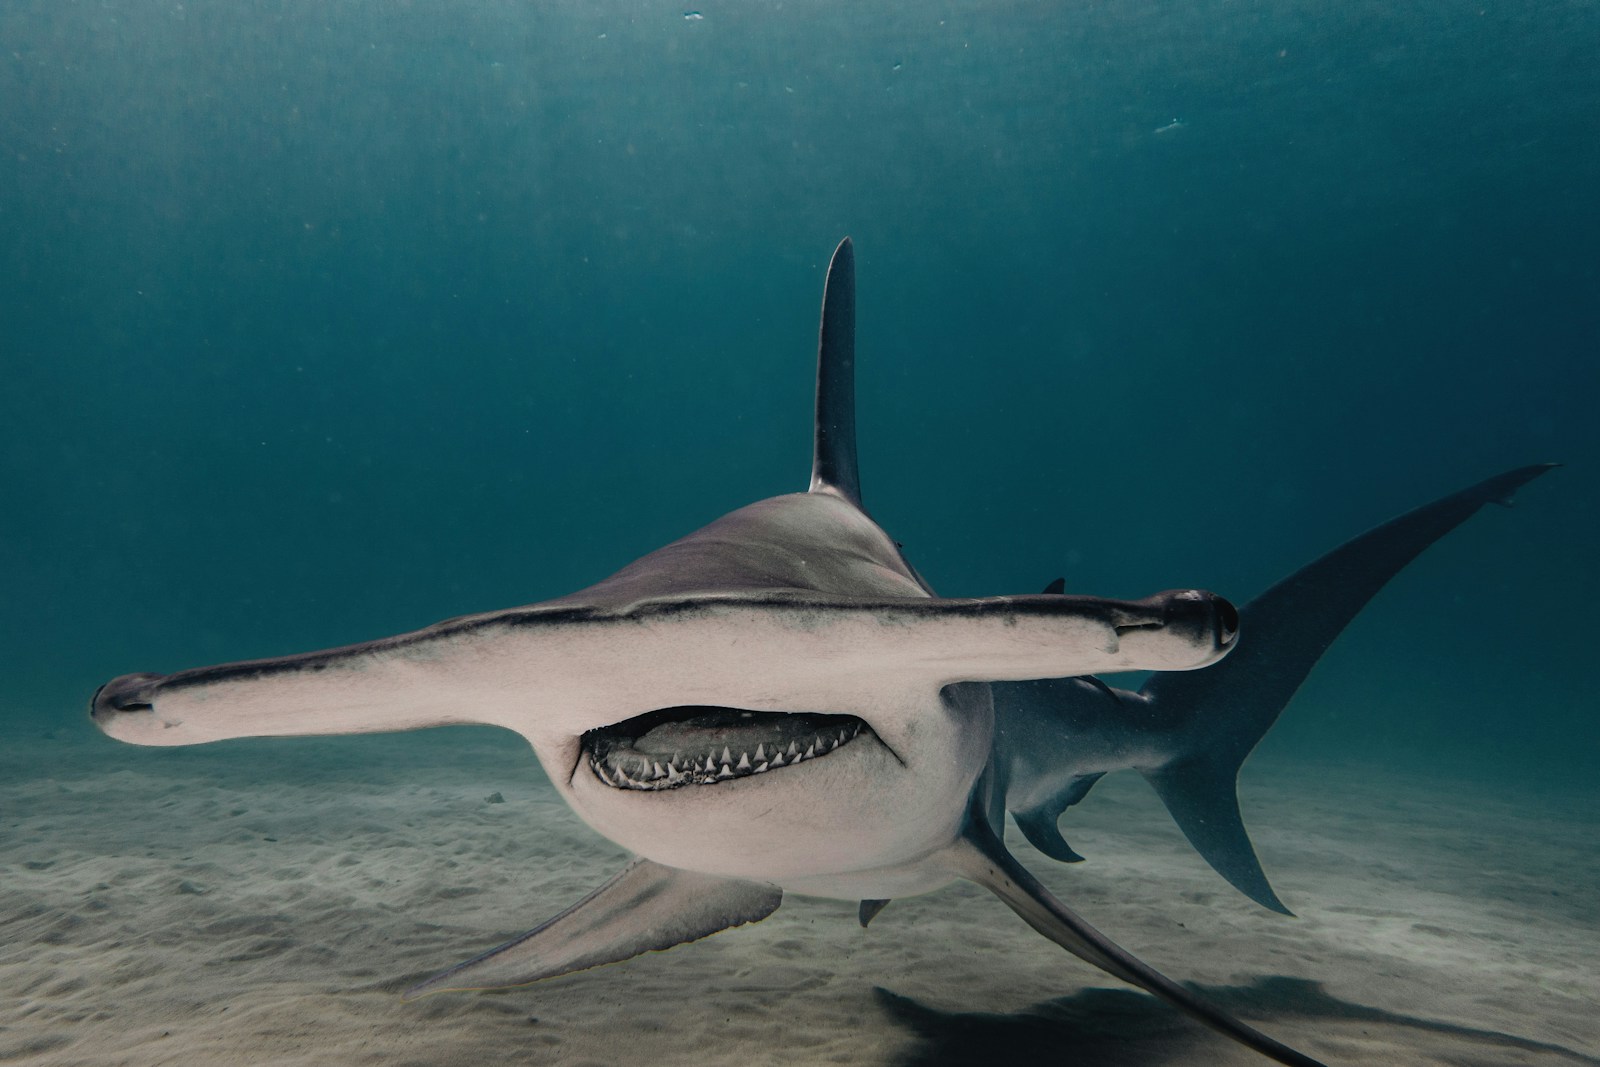
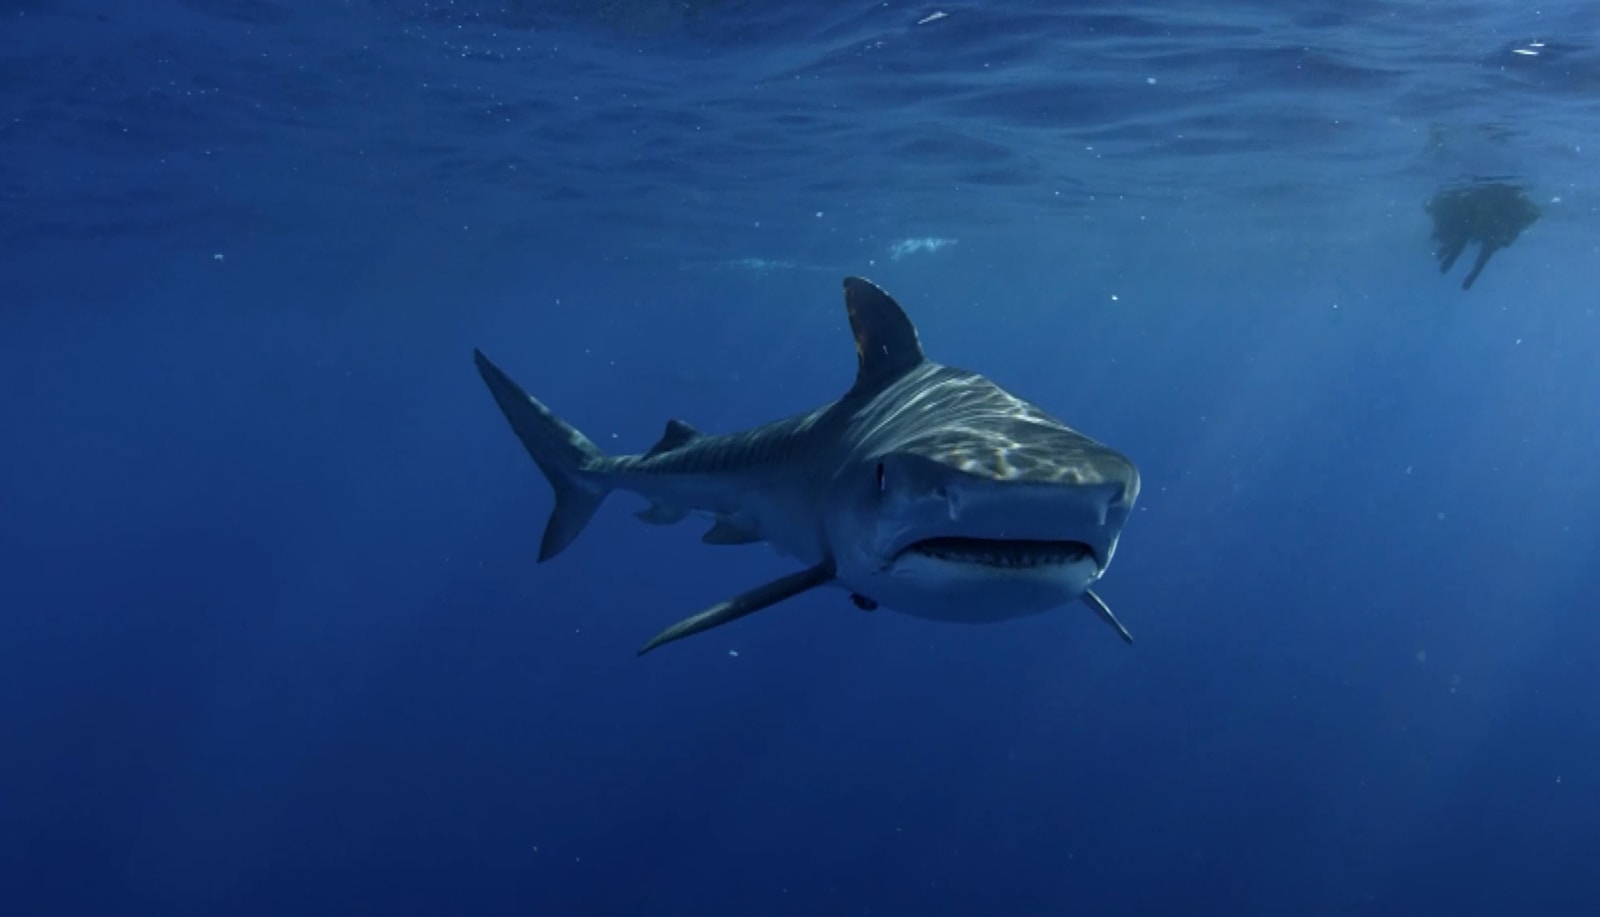
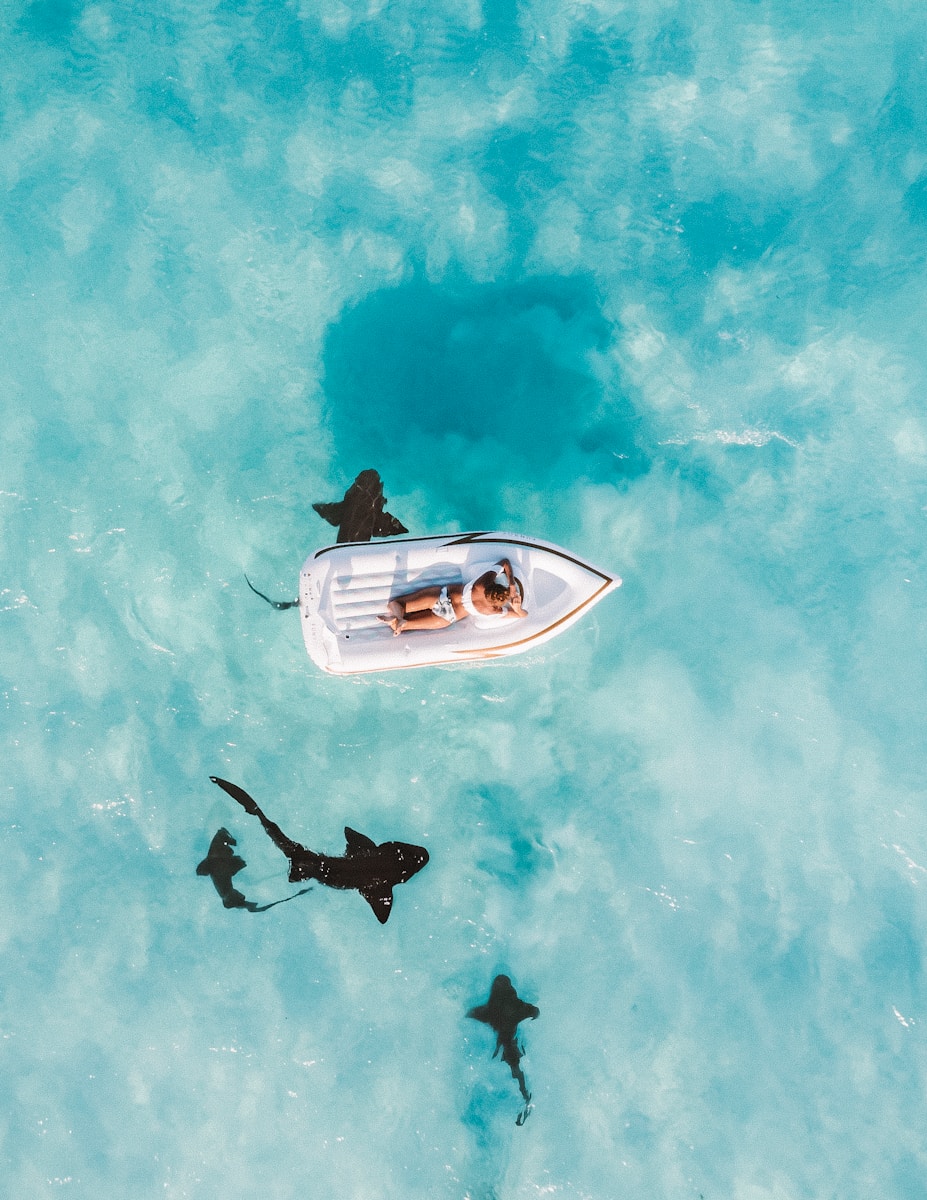
    For those brave enough to photograph sharks in their natural environment, the visual rewards can often be quite stunning. Some photographers even make their entire reputation about underwater photography and their creative approaches. As part of the Shark Week 2025 movement we thought we’d show some of our favourite photographs of sharks for a little bit of inspiration. We certainly are not saying you should go out and shoot these yourselves without a lot of experience, but sharks are a huge part of our natural diversity and deserve this spot in the photography pantheon.

    a black and white photo of a shark in the snow
    Michael Worden
    black fish at water
    Ishan @seefromthesky
    A black and white photo of a shark
    Kinø
    a large white shark swimming in the ocean
    Amanda Bear
    a shark swims under the water in the ocean
    Elizabeth Villalta

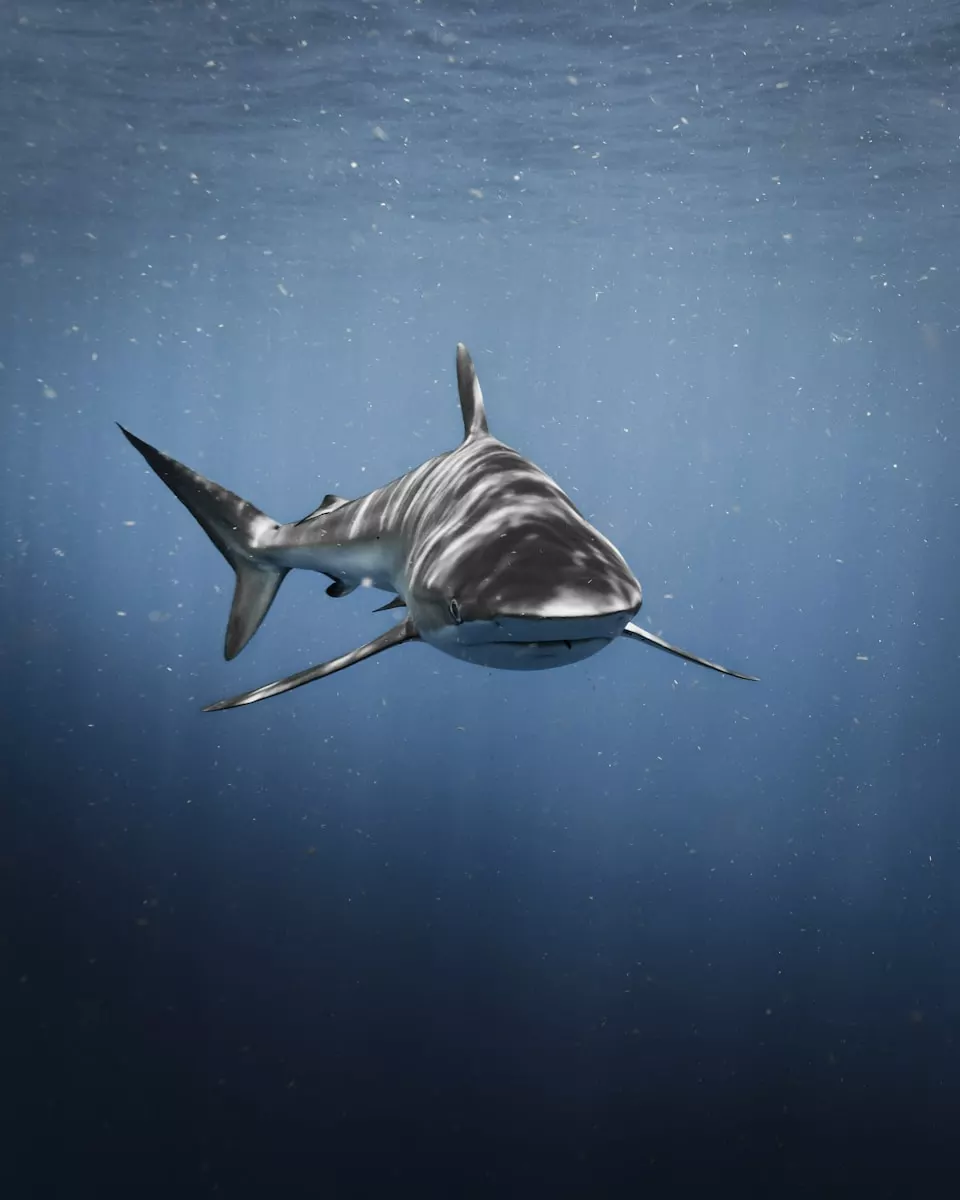
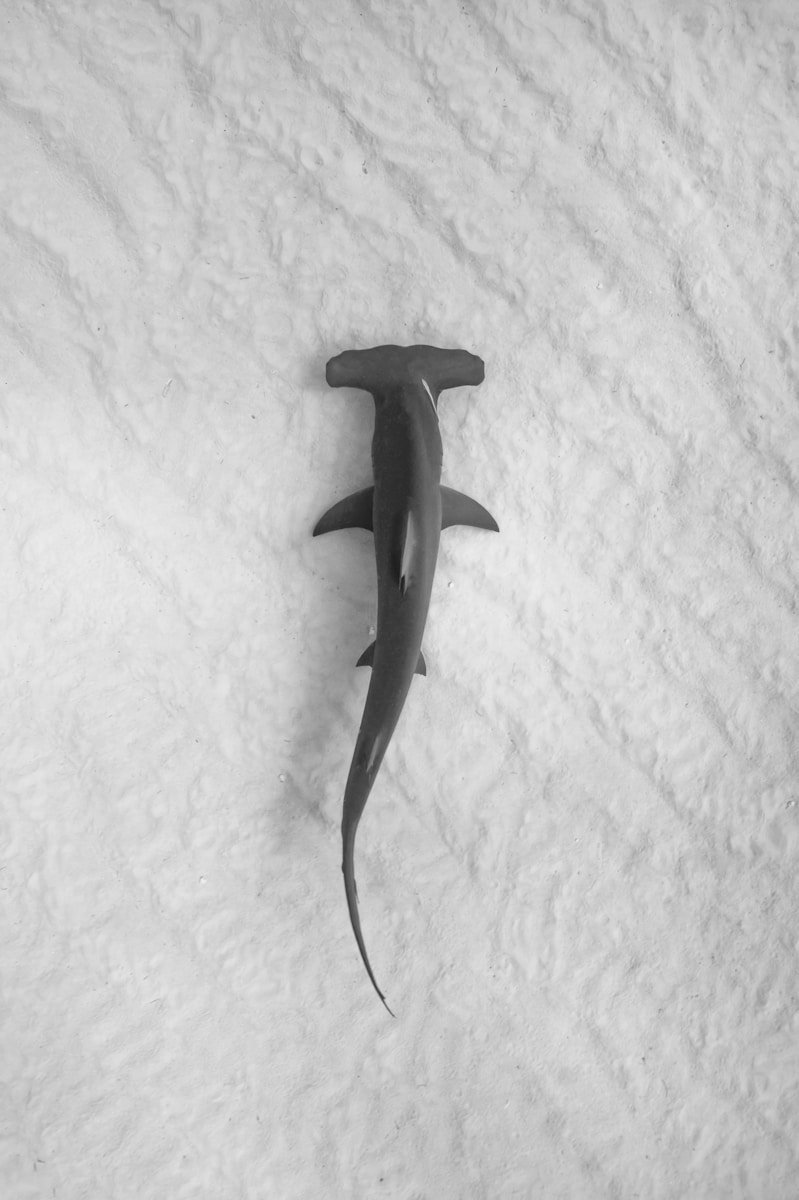
    The common thread that units all of these wonderful photographs of sharks is that these particular ones all have exceptional composition. With very clearly defined centres of interest and lots of negative space to draw your eye to that centre of interest it’s a skill that makes for a very compelling photograph. If you would like to get some tips on your own compel compositions then don’t forget to check out our composition drills here.

    a shark that is swimming in the water
    Gerald Schömbs
    a couple of people are diving in the water
    Michael Worden
    white and black shark in water
    Gabriel Dizzi
    A shark swimming in the ocean with a light shining on it
    Jonathan Lackey
    white shark under the sea
    Owen Harding
    a great white shark swimming in the ocean
    Chase Baker
    white and black shark tail
    Ali Maah
    gray shark surrounded with fishes
    Kris-Mikael Krister
    a shark swimming in the ocean with its mouth open
    Gerald Schömbs
    a great white shark swimming in the ocean
    Oleksandr Sushko
    person sun bathing on white inflatable buoy under sunny skies
    Jared Rice
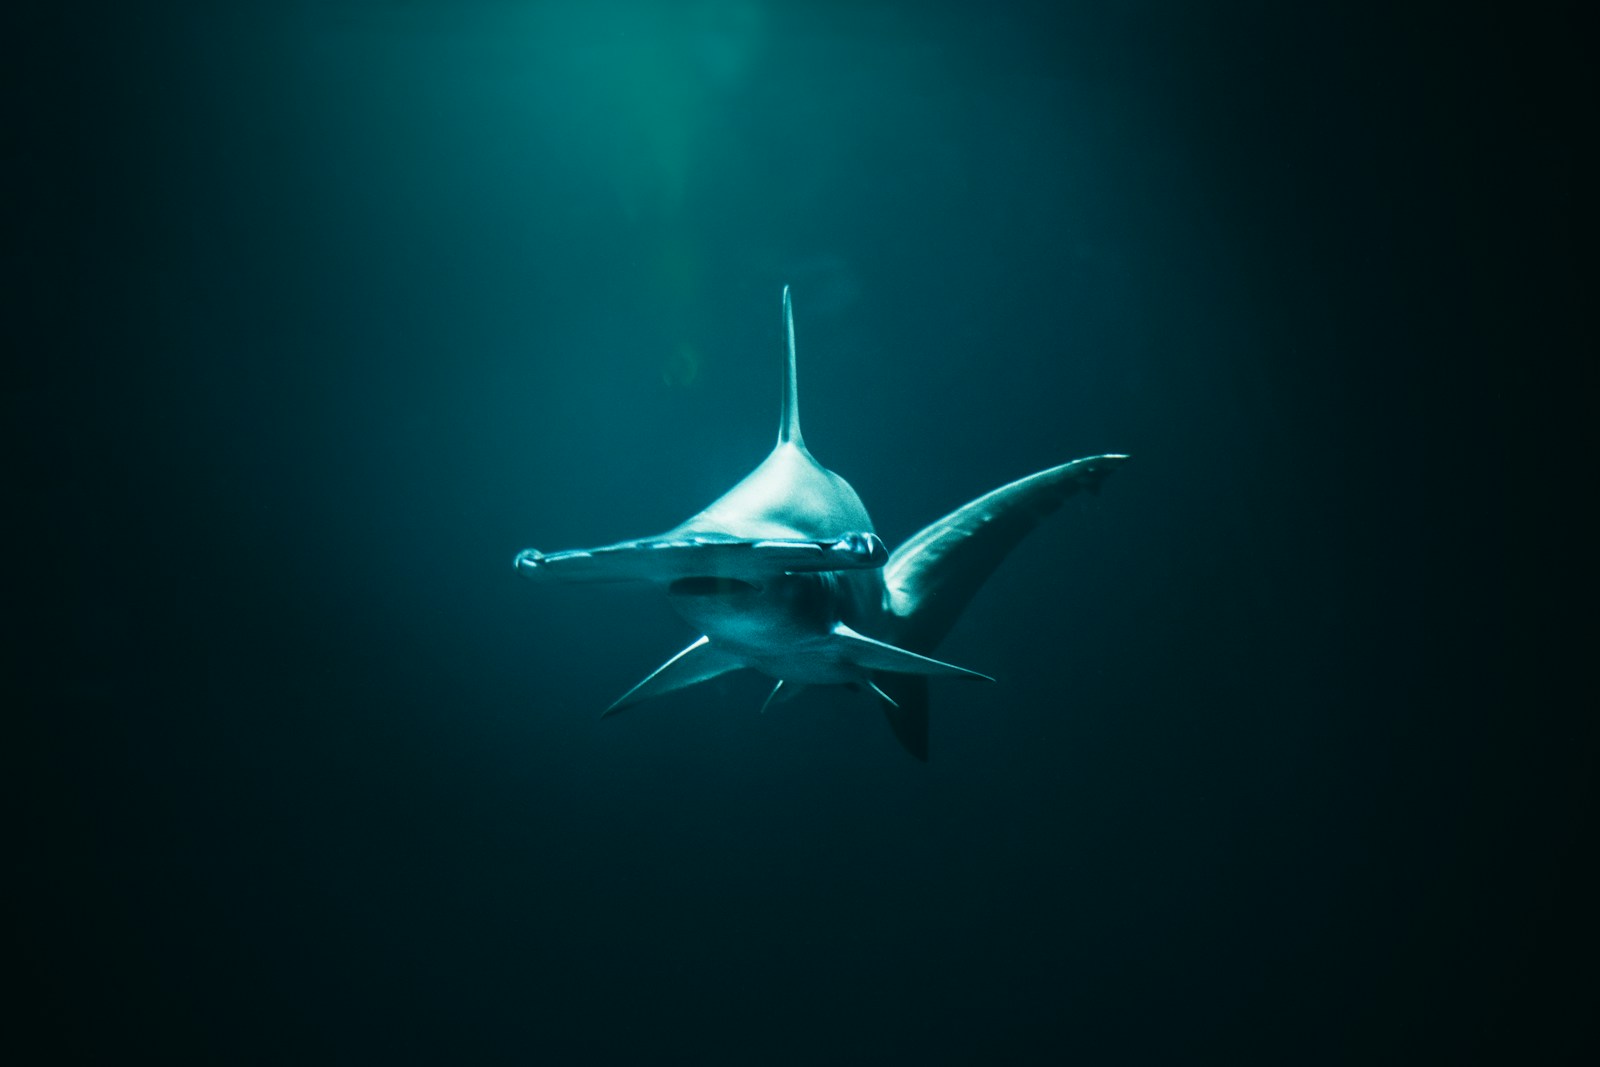
    closeup photo of hammerhead shark
    Jonas Allert

    It’s wonderful that the Discovery Channel has started this annual tradition of celebrating sharks and given us an opportunity to take a look at some of the inspirational images photographers can take with this wonderful subject. Hopefully this collection has given you a few things to think about.

    Share:  


    Source link

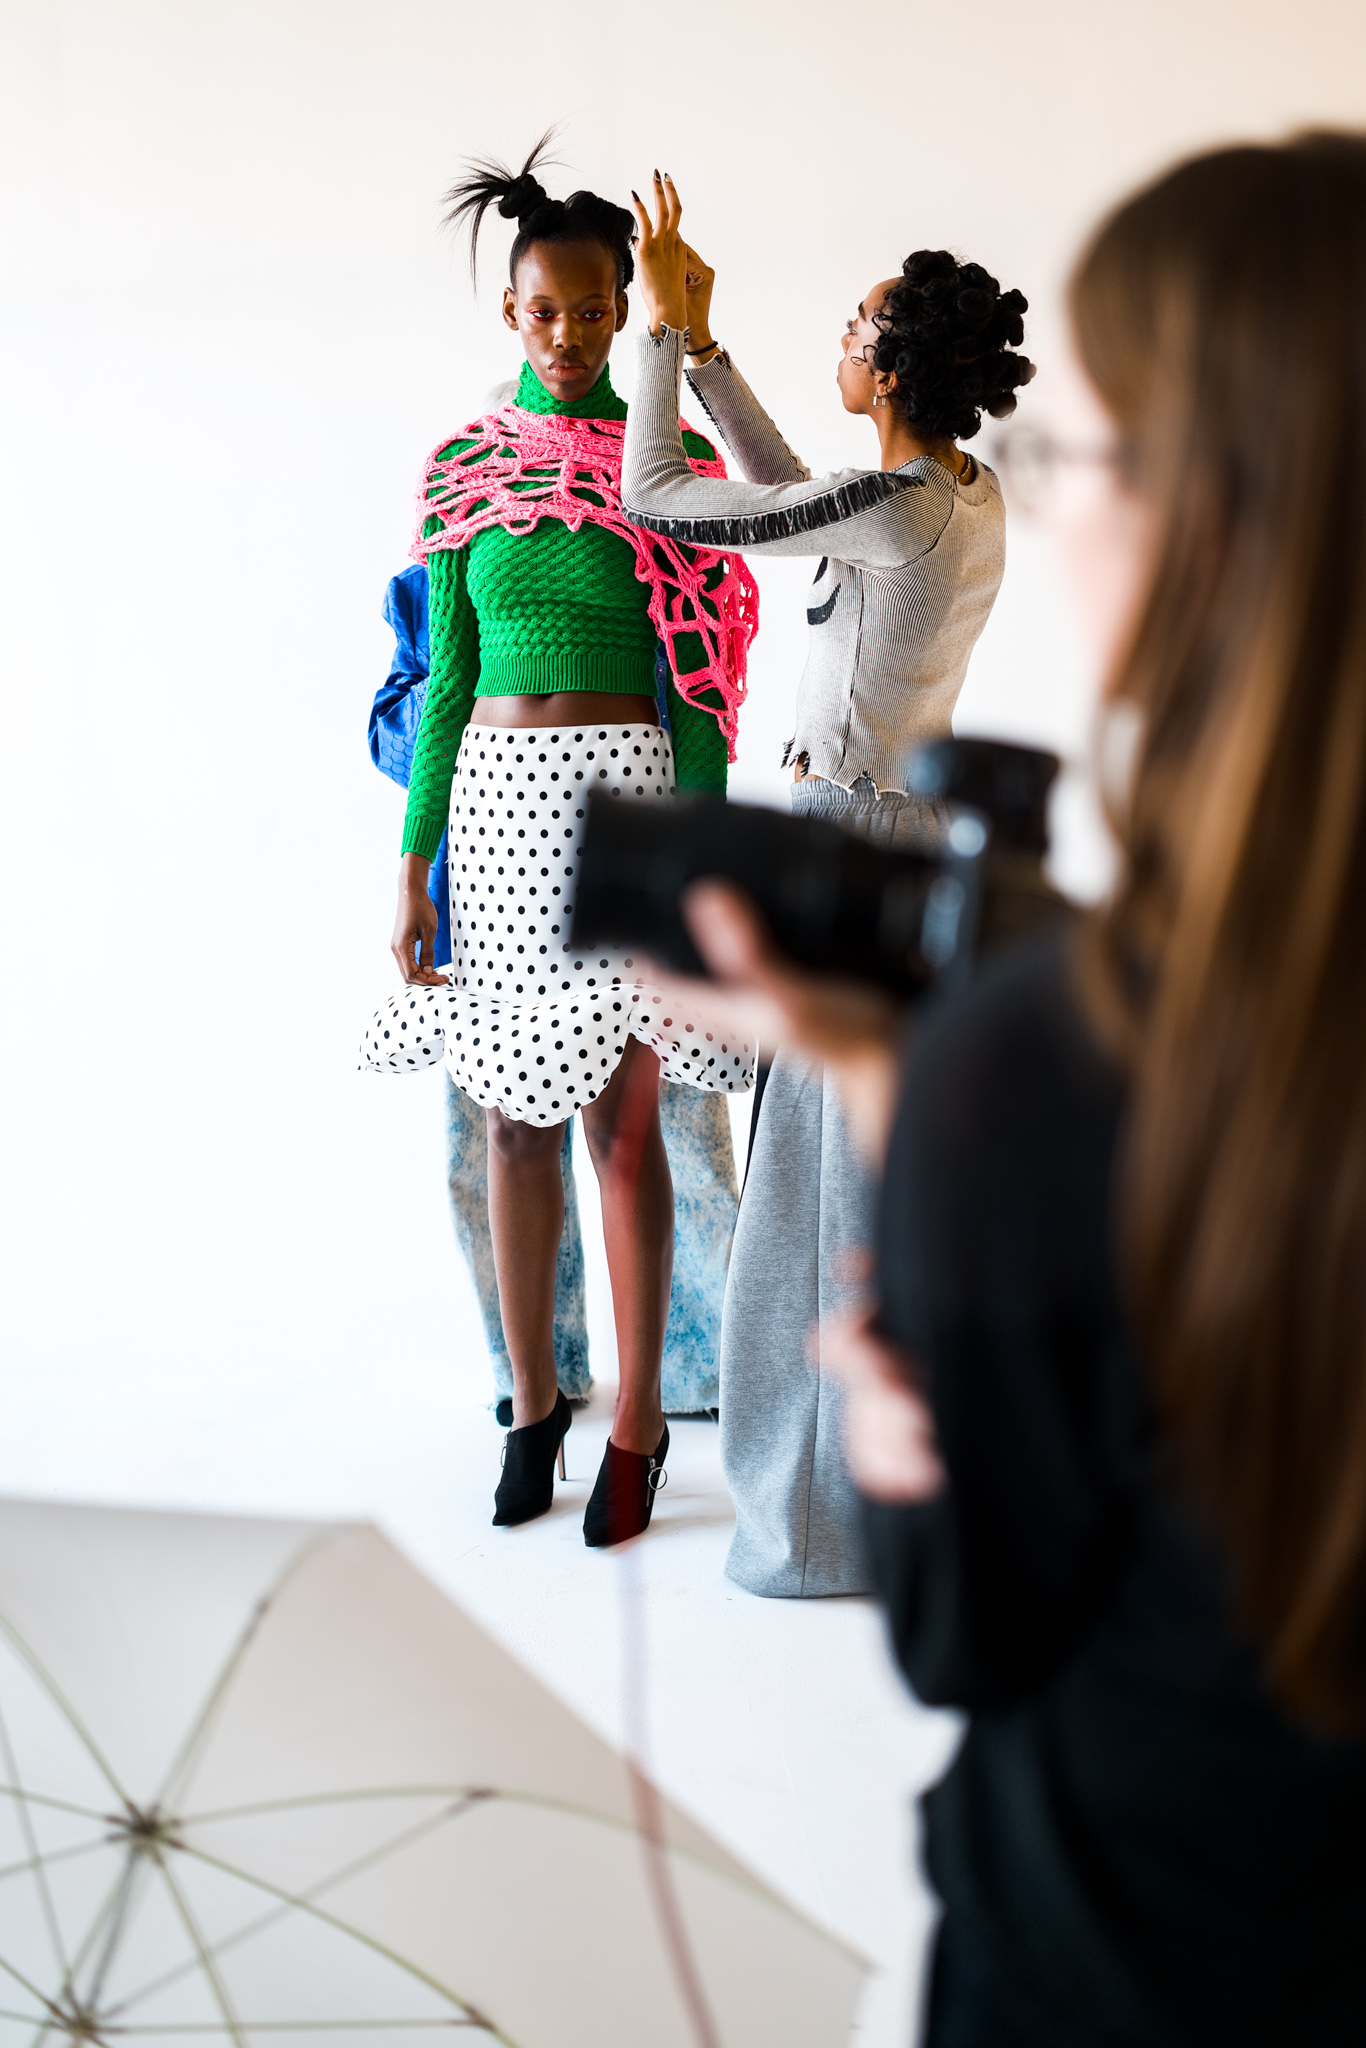
  • Behind the Scenes on a Fashion Shoot with the Sigma BF

    Behind the Scenes on a Fashion Shoot with the Sigma BF


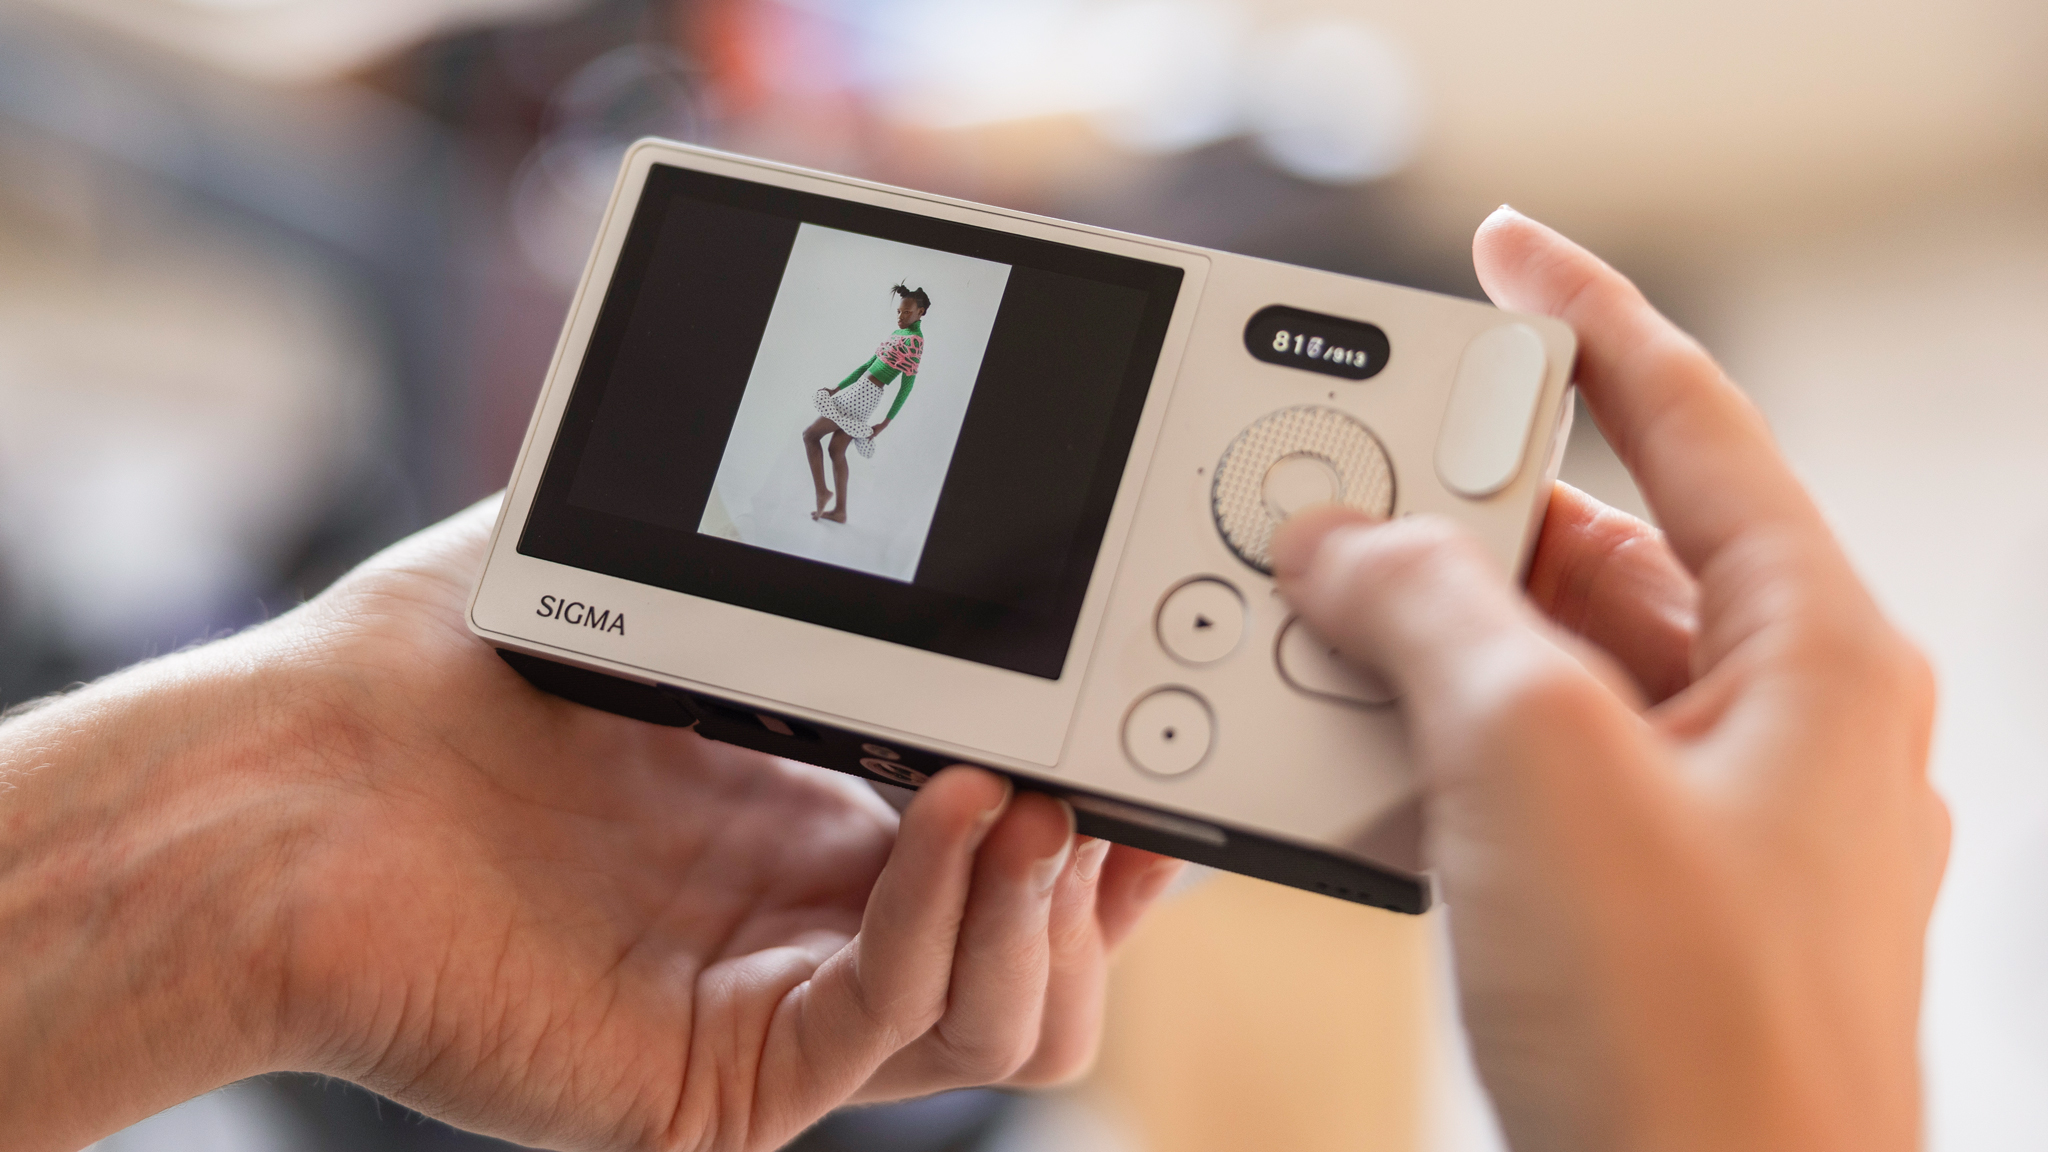
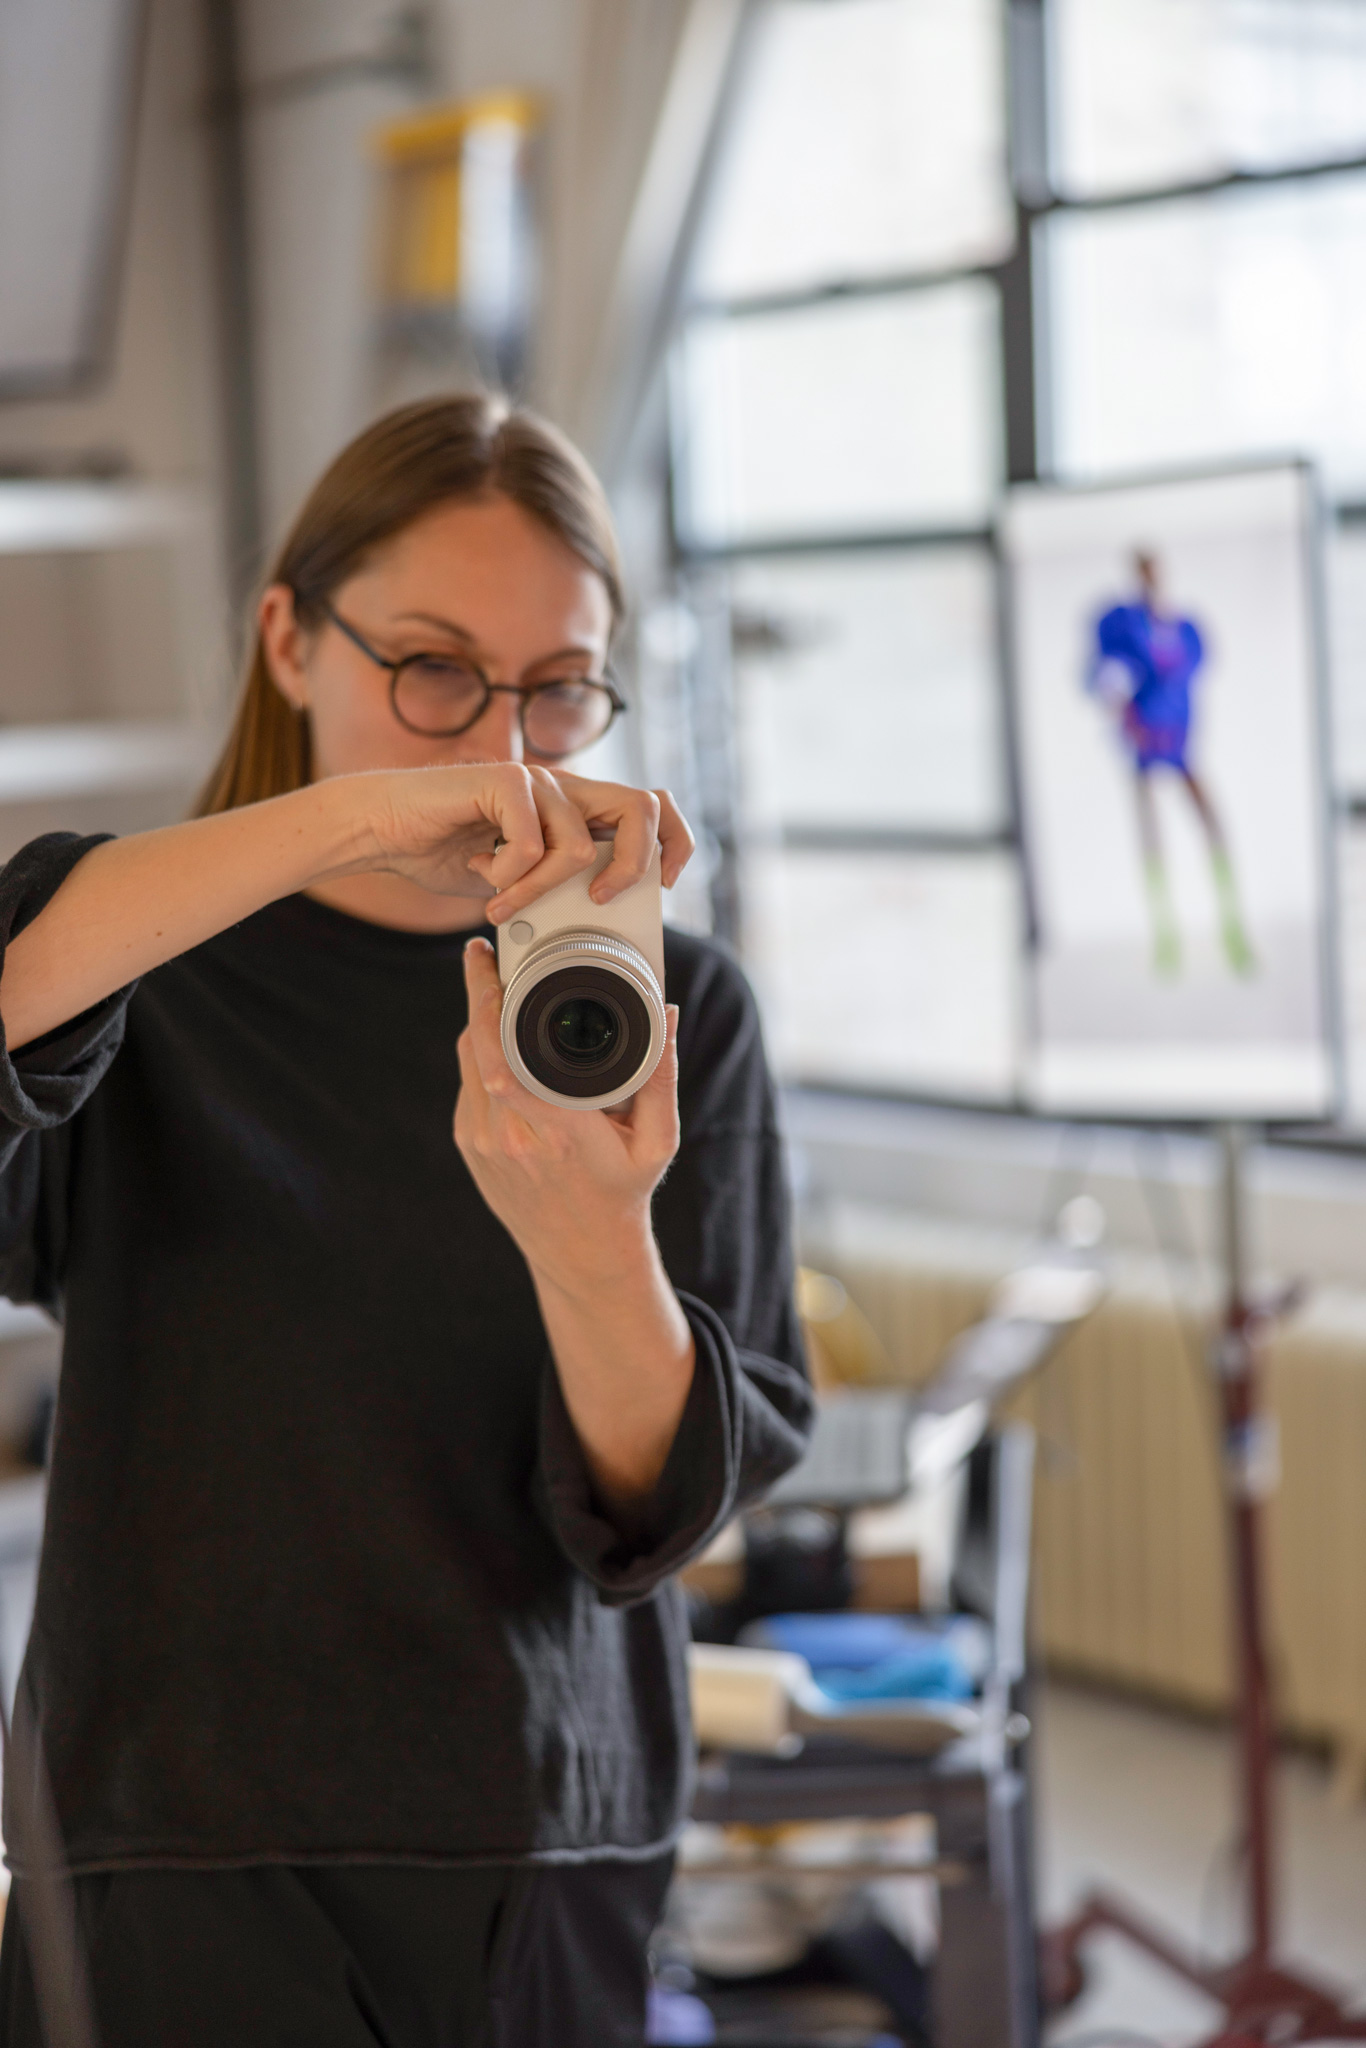
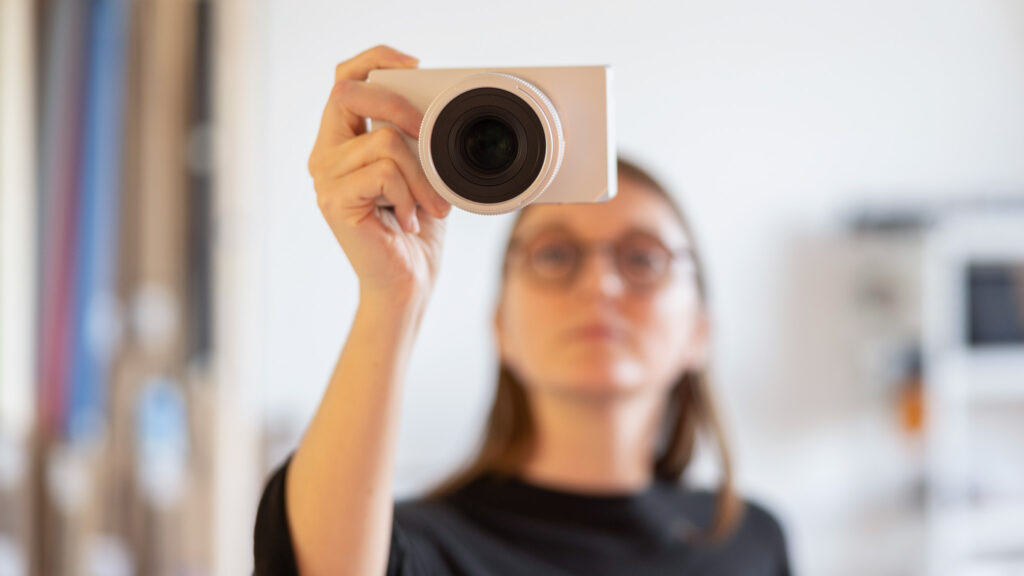
    The Sigma BF camera has become my unexpected companion on set. When I normally juggle multiple cameras for different casual use cases, this chic aluminum unibody camera now efficiently handles all of my behind-the-scenes needs.

    At its core is a 24.6 megapixel full-frame sensor delivering files crisp enough to blend seamlessly with my main camera’s output when needed. Its video capabilities are surprisingly high-quality for such a compact body: 6K at 30fps for primary footage and 120fps in Full HD when you need that slow-motion moment. It won’t replace dedicated cinema gear, but it exceeds expectations for quick clips and social content.

    The 230GB internal storage might be my favorite practical feature. Say goodbye to that sinking feeling when you realize you’ve left your cards at home. When the day wraps, one USB-C cable handles both file transfers and recharging — a small but meaningful workflow improvement. No more juggling multiple memory cards and card readers.

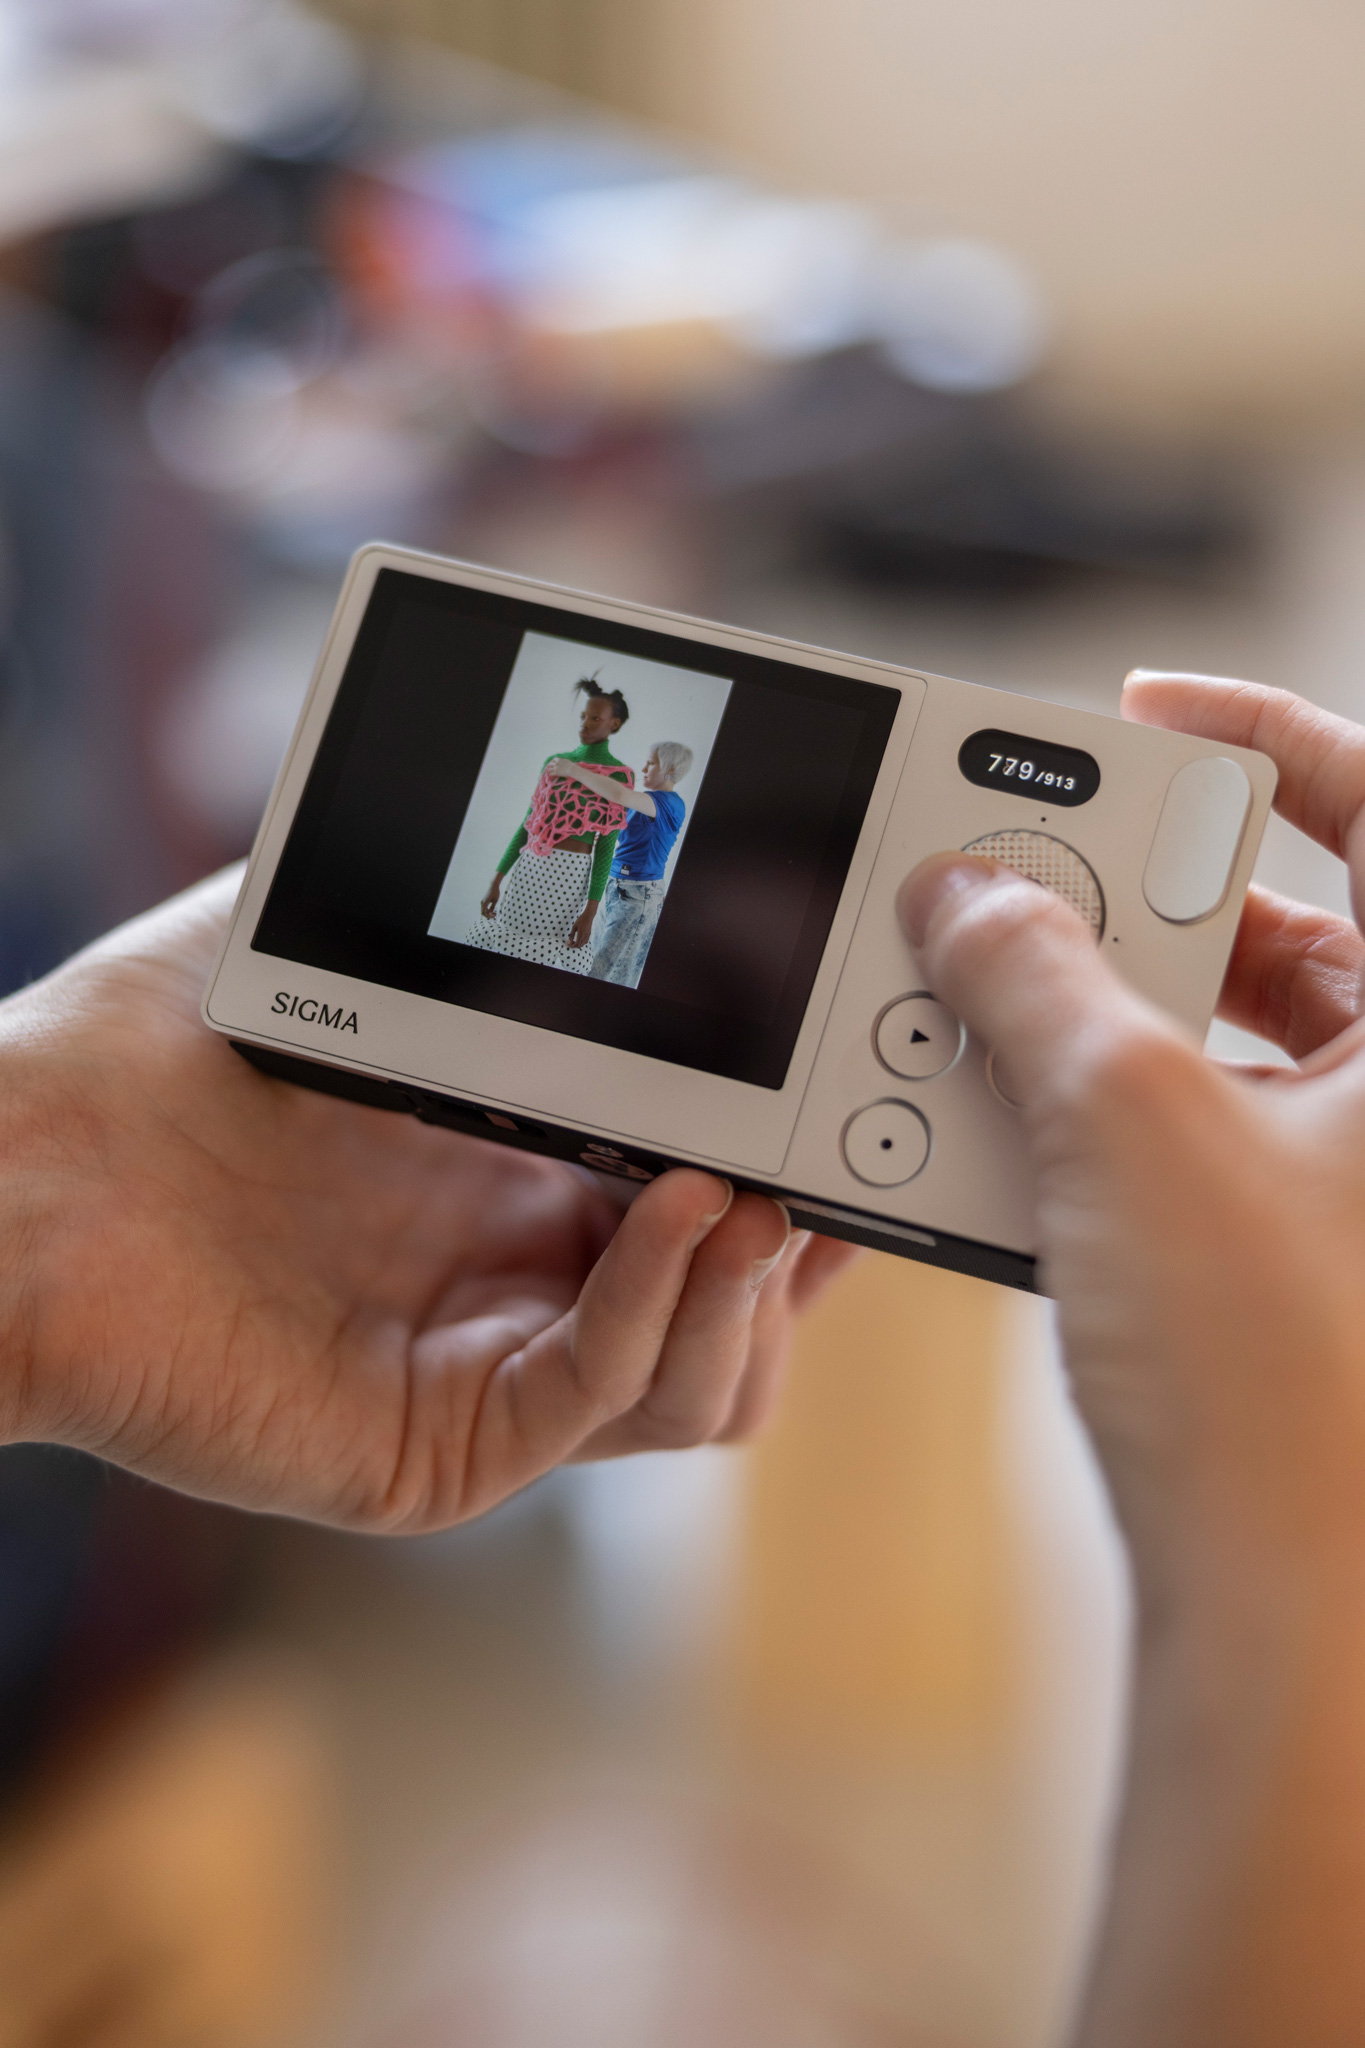
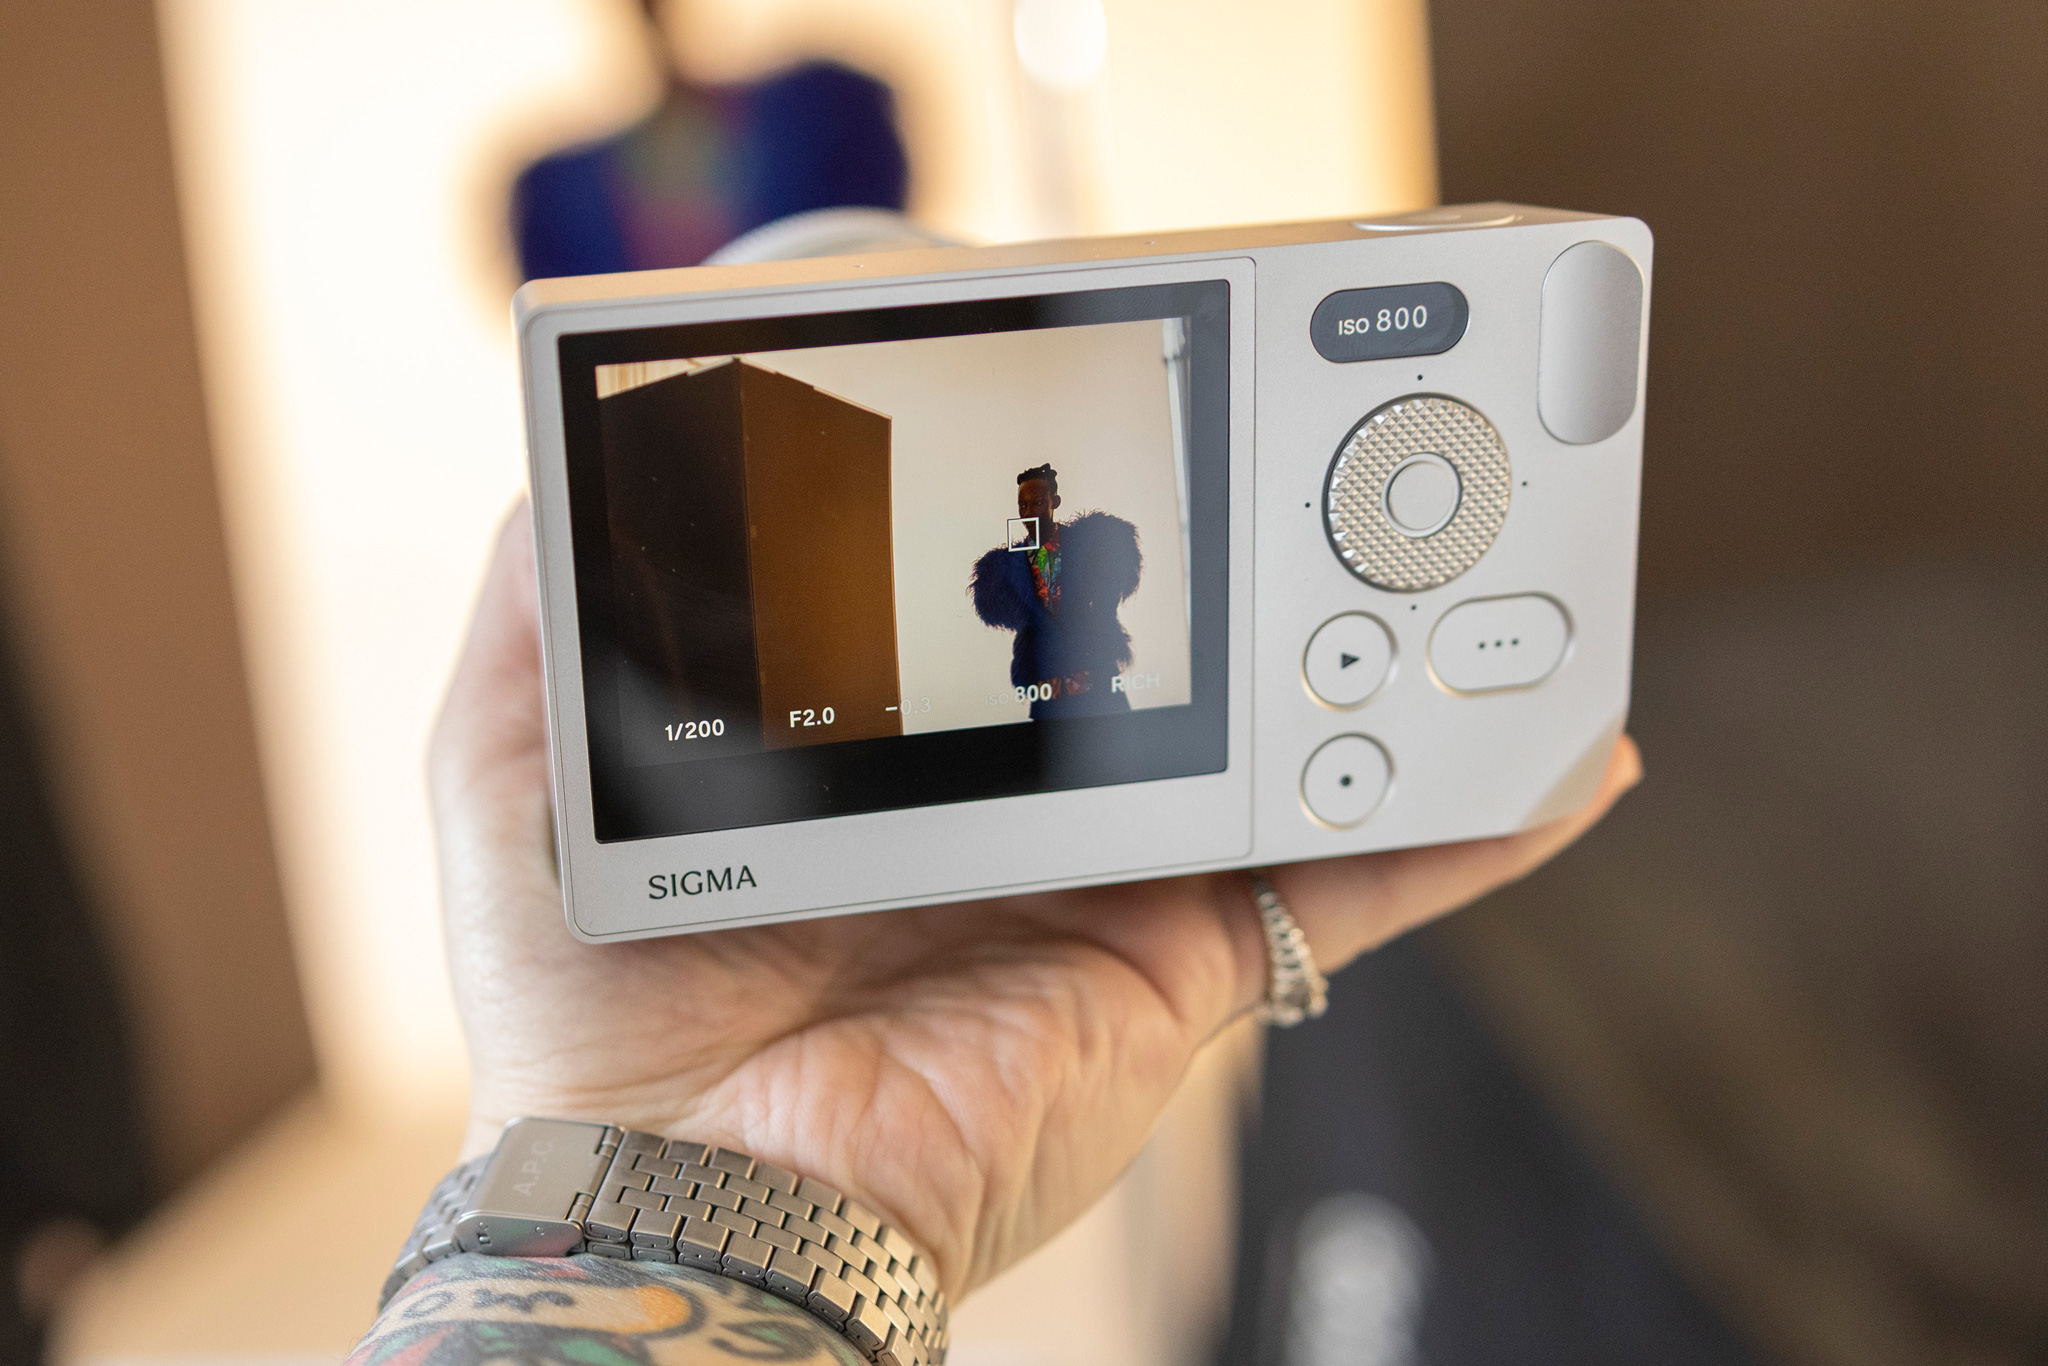
    Sigma embraces minimalism with the streamlined menu, shutter button, a single dial, and just a handful of essential buttons. The uncluttered screen allows for thoughtful and accurate composition. For lower lift shoots, I typically offer a second camera to an assistant to snap some BTS. The simple interface of the BF means they catch on fast, letting me focus on the main project.

    With no viewfinder or tilt/swivel screen, the fixed LCD screen initially threw me off. But what seemed like a limitation actually became liberating as it forced me to break my usual patterns and discover new perspectives. This disruption to my workflow pushed me to engage with subjects more intentionally, something that’s easy to lose when you’re operating on photographer autopilot. It’s definitely not for everyone, but this constraint ultimately refreshed my own creative approach.

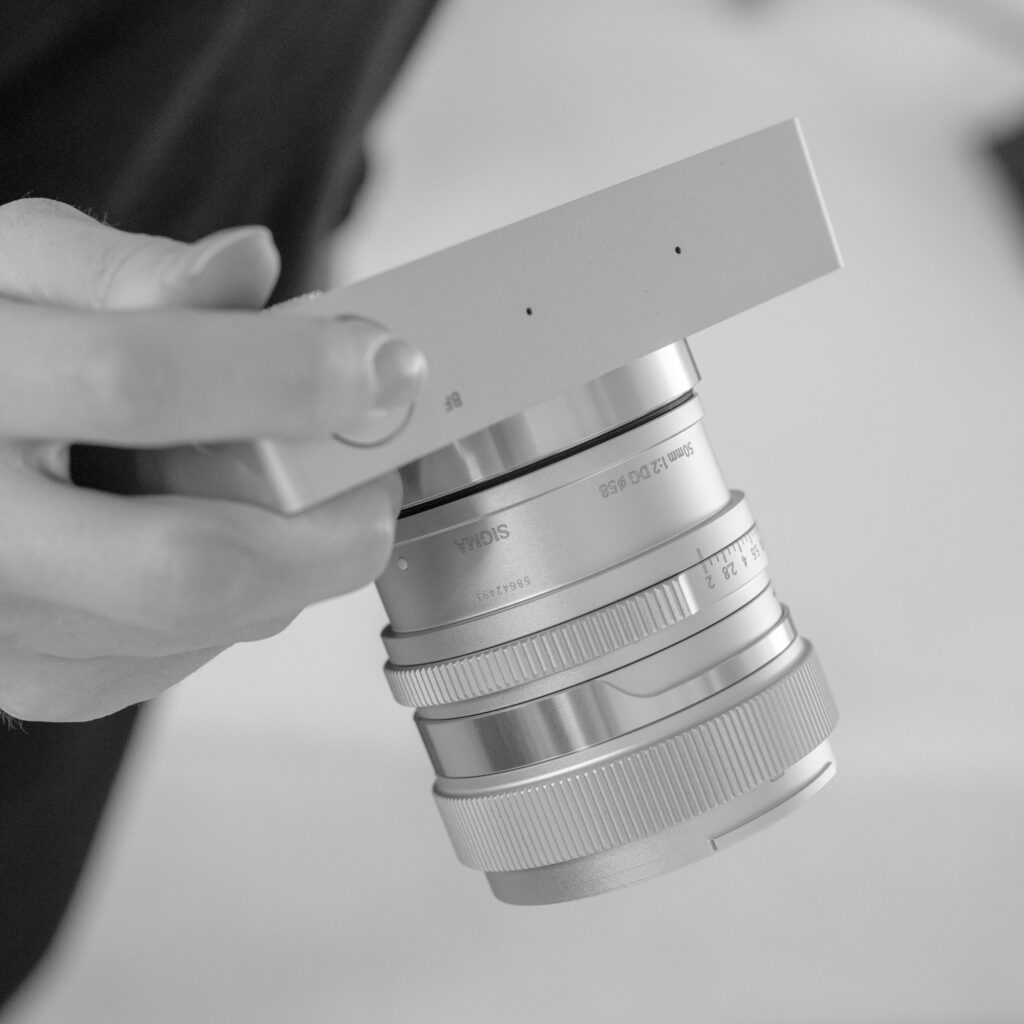
    As an L-Mount camera, the BF plays nicely with lenses from Sigma, Leica, and Panasonic. I’ve been pairing it with a classic 50mm prime for straightforward BTS work, but Sigma’s variety of zoom lenses provide versatility when capturing wider sets or working in a smaller studio.

    Battery life typically handles a full day of stills, though heavy video recording will drain it faster. The ability to charge via fast USB-C keeps things moving when I’m recording extensively.

    A few standouts from the 13 color modes available are Standard, Rich, Teal & Orange, and Monochrome. The color modes offer creative options you can quickly cycle through to customize each photo without post-processing. I generally stick with the Rich color mode which warms up the image without drastically distorting colors, but having all of the alternatives helps match any specific mood or lighting situation.

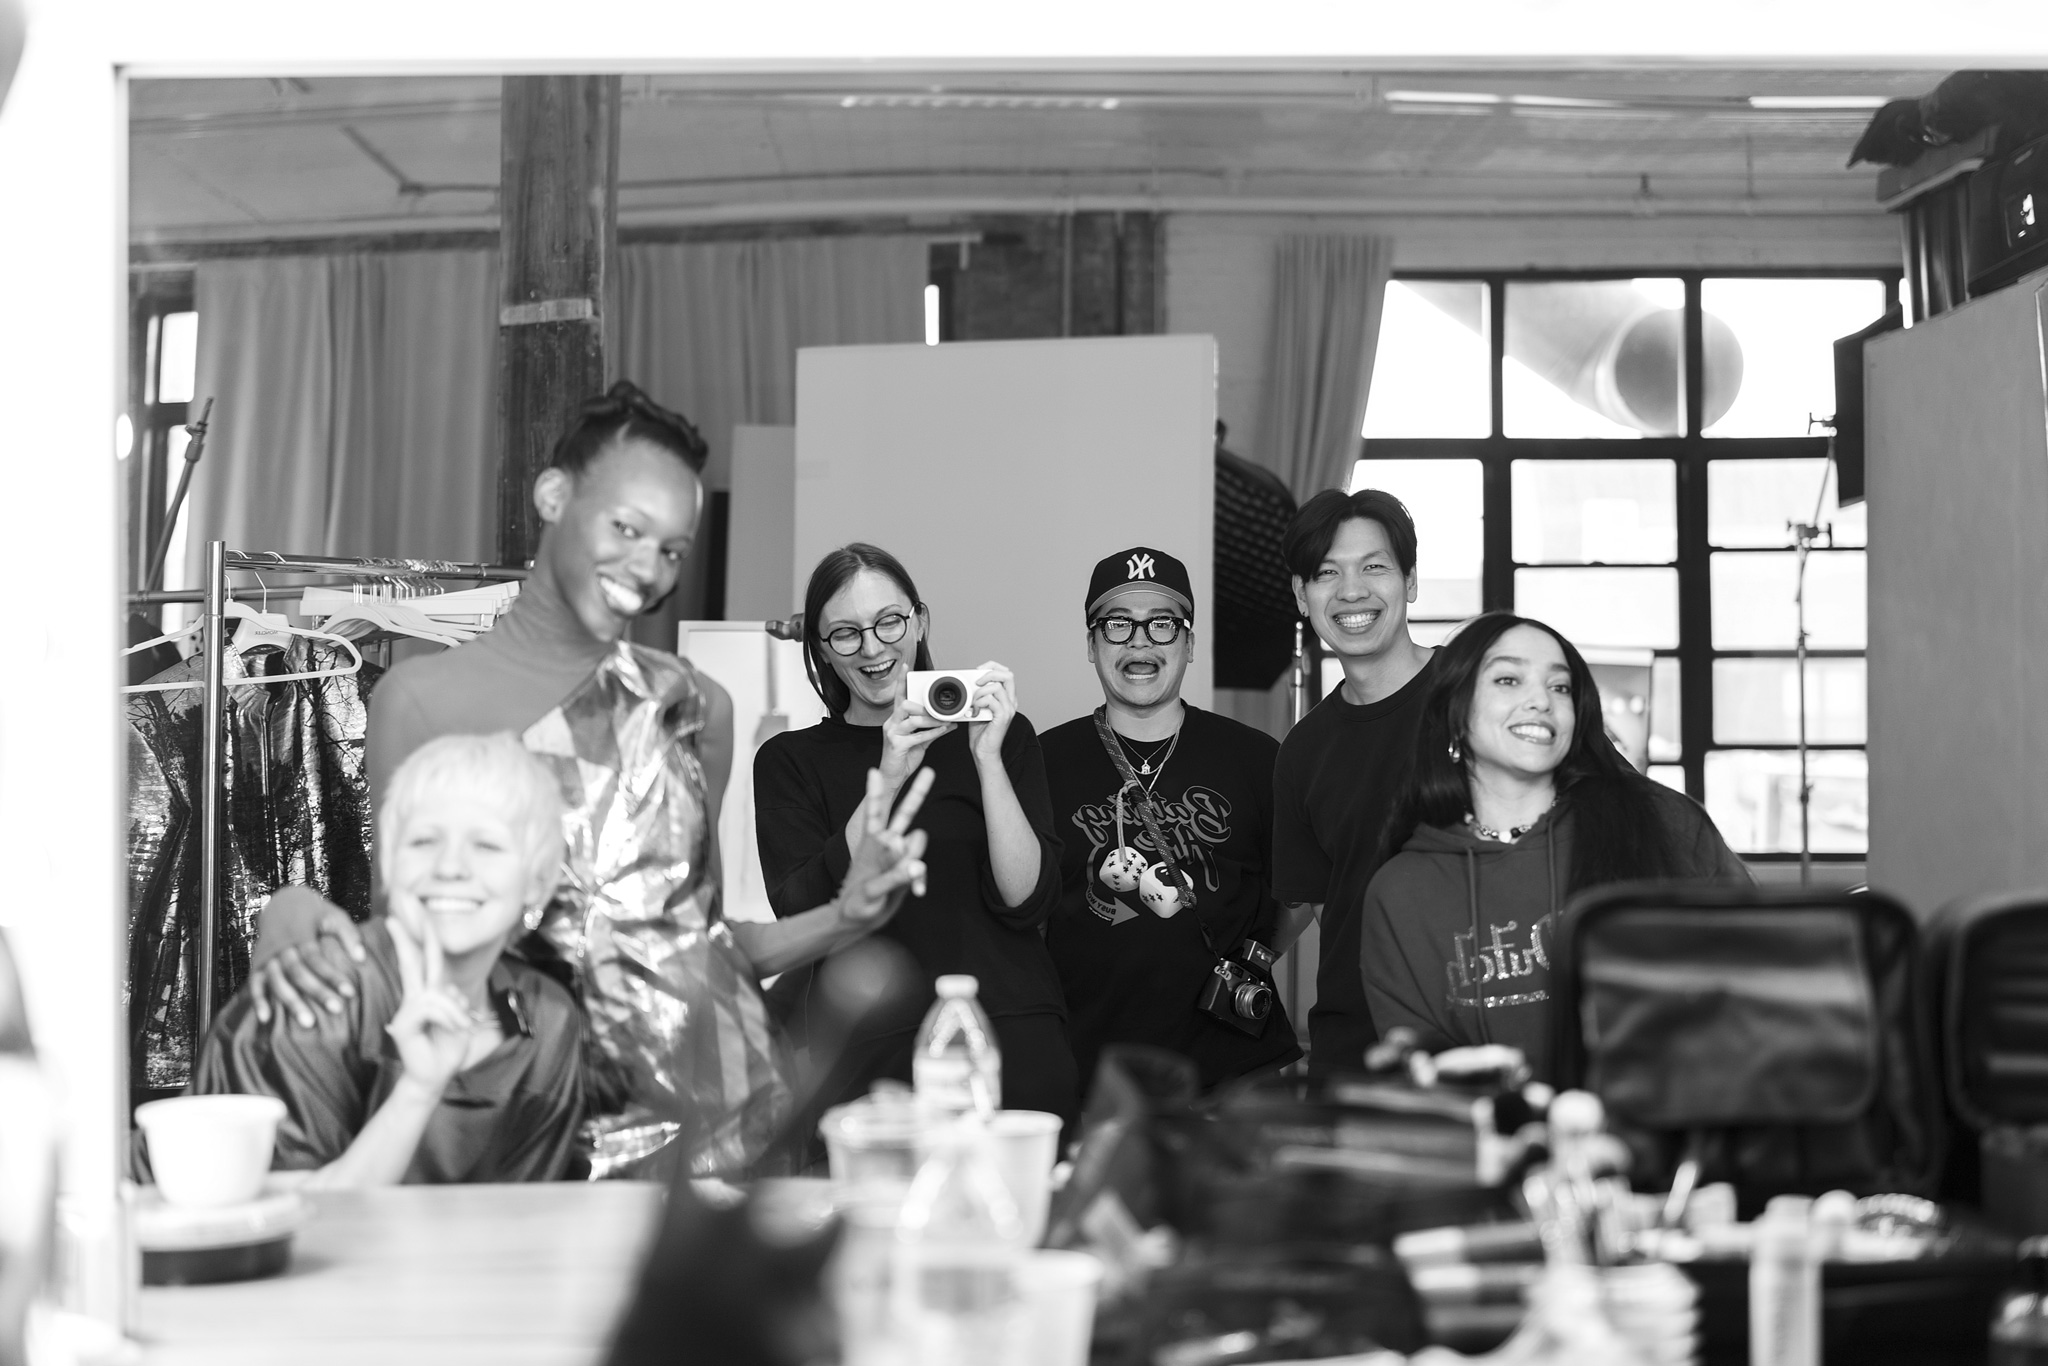
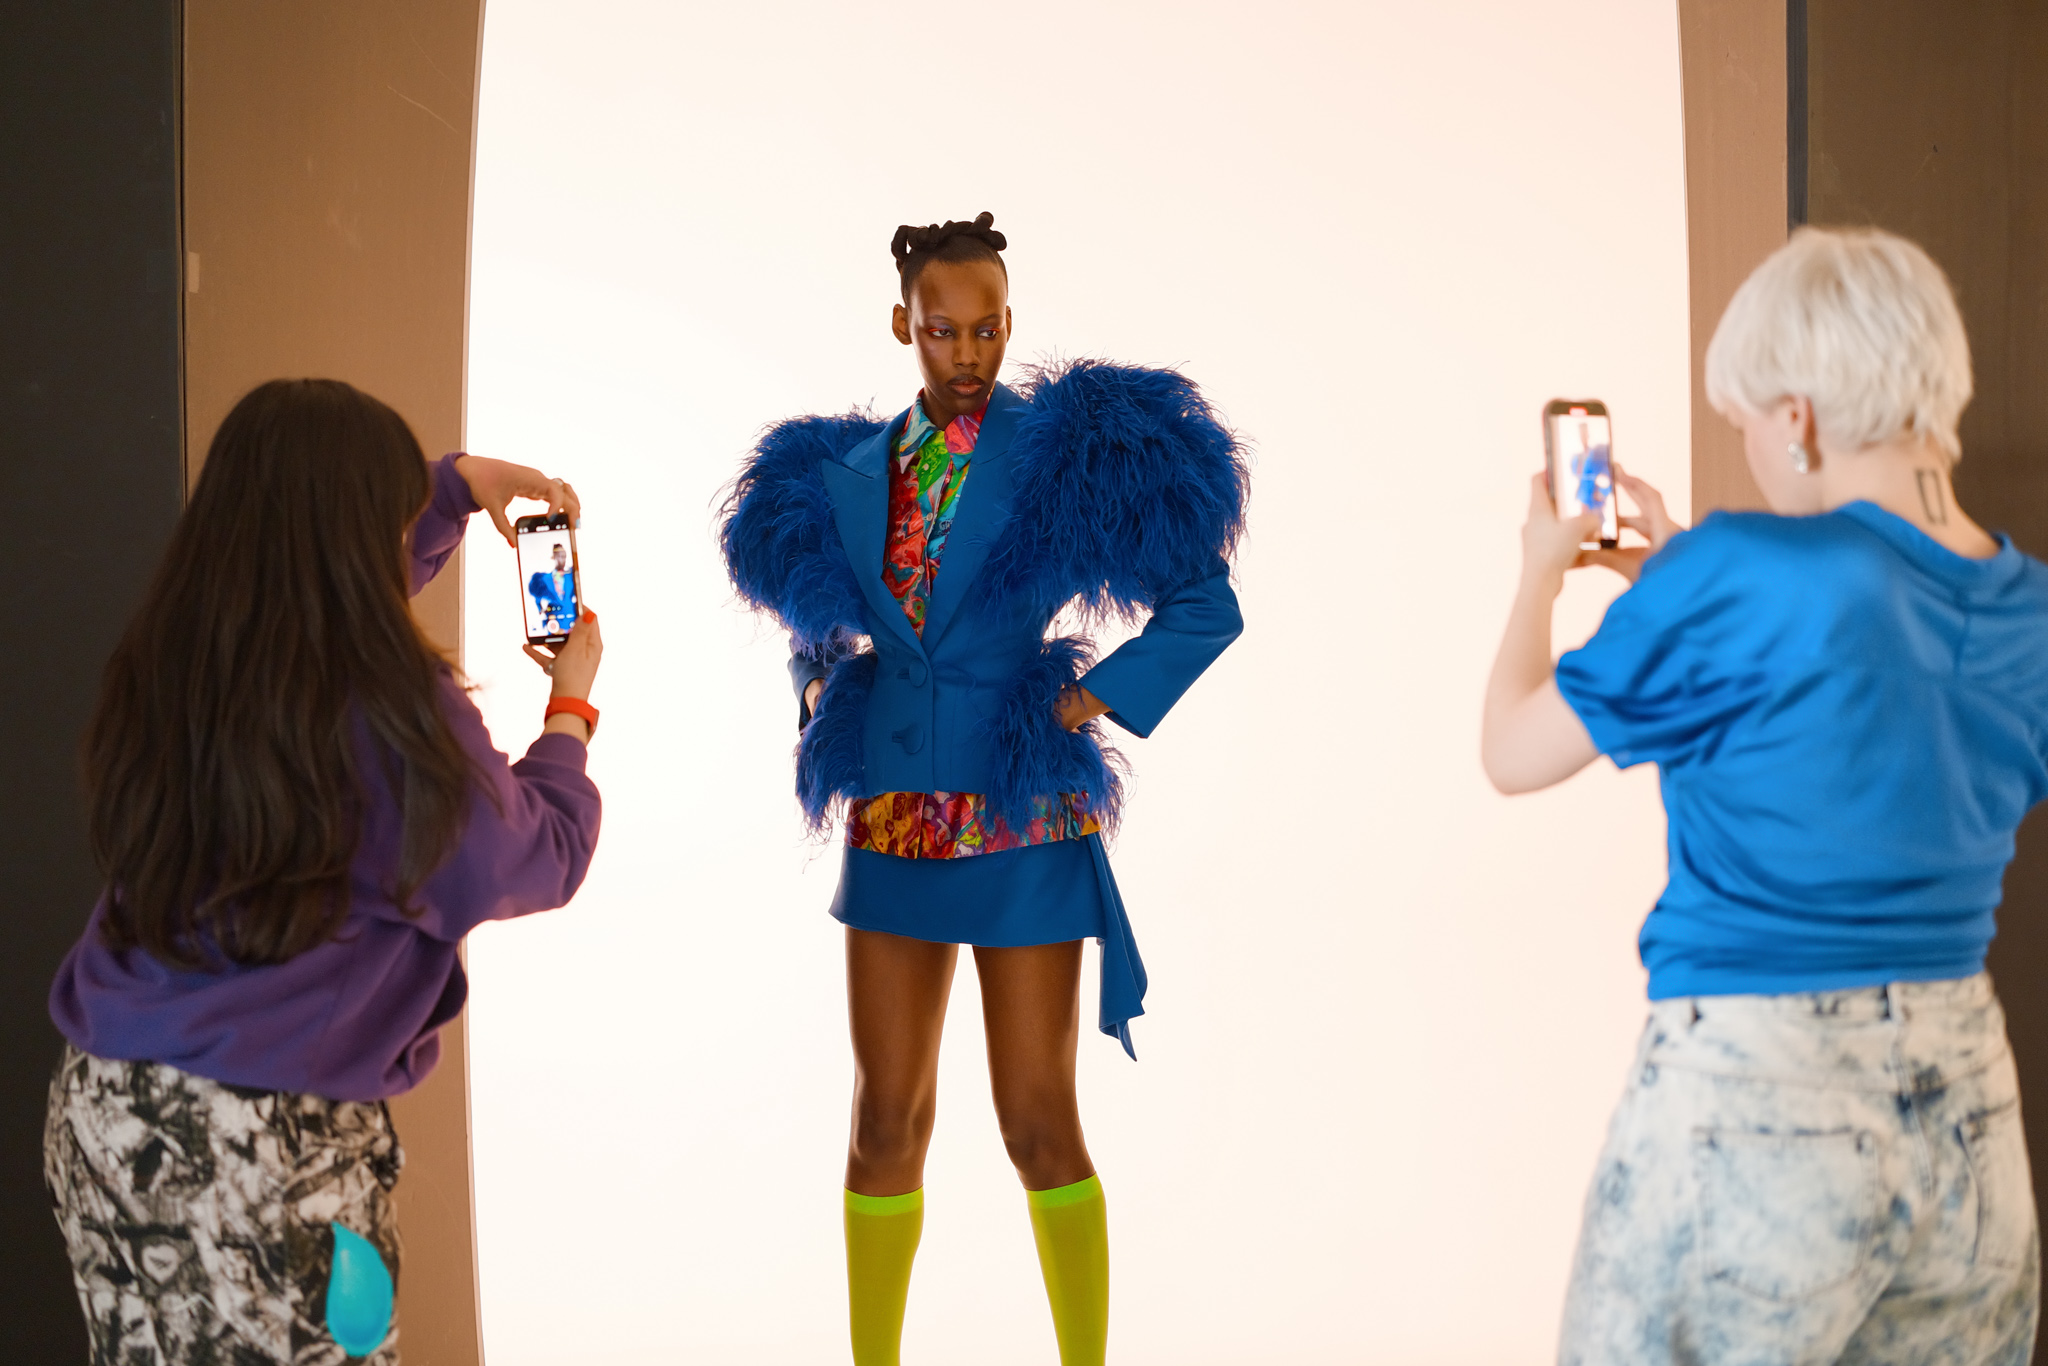
    The simplicity and design are the obvious standouts of the BF, but arguably more importantly is how this camera facilitates human connection. Its distinctive design sparks conversations, and its approachable interface encourages others on set to pick it up and capture moments themselves. This collaborative aspect creates more authentic behind-the-scenes content than I could manage alone.

    In an industry where content deliverables now often include BTS video or social-friendly extras, having a camera like the BF feels less like a luxury and more like a smart adaptation. It seamlessly transitioned from being just a tool on set to becoming the camera I reach for in my personal life too. It’s so effortless to use that I find myself grabbing it for weekend walks, dinners with friends, or travel moments I used to leave undocumented.

    It’s rare for a camera to feel equally at home in both work and life, but the Sigma BF has genuinely brought back the simple joy of photography for me. No overthinking settings, no menu diving… just seeing, composing, and shooting. It reminded me why I fell in love with photography in the first place.

    This camera won’t replace your professional level gear, or those needing dual card slots or built-in viewfinders, because it’s not supposed to.

    What it offers instead is something increasingly rare: photography stripped back to its essence of seeing and capturing, consistently delivering beautiful results.


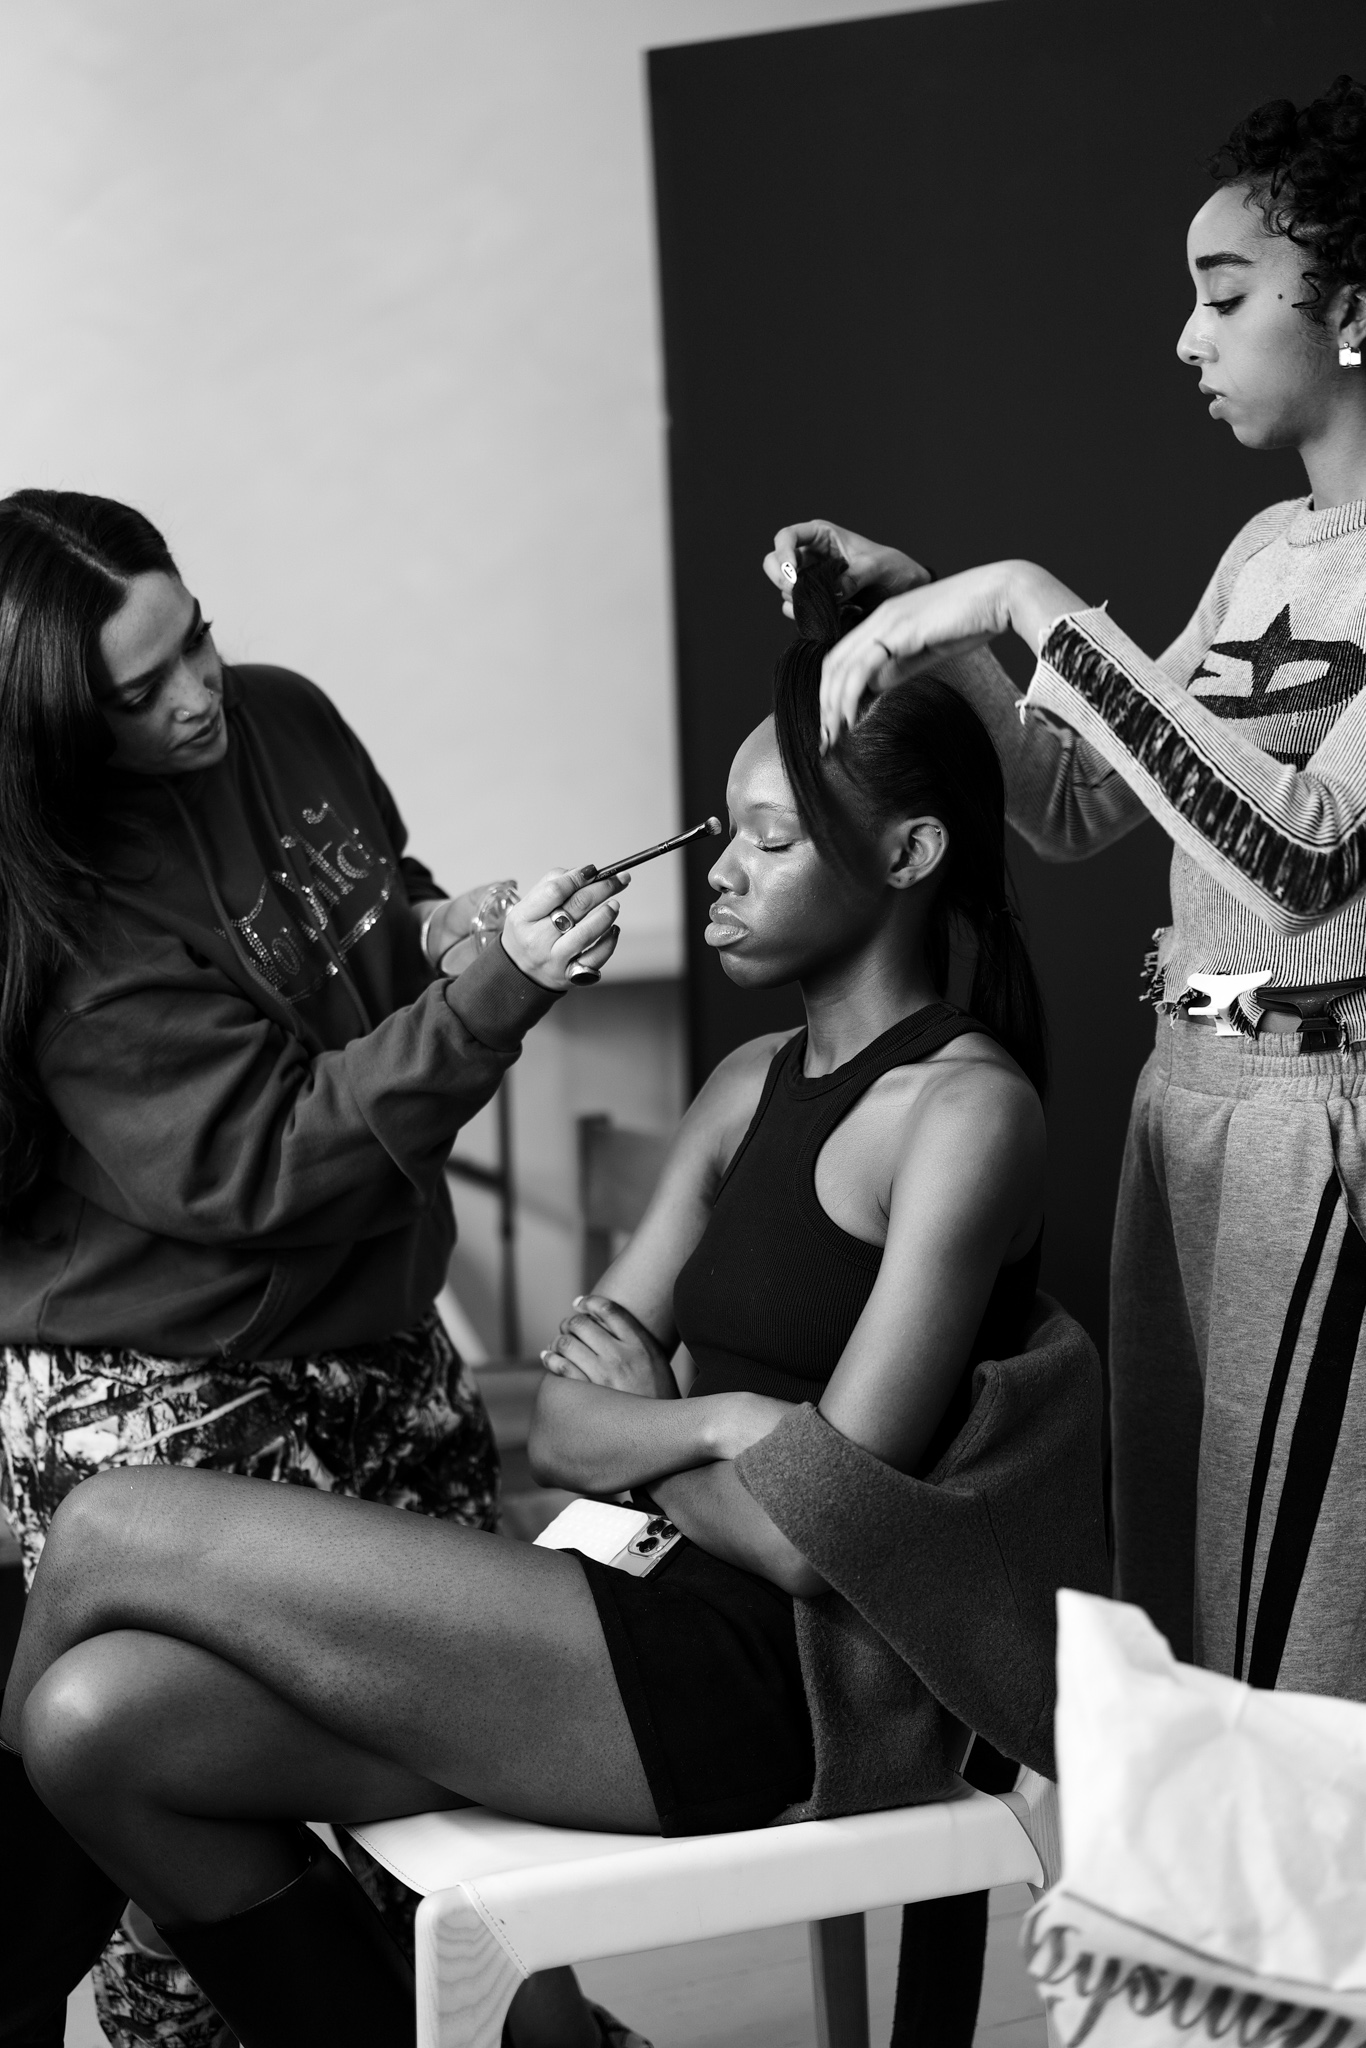
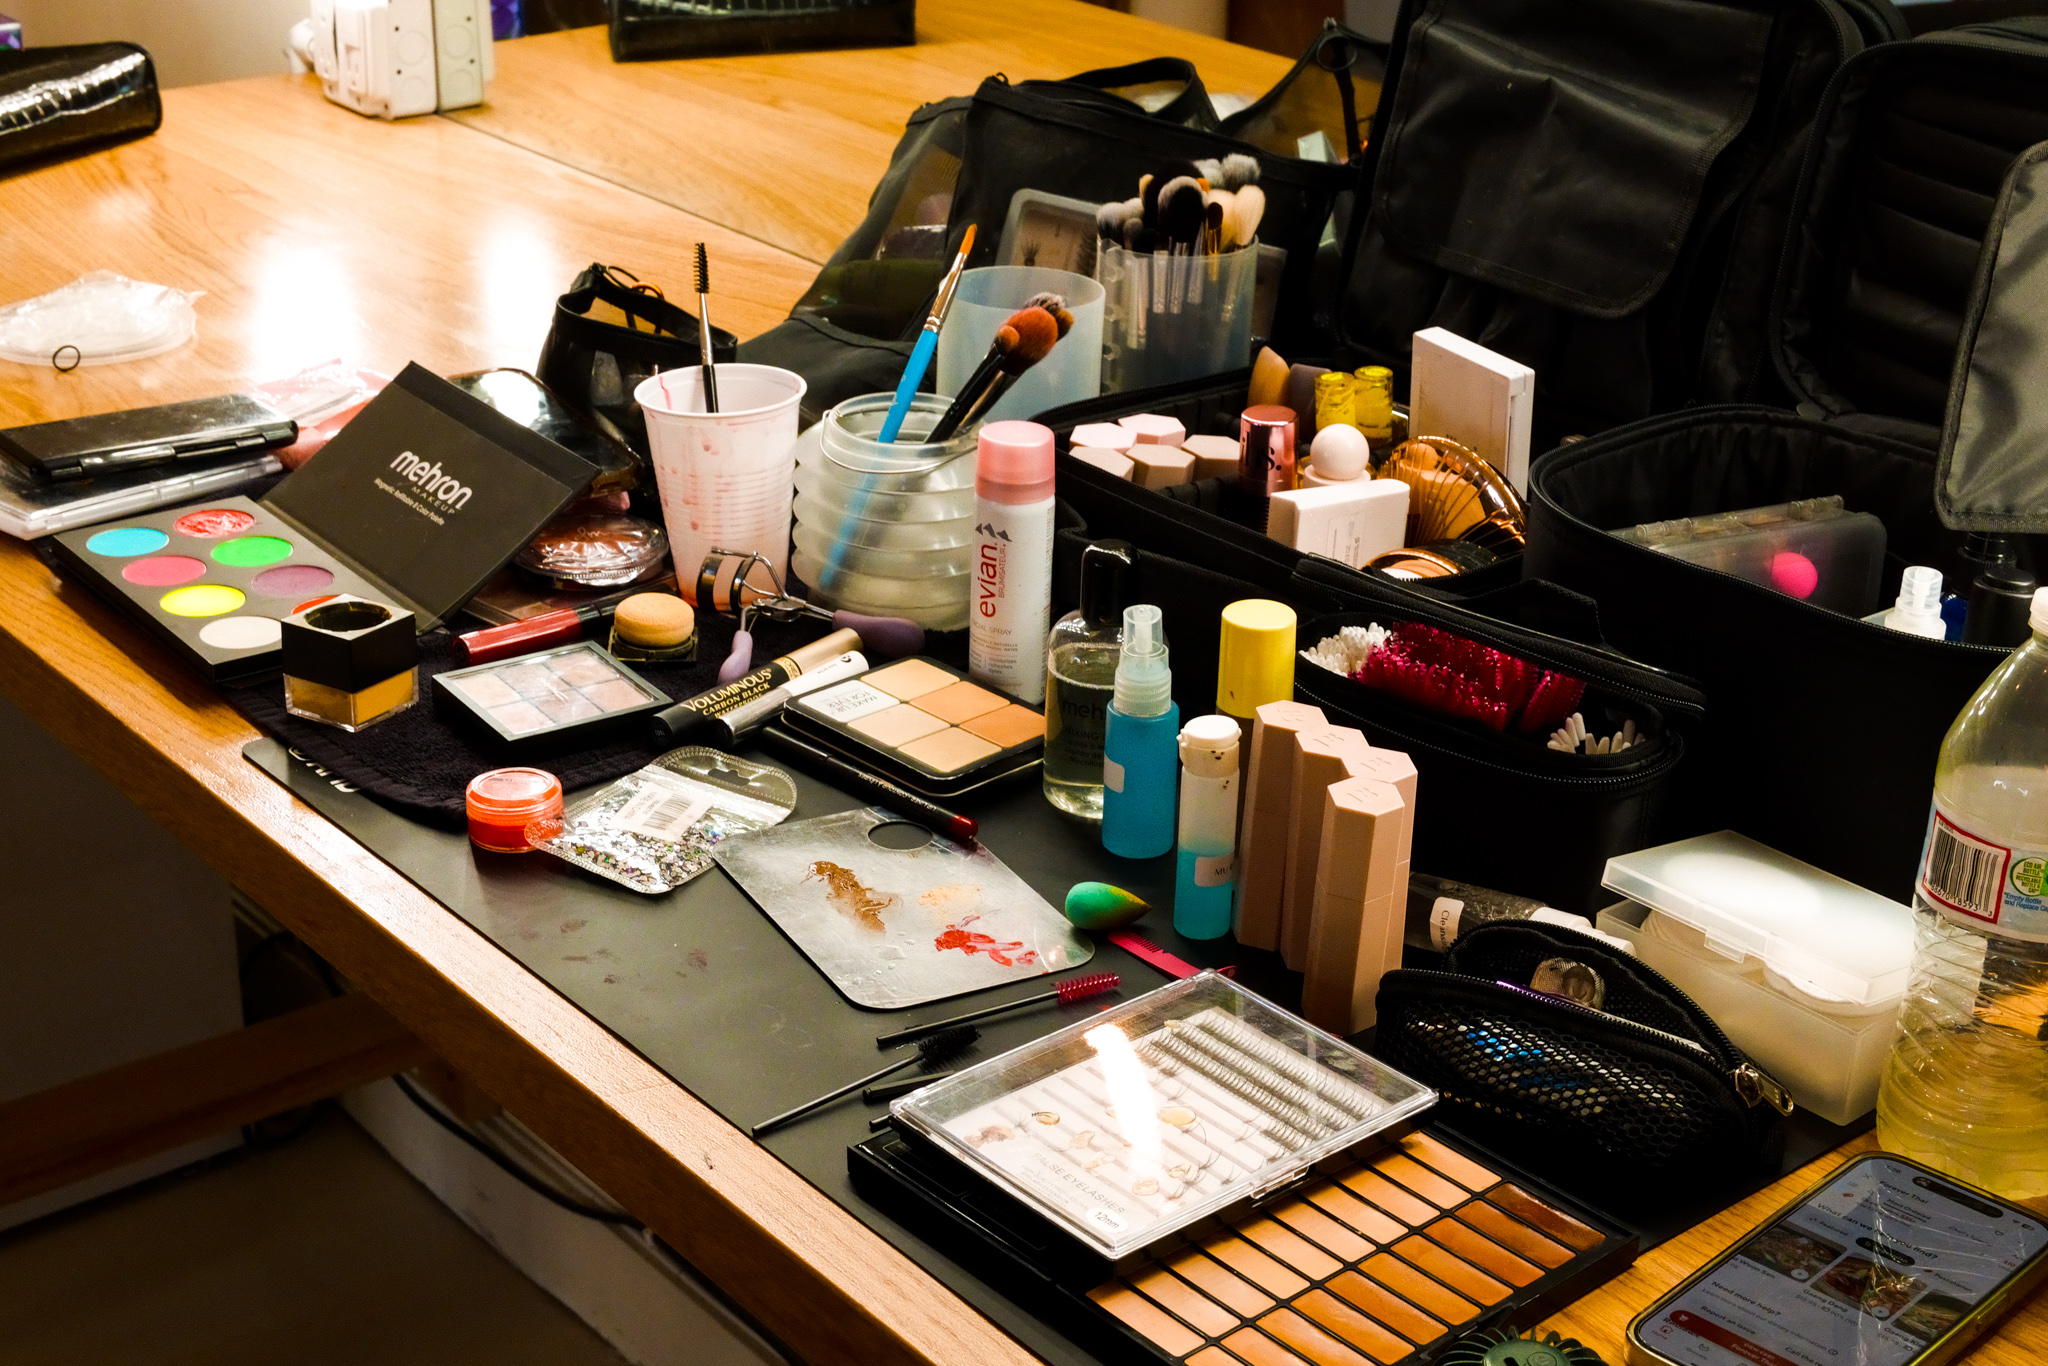
    Photo Shoot Credits

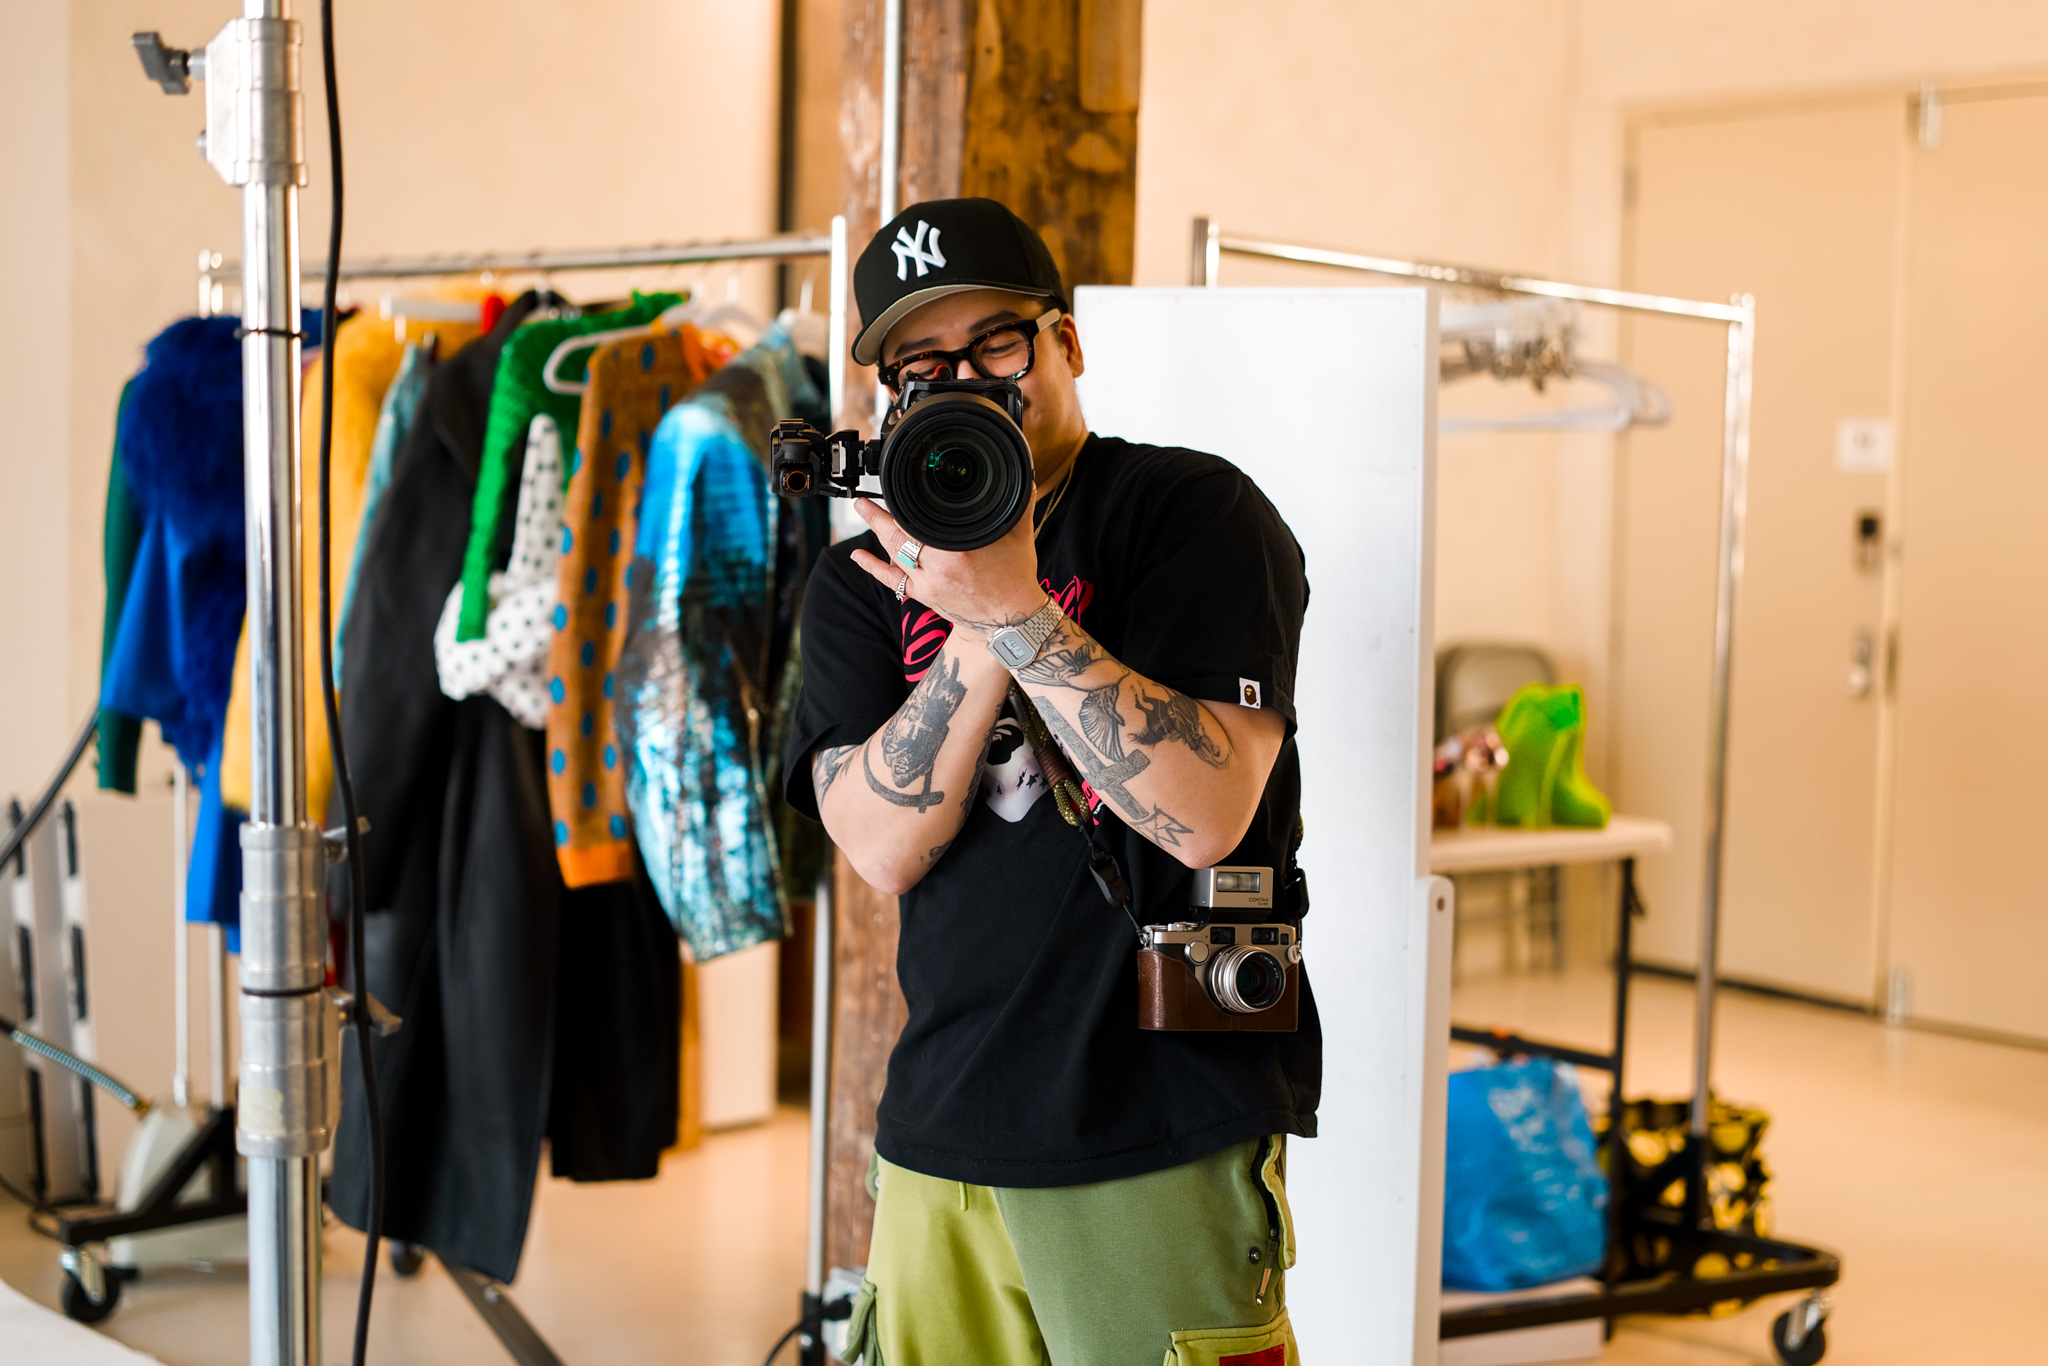
    Photographer: Jillian Lenser
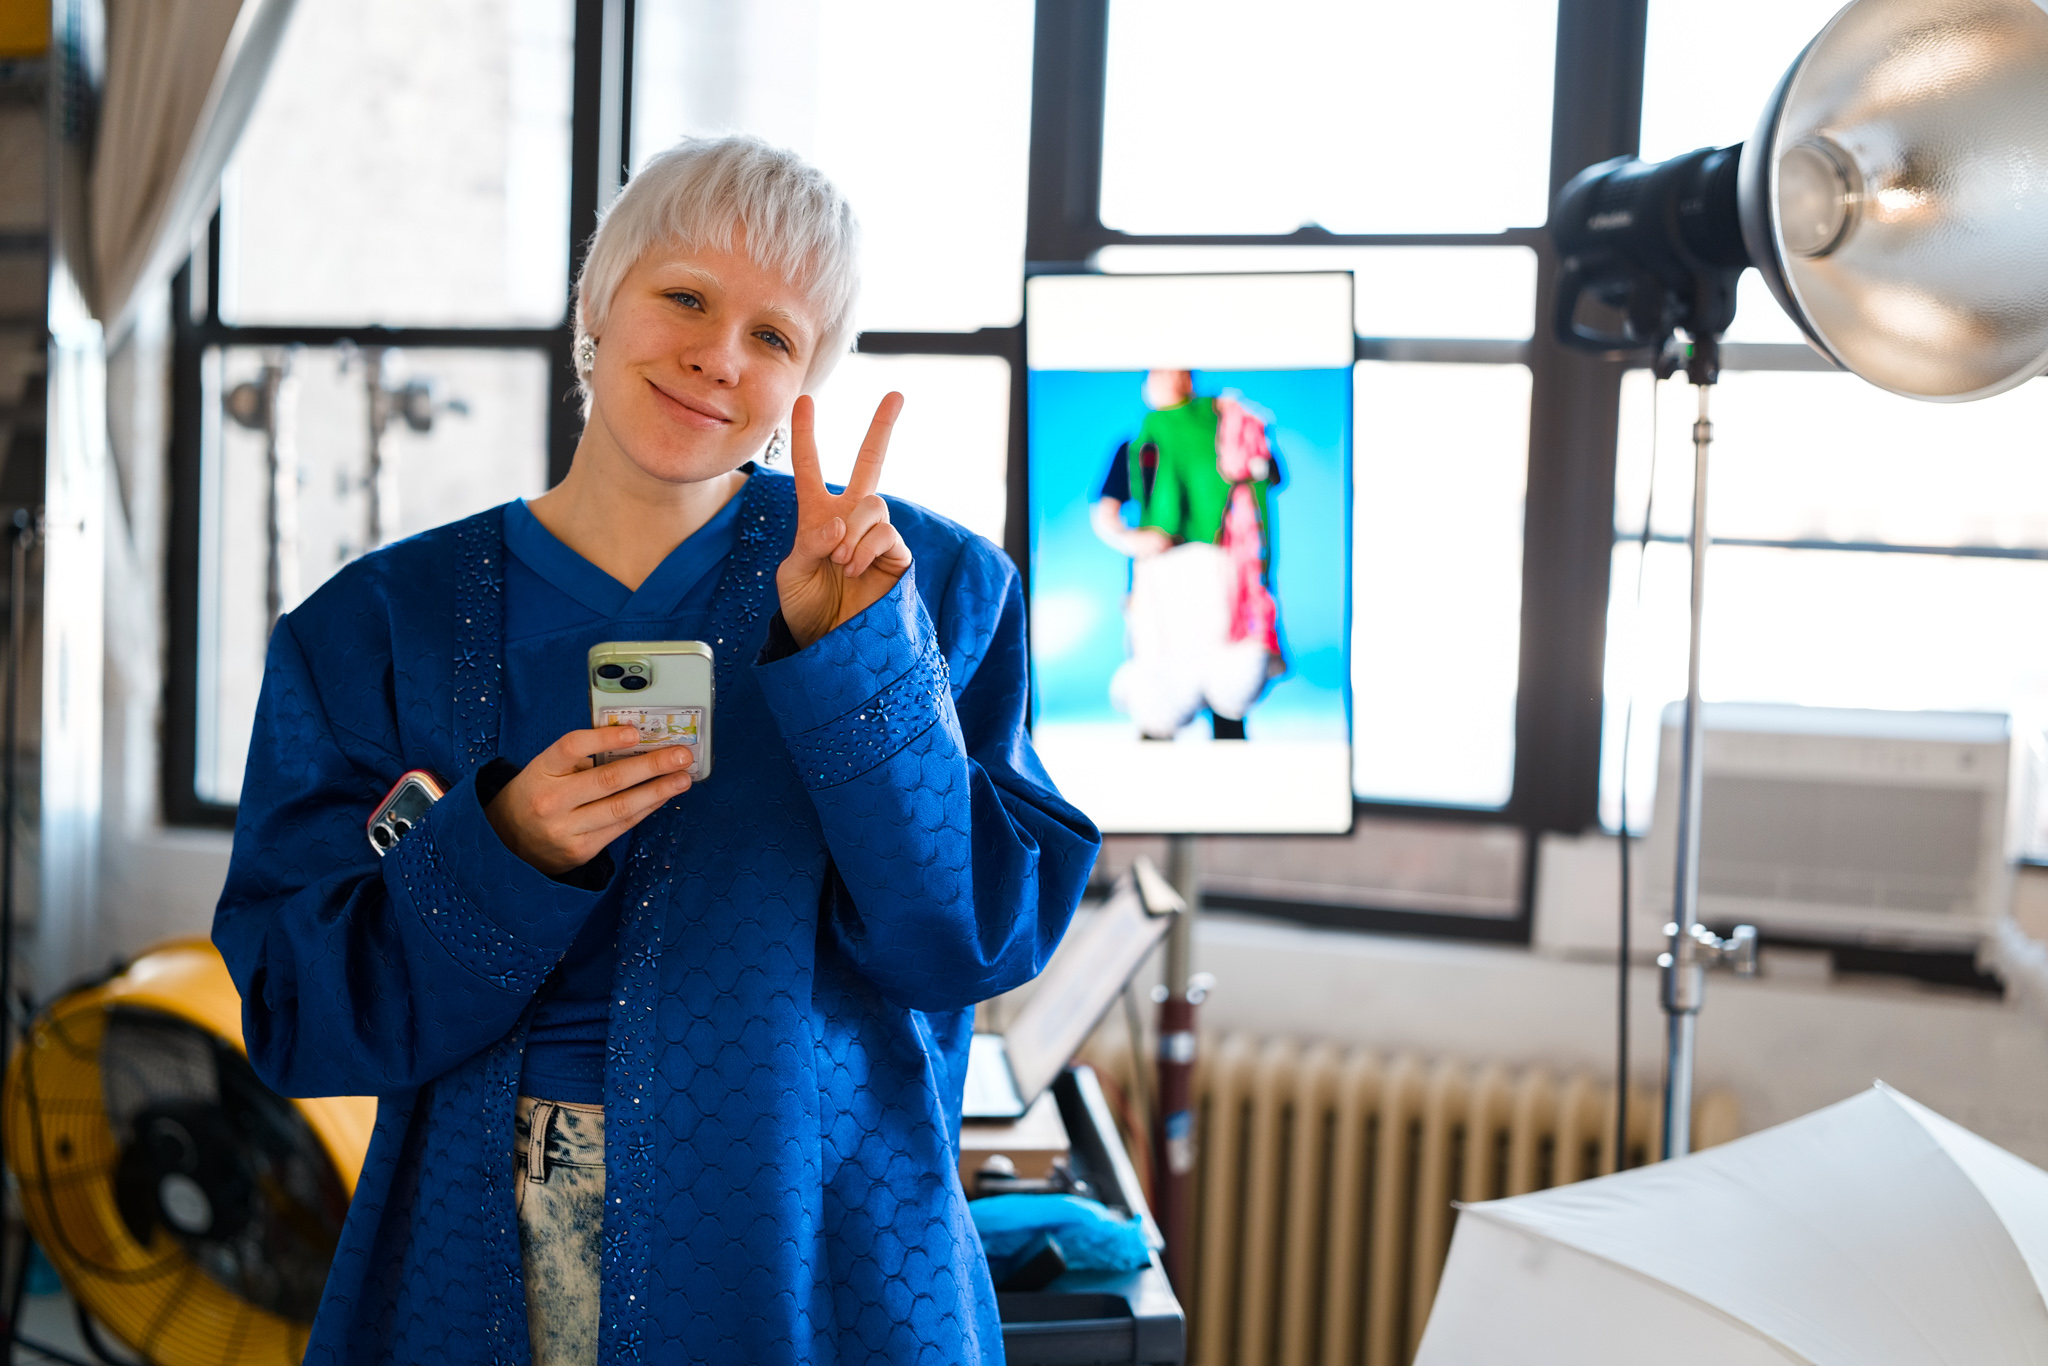
    Wardrobe/AD: Sionán Murtagh
    Hair: Kayra Theodore
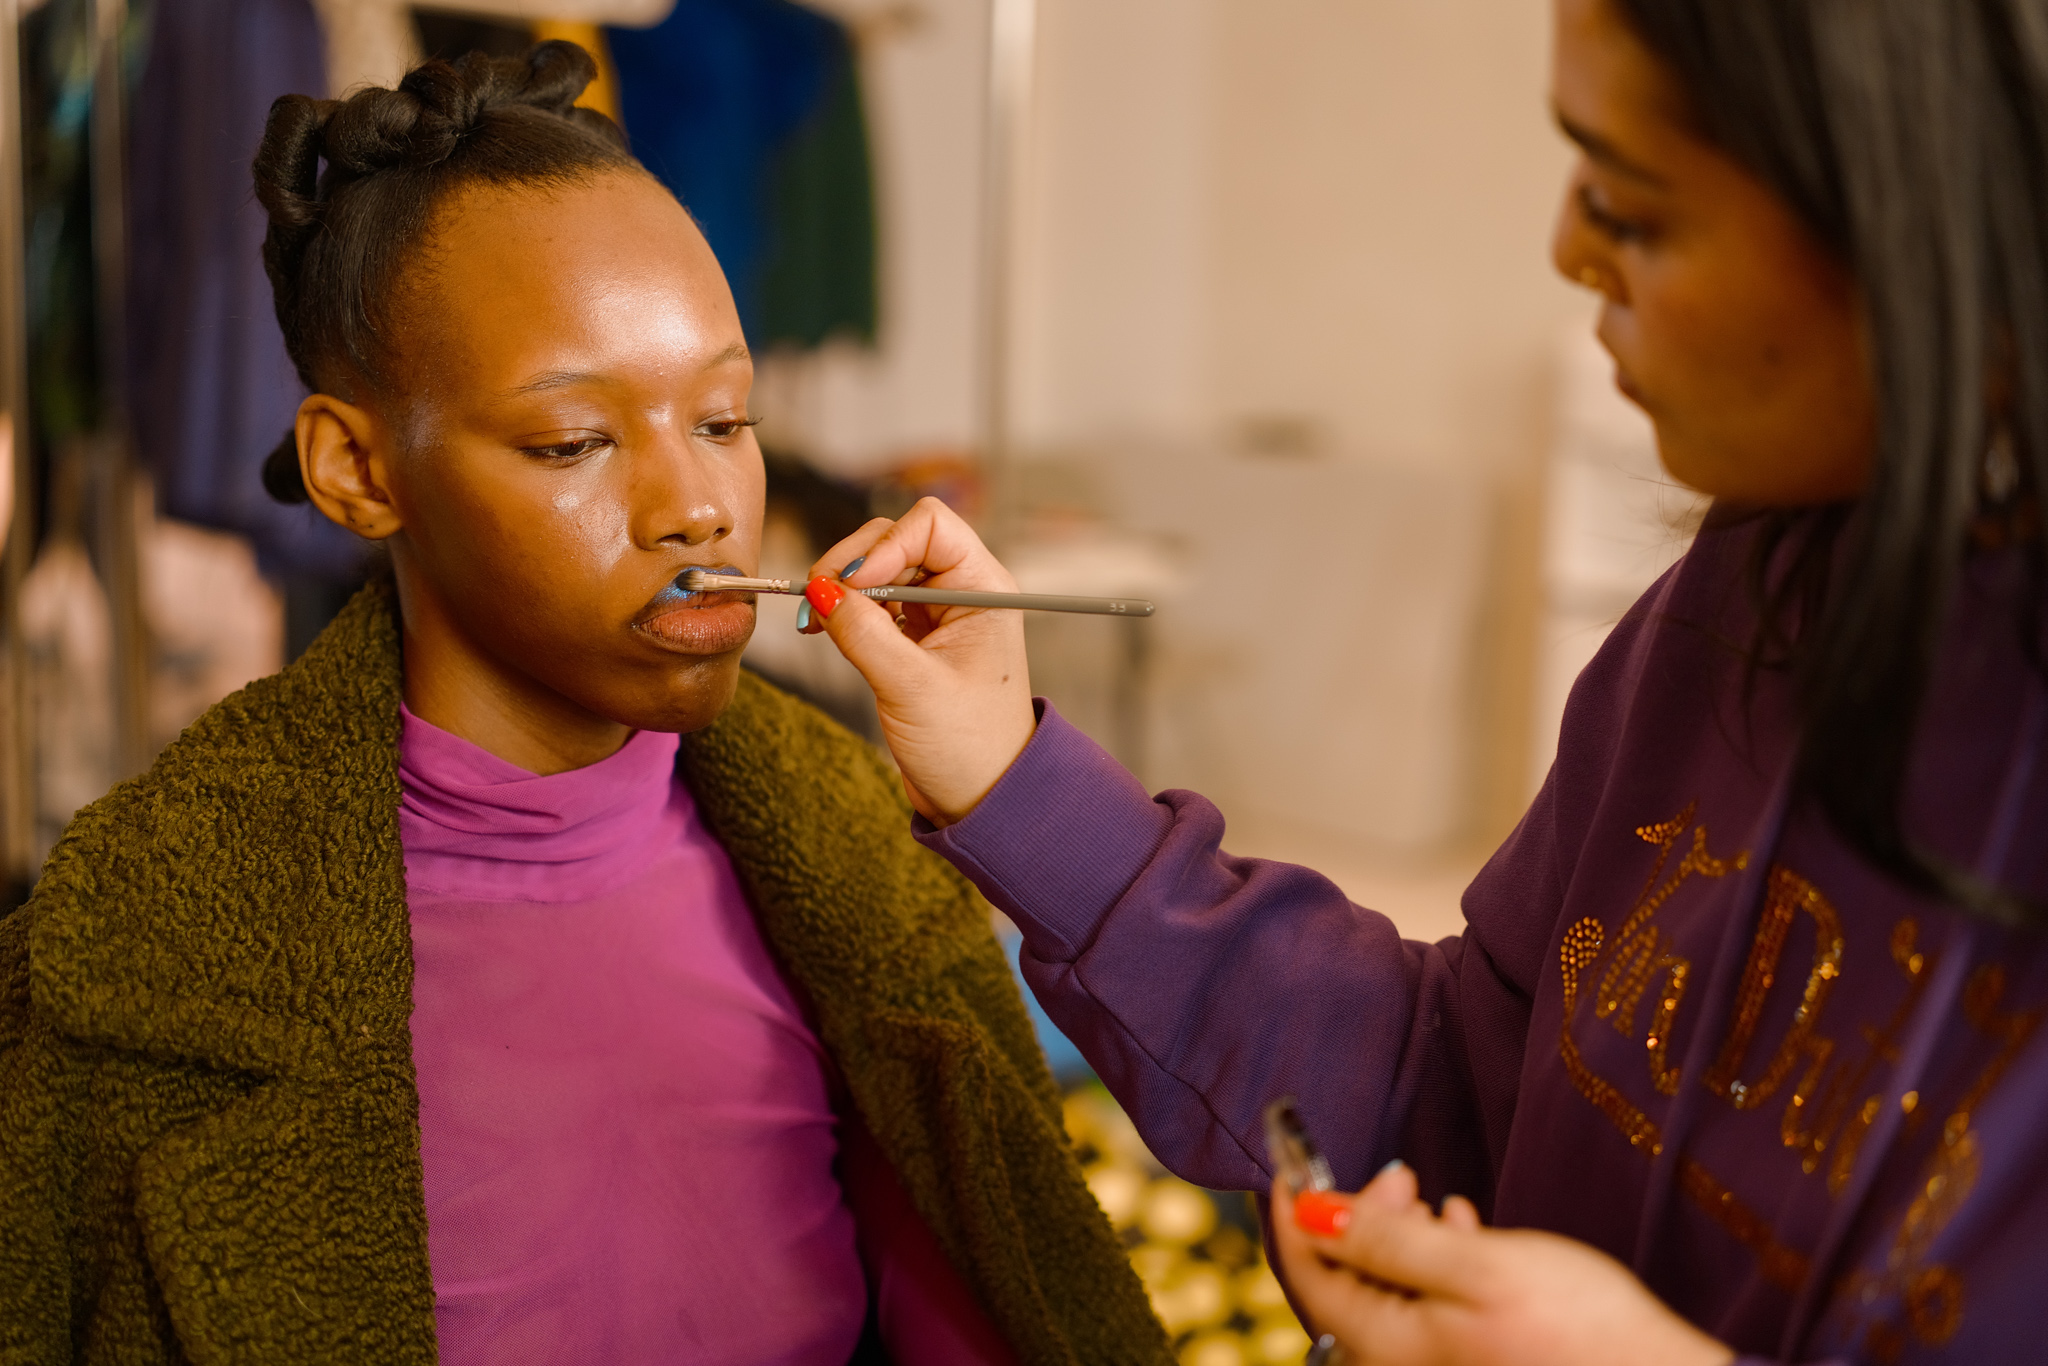
    MUA: Mai Ospedales
    Model: Raegan Camille
    Lighting Tech: Richard Saralertsophon
    Photo Assist: Atiwat Mondee
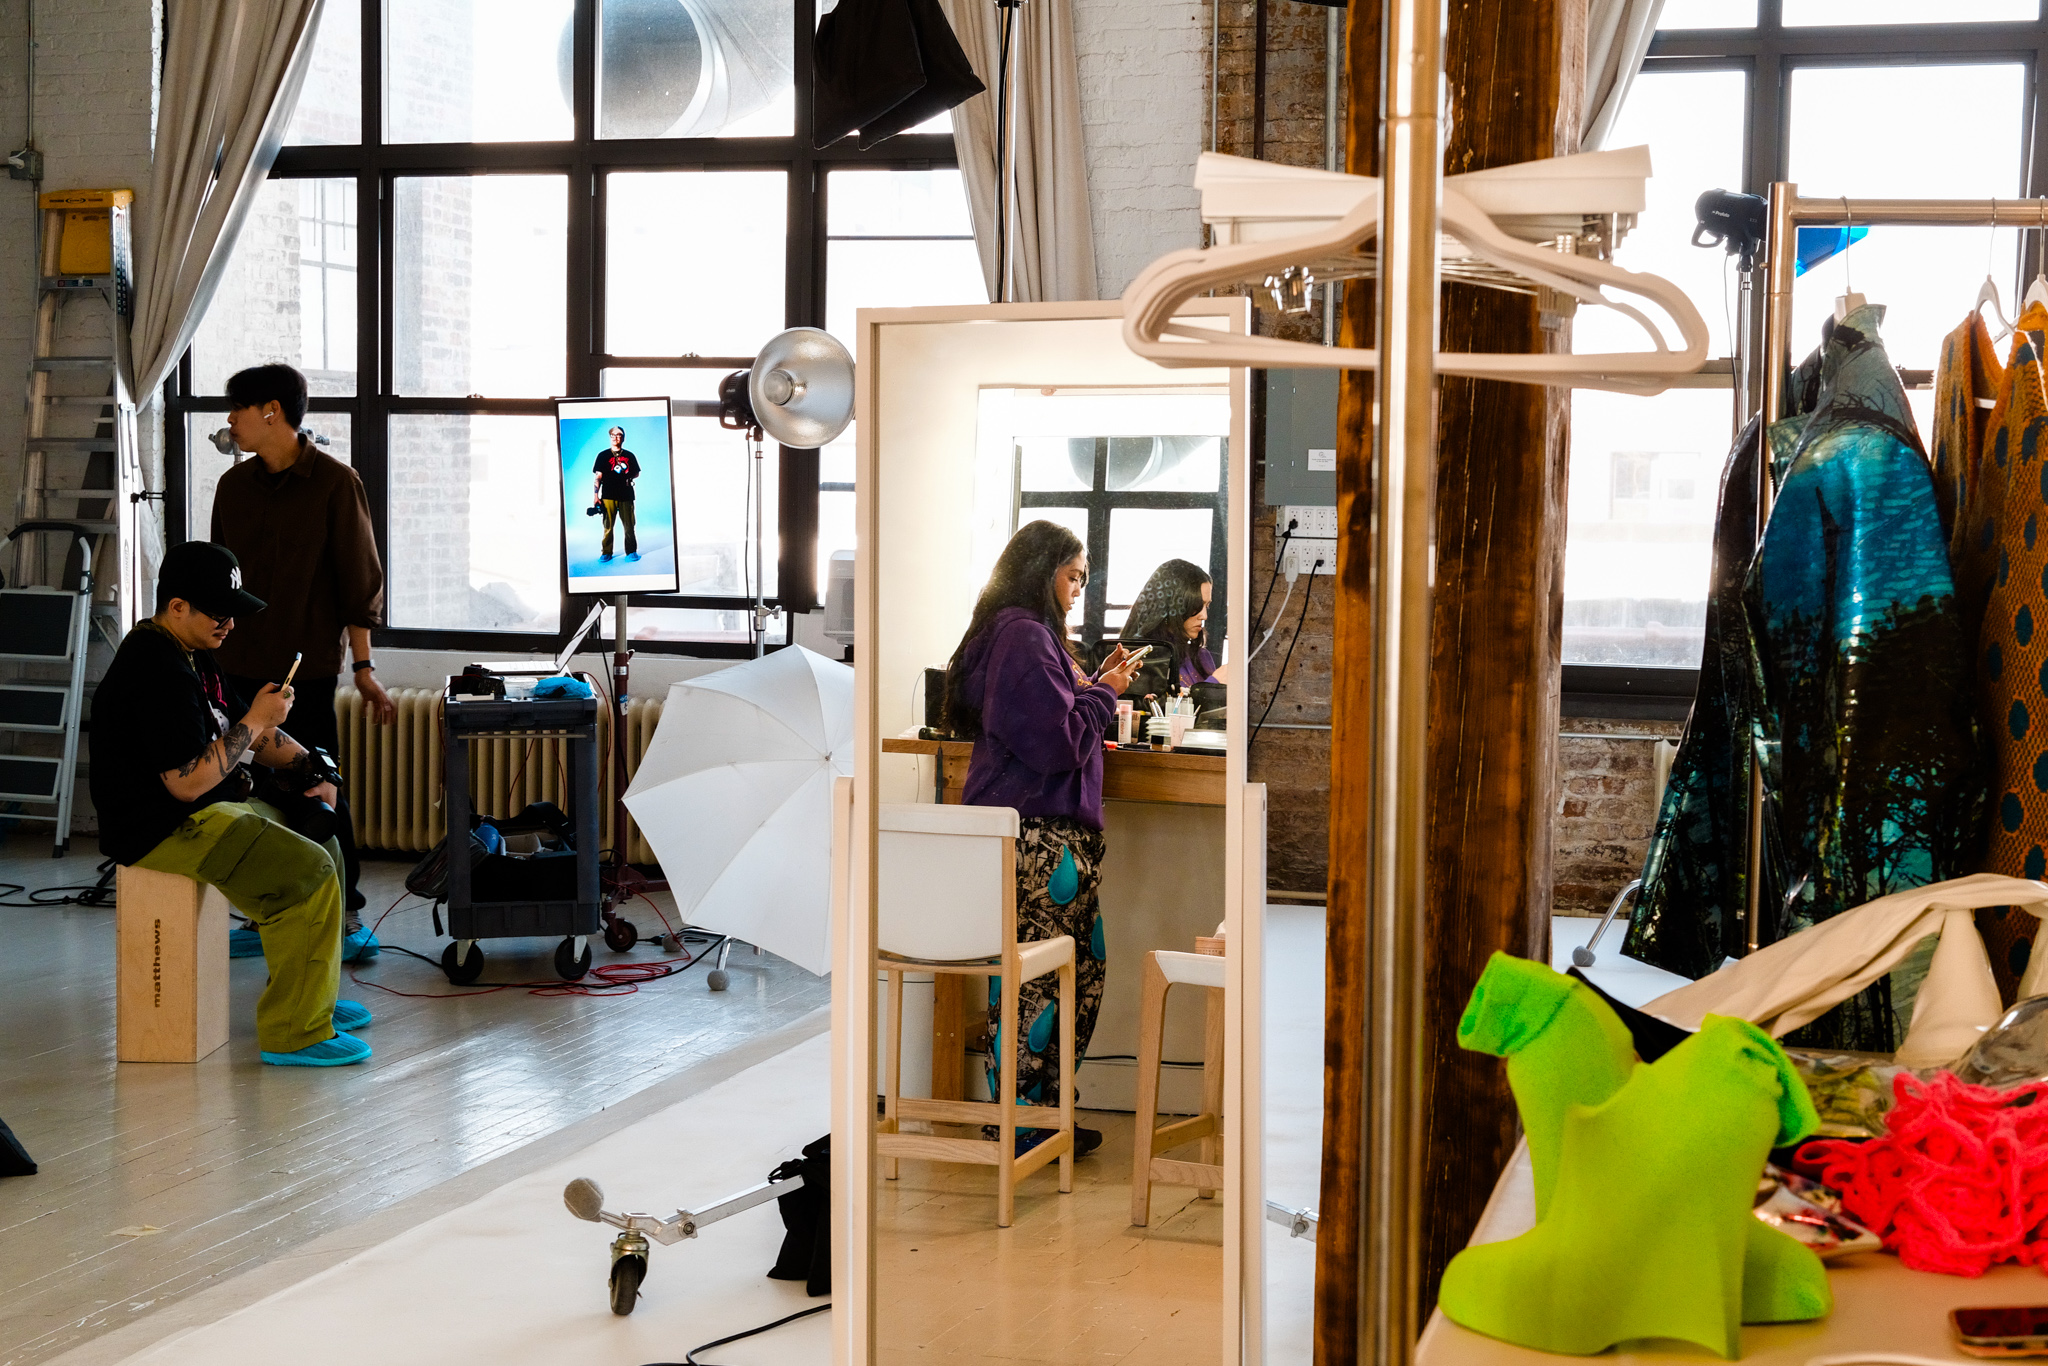
    BTS Photo/Video: Nic Bui
    Studio: TAWAN Studio
    Designers: Emily Eanae, Michael Chamberlin, Nan Yu


    Source link

  • Underwater Awards Australasia 2025: Deadline Extended!

    Underwater Awards Australasia 2025: Deadline Extended!


    The deadline of the Underwater Awards Australasia 2025 has been extended by popular demand! You now have an extra week to submit your entries—submissions must close on July 27th!

    This really is your last chance to claim your share of $70,000 worth of prizes: awesome dive trips with Ocean Souls Explorer, Walindi Dive Resort, Master Liveaboards, Atlantis Philippines, Lissenung Island Resort, and Aquatica Dive Resort; as well as fabulous equipment from Doris, Fotocore, QYSEA, SUBLUE, OM System, Backscatter, Inon, Kraken Sports, SeaLife, OrcaTorch, Isotta, Insta360, Fourth Element, CineBags, and Saga Dive; not to mention a 2-day PADI Freediving course with Abyss Scuba Diving, a double dive at Nguthungulli Julian Rocks with Sundive Byron Bay, a one-year membership to The Underwater Club, and an hourlong online meeting with a shark scientist from the Oceania Chondrichthyan Society.

    For six of the nine categories—Sharks, Conservation, PortfolioSmartphone/Action Cam, Tough TG and Reels Showcase—entries must have been shot in the Australasian region, which includes Australia, New Zealand, and the countries of Melanesia, Micronesia, Polynesia, and Southeast Asia (see map). The remainder are special categories: Sydney (images captured in the waters of Metropolitan Sydney), Australian (images from Australia and its internal territories), and International Waters (images from anywhere!).

    Submissions will be judged by a prestigious panel—photo judges Tobias Friedrich, Jayne Jenkins, Matty Smith, Tanya Houppermans, Scott Portelli and William Tan; and video judges Philip Hamilton and Ross Long—and the winners will be announced, and exhibited, at the Go Diving Show ANZ in September.

    Procrastinate no longer, shooters! Head over to UnderwaterCompetition.com to enter your masterpieces today! (And please don’t forget to read the rules and guidelines carefully first.) The competition is an industry-first three-way collaboration between DPG, Underwater Australasia, and UW Images. Entry fees are US$10 per image or video entered.


    Source link

  • Follow These Tutorials To Capture Night Sky Objects With The Camera You Have

    Follow These Tutorials To Capture Night Sky Objects With The Camera You Have


    Night sky is an addictive subject to photograph and if you look closer, there are many night sky objects that you can photograph, other than the moon and the Milky Way. On very clear nights, you will be able to see a lot of nebulae, star clusters, cloud complexes and even a galaxy without the aid of a telescope.

    Right now it is the Milky Way season in the Northern Hemisphere, but for those who live in the Southern Hemisphere, there are many objects in the Winter sky that are worth photographing. If you are new to astrophotography, start by photographing the moon and then move on to photograph the Milky Way, before working towards photographing deep space objects.


    Grab your Milky Way Photography Blueprint for free right here.


    In this article here, we have put together a collection of tutorials that are highly detailed and provide you with every information you need to photograph the sky at night. Don’t forget to check out the “Further Reading” section.
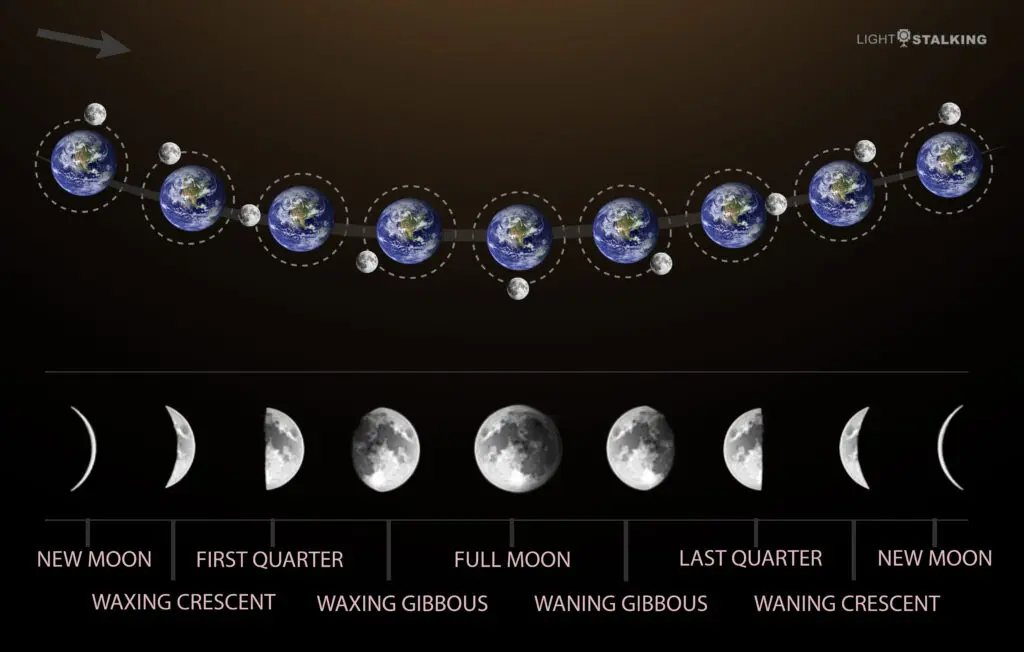
    Let us start with the Moon which is the natural satellite to our planet Earth and it is one of the closest and brightest subjects in the night sky, that you can easily photograph. If you observe the moon over a few weeks, you will get an understanding of the phases of the moon, its rising and setting time, etc. You just need to do a little bit of planning to get the best shot.

    Graphic by Light Stalking

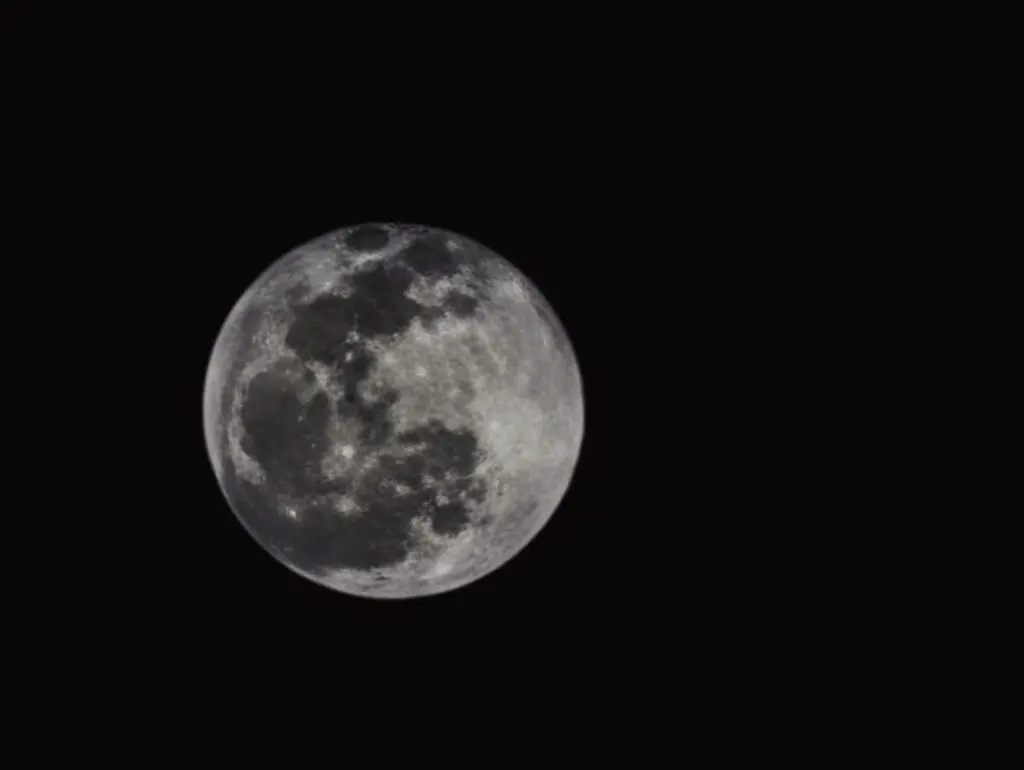
    If you are wondering what if you do not have a camera yet, but only a smartphone that you use to capture photos right now? Smartphone technology has advanced quite a lot in the recent years and they can be used to capture beautiful images of the moon and some brighter objects in the night sky. Especially if you are a a beginner in astrophotography, with some practice and knowledge, you can capture interesting photos of the moon with your smartphone.

    Photo by Dahlia Ambrose using Samsung Galaxy S22 – 20x digital zoom. ISO 25, 69mm, -0.2 ev, f/2.4, 1/583s. Cropped to fill the frame.

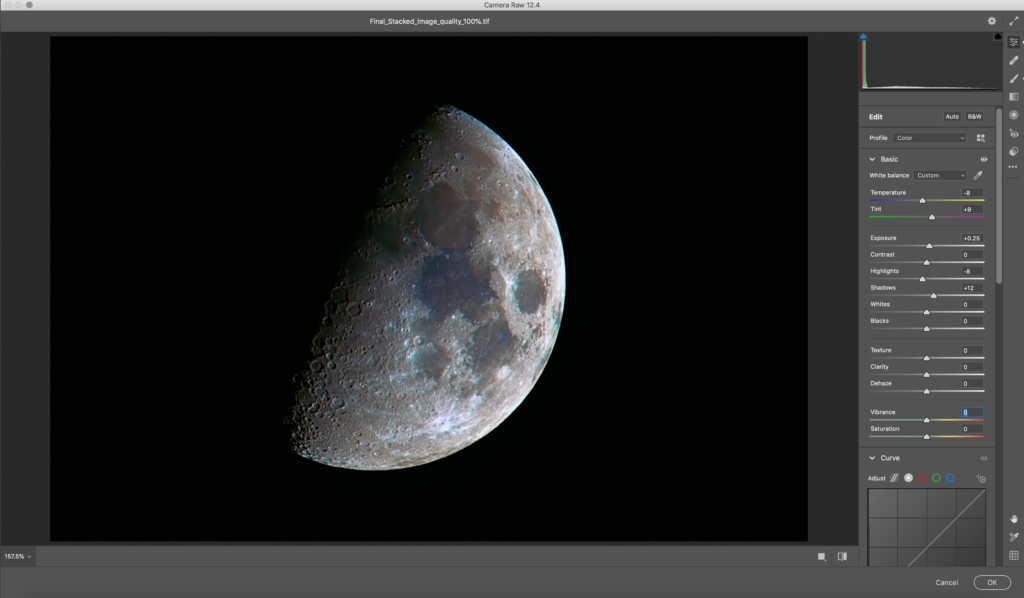
    And, did you know that the moon is not just white, but has some colours due to the mineral deposits on its surface? If you zoom in on live view with a long lens, on a very clear night, you will be able to observe these colours faintly. You can photograph the moon and bring in those beautiful colours and this article will help you achieve that. It is interesting and can be done during any phase of the moon, but remember that you will have to take a series of shots to get the best results in terms of colours and details.

    Photo by Dahlia Ambrose

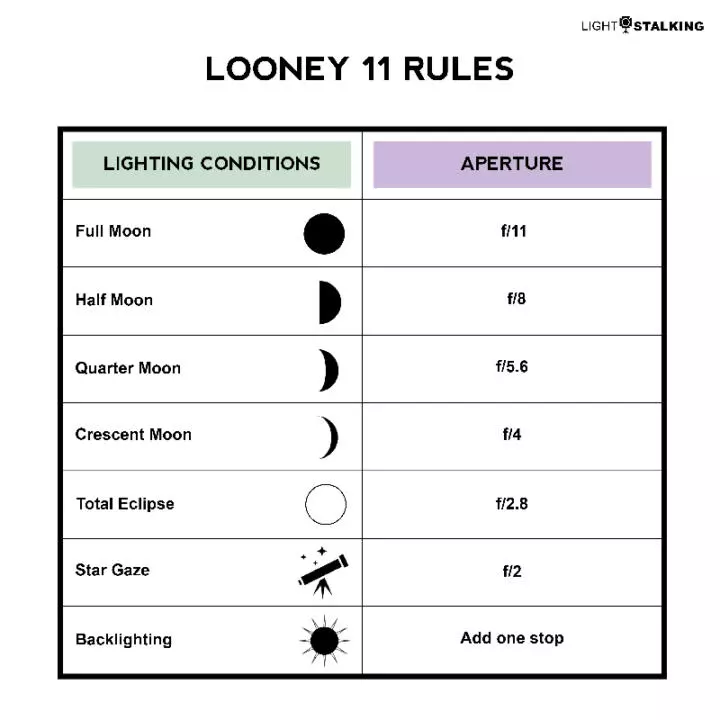
    We have heard of rules for correctly setting exposure for certain subjects in photography, rules that do not need to be followed as such, but rules that can help you get started initially and then can be refined further according to the situation. One such rule to capture the moon is the Looney 11 rule which can be a start to estimate exposure times. We will summarise the rule here:

    • Set aperture to f/11 and shutter speed to the reciprocal value of ISO.

    Check out the article to learn more about this rule.

    Graphic by Light Stalking

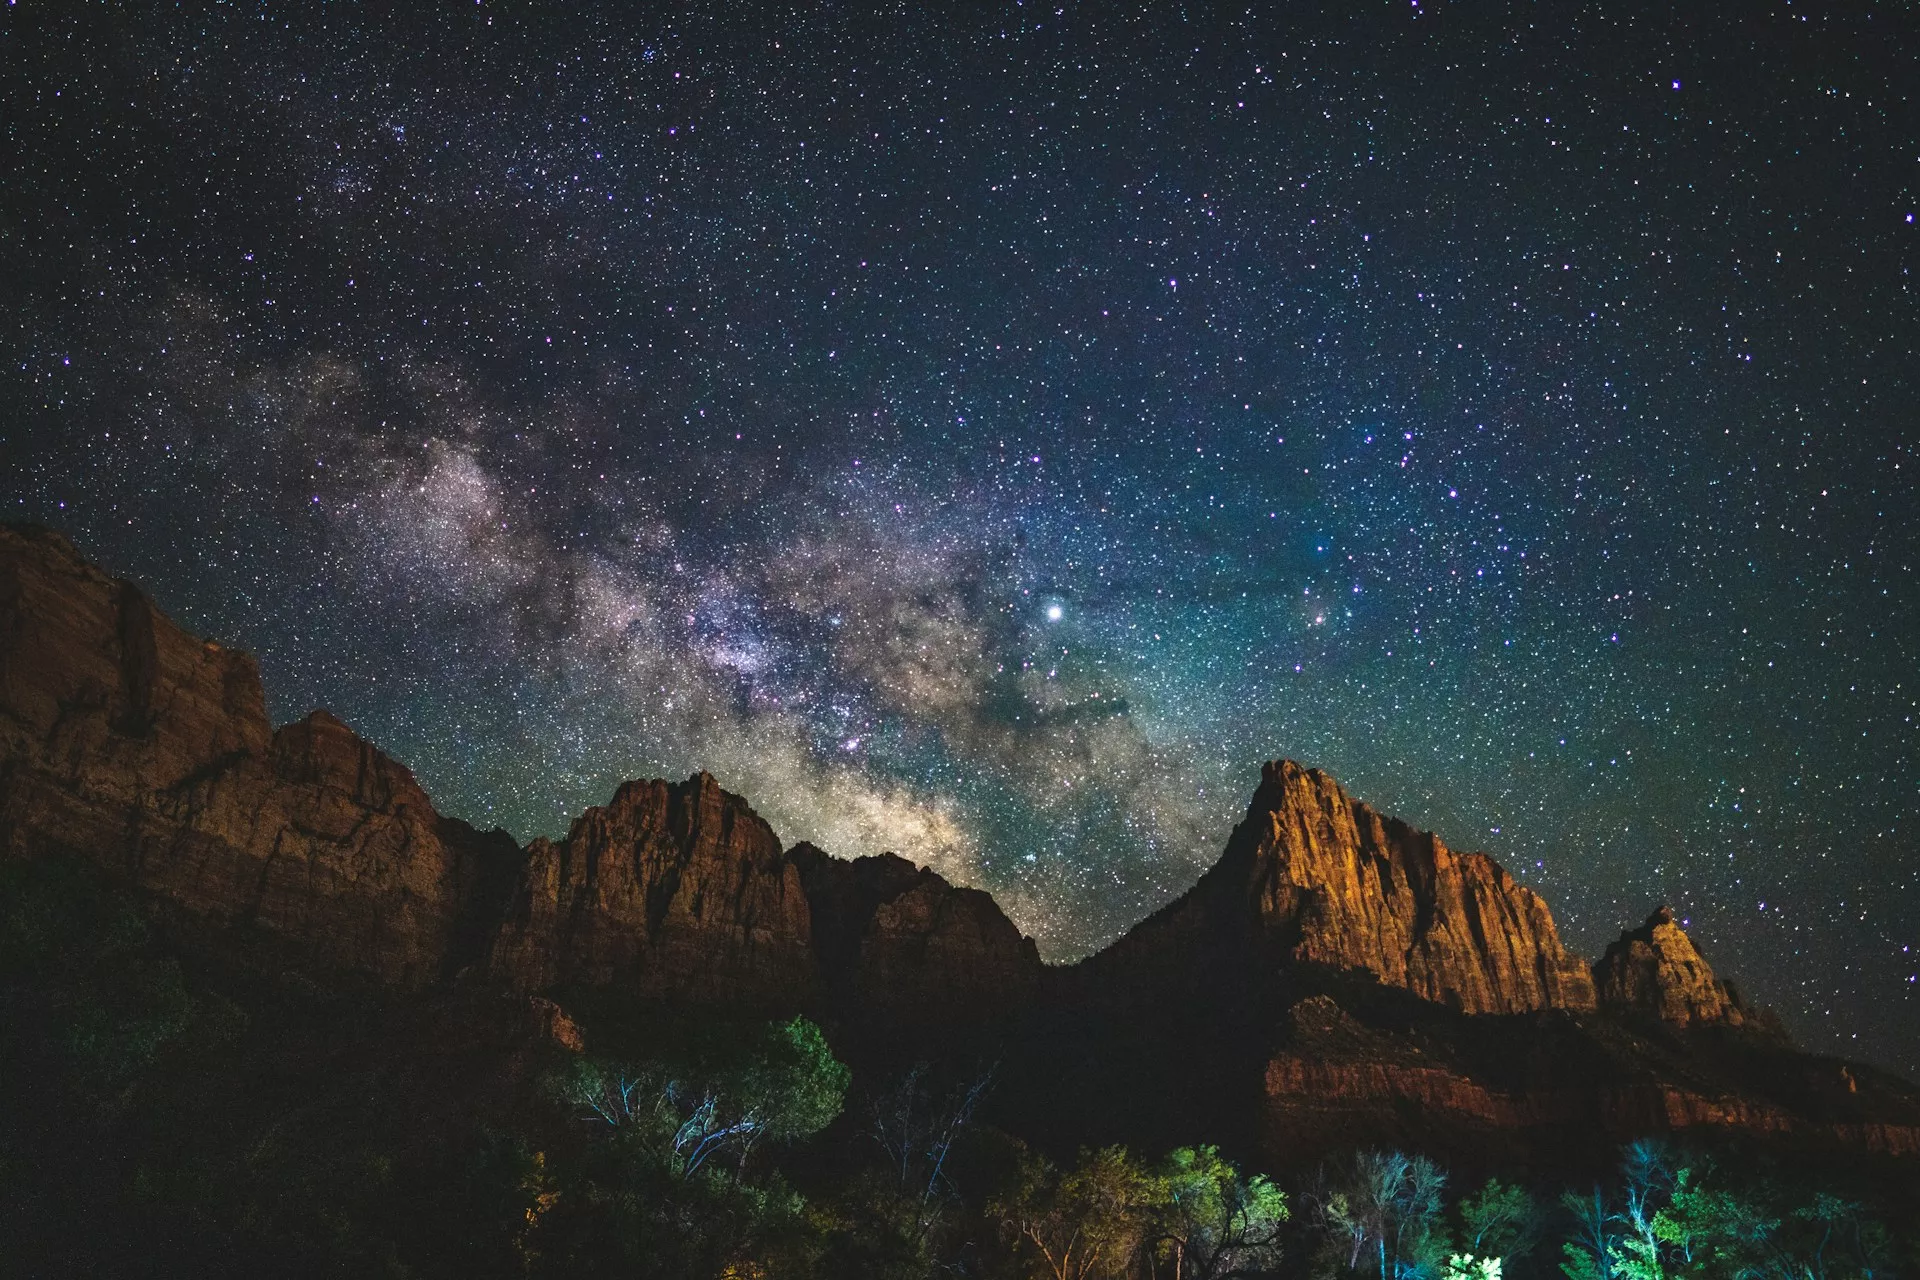
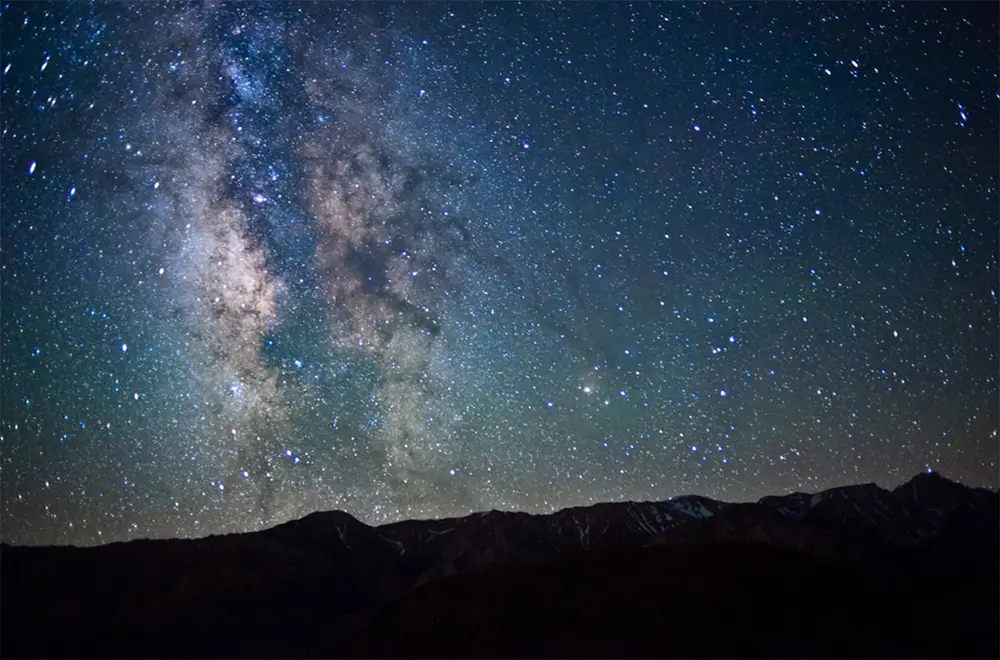
    We live in the Milky Way galaxy and it is one of the easiest subjects to photograph, after the moon. Depending on the time of the year, you will be able to photograph only specific areas of the Milky Way galaxy. The core is the most stunning region and it is above the horizon at night, a few months every year. So keep an eye on the weather forecast and find the darkest location possible and photograph the Milky Way with the camera you have in hand.

    Photo by John Lemieux

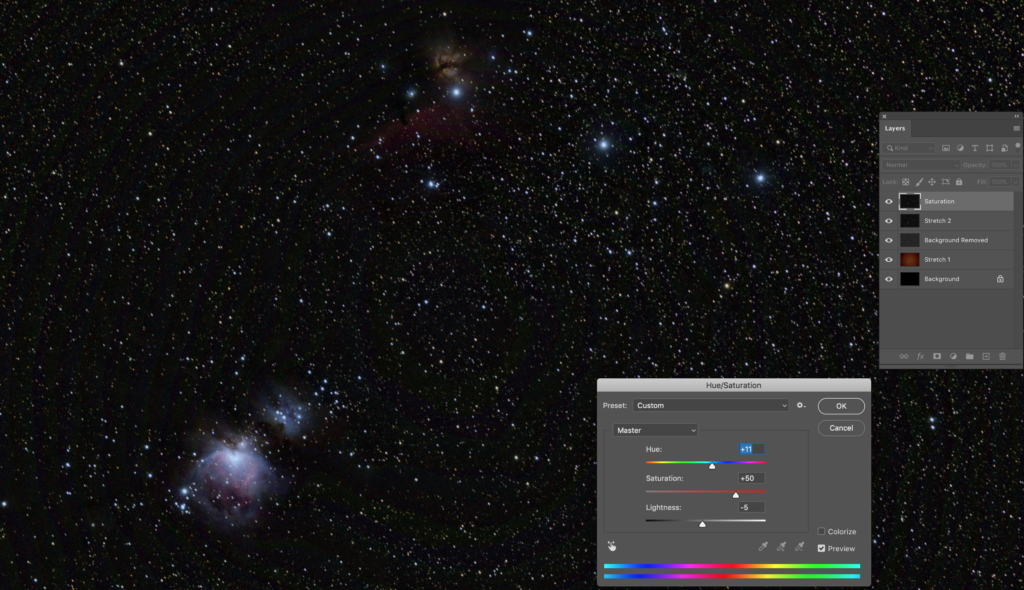
    If you want to go a bit further after some experience and photograph a nebula, the Orion Nebula is one of the easiest to capture and one that is most commonly photographed too. You can use the camera that you have in hand and a moderate focal length lens to capture the frames and then with some detailed post processing, you will have a beautiful image. You will need to capture a series of shots including calibration frames and everything is explained in detail in this article.

    Photo by Dahlia Ambrose

    Now, similar to the rule we mentioned above to set exposure for moon photography, if you are a beginner and not sure where to start in terms of settings for your night sky photography like stars, nebulae, etc., start with the 500 rule. It is not very accurate, but is a great start to get an image of the stars, galaxies and the Milky Way. Here is the rule summarised below:

    • Set your camera to ISO 3200 or 6400, your Aperture to f/2.8 (or as wide as possible) and your shutter speed to 500 divided by the focal length of your camera, taking into account the crop factor of your camera.

    There is also a 600 rule where you replace the 500 above with 600 and see if it works better than the above setting.

    Snapwire at Pexels

    With more advanced cameras and sensors, sometimes the 500 or 600 rule may not get you the best results, especially if you want to have a large print. Sometimes there may be some trailing in the stars instead of point sharp stars. To avoid this situation, the photographer needs to calculate exposure based on the type of camera and lens combination.

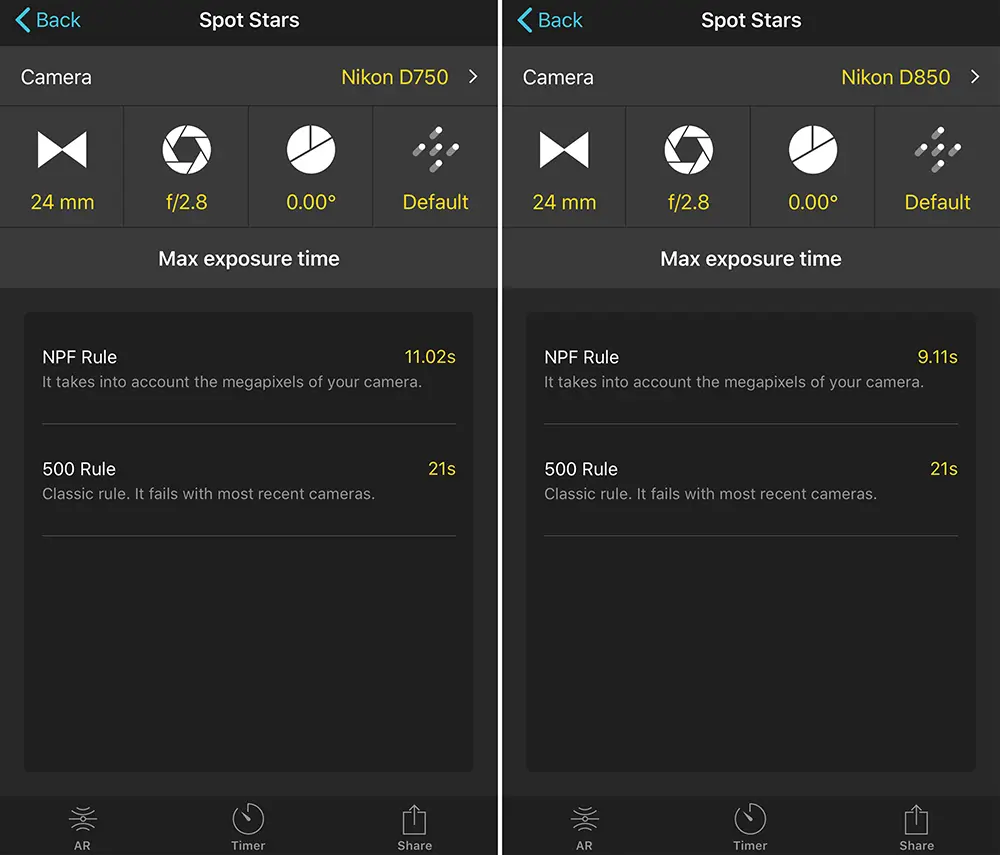
    A formula was devised by Frédéric Michaud for the Société Astronòmique du Havre called the NPF rule which is quite complex, where

    • N stands for aperture, the letter N is used to represent aperture in optics.
    • P for photosites or pixel density or pixel pitch (distance between two pixels)
    • F for focal length

    If you have an app called PhotoPills, you can easily calculate exposure times using the NPF rule on that app.

    Screenshot from PhotoPills App showing different exposure times for two different full frame cameras

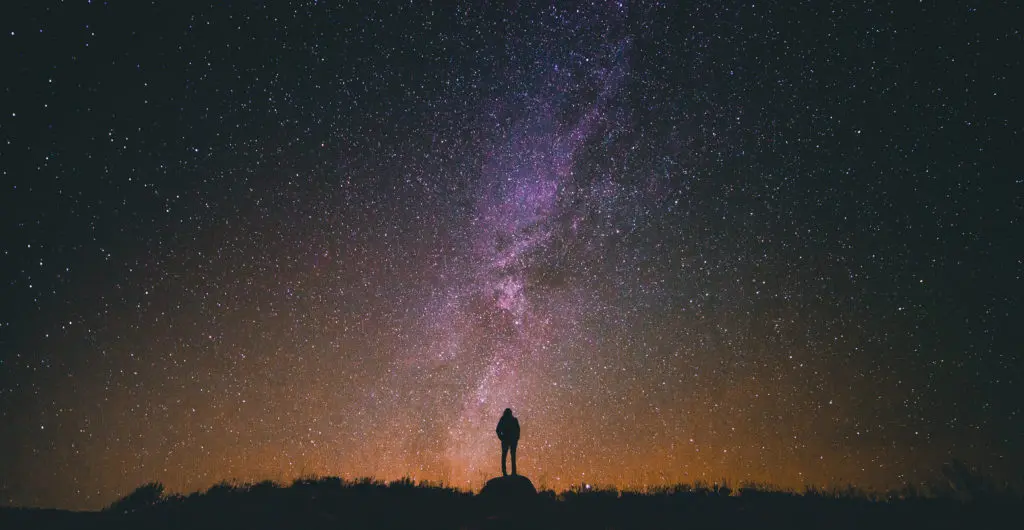
    Star photography is easy, but in order to get the best results like sharp and noise free images, there are a few things that you will need to keep in mind. It also requires you to choose the right location, weather conditions, keep an eye on the moon phases and use the right tools and accessories to get the best shot. Last but not the least, patience and practice is key to perfect star images.

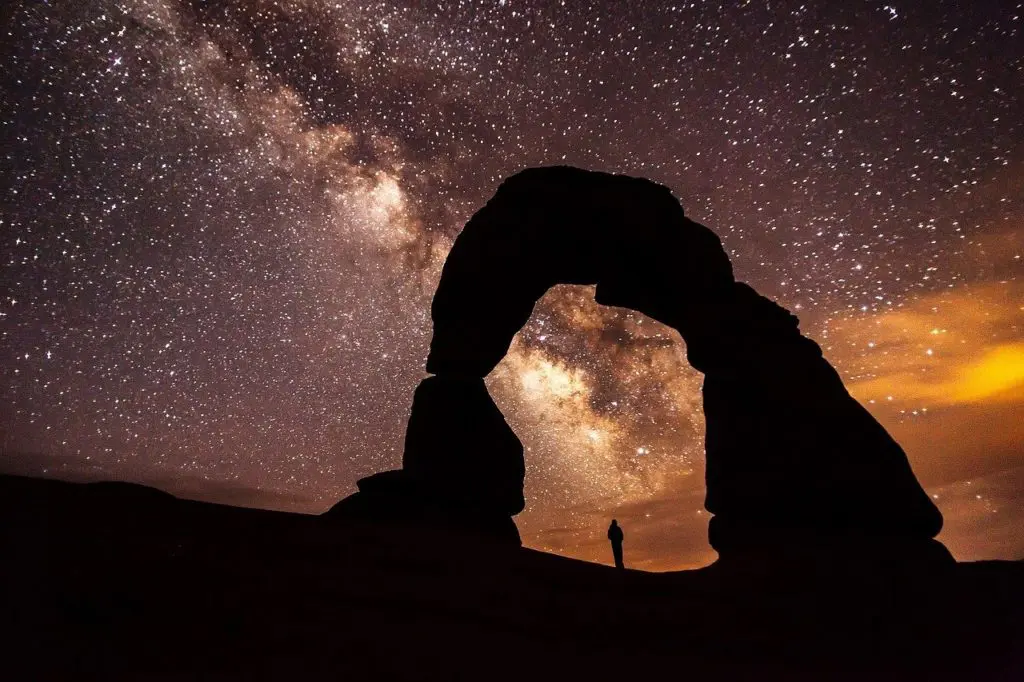
    Photo by Skeeze

    Cameras come with noise reduction features called high iso noise reduction and long exposure noise reduction. Many photographers seem to be confused if they need to leave these settings on for astrophotography, in order to get the best results. Depending on what you are shooting, these features can cause some delay in sequences, can cause heat, and also remove faint star details. Read to find if you should leave these settings on or off for astrophotography and why.
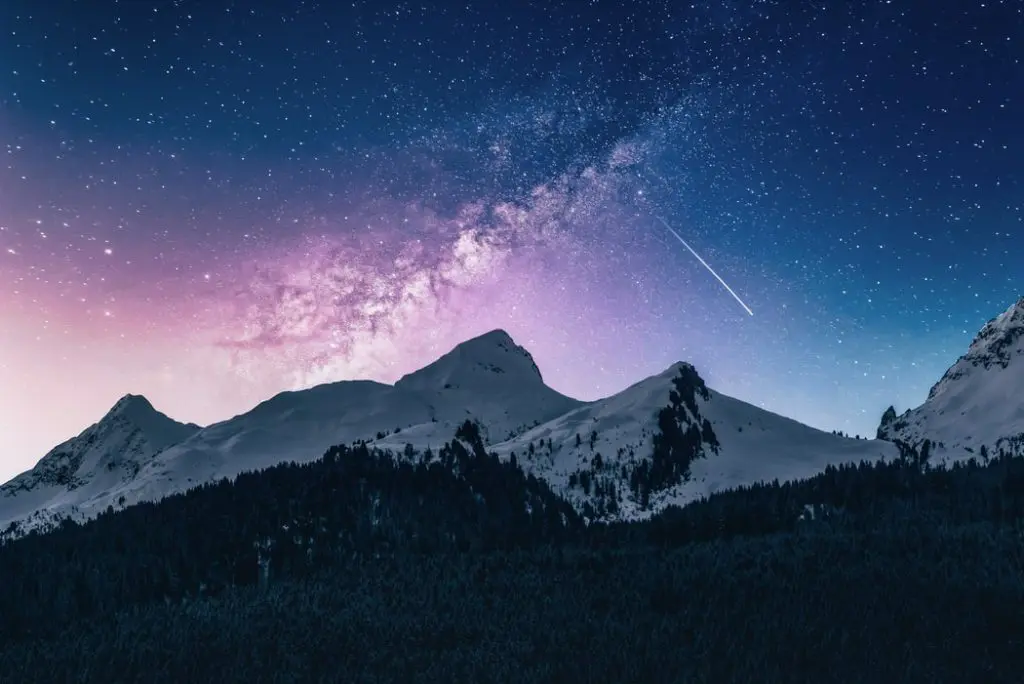
    Image by Benjamin Voros

    When capturing night sky or dep space object, you are working with very little light and longer exposure times. Factors like heat due to long exposure and high iso can induce thermal and/or digital noise in these photographs that can leave unwanted effects/artifacts in the images that also greatly reduce the sharpness and quality of the image. Here are some ways in which noise can be reduced in your night sky images.

    This is how noise looks in photographs – this is for illustration purposes only. Image by MartinThoma

    Further Reading


    Source link