[ad_1]
I recently returned from two months of guiding, photographing, and filming ocean safaris in the South Pacific and Caribbean. I work for Just the Wild, a company that specializes in ethical in-water whale and other marine megafauna encounters. Akin to that, I also work as a professional nature and adventure photographer and filmmaker with a specialty in underwater imagery. Before departing, I felt like my underwater images had stagnated in look and aesthetic. Before leaving, I wanted to get my hands on a lens that few underwater shooters have yet to discover. I quickly honed in on the Sigma 14mm F1.4 DG DN | Art.
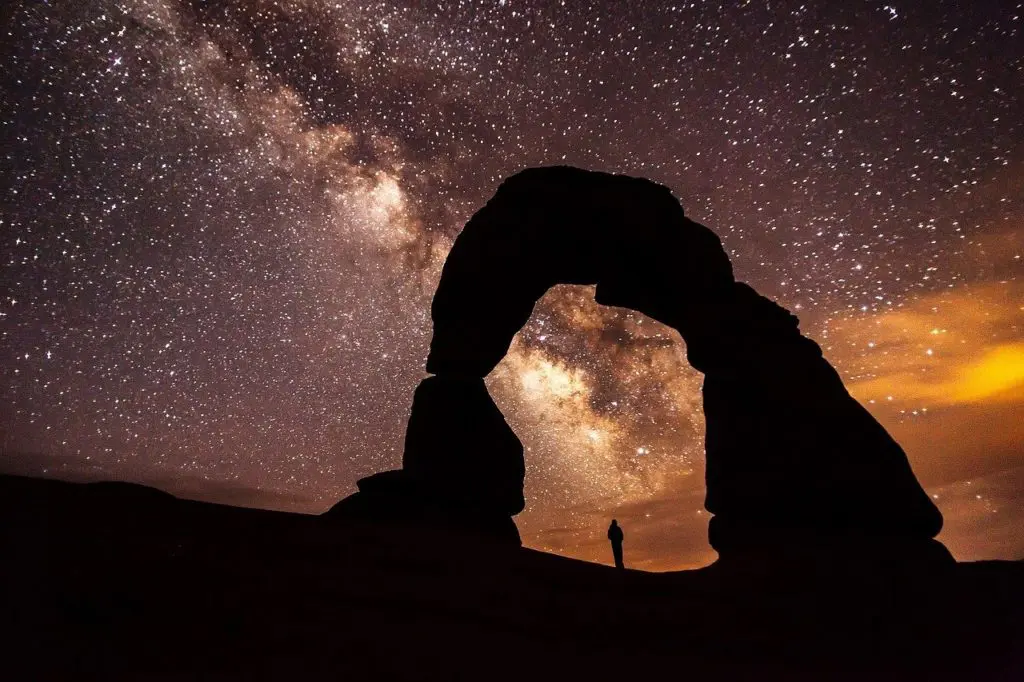
This lens stood out to me because of its design for astrophotography. The night sky and underwater imagery world overlap a lot. When shooting underwater, you need to be using a lens that’s extremely wide, has fast and accurate autofocus, and, most important to me, satisfies my greed for sharpness.
My underwater setup:
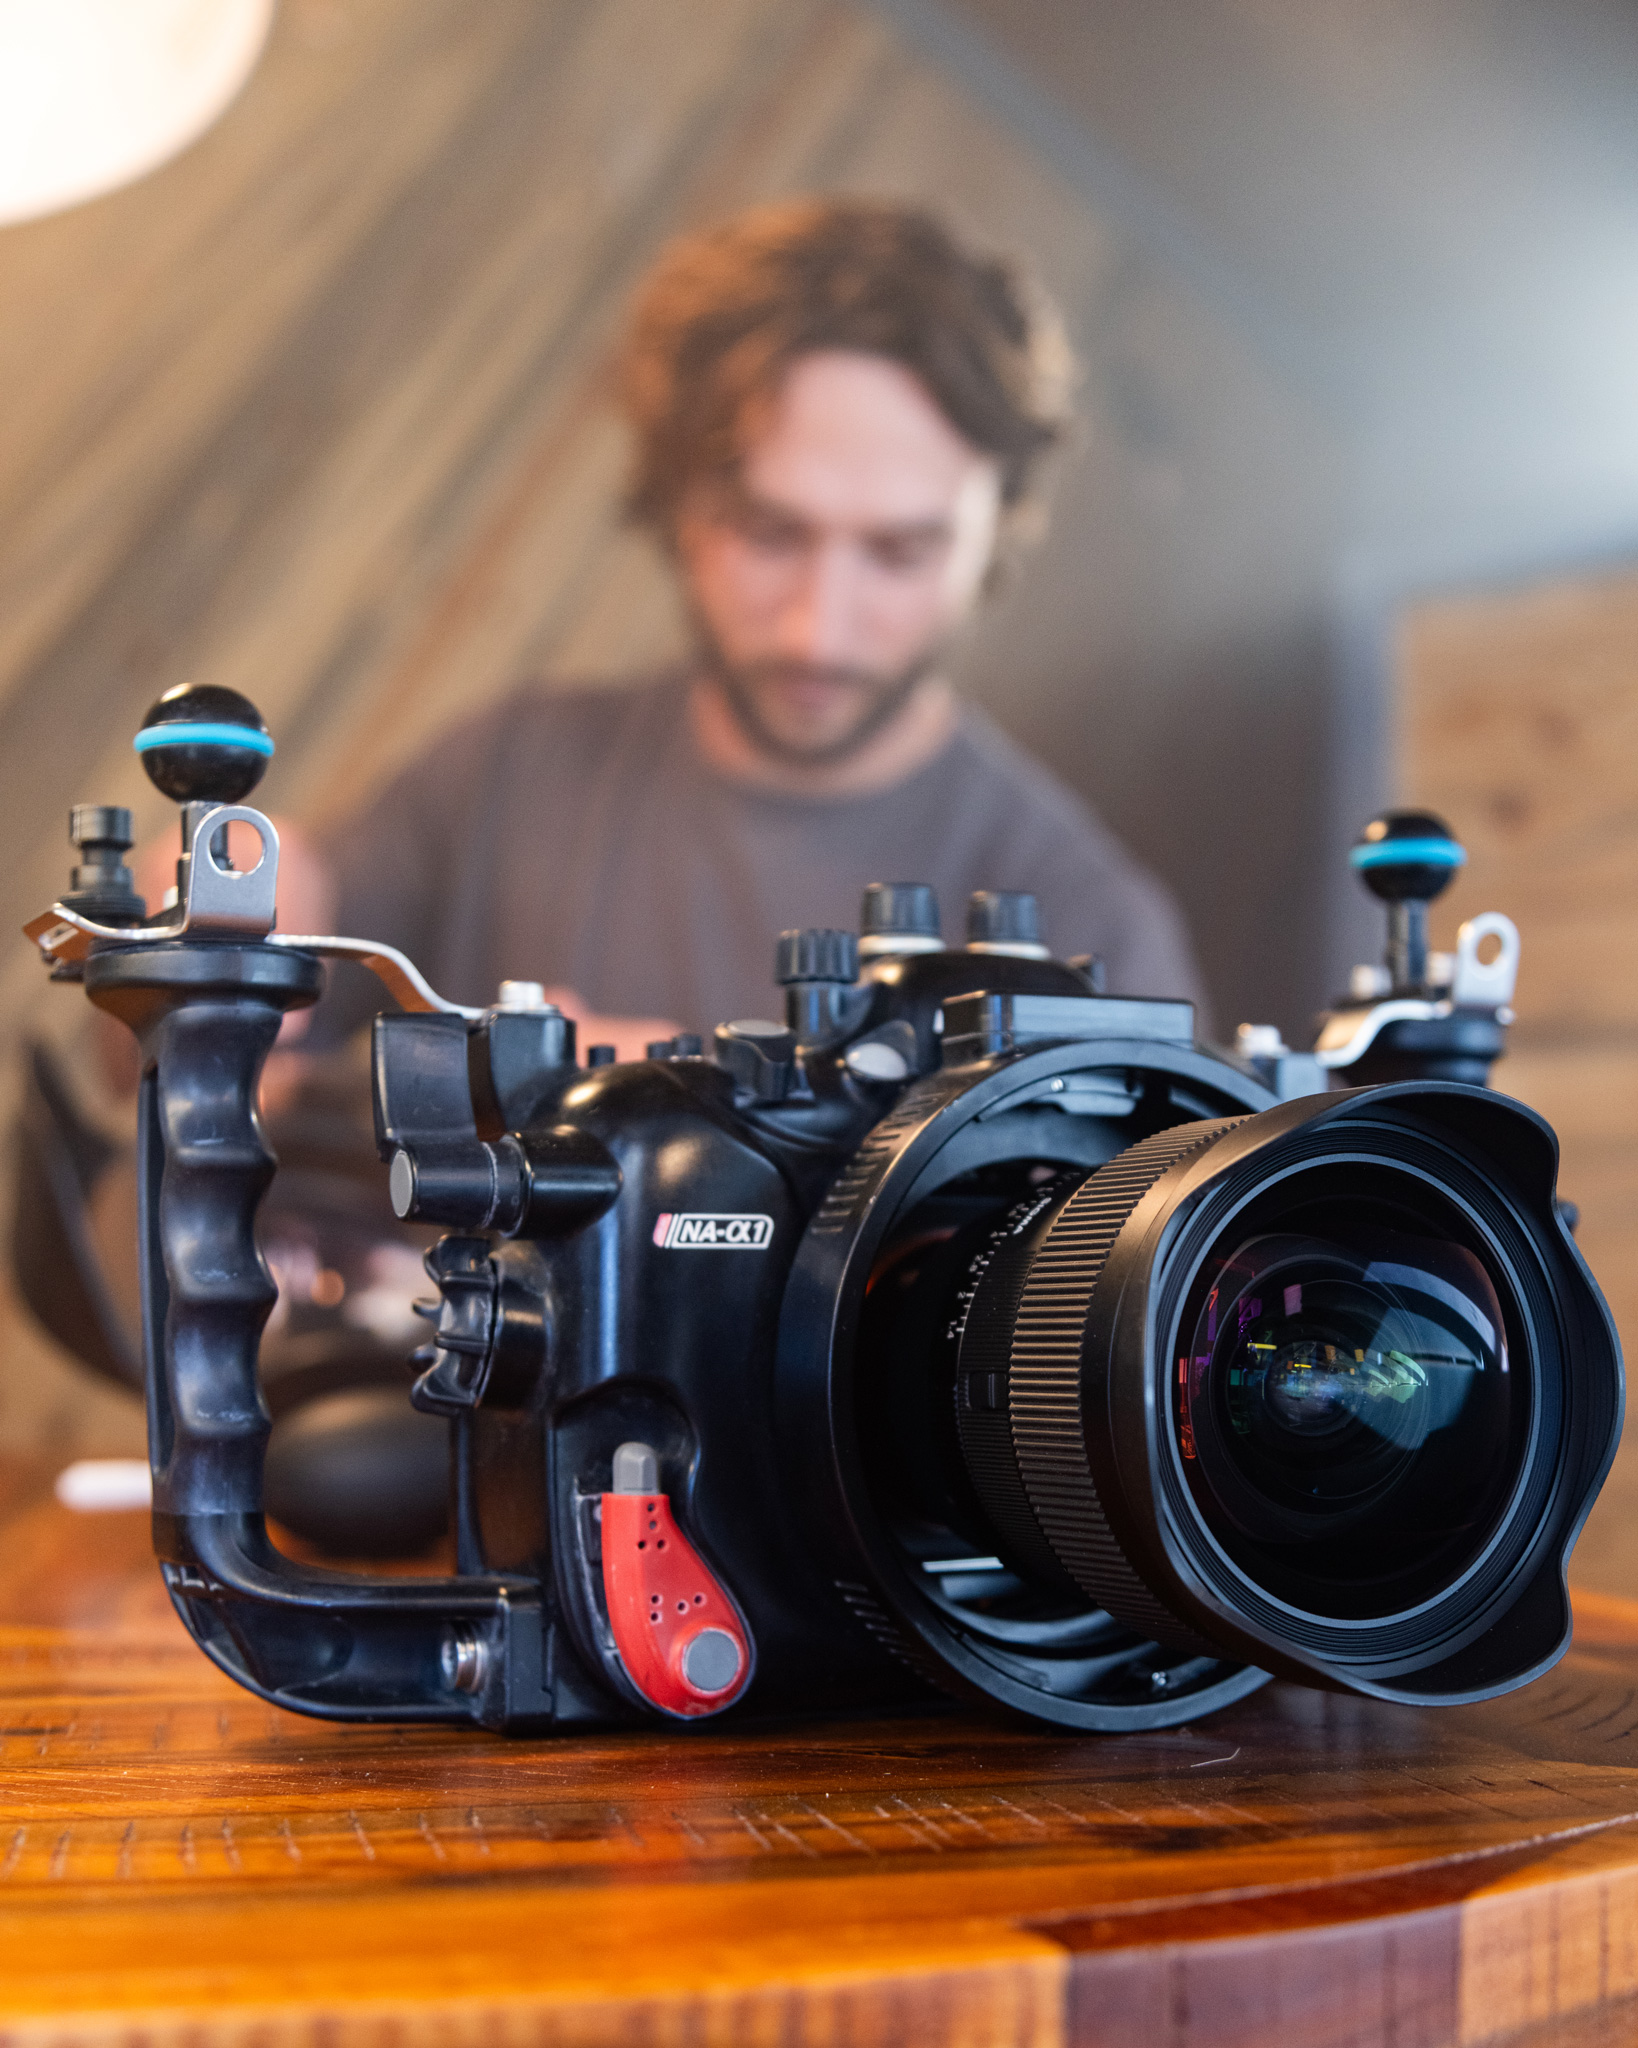
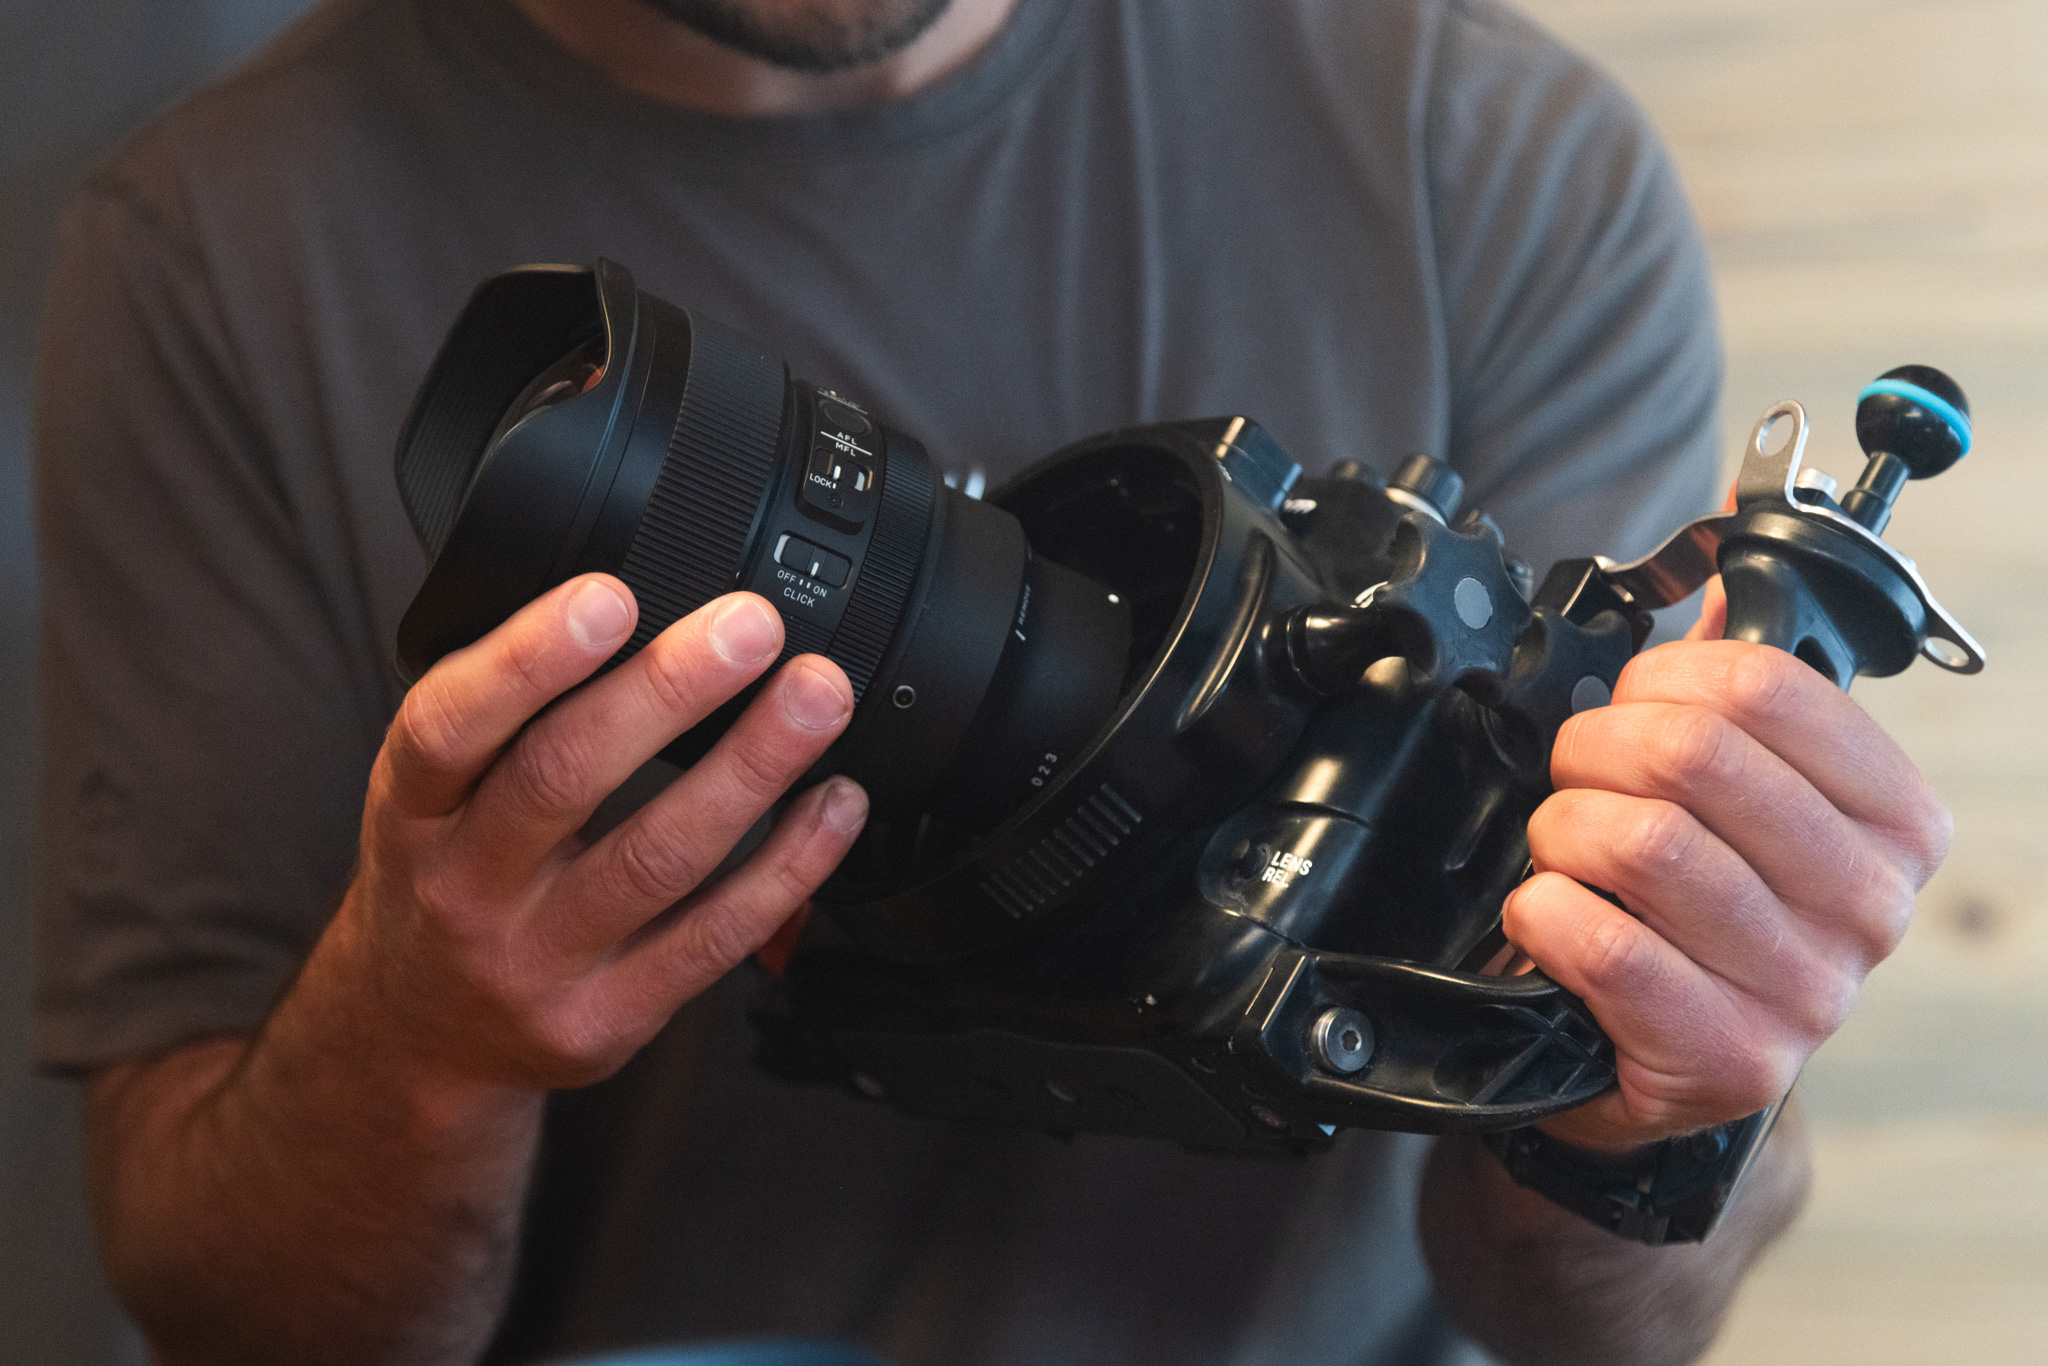
My current go-to underwater setup is the Sony Alpha 1 with a Sigma 14mm F1.4 DG DN | Art contained within a Nauticam housing with a 230mm dome port. While my setup changes depending on what I’m shooting, I rarely make changes when it comes to shooting large animals such as whales.
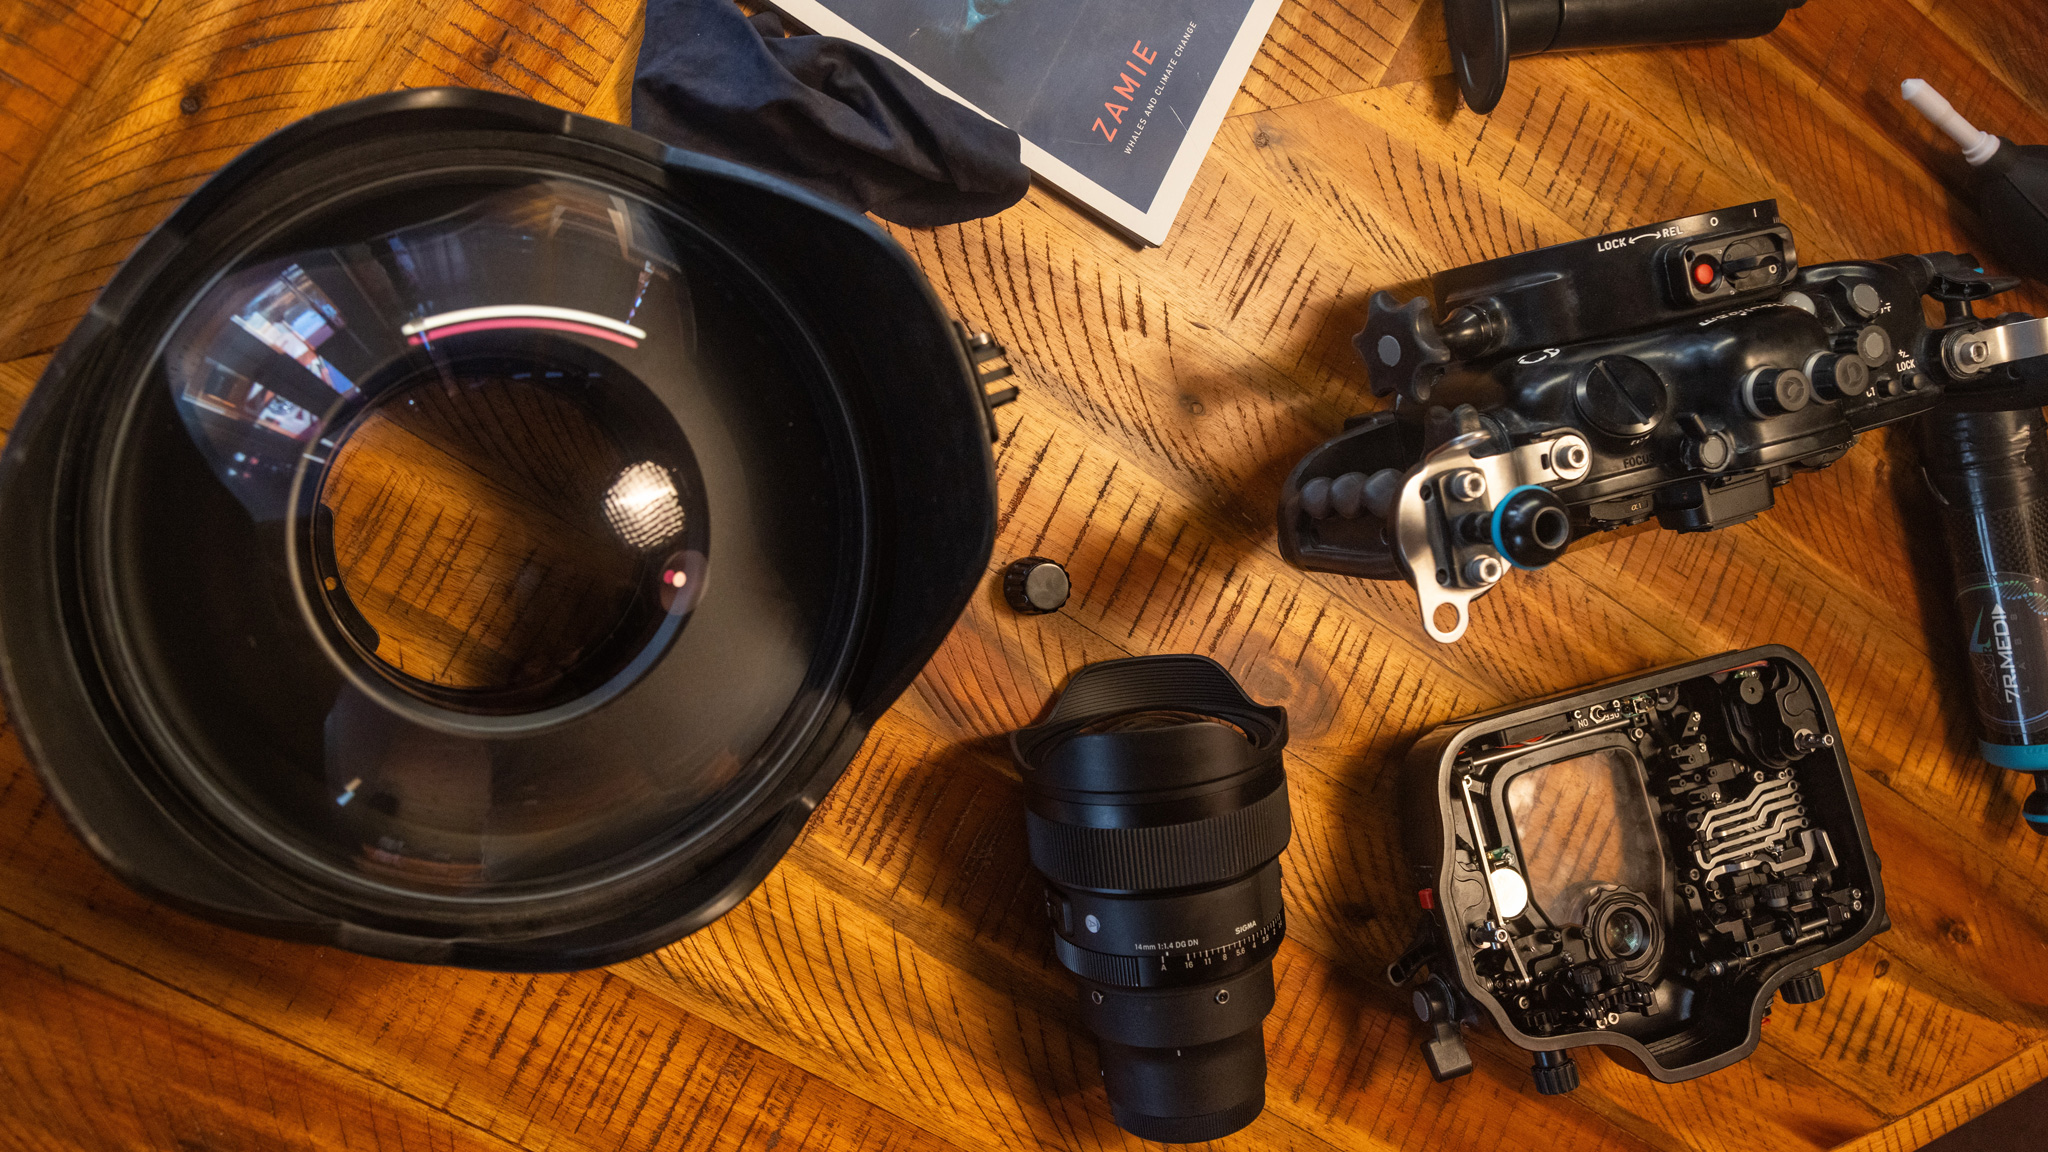
For anyone looking to get into the underwater world, there are now numerous great housing options. You can’t go wrong with Nauticam, Marelux, Isotta, Aquatica, and for entry-level, I’ve seen great results with Sea Frogs housings. Whatever you go with, make sure you get a housing with a vacuum pump. This will ensure you never flood your housing. I’ve lost a few cameras before I spent the extra money on that safety feature. I’d also recommend consulting distributors like Reef Photo & Video (an authorized Sigma dealer as well) on getting the proper dome and extension ring setup for your lens (I’ll come back to this on maximizing the sharpness for lenses like the 14mm F1.4).
General tips and settings:
Like I said earlier when it comes to underwater, you have to adapt your setup and settings to fit your target subject. That being said, these are the settings for 98% of my whale and other large animal species. The golden ticket to never missing a shot: 1/800 shutter or faster, F8 or above depending on light, and auto ISO.
Now I know you’re scratching your head with the auto ISO. Isn’t it better to manually adjust? New mirrorless cameras give you the ability to set a range for your auto ISO. I limit my camera from being able to shoot above 6400. New mirrorless cameras can easily handle that ISO with very little noise. This allows me to worry more about my composition rather than my settings, which is essential in a dynamic situation like snorkeling with a whale.
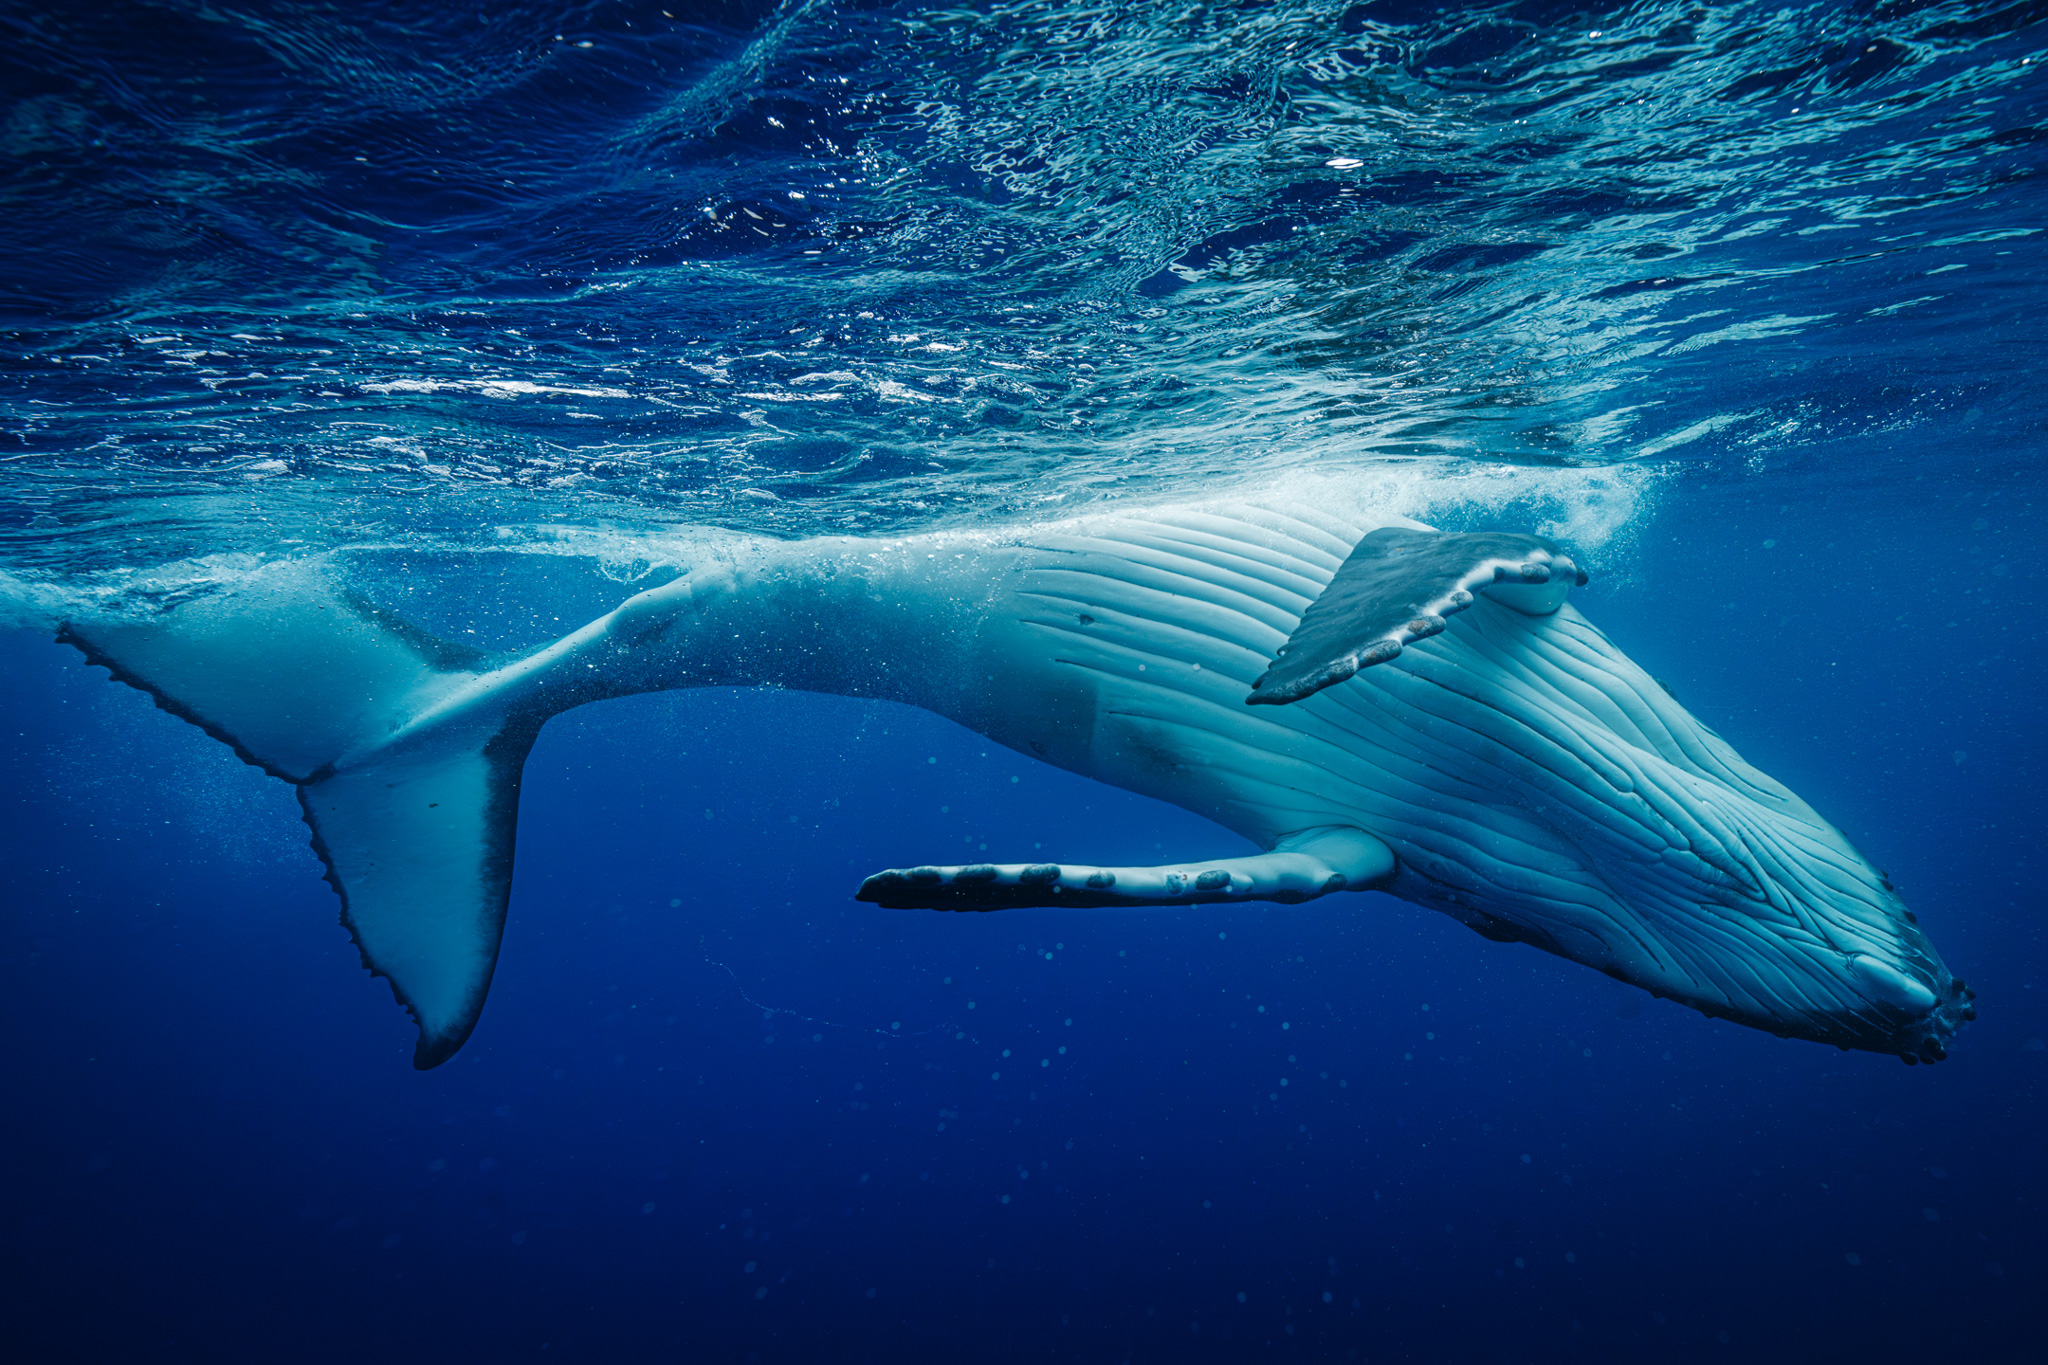
Sony A1
F8, 1/800s, ISO 1600

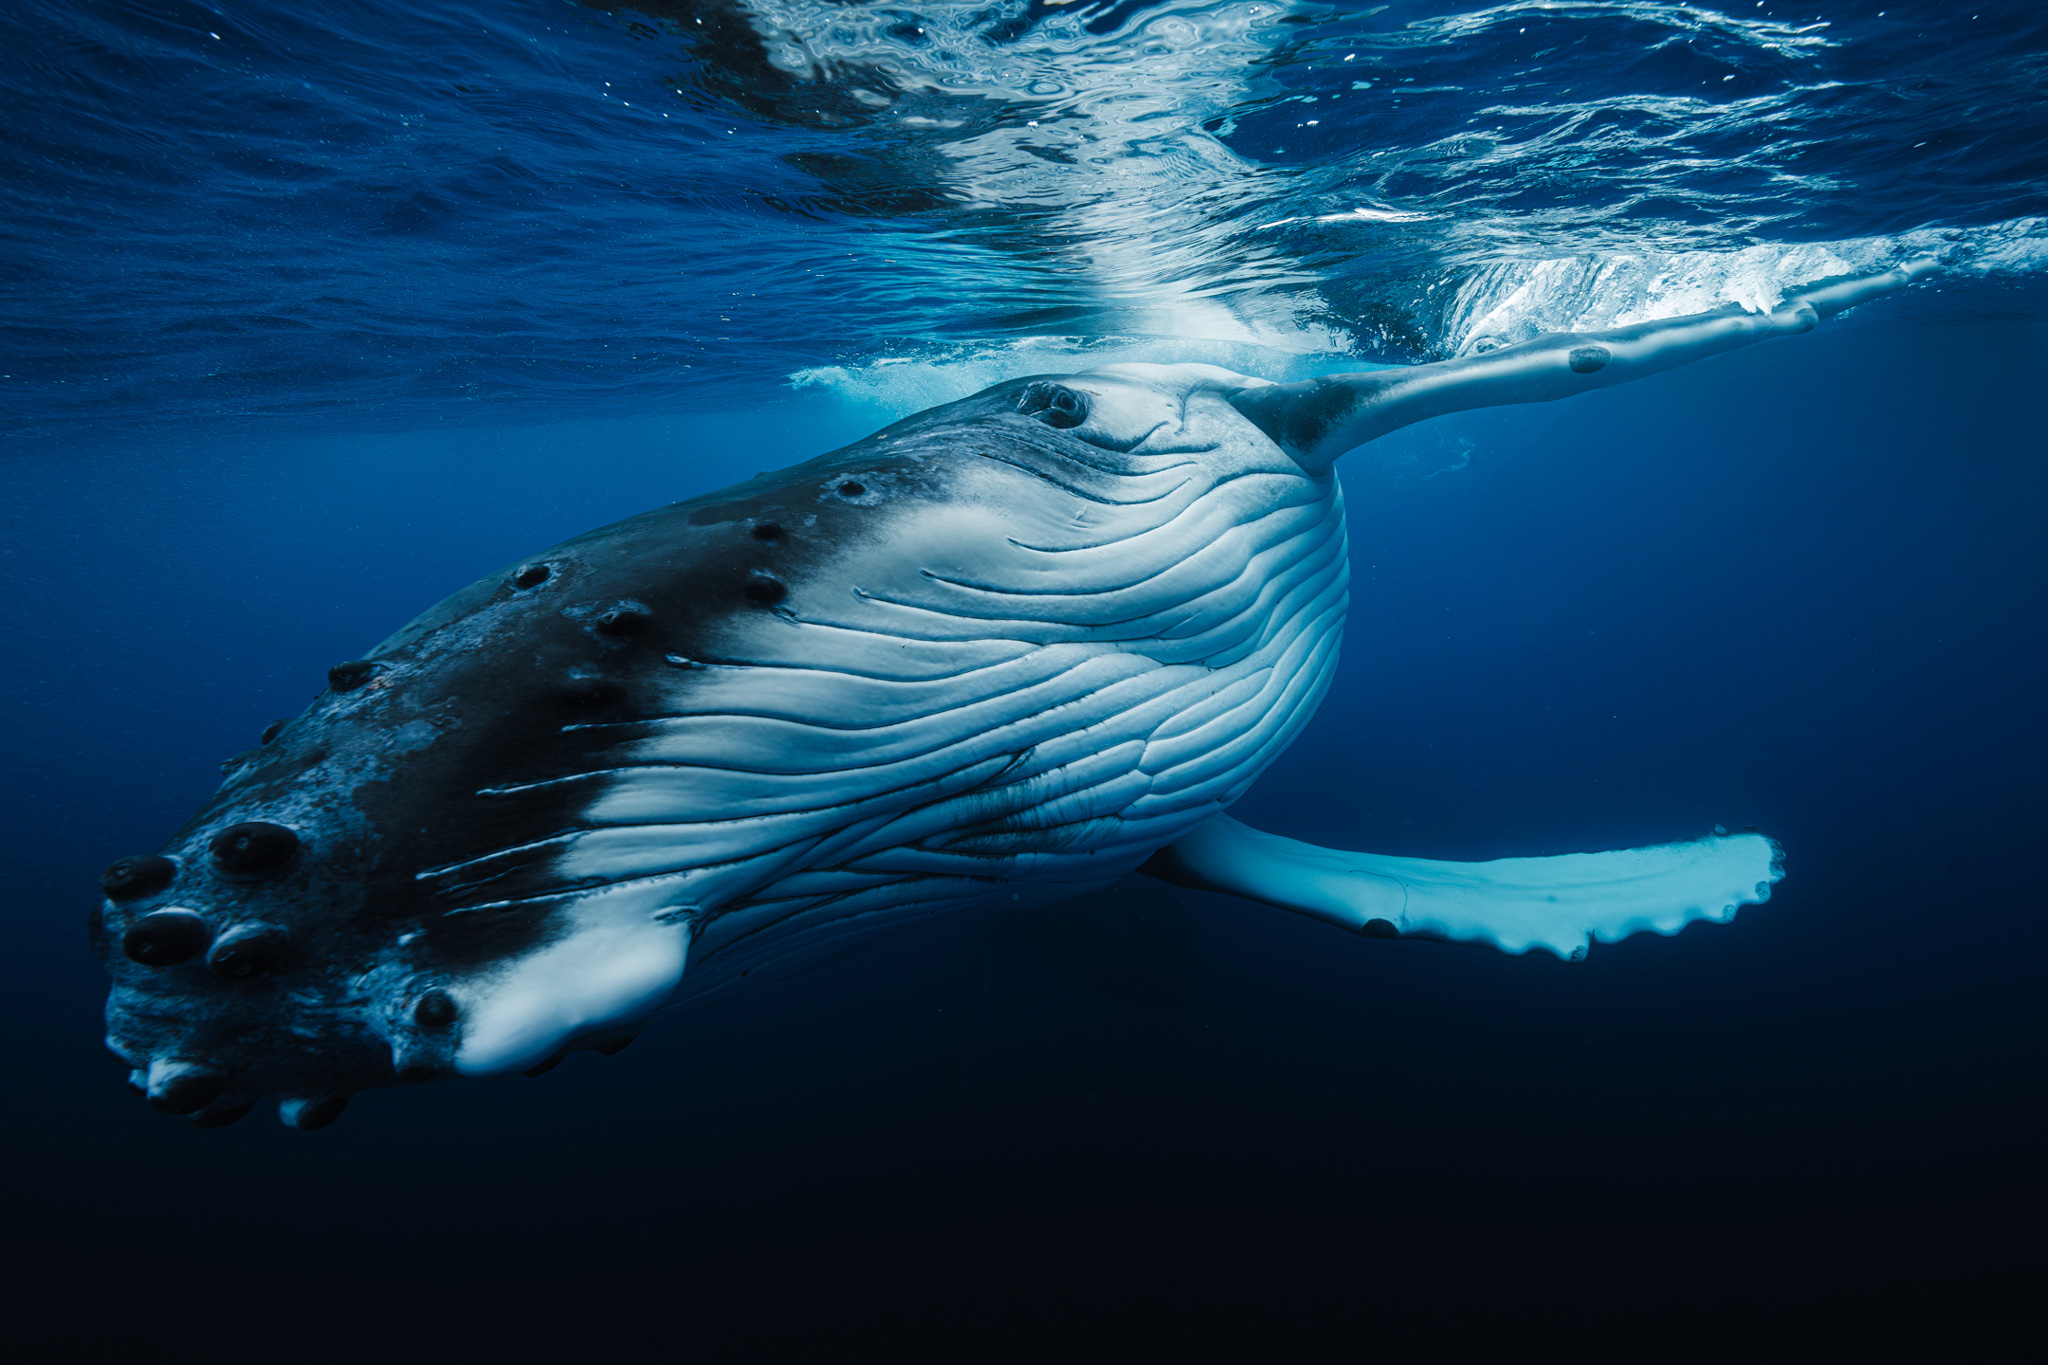
Sony A1
F10, 1/1000s, ISO 2000

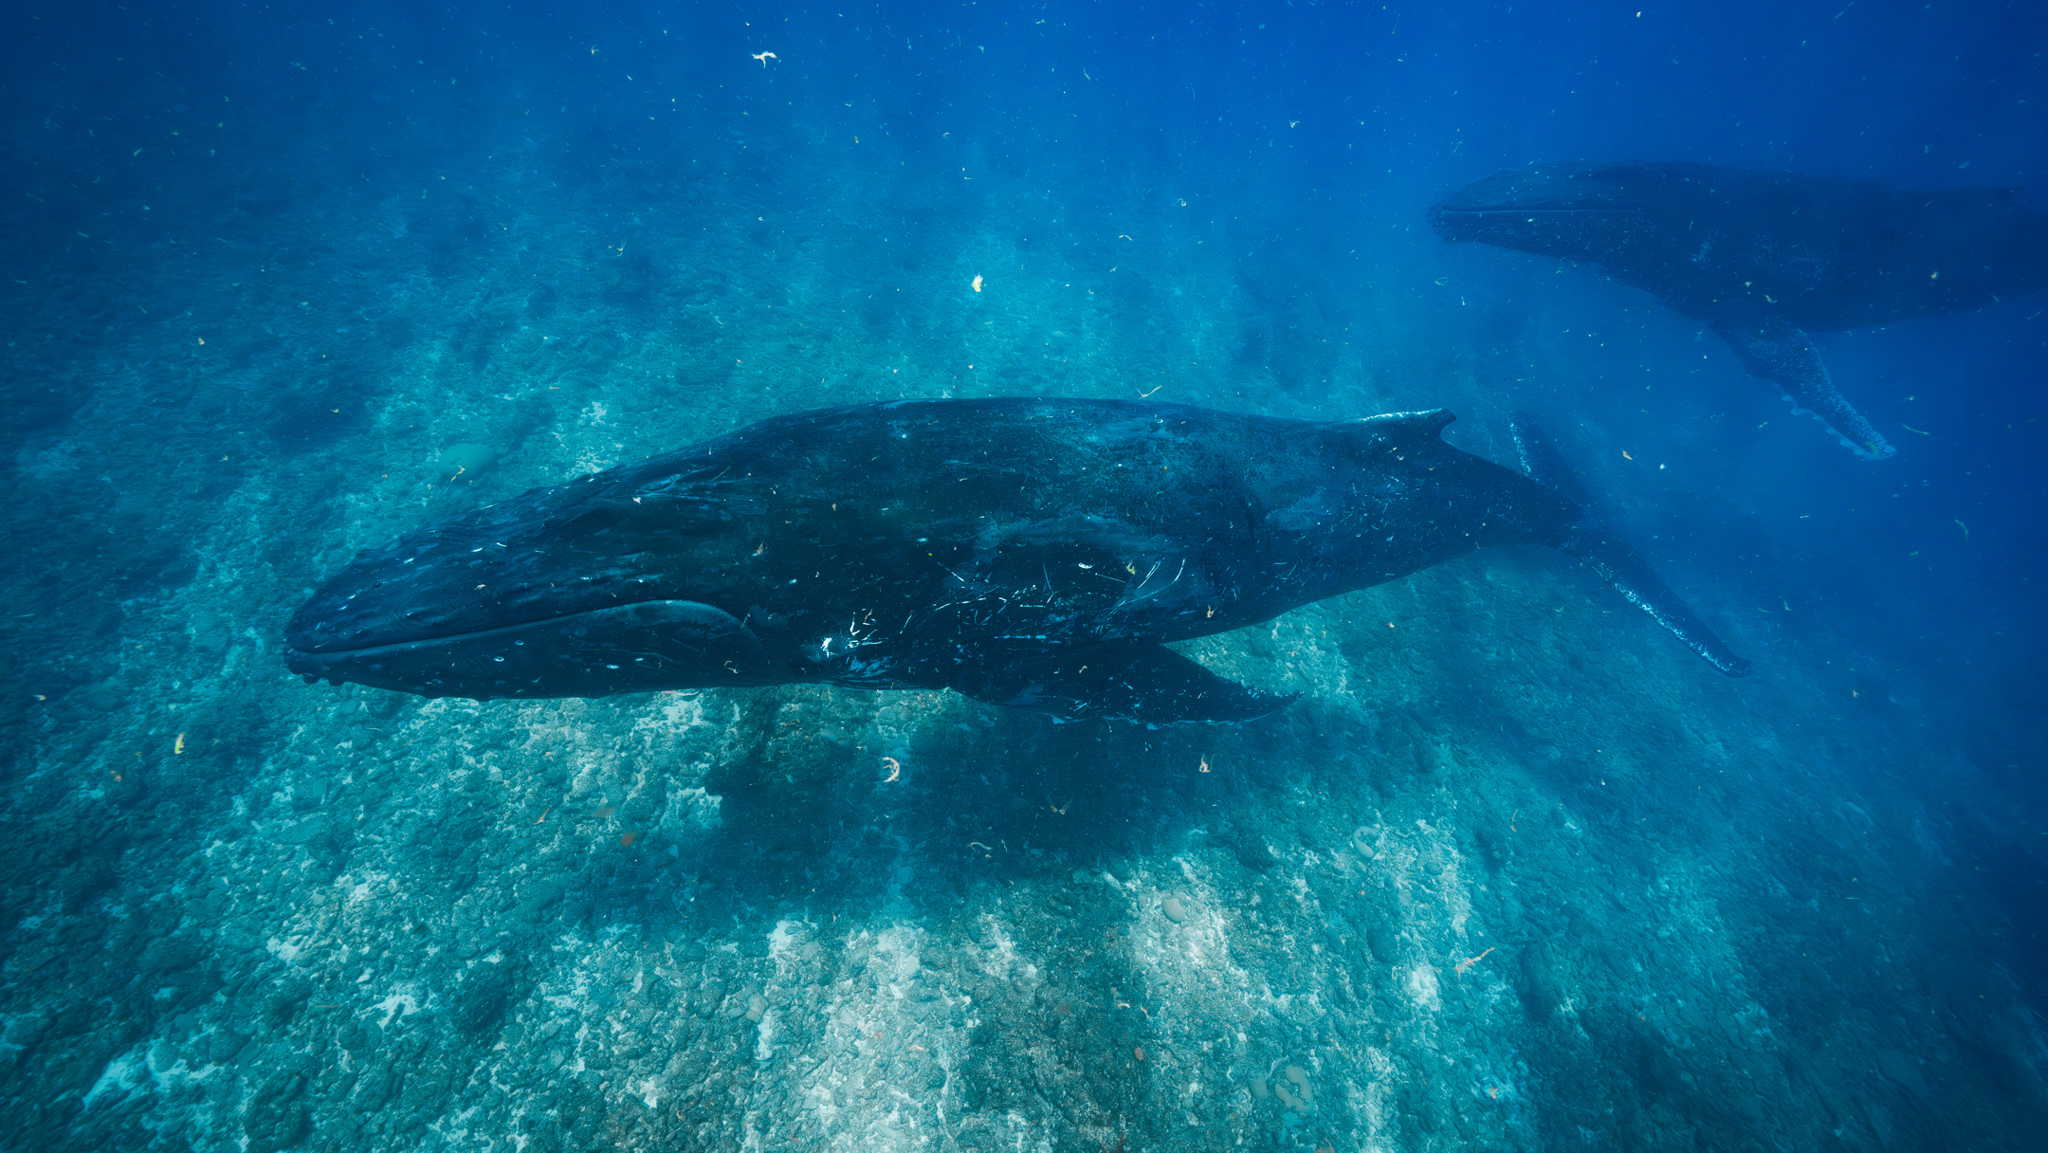
Sony A1
F10, 1/800s, ISO 1600
Standout features of the Sigma 14mm 1.4:
BUILD QUALITY:
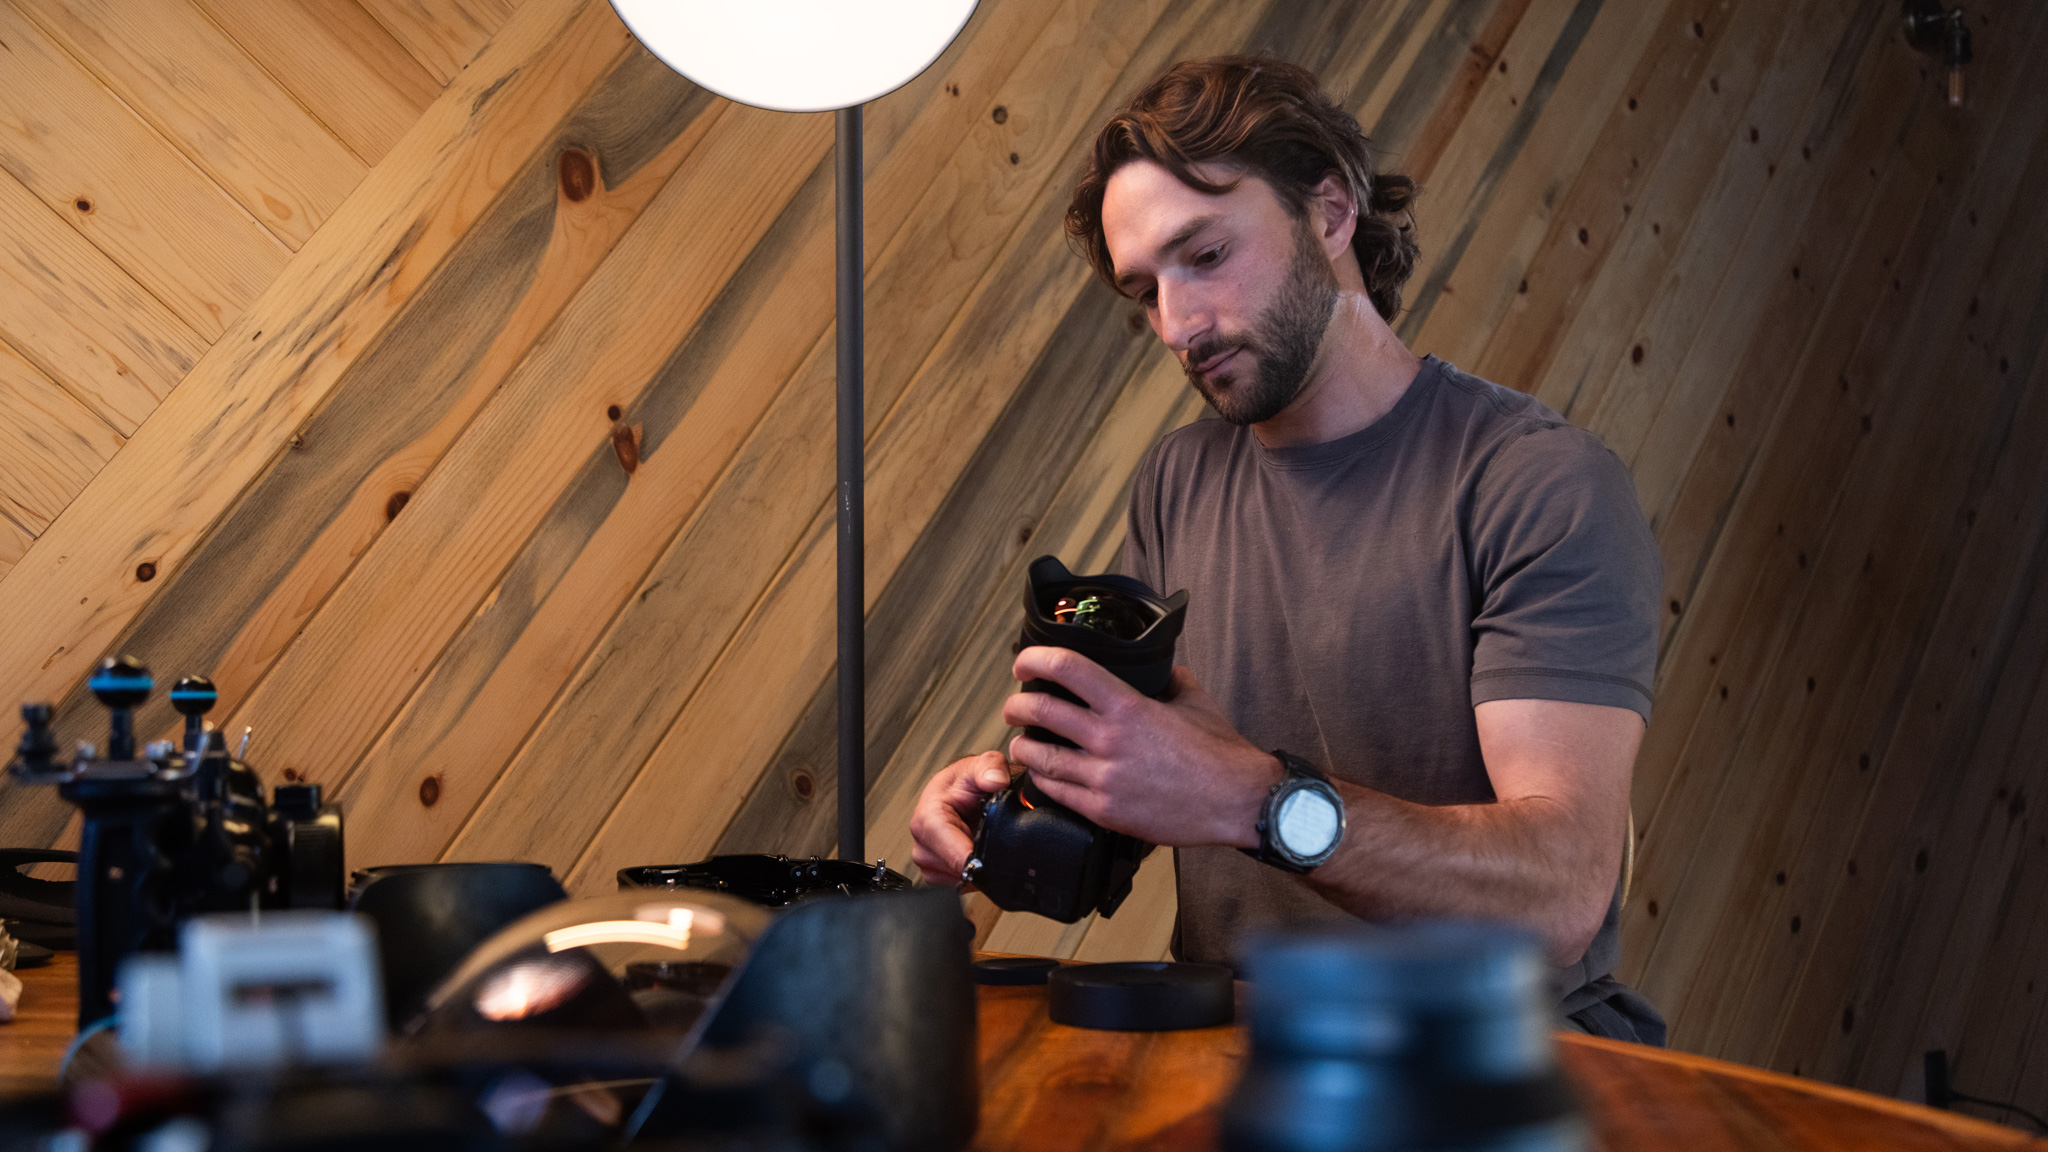
Upon getting the lens, the first thing that stood out to me was the craftsmanship of the build. This lens boasts meticulous and detailed care the engineers put into it. You can’t help but marvel at the beautiful front element and the design of the aperture ring. The other must for me is the weather resistance. This lens is designed to be left outside all night photographing stars, making it tough. Every now and then, I have to open my housing on a boat, a not-so-dry environment, I might add. This lens gives me the peace of mind that my day won’t end in catastrophe if I get water on it.
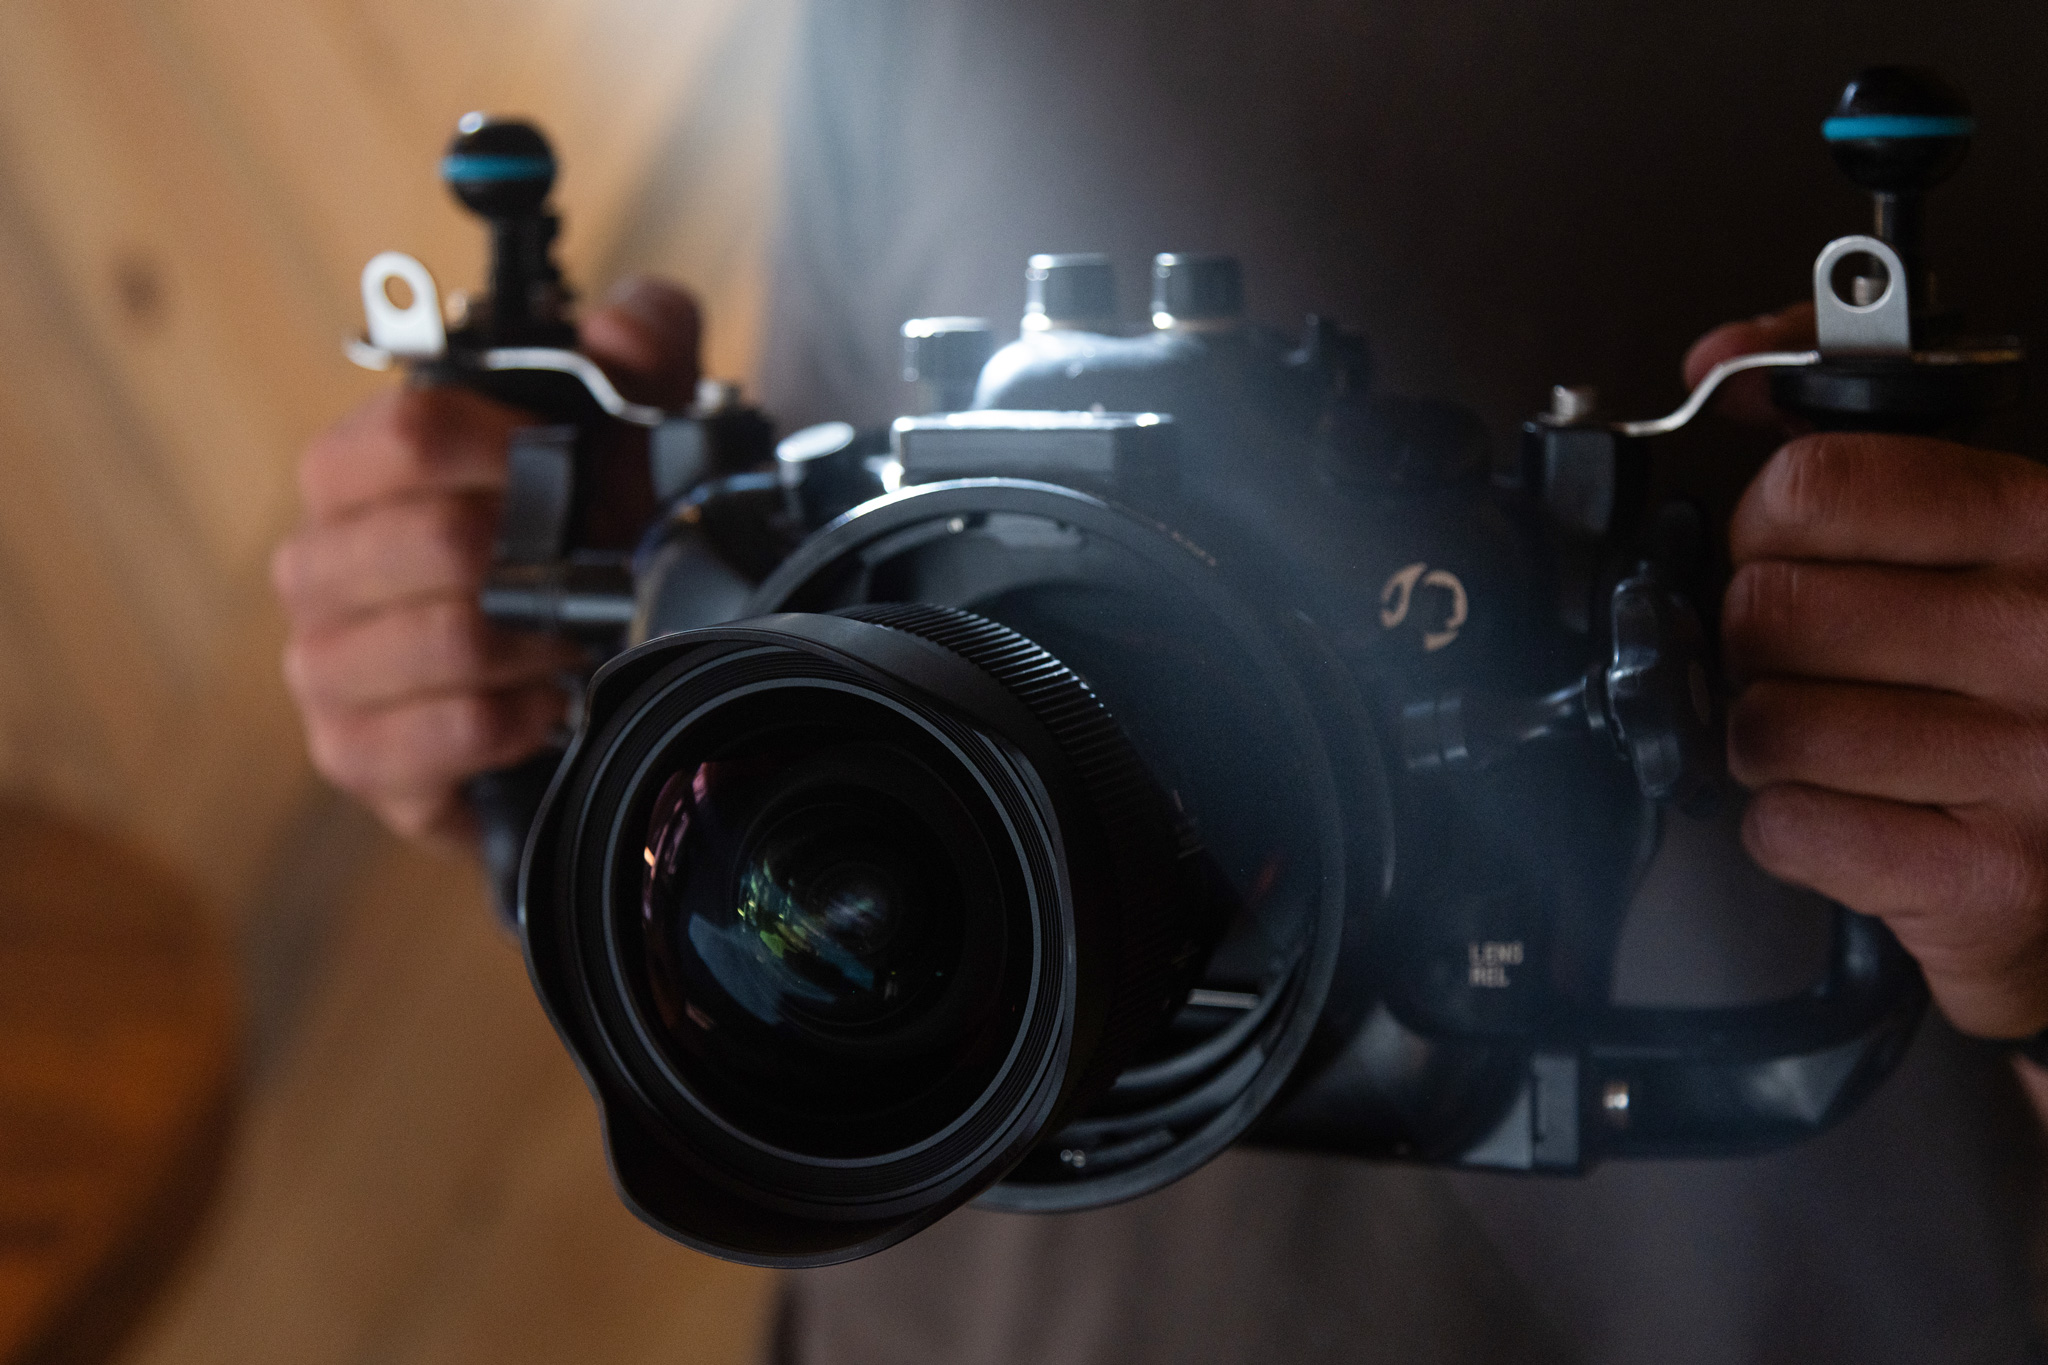
FOCAL LENGTH:
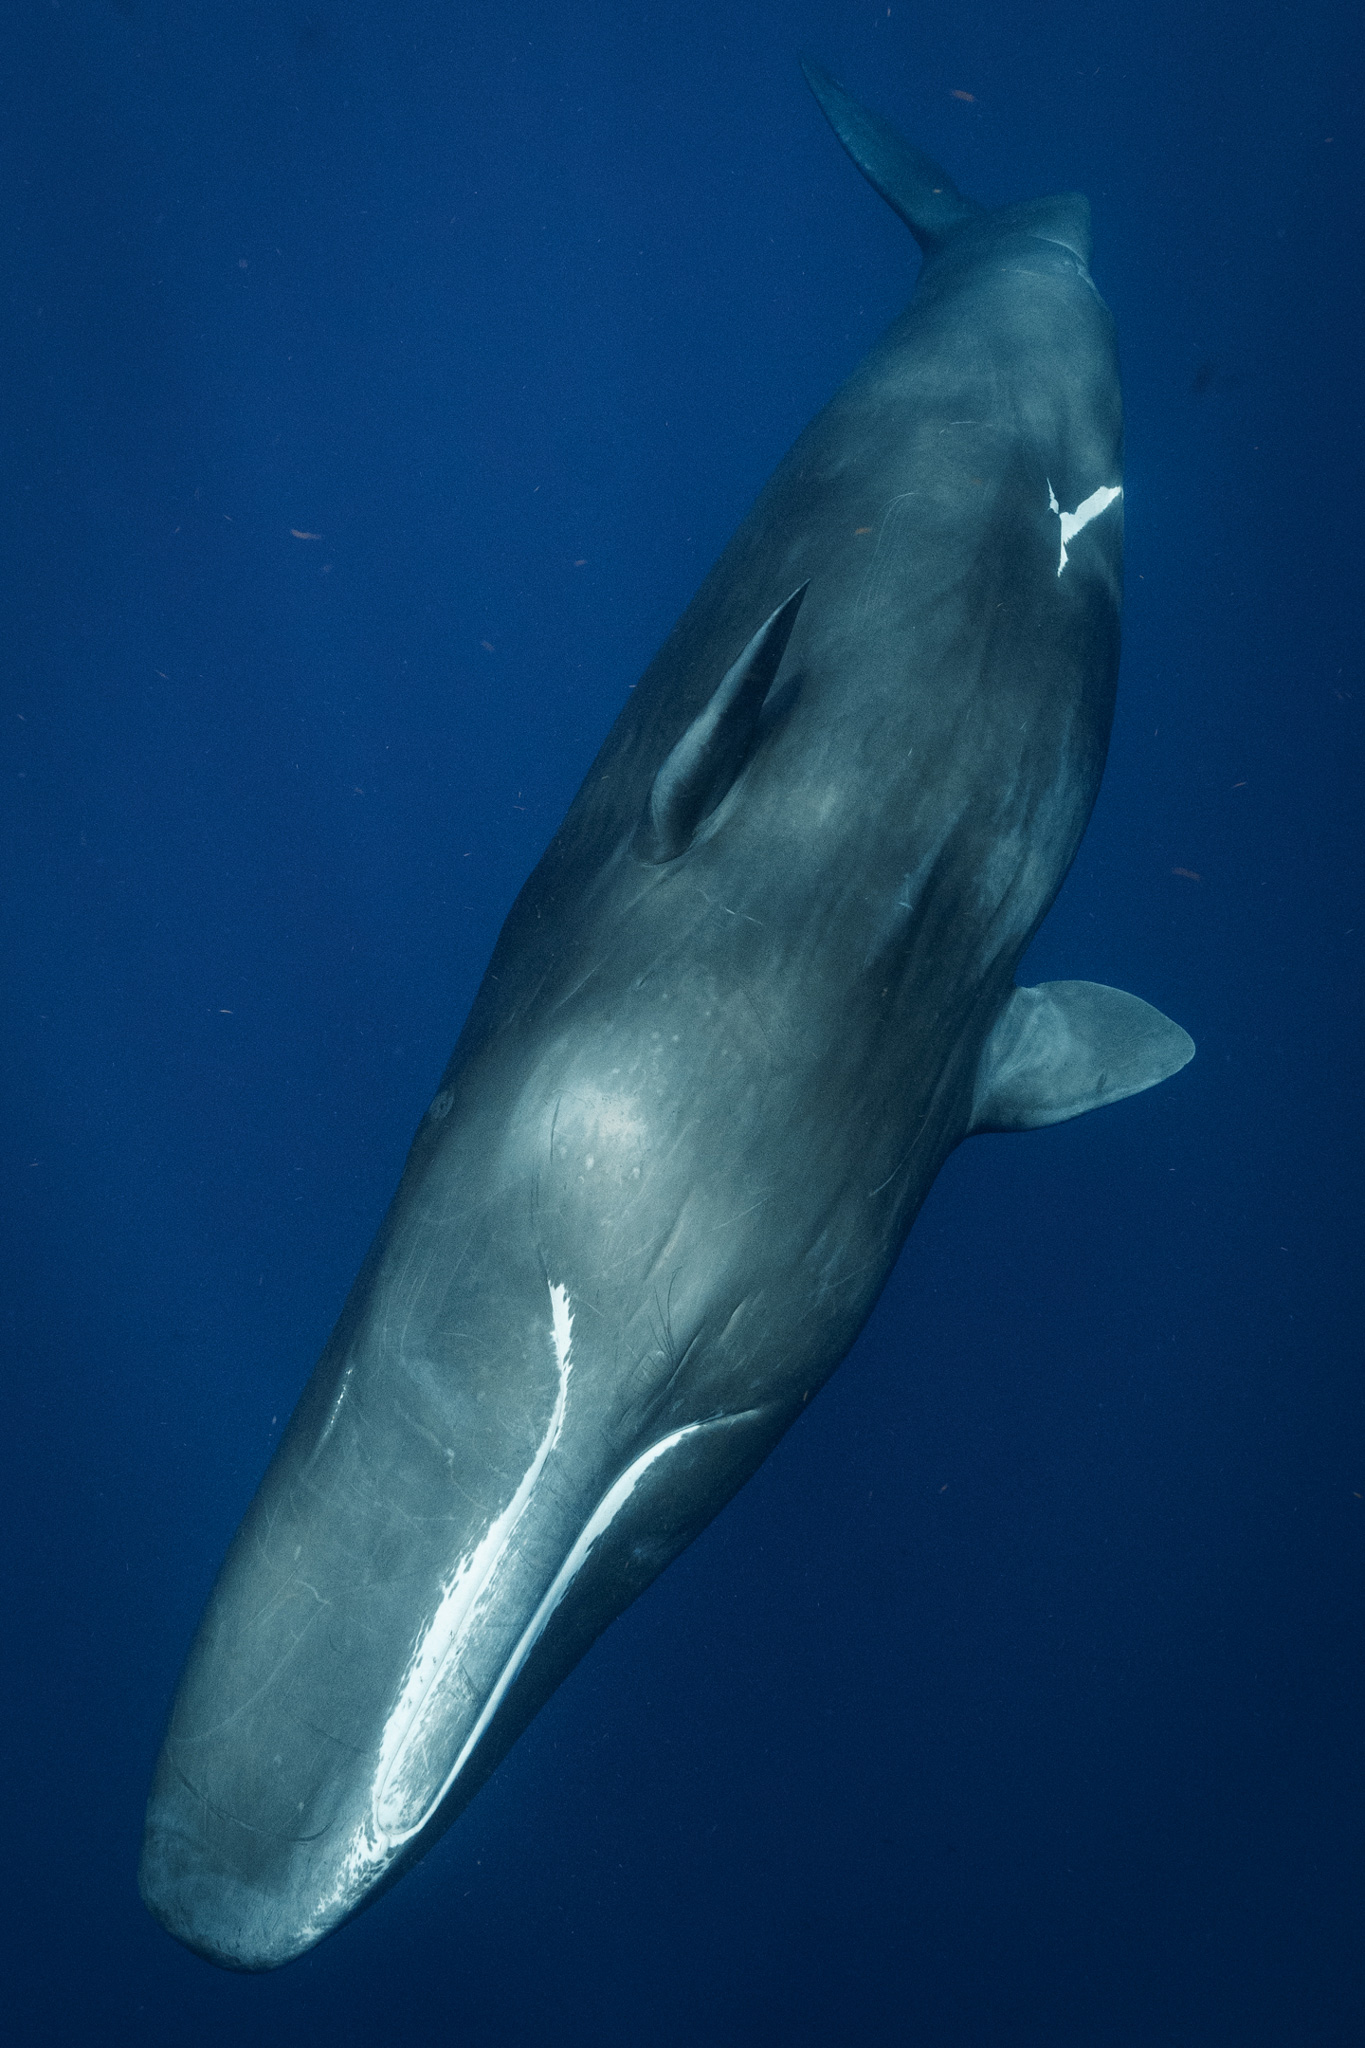
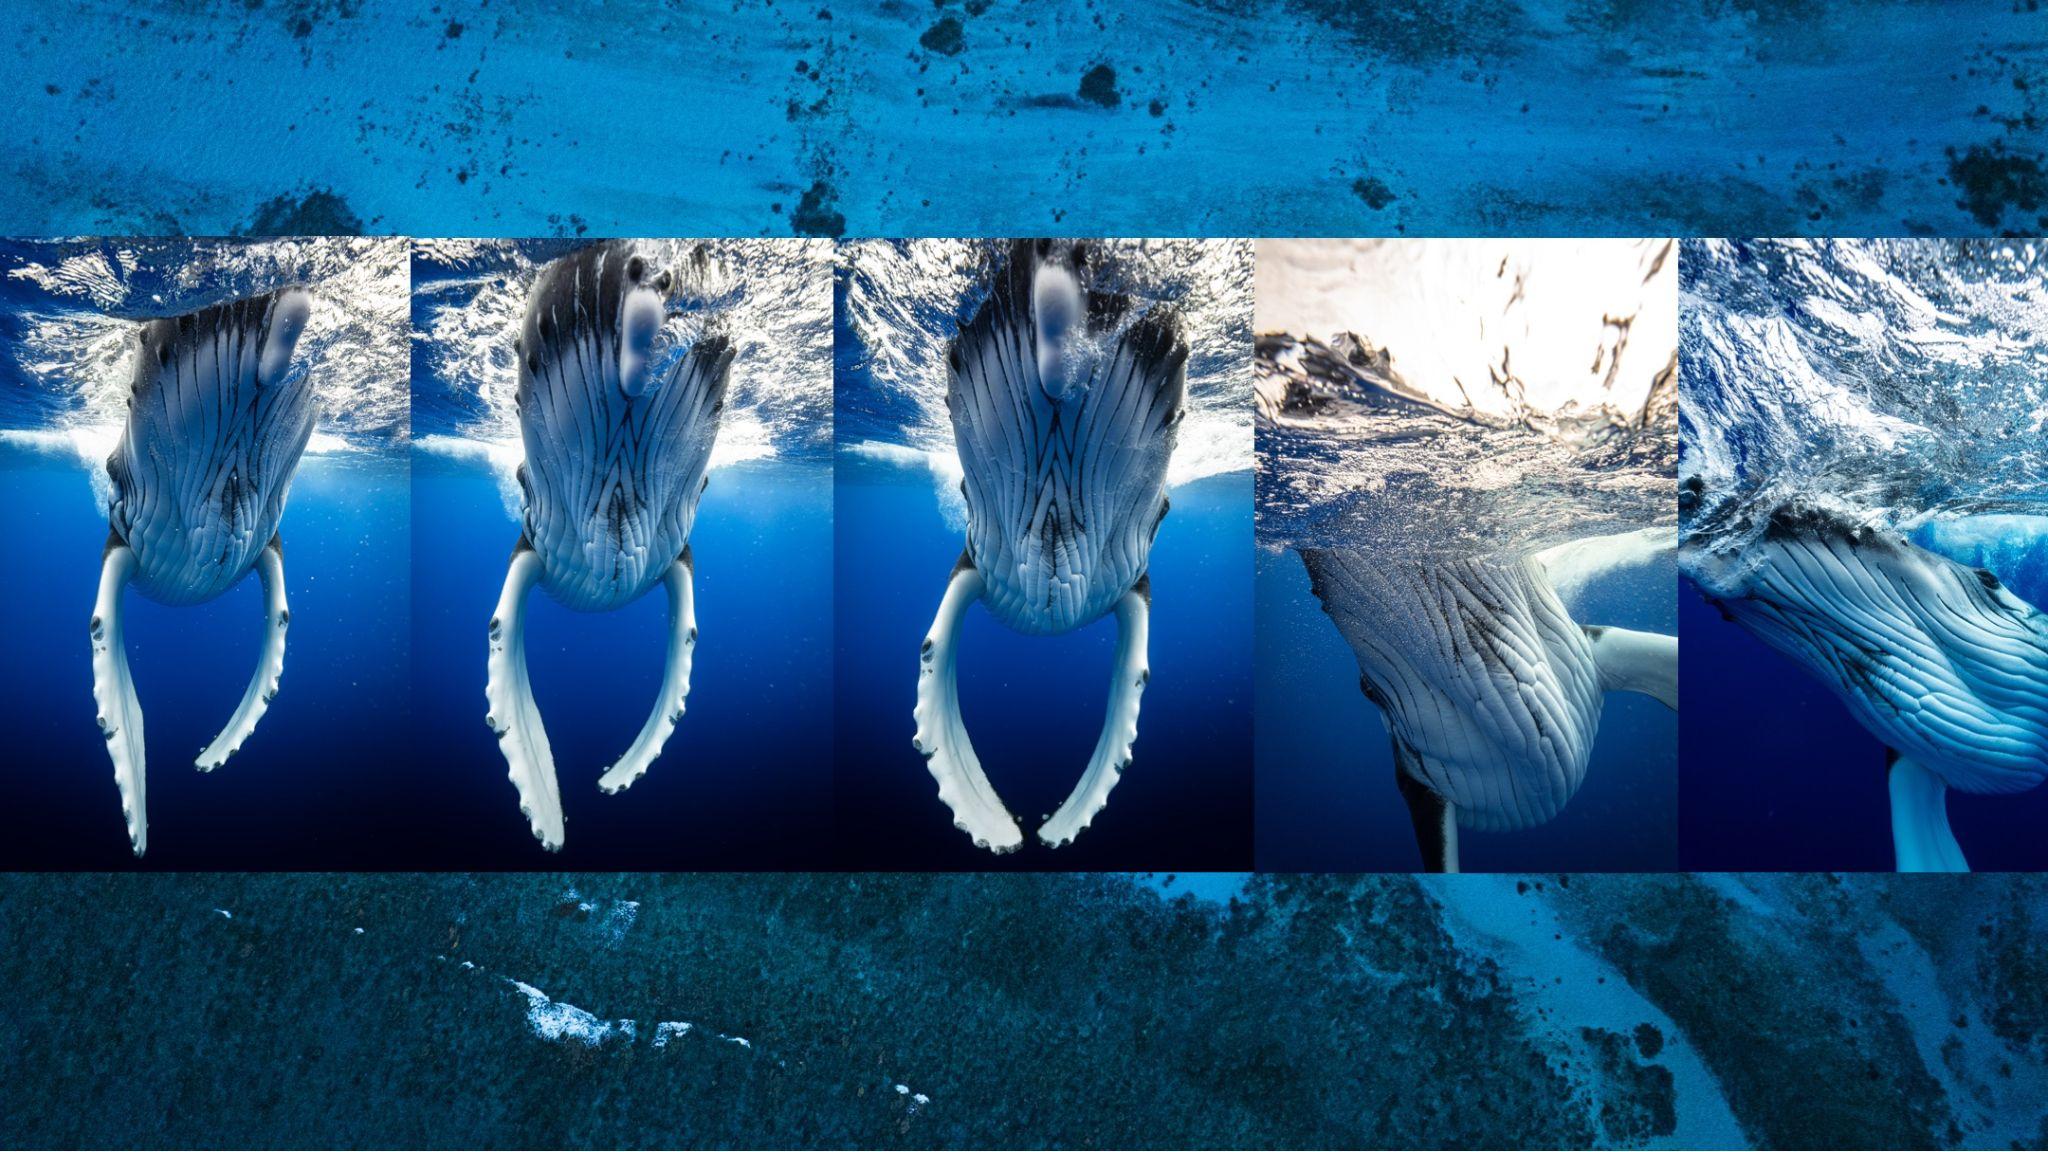
As I mentioned before, the front element of this lens is a work of art. Boasting a 114-degree field of view, this lens is very wide. When shooting underwater, you want as little space between you and your subject as possible. The water and the particulates in it distort your color and detail, so have to be right up in the action. When you’re close to a 35-foot-plus giant, this lens assures that the entire animal will be in view.
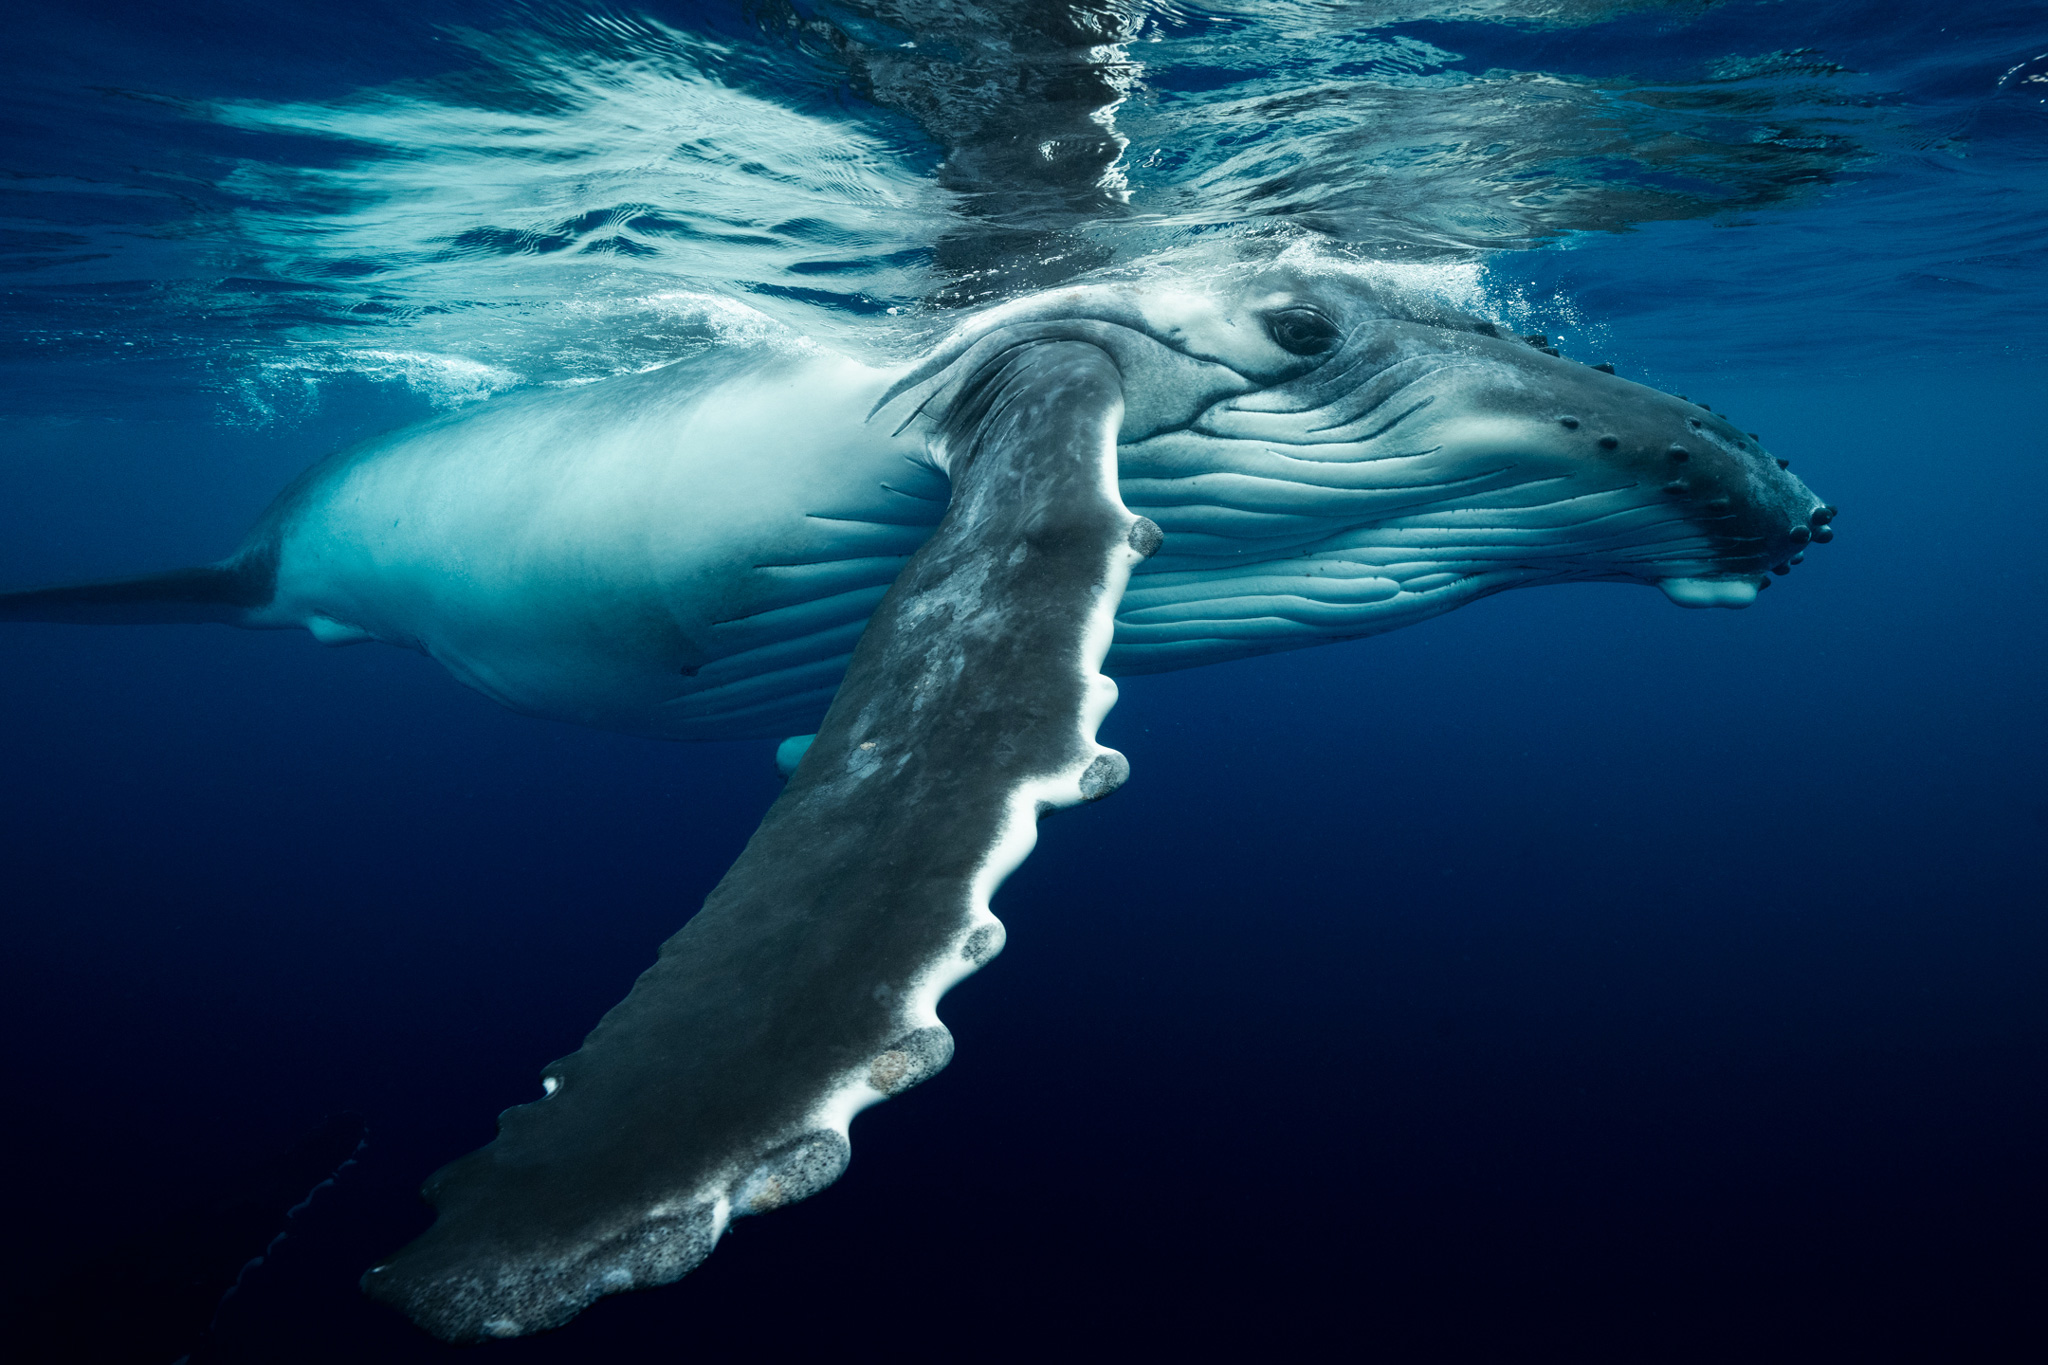
Sony A1
F10, 1/800s, ISO 1000
Sony A1
F10, 1/640s, ISO 2500
Sony A1
F10, 1/640s, ISO 3200
Sony A1
F11, 1/800s, ISO 2000
F1.4 APERTURE:
For most other underwater shooters, having the ability to shoot at F1.4 isn’t a big sell. When shooting underwater with a dome port, you typically want an aperture of F8 or smaller, otherwise, your edges will become soft. However, I find it extremely useful when filming. When it comes to video, I don’t focus as much on the absolute sharpness I desire with my photos. Especially if I’m shooting a subject I can’t use lighting on, the F1.4 aperture allows me to film later in the day and in darker water. There’s now also the advent of new dome ports by Nauticam called WACP ports. These ports now allow you to shoot much sharper and wider apertures. These ports allow you to use your lenses at a wider aperture without sacrificing corner sharpness. While a port like this doesn’t yet exist for the 14mm, Nauticam has been consistently innovating, and I wouldn’t be surprised if they come out with one soon.
SHARPNESS:
Have I mentioned I’m a sharpness snob? One of the reasons I wanted to switch from a 16-35mm to a wide prime like the Sigma 14mm F1.4 DG DN | Art is the sharpness. Aside from this lens being insanely sharp on its own accord, the fact that it’s a fixed length makes it that much sharper underwater.

Sony A1
F10, 1/800s, ISO 2500
Sony A1
F10, 1/640s, ISO 4000

Sony A1
F9, 1/640s, ISO 2500
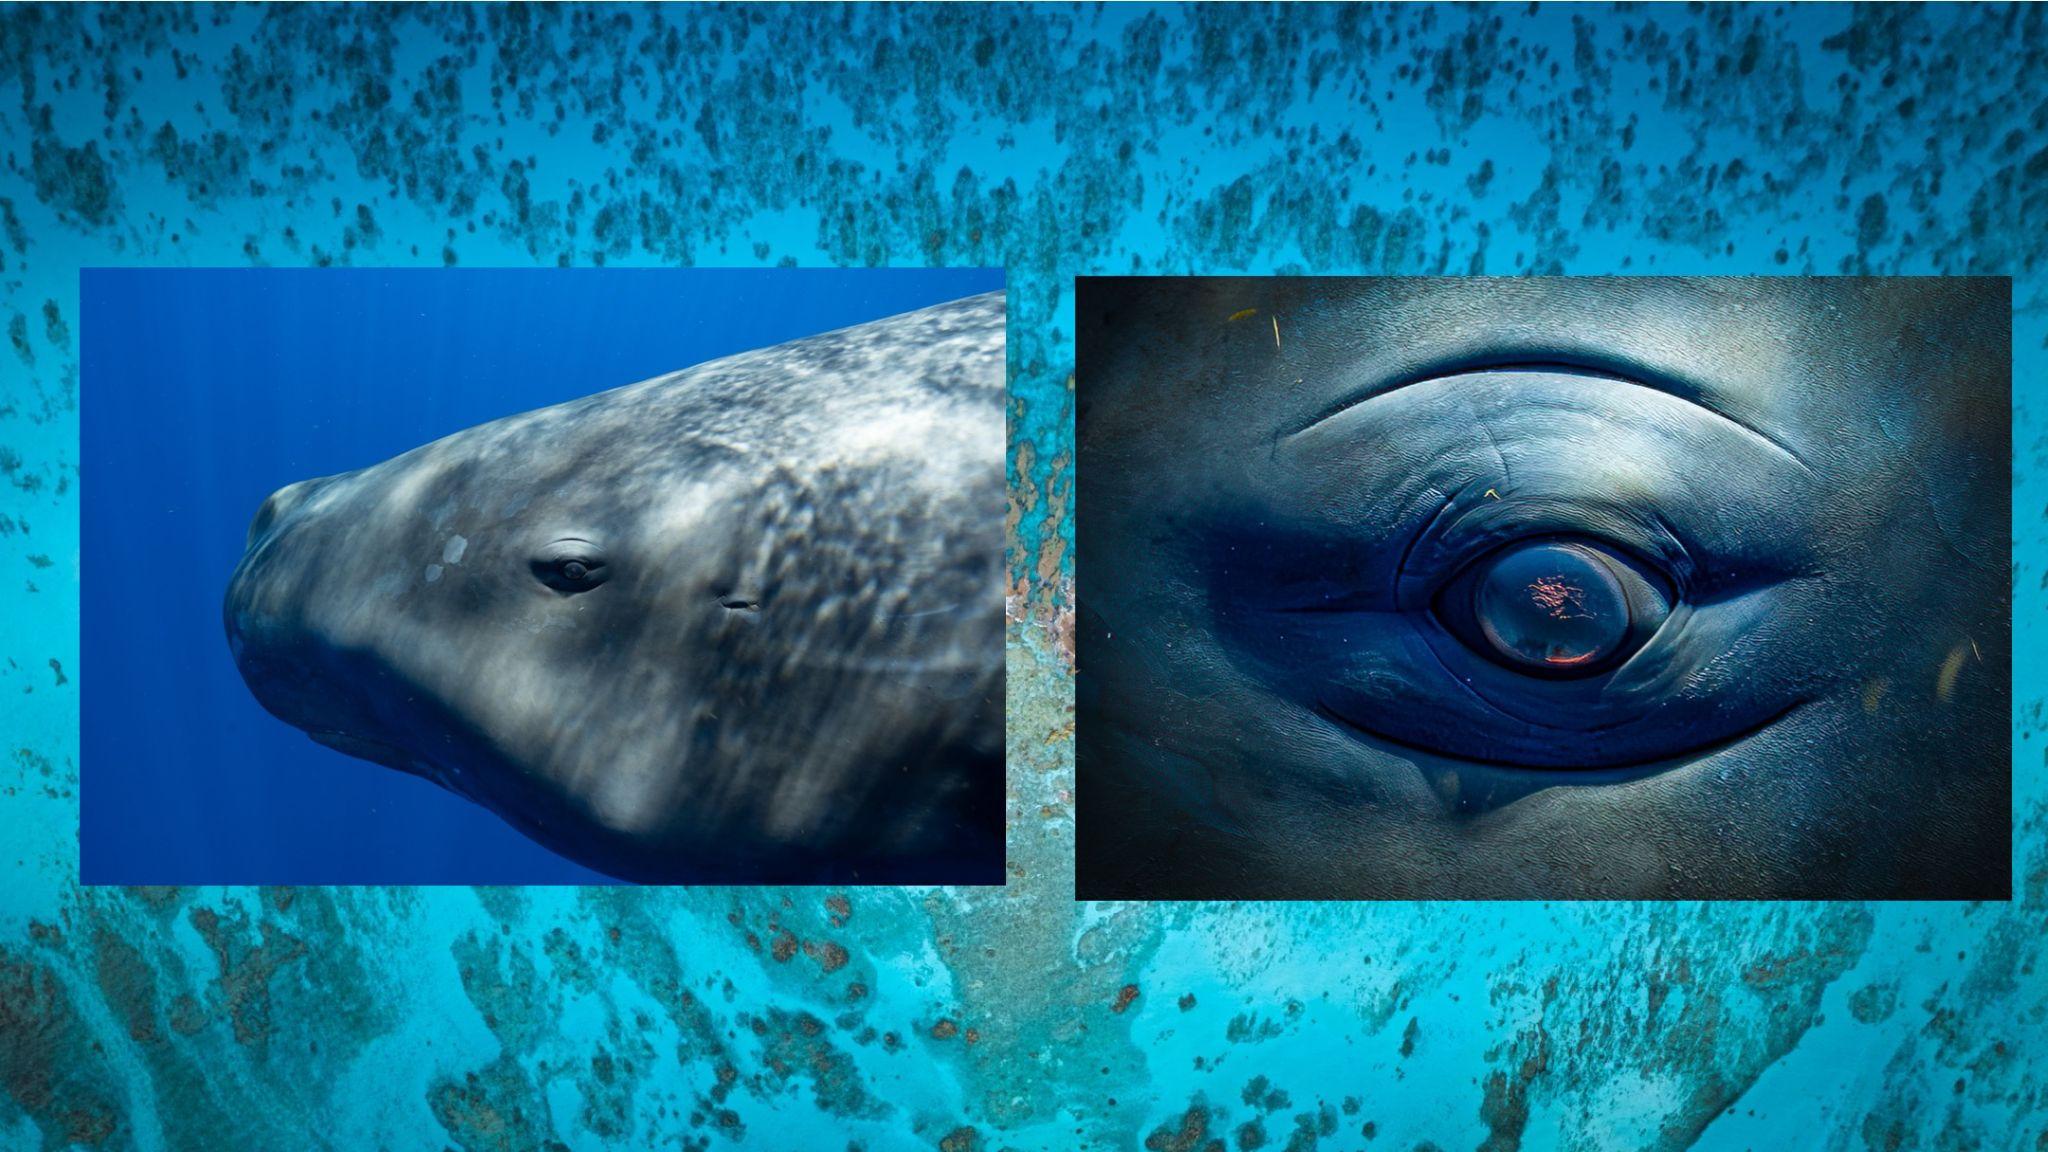
When building your underwater rig, the distance between the front element and the dome port is a huge factor in how sharp your images will be. If you’re changing that distance by zooming in and out, you’ll affect how sharp your images are. By having the 14mm sitting at the perfect distance from the dome port at all time, it maximizes the sharpness of the lens. So much that I can massively crop in on my images and see things like sea lice and other parasites hitching a ride on our giant friends. It’s also extremely valuable for me to crop in on other details of these animals, such as their eye, or pectoral fin, to derive unique compositions. This is only possible with glass this sharp.
EDGE-TO-EDGE QUALITY:
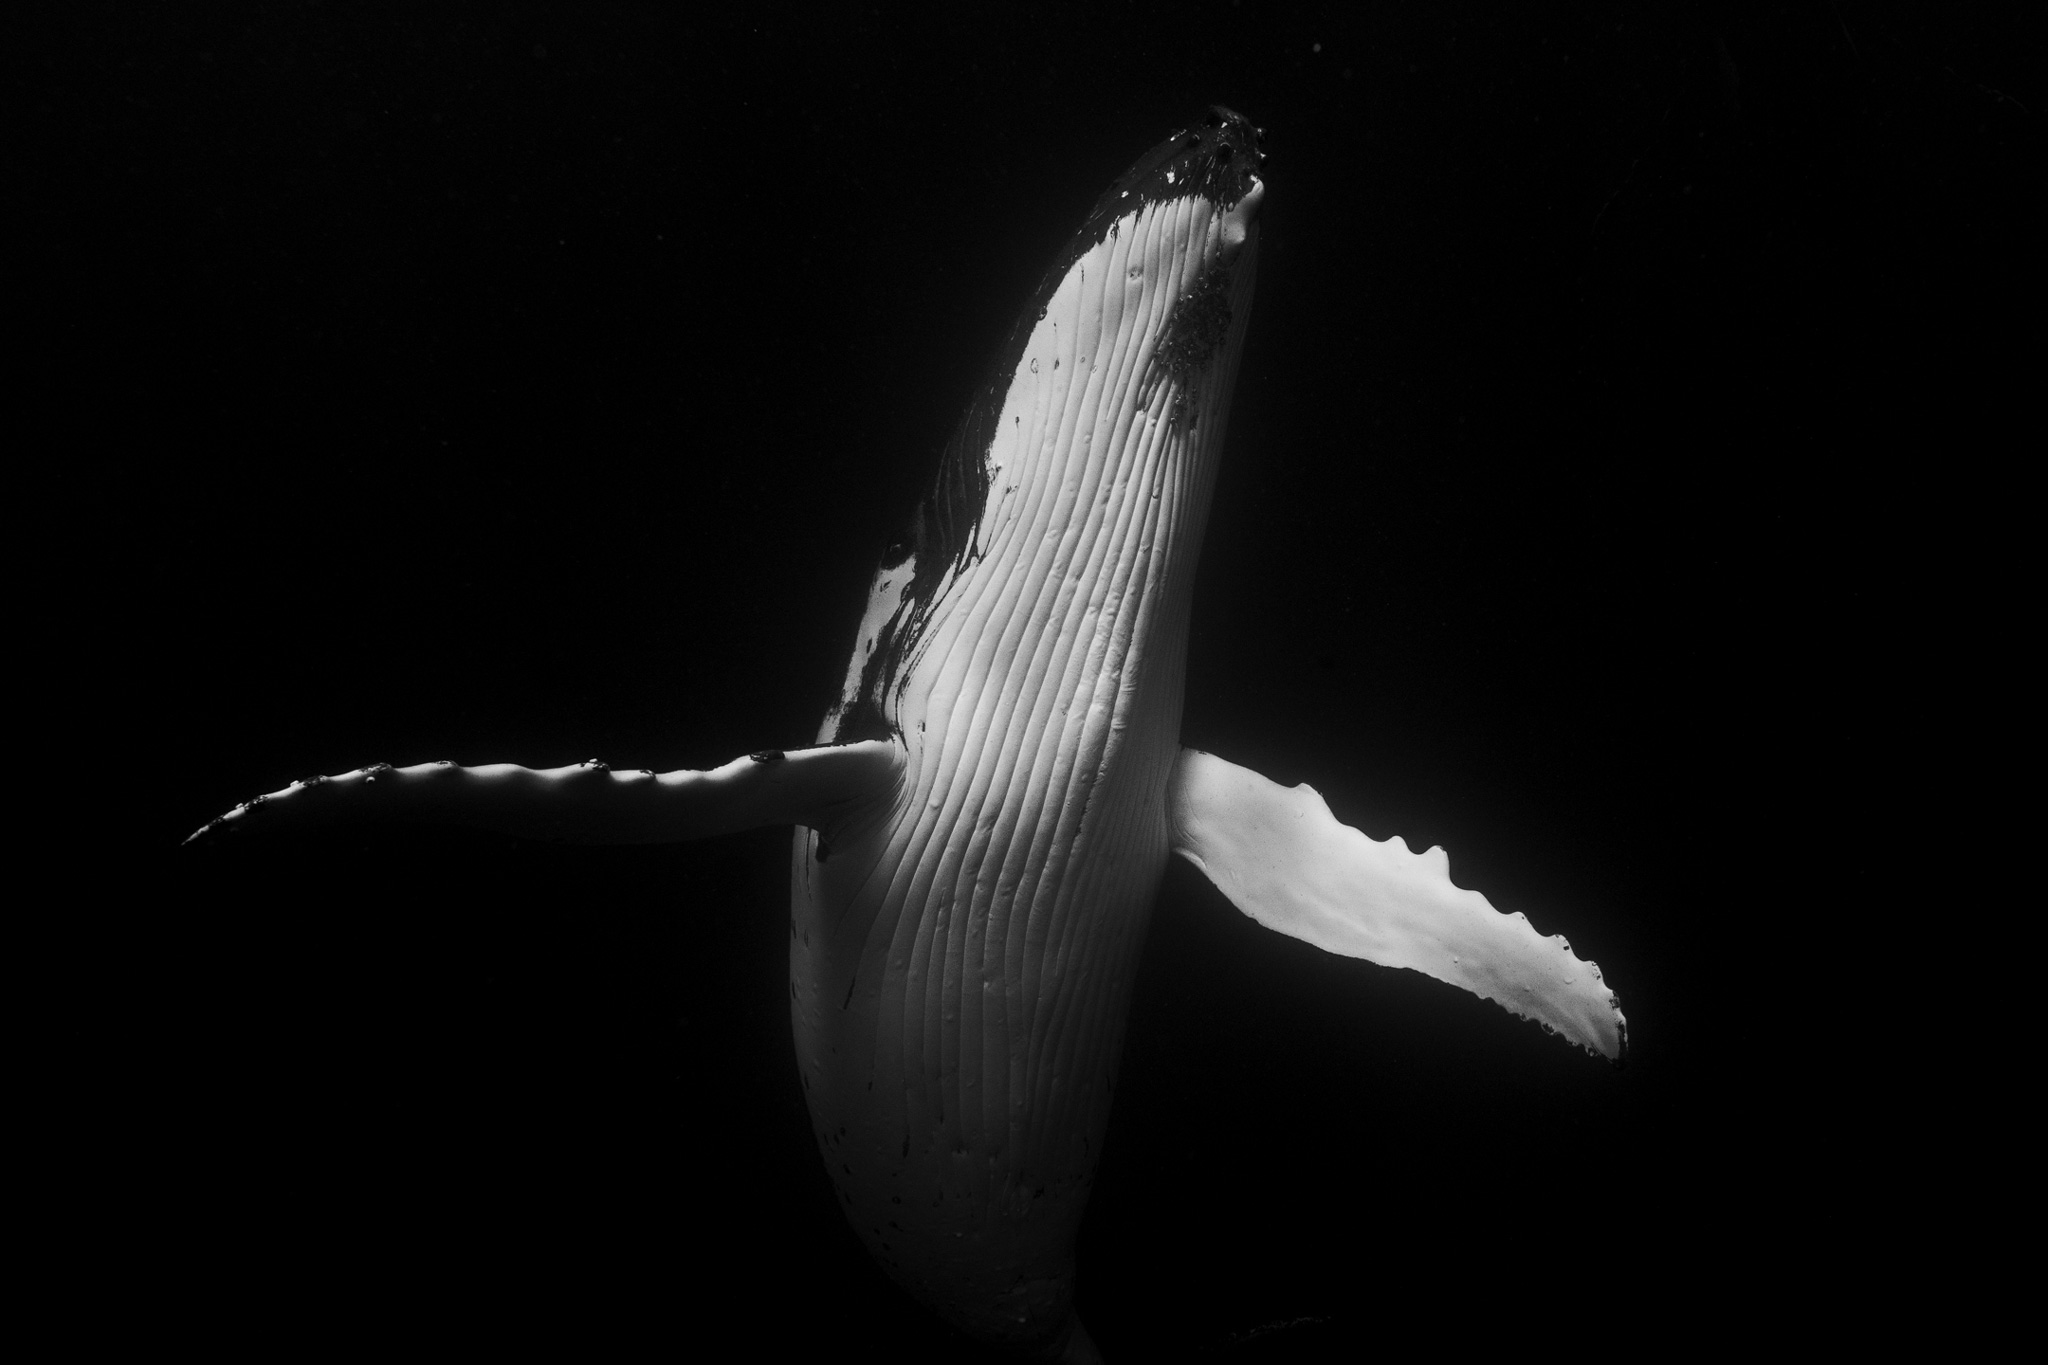
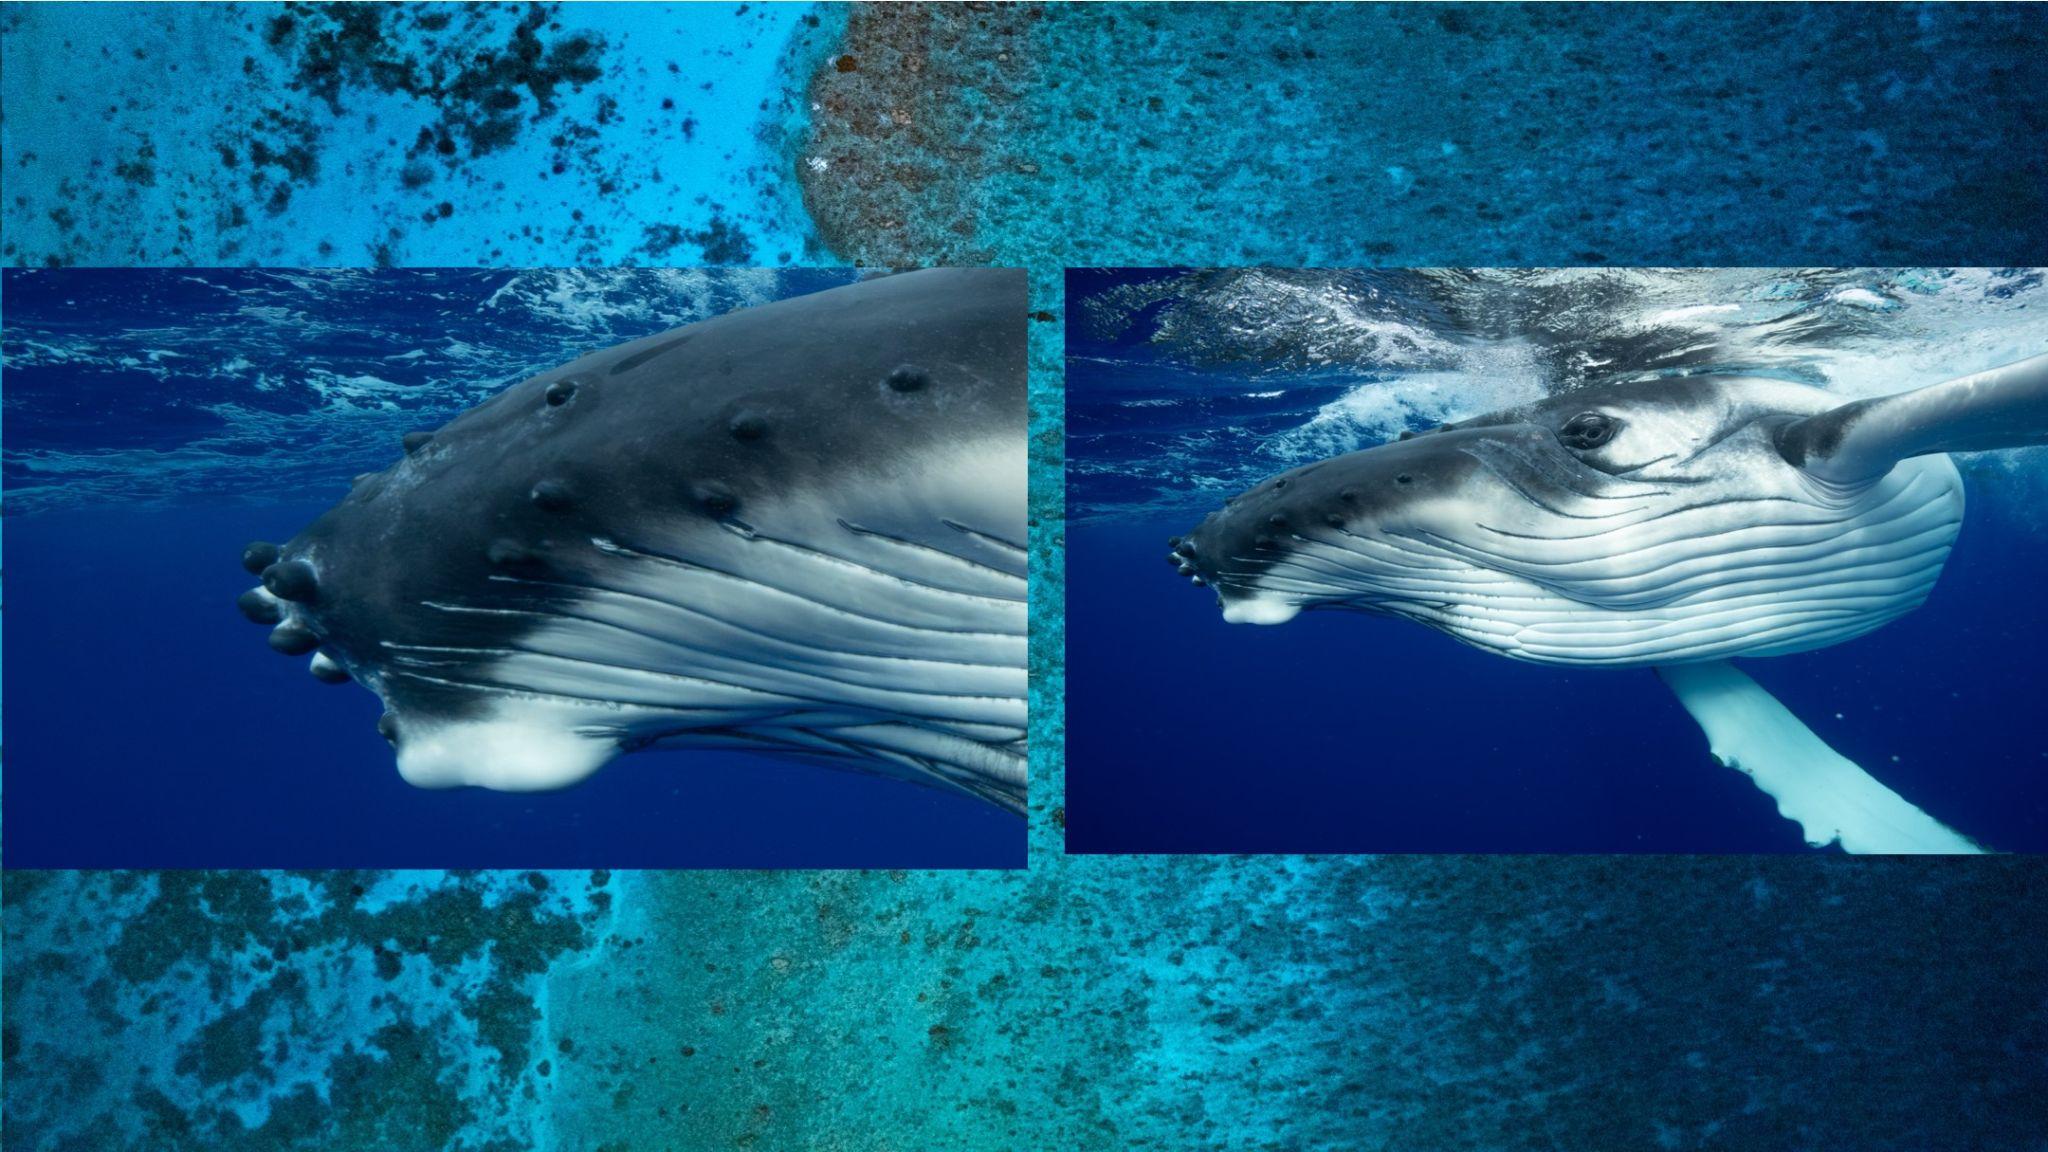
Another huge draw to this lens for underwater shooters is the edge-to-edge quality. As underwater shooters, we’re constantly battling soft and distorted edges in our images. My first day with the lens, I had a humpback calf inches from the front of my lens. After reviewing the images, I quickly noticed the edges preserved almost all their detail, so much so that I could see the hair follicles on the whale. While still a little soft, something that’s inevitable underwater, the effect is leagues better than shooting on a fisheye or a zoom lens.
AUTOFOCUS:
There’s not much to say here besides that the autofocus is flawless. Once I have a whale in frame, I hold down the trigger and let the continuous autofocus go to work. Of the 20,000+ images I took over the two months, I don’t think I had a single miss. While I encounter a lot of animal guiding, every moment is unique and fleeting. Having the ability to capture every unrepeated moment might mean the difference between a good image and an exceptional one.
Conclusions and final thoughts:
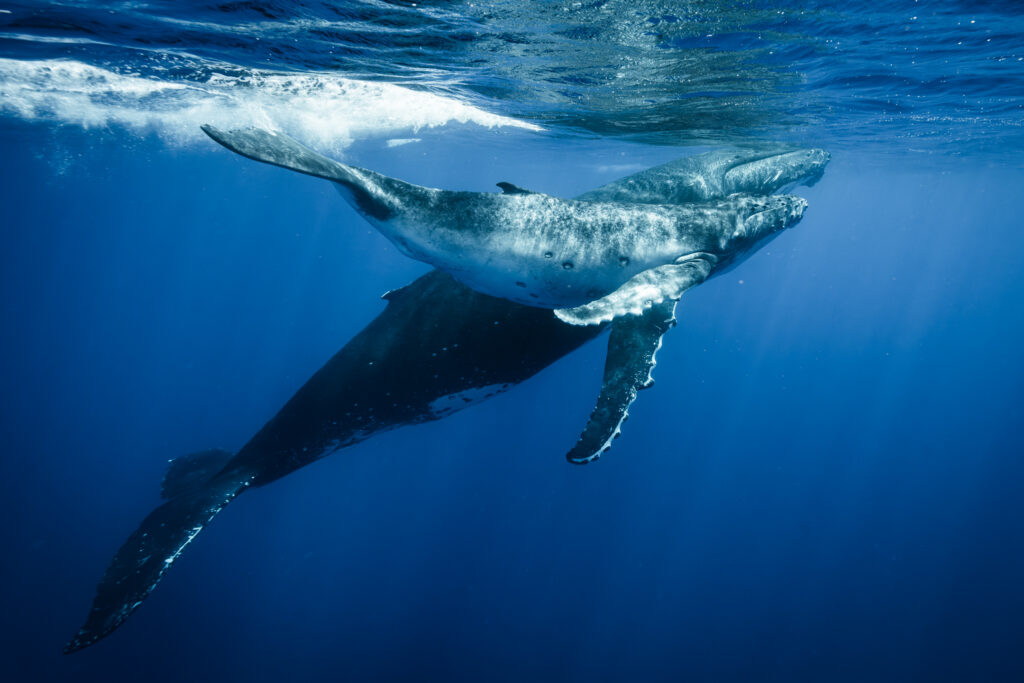
My favorite aspect of the images the 14mm F1.4 DG DN | Art produces is the dimensionality of the photo’s aesthetics. After my first day with this lens, I sent a video I filmed with it to a colleague of mine, and his response was, “That whale looks like it’s about to pop out of the screen.” This was the look I’ve been craving in my images, which wasn’t possible with a 16-35mm. I’d recommend this lens to any underwater shooter who’s looking to obtain peak sharpness, flawless autofocus, and wants to add a unique aesthetic to your imagery.
It’s safe to say that this lens will be my go-to workhorse on my future underwater adventures.
[ad_2]
Source link