[ad_1]
The R5 Mark II has arrived! It is a good camera but very similar to the old R5 which came out in 2020. I’ve had the original R5 since it came out in October 2020 and the question I want answered is should I buy the new R5 Mark II?
In this post I will strive to answer this question with an honest comparison of these two great cameras.

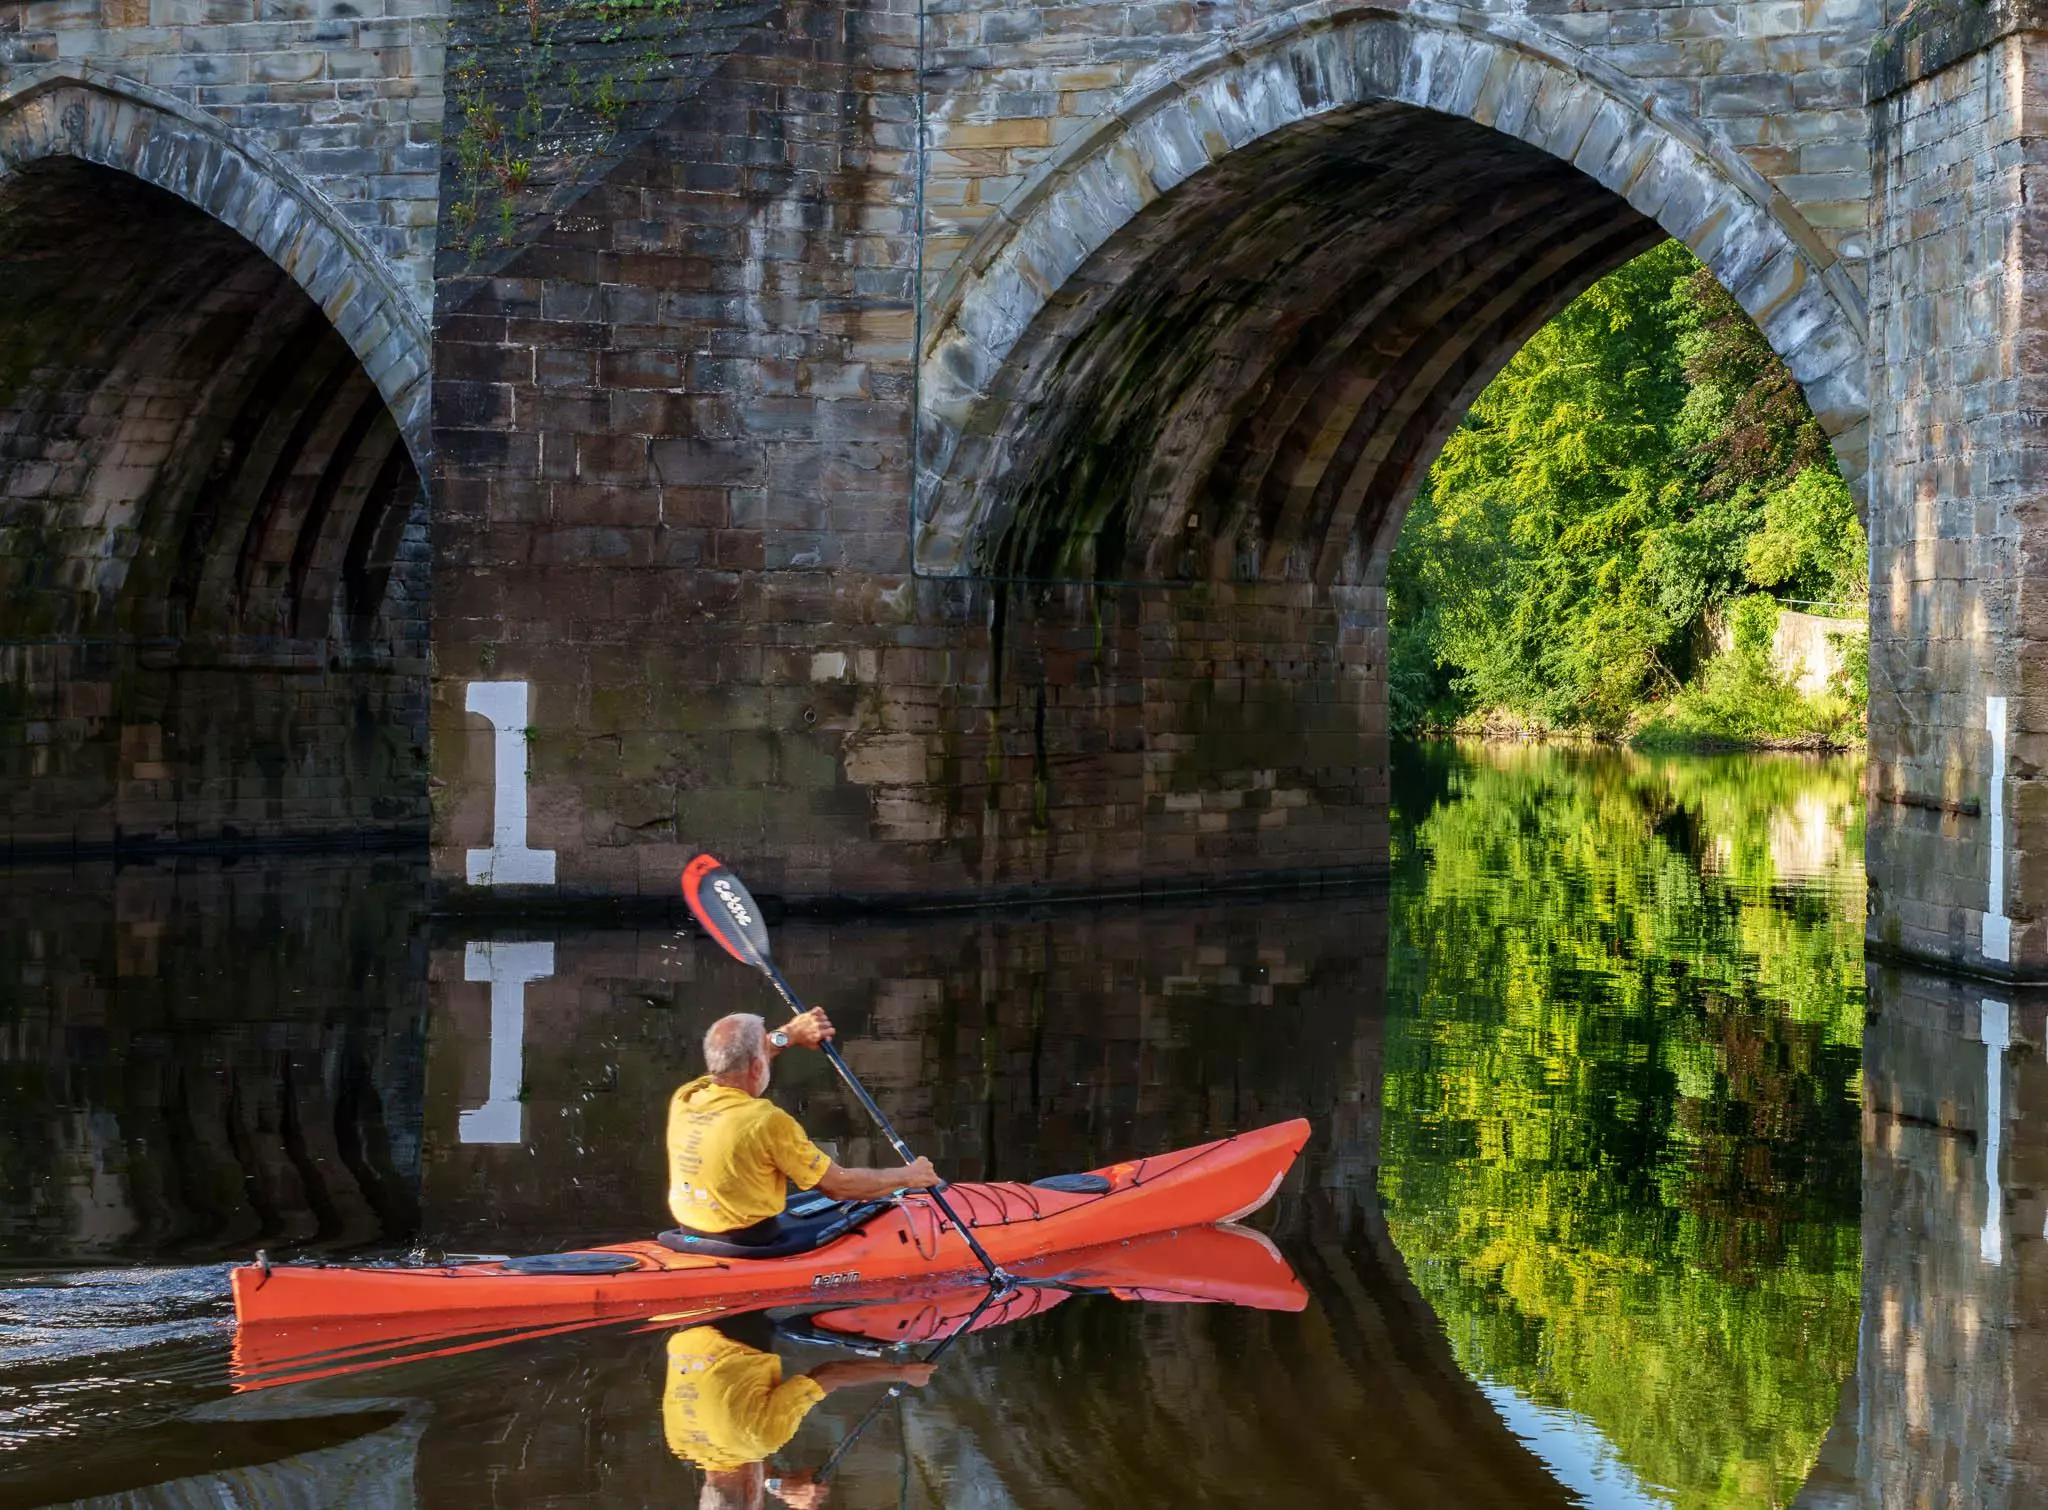
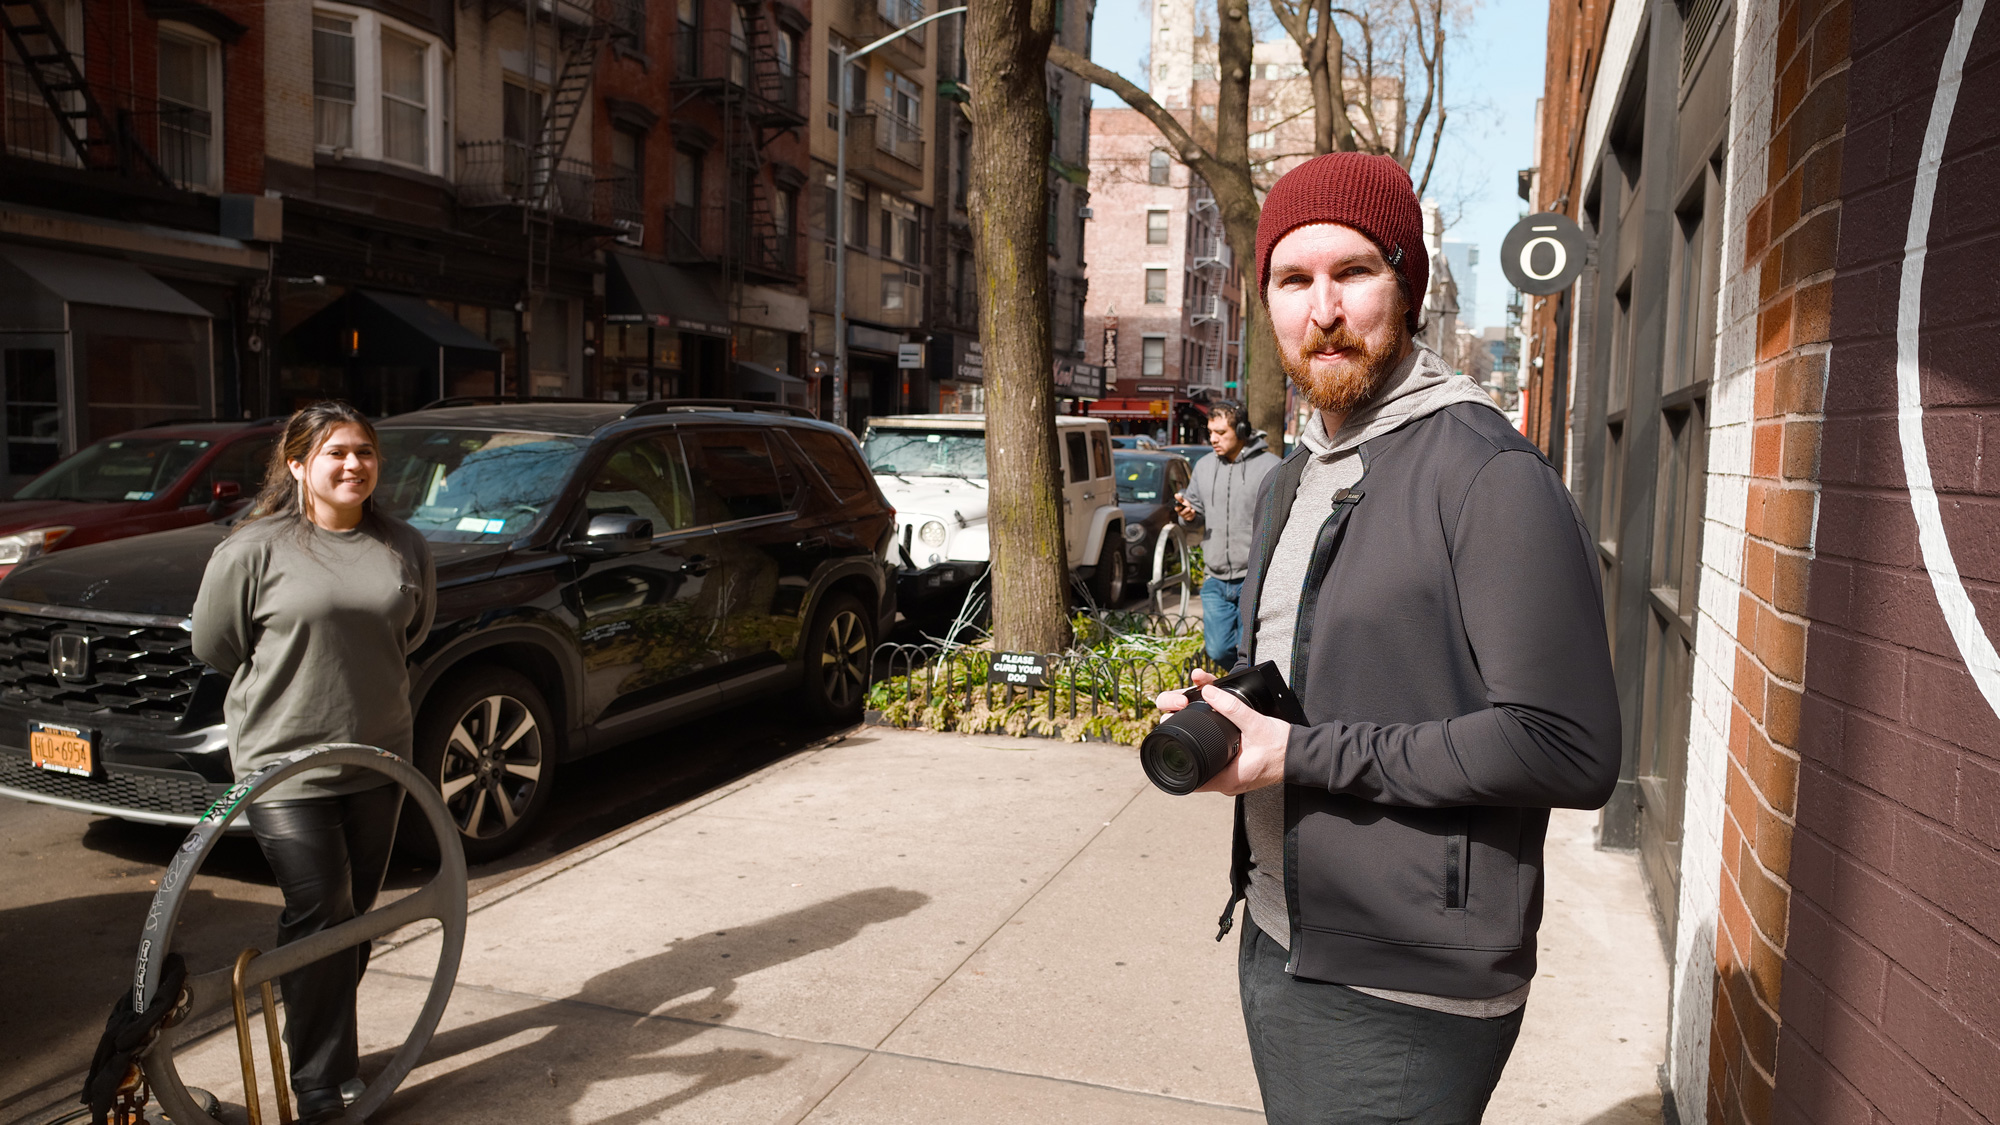
Taken with the R5.
The old R5 has already been marked down by $1,000 on most websites. Previous generations always get reduced in price prior to the next gen camera’s but it still seems like a bit of a low price for a high quality camera like the R5. It looks like market demand for the R5 has tailed off substantially, and that is true for the R3 and R5C as well. That is why Canon is going for a relatively quick refresh of the R5 after almost exactly 4 years they’re upping the ante with a new R5, the R5 Mark II.
The main thing I want to know is this, is the old R5 at it’s reduced price a good purchase? Below are some stats to help you make sense of this puzzle.
Click Here to read my original review on the EOS R5.
Canon R5 Mark II vs original R5 Mark I:
Sensor Technology
Canon claims that the R5 Mark II is using a stacked sensor with Sony’s BSI technology. Stacked sensors are supposed to be able to “read out” the sensor much faster than the “old technology”. However, when it comes to video rolling shutter, the R5 Mark II performs exactly the same as the original R5. Perhaps the original R5 had a stacked sensor even though it wasn’t marketed as such? Or, maybe Sony’s sensor technology just isn’t that great.
Resolution
The R5 Mark II has the exact same resolution as the current R5.
Readout Speed / Rolling Shutter
The R5 Mark II has faster read out speed when using electronic shutter for still photos only. When using the fully electronic shutter for stills, the new R5 Mark II is more than twice as fast as the original R5 which makes the new R5 a lot better if you like to use electronic shutter… but it still isn’t anywhere close to as fast as a mechanical shutter.
The R5 Mark II’s readout speed remains the same as the R5 for video with a maximum speed around 13 milliseconds. However, the R5 Mark II now adds in 8k 60fps shooting at 13 milliseconds readout speed. This results in a similar readout performance to the original R5 which shot 4k 120fps at its maximum. 4k 120 is equal to 8k 60 in terms of readout performance as 4k 120 is done line skipped in the original R5. Reading half the lines at 120fps is obviously the same speed as reading them all out at 60fps. This type of readout is called “line skipped” readout. The new R5 Mark II, unfortunately, also does 4k 120fps as line skipped, limiting its maximum readout speed to the same as the original R5 for video purposes.
Video Improvements
The R5 Mark II now has 8k 60fps resolution which goes above the original R5’s 8k 30fps video resolution.
The R5 Mark II has also improved upon the dreaded overheating issues the original R5 had, even without the new external cooling battery grip available only for the R5 Mark II.
AF improvements
The R5 Mark II has the same AF system as the original R5 just with more firmware updates. There are no new features other than supposedly better tracking AF. Despite initial reports, I doubt the R5 Mark II will be as good as the R1 when it comes to subject tracking.
Faster CPU
There is no indication that the R5 Mark II has a different CPU when compared to the current R5.
Dynamic Range
According to online review sites, the new R5 Mark II has no dynamic range improvements in stills from 100 ISO to 6400 ISO. In fact, it appears to have slightly less dynamic range than the original R5. It is not known if the new R5 Mark II uses a dual gain sensor like the R5 used, but if it does use a dual gain sensor, it no longer switches to another gain circuit at 400 ISO, instead, this appears to be done at a much higher ISO past 1600.

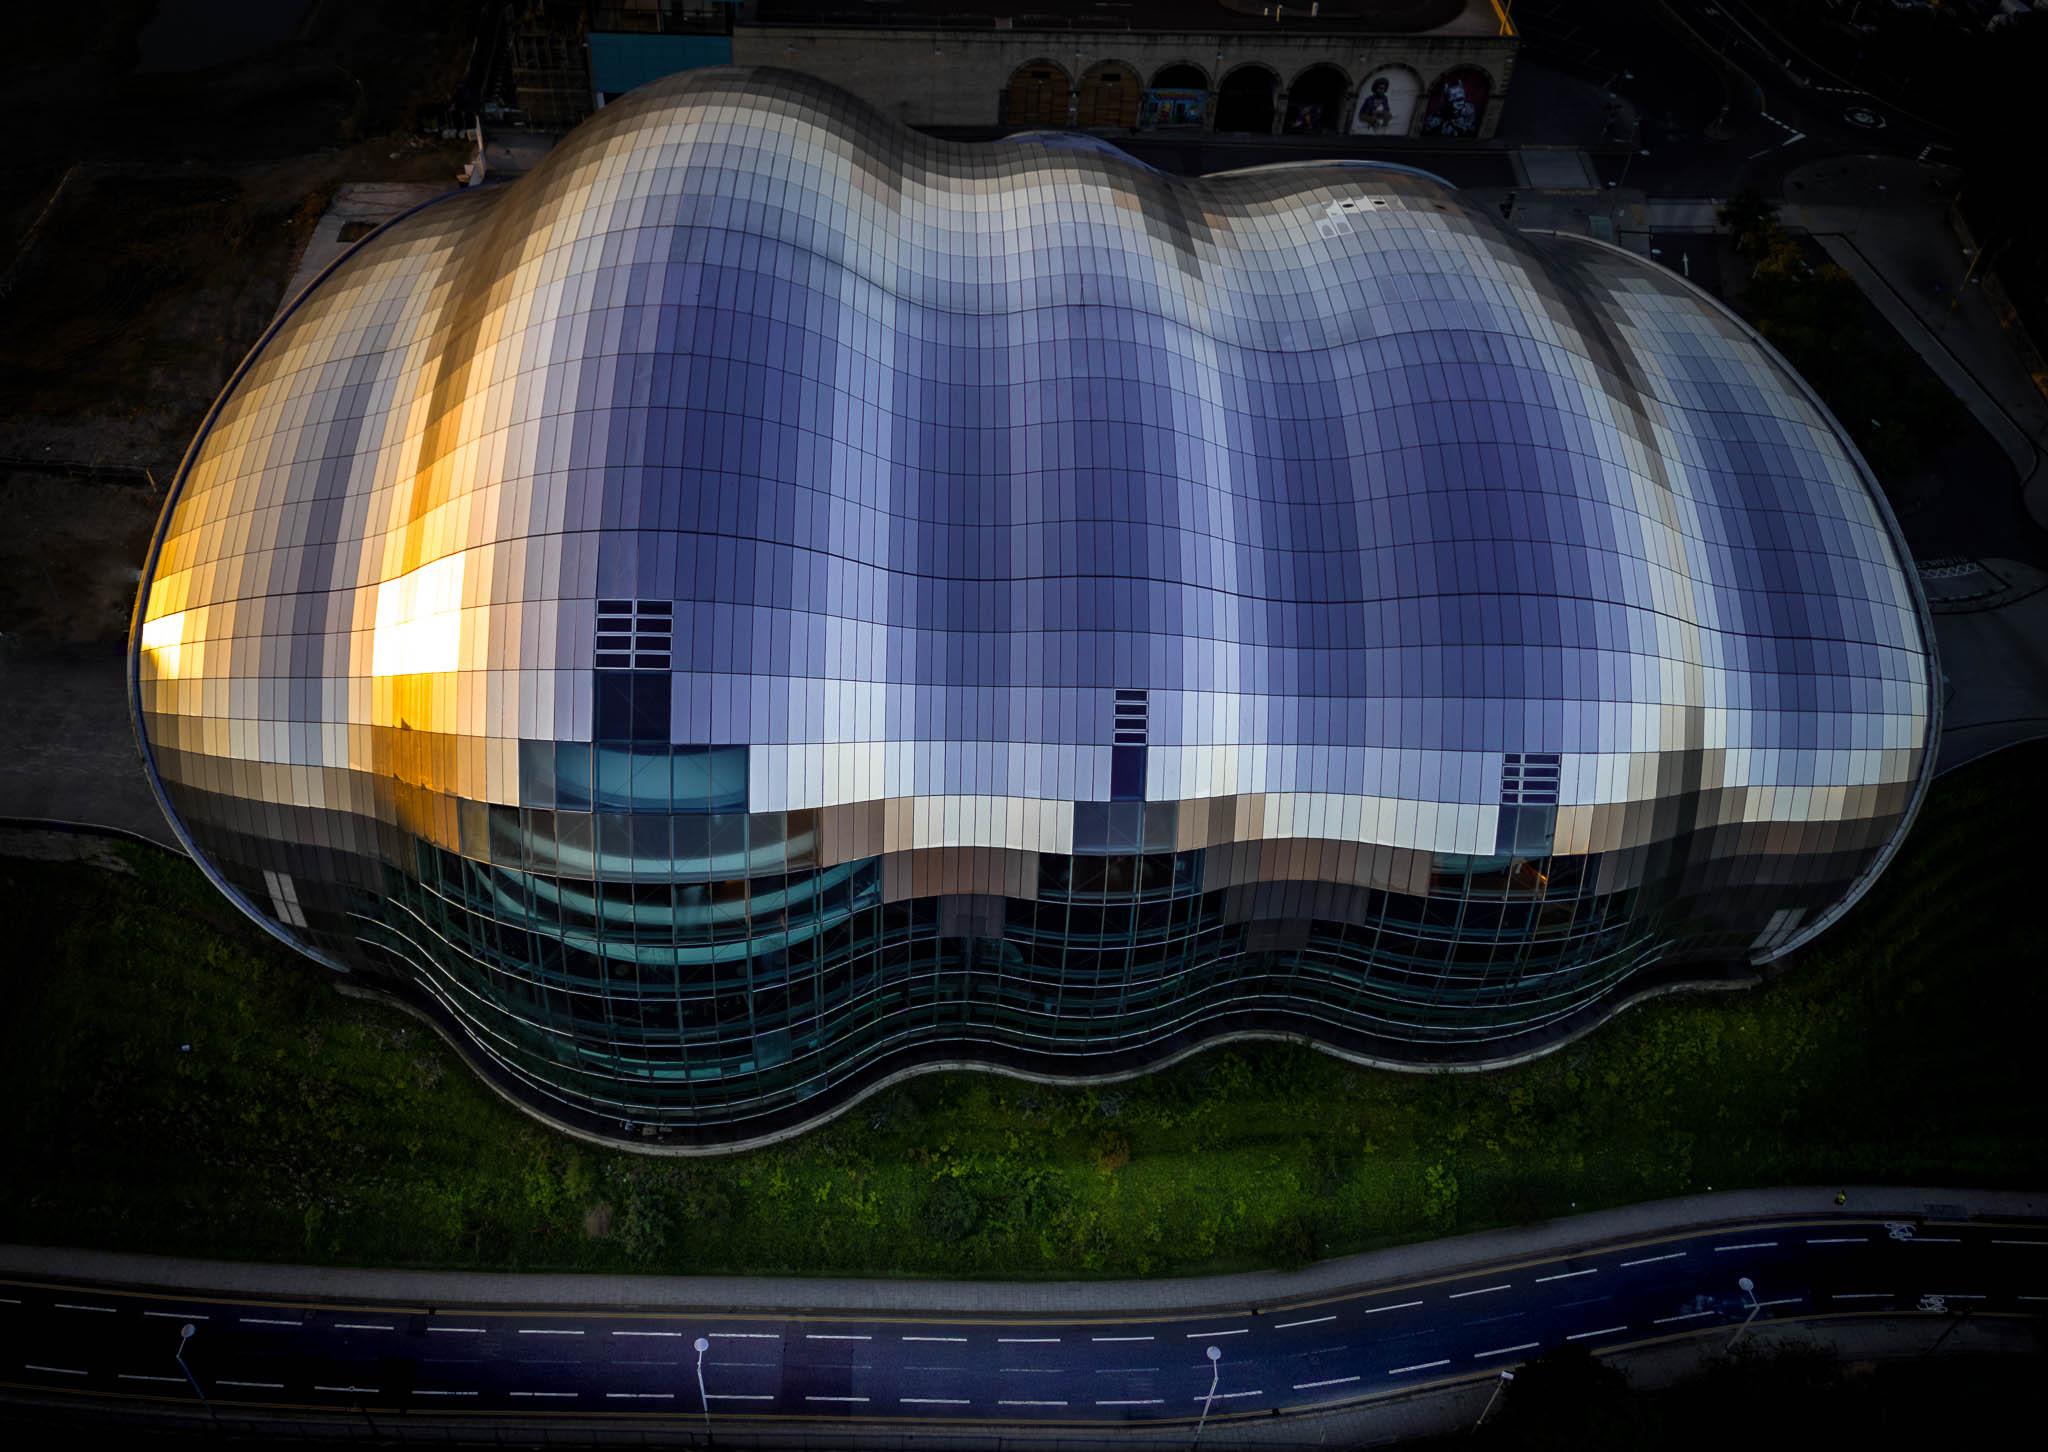
The R5 has no problem picking up all the details in this scene of a white building with a gigantic white dome.
The 100% view crops below show that there are very few details missing in this shot taken in bright midday sun.


The basic point is, if the R5 isn’t adding more dynamic range then how is it going to make an image like this substantially better?
Well, for video at least, the R5 Mark II is going to add a couple features that some people will want to buy. It appears to have slightly more accurate colors out of camera which is great for people who want a faster workflow. I think the R5’s colors are close enough most of the time but it does require some color grading to look normal.
The R5 Mark II is also supposed to have a lot more dynamic range in video mode when shooting in LOG formats. Camera’s like the R5 C have a lot of dynamic range in LOG getting all the way up to 14 stops, but, the R5 Mark II is supposed to have 16+ stops when shooting LOG. That puts the R5 Mark II less than a stop below the latest and greatest cinema cameras… I know a lot of video people will be interested in that capability.
Ergonomics Updates
The R5 Mark II has slightly changed ergonomics and physical design. The power switch has been moved to the right side of the camera and there is now a fan included in the battery grip which modestly increases recording times for video. There is also a new flash hot shoe which allows the camera to work with Canon’s new lineup of super high-performance flashes.
Bottom Line
The new R5 Mark II is a great camera, which makes sense, since it is nearly the same as the original R5, but now with a few performance updates. Because of all the updates it is now $4,299. And at this price the fully electronic shutter is now competitive with the Nikon Z9, the Canon R3, and the Canon R1. In stills mode the electronic shutter can readout in about 6.3 milliseconds, whereas the original R5 is set to read out in about 16.8 milliseconds for a still photo. Unfortunately, the video readout speeds are just about the same between the two cameras. Because the new R5 Mark II still has overheating as an issue when shooting high resolution video, the sensor is intentionally slowed down to about the same speed as the original R5 to help increase shooting times. On a brighter note, the new R5 Mark II has 16+ stops of dynamic range when shooting in video LOG formats. Since there is no log format for stills, the dynamic range there is just about identical to the original R5. But, getting 16+ stops of dynamic range for 8k 60fps video means the R5 Mark II can definitely deliver some high quality video if called upon to do so.
If you shoot video the new R5 Mark II appears to be an upgrade over the original. However, if you shoot stills, the original R5 doesn’t give up a whole lot compared to the new one. True, you can shoot with the new electronic shutter, but, the good old mechanical shutter is still superior to every camera’s electronic shutter. Yes, the MECHANICAL SHUTTER IS STILL #1. Basically, there’s no point to an electronic shutter just yet, even though random dip shits will say ITS SOOO IMPORTANT. Well, it really isn’t GOOD ENOUGH. If electronic isn’t better than the mechanical shutter then it really isn’t a replacement for the mechanical shutter, is it?
If you really need maximum electronic shutter performance, the R5 Mark II still isn’t good enough in my opinion. It reads out in 6.3 milliseconds which is still quite slow. While it’s not exactly the same, it’s still only as fast to scan as a 1/160th shutter speed. And that means it’s more than 3 times slower than the R1 which reads out in 2 milliseconds. That disparity is partially explained by the lower resolution sensor (24mp vs 45mp), but it isn’t entirely explained by that. All things being equal the R5 should be able to read out in about 3-4 milliseconds.
Ok, the bottom line is this, the new R5 Mark II is a solid camera, but it’s more of a video-oriented camera. If you shoot video, it appears to be better than the original R5, but not really better than the R5 C which doesn’t overheat. For video, the R5 Mark II kind of makes sense if you want 8k 60fps right now, but it overheats even with the fancy battery grip. However, if you don’t need the highest resolution settings, you can enjoy 16+ stops of DR when shooting in LOG. Previously, the only Canon camera with that amount of dynamic range was the C300 Mark III.
For stills shooters the R5 and R5 Mark II are a little close for comfort. Aside from the electronic shutter being improved and the supposed AF improvements, there’s not a lot to get excited about. With the R5 now being about $1,500 cheaper it seems like the better option if you’re a landscape photographer or the like. It remains to be seen how much the R5 Mark II can really improve on its predecessor.
Click Here to read my original review on the EOS R5.

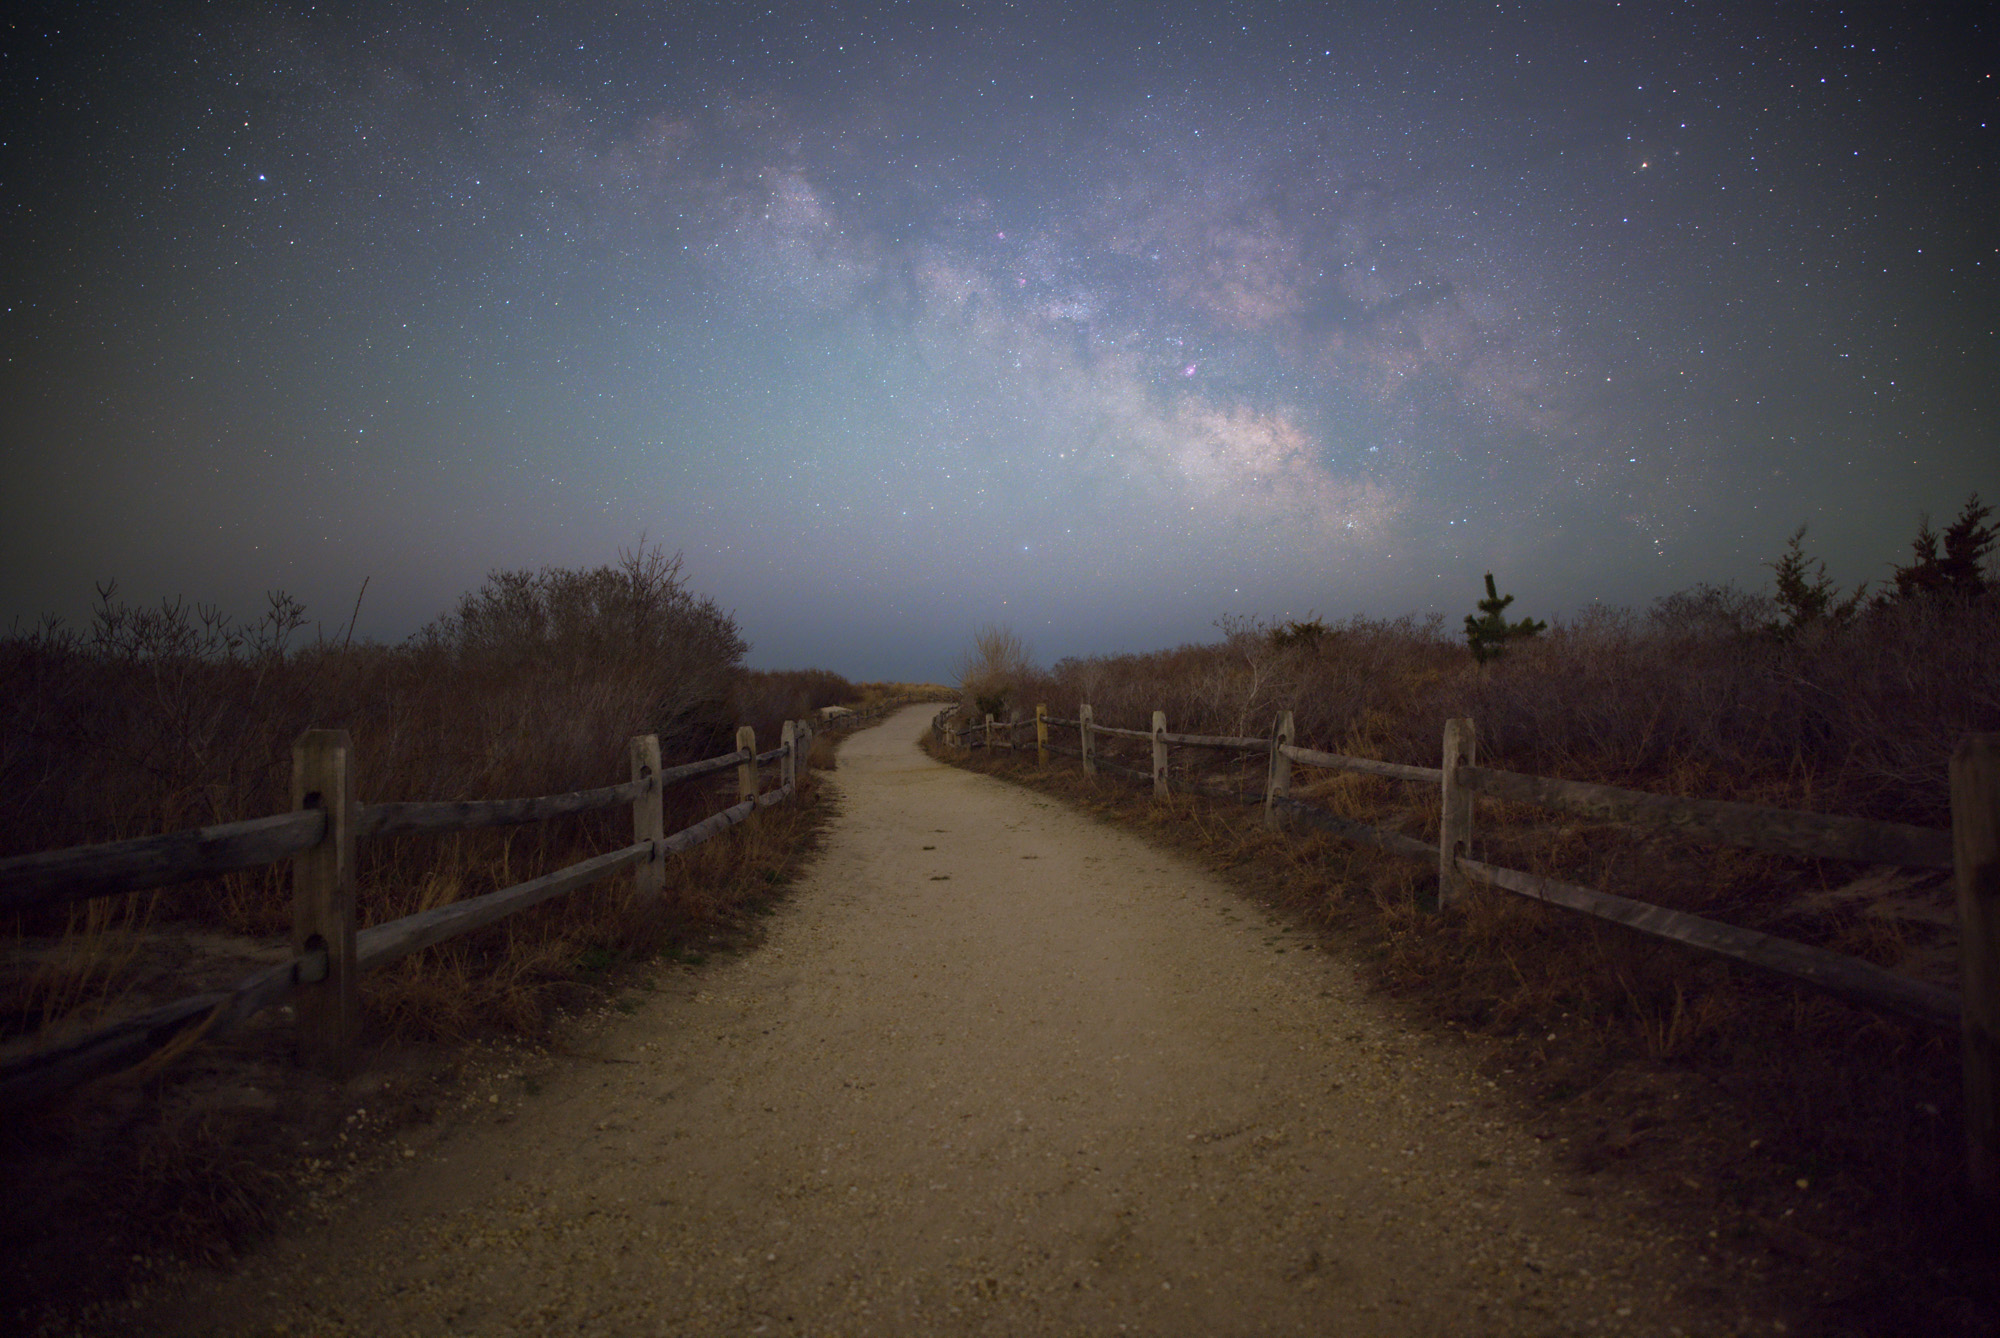
Taken with the R5.
[ad_2]
Source link