[ad_1]
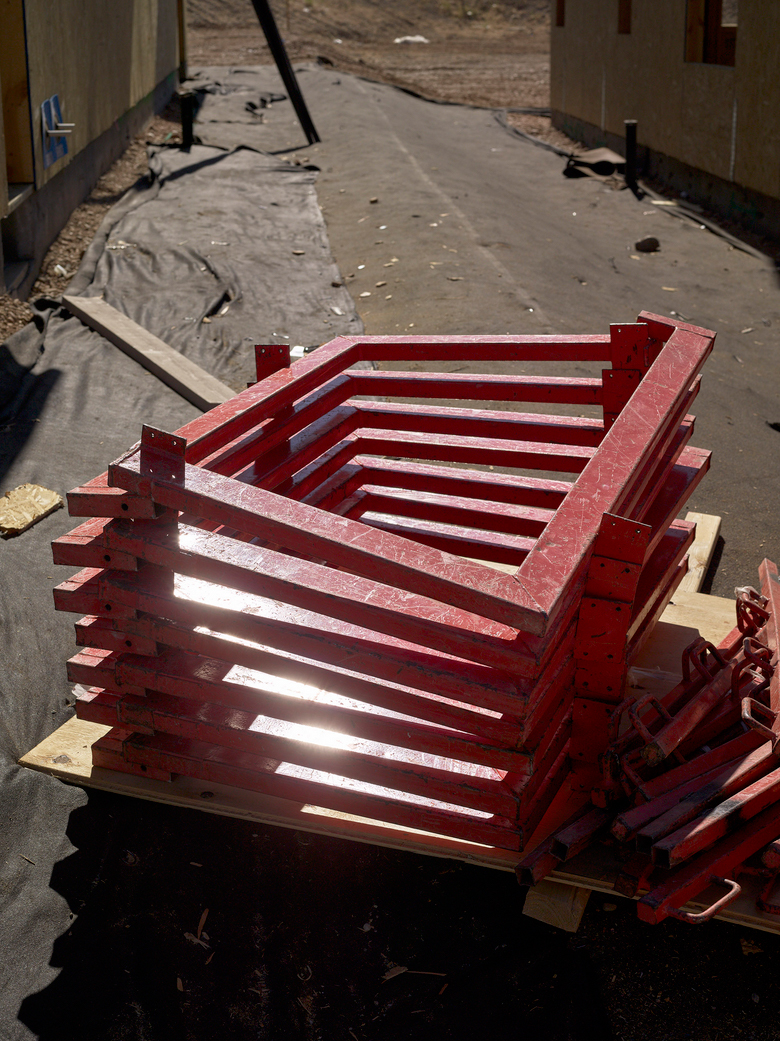
Tracy Hills, Outrigger scaffolding kit, June 2022.
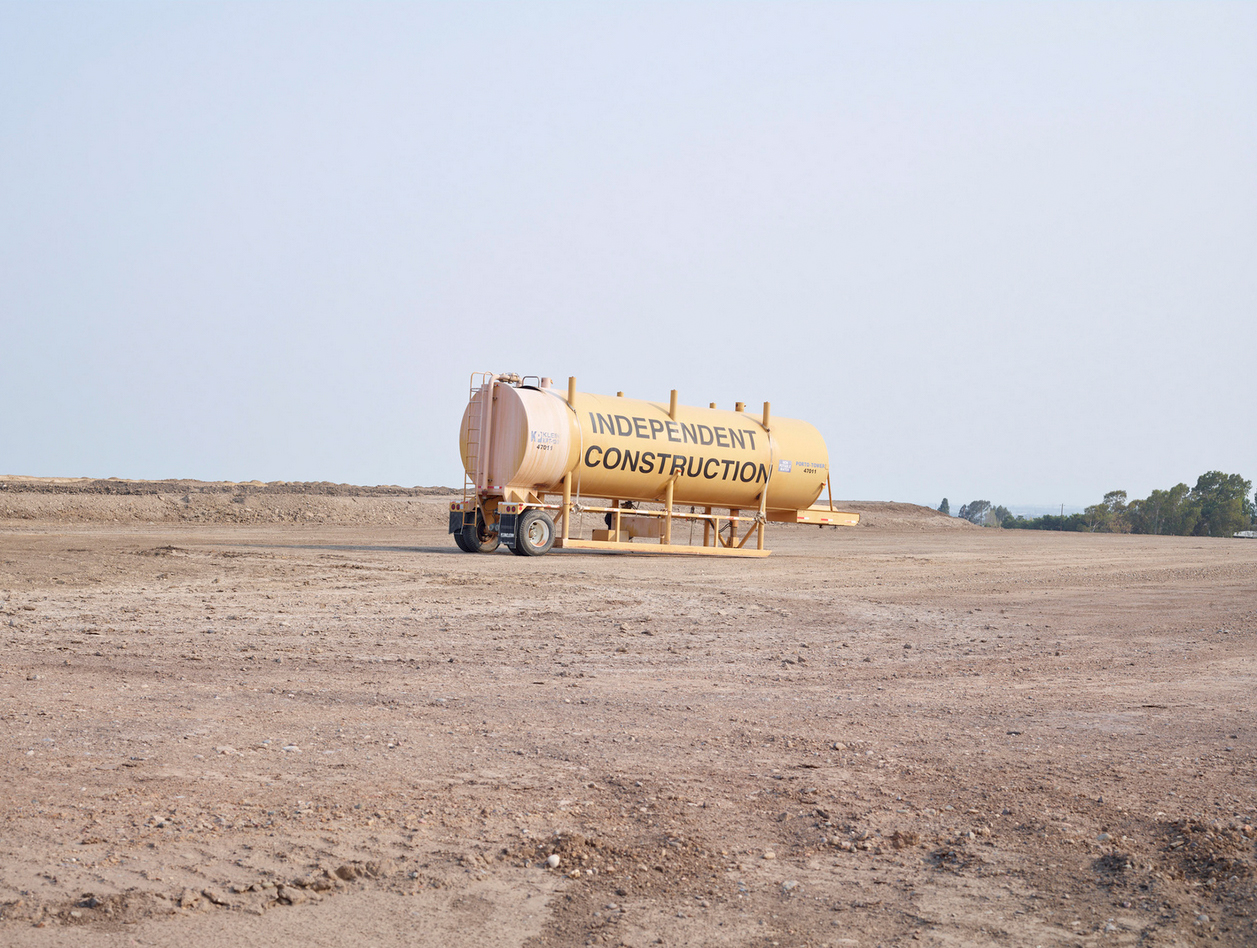
Tracy Hills, Independent Construction Water Truck, August 2021.
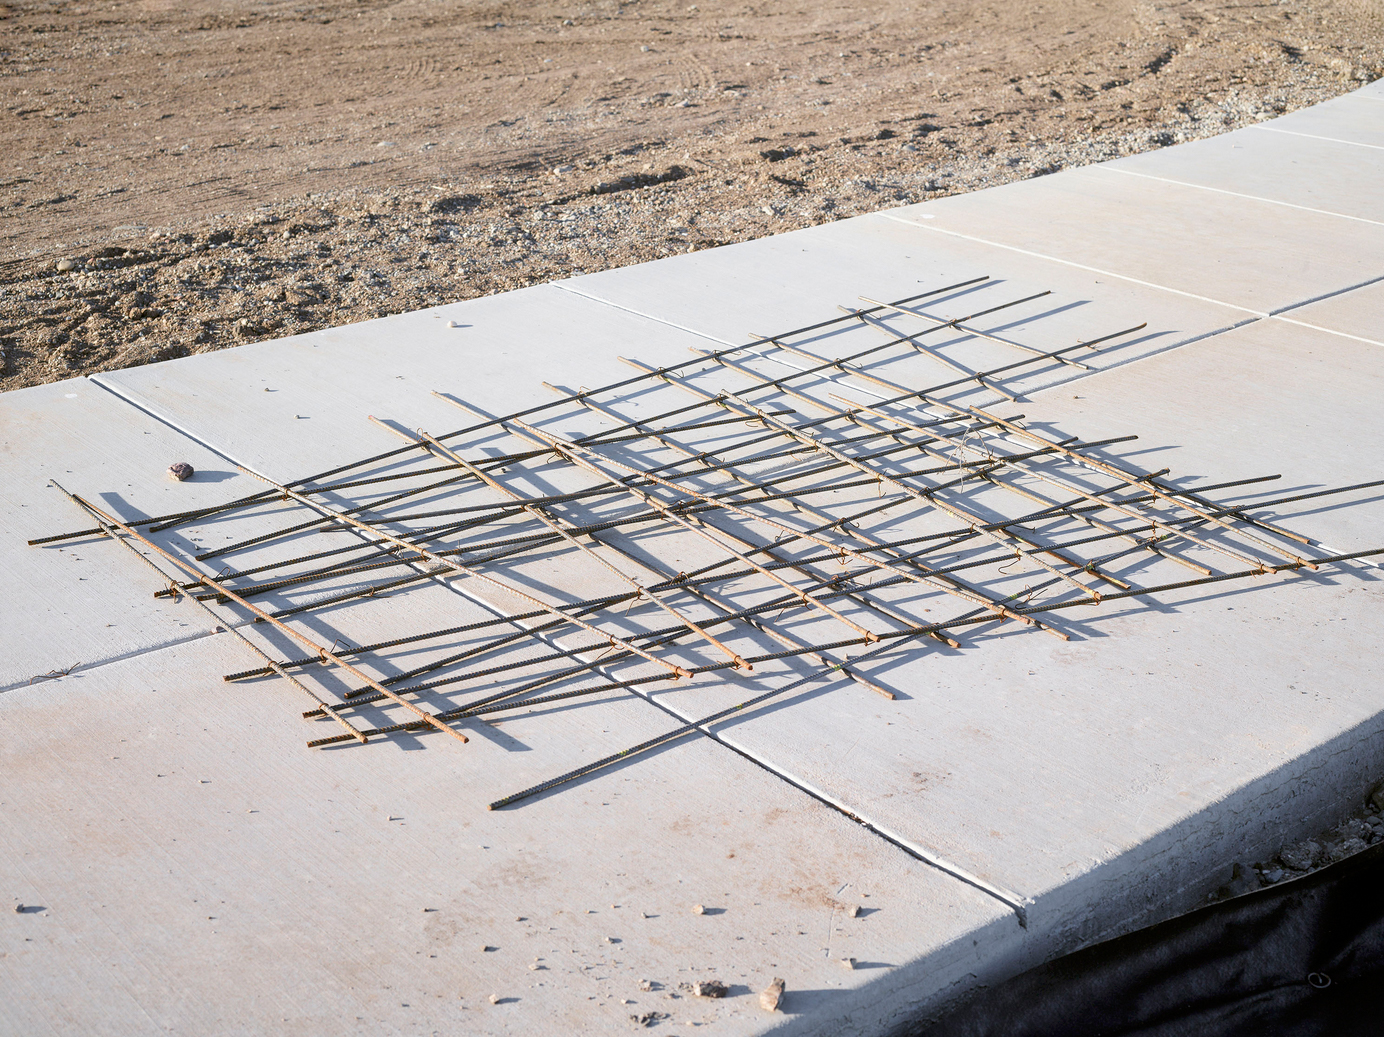
Newly-Paved Streets at Sunset Southwest of the I-580, Tracy Hills, CA, December 2023.
Heidi: Your Tracy Hills imagery highlights ecological crises—like water access and wildfire risk—in a New Topographics context. What visual strategies did you use to balance documentary clarity with emotion?
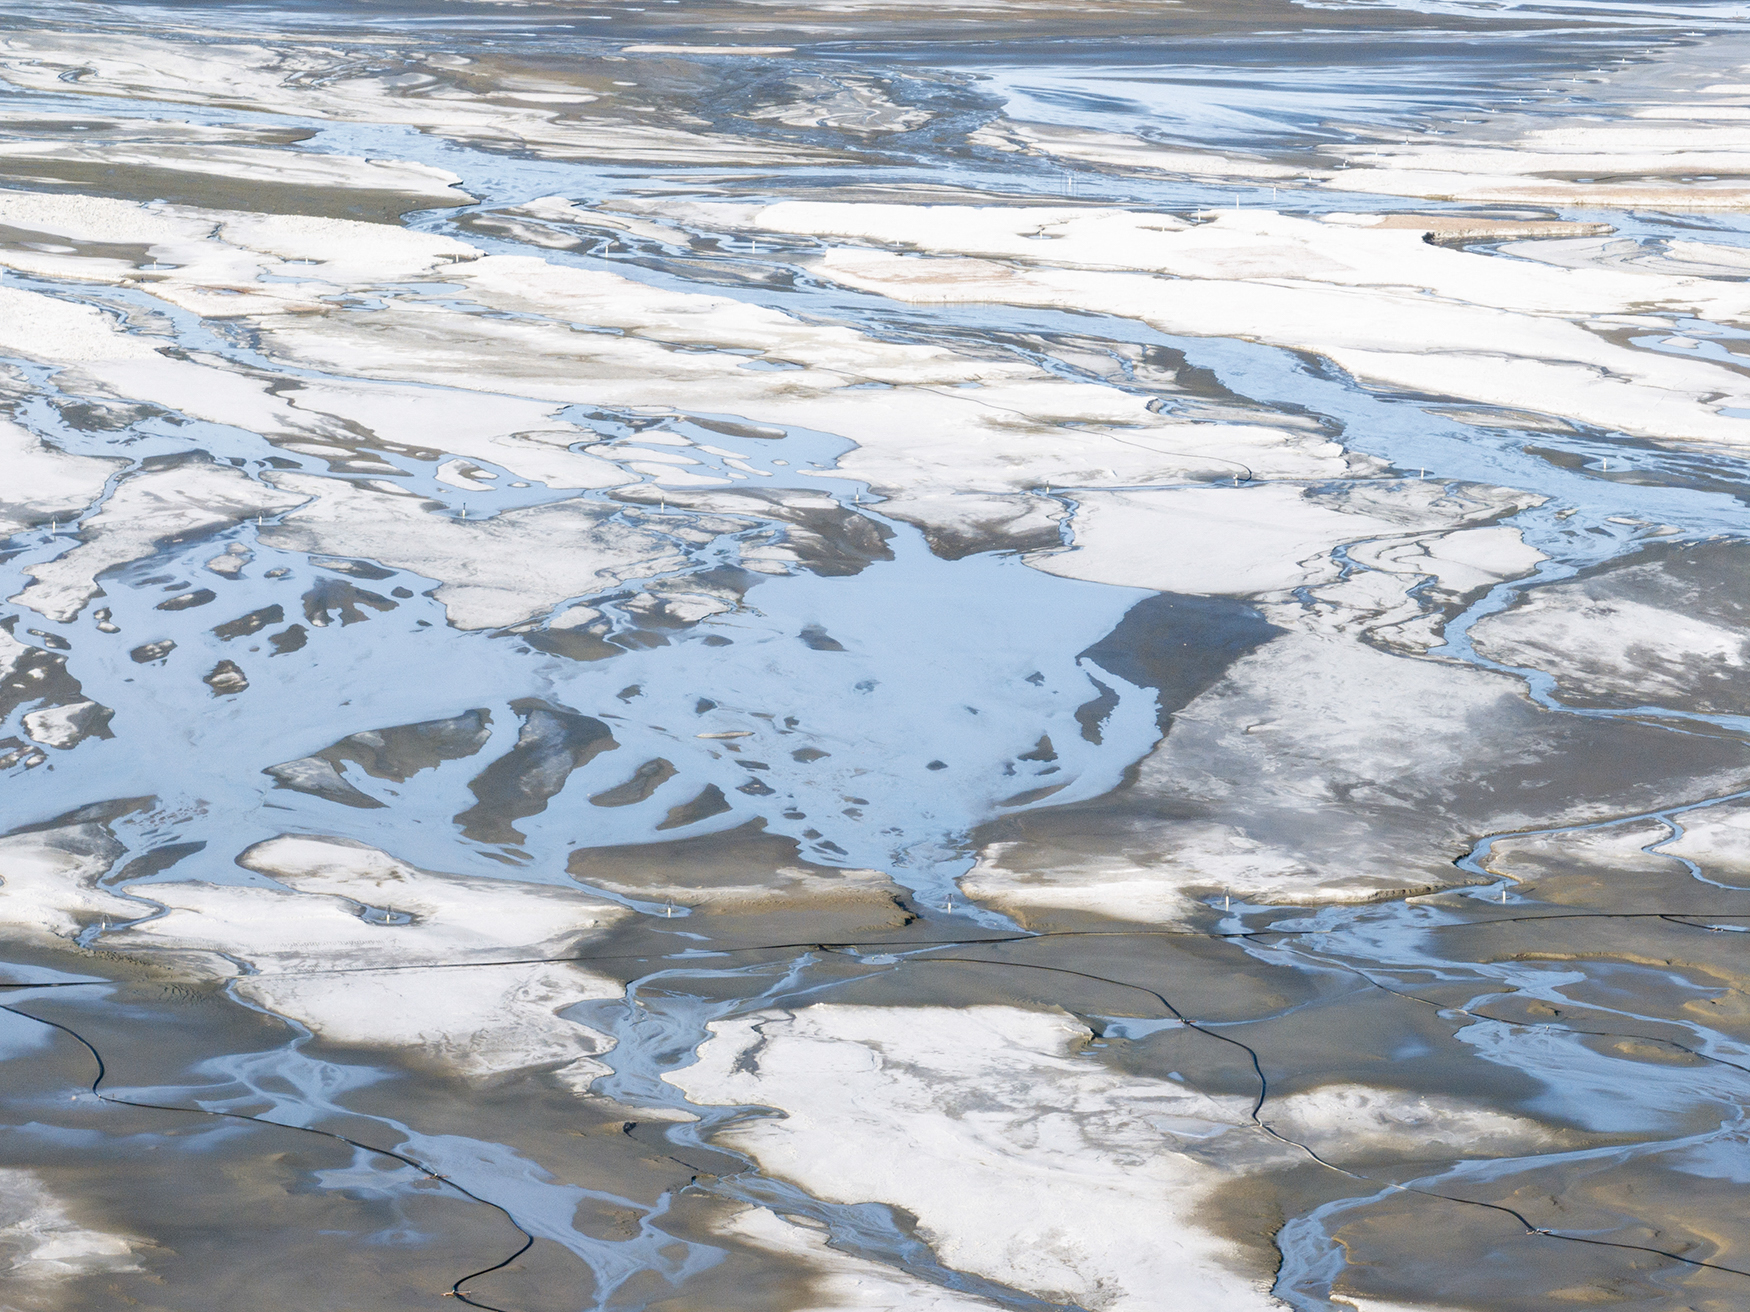
Yogan: What I discovered in Tracy Hills took what I’ve been exploring for the past 10 years to a whole new level. In 2015, I documented a similar development in SW Iceland. Think new streets encroaching on rough lava terrain. Iceland prepared me for Tracy Hills, where scales were multiplied by 10.
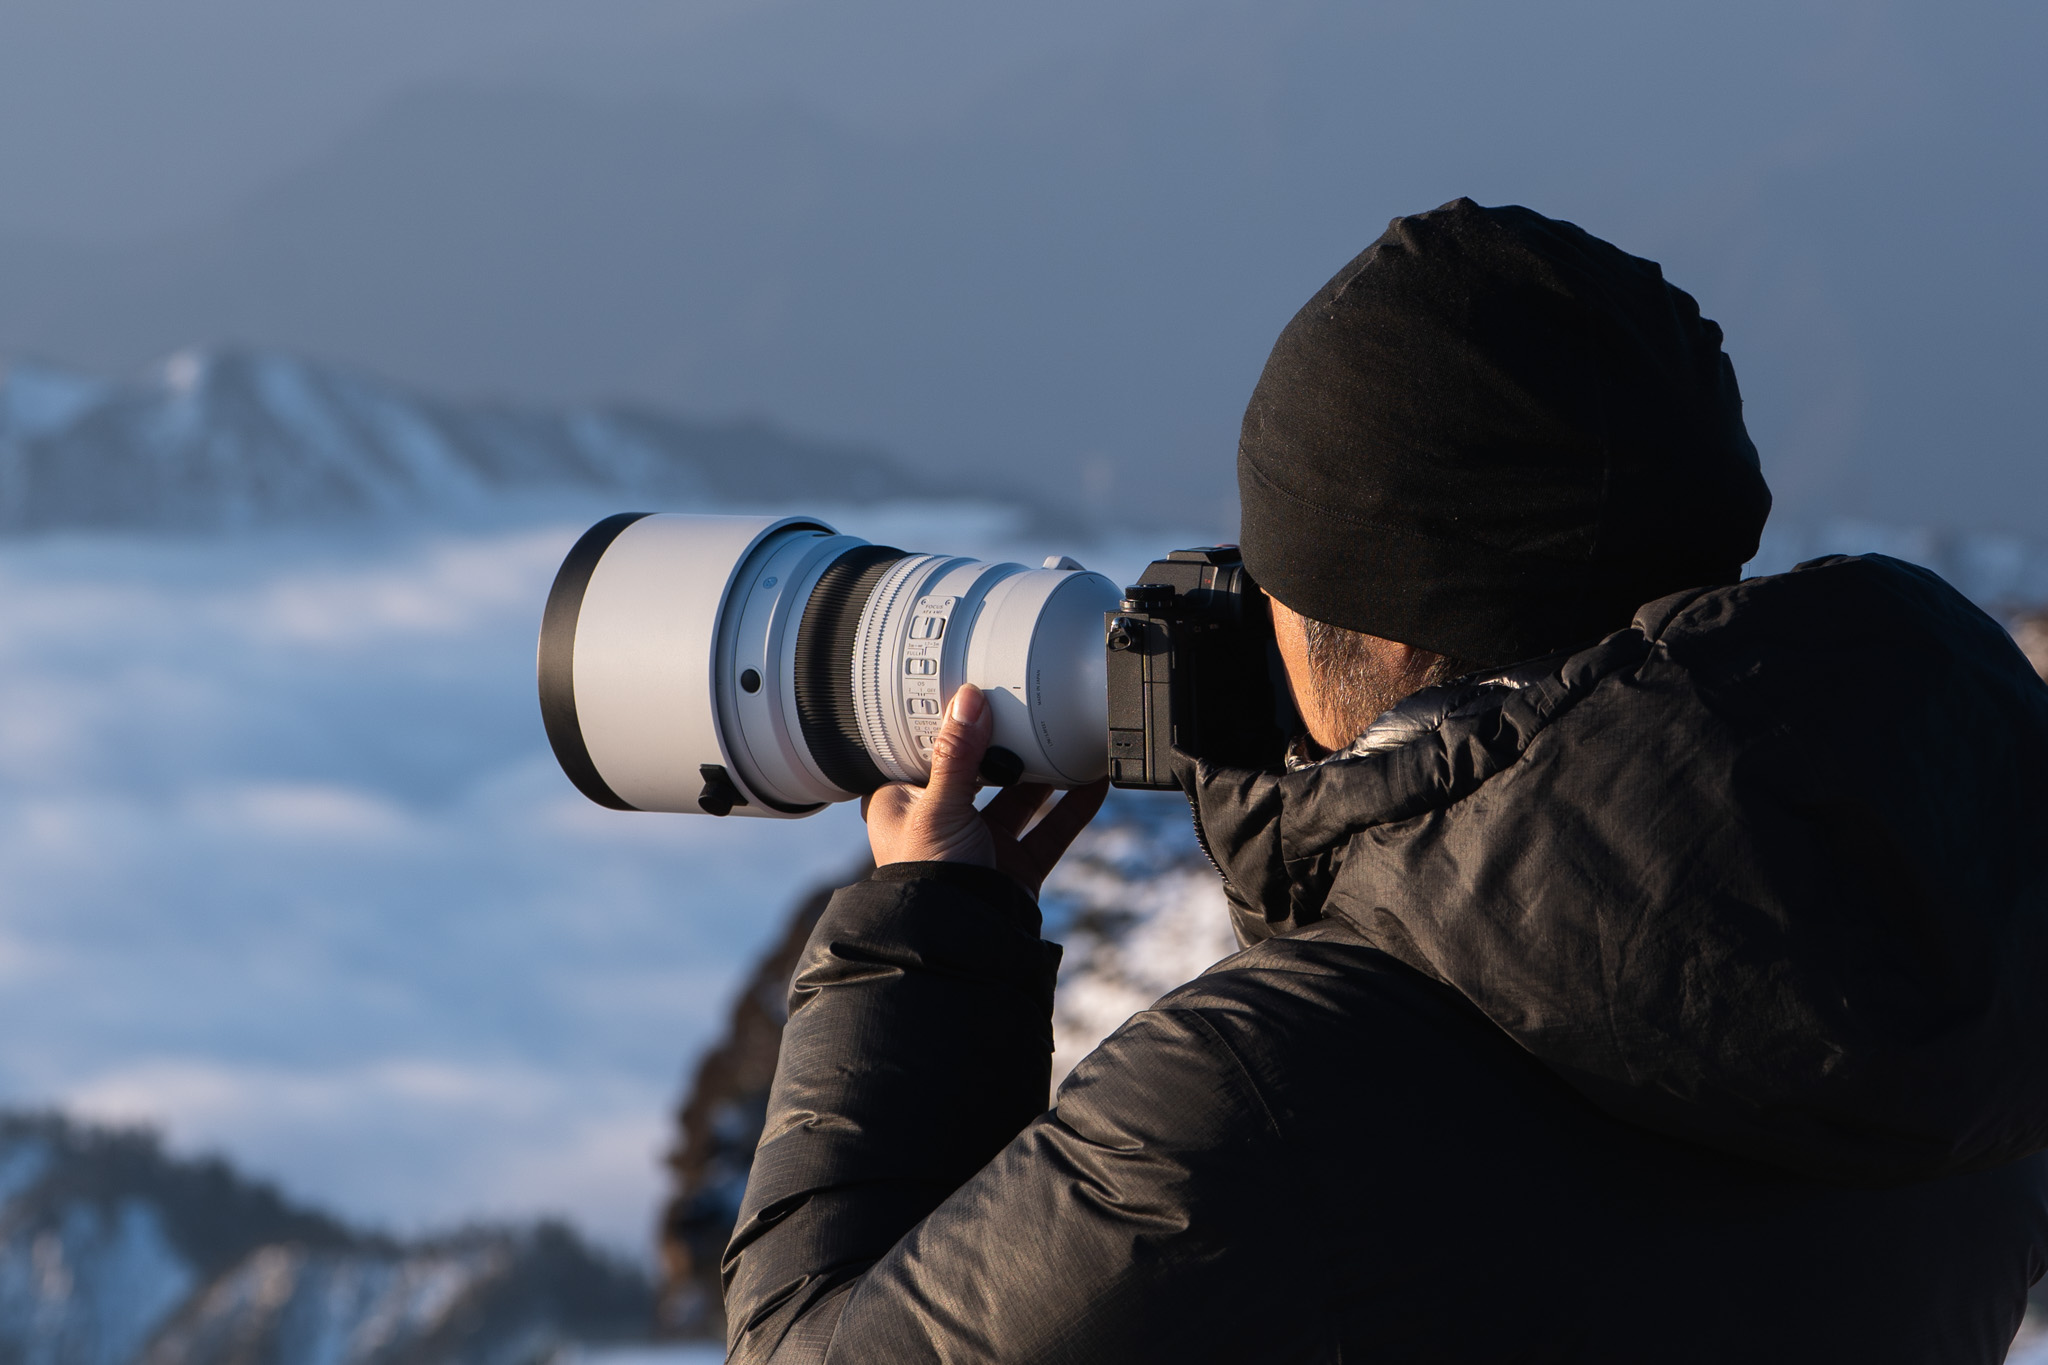
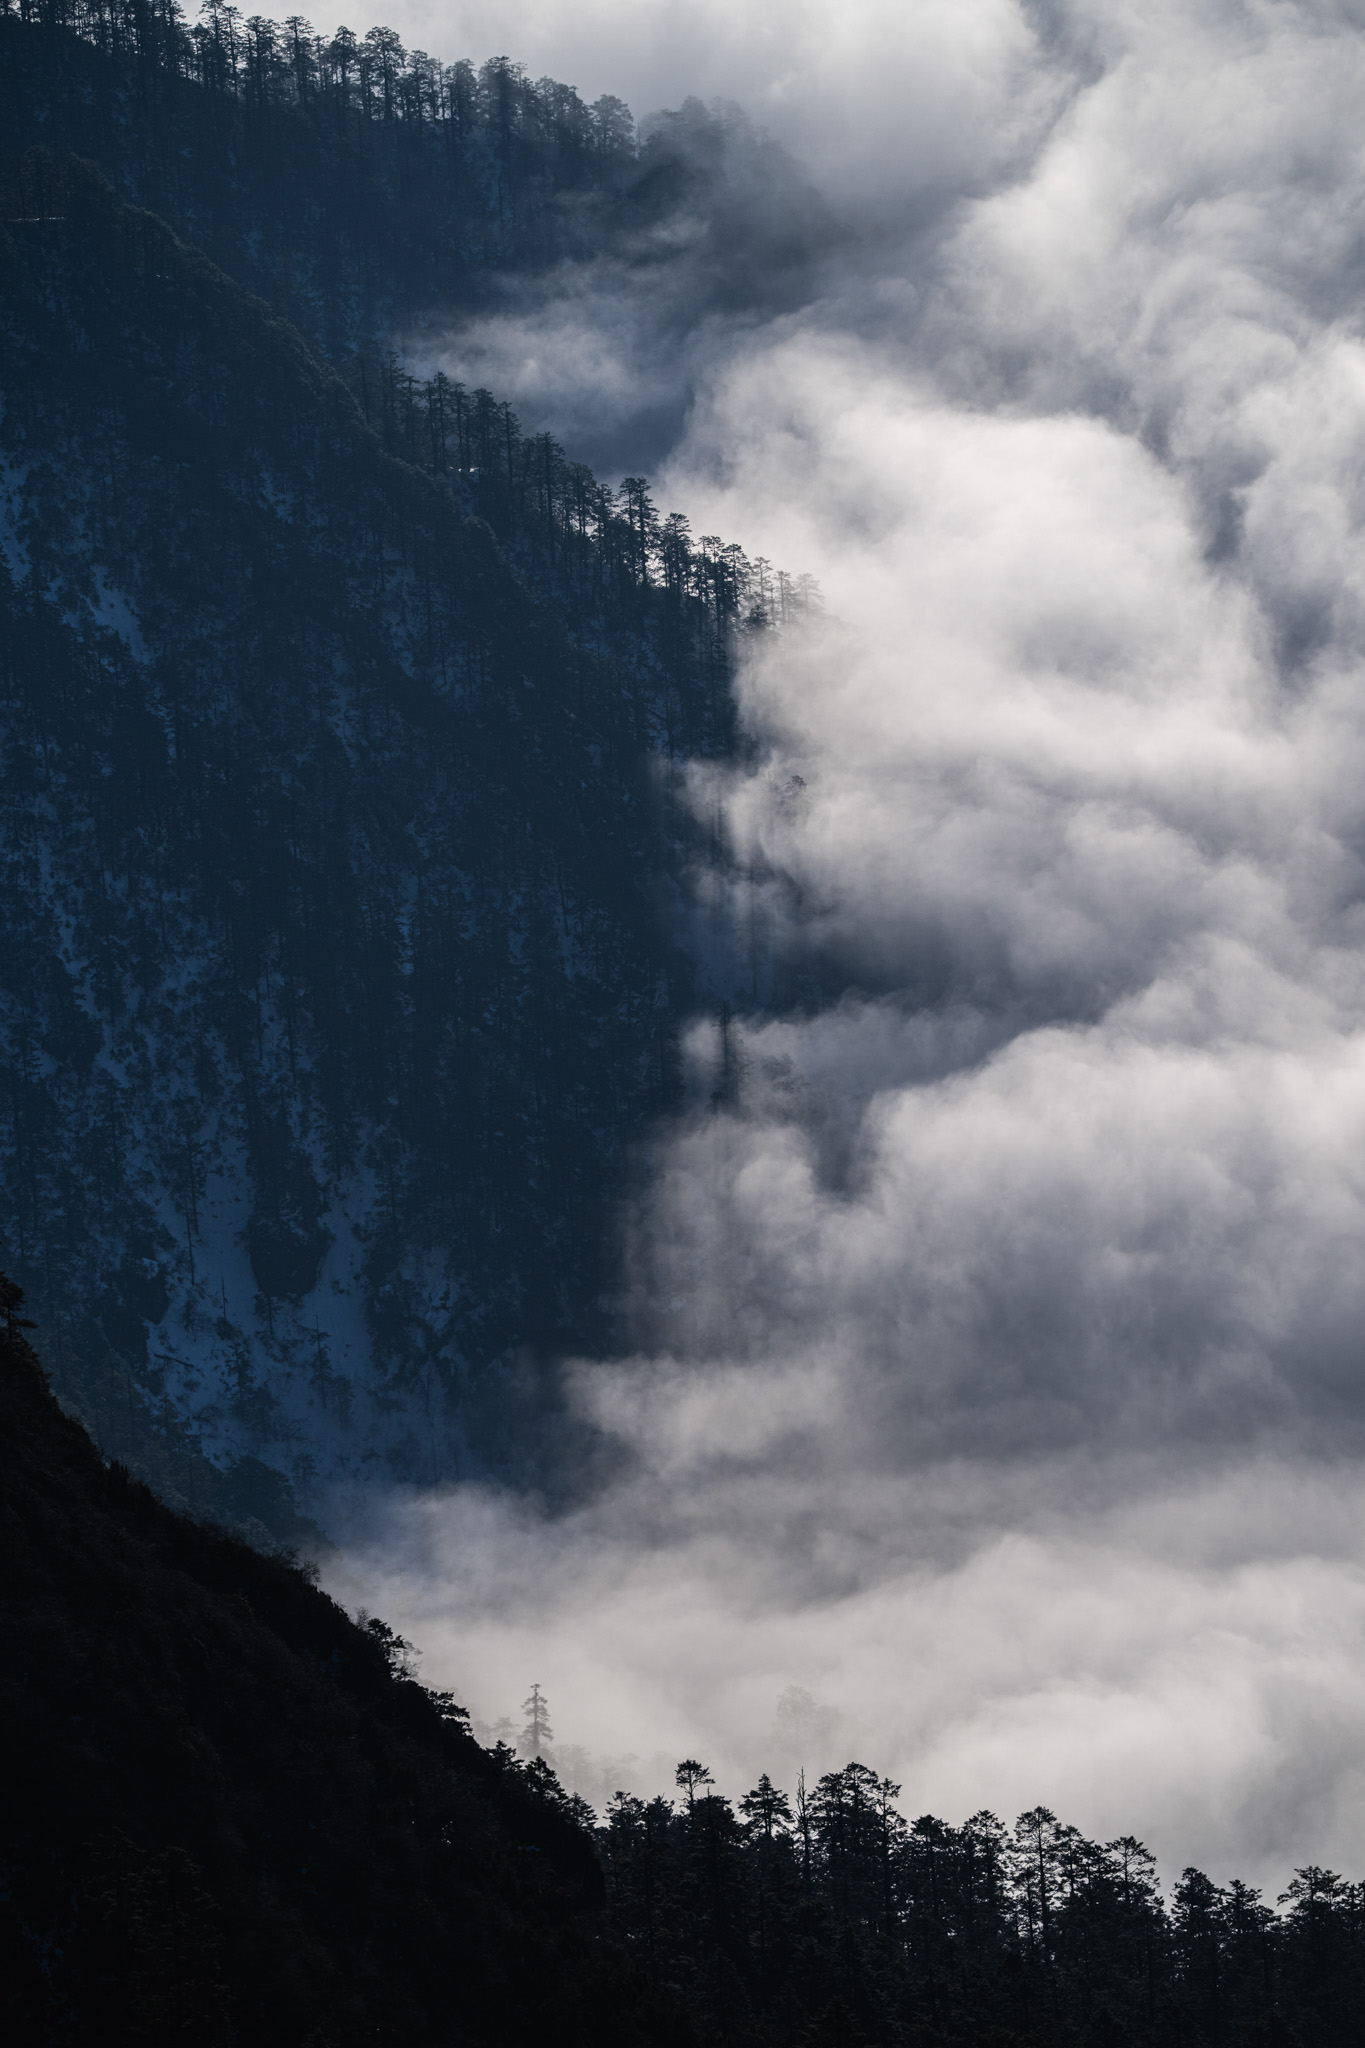
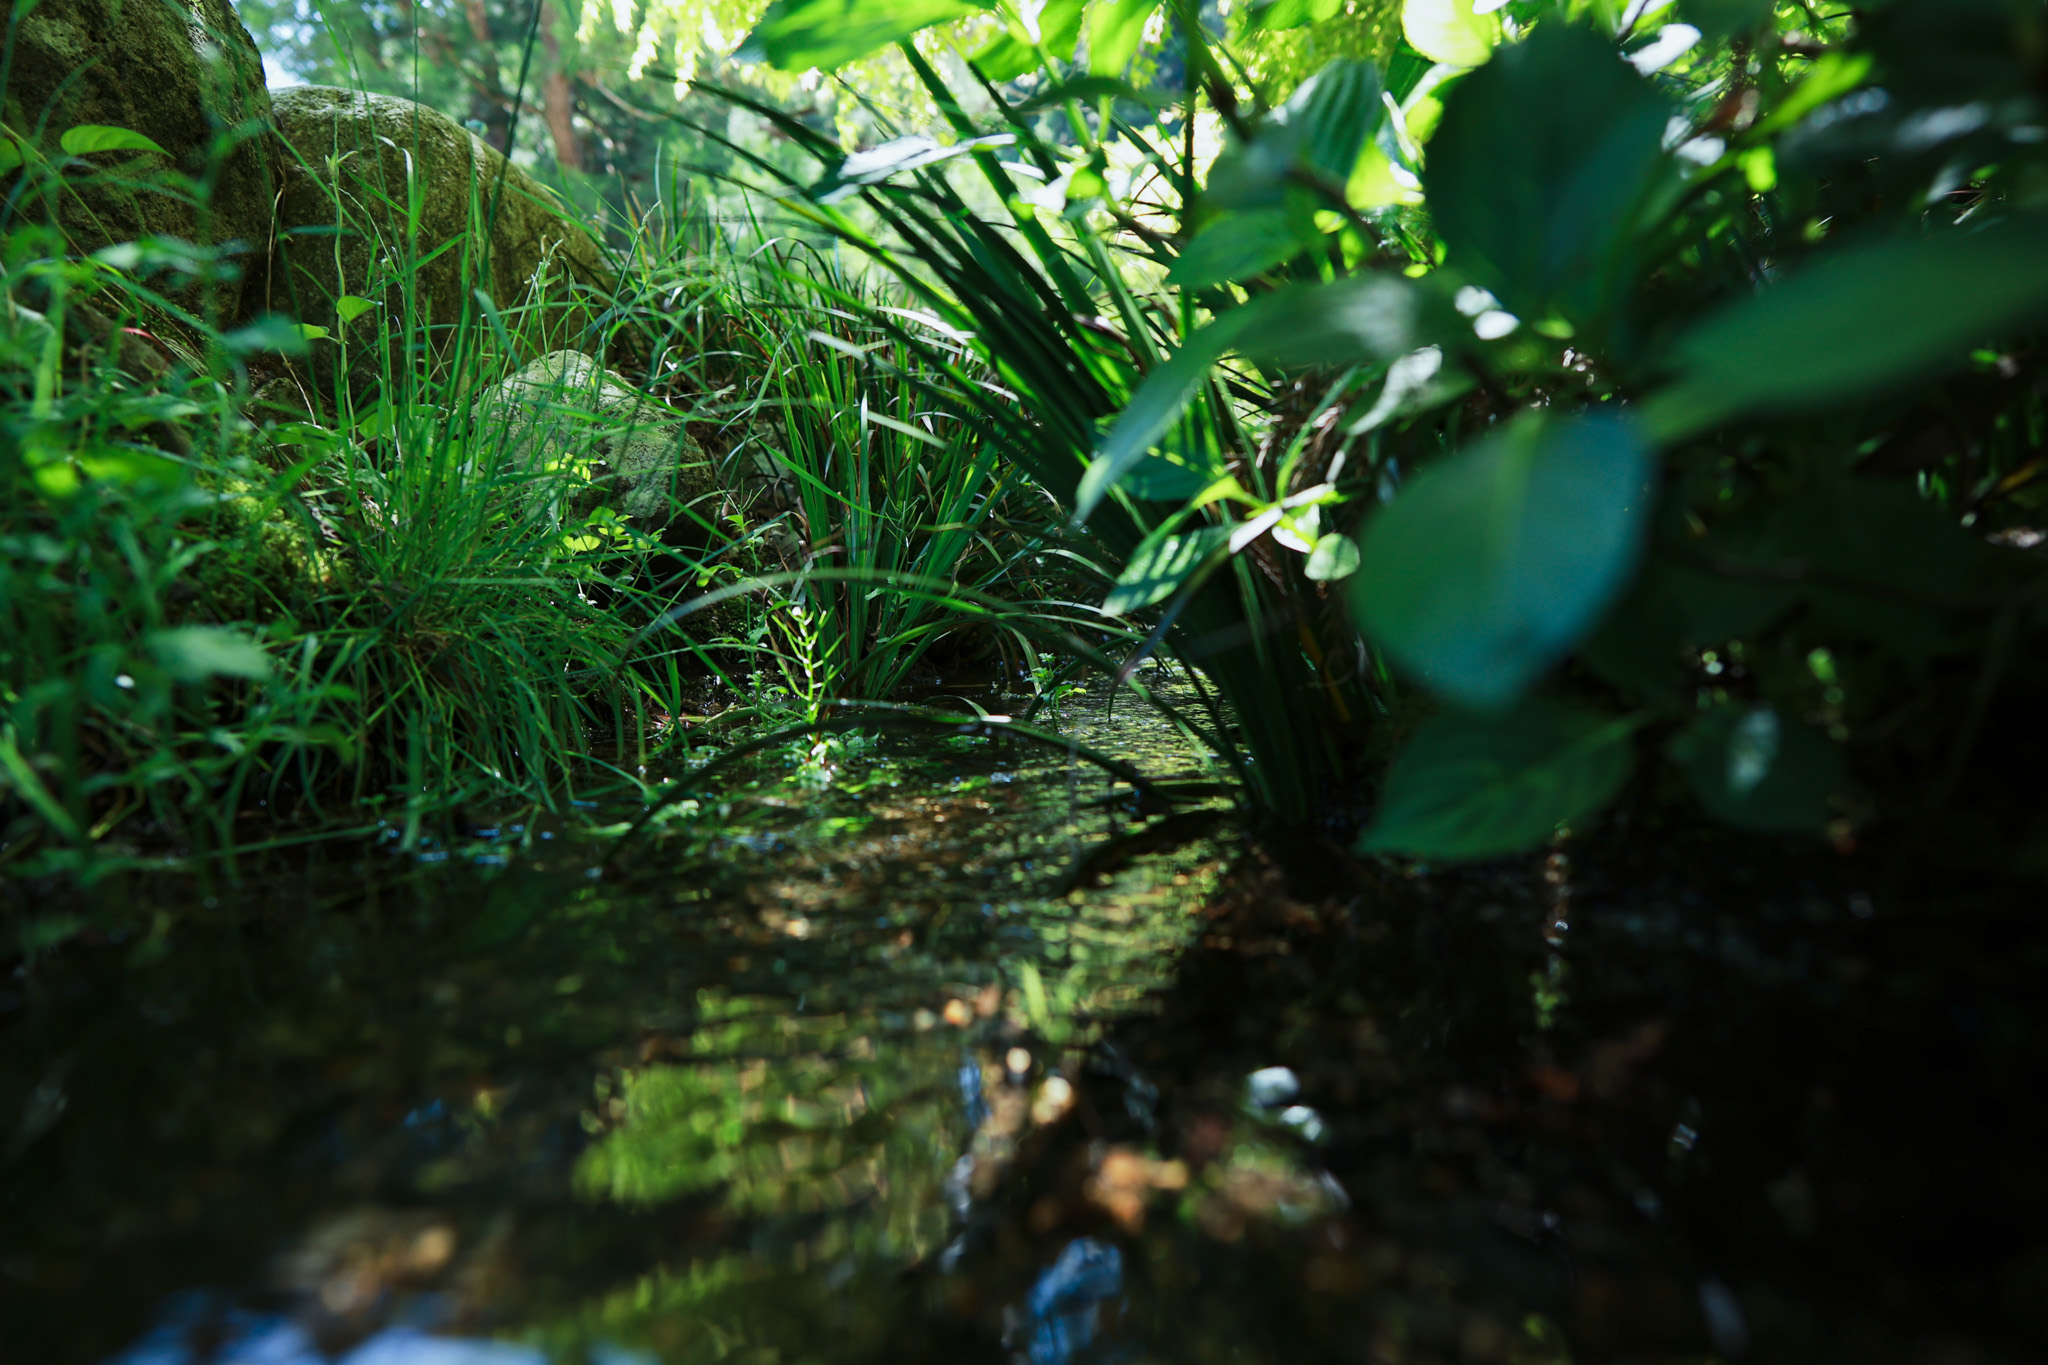
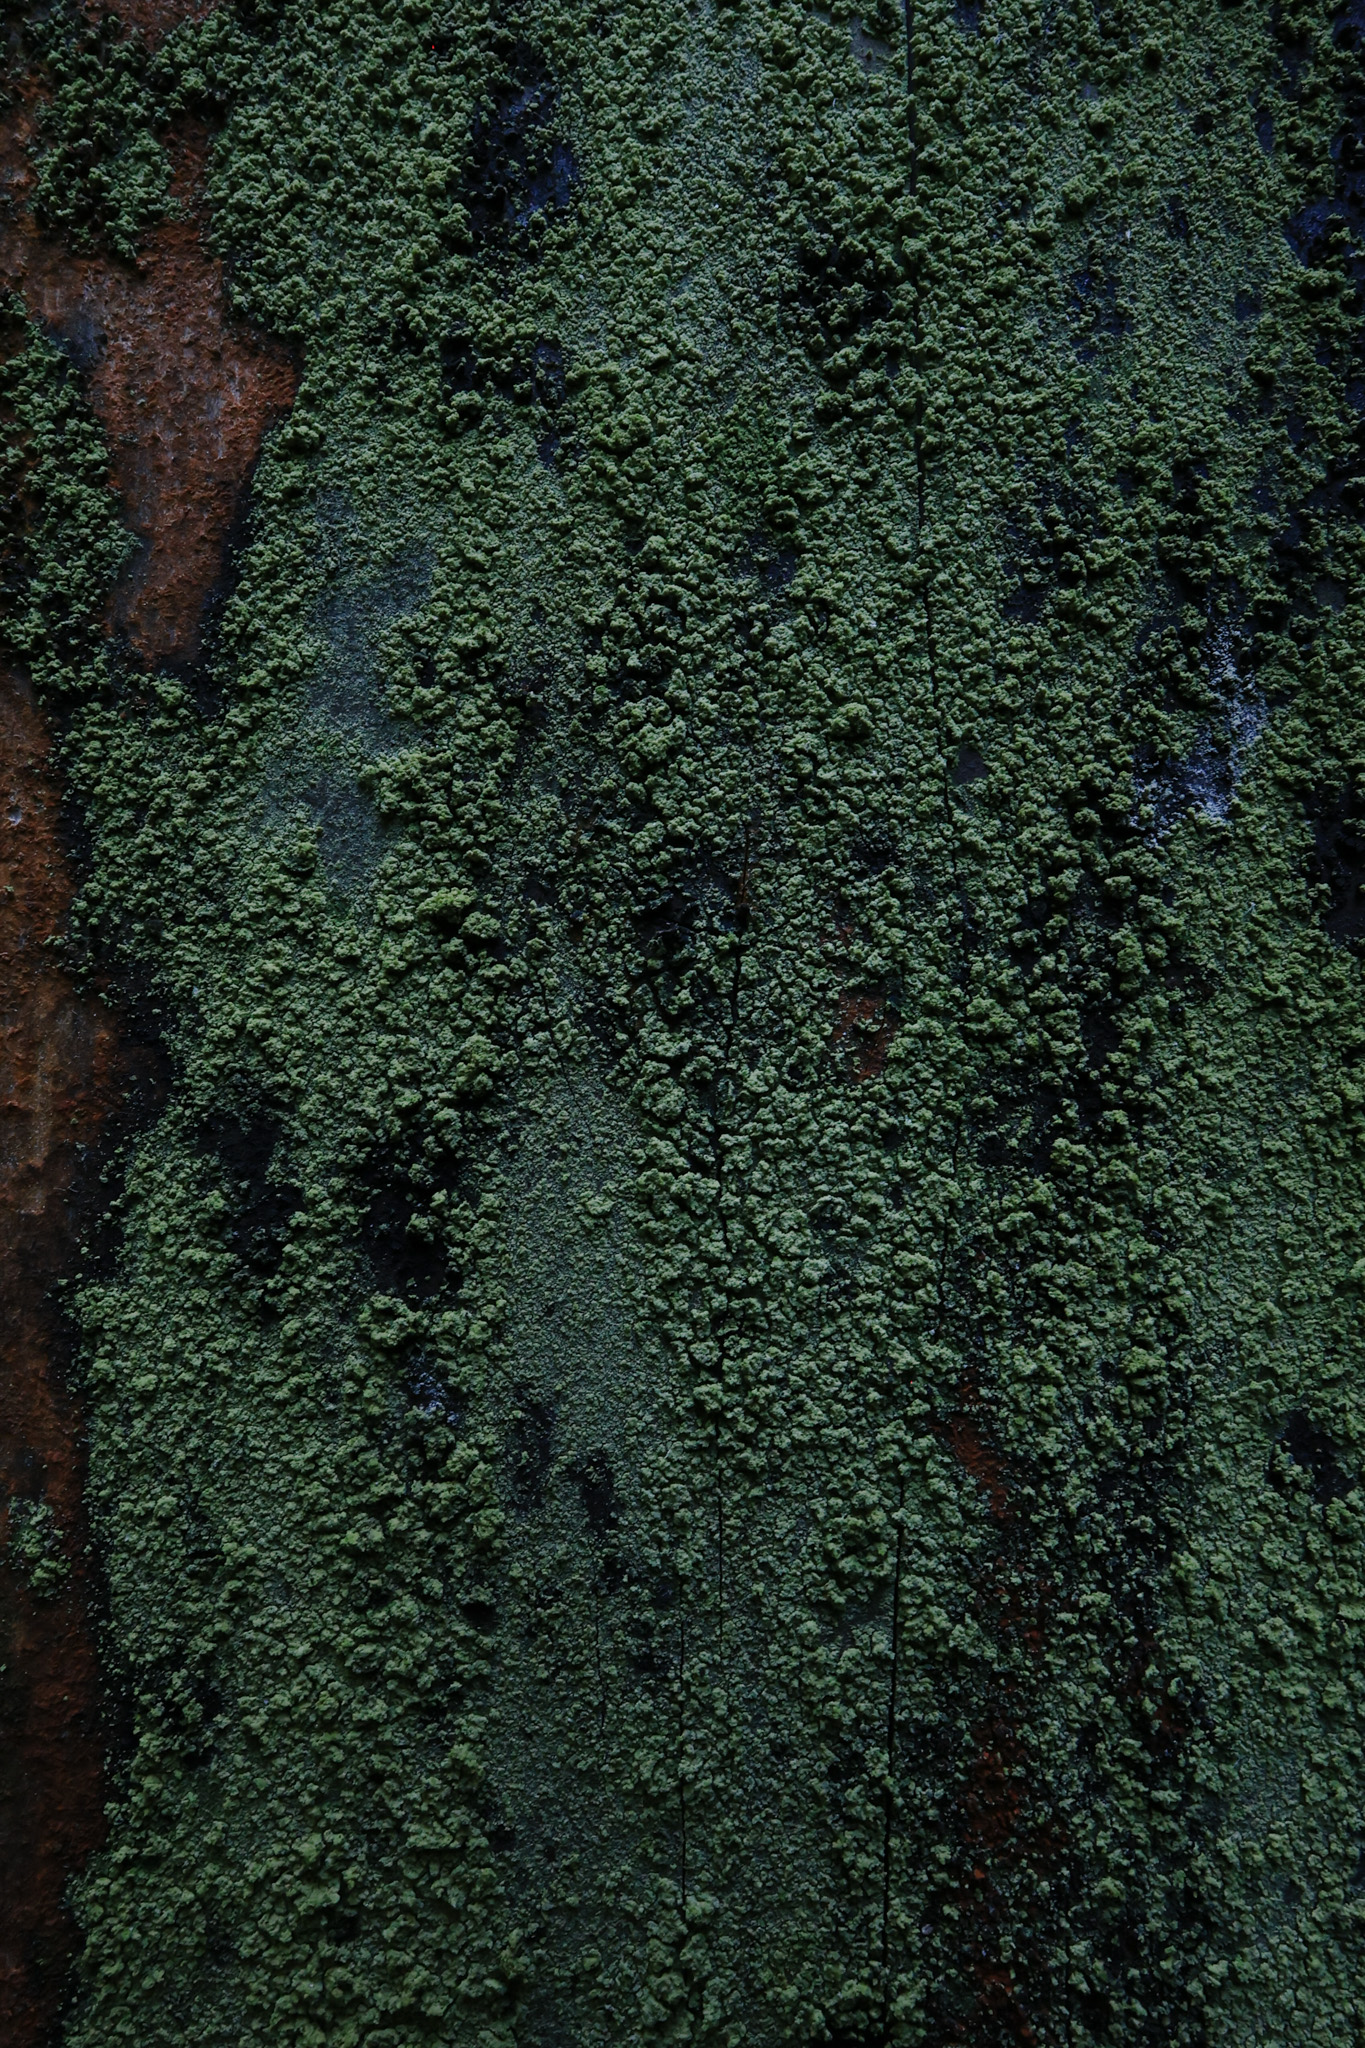
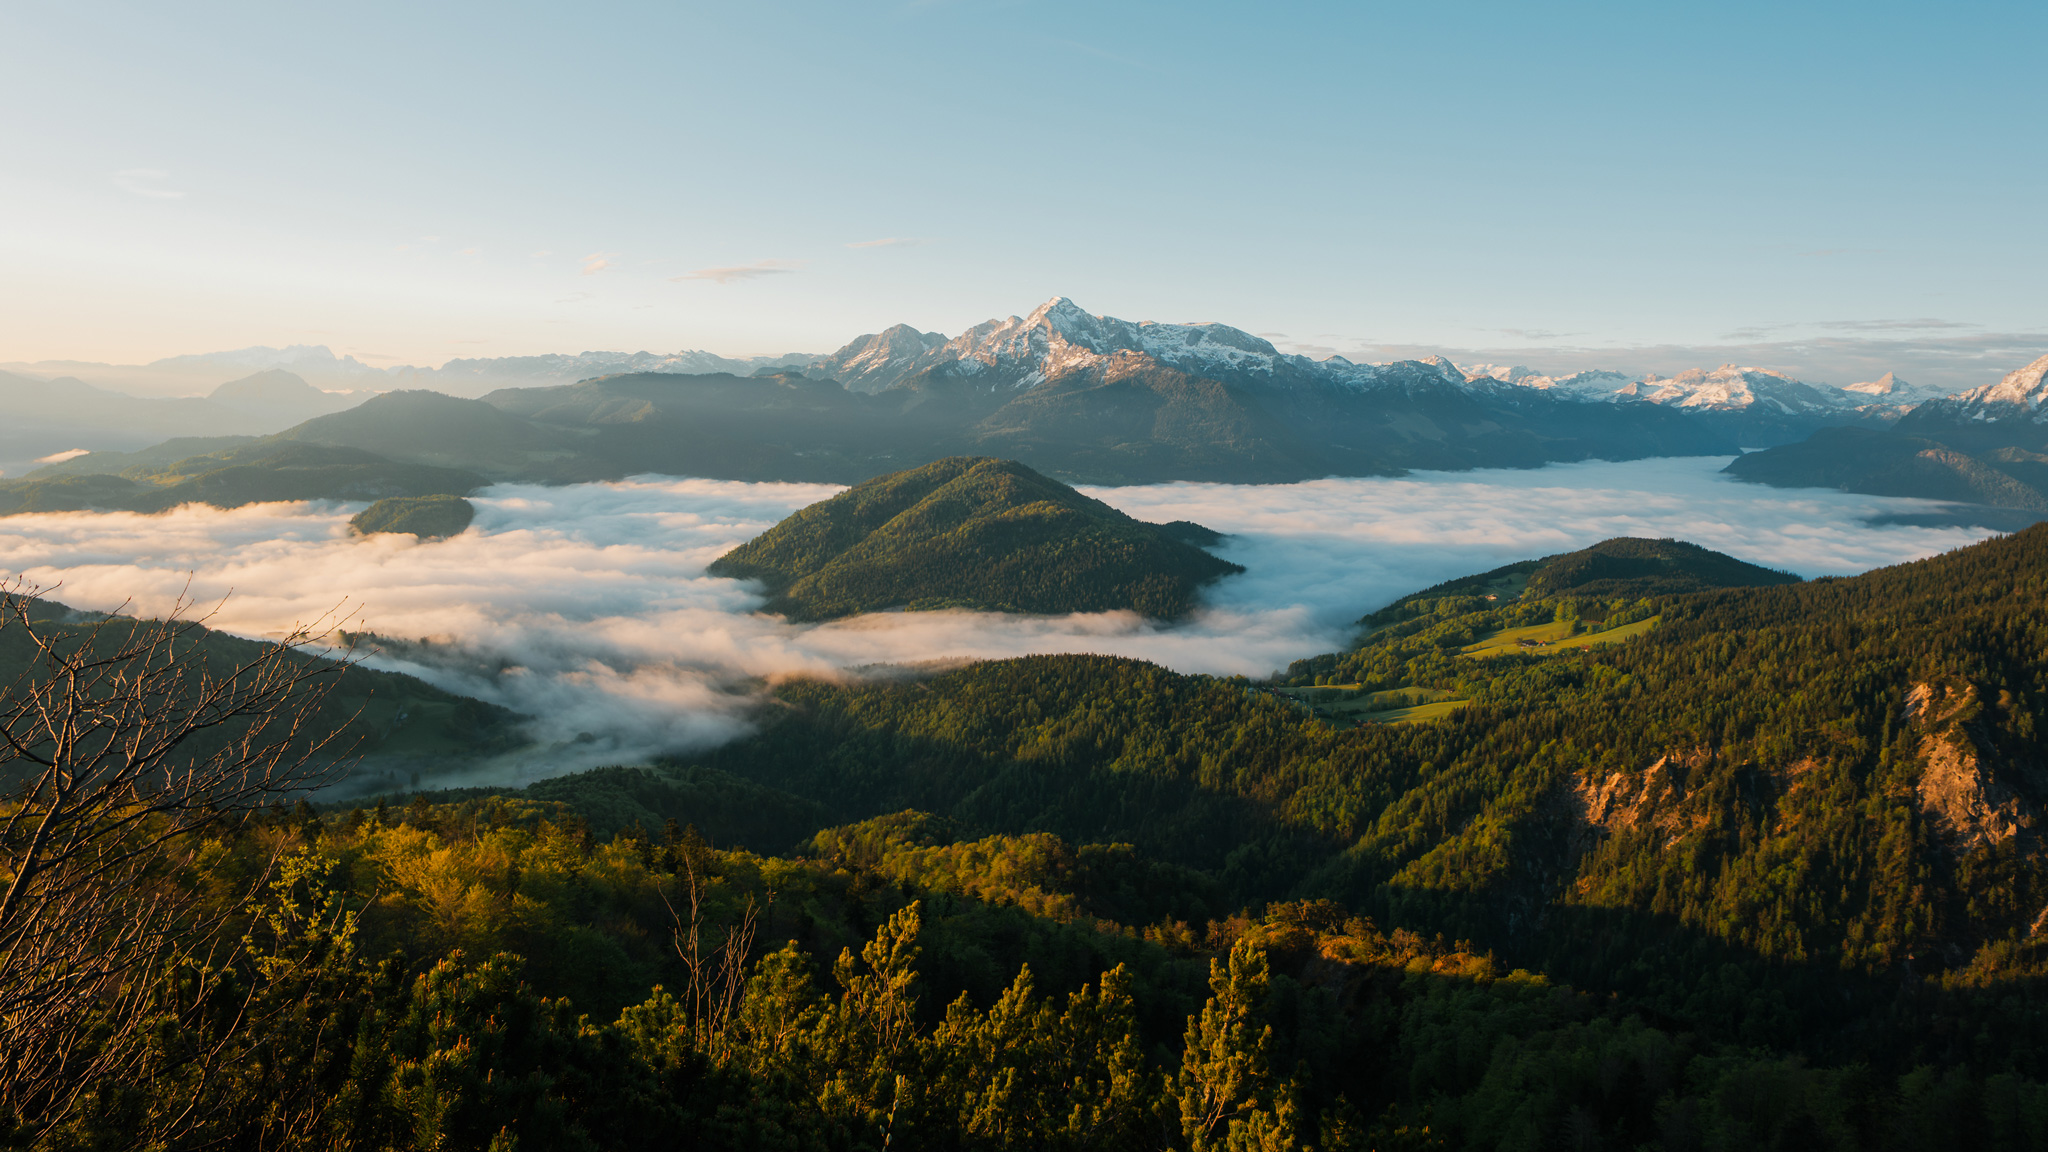
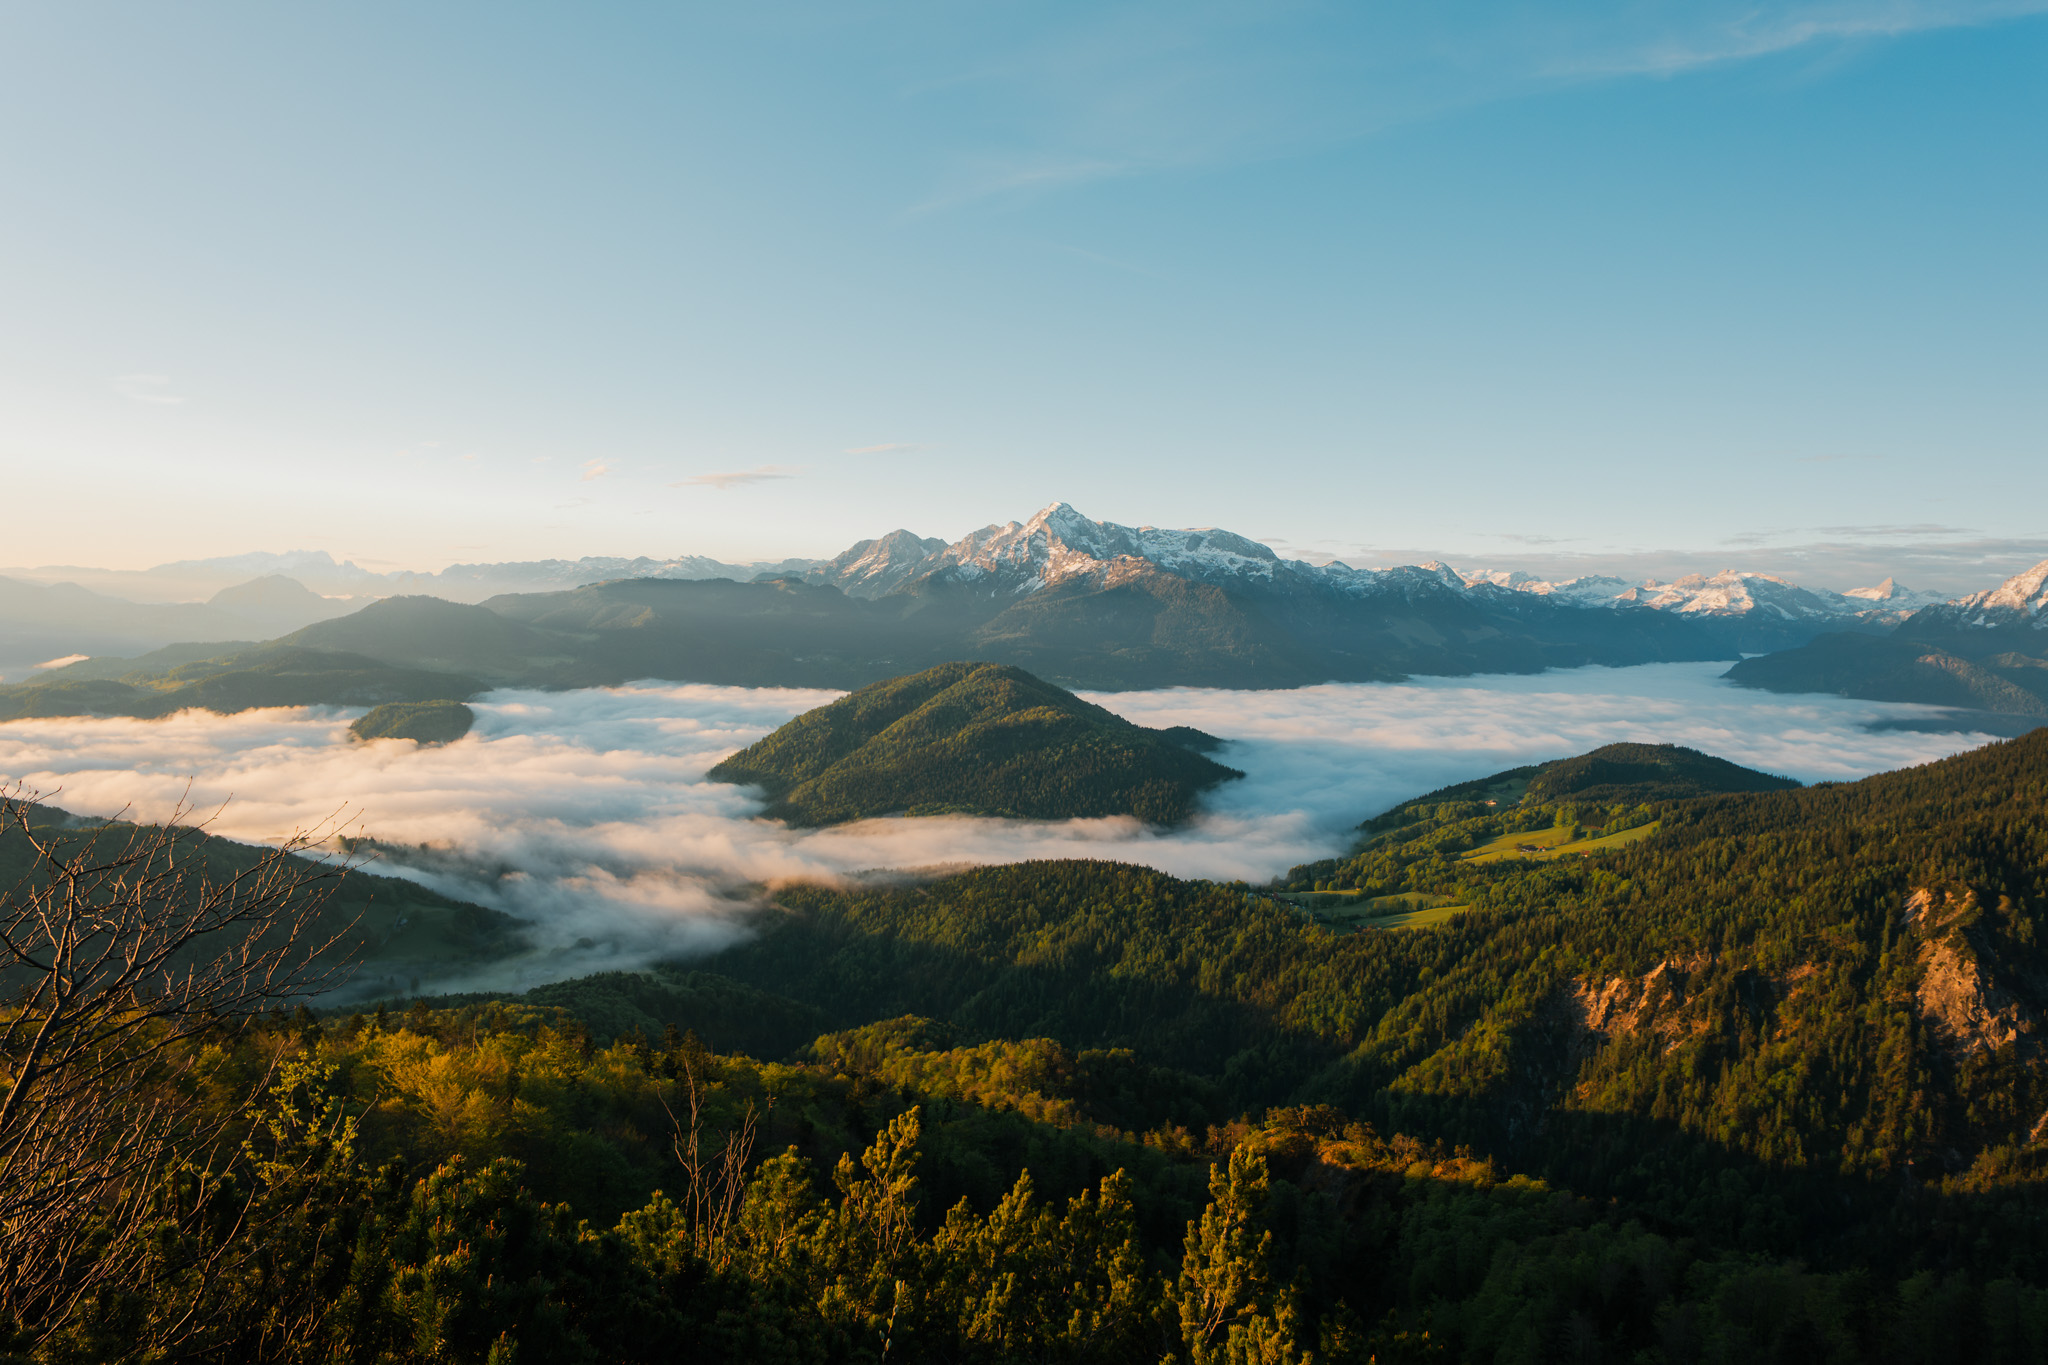
On the first trip to Tracy Hills in August 2021, the entire Central Valley was shrouded in smoke from the Dixie Fire, which became one of the most devastating wildfires in California’s history. Setting foot in Tracy Hills, the noonday sun was filtering through the high-altitude haze, all the while casting an incredibly bright light on hundreds of houses under construction. It was 100°F. The raging fire up north and the marching construction enterprise seemed so dichotomous.
It was hard not to feel emotional when photographing this material, because it was a 1:1 reflection of the developments The New Topographics photographed in the region fifty years ago. That, of course, became a huge photographic challenge. However, for someone who hails from France and had the opportunity to further the conversation laid forth by the New Topographics was something very special. All the landscape books and photobooks I had poured myself into, all the sprawl pictures I’d avidly studied, had found a contemporary manifestation in Tracy Hills.
Walking the landscape made me feel solastalgic. Solastalgia refers to the emotions we feel when we know we are seriously altering the climate without taking sufficient action, despite the unequivocal evidence of change. At the same time, I felt the urge to photograph everything around me. I was shooting like a crazy fool. That was wonderful. So much material for my art laid around in the form of objects, textures, colors, and materials. I couldn’t stop.
The clarity you mentioned is crucial to me. In my recent projects, I have strived to distill complexity into cohesive pictures. If I think about it, it comes from my math background. Mathematics is so elegant, abstract, and simultaneously practical. Theorems, for example, often compress extremely complex concepts into a single proposition or, better, one absolute formula, from which the most vivid representations emerge. I like this idea. It informs large swaths of my work from the past several years.
All those concepts, concerns, and emotions are baked into the book, which launches this fall with Radius Books. Britt Salvesen and Greg Foster-Rice generously wrote two essays for the book. I am beyond grateful. With Radius Director David Chickey, we decided to shortcut some of the pages. That strategy creates powerful visual encounters and collisions between images and spreads. You can visibly see Tracy Hills sprawl into the edges of the ecosystem that supports the sprawling development, which has been my ultimate goal while photographing there.
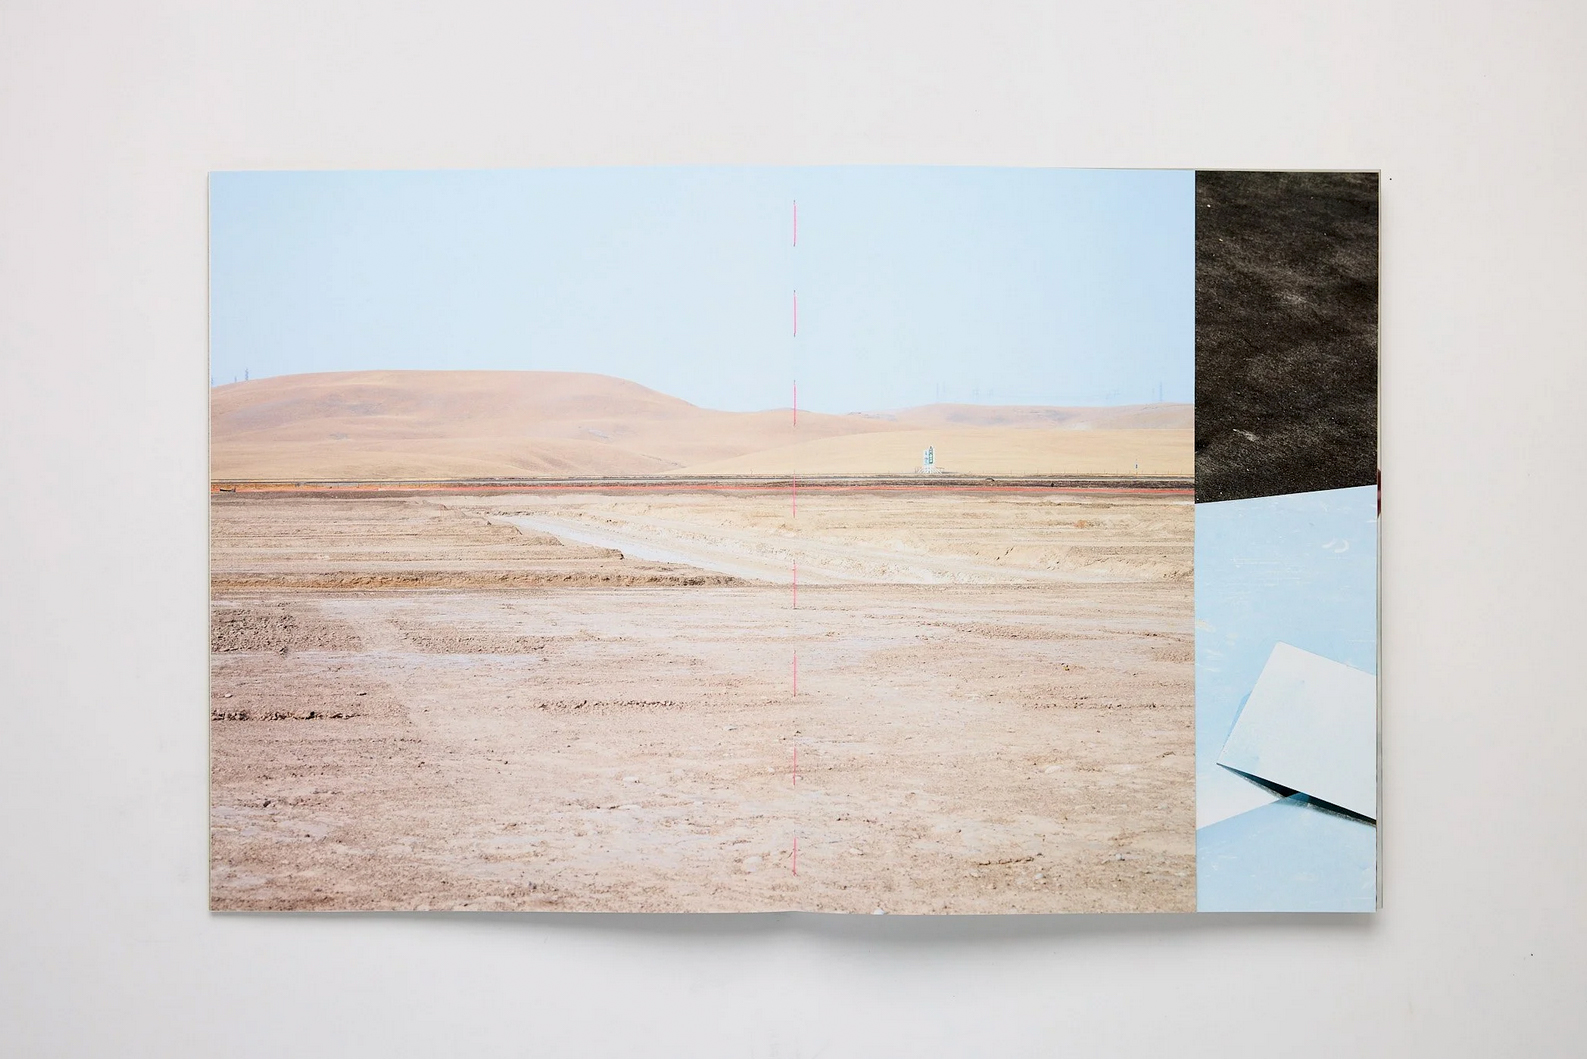
Tracy Hills, double-page spread, photo courtesy of Radius Books.

Drones and LA Water Narratives, self-published book, UCLA Design Media Arts, March 2024.
Tell us about your self-published water-infrastructure book?
This self-published book is the culmination of my winter 2024 undergraduate class at UCLA Design Media Arts, where I introduced drone photography.
Students learned FAA rules, safety, and how to fly. They utilized this knowledge to focus on the Los Angeles Aqueduct that brings life to Southern California. By happenstance, my class convened shortly after the 110th anniversary of the Los Angeles Aqueduct inauguration on November 5, 1913.
I’ve always thought of drones as tools to enrich our sensory perception. I want to embrace this positive outlook and steer clear of all the other negative connotations drones are associated with.
We surveyed the aqueduct from Sylmar to Owens Lake, CA. Sylmar is where the aqueduct enters the city. The Cascades, visible from the I-5, are rather spectacular. Owens Lake, on the other hand, is, historically, the first source of fresh water for Los Angeles. Today, however, it is an engineered behemoth where the LADWP conducts dust mitigation experiments called “Best Available Control Measures.” I spent time flying there to
Airborne view of one of LADWP’s dust mitigation techniques (sprinkler irrigation), Owens Lake, CA, February 2024.
Downstream, the self-published book is a collection of diverse voices, co-designed, printed, and hand-bound by my students. I led the design and printing, and we had a lot of fun working together. This water class, survey, and book inaugurated a long-term project with the LA-based 501(c)3 Pando Populus. I will be glad to share more when the opportunity arises.
What unique storytelling potentials do photography books offer compared to exhibitions or online platforms?
A photobook is, in and of itself, a magical device and an art form. Once a show is done, it’s done. It may endure in installation pictures, memory, and sales, but it’s fundamentally done. Whereas a book circulates, reemerges, can be subject to awards, new printings, and pops up in fairs and shops far from its place of production, and years after its release. In other words, a book lasts longer and may reach a wider audience over time.
When pictures, pacing, typography, and paper work in unison, a whole world unfolds in a photobook. The very act of turning pages elicits strong visual relationships between pictures and spreads. The viewer is taken on a journey of visual encounters, emotions, and perception.
For me, a photobook opens a space for an intimate relationship between the viewer and the content. Turning pages is a sensual experience. A freshly printed book smells good. The paper has a texture that rubs on your fingertips. And pictures are visual stimuli. A photobook transforms distant subjects into an up close, felt, and even embodied experience.
I think it’s anthropologist Tim Ingold who, somewhere, wrote about the words printed in the silent pages of a book. This holds true for a photobook. I like to populate this silence with pictures that visibly encapsulate sound. Flipthrough video here
Online will always be a place in flux. For me, it’s a good space to design complementary, immersive experiences through full-screen galleries and otheri nteractive interfaces. As such, a website can be a wonderful space to share the research and creative decisions that shaped a photobook.
Your practice includes photogrammetry, drones, AI, and book design. How do these tools influence your creative process and storytelling in both personal and editorial work?
Embracing photogrammetry, drones, and AI pushed me to undertake a profound overhaul of how I use photography.
That came from teaching and engaging with faculty, students, and staff at UCLA Design Media Arts. Our department embraces new technologies wholeheartedly. Over time, I increasingly saw and used photography as an expanding field, and a medium porous to rapid, often radical technological advances–think of generative AI, for example–and a medium that has never ceased to shapeshift since 1839.
Teaching these tools and topics had me learn them inside out, which naturally pushed me to stay curious, alert, and hungry for the newest iterations. That’s one of the wonderful gifts of teaching.
Now, bearing the ecological crisis in mind, I can’t help but ponder the overlap of exponential technology and our exponential environmental footprint, a hallmark of the Anthropocene. I guess both are rooted in the idea that there are no limits to what we can do, which is, in a way, true – human ingenuity often seems unlimited – although it’s clearer and clearer that this is undermining the very conditions limitless endeavors are predicated on.
Practically, photogrammetry has thrust photography into the third dimension. Drones take it to the skies. AI taps into the enormous visual archive that is the Internet. Books open photographs to a fuller sensory pictorial appreciation that is tactile and intimate. It’s incredible to think we have easy access to such tools. At the same time, they have a dark side that can’t be ignored. That’s what artists have been doing: using the tools while critically engaging with their underlying problematic dynamics and foundations.
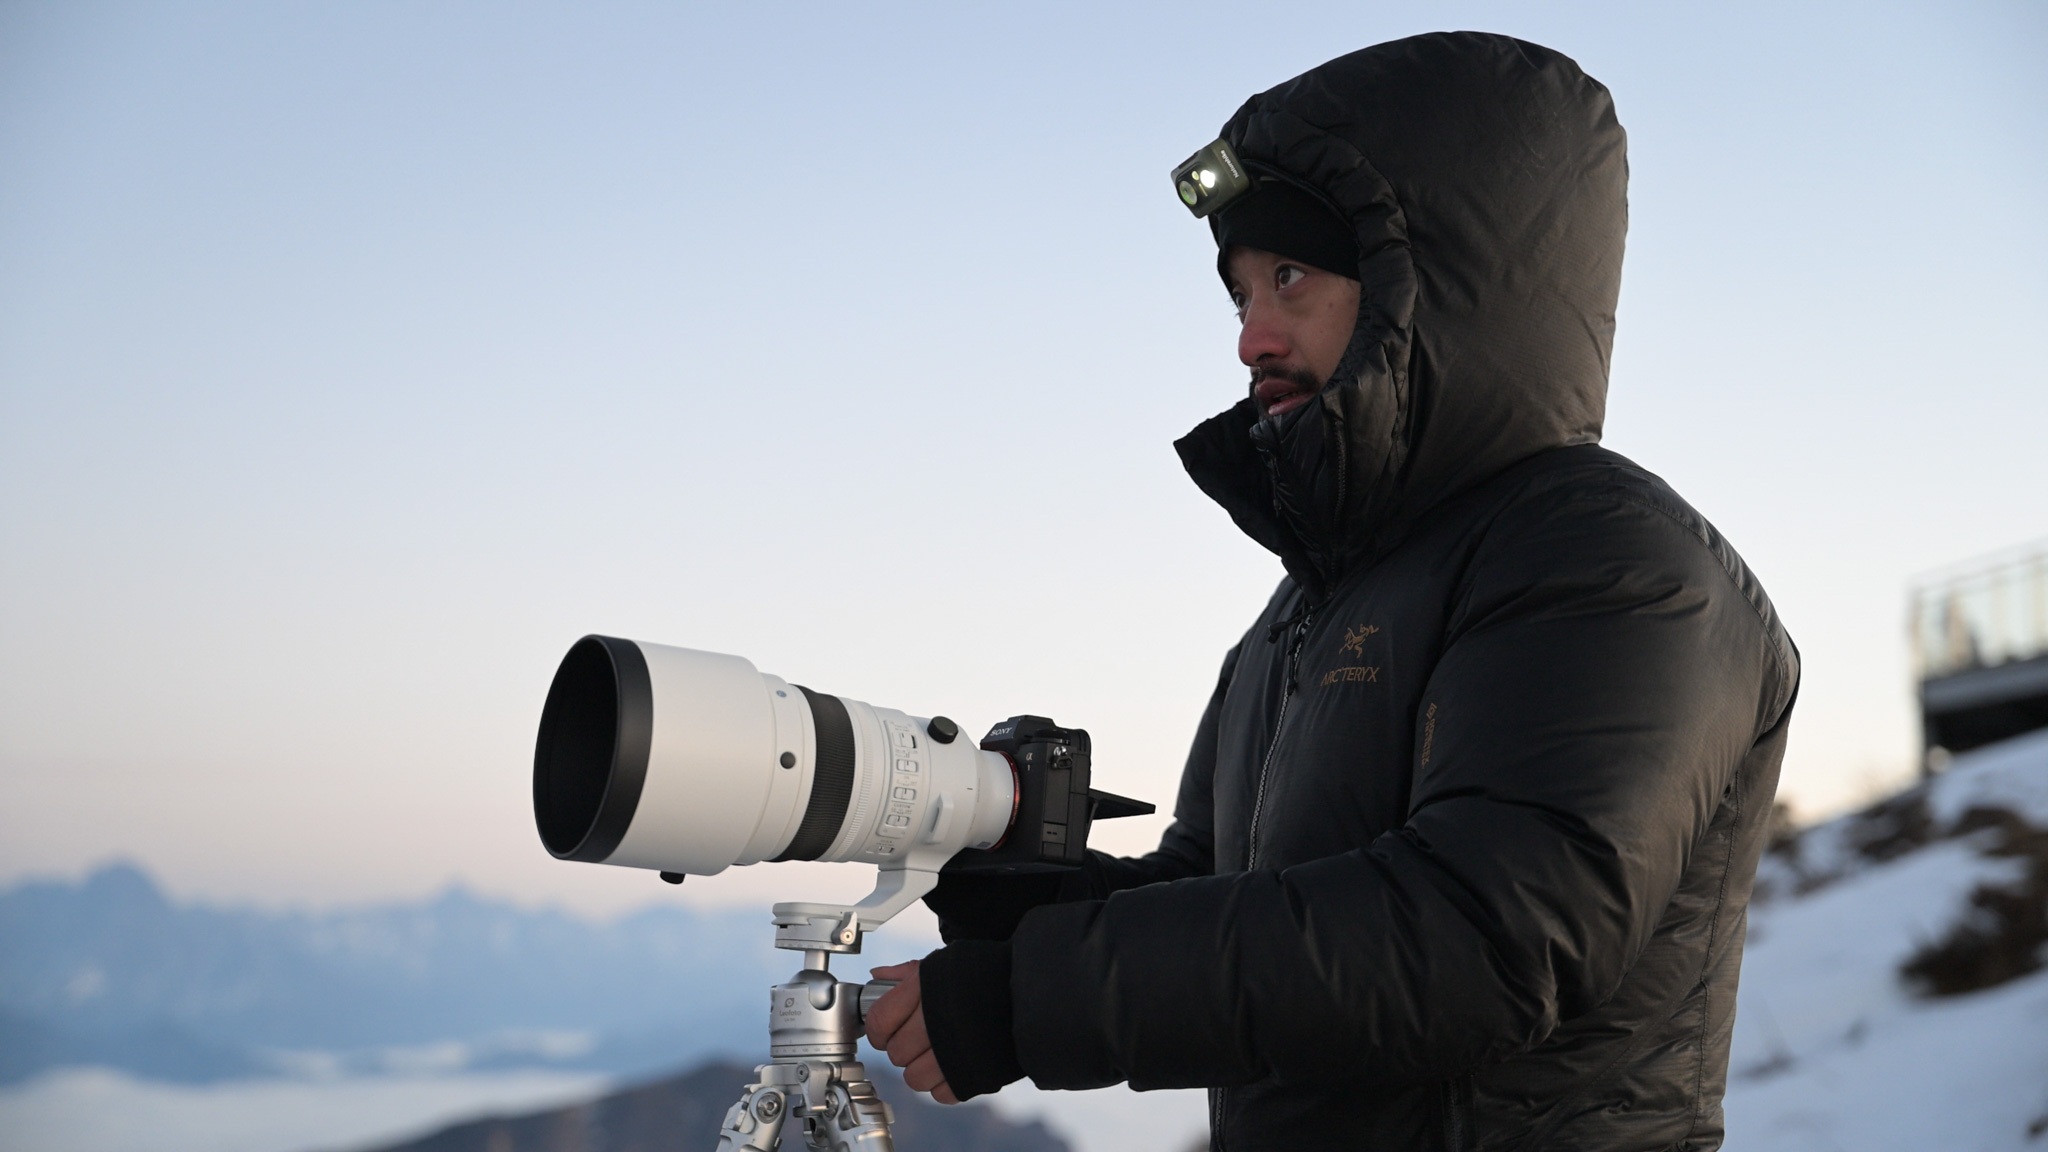
I am really into drones at the moment. Flying high, you decenter yourself by seeing the complexity of the world around you. I am here, on my feet, immersed in the world, piloting, and simultaneously aloft, contemplating it in flux, 50, 200, 350ft in the air. That’s what I mean by “drones enrich our sensory perception.” I am fascinated by the artistic and technical possibilities of remote sensing, so much so that I’ve launched a drone photography business called Topographica. I serve architecture, construction, and public art clients in SoCal. Drones are incredible tools to contextualize and elevate installations and constructions. They are also incredible tools to create 3D, 1:1 digital twins of real-world projects through photogrammetry. With them, artists and operators can document, map, archive, and tell stories based on data-rich, airborne images.
“Overshoot” launched in 2025 how did this idea come about?
I am grateful to Aline Smithson, Founder and Director of Lenscratch, for letting me create a dedicated space for ecologically-minded visual practices and conversations. Overshoot stems from a deep care and love for the environment, ecological arts and justice. We live in ecological overshoot. That is the central premise of the column. In homage to Donna Haraway, I want to “stay with the trouble”.
Overshoot also stems from the central claim of my practice-based PhD thesis–completed in 2018: photography is one of the tools that brought us into the Anthropocene. In hindsight, this line of inquiry, which I’ve explored in my manuscript and fieldwork in SW Iceland, was a reaction to what I learned when studying photography in Brussels. I’d often hear: “That’s just an image,” which always resonated as “photography is nothing more than an image.” That not only seemed at odds with all the time and care I’ve always put into planning trips to Iceland and making photographs there, but also didn’t take into consideration the historic and metabolic ties between photography and energy.
Overshoot holds space for conversations, portfolios, and scholarly essays that directly engage with this moment of ecological overshoot. Ecologically-minded works and practices abound and are incredibly diverse. My goal is to offer artists a platform to share, discuss, and promote their work. I am also curious to know how they’ve come to grapple with the ramifications of ecological overshoot.
I’ve just interviewed Siobhan Angus. Siobhan published an important book with Duke University Press last year titled “Camera Geologica. An Elemental History of Photography,” in which she traces the mineral extraction, use, and flows that have shaped photography over space and time. That is a fascinating and richly-layered history I’d encourage everyone to read. Her interview will be out on September 12. As a brand, Overshoot attempts to capture the exponential rise and use of photography. We still say we “shoot” images, and frequently mention the information and visual overload we experience online every day. That is also what informed Overshoot’s visual identity.
[ad_2]
Source link