[ad_1]

If you were one of the nearly 50,000 attendees at the last Asia Dive Expo in Singapore—or any of the 30 previous editions of the hugely popular dive show—you will already know that ADEX is a must-attend event on the dive calendar. But the next one just got even more interesting, with the announcement of the first ADEX 360 BLU Awards.
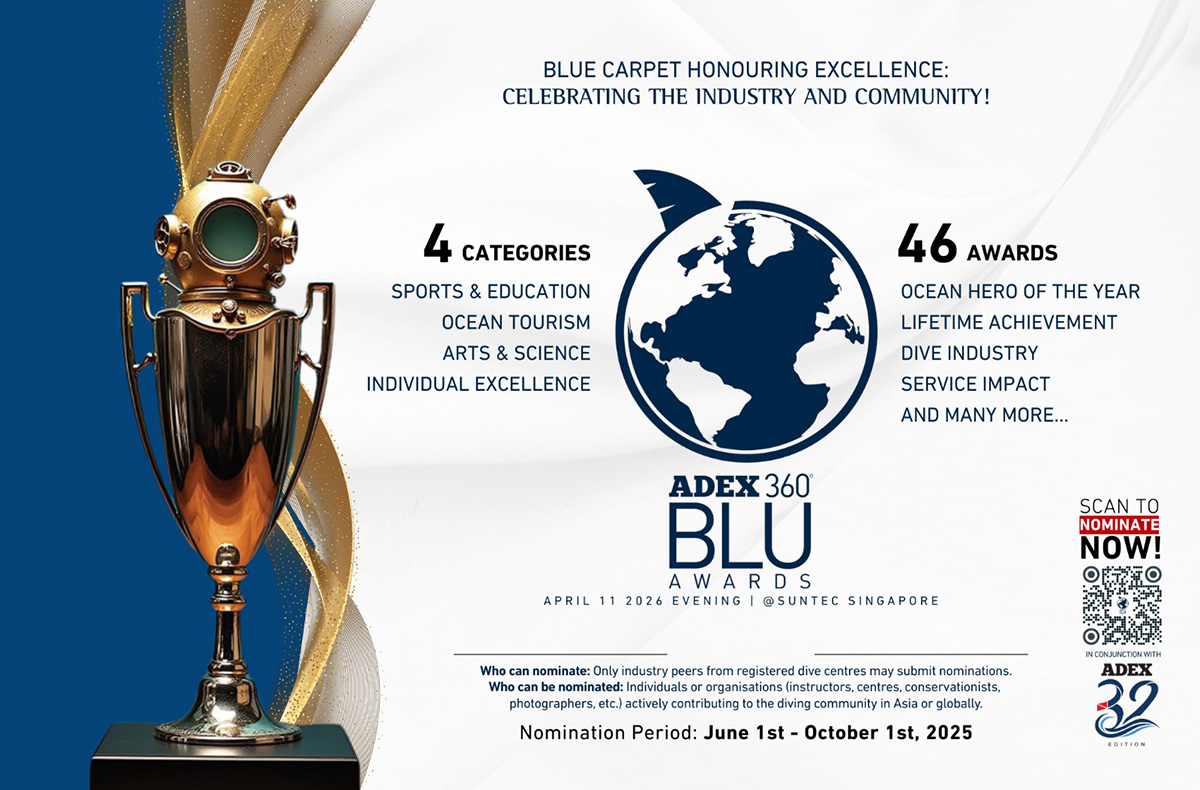
Per the press release (below), the ADEX 360 BLU Awards will honor “outstanding individuals and organisations in the field of diving, innovation, ocean conservation, arts, and more,” with some 46 awards being given out during an evening ceremony on the second day of ADEX 32nd Edition in April 2026. The awards fall into four categories—“Sports & Education,” “Ocean Tourism,” “Arts & Science,” and “Individual Excellence”—and you’ll be pleased to know that “Photographer of the Year” is among them.
The nomination period is from June 1st to October 1st, 2025, with shortlisted nominees put to public vote between October 10th, 2025 and February 10th, 2026. Check out the press release below to find out more or head over to the ADEX website.
PRESS RELEASE
ADEX 360 BLU AWARDS 2026
Honouring Excellence: Celebrating the Industry and Community!
The ADEX 360 BLU Awards 2026 will honour outstanding individuals and organisations in the field of diving, innovation, ocean conservation, arts, and more. The diverse range of traditional and new award categories will recognise everyone who plays a role in this space, ensuring we celebrate contributions from both the industry and the community. We hope to celebrate leadership, sustainability, and creativity, while supporting marine conservation through a high-impact charity auction.
As part of the ADEX 32nd Edition Singapore Ocean Week, the longest-running and largest dive show in Asia, the ADEX 360 BLU Awards will be held on Saturday, April 11th, 2026, at Suntec Singapore. This ceremony is not only a celebration of excellence but a tribute to the passionate individuals, leaders, and changemakers who are shaping the future of diving and ocean protection.
Nominations are open to individuals and organisations worldwide and awards will be presented at both Asia and Global levels, with dedicated trophies recognising contributions across the diving world.
Award categories cover four key pillars, which are:
- Sports & Education
- Ocean Tourism
- Arts & Science
- Individual Excellence
Some of the awards include:
- Diver of the Year – Celebrating a diver whose achievements have significantly advanced diving and marine exploration.
- Ocean Hero of the Year – Honouring a changemaker whose impact and advocacy have made a real difference for our oceans.
- Most Certified Dive Centre of the Year – Recognising excellence in dive training and outreach across the region.
- Photographer of the Year – For imagery that captures the soul of the sea and the urgency to protect it.
- Best E-Learning Platform of the Year – Acknowledging innovation in accessible, high-quality dive education.
- Eco-Tourism Dive Resort of the Year – Celebrating leadership in sustainable diving and responsible travel.
- Lifetime Achievement Award – Awarded to individuals whose lifelong dedication has shaped the global dive community.
The nomination period is open from June 1 to October 1, 2025. A shortlisting official committee will announce the Top 10 per sub-category by October 9, 2025, with public voting taking place from October 10, 2025 to February 10, 2026. Final winners will be announced live at the ADEX 360 BLU Awards Ceremony in April 2026.
To view the full list of award categories and descriptions, visit: www.adex.asia/adex-360-blu-awards
To submit a nomination, visit: www.adex.asia/adex360-blu-awards-form
Join us as we recognise those who inspire, protect, innovate, and lead in diving and ocean advocacy. The ADEX 360 BLU Awards 2026 are more than just awards, they are a celebration of our global ocean community.
ADEX 32nd Edition
The 32nd edition of the Asia Dive Expo, Asia’s largest and longest-running dive expo, will be held from April 10–12, 2026, at Suntec Singapore, during Singapore Ocean Week to celebrate ocean-related industries, culture, and conservation. ADEX 2026 will be dedicated to the Humphead Wrasse, raising awareness for its protection, and the Blue Revolution – Reduce, Innovate, Reuse: a commitment to promoting sustainability in ocean and diving practices. The show will feature diving innovation, ocean culture, sustainability, and community, from the TEK Asia Conference and underwater arts to tourism, tech, conservation, and beyond.
Media Contact:
MIHIRI S KORALA
mihiri@uw360.asia
+94 77 770 6009
ADEX – Asia Dive Expo
www.adex.asia

[ad_2]
Source link