[ad_1]

Jan Erik Waider
Northlandscapes
Heidi: How did your background in visual design evolve into a deep connection with abstract landscape photography?
Jan: I have been self-employed from the very beginning of my career, starting out in graphic and web design long before photography became my primary focus. This independence allowed me to shape my own path and to travel early on, taking my projects with me at a time when remote work was far less common—and far more challenging—than it is today. Photography was always my passion and a constant companion on those journeys, especially in northern landscapes, which soon became my main geographical focus. I never had a traditional nine-to-five job—sometimes I wonder what it would feel like to actually have paid vacation. But then again, I’d probably spend that vacation the same way I already do on most of my trips—photographing from morning till night.
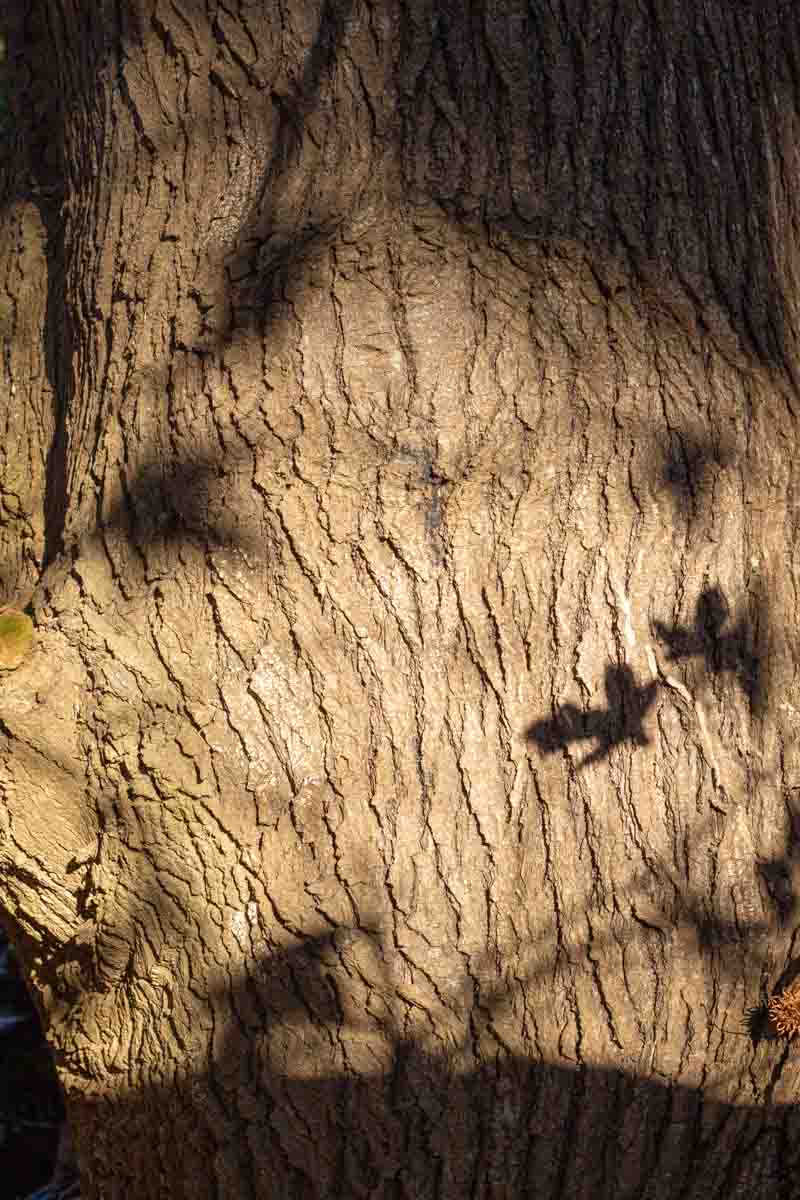
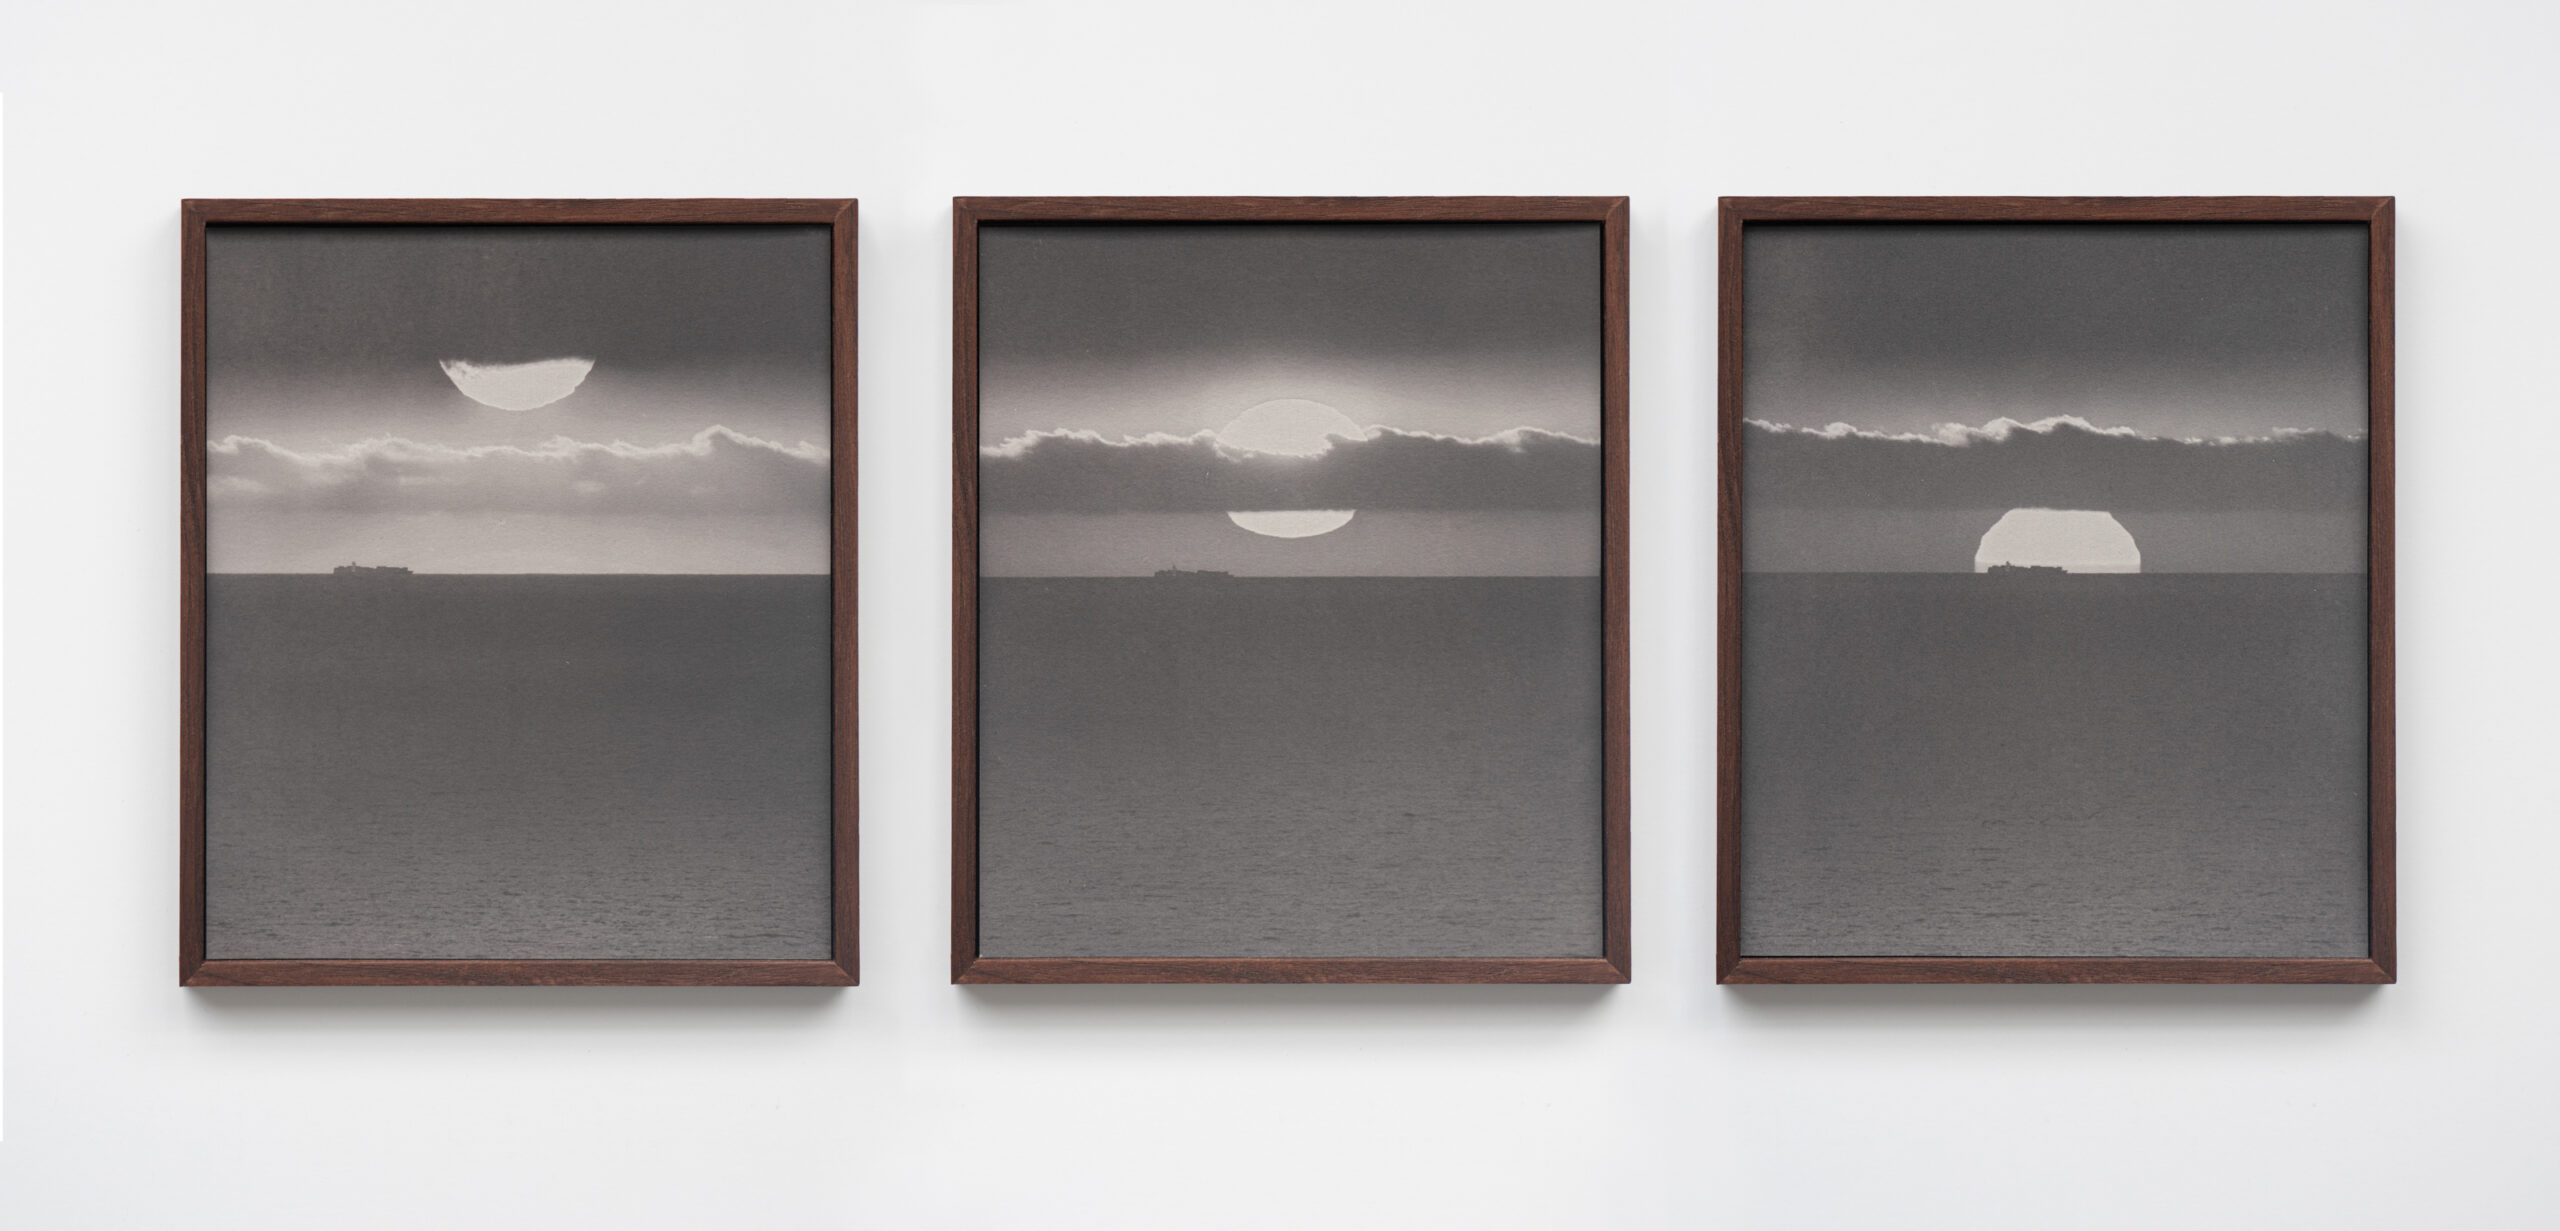
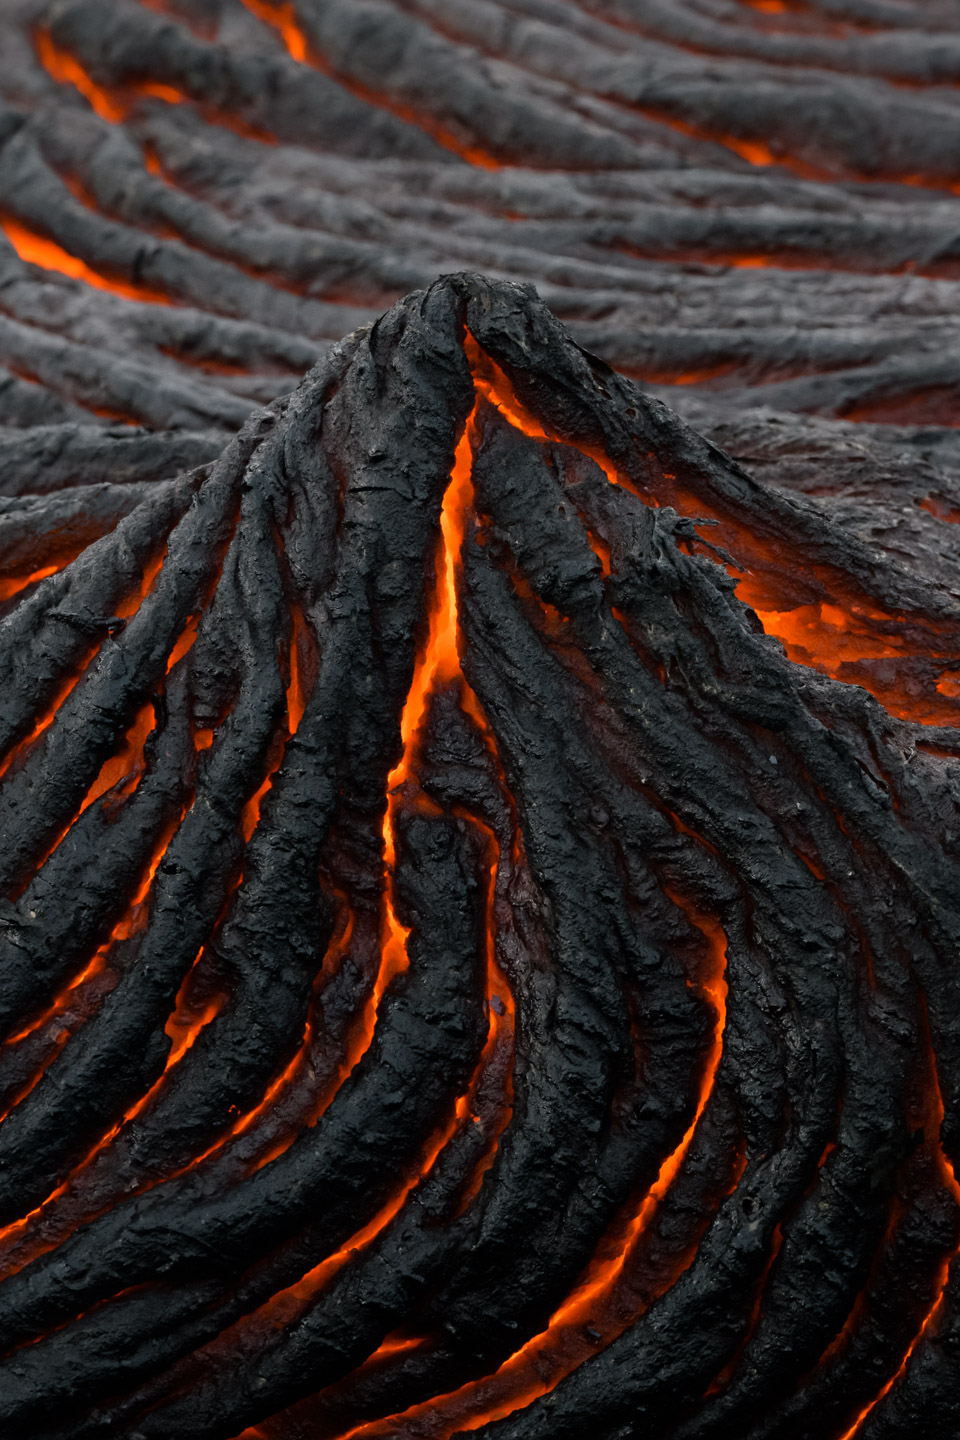
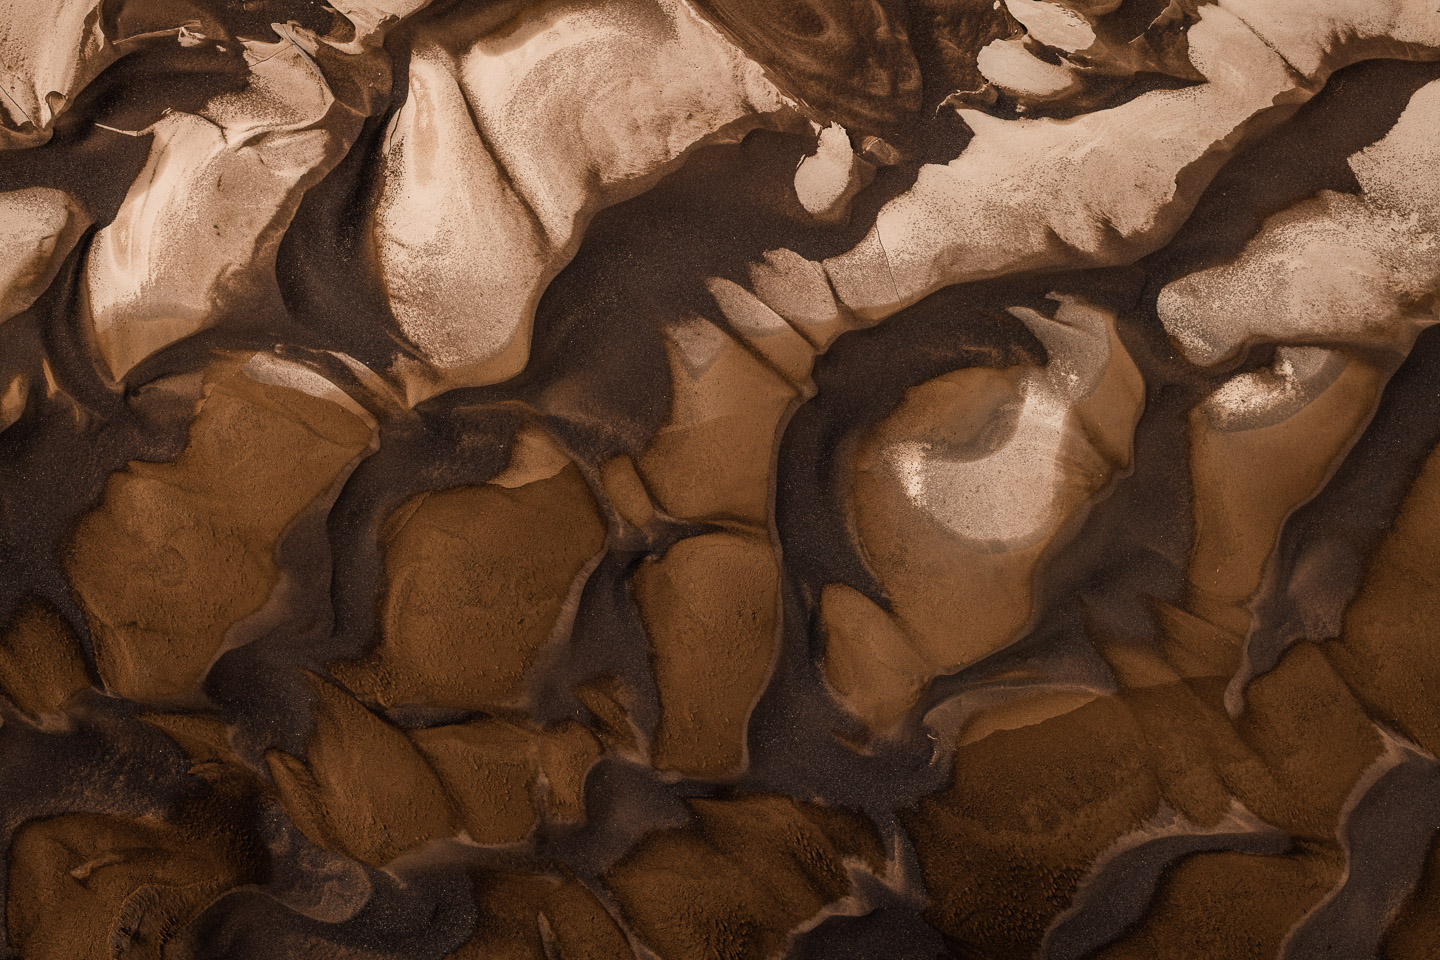
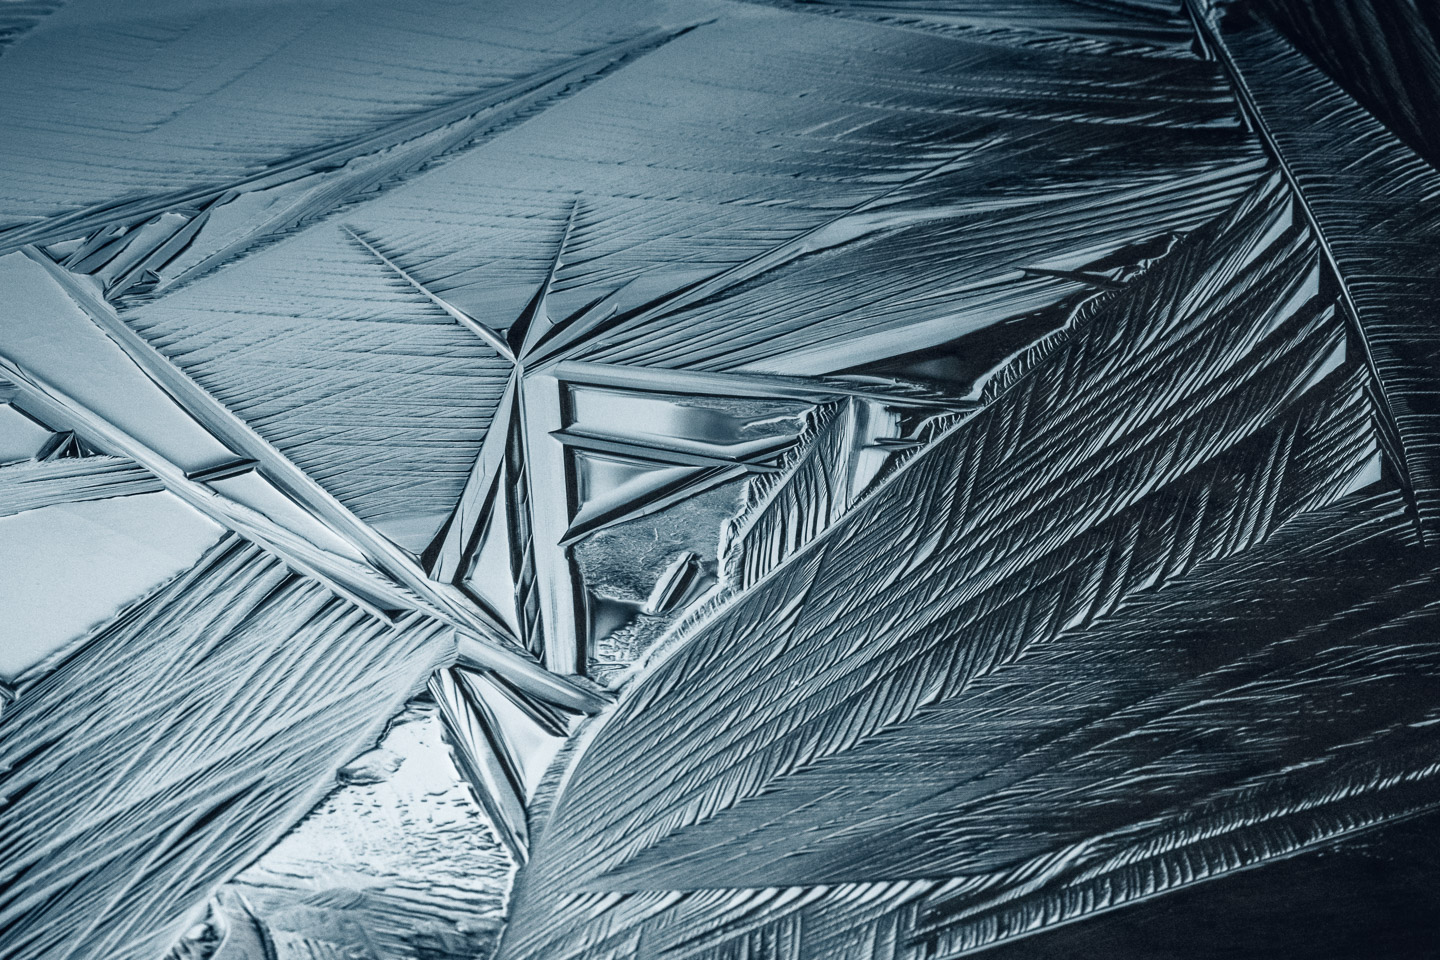
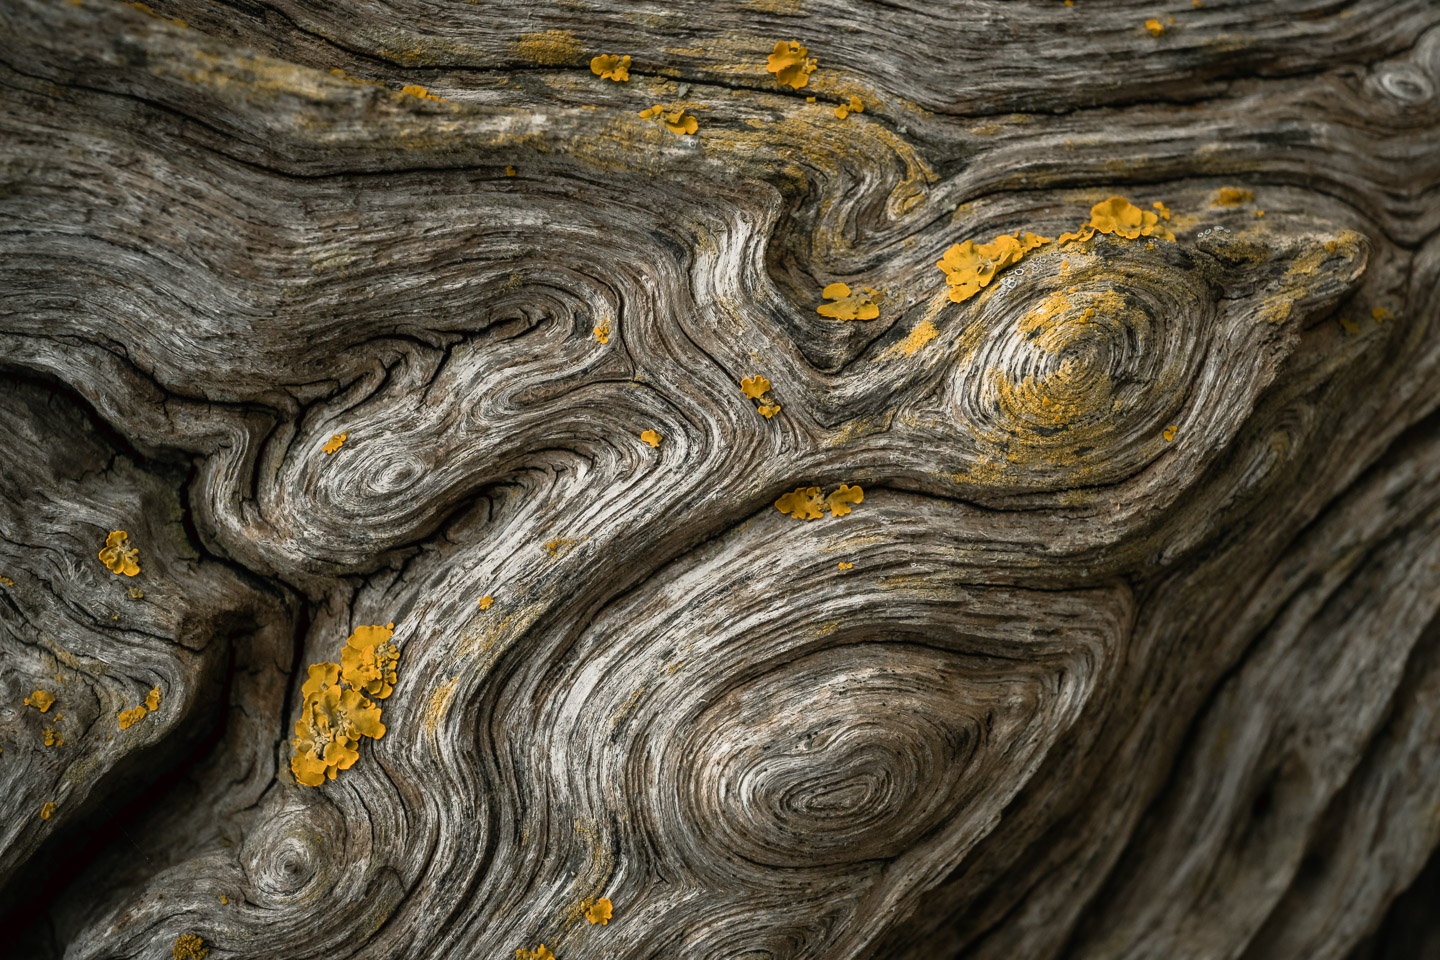
My design background strongly shaped the way I see and compose images. I’ve always been drawn to order within apparent chaos—structures that verge on the graphic or almost architectural. This naturally led me toward abstraction in photography, whether in ice formations, glacial rivers, or geological textures, often with a monochrome quality. Even in post-production, I approach my work much like design: reducing distractions, balancing tones and colors, and highlighting form. From the beginning, I cared less about the technical side of photography and more about aesthetics, emotion, and how an image resonates visually.
What draws you to work so closely with ice crystals, leaves, and bubbles, often in everyday settings?
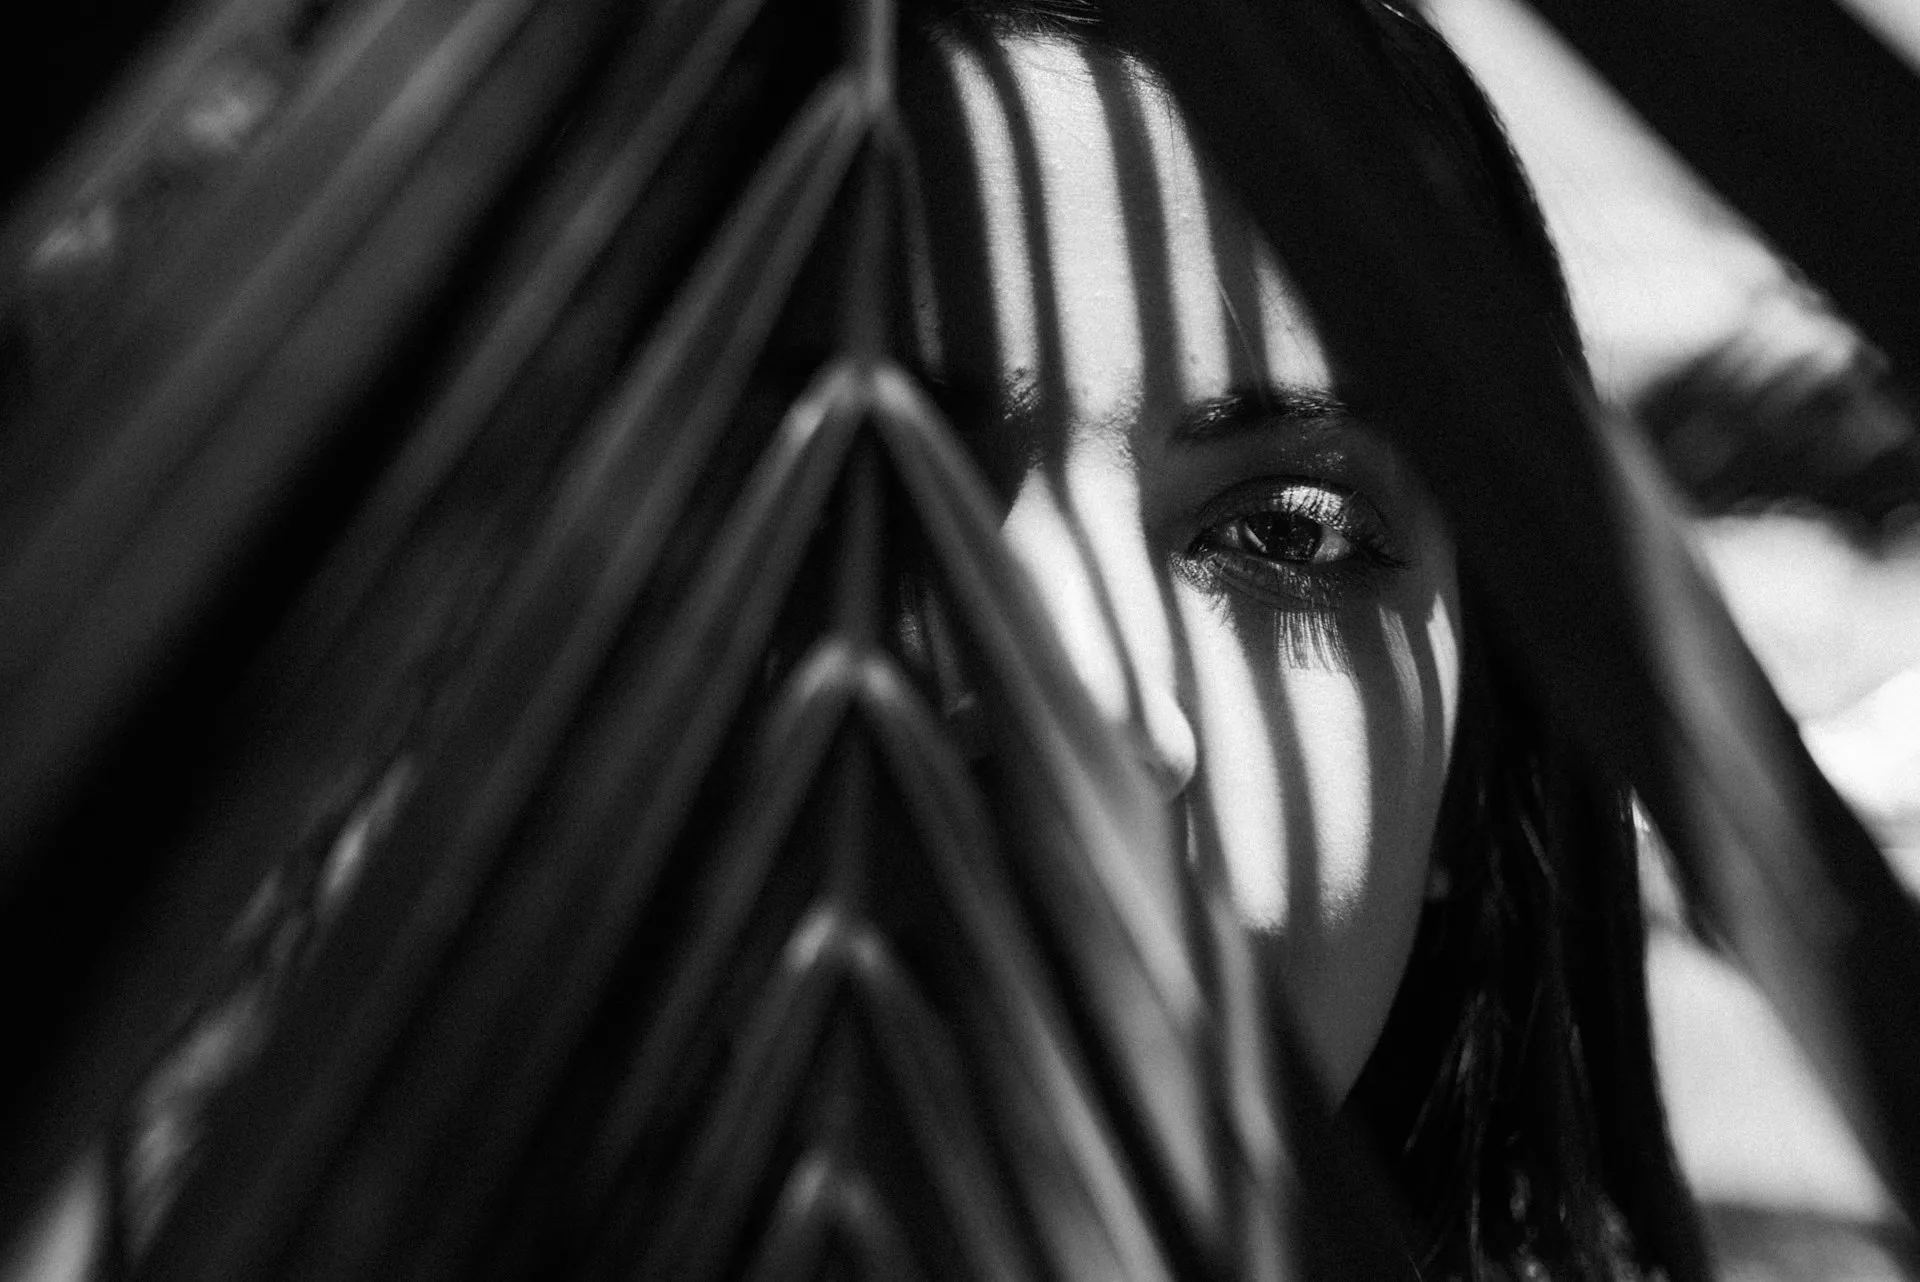
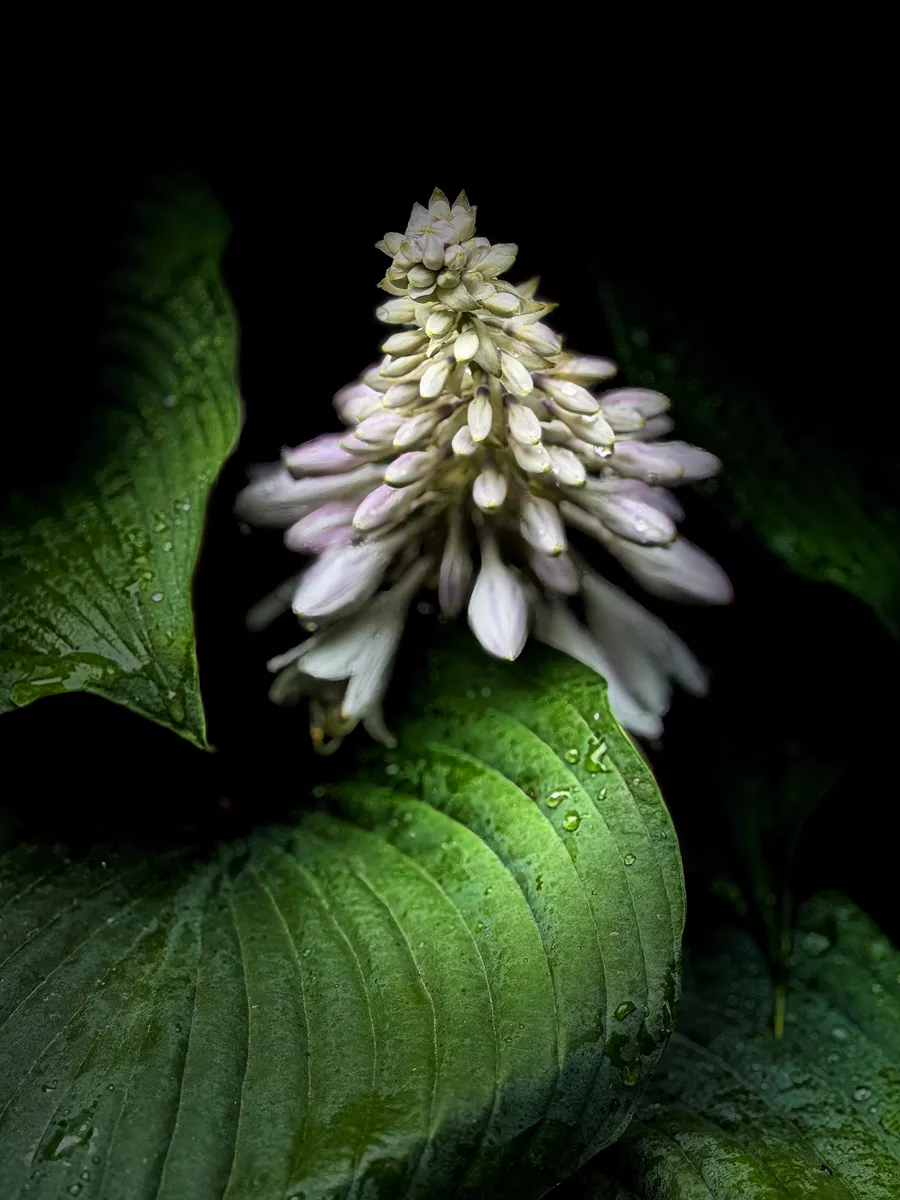
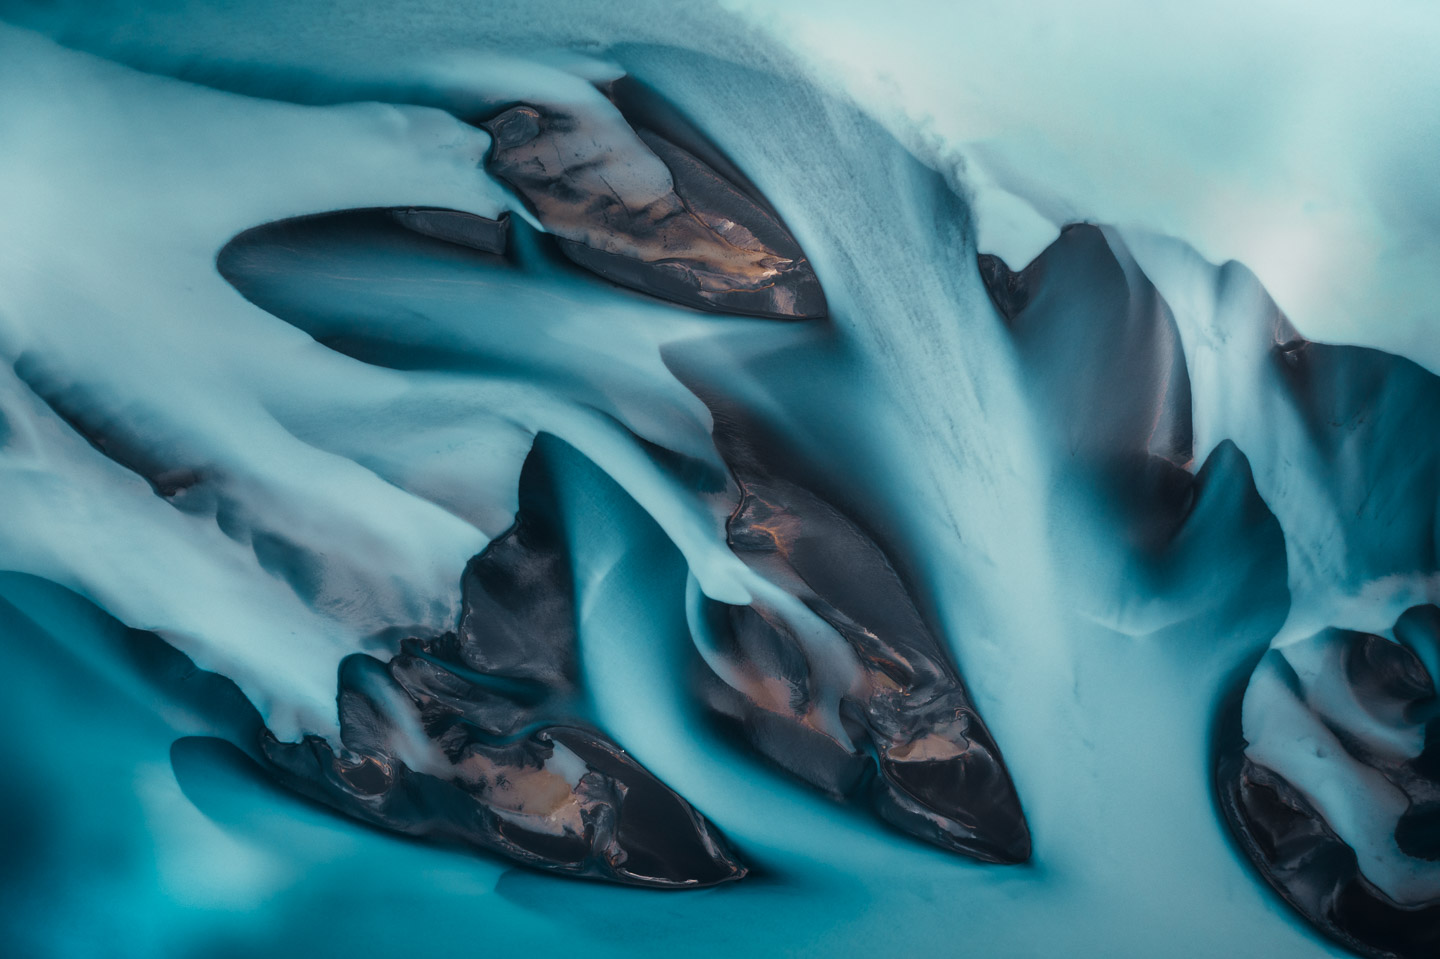
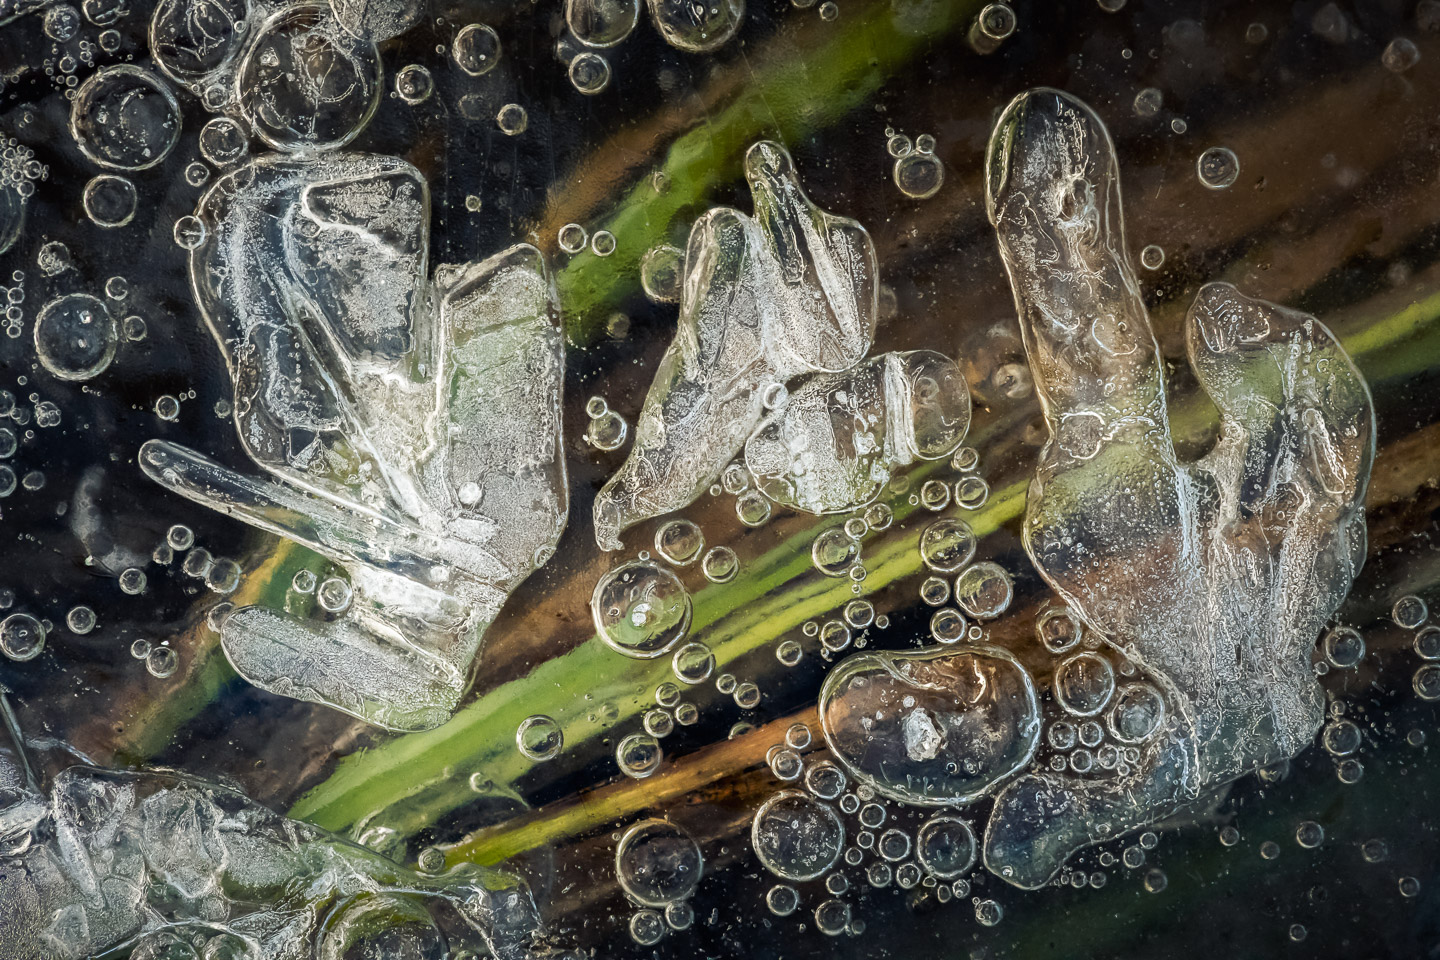
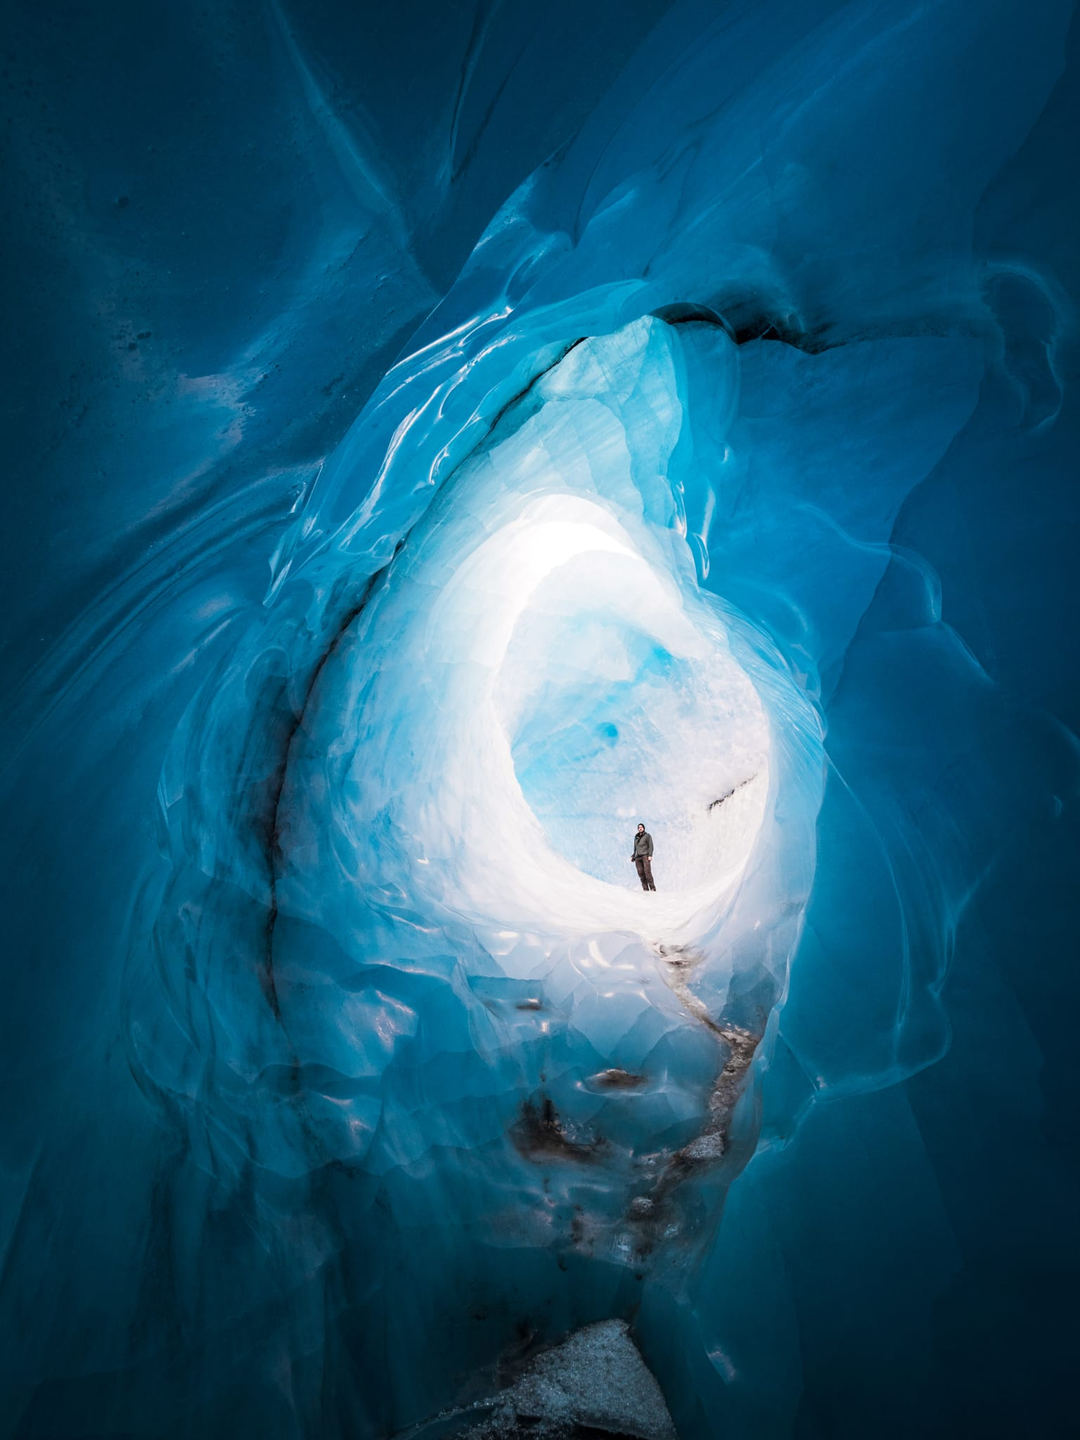
I’ve always been fascinated by subjects with a fragile and transformative character. Ice is the most obvious example, but the same applies to weathered leaves, frozen bubbles, or patterns in water surfaces. These elements are constantly in flux, and each moment is unique—once it passes, it will never look the same again.
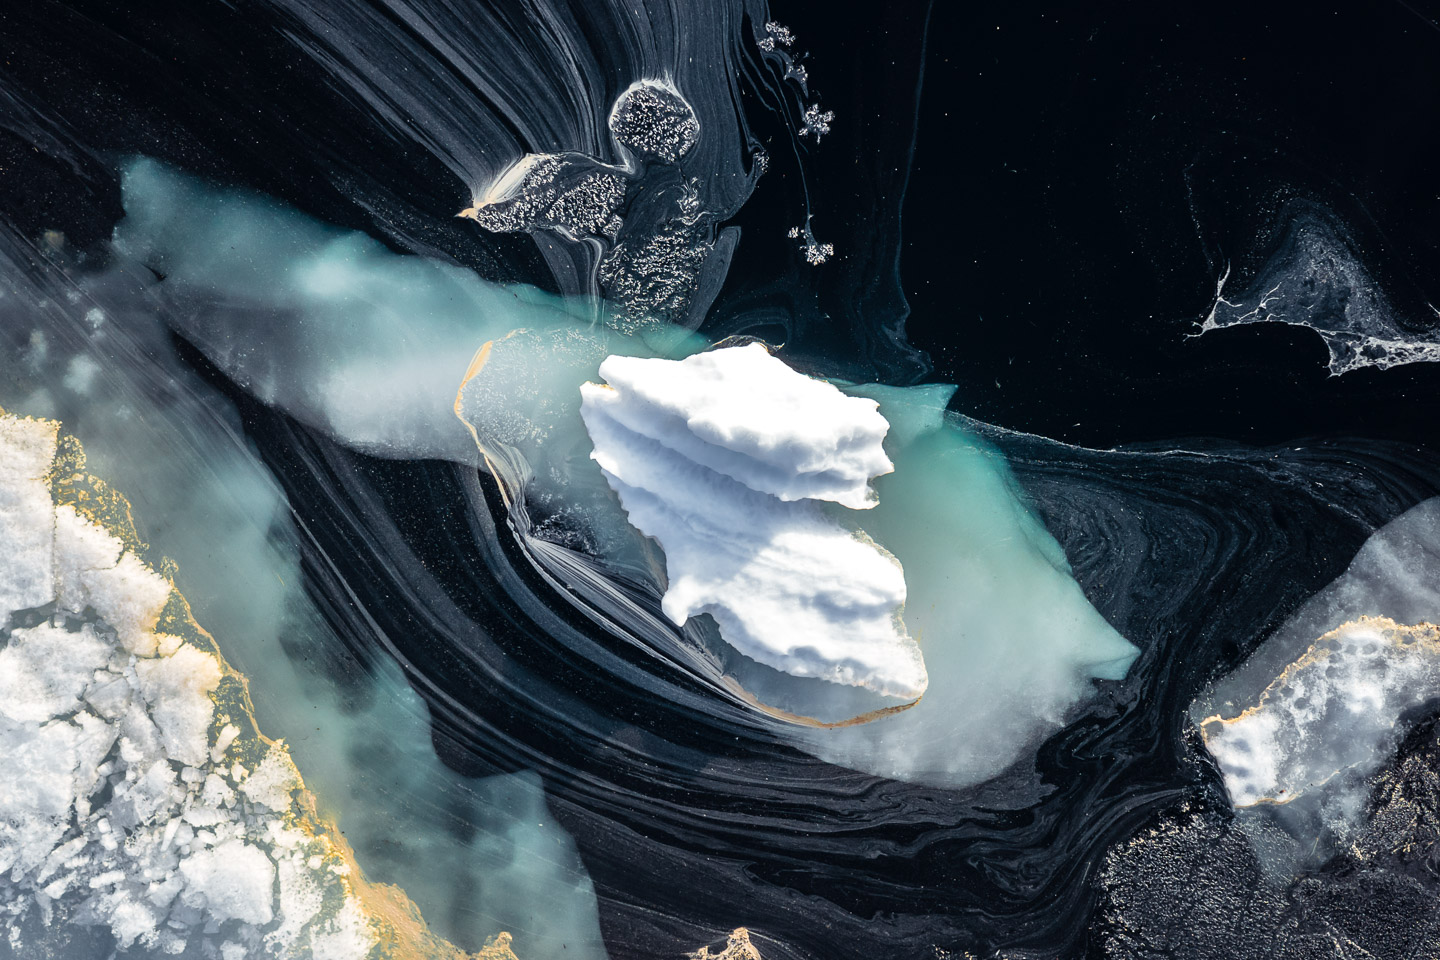
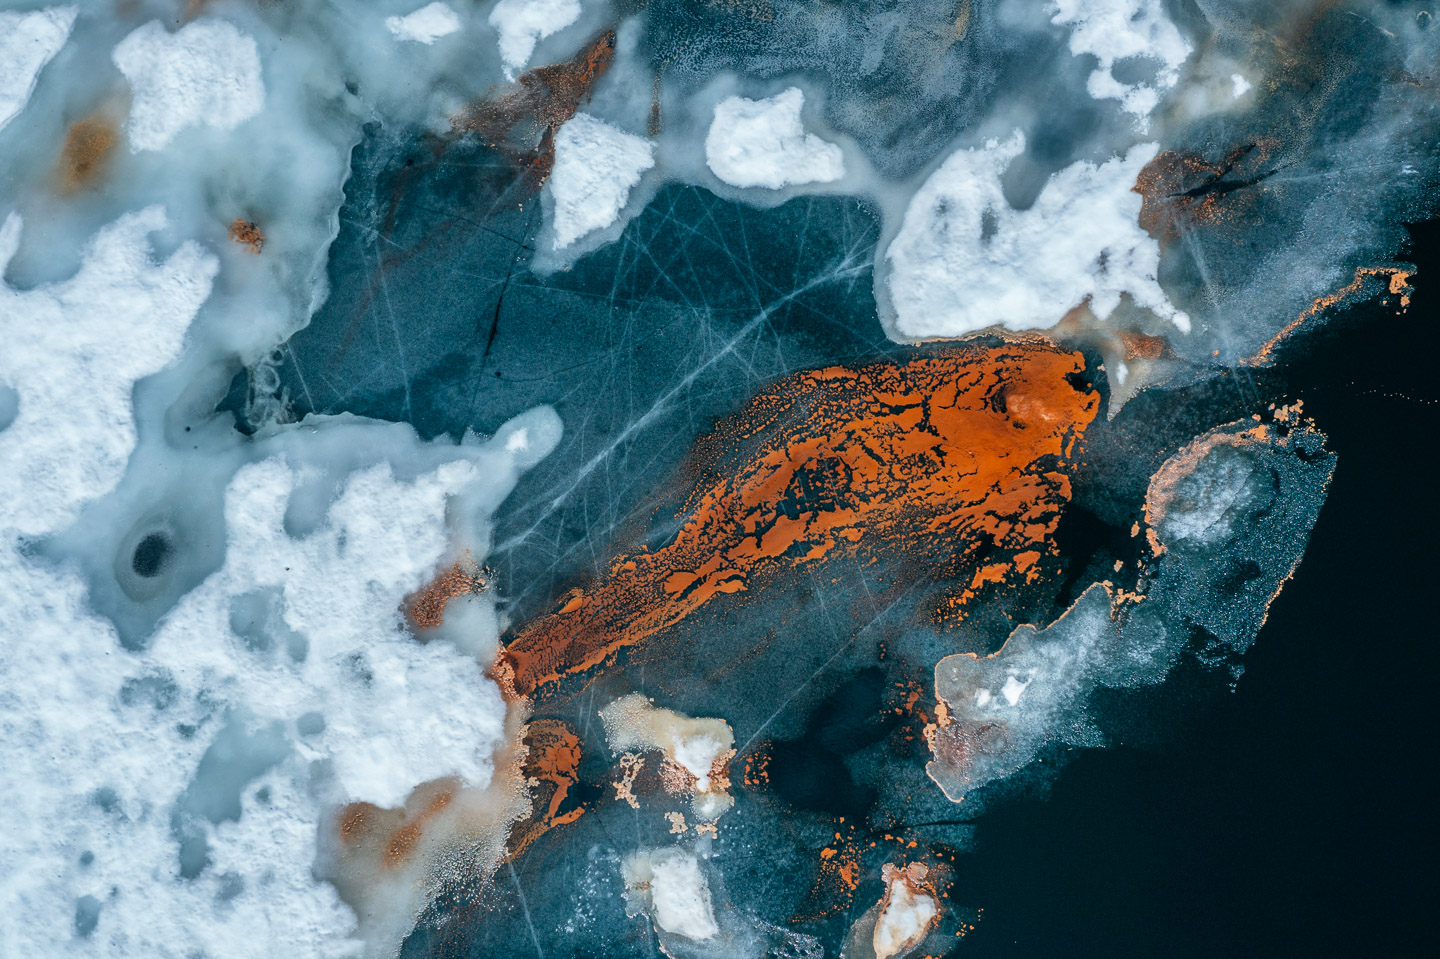
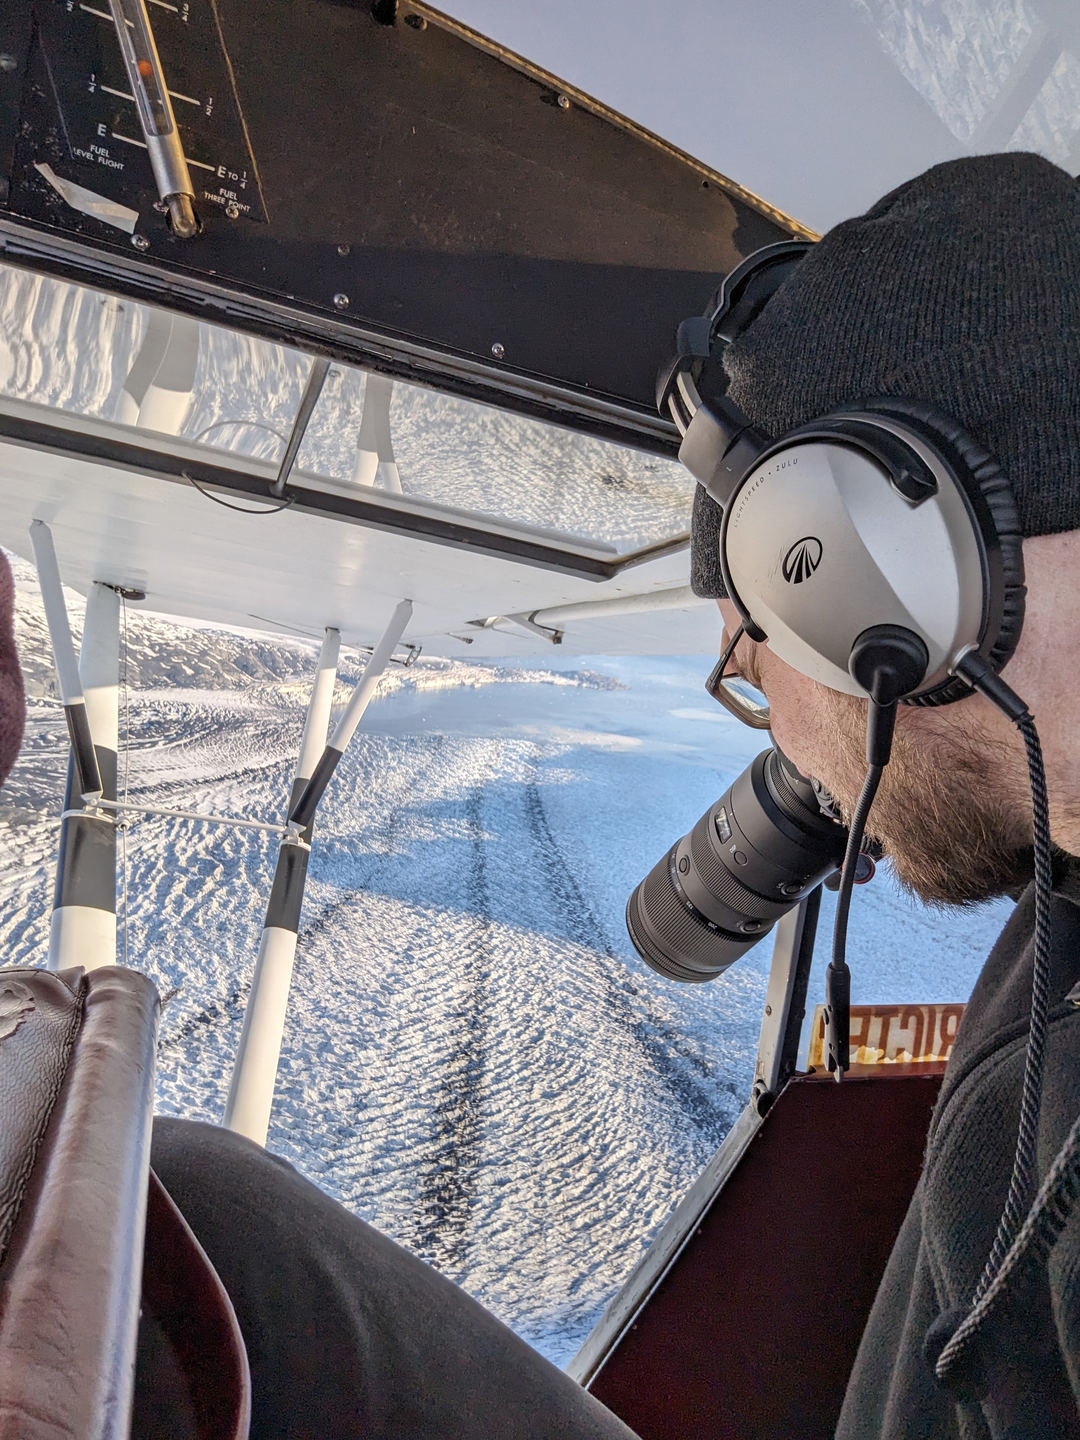
I’m naturally drawn to details and small structures, whether with a telephoto lens isolating fragments of an iceberg, a drone hovering low above a glacial river, or a macro lens capturing the texture of decaying foliage. These are motifs that most people overlook at first glance, but they hold an extraordinary beauty hidden in the mundane. I often describe this as nature’s own micro-architecture, offering endless abstract compositions—if you truly stop, look closely, and take your time. I sometimes joke that in another life I would probably have been a dog—constantly roaming around, sniffing out new things, and never getting bored.
This is also why I never tire of returning to the same landscapes. Even after dozens of journeys to Iceland, the rivers, glaciers, and volcanic landscapes never repeat themselves. Their transformations keep me curious, and every visit feels like discovering something for the very first time.
How many days are you creating seasonal imagery in these remote settings, and what is your set up?
Each year I spend around three to four months in the field, with one extended journey to Iceland lasting six or seven weeks and several shorter trips to other northern regions. I travel slowly, often with my converted off-road van, which doubles as a mobile workspace. It allows me to wake up directly at the location I want to photograph, or to simply wait out a storm—whether with a cup of coffee or by watching a favorite series—until the weather shifts.
My focus is usually on the transitional seasons—spring into summer, or summer into autumn—when landscapes are in flux and light can be particularly dramatic. Being alone in remote areas is not always easy, and solitude comes with its challenges. At times it can slip into a sense of true loneliness, but over the years I’ve learned to manage those emotions and to simply accept such days as part of the process. Traveling this way has taught me a great deal about myself—what truly drives me, what I am afraid of—and it has profoundly shaped who I am.
Of course, my camera bag is always too full—like everyone else’s—but in the end I keep returning to just a few lenses. I work with a Nikon Z8 paired with a small but versatile set: the NIKKOR Z 24–120mm for flexibility on hikes, the Z MC 105mm for macro details, and the Z 100–400mm with a 1.4x teleconverter for distant structures and abstract compositions. A DJI Mavic 4 Pro drone, along with a backup unit, completes the setup, offering aerial perspectives of glacial rivers and coastal terrain. For me, reliability and adaptability matter far more than carrying an extensive kit—this way I remain agile and focused on the experience of being out there.
Maintaining a visual diary across remote expeditions takes careful planning. What’s your workflow from the moment you return from a trip until images are archived?
My workflow actually begins while I’m still in the field. I aim to import and back up the day’s captures almost every evening, make a first rough selection, and sometimes even start editing inside the van. This early process helps me identify potential series and keeps me from being overwhelmed once I return home. At times it’s only after importing that I fully recognize the potential of a subject, which gives me the chance to return the next day and expand on it.
Back in Hamburg, I approach the images with fresh eyes and more distance. That’s when I refine the editing—mainly tonal adjustments, color grading, and contrast—to translate the emotion I felt on location into the final photographs. I don’t alter the content itself—no adding or removing elements, no replaced skies. My approach is about refining atmosphere and mood rather than reconstructing reality.
Archiving is a structured process: final selections are keyworded in Lightroom Classic according to a consistent system, backed up both locally and in the cloud, and also exported as high-res and low-res files for website and social media. From Lightroom, images are then uploaded directly via PhotoDeck to my searchable online library, for clients such as photo editors, magazines, and print customers. My library also features curated galleries based on themes, colors, and locations. This structure allows me to quickly respond to client requests, even when I’m traveling.
https://www.youtube.com/watch?v=IVyDXtT269s
Do you work alone, or is there a team or network supporting image licensing, post-production, or logistics?
Most of the time I work alone, both in the field and in running my business. Solitude is an important part of my creative process—it gives me the freedom to shape my days entirely on my own terms and to connect more deeply with the landscapes I photograph. At the same time, I enjoy collaborating when it makes sense and value the exchange with others.
For certain aspects I rely on trusted partners: I outsource the production of prints to specialized labs, and my PhotoDeck library provides a professional infrastructure for licensing to clients worldwide. I also consult regularly with colleagues and peers, and I’m well connected within the photography community in my niche. When it comes to specialized topics—such as licensing frameworks, pricing, or marketing—I often seek out coaching, which helps me stay sharp and navigate an industry that is constantly evolving. And of course, I outsource my taxes as well—otherwise I would probably lose my sanity.
Through my many repeated journeys to Nordic countries such as Norway, Iceland, and Greenland, I’ve also built a strong network that extends far beyond photography colleagues. It includes production companies, logistics contacts, and local guides—connections that make complex projects in remote areas not only possible but also more efficient.
In the past, I worked with a photo rep, which gave me valuable experience in client relations and licensing. Today I handle most of these aspects myself, combining my design and marketing background with the independence I value as a photographer. This mix of autonomy in the field and selective collaboration behind the scenes ensures that my work stays personal, consistent, and true to my vision.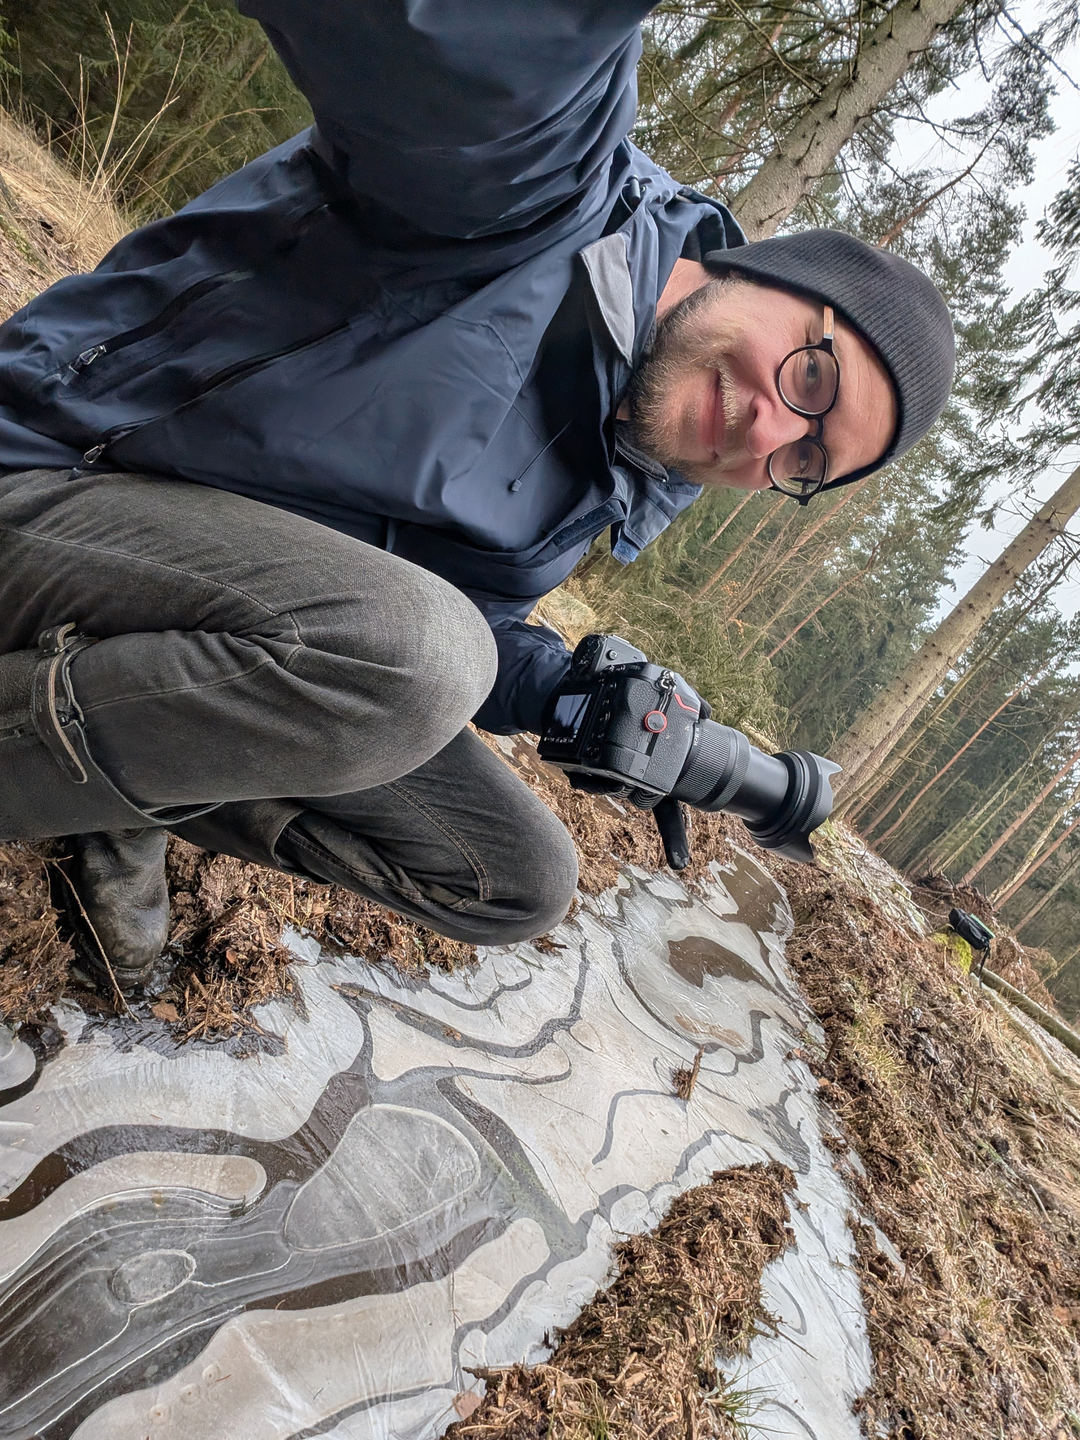
[ad_2]
Source link