[ad_1]
Did you know that you can use Path to do a whole lot more than just removing backgrounds and retouching imperfections? You can improve product photos with retouching and ghost mannequins, fix blurry action sports shots, and add shadows to bring images to life. You can virtually iron wrinkles out of clothing and fabric. And you can even totally change the colors in your images—in a realistic way.
Find out more about all the edits you can order from Path:
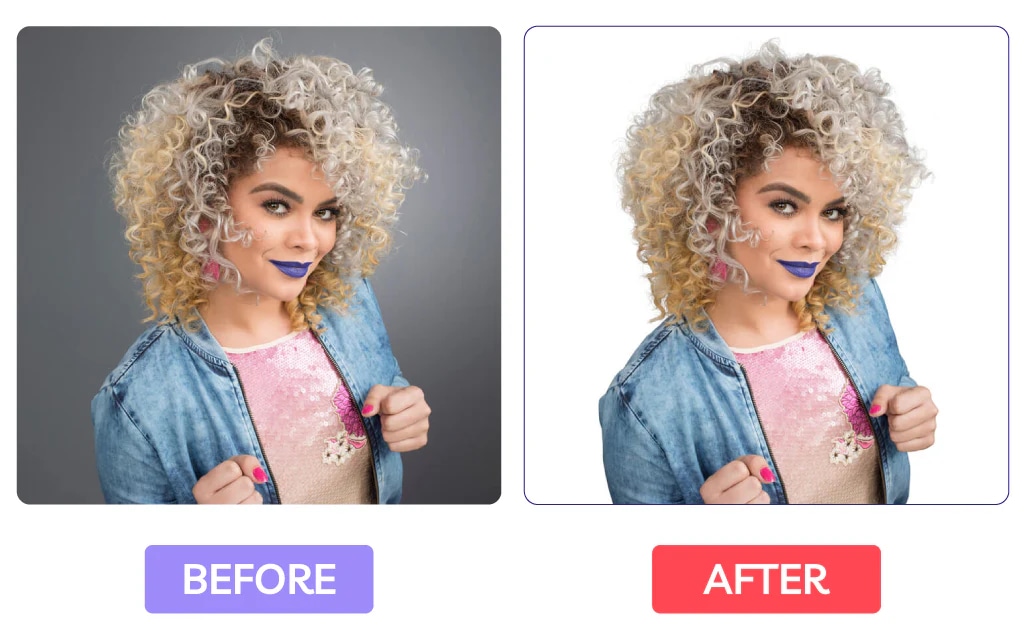
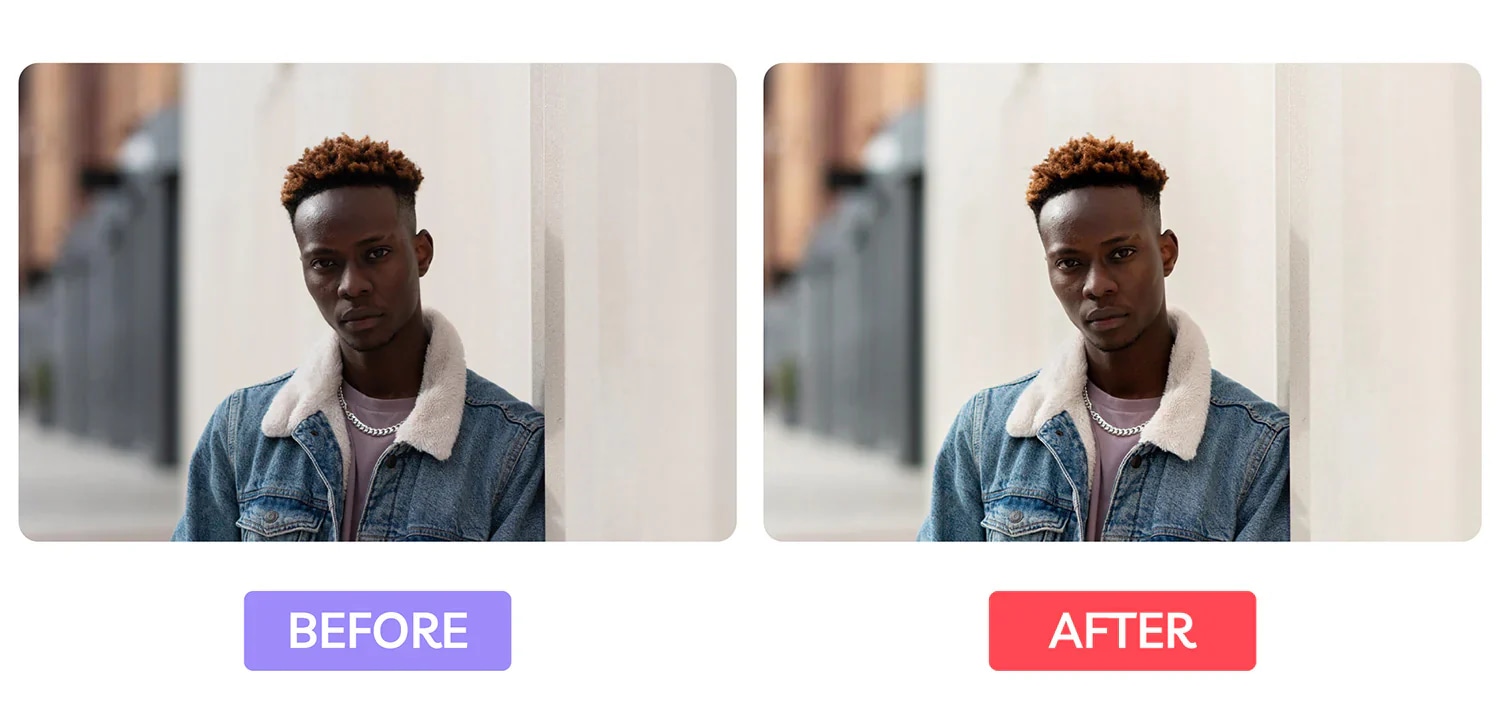
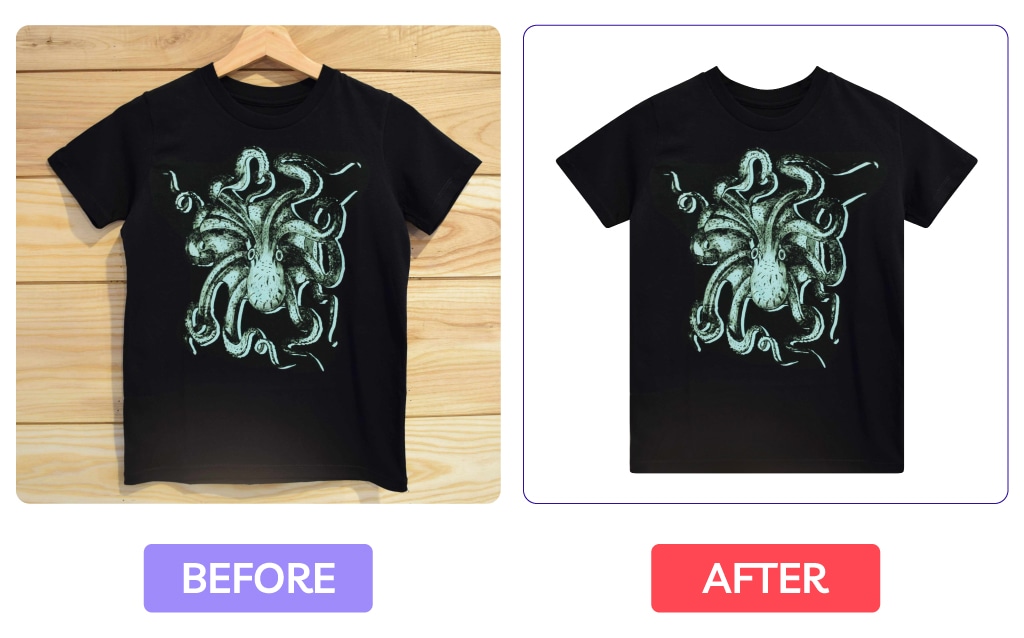
1. Remove the background for versatile photos
Background removal is probably our most popular request. Whether you’re prepping for a product launch, updating a marketplace listing, or shooting team portraits, clean background removal is essential. We can isolate any subject from your image and remove the rest so you can use that image in different contexts.
Because we do every edit by hand, there are three ways we remove backgrounds from photos:
- Clipping path: Carefully hand-drawn clipping paths for crisp, clean photos—best for simpler and more straightforward edges
- Image masking: How we remove backgrounds from hair, fur, and difficult borders—common for sports photos and headshots
Multi-clipping path: Involves complex cutouts that require lots of paths, like images with multiple subjects to cut out, bicycles, or items with lots of components.
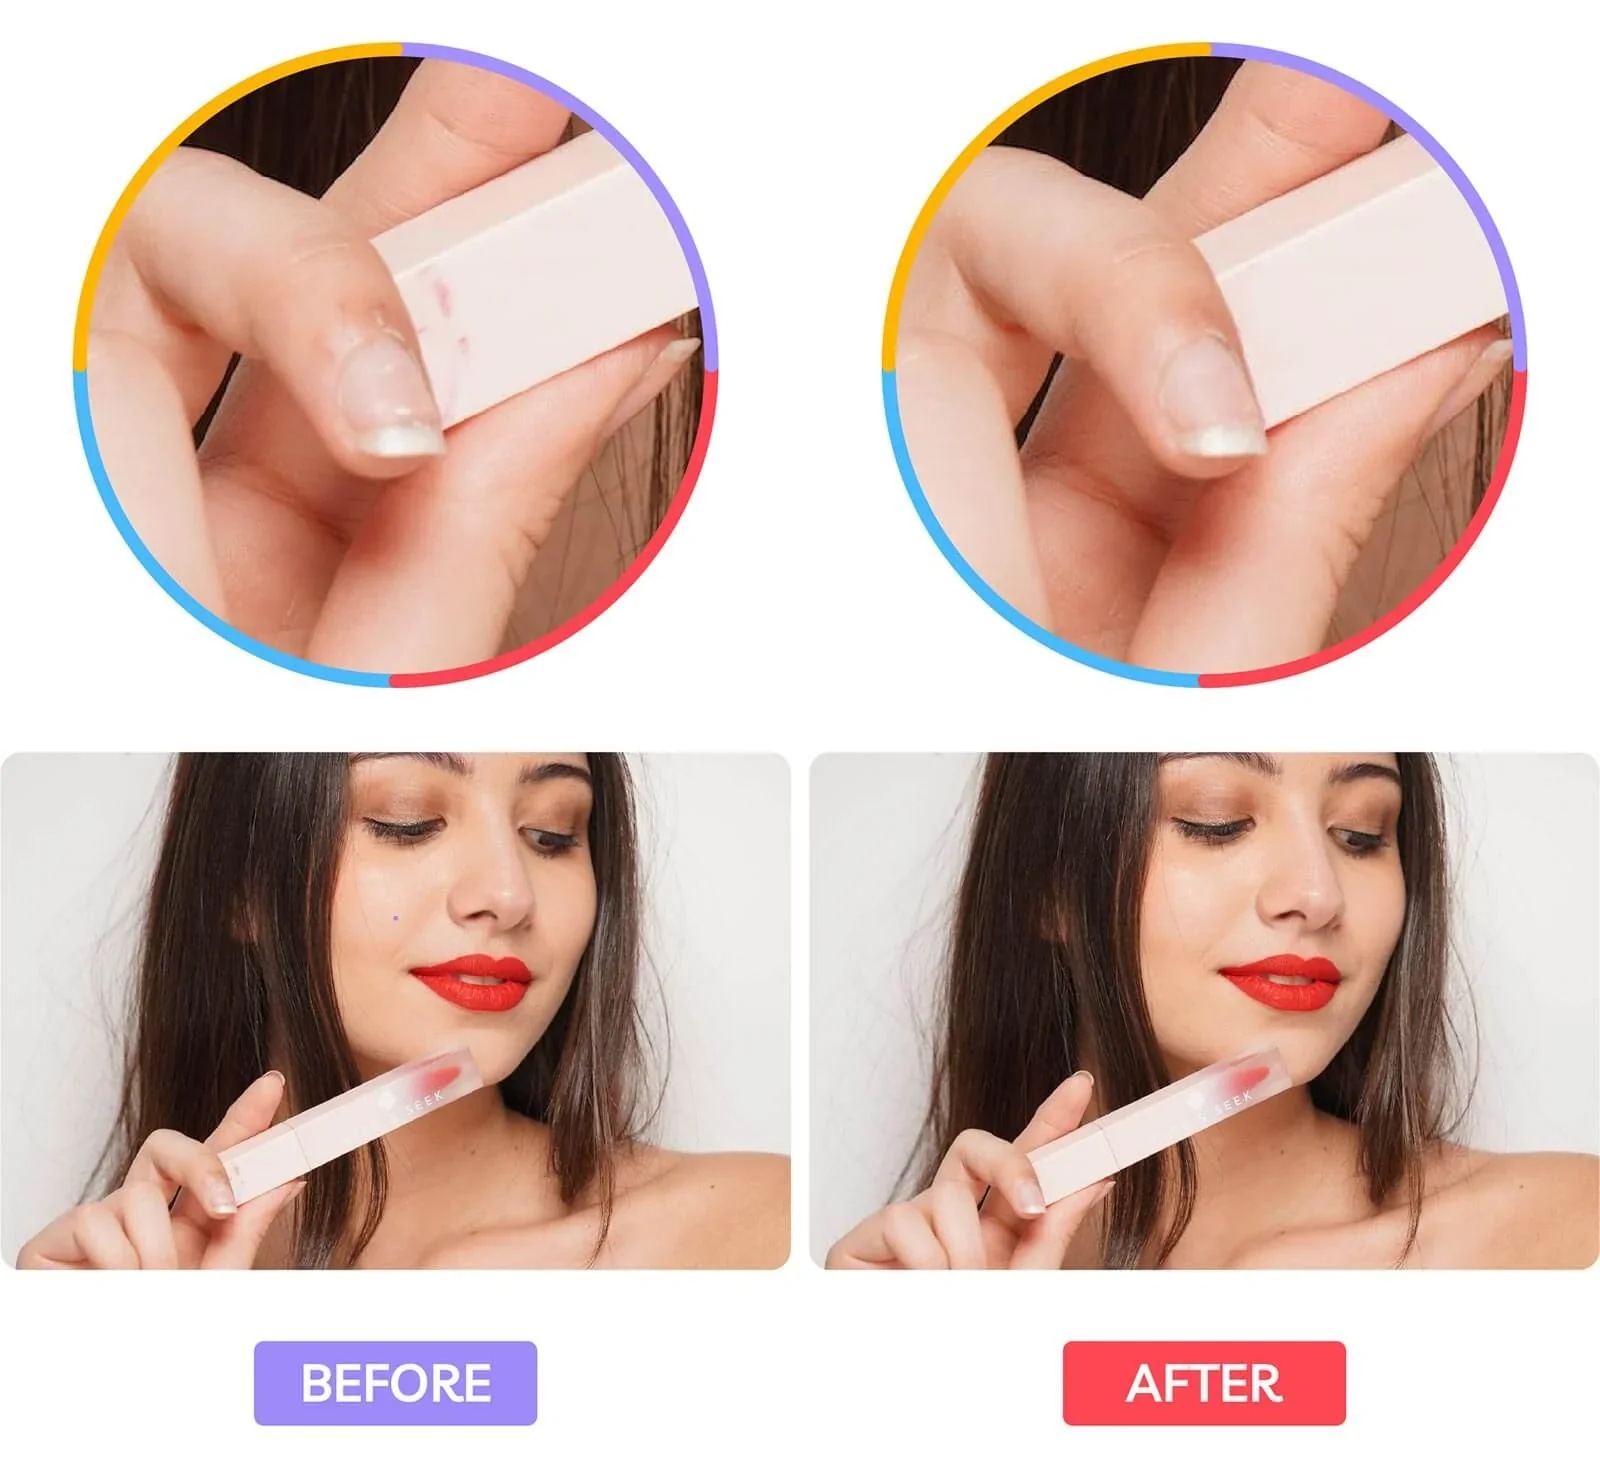
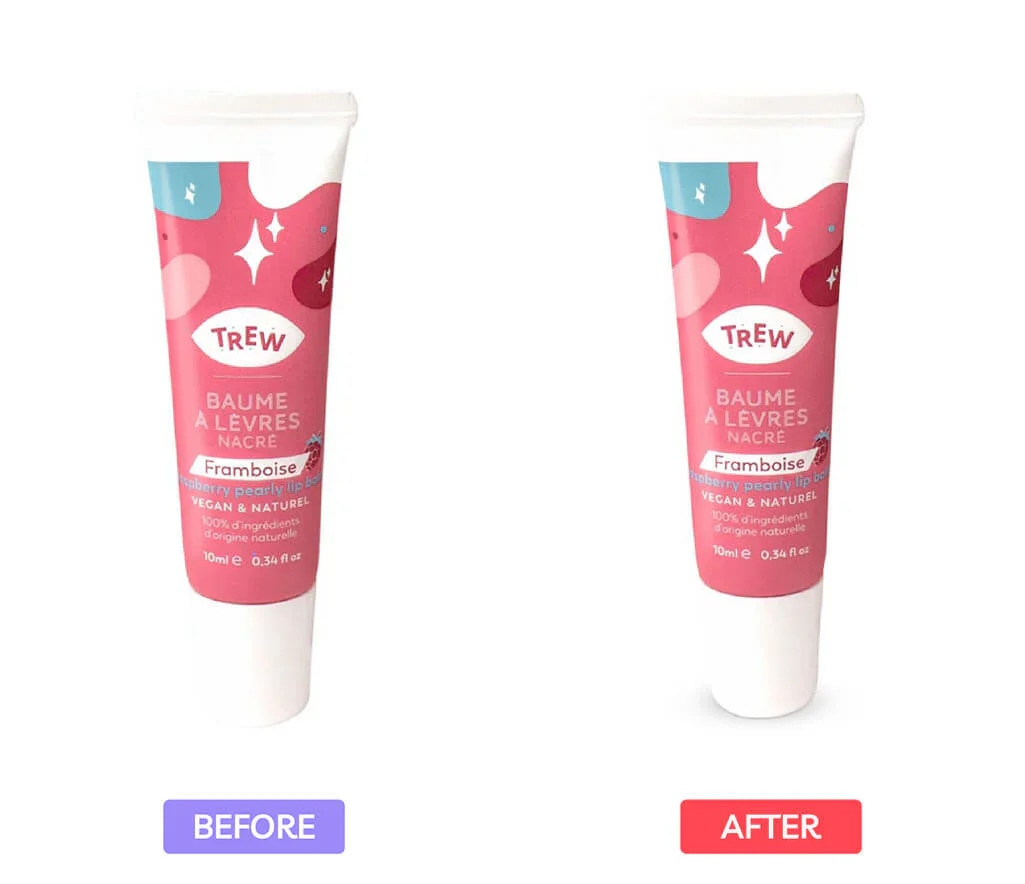
2. Retouch imperfections for a beautiful image
Photo retouching is probably the second most common request—we see it across all types of images, including product photos, sports photography, portraits, and car photography.
We specialize in four types of retouching:
- Dust, spot and scratch removal: We can remove small dents, smudges, dust, and other imperfections from any type of photo. Our studio offers both basic and advanced dust, spot and scratch removal.
- Wrinkle on clothing: If the apparel in your shot is wrinkly enough to be distracting, we can smooth it out.
- Beauty airbrushing: Common for portraits and headshots in particular, we can touch up any distracting imperfections or blemishes while maintaining a natural-looking shot.
- Camera reflection removal: Get rid of any unwanted reflections from shoot day. Again, we offer basic or advanced reflection removal.
3. Add or fix shadows to elevate your products
We can also add, remove, or edit shadows in your images. Shadows are types of ecommerce photo edits that add dimension to boring white background shots.
You can order one of any five different types of shadow edits at Path:
- Drop shadow: A drop shadow makes your subject look like it’s hovering above the background. It’s a common technique in white background product photography.
- Existing shadow: You can also ask us to edit an existing shadow to make it appear more natural or less distracting, depending on the look you’re going for.
- Floating shadow: A floating shadow gives the impression that your product is hovering above the ground. This is another common technique in white background product photography.
- Natural shadow: It’s not always possible to get the lighting right, so this shadow edit will help achieve a more natural shot by casting a make-believe shadow on the surface the subject is resting on.
- Reflection shadow: This type of shadow edit makes your subject appear as though it’s resting on a reflective surface.
If you want to give it a go yourself, you can follow along in this shadow editing tutorial.
4. Create a ghost mannequin
Ghost mannequins are one of the main ways to edit apparel product photos.
Ghost mannequin photography is a style of photography that’s used to showcase clothing and apparel products. It essentially creates an invisible mannequin or model to the item of clothing, making it appear as though it’s being worn even though there’s no one featured in the image.
This photography is effective because it adds dimension to the product, rather than laying it flat on a table in an unengaging way. It allows shoppers to see how the apparel may fit and drape if they were to wear it themselves.
But capturing this photography requires a lot of editing steps. Many product photographers and brands choose to outsource this tedious, detail-oriented work to our studio—you can get them back by the end of the work day if you send them in the morning!
5. Add color variants without a reshoot
You can also order color change edits from Path. This service is especially popular for product photography—if a specific item is available in multiple colors, it’s often more cost-effective to shoot one variant and simply outsource color change edits for the rest. It also comes in handy when an athlete changes teams and needs their headshot to reflect the change.
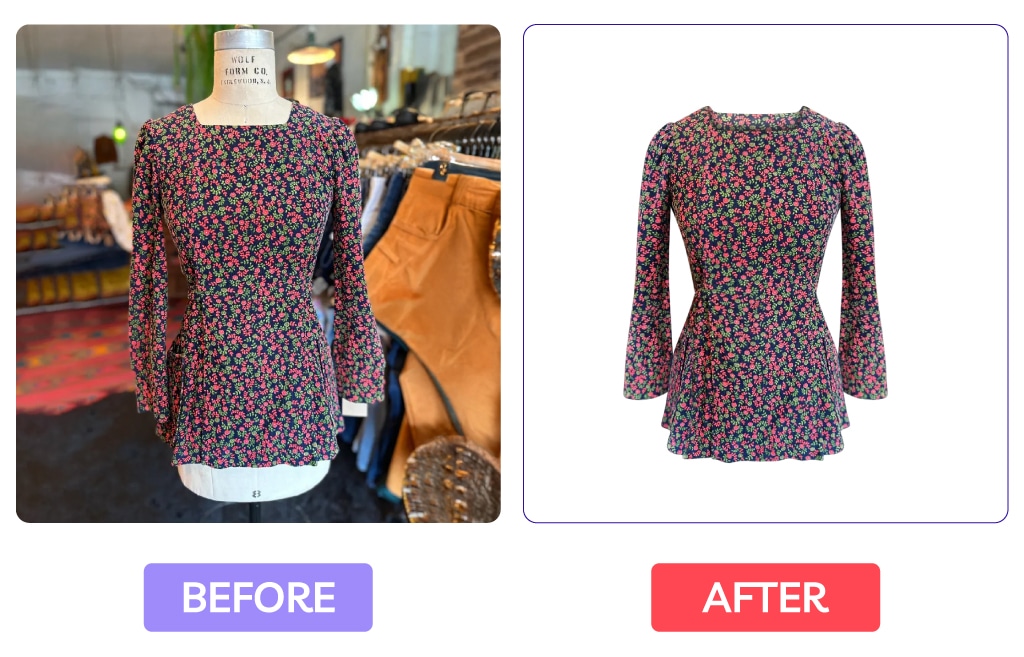
6. Create perfectly symmetric apparel shots
Symmetry is one of the fastest ways to elevate the professionalism of your apparel product photography. Perfectly aligned sleeves, balanced hems, and centered internal details (like buttons, zippers, or logos) can make your product look more premium—without needing a reshoot. These are great edits to make to improve product photos.
Path’s new symmetry service helps you polish your images with clean, realistic edits designed for ecommerce. Whether you’re preparing for a new collection drop or updating existing product listings, symmetric edits ensure every item looks its best on your site, marketplace, or lookbook.
Here are a few of the most common symmetry fixes we provide:
- Sleeve alignment: Make sleeves even and consistent across your product images.
- Side-edge adjustments: Smooth and straighten the outer edges of garments for a neater silhouette.
- Curve reduction: Eliminate distracting bunching or warping in fabric curves.
- Detail alignment: Center and balance key details like pockets, drawstrings, zippers, or brand tags.
Wrinkle retouching is included by default with symmetry edits, so your final images don’t just look aligned—they look polished. This saves time and ensures your edits are cohesive across every SKU.
Get your edits today
With the instant pricing tool, you can submit and pay for your edits now and get them back in as little as six hours. That means you can send us your edits, go about your work day, and then receive the edits before the end of the day. It doesn’t get more convenient than that.
Ready to send your photo edits our way? Get started now—and get your edits back in as little as 6 hours.

[ad_2]
Source link