[ad_1]
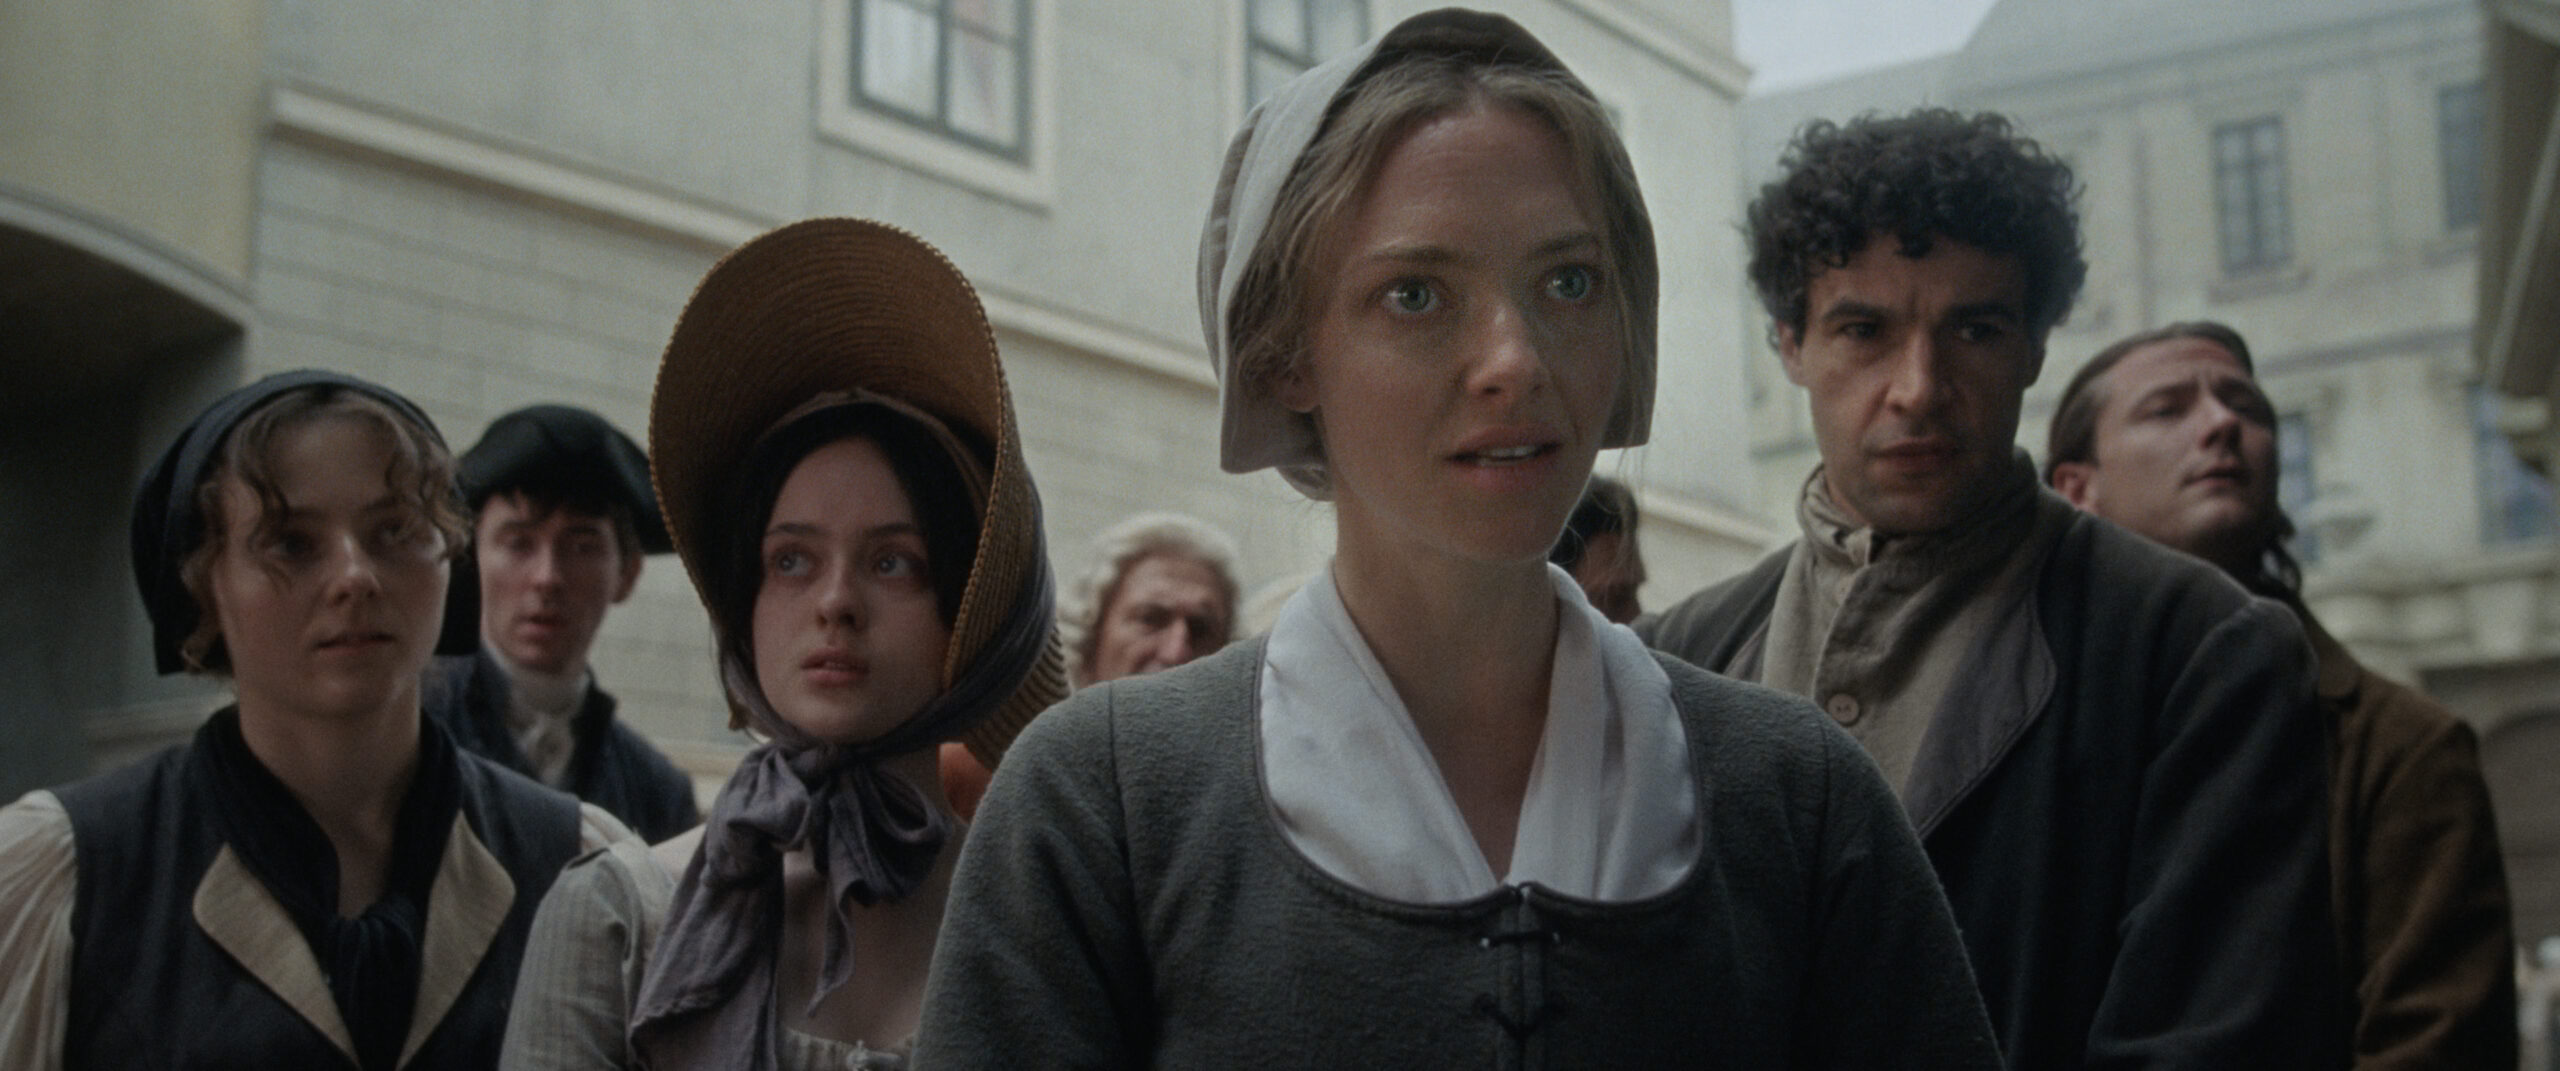
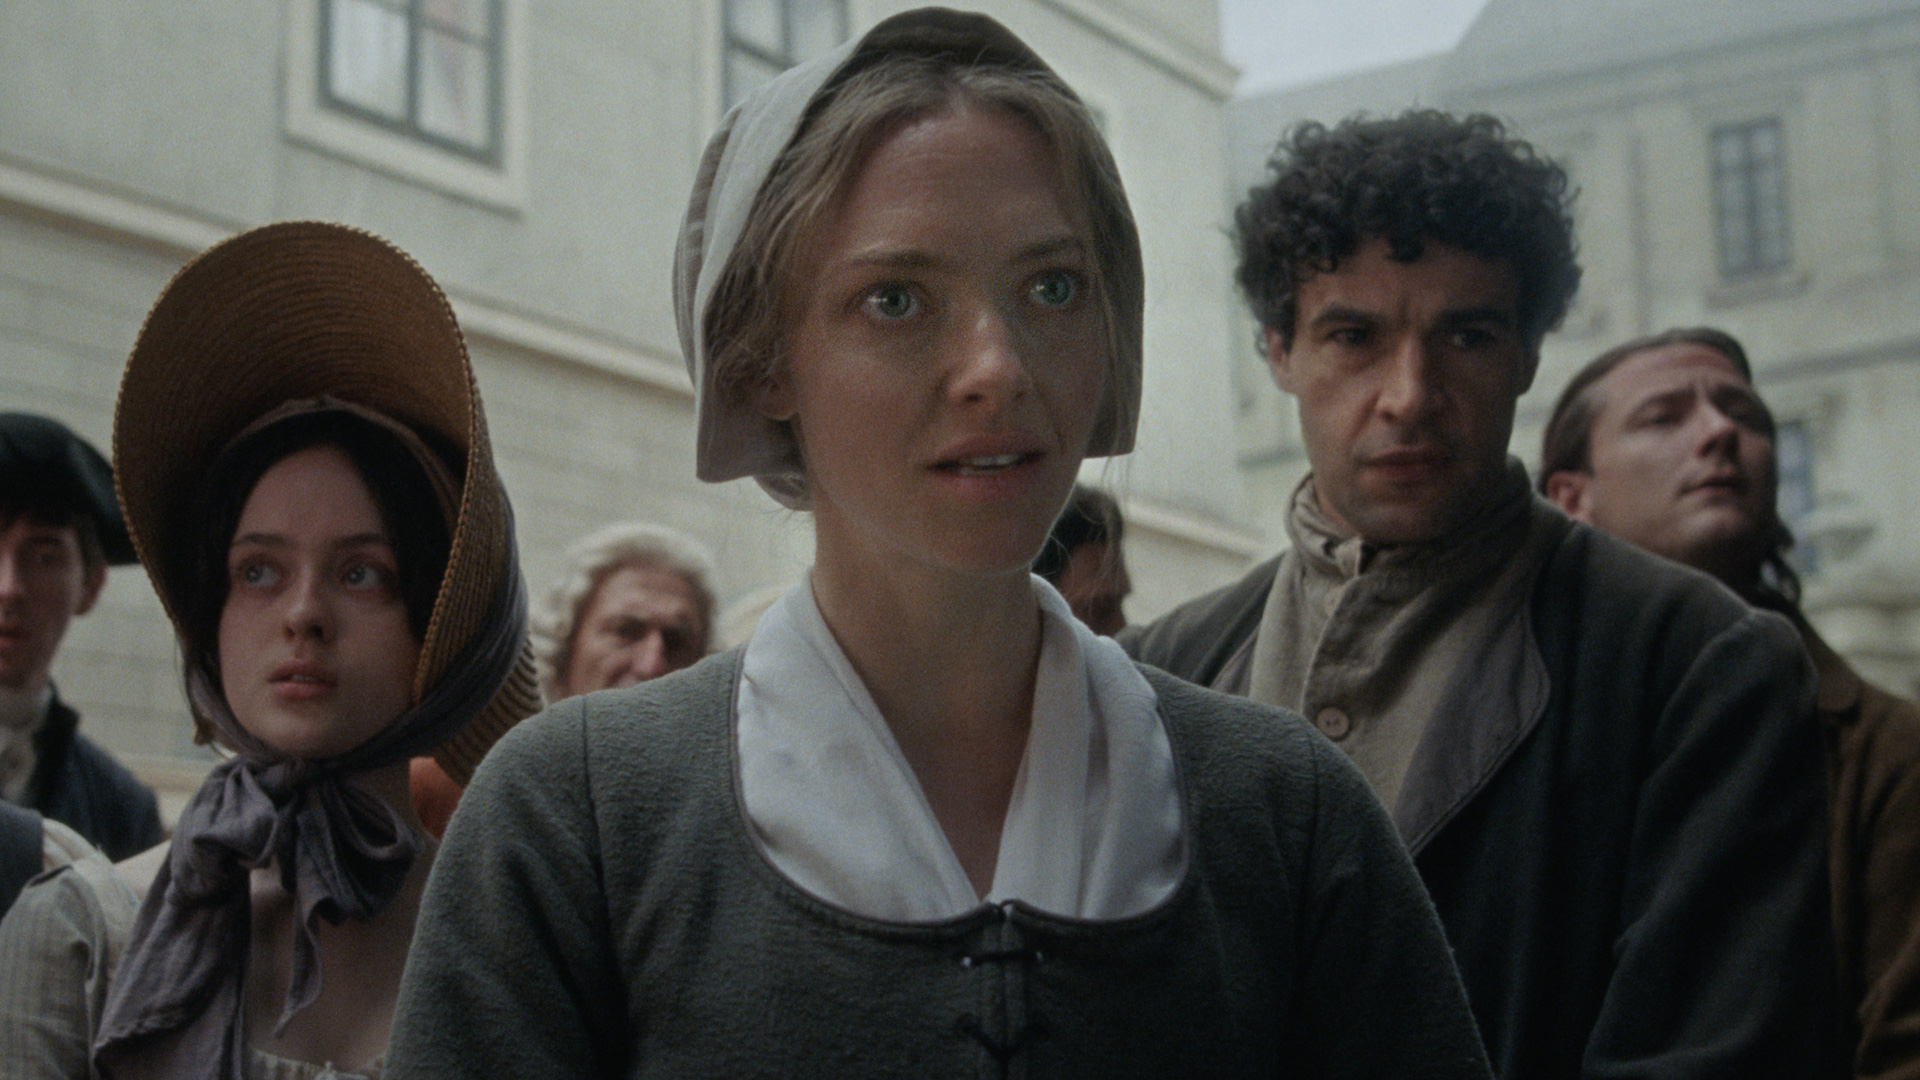
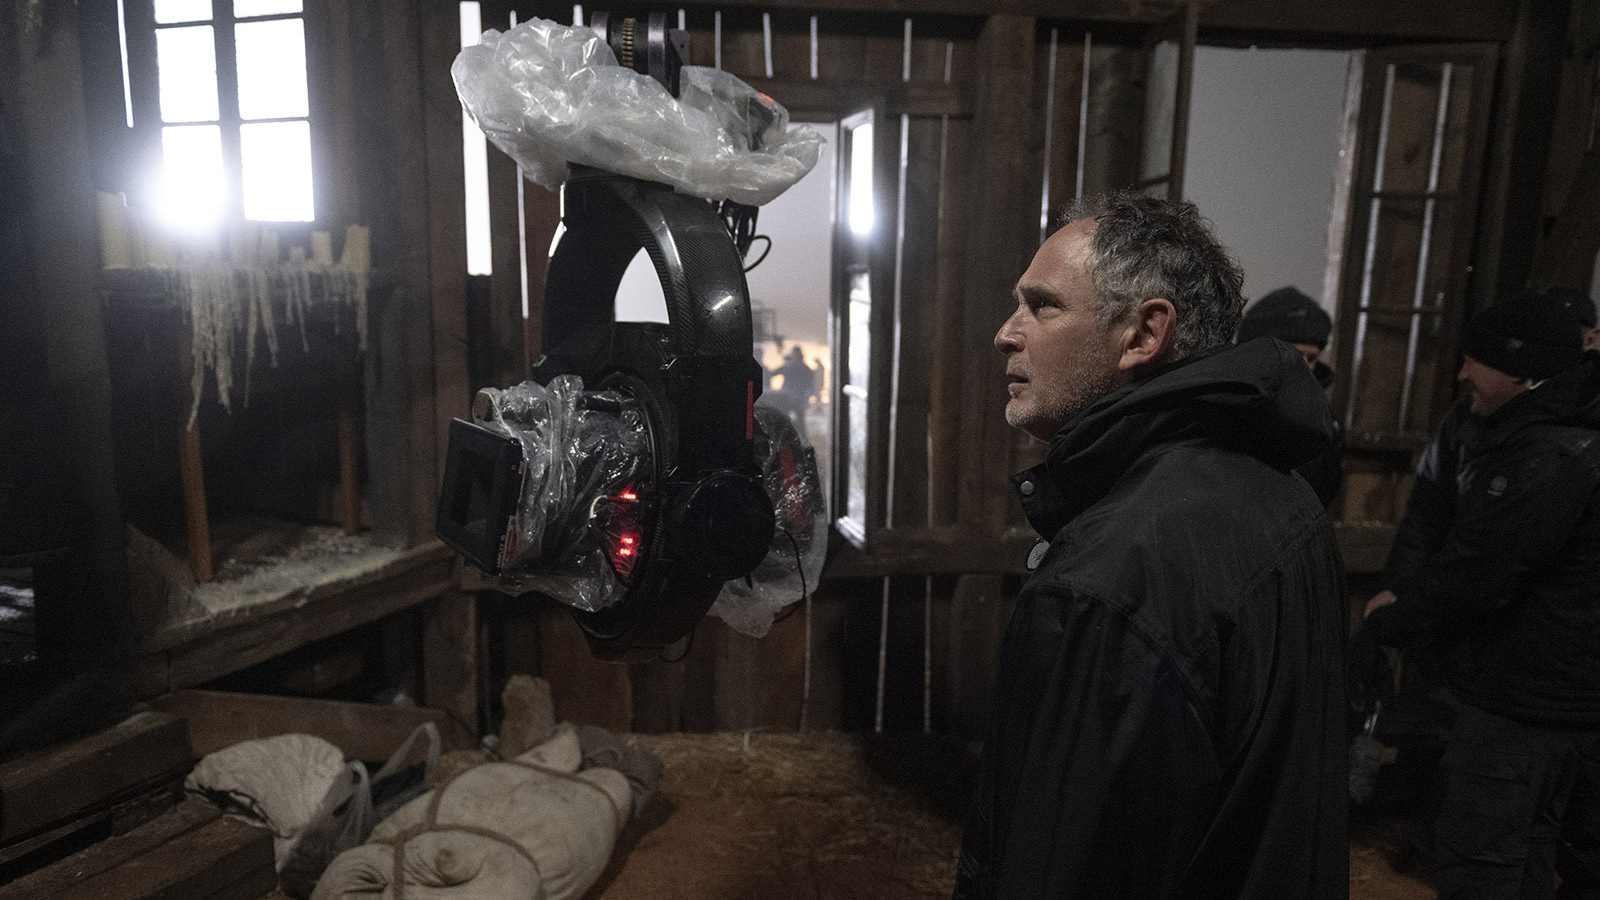
Hollywood is rarely short of ambitious ideas, and the historical drama / full-fledged musical The Testament of Ann Lee, starring Amanda Seyfried, is one of the latest to roar past “passion project” and into the mainstream. Telling the story of Ann Lee, the founding leader of the 18th-century Shaker movement, the film blends gritty period piece with lavish choreography, with visuals led by Director of Photography William Rexer.
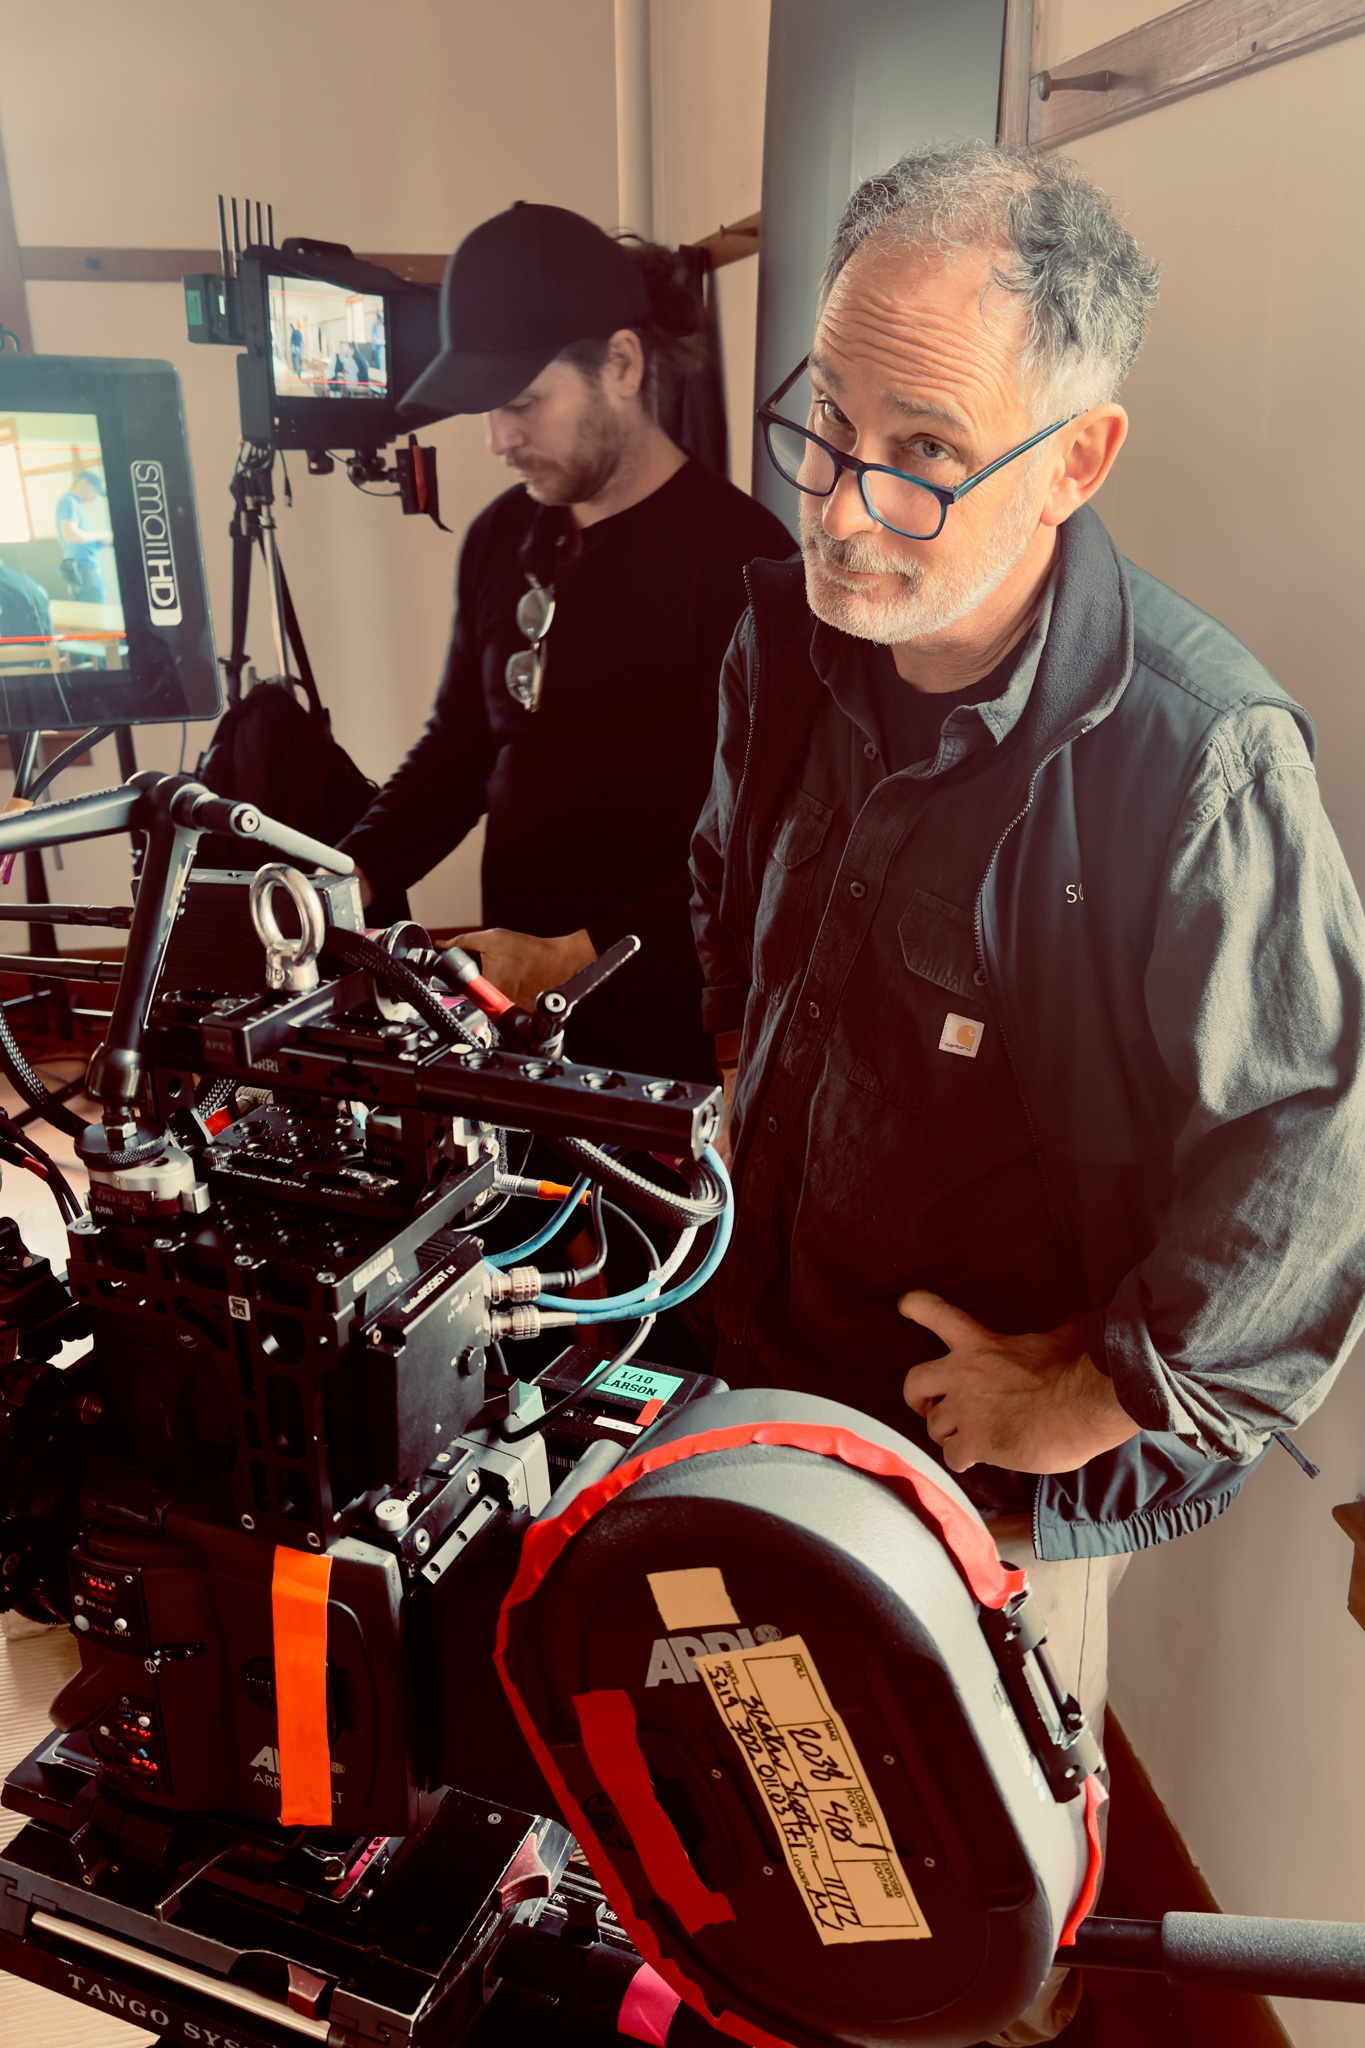
Rexer frequently uses Sigma Cine lenses in his work, and The Testament of Ann Lee was no exception. We caught up with Will after the film made its debut at the Venice Film Festival in September 2025 to learn more.
Q&A with Director of Photography William Rexer
Sigma:
Did you shoot with only the T1.5 High Speed Prime lenses, or were you able to use the new T1.3 Aizu Prime lenses at all? Any focal lengths in particular?
Rexer:
We primarily used the T1.5 primes and the Classics occasionally for their flares. The 28mm, 40mm and 65mm were our go-to lenses. The Aizu Primes came out after we were finished with principal photography, but we used them for two scenes and flashbacks. We used the 27mm, 32mm, and the gorgeous 75mm.
Sigma:
Were there any specific artistic or logistical reasons for choosing your camera and lens combination?
Rexer:
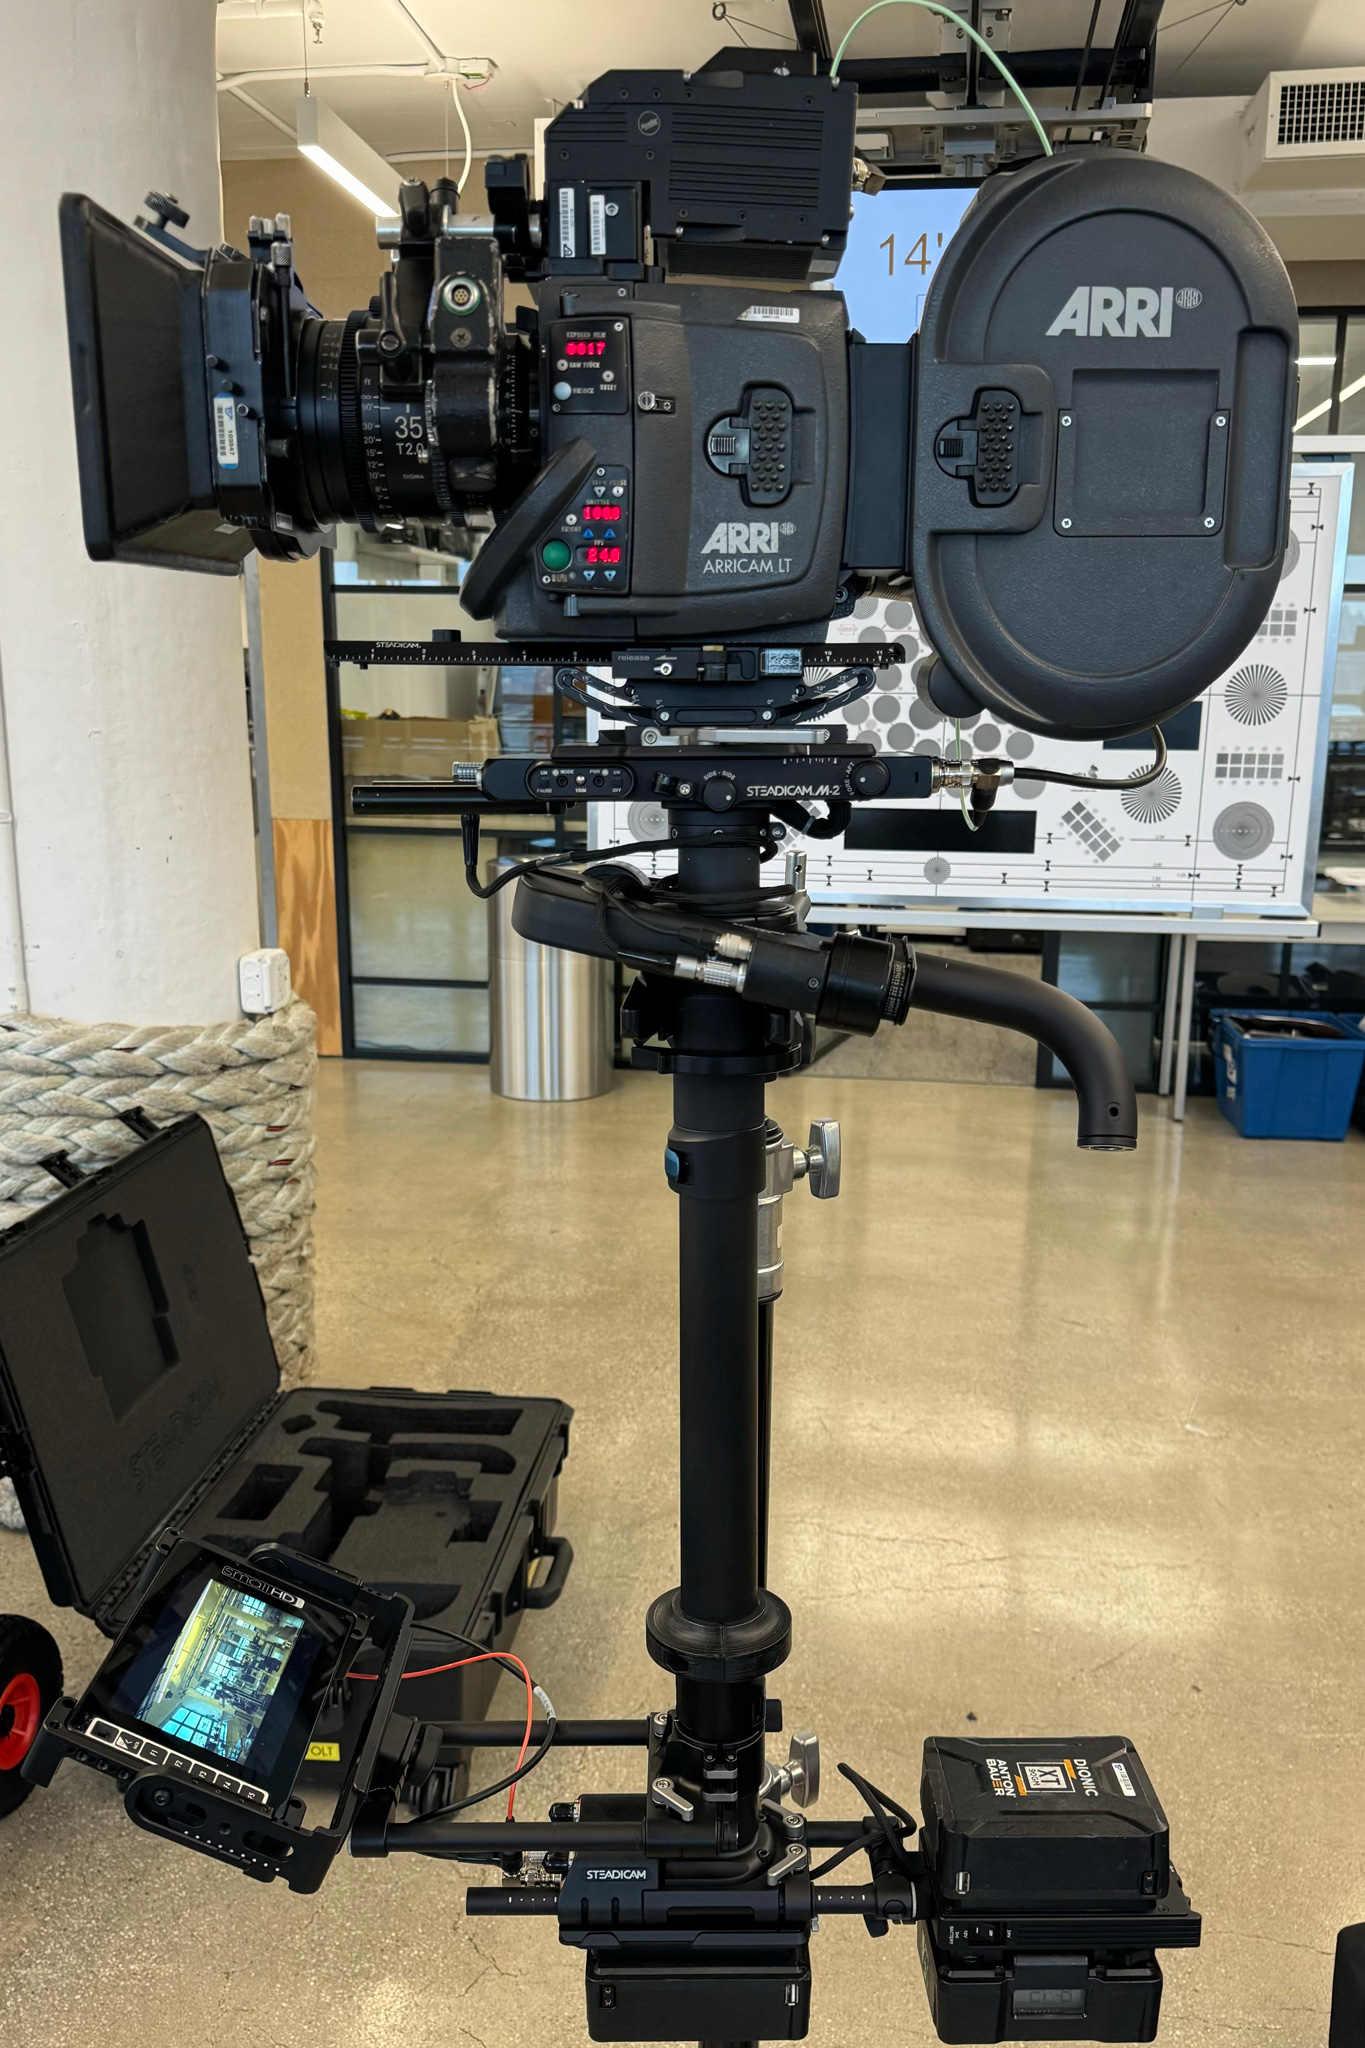
We tested eight sets of lenses, all spherical. One consideration was how much candlelight we would be using, and the desire for a consistent, pleasing bokeh. Some of the other lenses tested created inconsistent bokeh or star patterns with our candles in the frame. Other considerations included separation, chromatic aberration, consistency through the set regarding color, speed (we were shooting in very low light situations) and size. The film has a lot of dance and handheld camera work. In a blind test, shooting our cast in various situations, the Sigmas won. Director Mona Fastvold and I picked them, and it was a very clear choice.
Sigma:
Can you share your overall experience working on the film and how you felt the Sigma lenses performed?
Rexer:
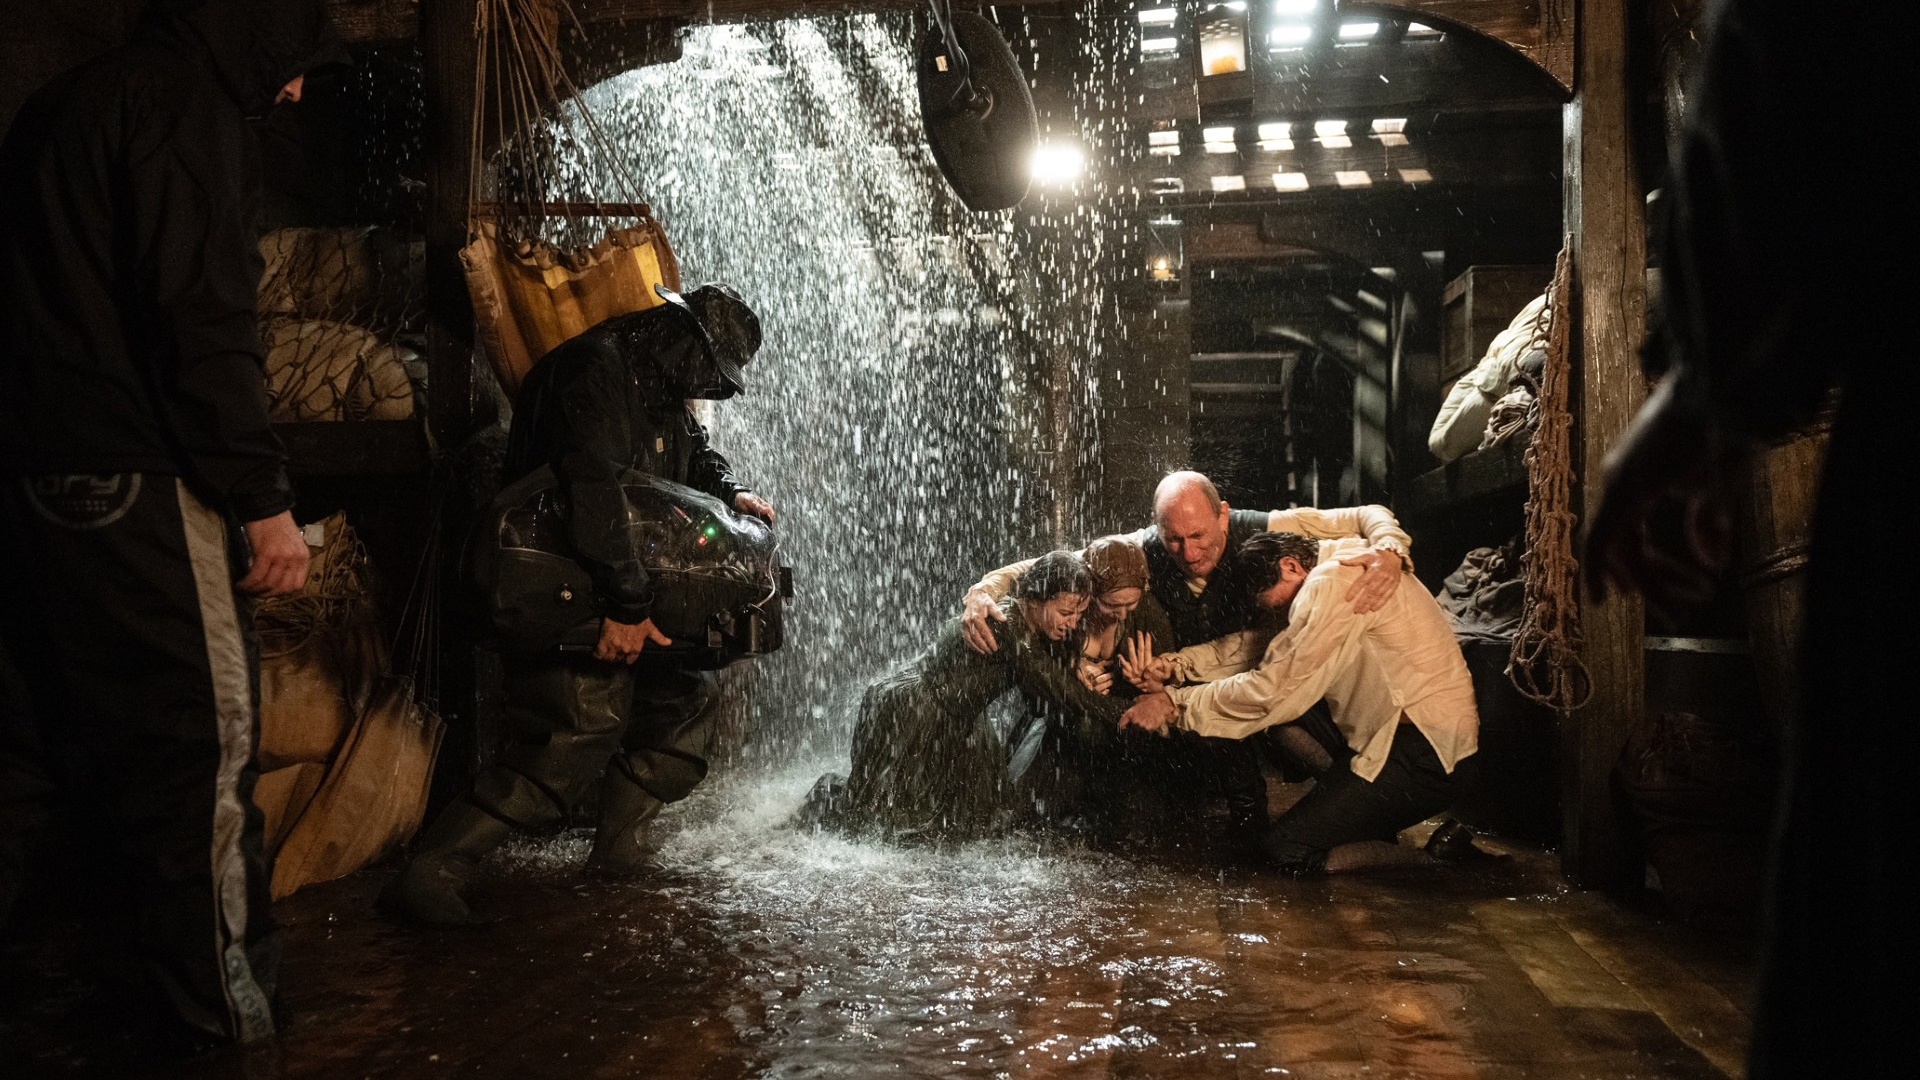
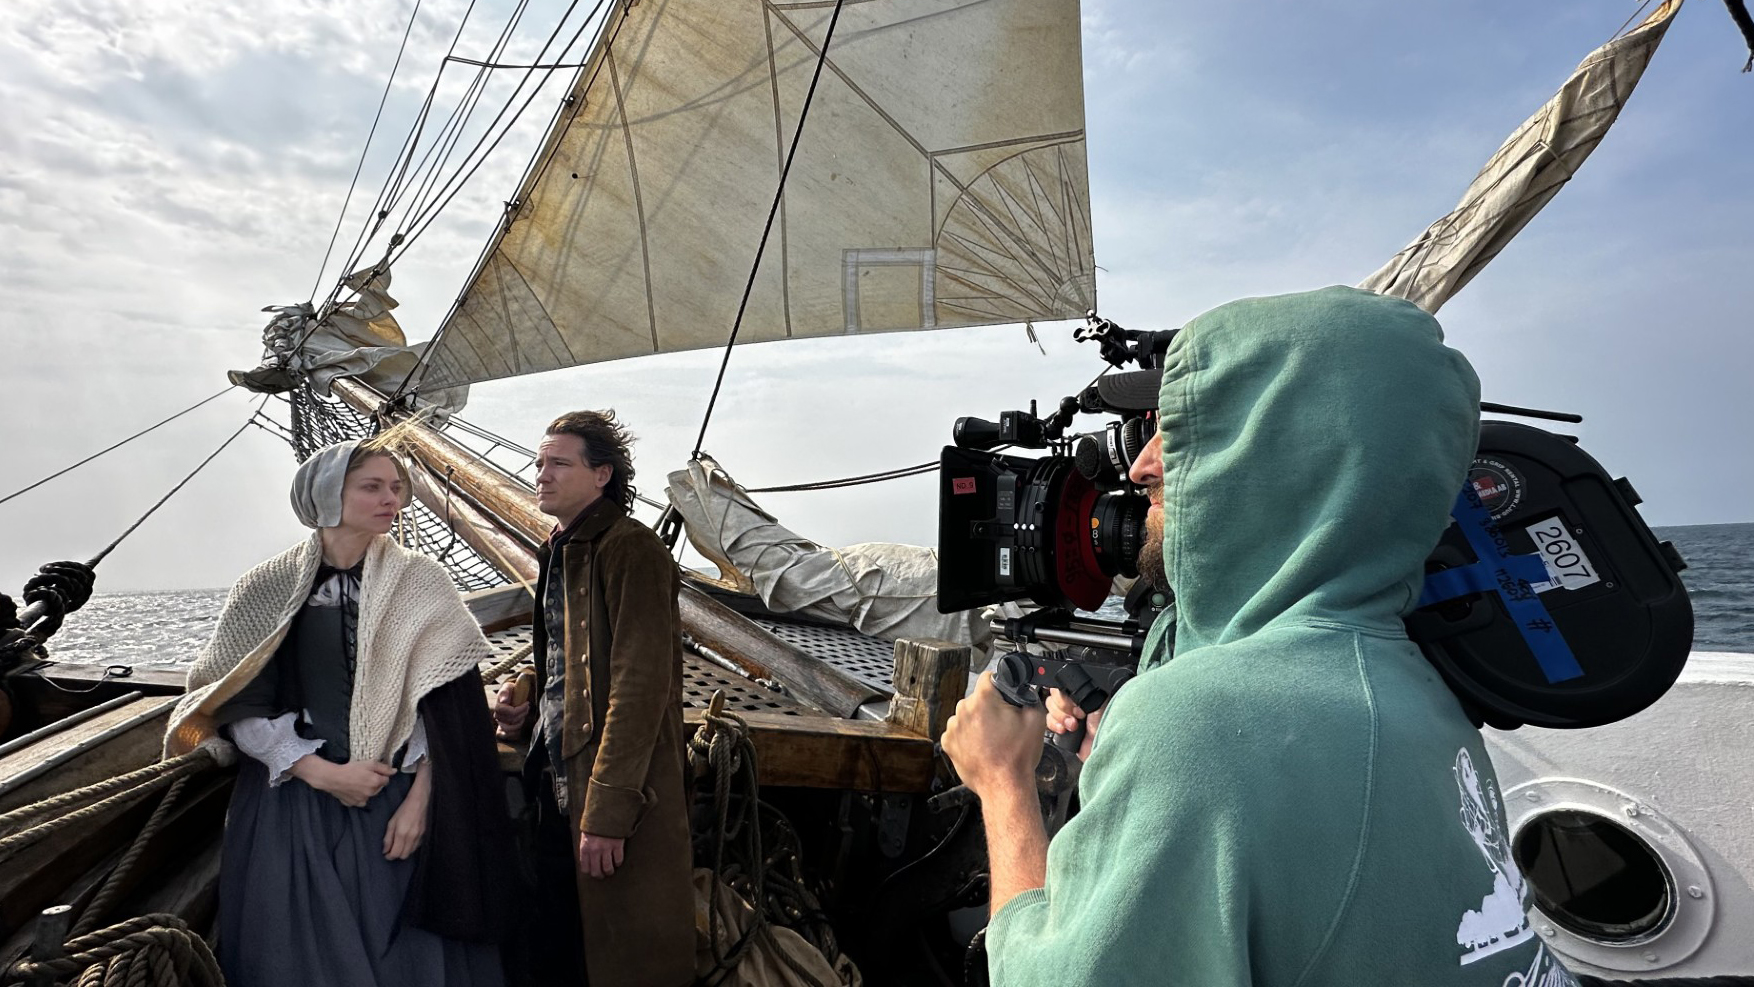
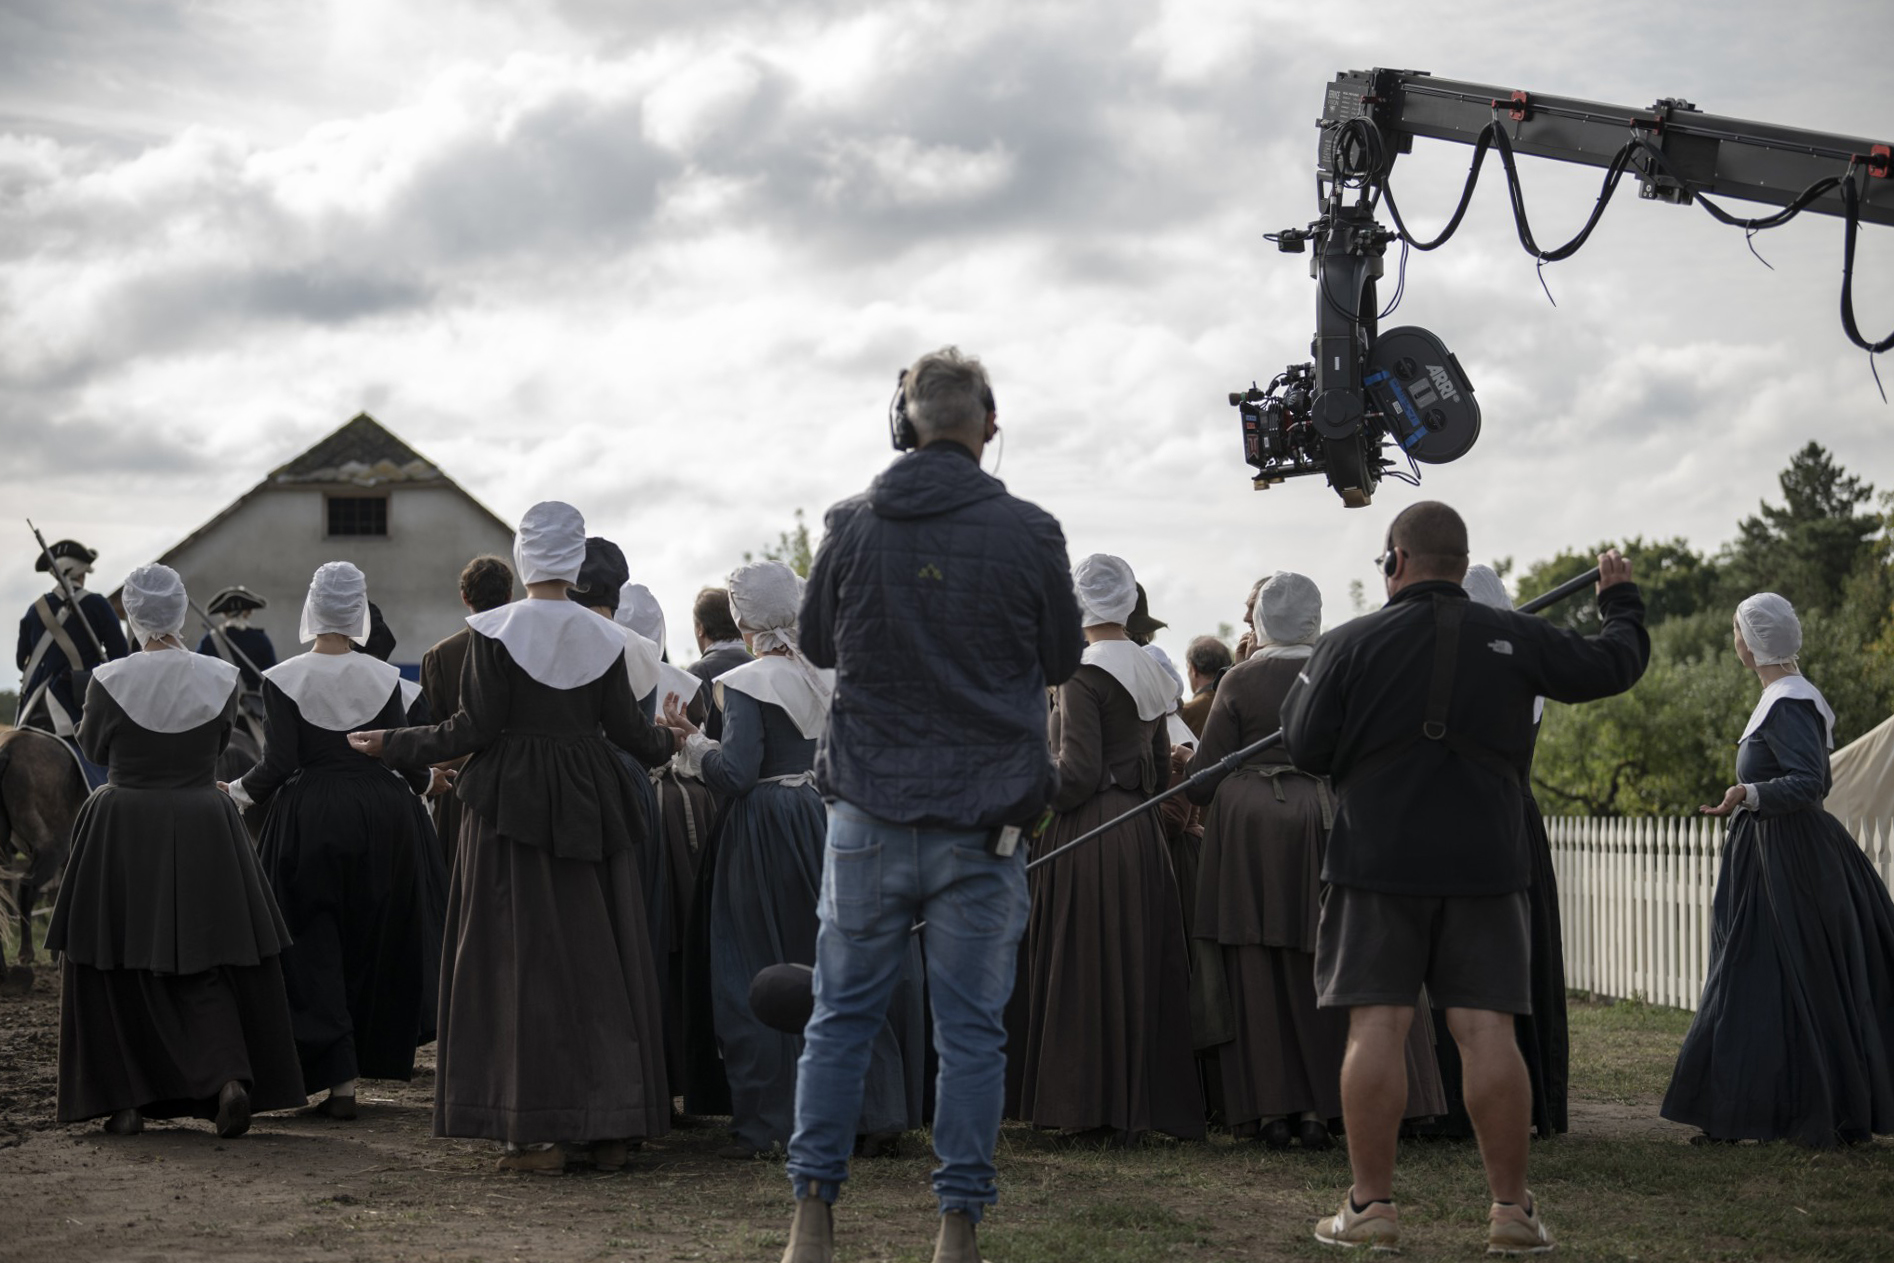
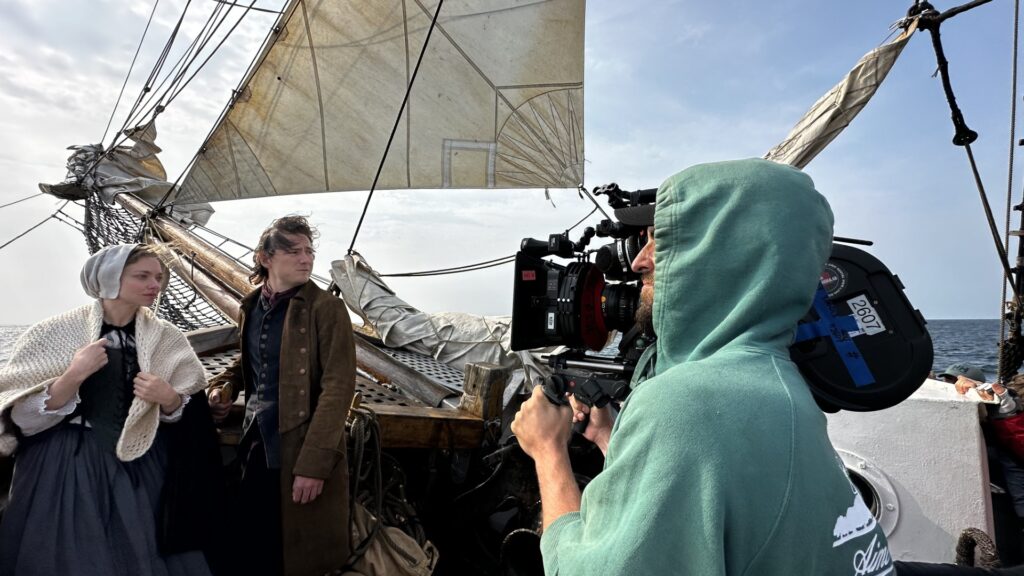
The lenses performed beautifully. We shot in tough conditions, on ships at sea in Sweden, in the heat and dust of an unusually warm Hungarian summer, and in rain and snow. These lenses were chosen because they look great, but they also held up. Functionality is important. I have used my Sigma Cine set on multiple films and series, and have found them incredibly reliable. They have not let me down yet.
Sigma:
Is there any moment or scene in the film that you are particularly proud of, or you would like audiences to notice or special attention to?
Rexer:
The film has many moments that I am proud of. We wanted to stay away from the ordinary, and we ask the audience to come on this journey. Caravaggio was our reference. The old masters were our inspiration.
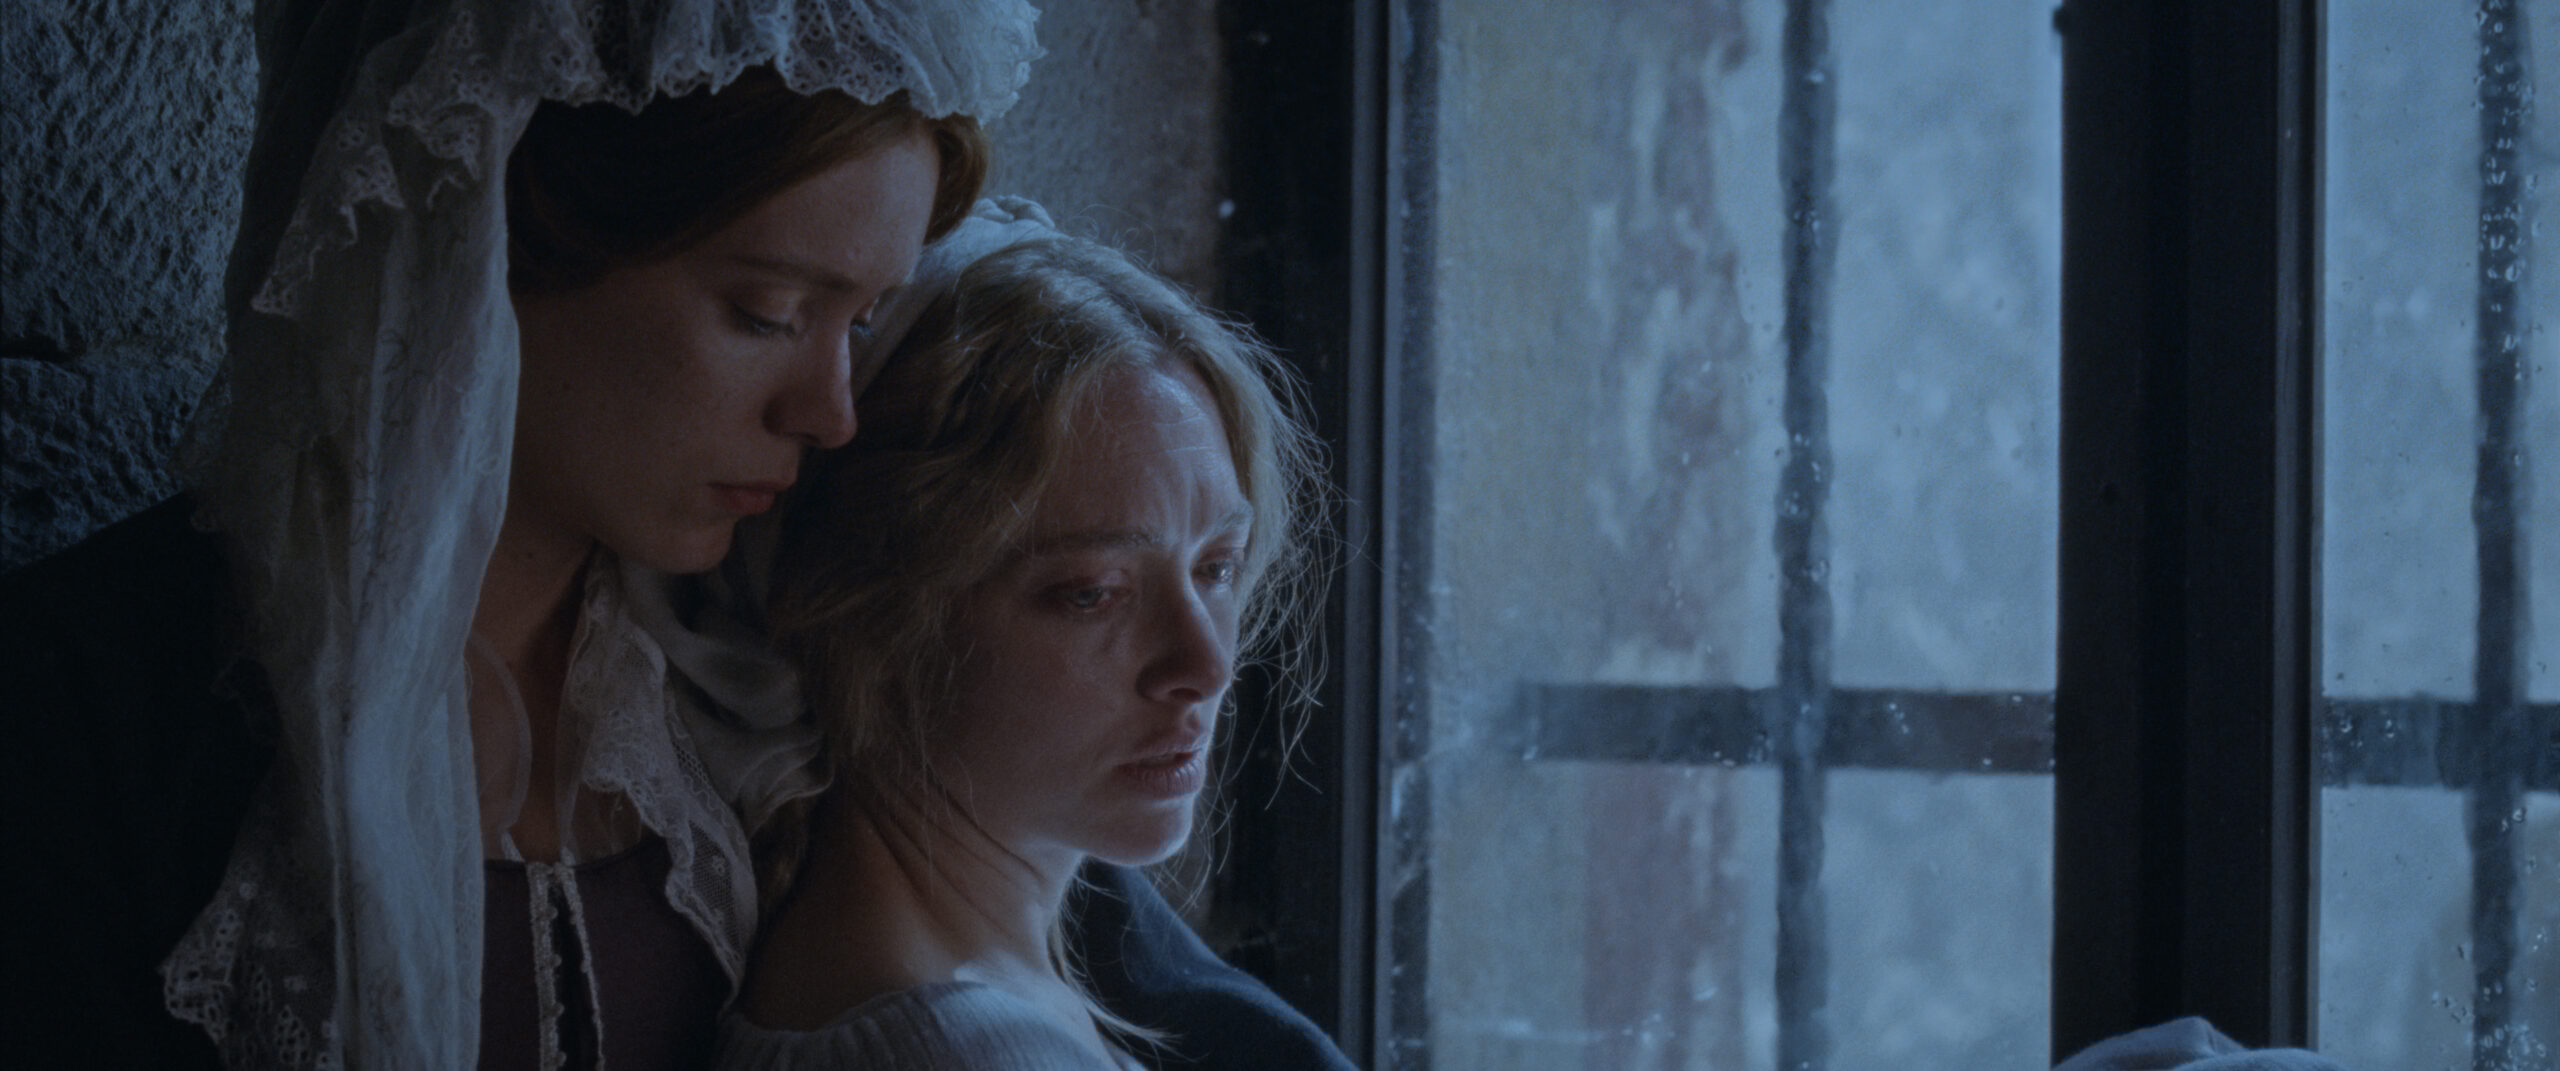
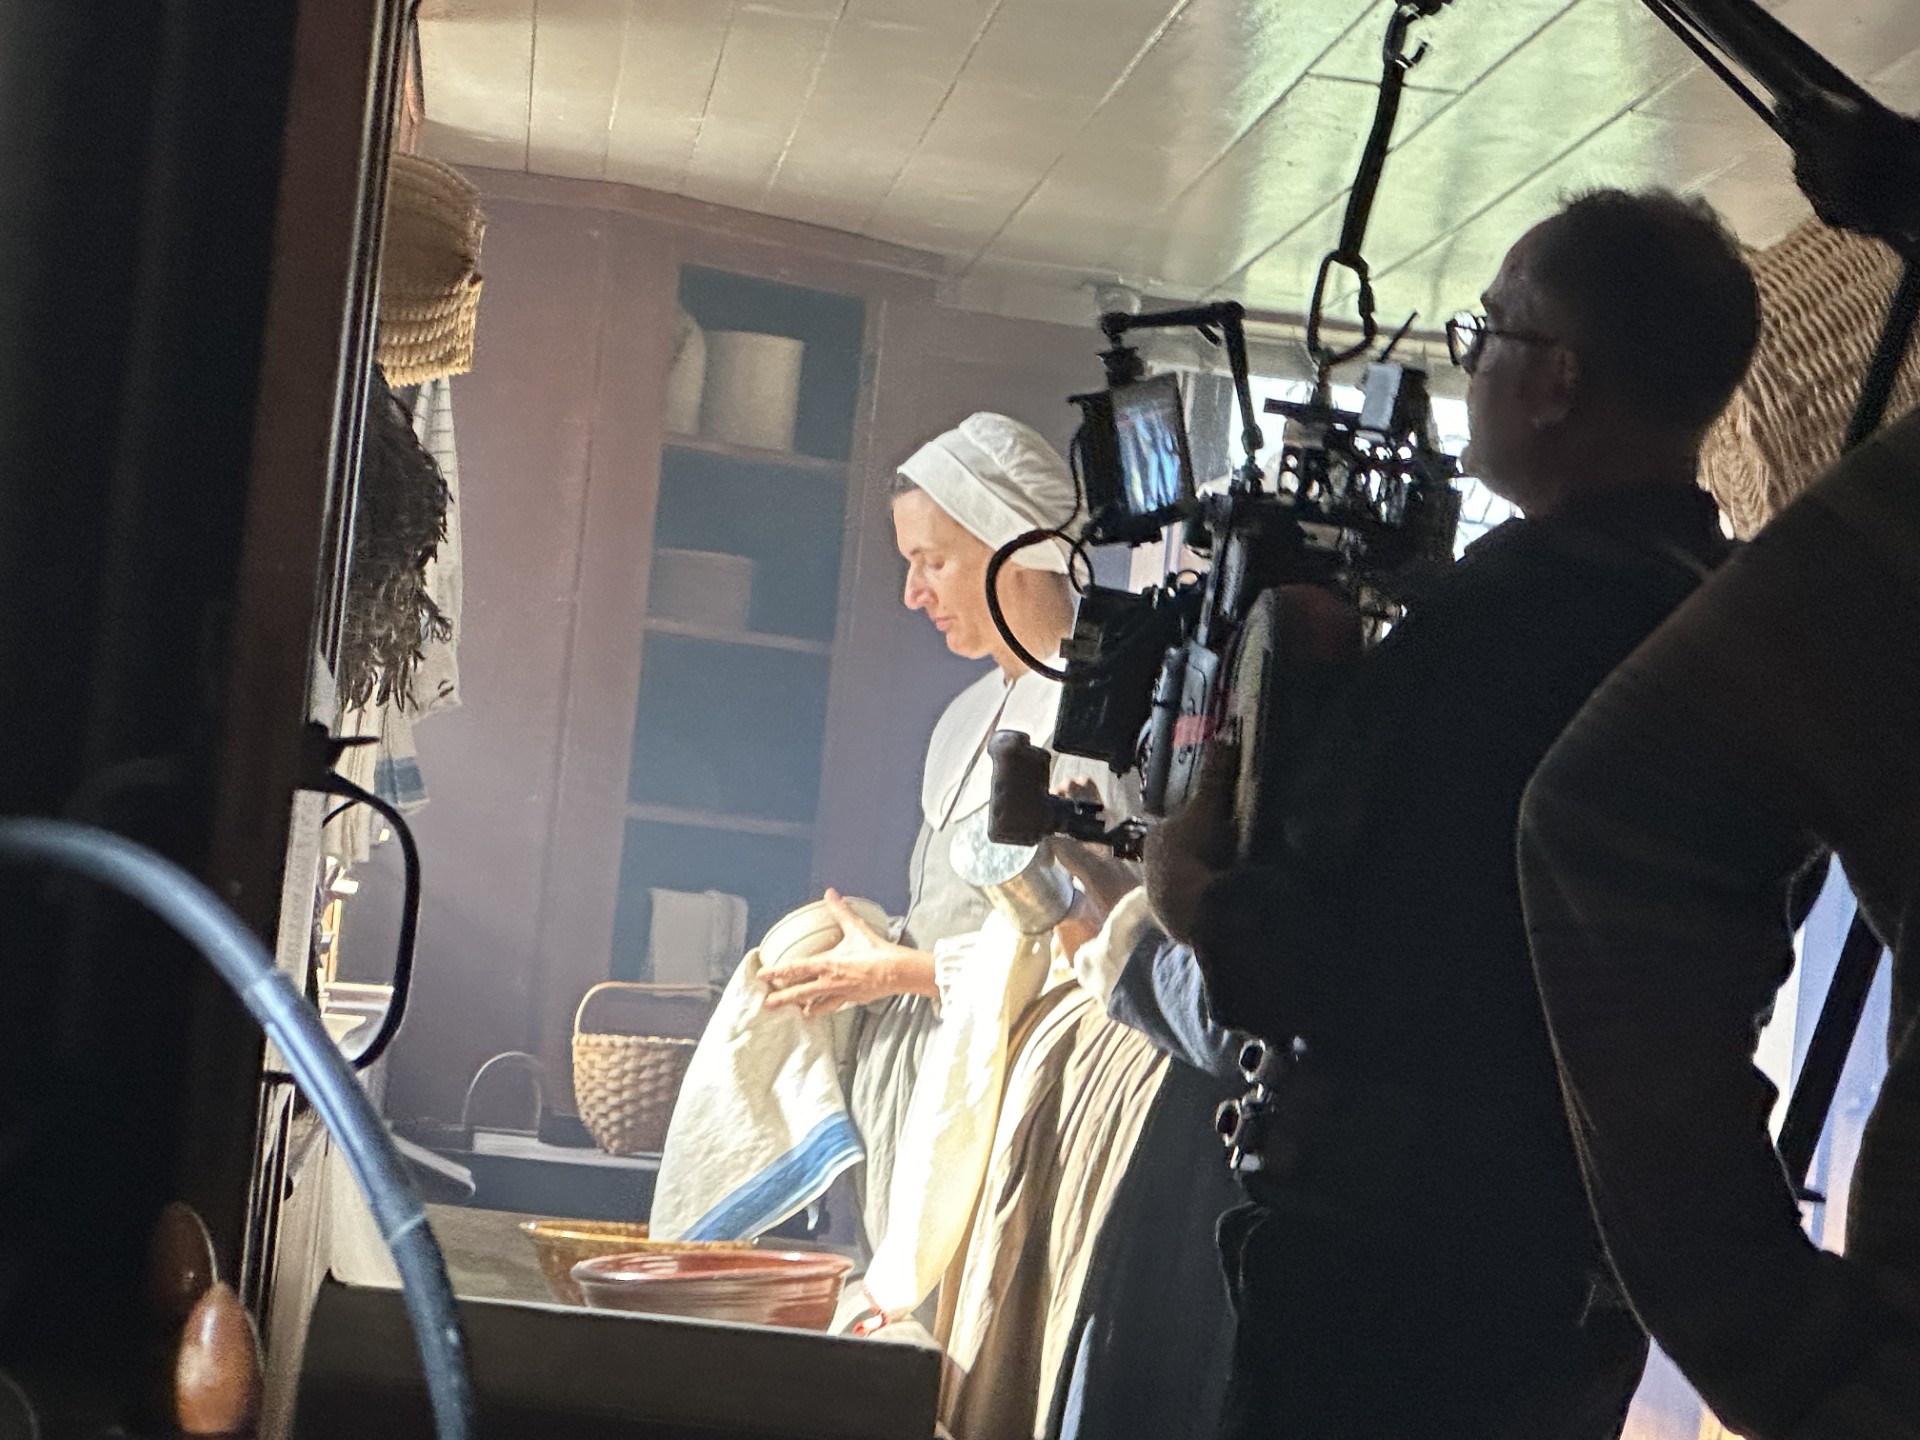
The sequence leading up to and including the song “Hunger and Thirst” is a moment I am extremely proud of. Amanda is in a dark prison cell and the sun slowly rises, striking the ground and eventually her. The scene plays with darkness and shadow and lens flares demonstrating the ability of these lenses to retain contrast and character in very extreme lighting conditions. Sam Ellison, my A-operator and second Unit DP, did an extraordinary work in this sequence; it’s an intimate dance he does with Amanda Seyfried, discovering each gesture for the audience. Daniel’s score, Sam Bader’s set, both perfect. It’s beautiful.
Sigma:
What is something you hope people take away from your work on this film?
Rexer:
I love what I do. I love working with talented directors and going all out. Mona Fastvold is truly special. Daniel Blumberg, our composer, is a genius; Celia Rowlson-Hall’s choreography is stunning; Amanda is one of a kind. Making a film is making yourself incredibly vulnerable. We, as a team, made a decision to shoot on film, to light environmentally, to use daylight and candles as our main sources (or justification for lighting) and to keep a small crew that could work collaboratively. Mona created an artistic family and we, like the Shakers, worked because we were inspired. This was a unique experience.
I hope people get transported. I did not want this film to look like what people see everyday. My goal was to give them something very old and at the same time new.
The Testament of Ann Lee
Director: Mona Fastvold
Producers include: Mona Fastvold, Brady Corbet, Andrew Morrison
DP: William Rexer, ASC
A operator/2nd Unit DP: Sam Ellison
AC: György Horváth
[ad_2]
Source link