
[ad_1]
Welcome to our weekly community wrap-up. It’s been another very exciting week on the Light Stalking forums with great photography by the community and the discussions in the forums have been amazing and very inspiring the past few weeks.
Here is the Photo Of The Week that is judged by Federico every week. This week’s photo of the week is Pat Garrett’s unique take on patterns – Unseen patterns connected to every day life. Read more about it here – Photo of the Week – October 12th

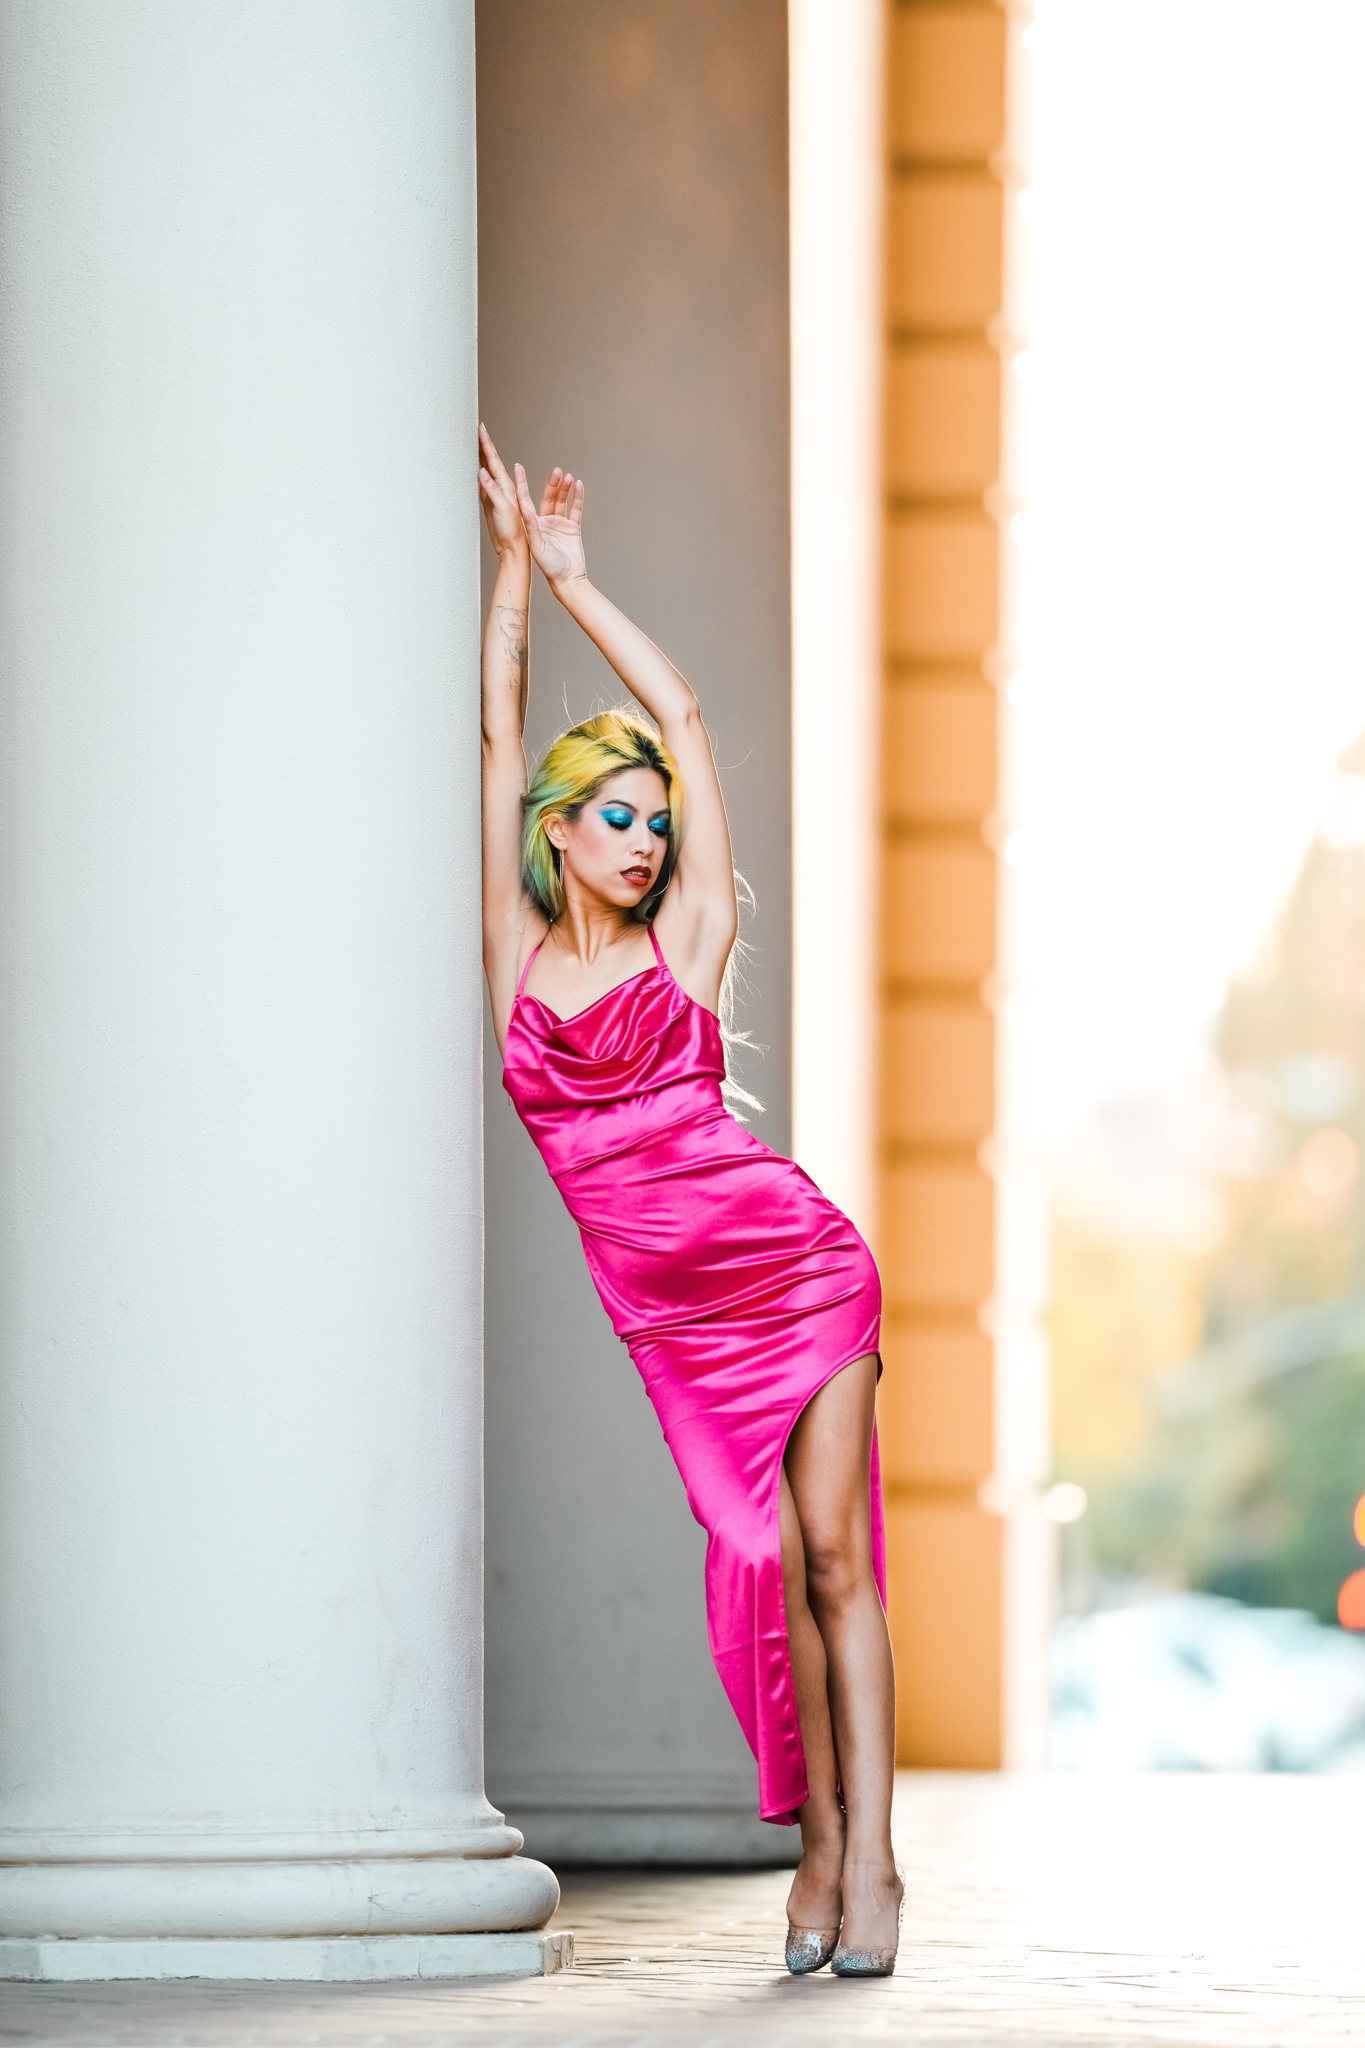
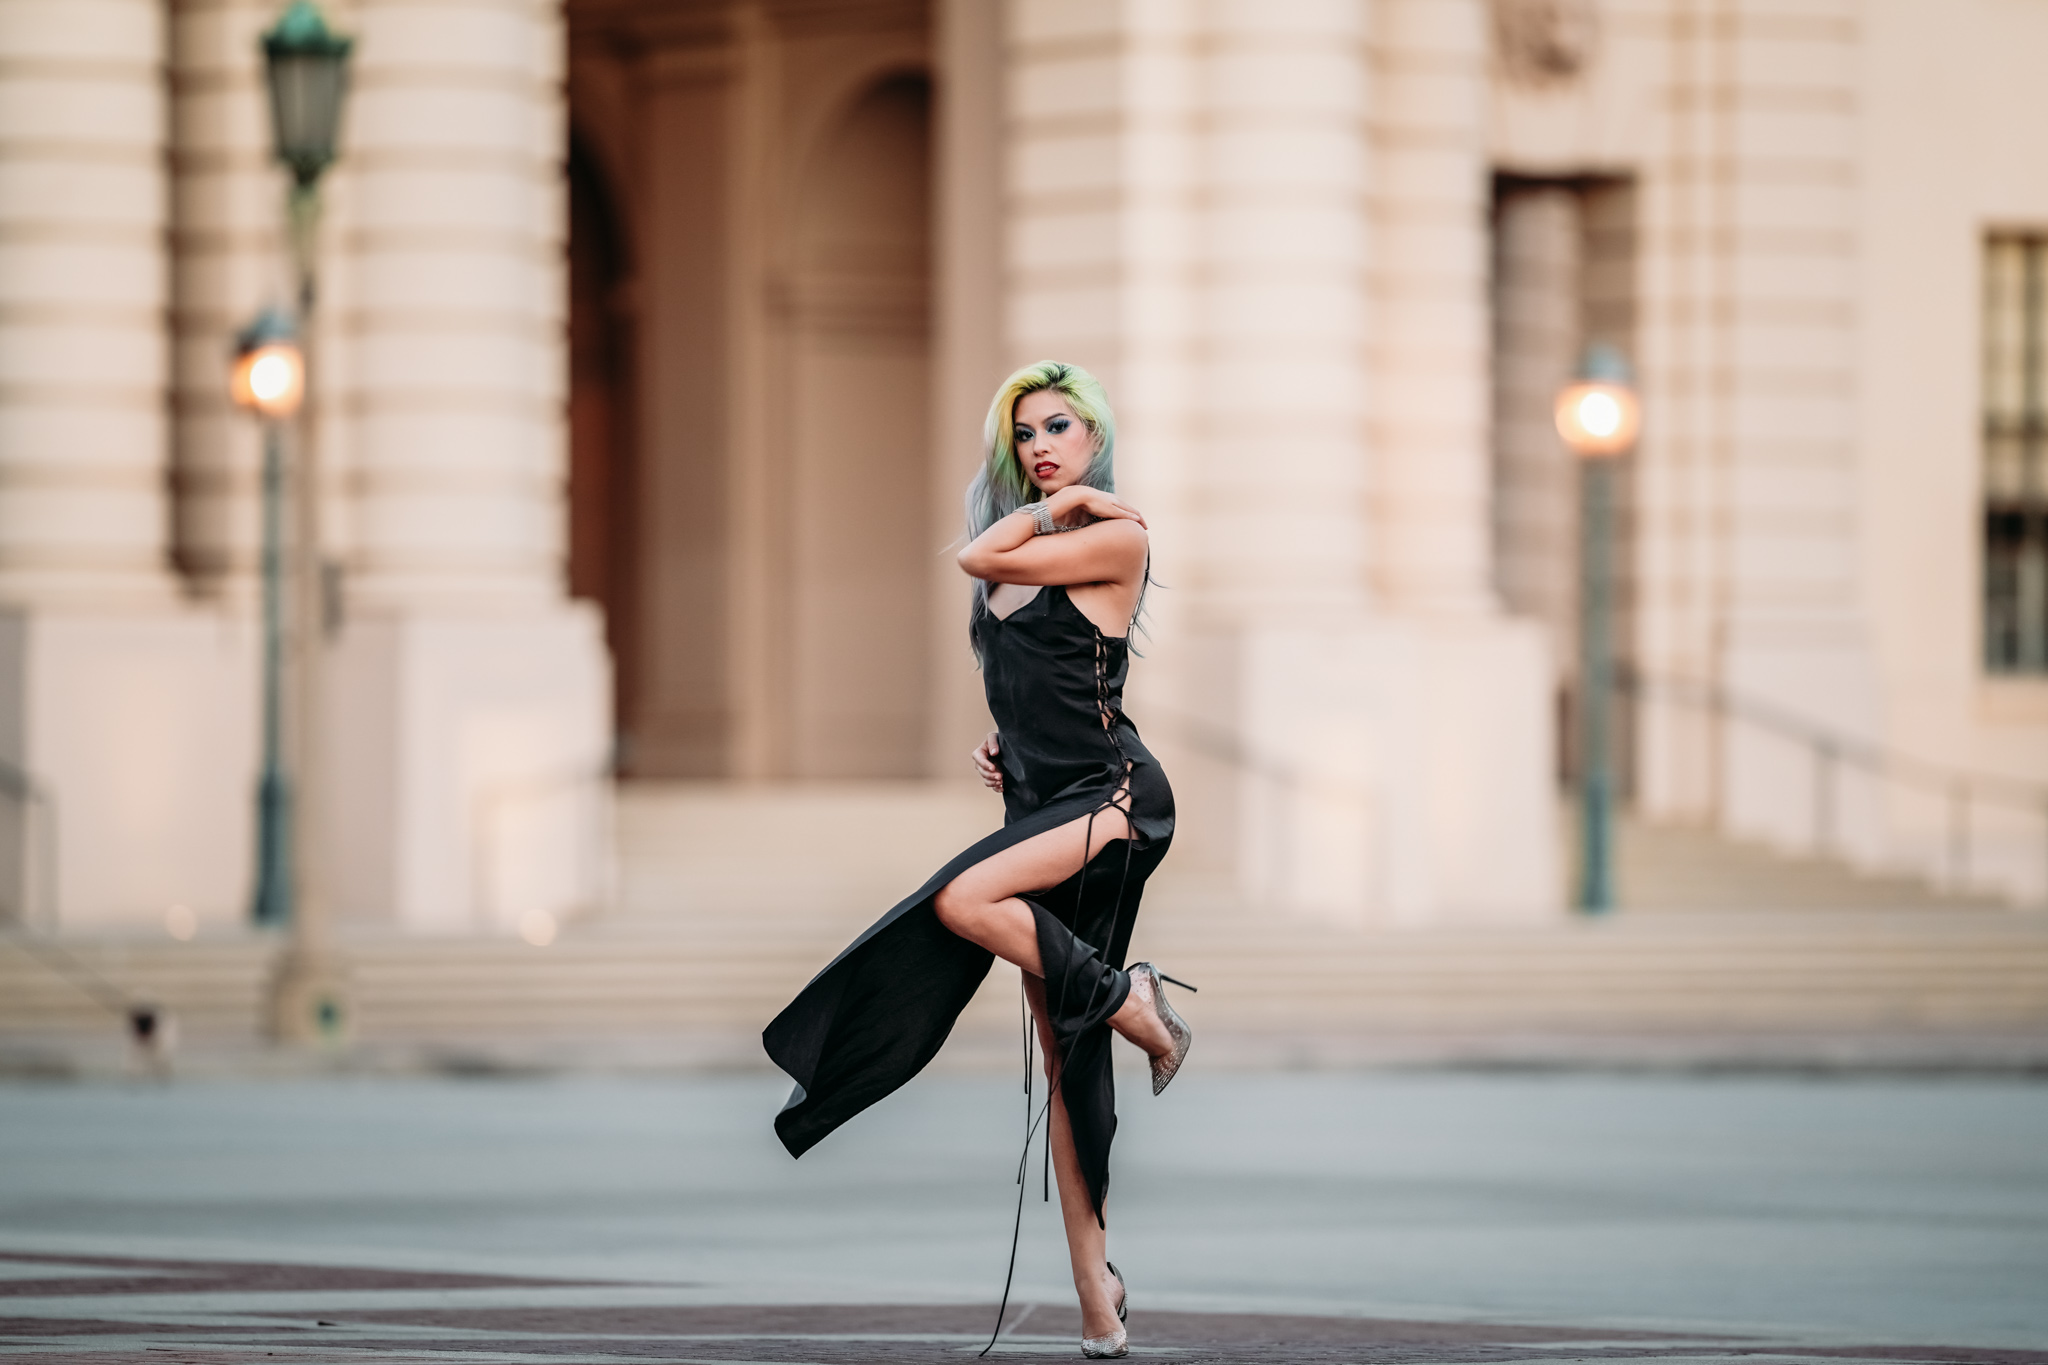
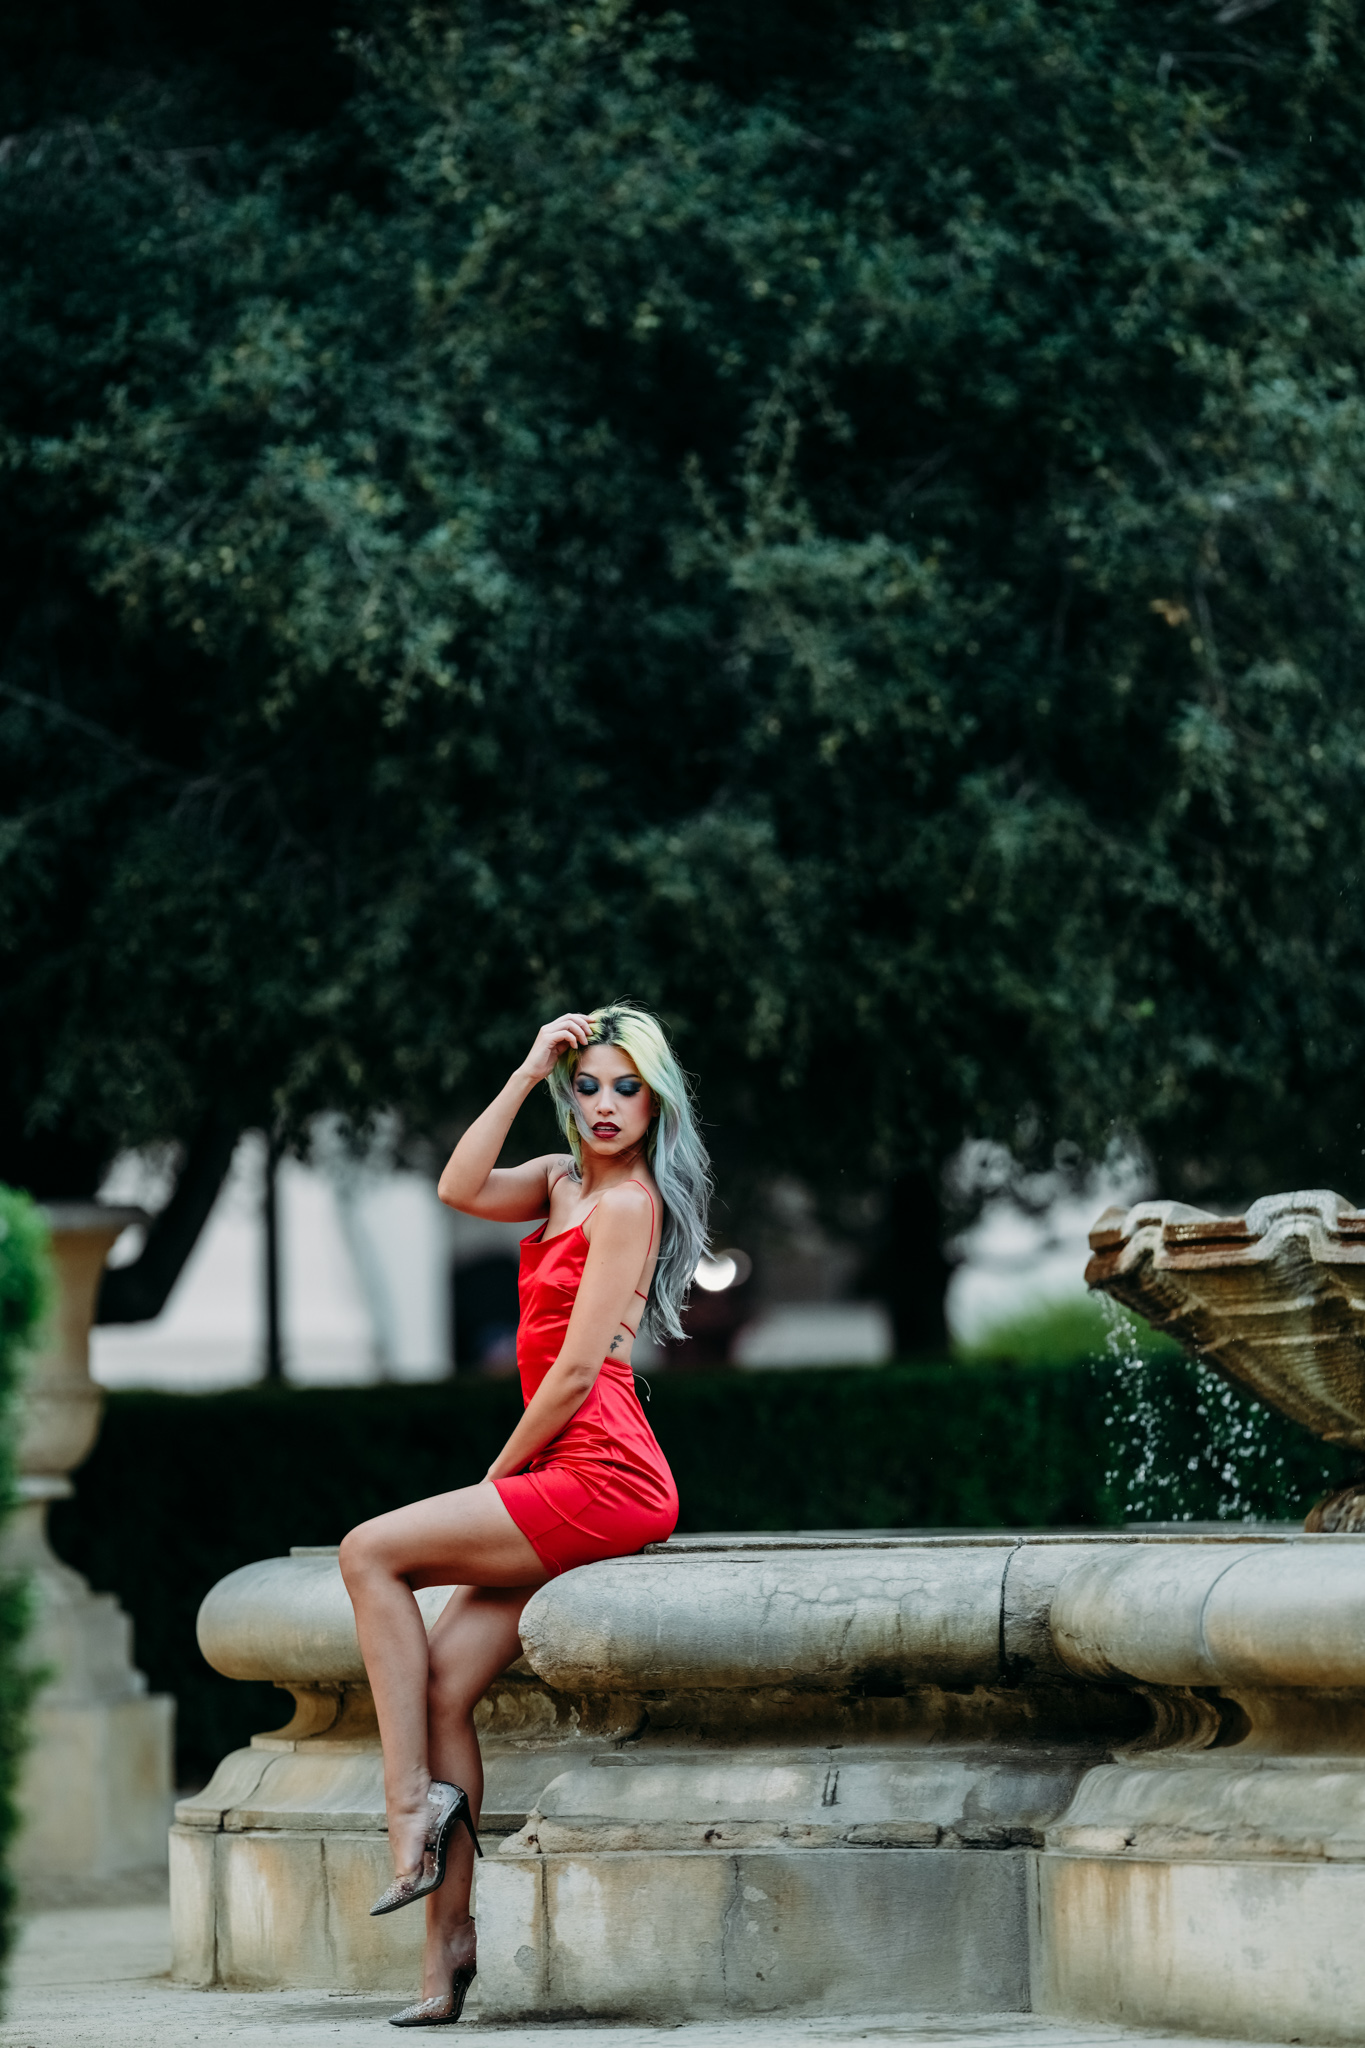
The weekend photography challenge from last week was “Patterns of Life” and members came up with their creative interpretation of the theme by capturing very interesting shots – some of them are shared below.
This week, we have a new challenge that has some very beautiful submissions already. Join the challenge here – Nature’s Abstractions
Here are some patterns of life photographs from the past week’s challenge that we thought were great and should be included here:


Here are photos shared by members in other forums like General Photo Chit Chat, Landscape Photography, Macro Photography, etc.
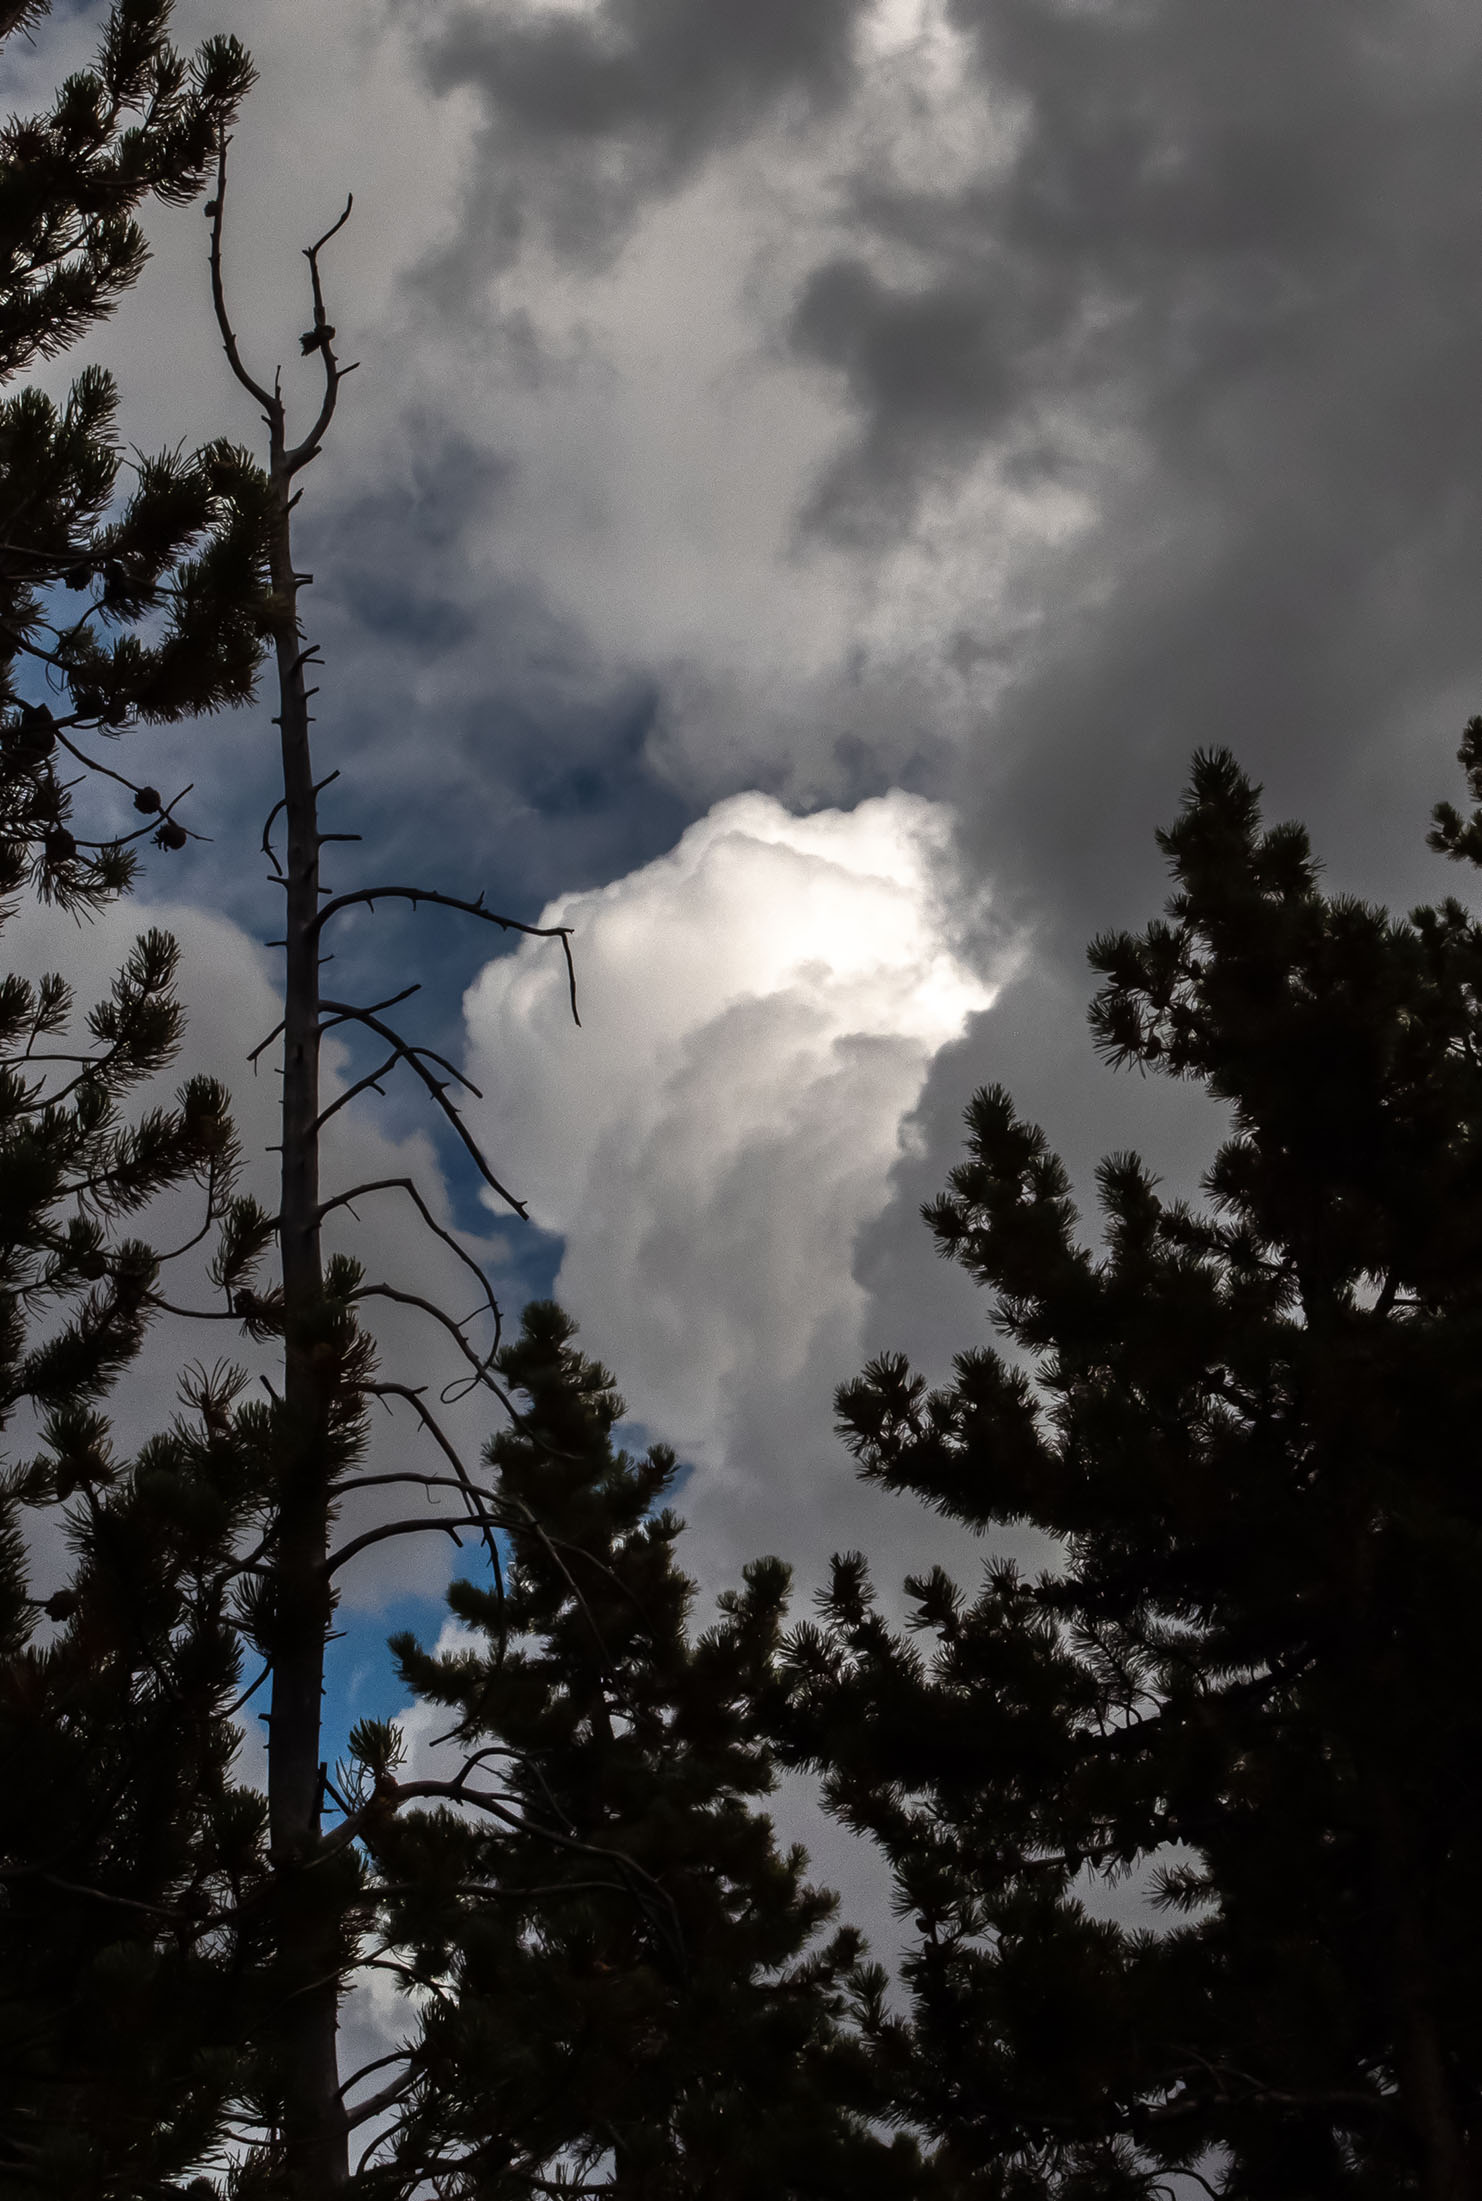
Robert shared a photo of clouds shot through pine trees here. Check out Robert’s experience when capturing that photo.

And a Morning View from one of the Camper Windows

Robert shared another interesting photo from the Red Rocks – Visitors From Easter Island. How many faces can you see? Go and comment here.

Daniel shared a few photos too: One of a china rose here

A New England Aster here:

And a moon series here:

Tersha shared a stunning photo of a Nigella flower, almost going into seed.

Another fun image by Tersha was – Spot the spiders

Patrick has been working on a few projects recently and also has been creatively capturing images, mostly with a dark mood. Here are some interesting ones:


Also, check out some artworks that Patrick has been working on recently here:

And some colours and patterns photos from everyday life here:

Our new member Dail has introduced herself here, and she has already posted a couple of stunning abstract flower photos. She is an avid nature photographer with a passion for macro work, capturing the intricate beauty of the natural world up close. She is also looking for advise on mobile photography that she has been trying to improve recently.
Discussions:
- I have been in photography for… – Rob started this discussion – Have you guys ever noticed that somebody who leads with how long they have been doing Photography is usually about to say something to offend somebody else?
- How do you improve? – Rob started a very interesting discussion on how photographers may fall into a few different groups. Join it here.
- Steve started a discussion on Magnetic Filters. Join over here to participate.
If you are someone who captures images with your smartphone, we have a Mobile Photography Challenge where you can post your mobile photos and also check out the works by other photographers. The images must be captured and edited on a smartphone. Join to submit the photos over here. Here are some interesting photos captured on a smartphone:
There are also some members’ picks that are featured. These can be chosen by any of the members and are put in a whole new thread of their own and called out as being a great addition and shot for the forums. Check out those stunning captures here.
Patrick started a thread late last year – “Community Inspired Photo Story Challenge” – capture a story in 3 to 6 photos that hold personal significance and post them with a brief description. While that thread was started to be completed within a week, it has been open with ongoing submissions for the past year and is still open where members can post their stories.

Here are some throwdowns to follow and post your own photos, or you can start your own throwdown too.
- Trees That Go Bump In The Night – Robert has started a throwdown and invited members to share their unusual photos of trees (Not Your Normal tree photos)
- 2025 Reflections Throwdown – a unique way to capture your own reflection, whether abstract or otherwise. There are many beautiful images to go through for some inspiration.

- Your Pets – Share photos of your pets here.
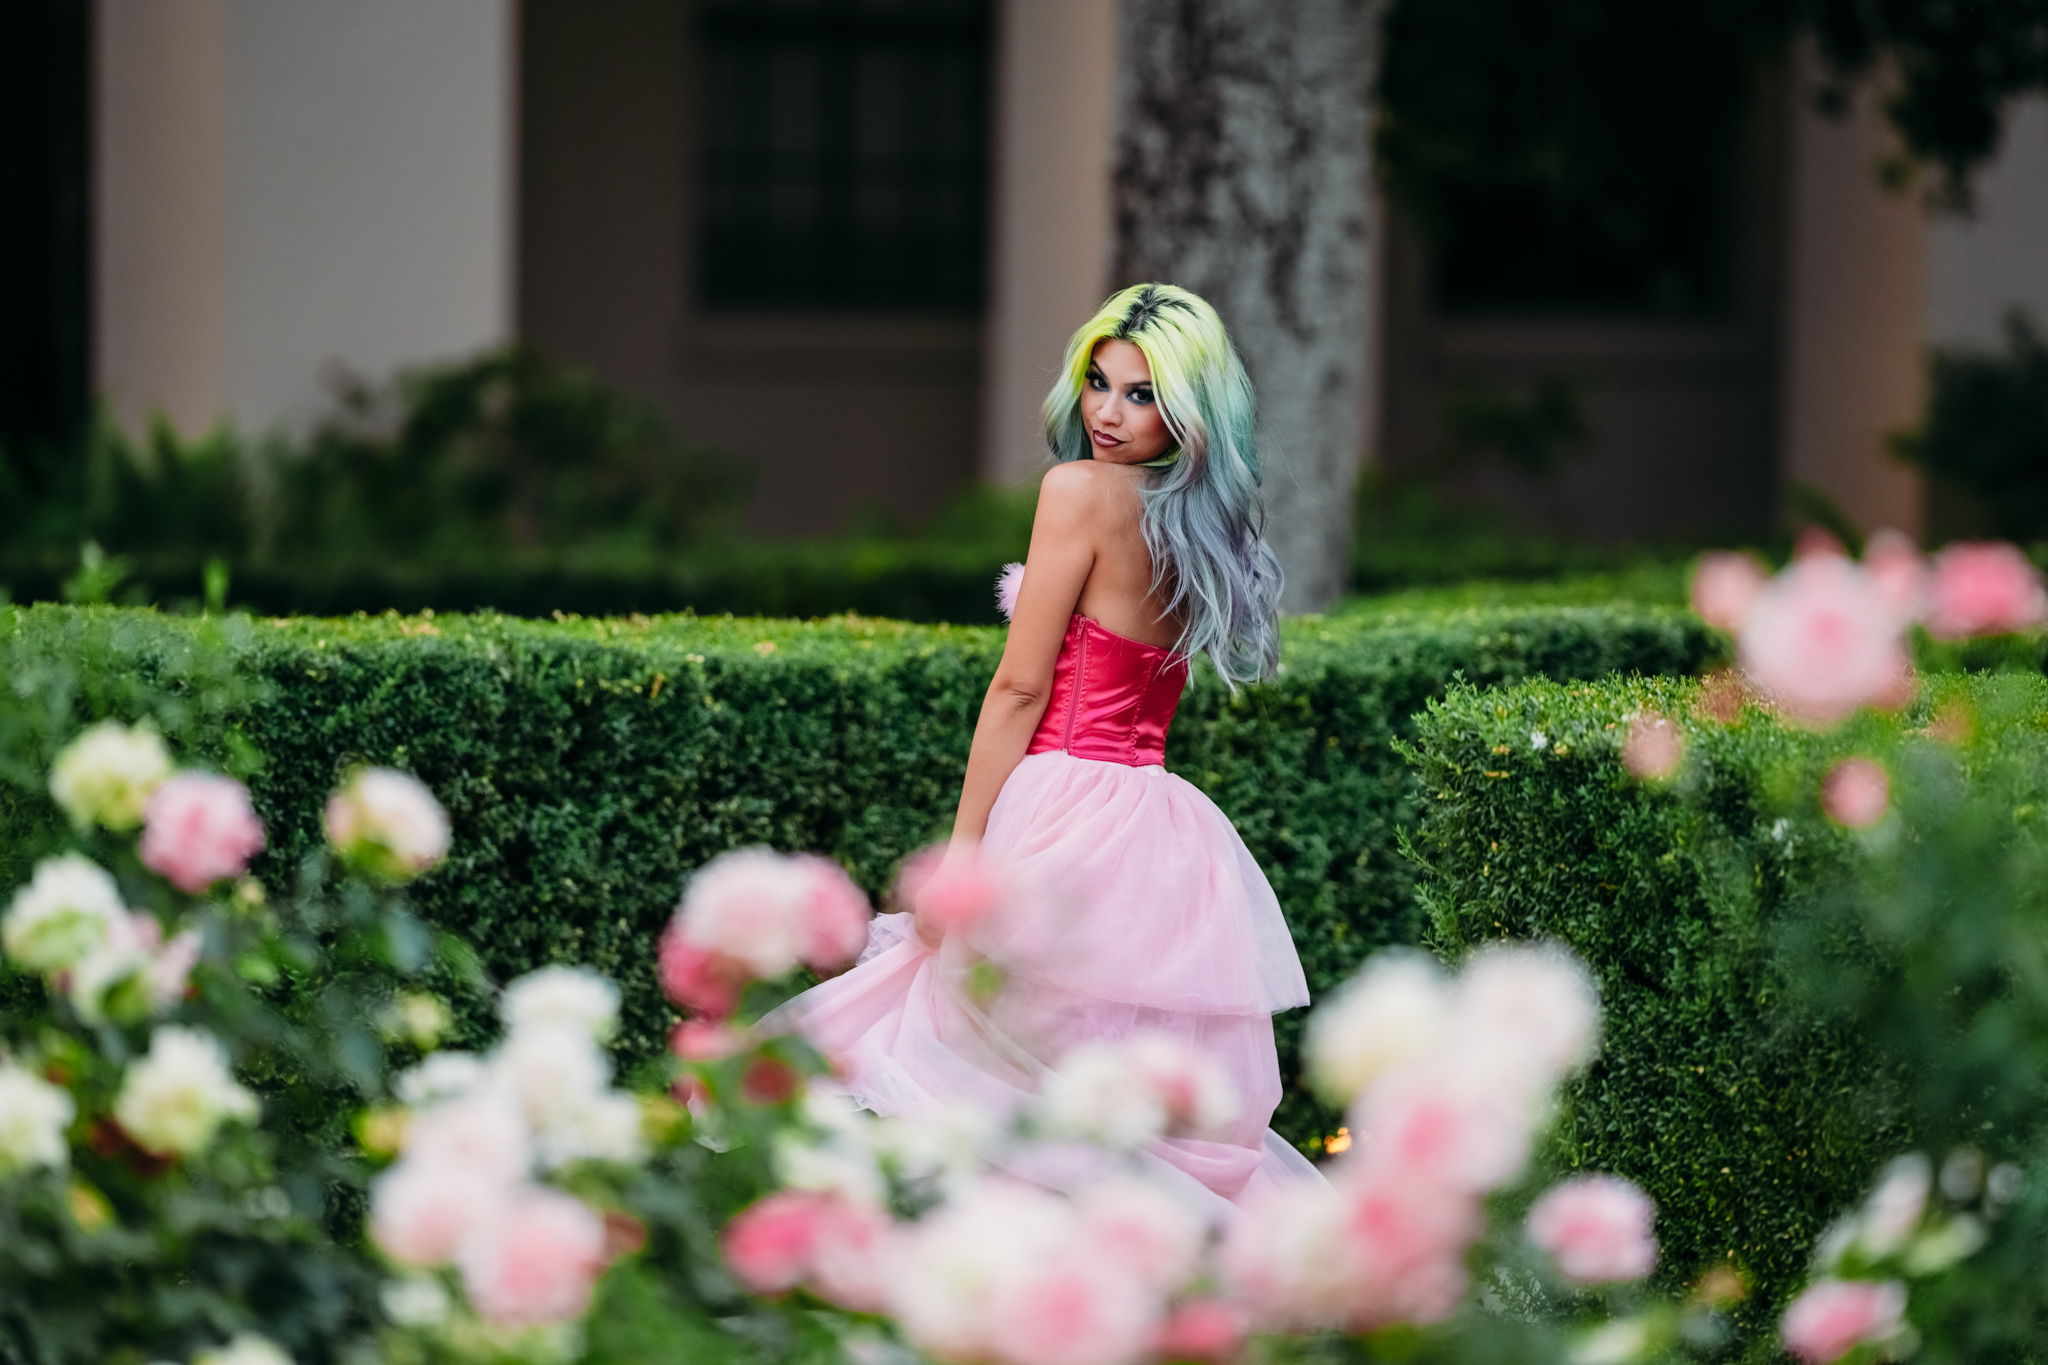
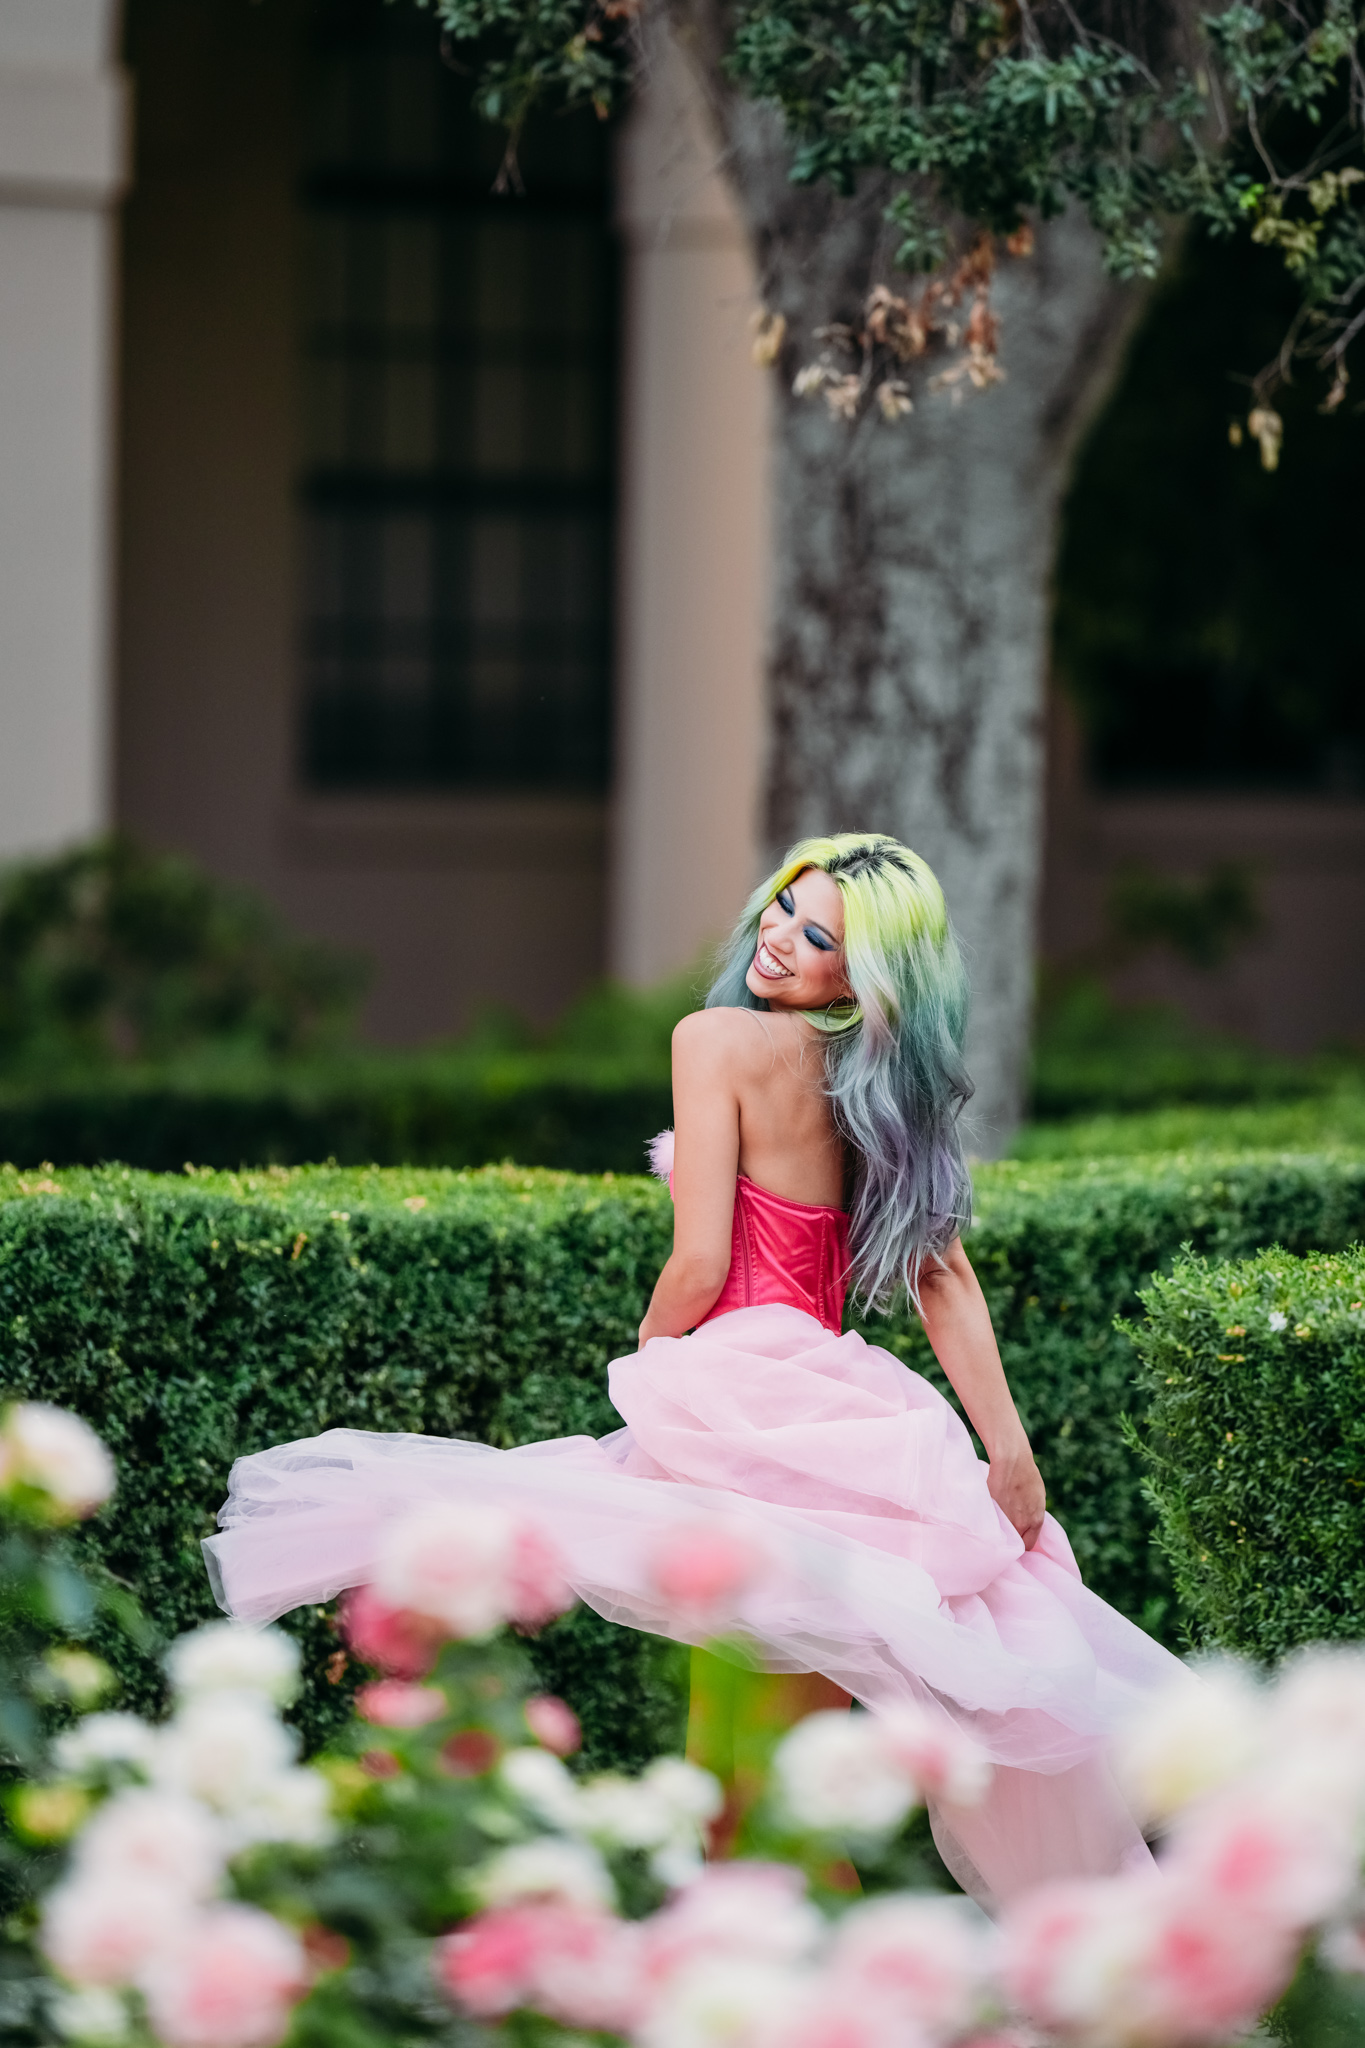
- Rob started a new throwdown – “Abstract Flowers” – a very interesting one and it has some very creative and absolutely stunning shots already. You can participate here and we have shared some recent images below.

Dail shared a very interesting photo of Garden cosmos, where she took advantage of the wind and the clouds to capture a long exposure abstract of the flowers.

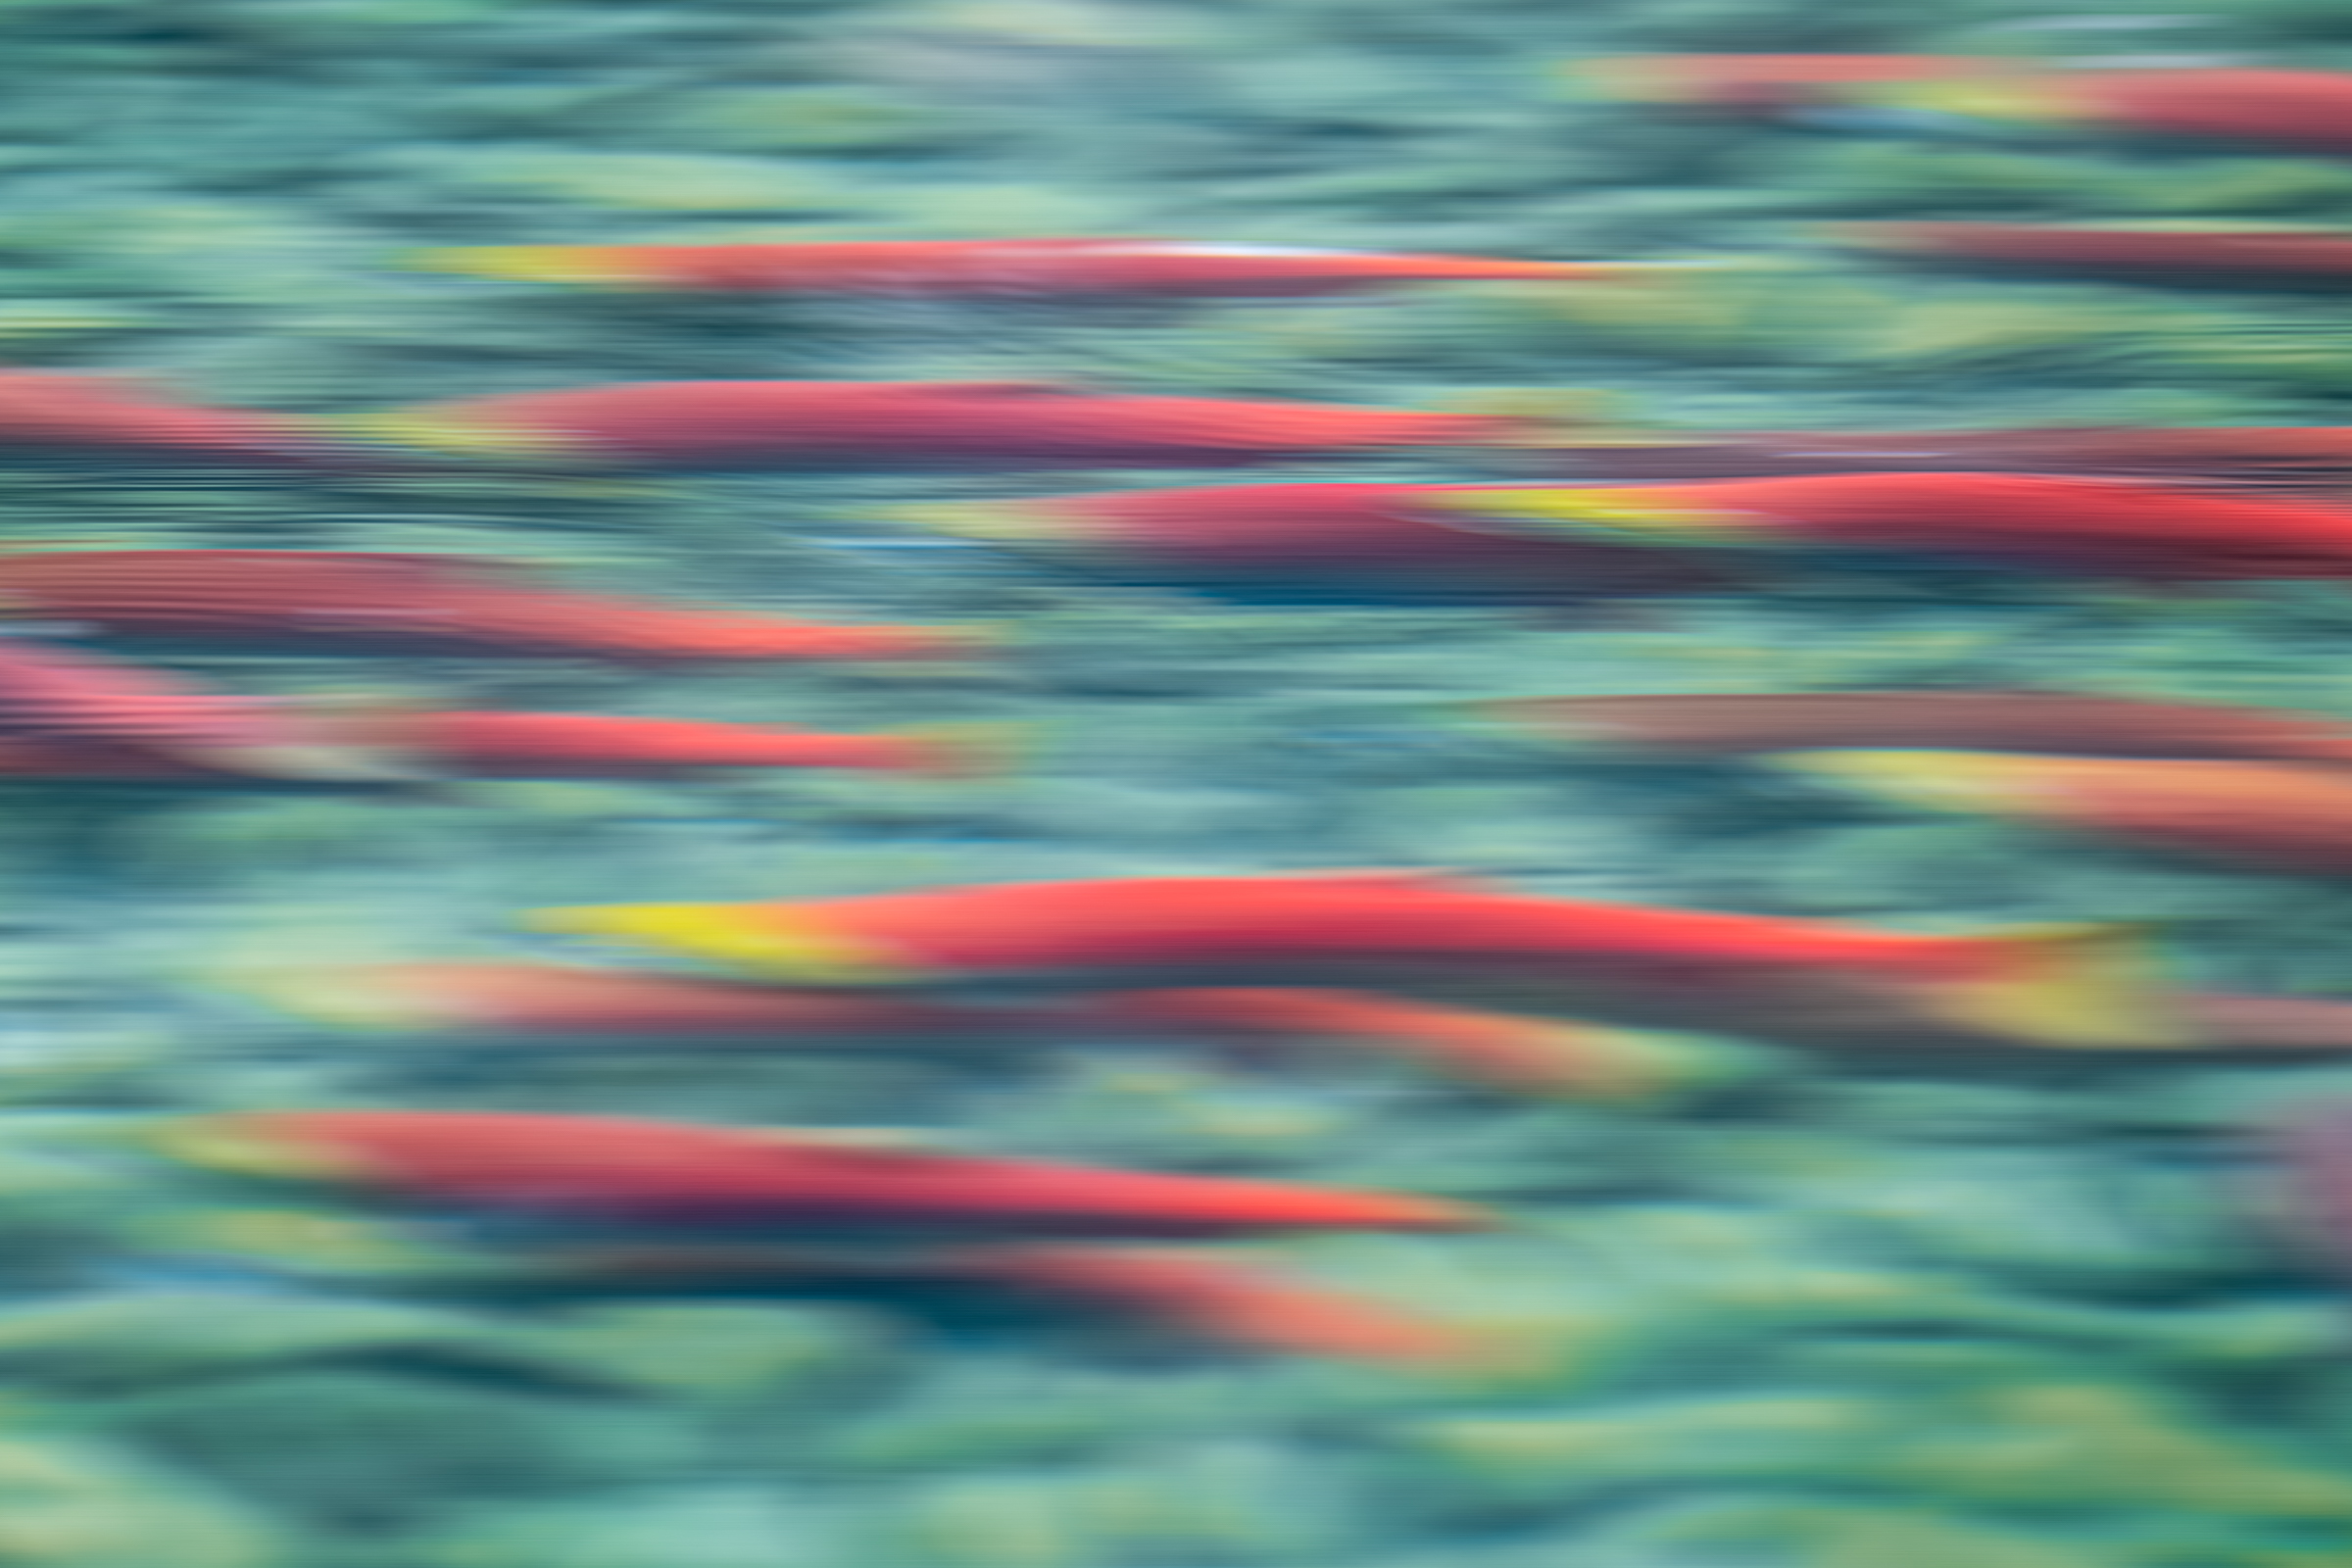
Jean shares ICM (Intentional Camera Movement) with low speed photo of some flowers


And, there are images posted in the Shark Tank forum where members request for constructive criticism/feedback on their photos.
If you’d like to join in with our members, feel free to join us on the forums. We’d love to see you there, and we are a friendly bunch.
[ad_2]
Source link


