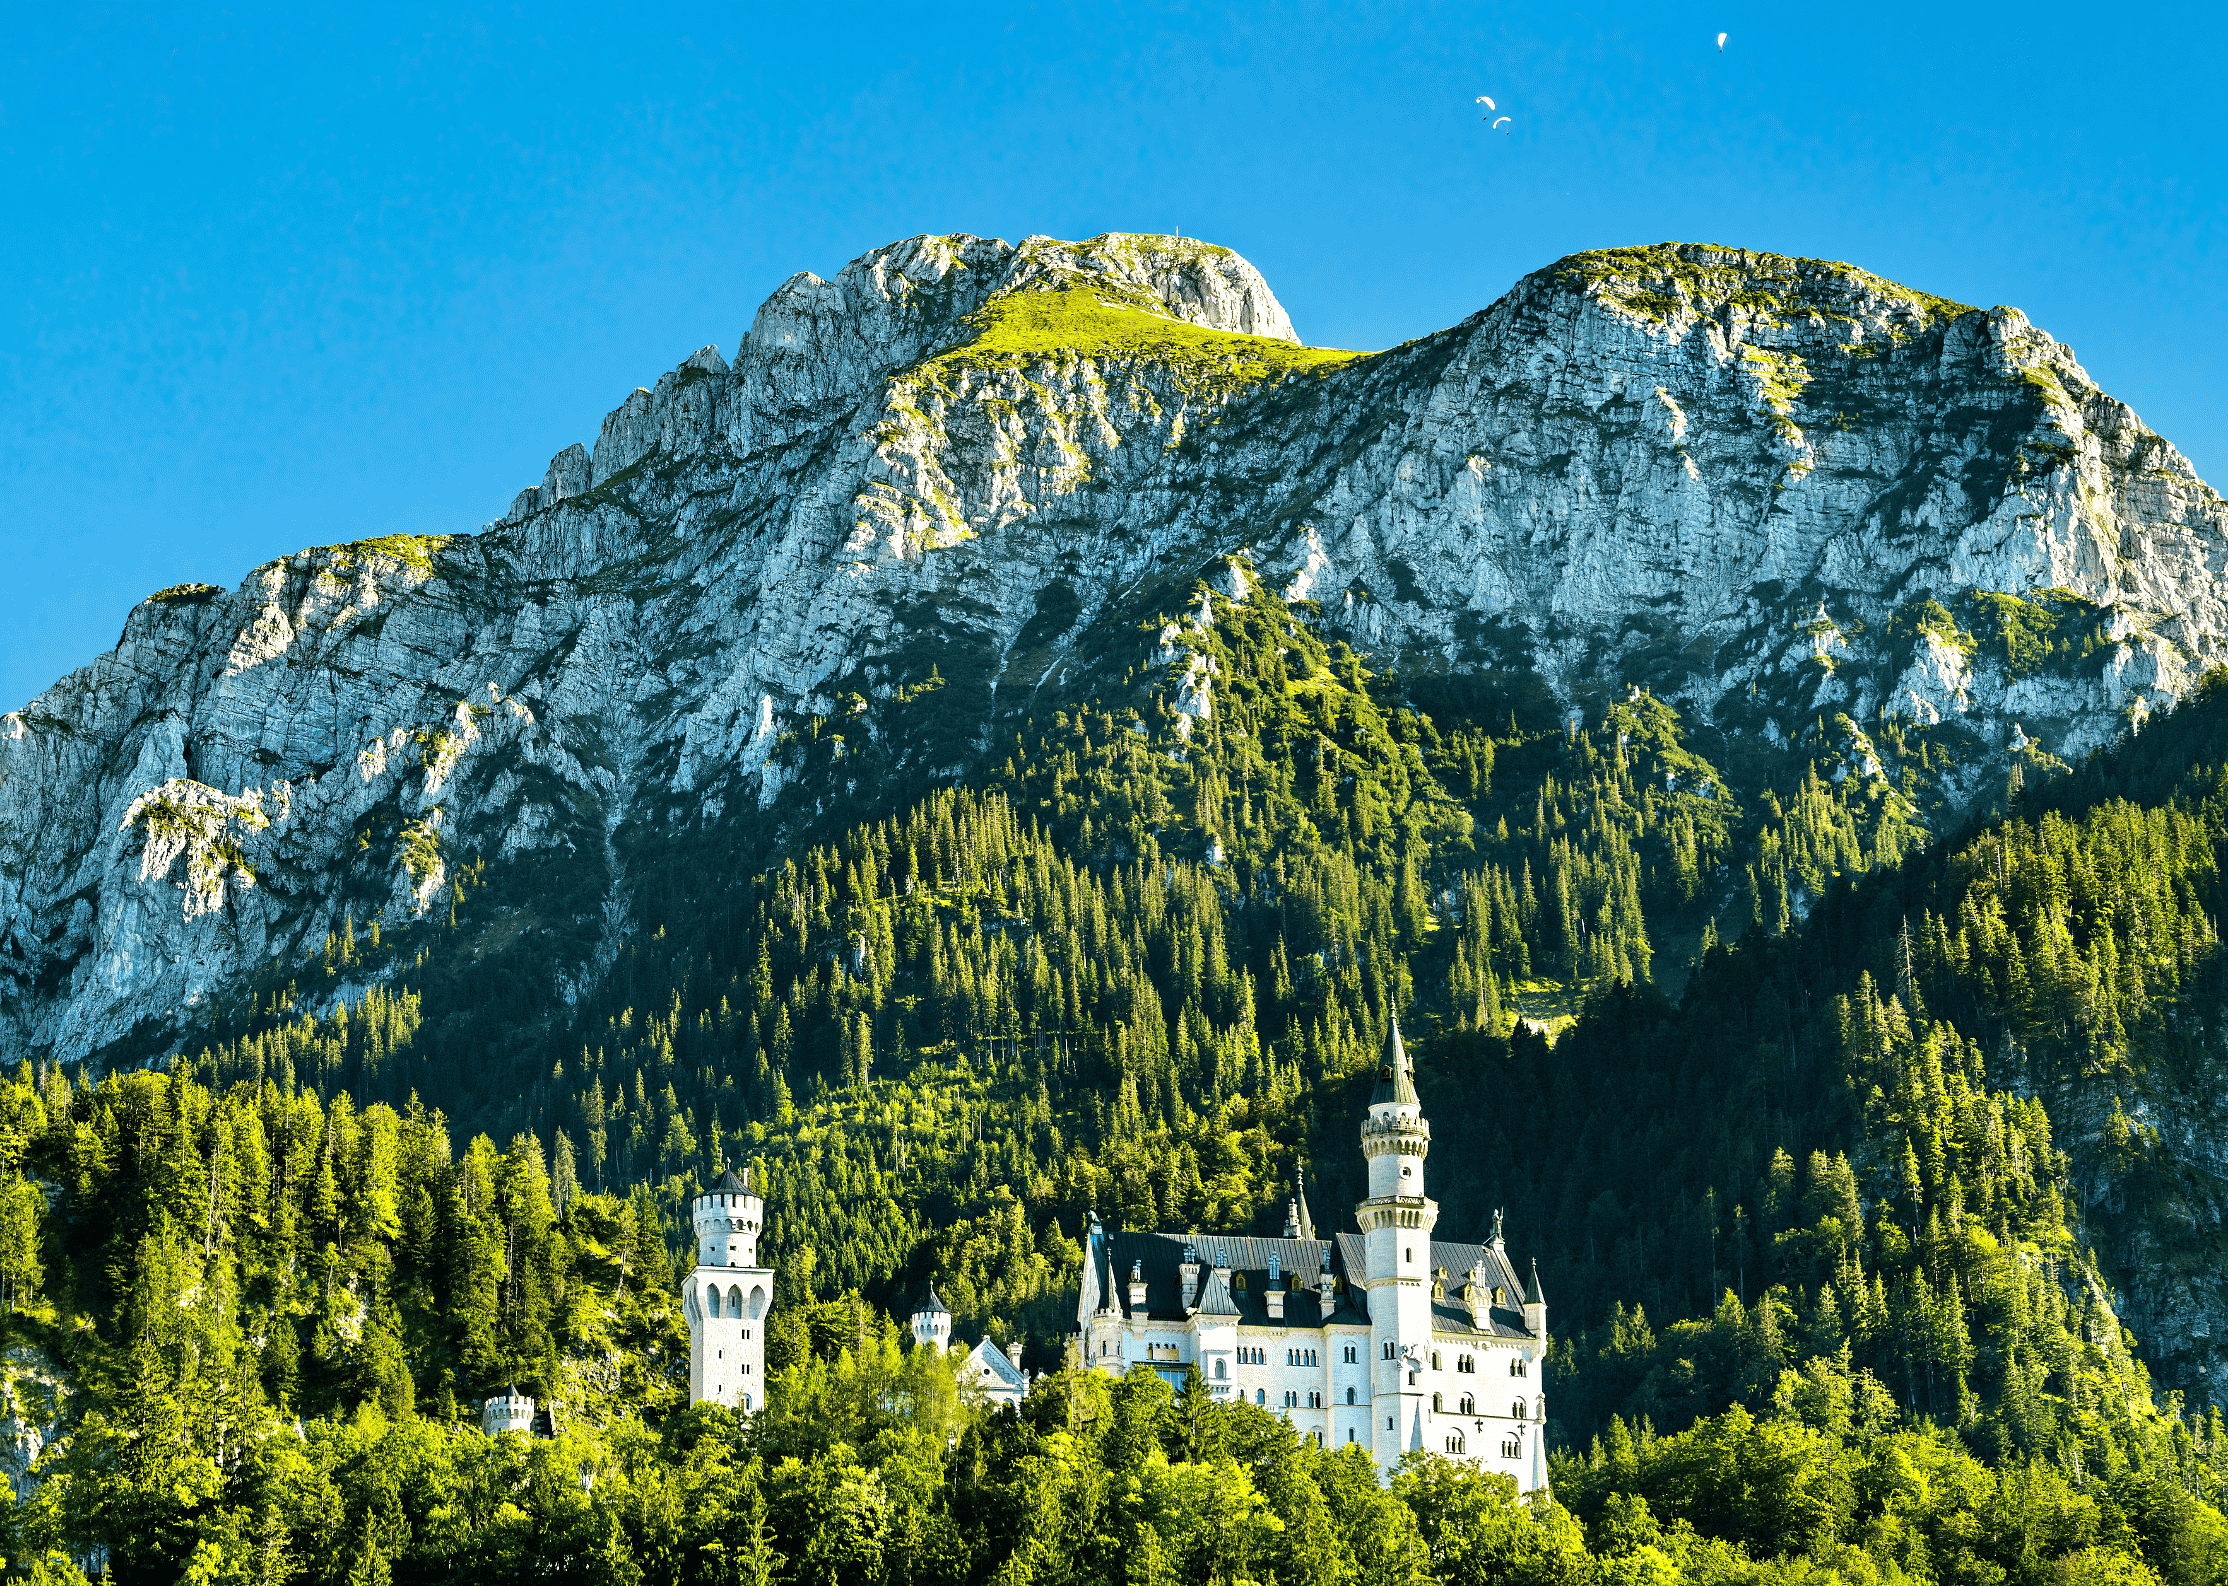
King Ludwig II erected his fascinating fortress in the state of Bavaria’s southern frontier in Germany. Due to its astonishing architecture and isolation from the outside world, Neuschwanstein Castle became a haven and has since come to represent the Romantic era worldwide. It has even played a significant role in several biopics about the king, and Disney used it as inspiration in making The Sleeping Beauty movie and Cinderella.
Though its construction never ended after starting in 1868, Neuschwanstein is still visited by around 1.4 million people every year. The shy mad king made this castle to withdraw himself from the public. Yet, today, an immense number of people enter his private abode. Isn’t it a paradox?
[table id=32 /]
Neuschwanstein Castle Photos – A Gallery
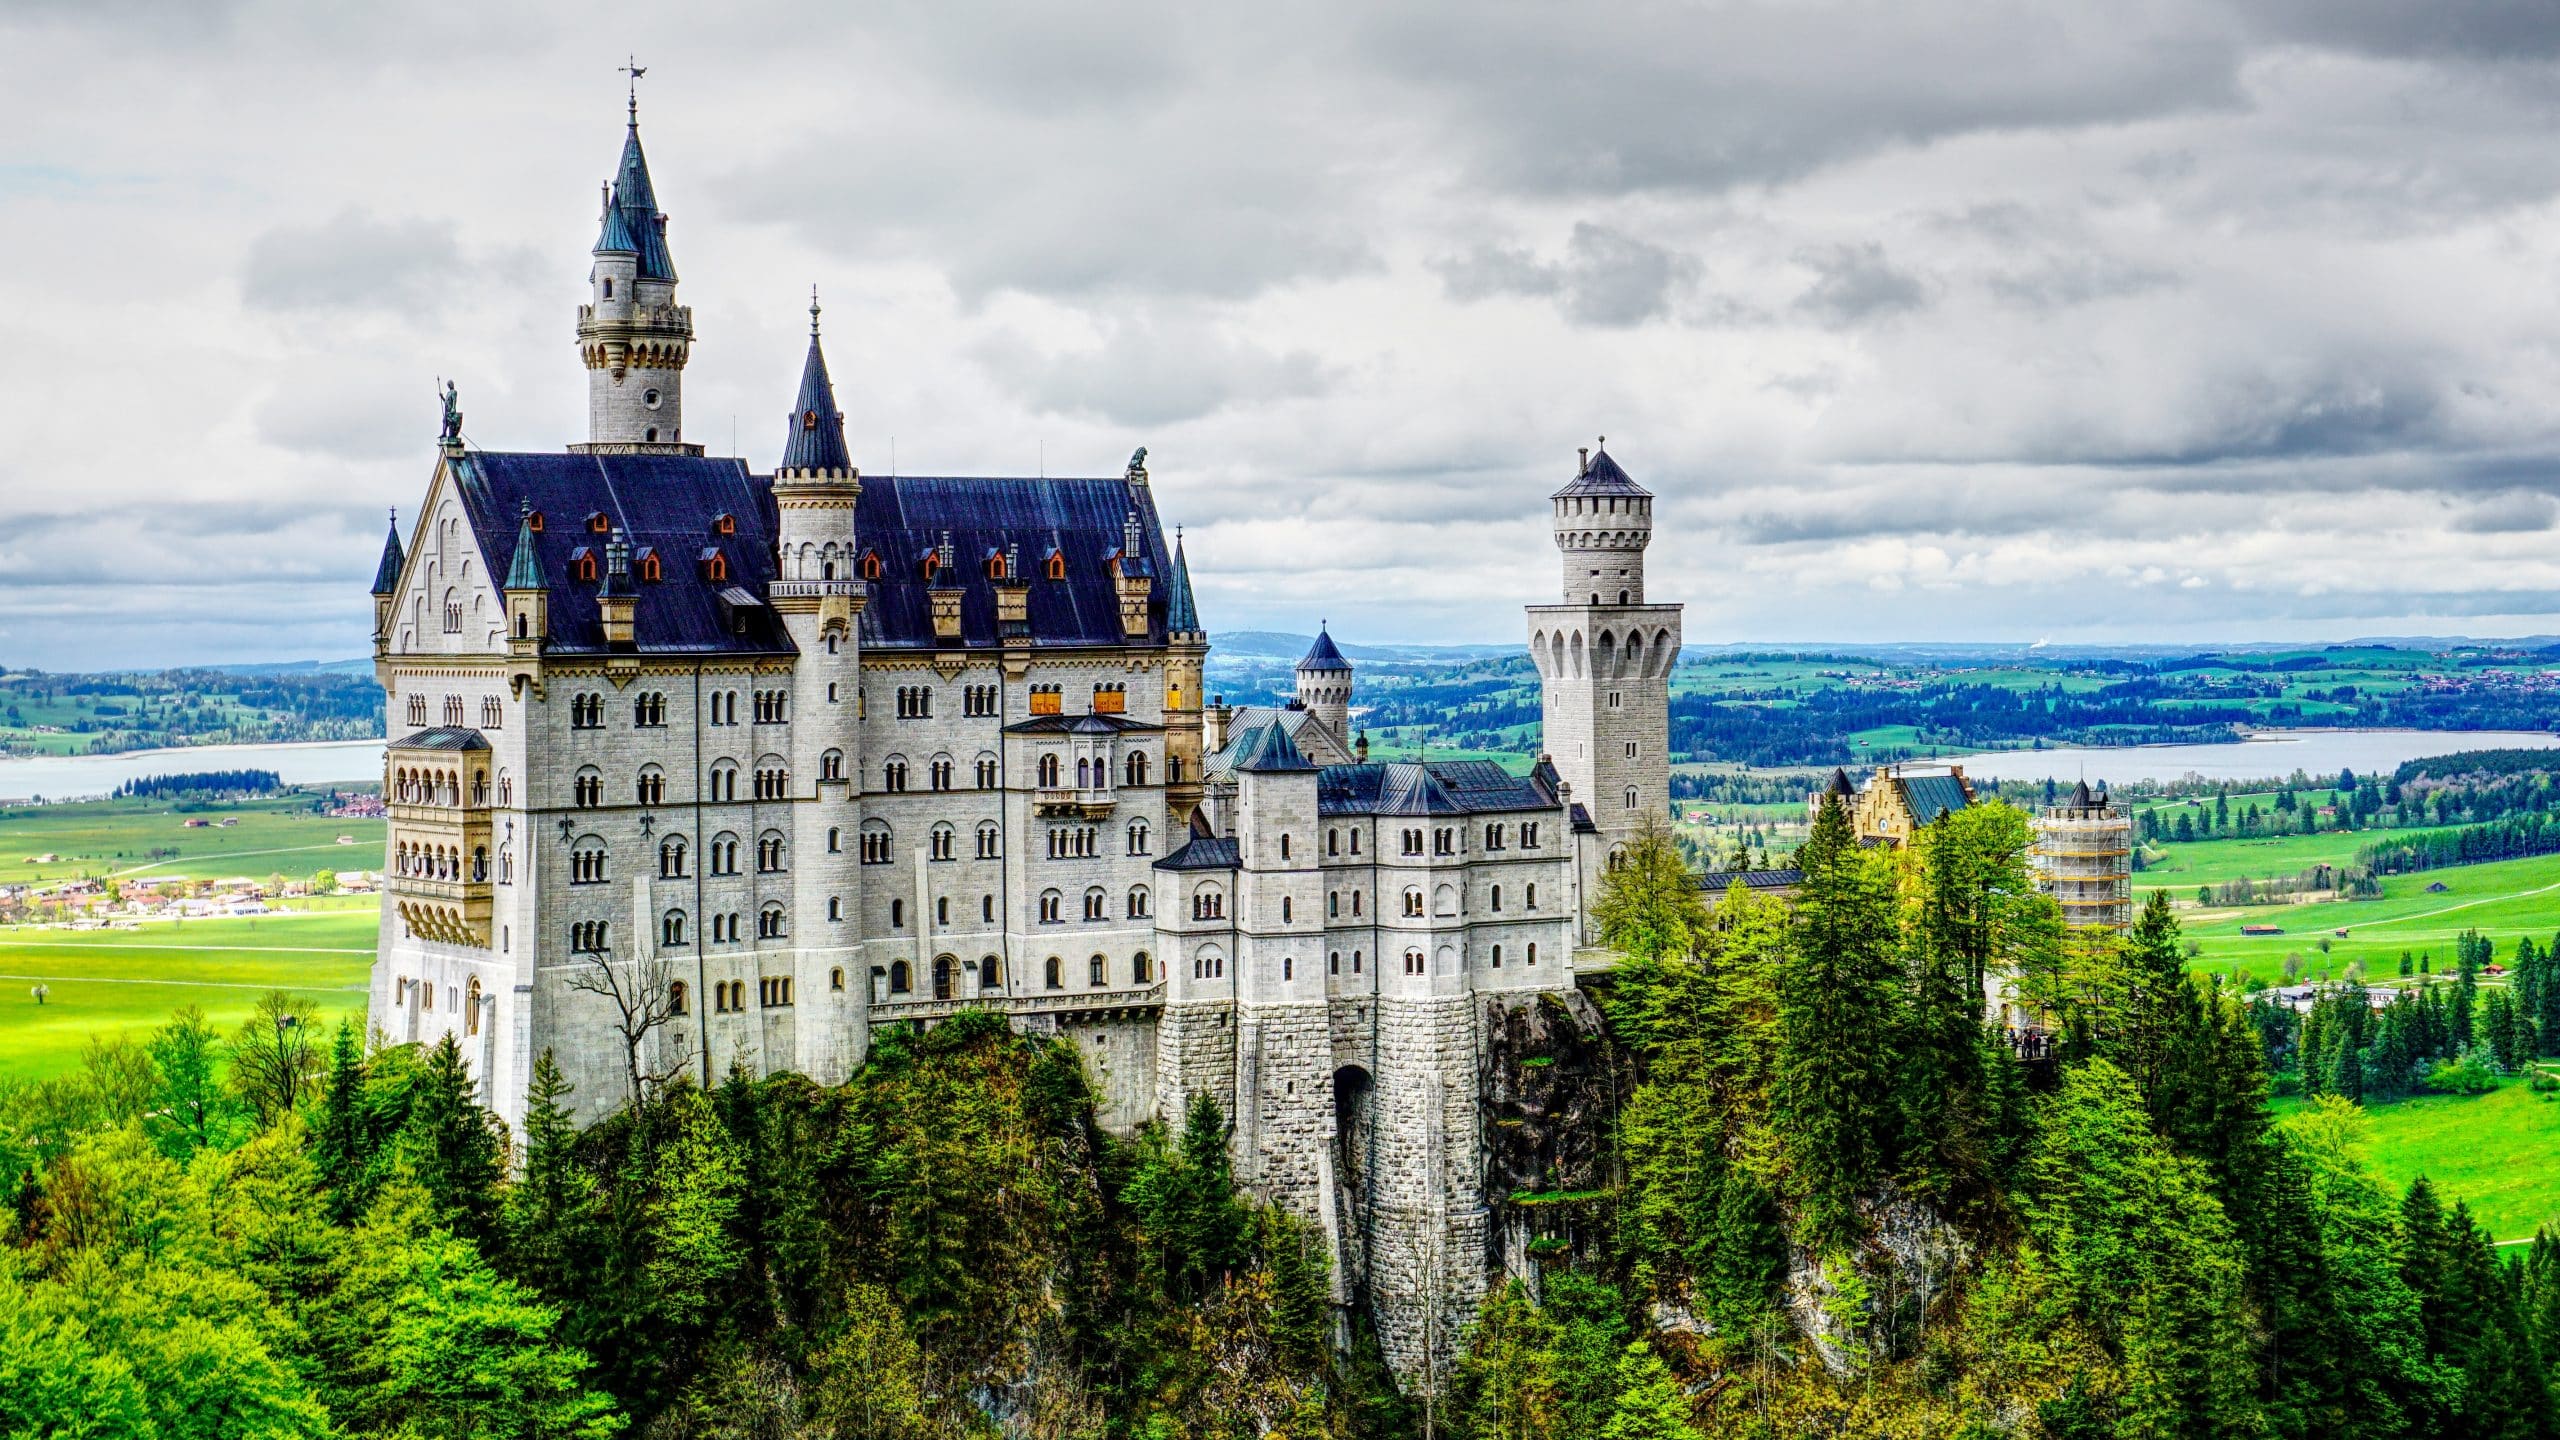
Take a stroll around Neuschwanstein Castle, and you’ll never believe its elegance. It’s incredible when we think that the project had already been canceled when King Ludwig II died. The king lived in the fairytale castle only for 11 days, but each corner of this fairytale castle will speak of Ludwig’s character forever. This picture gallery will contain some exterior pictures of the castle and how and where to take them.
Marienbücke
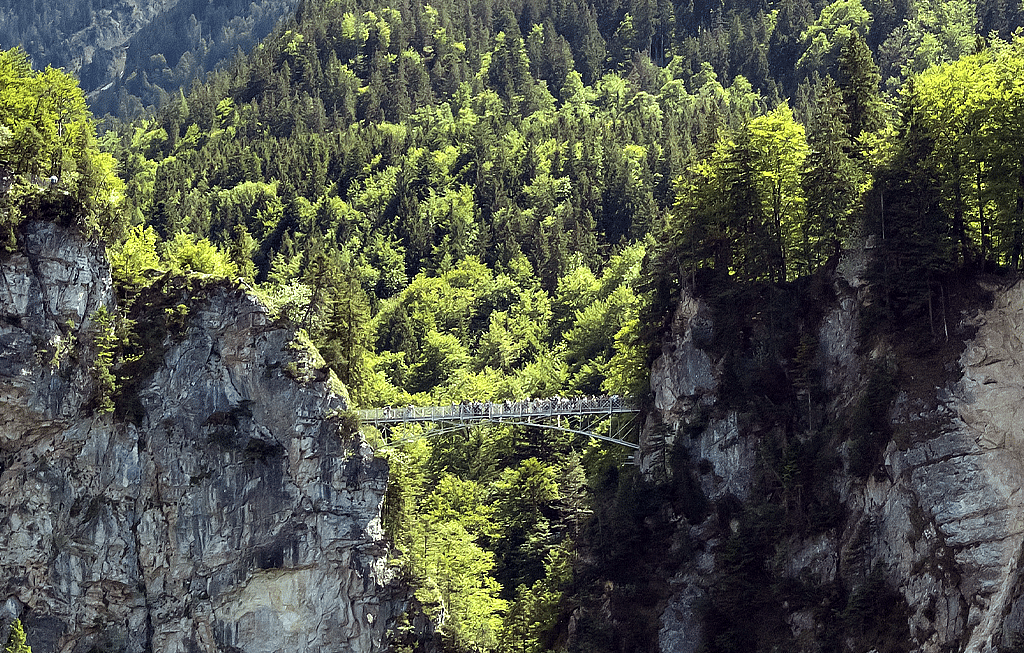
Marienbücke is also called Bridge of Our Lady. In 1866, this bridge was beautifully constructed. It spans the river Pöllat across a rugged canyon. By far, Marienbücke is the most popular vantage point where you can take the best angles of the Neuschwanstein Castle from behind.
The perfect time to capture the castle from there is during the winter. Shades of green from the pine trees pop through the blue and white colors that the Neuschwanstein Castle, snow, and sky exhibit. Given the Marienbrücke’s congestion, you should think carefully about moving up the path after crossing it.
Your starting point should be in front of the fairytale castle to get there. From there, find the path connecting to the bridge. You can arrive there in 10 mins by foot and faster when you decide to take a bus.
Take pictures with caution: On the left side of the Marienbücke, there is a spot where you can include the foreground of the Neuschwanstein Castle into the frame. However, before going there, weigh whether it is worth the risk. This particular side of the bridge is deemed to be dangerous. Years ago, a rockslide happened, and it took the people there five years to remove the boulder.
Hohenschwangau

Park your car around three o’clock in the afternoon in Hohenschwangau Castle, and you will get a nice shot of the main tower. Walking further will give you the chance to have a level shot. It would also be best to use a telephoto lens to take a photo from this area.
To get there, find the path leading to Hohenschwangau forks off to the right behind Hotel Müller as you approach the ticket office. The ideal spot is immediately in front of the little gate leading to the courtyard.
Tegelbergbahn
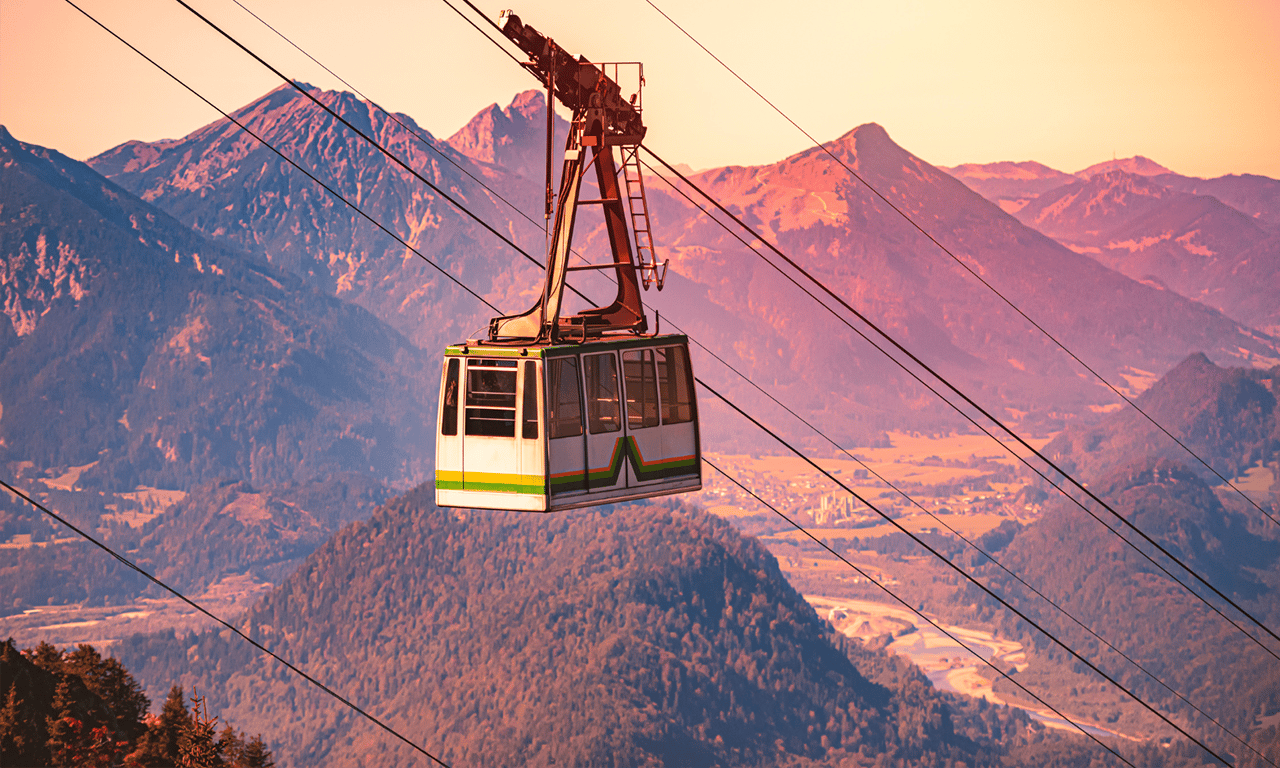
During your ride, you will get a fantastic view of both Hohenschwangau and Neuschwanstein castles. What is more desirable is the mountains from the background create a fairytale-scenic view. 2 kilometers away from the Neuschwanstein Castle, there you can find Tegelbergbahn— a cable car. You can request the driver to open the window for you to take more explicit photos.
Tips from the locals: There is a downward-sloping hike in Tegelbergbahn where you can witness some beautiful views of the castle. Make sure that you will not do the visit during the winter season as the snow will cover all the pictures up.
Most tourists flock to Antelope Canyon during summertime. Midday is the most crowded time. Tourists prefer to visit during this time so they can get more great stock photos. If you want to avoid the crowd and take your time taking pictures, you can visit earlier or later in the afternoon.
Schwangau

Schwangau is the closest you can get to take an up-close photo of the castle. You can see the paintings and sculptures that beautify the castle’s facade. Examine the various details created by stage designer Christian Jank and King Ludwig himself as you stroll between the matched gatehouses with the Bavarian coat of arms.
So close yet so far: Did you know that you can only take pictures of the castle’s exterior. Cameras are not allowed the moment you step inside.
When you are on tour with so many tourists, taking great pictures can be challenging. One important piece of advice to get great shots is to look up. The canyons look lovely from that perspective. Also, if you are lucky, you can get gorgeous images of light beams shining down.
From the Valley
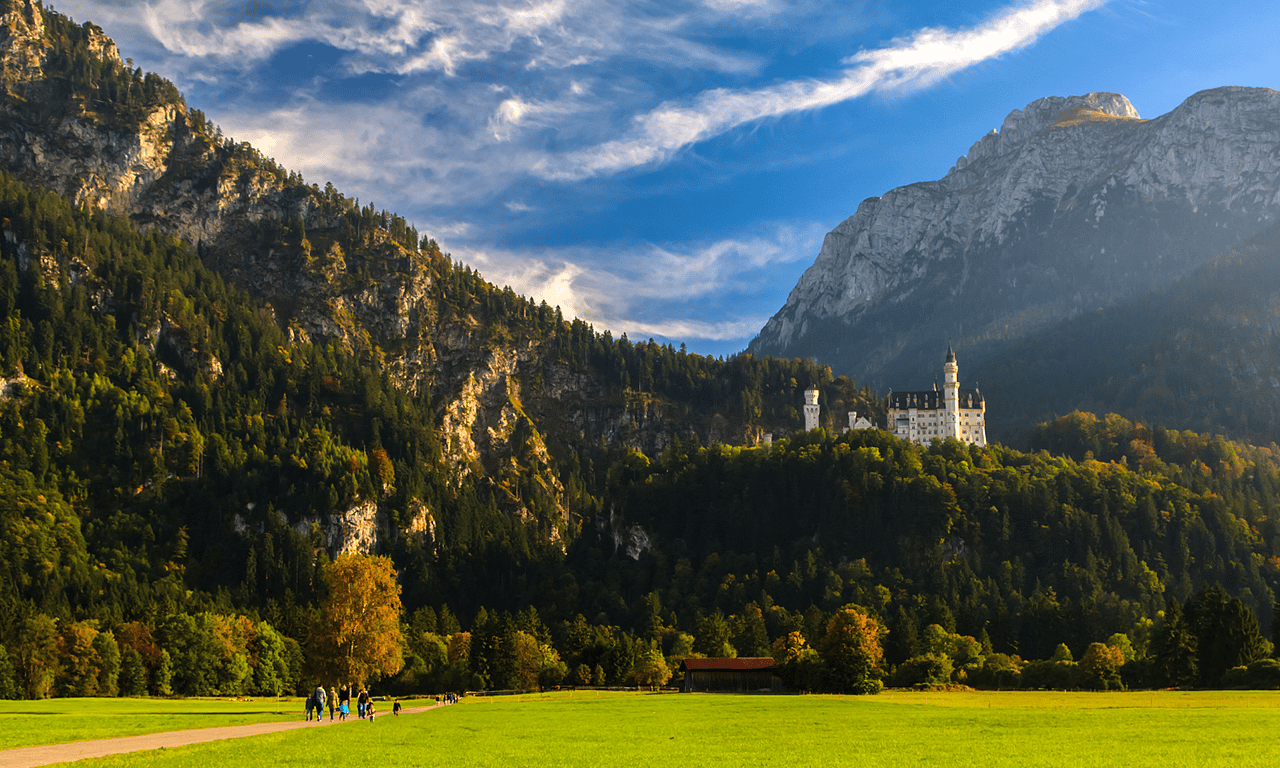
This viewpoint is far different from the previous ones mentioned. Aside from the Neuschwanstein Castle itself, you will also include in the frame the farmlands and the open field at the foot of the castle. You will notice how Neuschwanstein pops out like a gem amid the bushy Alpine in its surrounding.
Forggensee
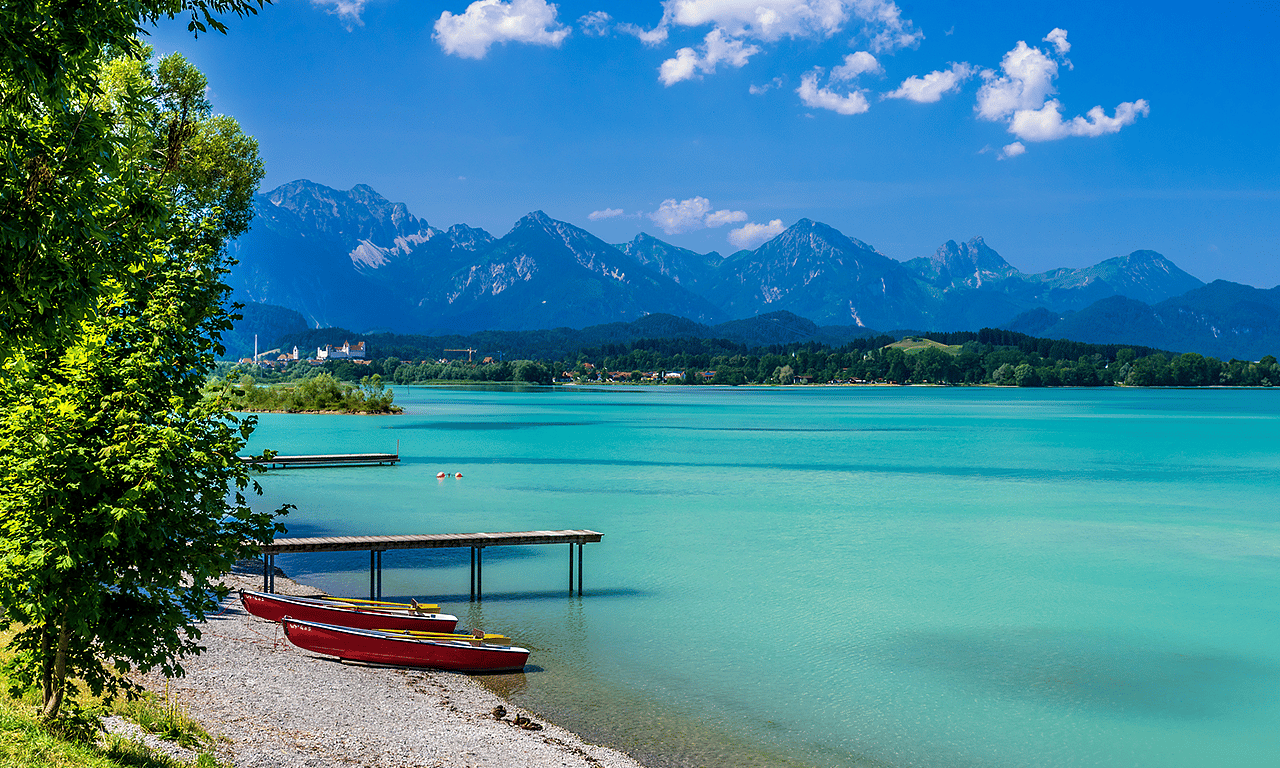
Forggensee is Bavaria’s fifth-largest lake. Every summer, take a two-hour or a short 55-minute tour around the southern end of the dazzling lake to explore it. During the summer, a cruise operates in the area giving you an avenue to take a snap of the tall towers as they erect on top of the mountain.
How to get there: Note that the boat departs from the Füssen Harbor.
Allgäu Hiking Trails
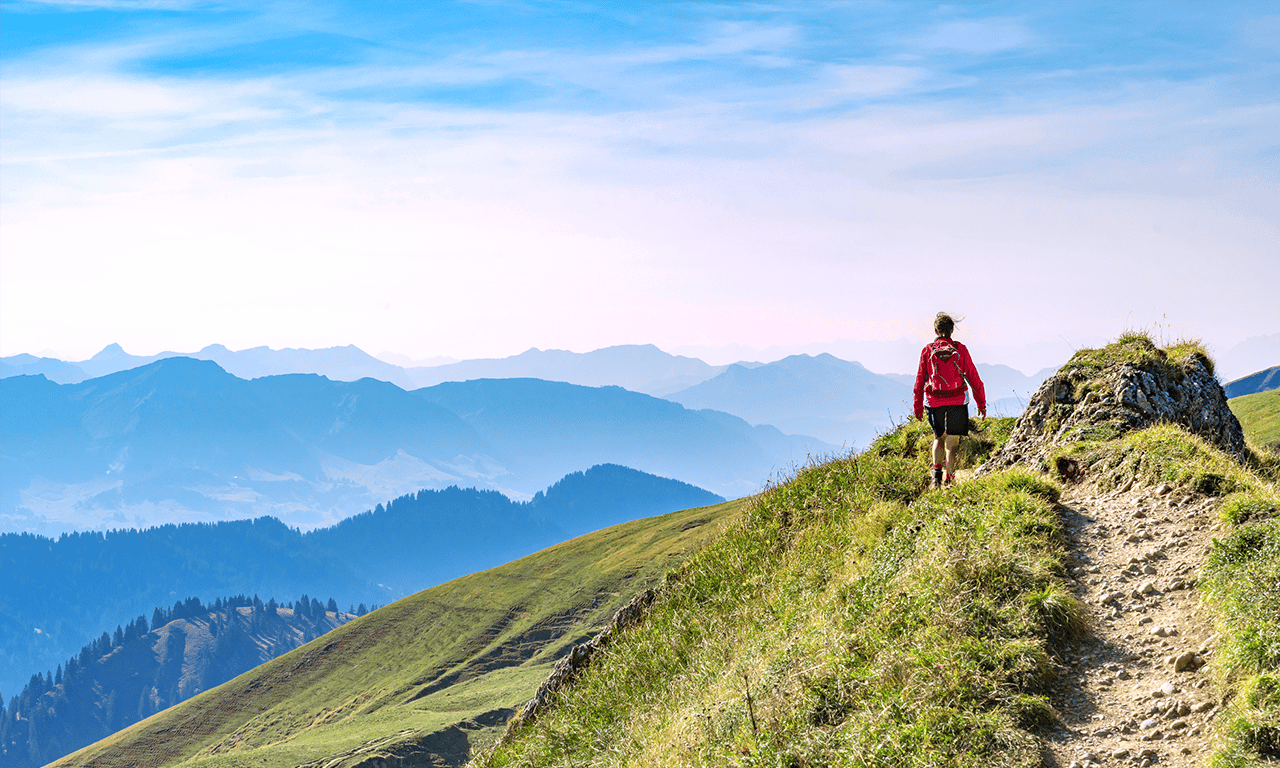
Get another angle of the castle by traversing the Allgäu Hiking Trails right after you visit Marienbücke. The trail is already a must-visit destination, yet it also offers activities from easy mountain hikes to strenuous ones.
For a slightly different perspective of the Neuschwanstein Castle, merely cross the bridge and paw through some well-worn underbrush. Continue on the 120 kilometers of signposted hiking paths that wind through the surrounding hills, leading to nearby cities and destinations.
Watch every step: the hiking paths are not as monitored as you expect them to be. Before proceeding to Allgäu Hiking Trails, check the weather first. Hiking paths together with the bridge are off-limits during lousy weather.
Prepare Your Visits: A Guide To Taking Great Photos
You might want to recreate some of the Neuschwanstein Castle stock photos found on the Internet. However, before doing so, you need to observe the following tips:
On taking pictures
Since many people are visiting in and out of Neuschwanstein, the management needs to post some regulations and rules to maintain the castle. Some of their limitations touch on the dos and don’ts in taking pictures.
Here are the most vital things you should observe:

Do not fly drones
It would be best if you had a special permit before flying your drone above the whole property. Note that GPS does not also function around the area. You might lose your drone in the trees in spite of getting a permit.
Lighting is not your friend
Since King Ludwig built the castle to hide from the crowd, even the sunlight hardly penetrates the concrete of the building. Indeed, Neuschwanstein is already in an elevated area as it stands on top of a hill. It is still at the foot of another massive mountain. Thus, the lighting is somehow challenging. But the best time to take images is during the morning.
Do not take photos inside
Lovely scenery, and the outside of the castle is pretty rad. But on the tour thru the inside, you are not allowed to take any images and the guide is very persistent in telling people this.
The outside is where it’s at, and the view from the bridge further up the hill is excellent. If you want to look (and not take photos) at the inside, make sure you go as part of an organized tour cause they sell out crazy fast.
On going to the photo spots

Aside from knowing the rules for taking photos within the castle, it is also essential to prepare yourself for each spot you visit. Because of this, we have listed some things you need to observe to avoid accidents and other untoward instances.
A lot of hiking is involved
Remember that Neuschwanstein castle is situated on top of a hill, and getting to the photo spots will require you some walking or hiking. Yet, we will not require you to wear hiking boots instead, some pair of mountain trainers will suffice. If you do mountain photography, you probably already have a pair ready. However, you should wear proper boots during the winter.
You will not fit all places into a day
Take it slowly, and enjoy your travel. Do not try to squeeze all spots in just a day because you cannot. You will end up exhausting yourself.
Do not forget to bring some snacks
Although some shops and restaurants in Schwangau and near the castle, it is still best to bring some food. Pack up some drinks and snacks. There is no drive-through restaurants or convenience store halfway through your trip. Do not starve yourself.
Be careful in entering some secret spots
A secret spot around the castle belongs to the descendants of last King in Bavaria. Before entering this place, you need to ensure that you have extreme hiking skills and experience. If you are unsure about yourself, stay on the pathways.
The fairytale castle is waiting for you…
Planning your trip wisely is critical in getting Neuschwanstein’s greatest images. Making hurried excursions to each location is avoided if you have everything planned, especially your lodging. Additionally, remember the following:
- Reserve your tickets online for a guided tour beforehand
- Arrive at the castle early
- Study King Ludwig II’s biography to resonate more with the place
- You can take the bus to the castle
- The Neuschwanstein castle is open from 9 am to 6 pm daily
- You can make the royalty-free photos as an inspo found in the search results
- Research for more information about your Europe trip