[ad_1]
The Art of the Personal Project is a crucial element to let potential buyers see how you think creatively on your own. I am drawn to personal projects that have an interesting vision or that show something I have never seen before. In this thread, I’ll include a link to each personal project with the artist statement so you can see more of the project. Please note: This thread is not affiliated with any company; I’m just featuring projects that I find. Please DO NOT send me your work. I do not take submissions.
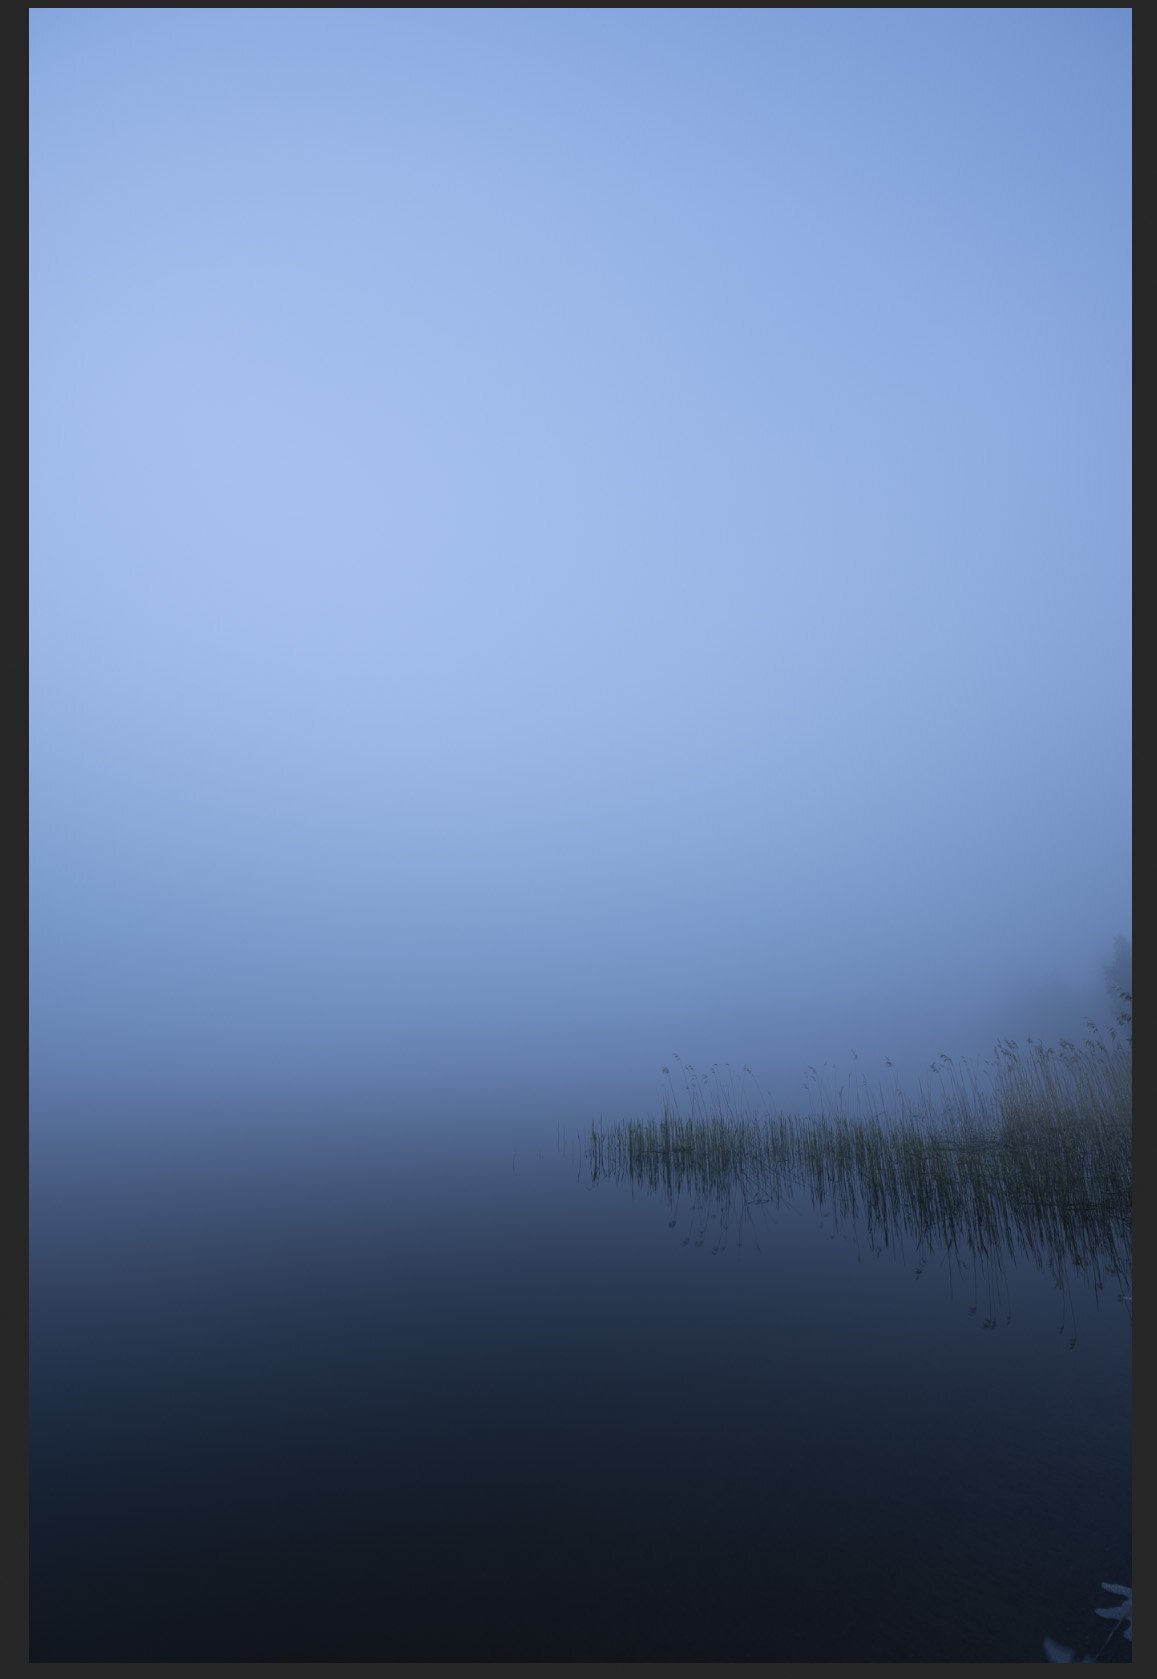
Today’s featured artist: Scott Lowden
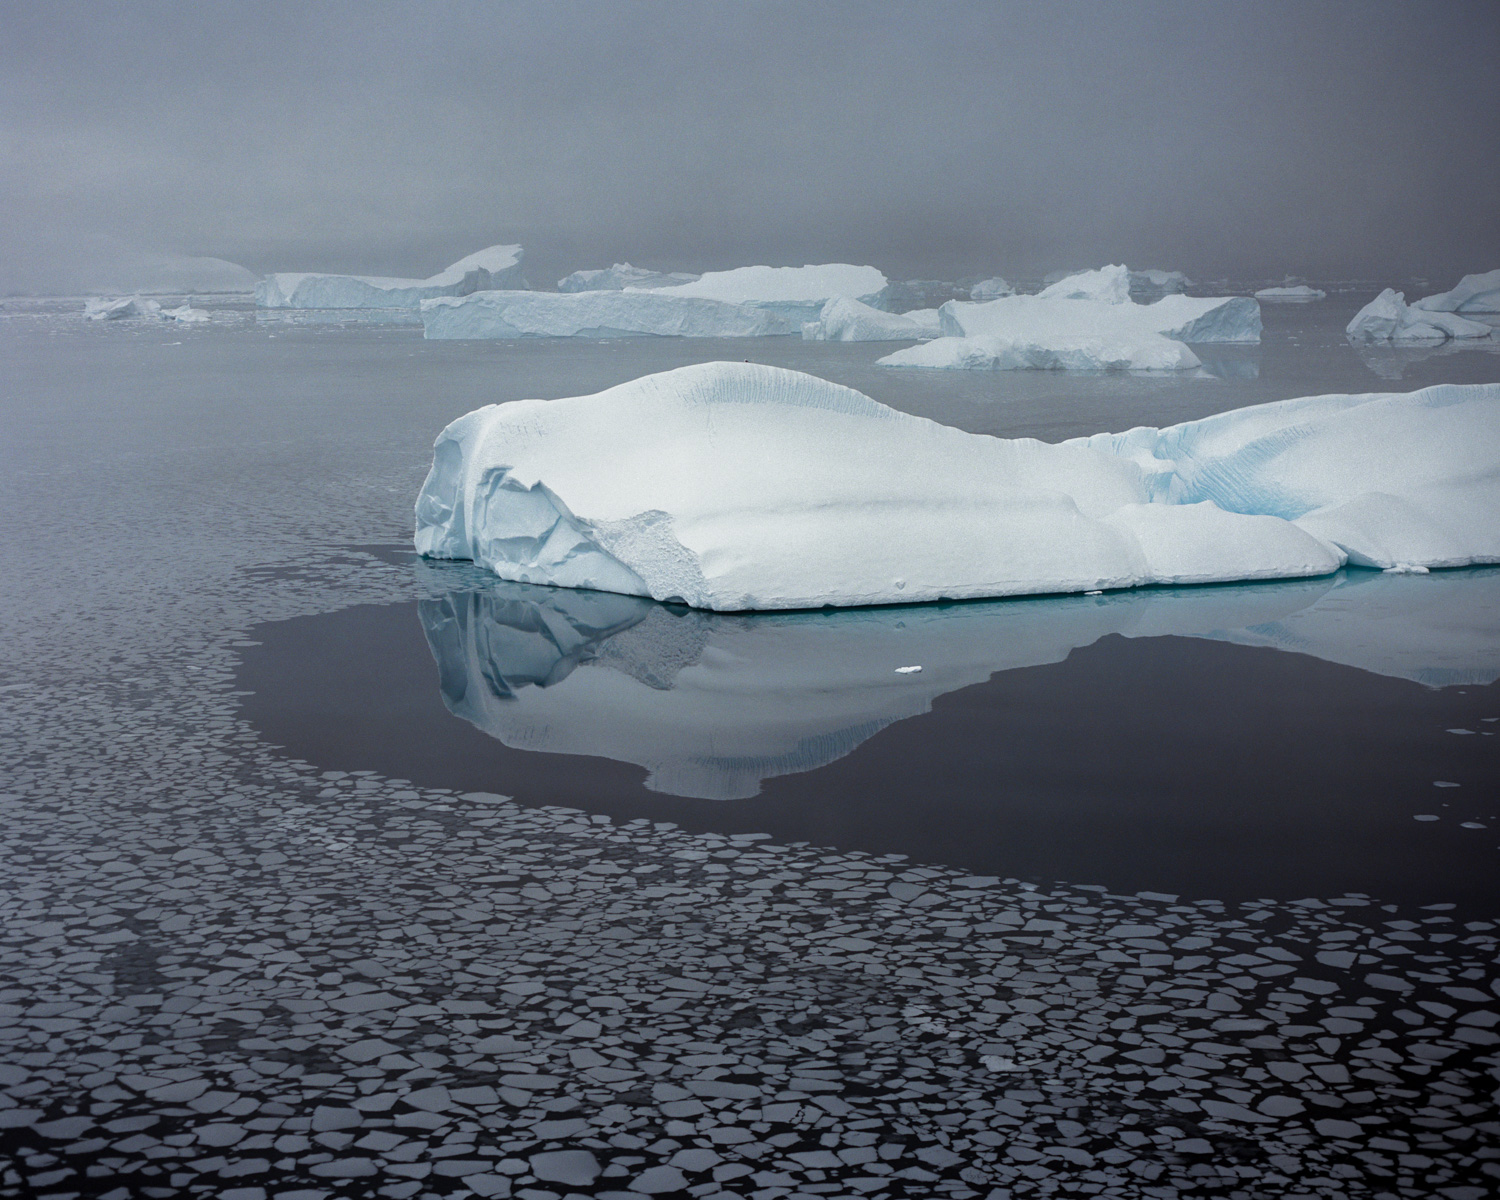
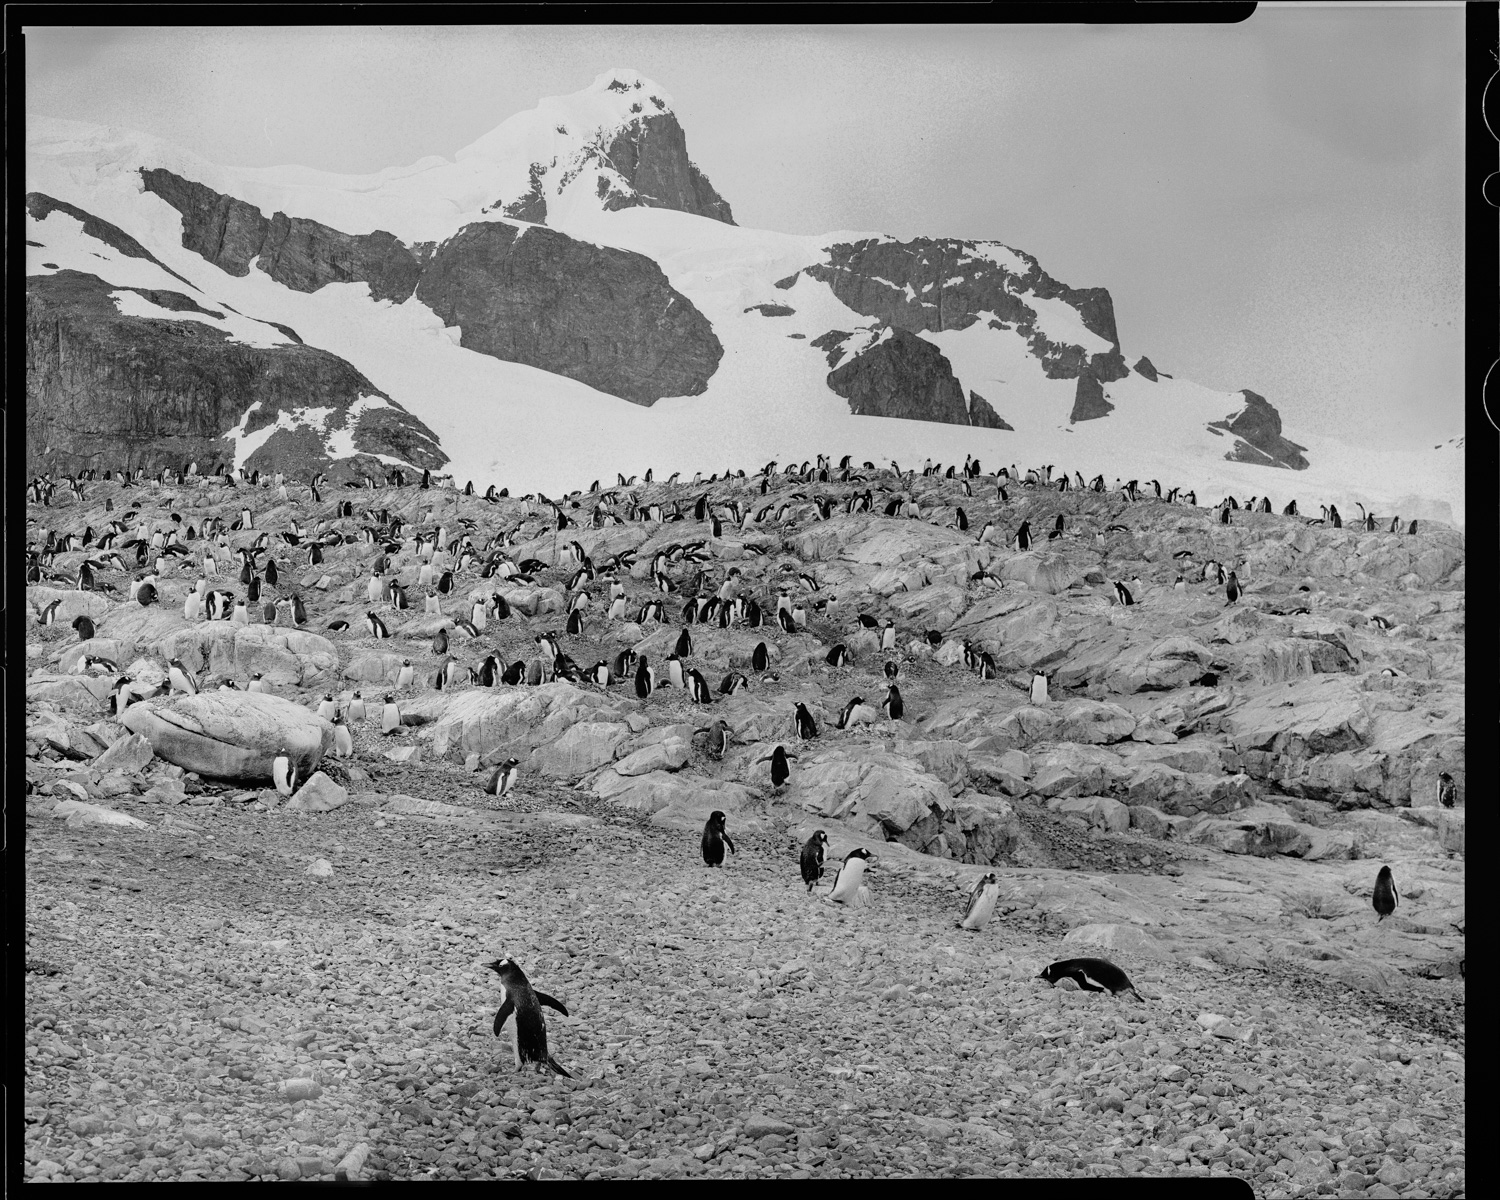
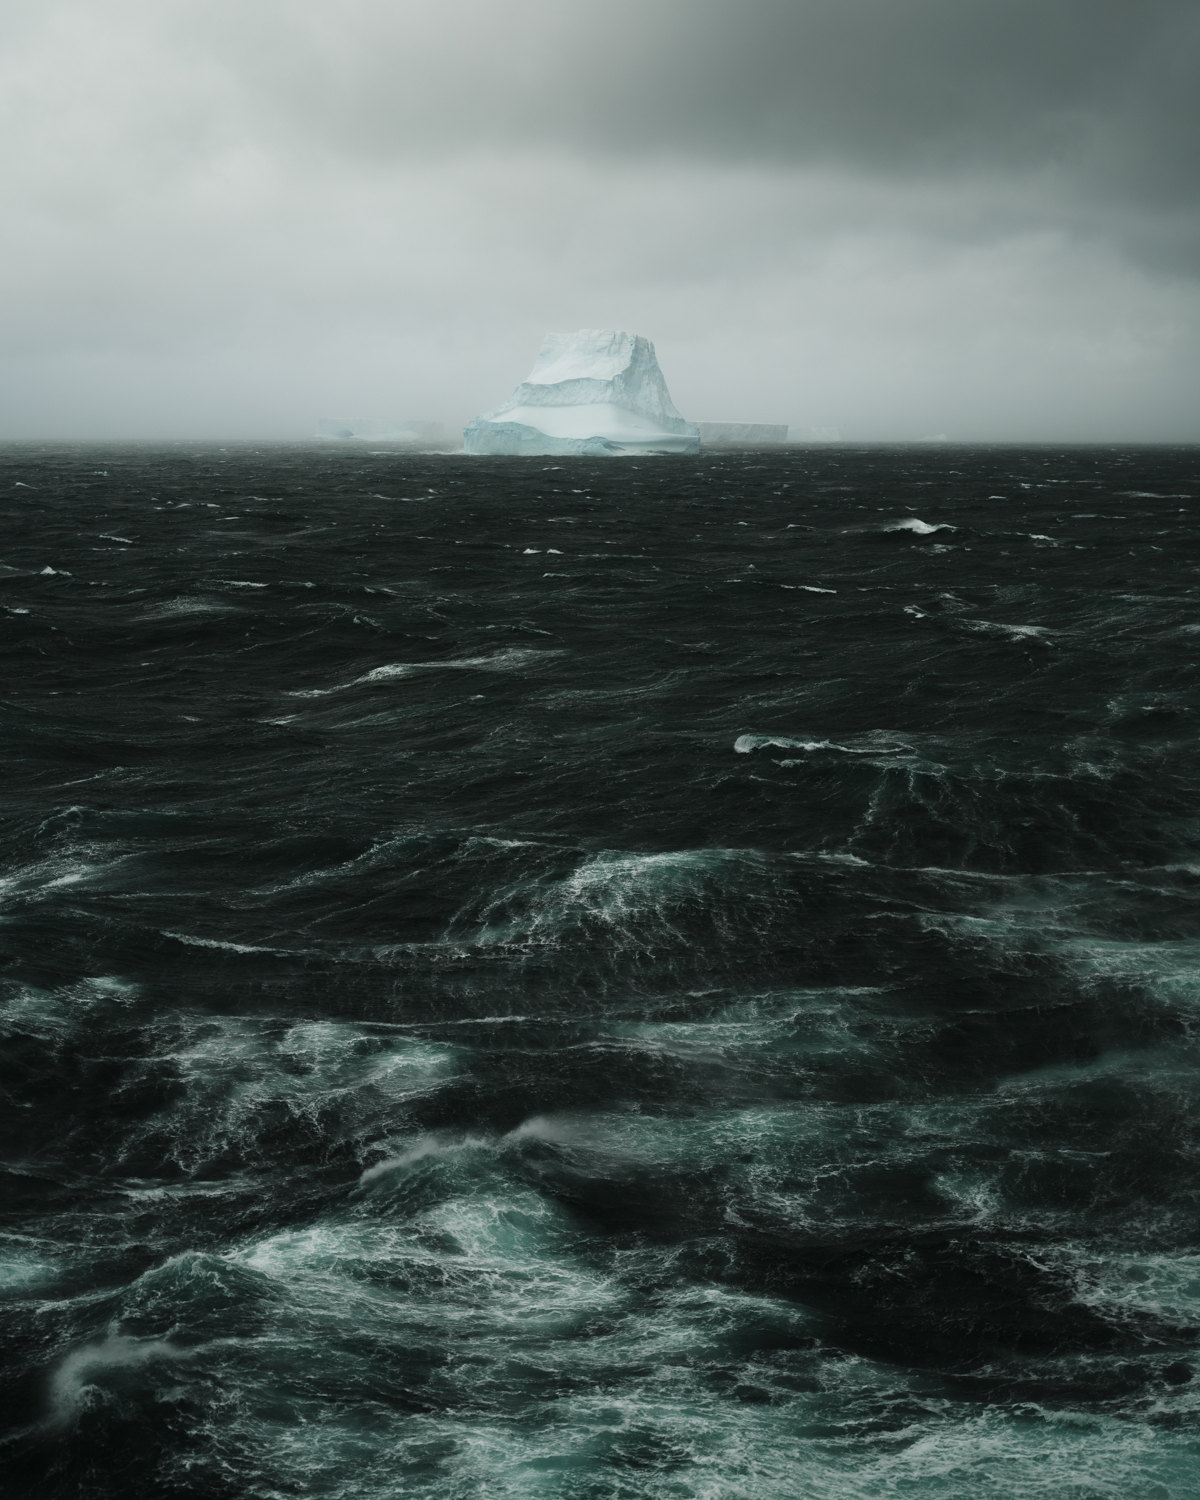
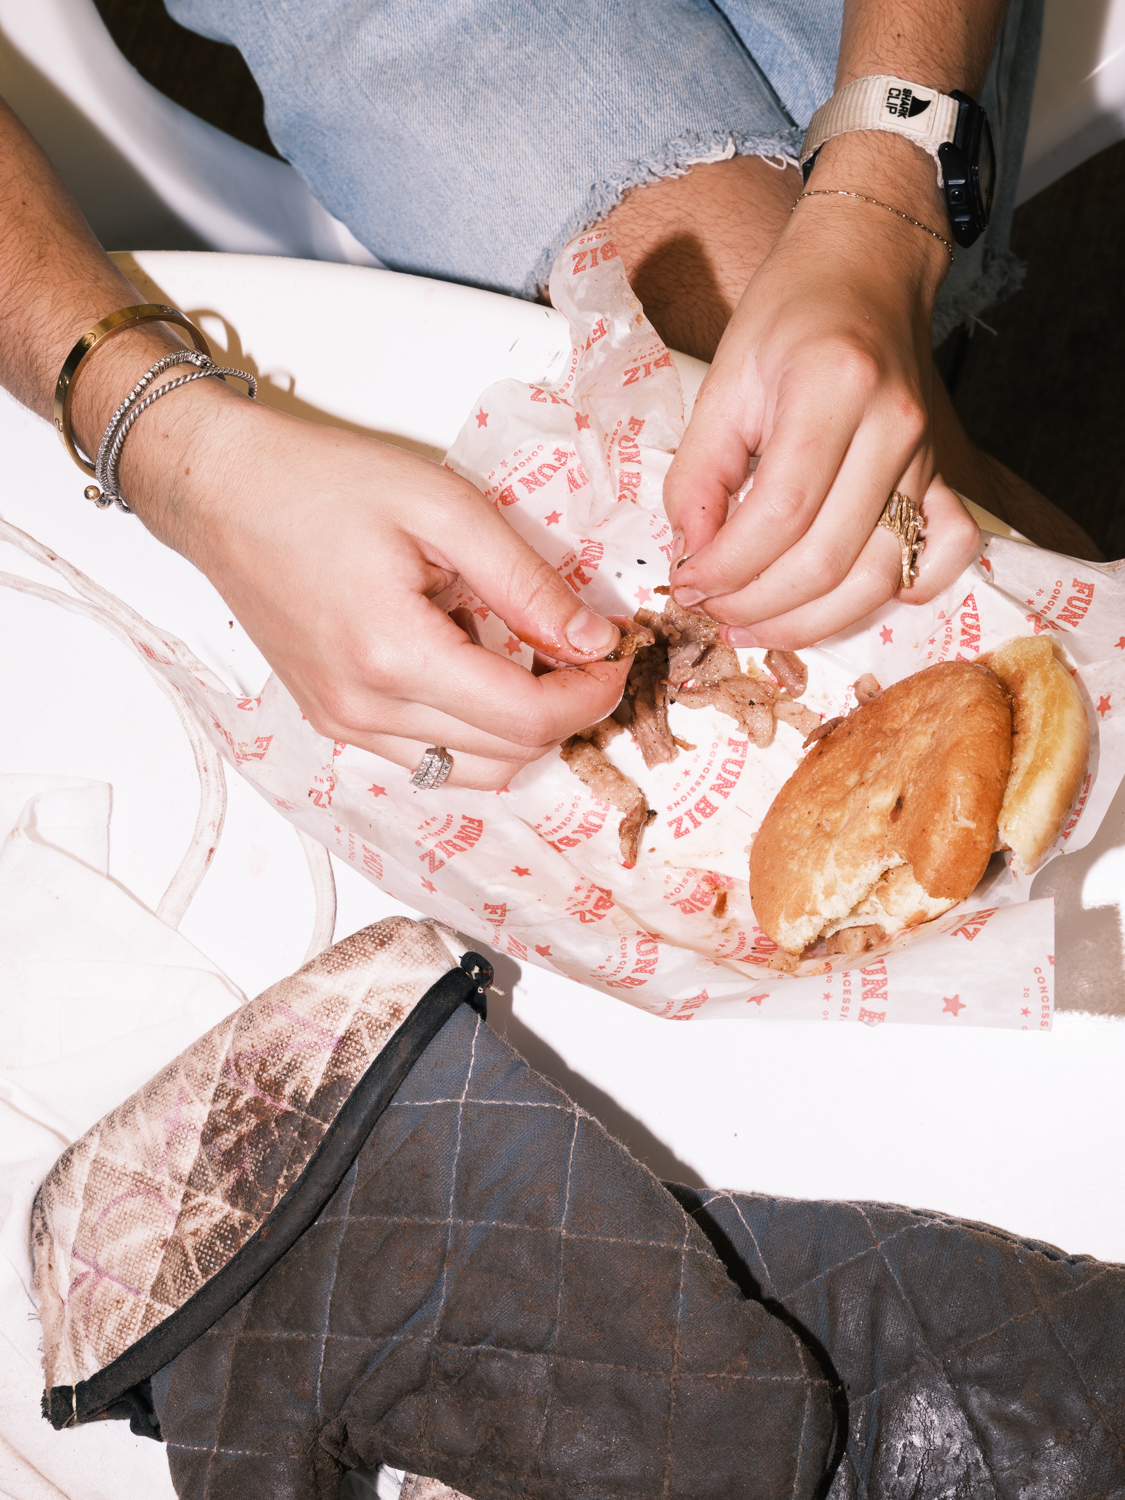
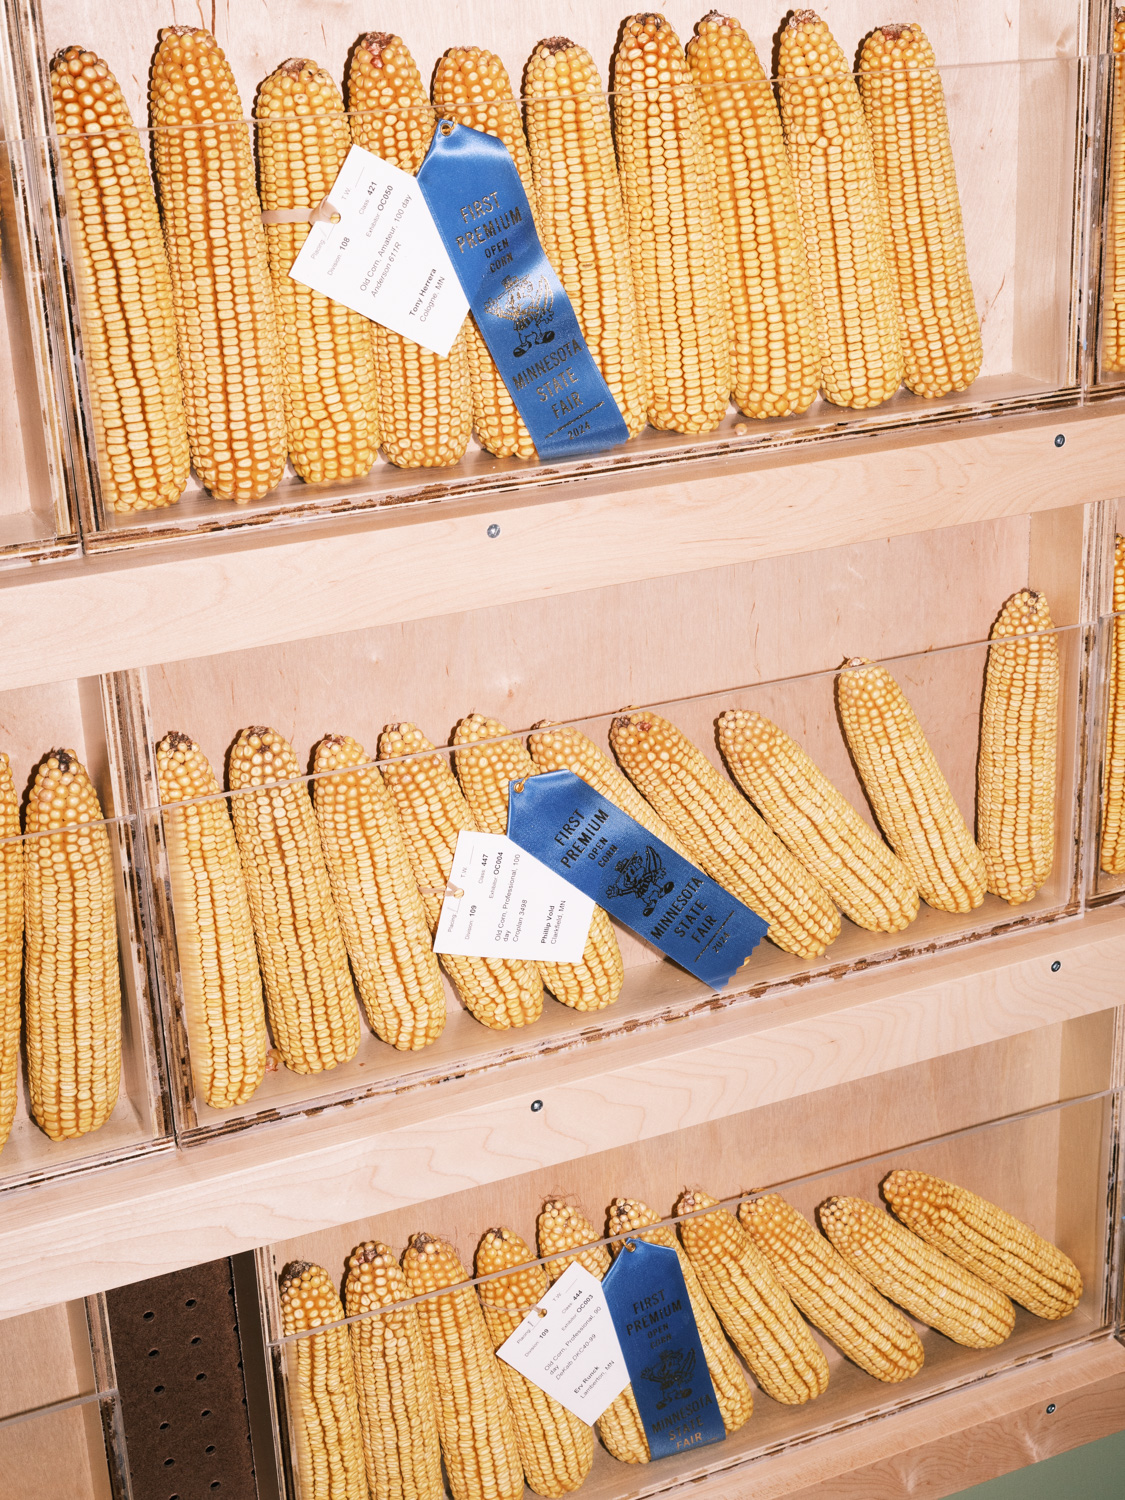
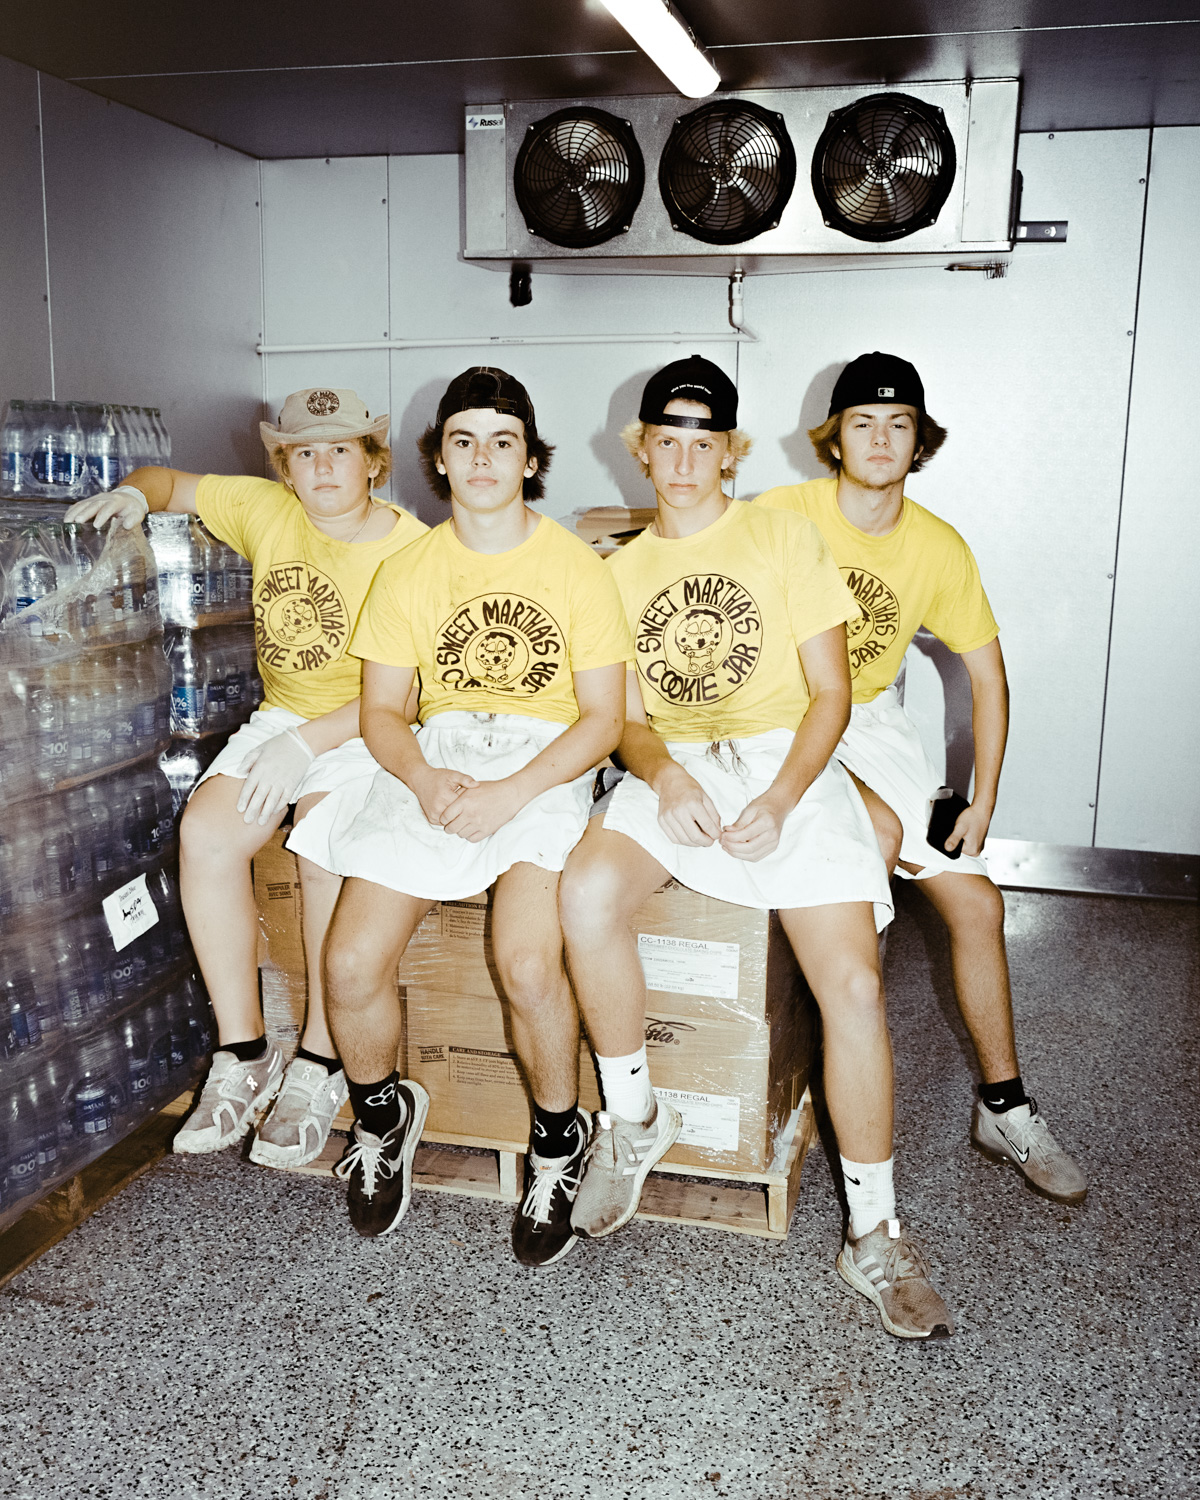
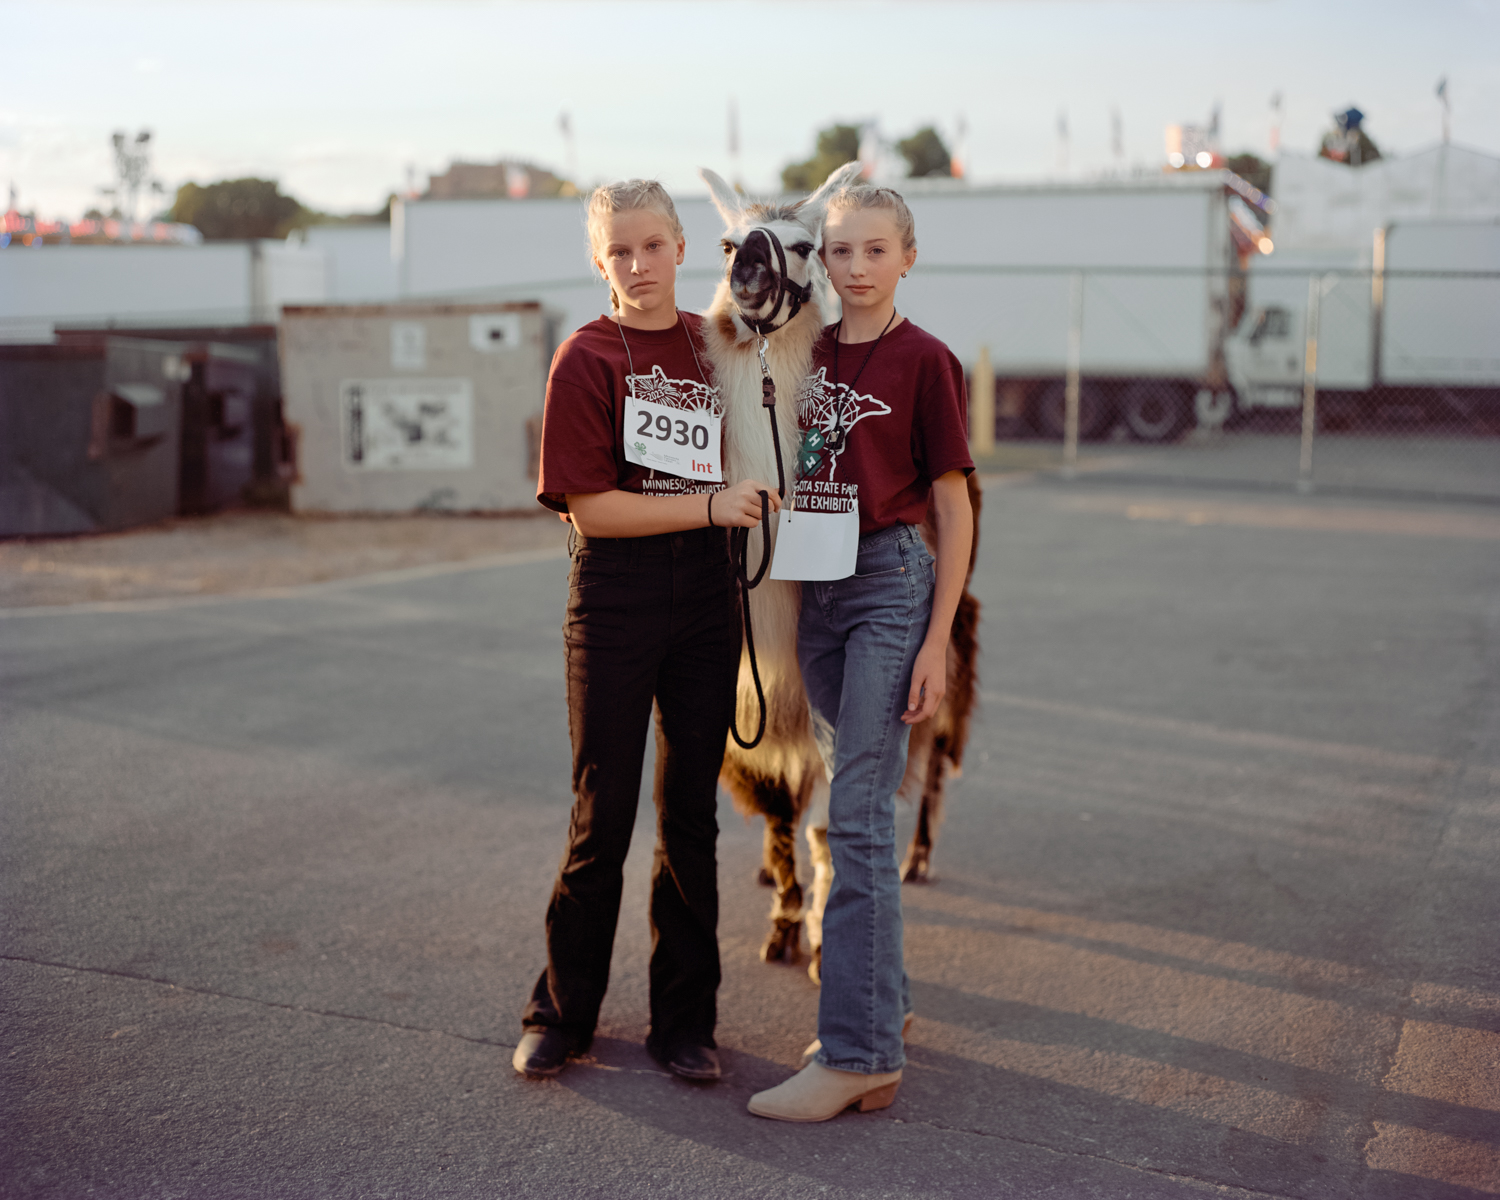
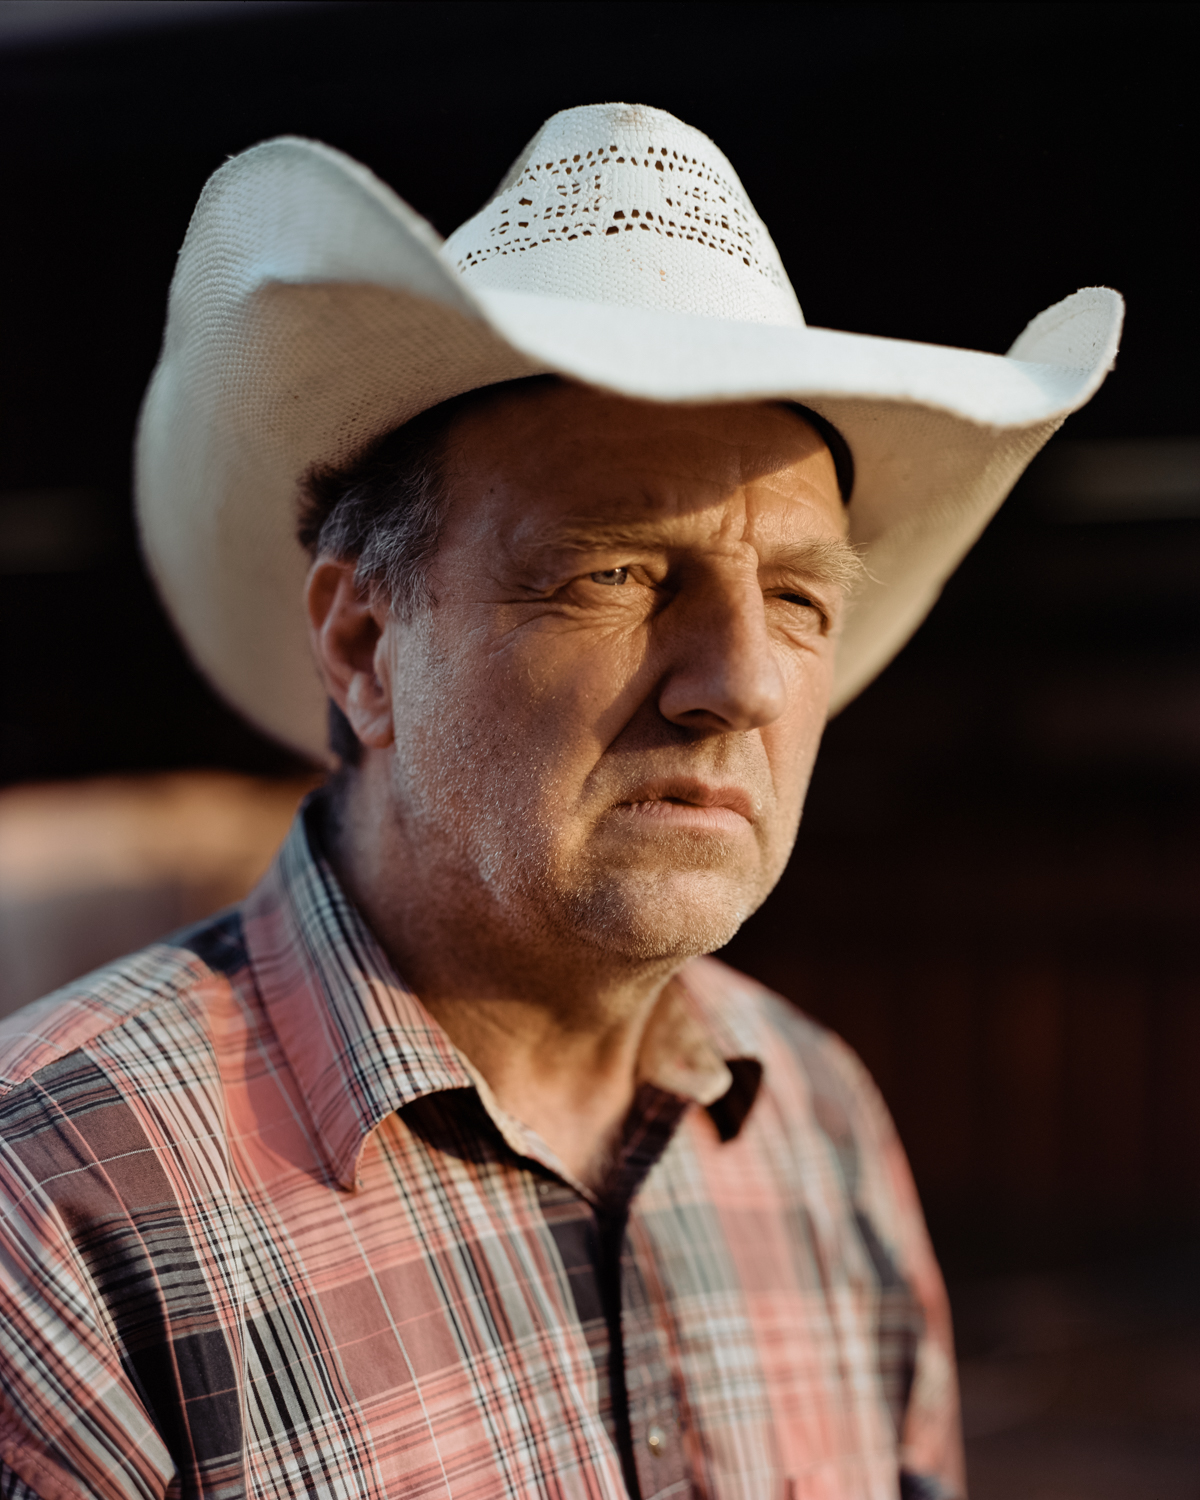
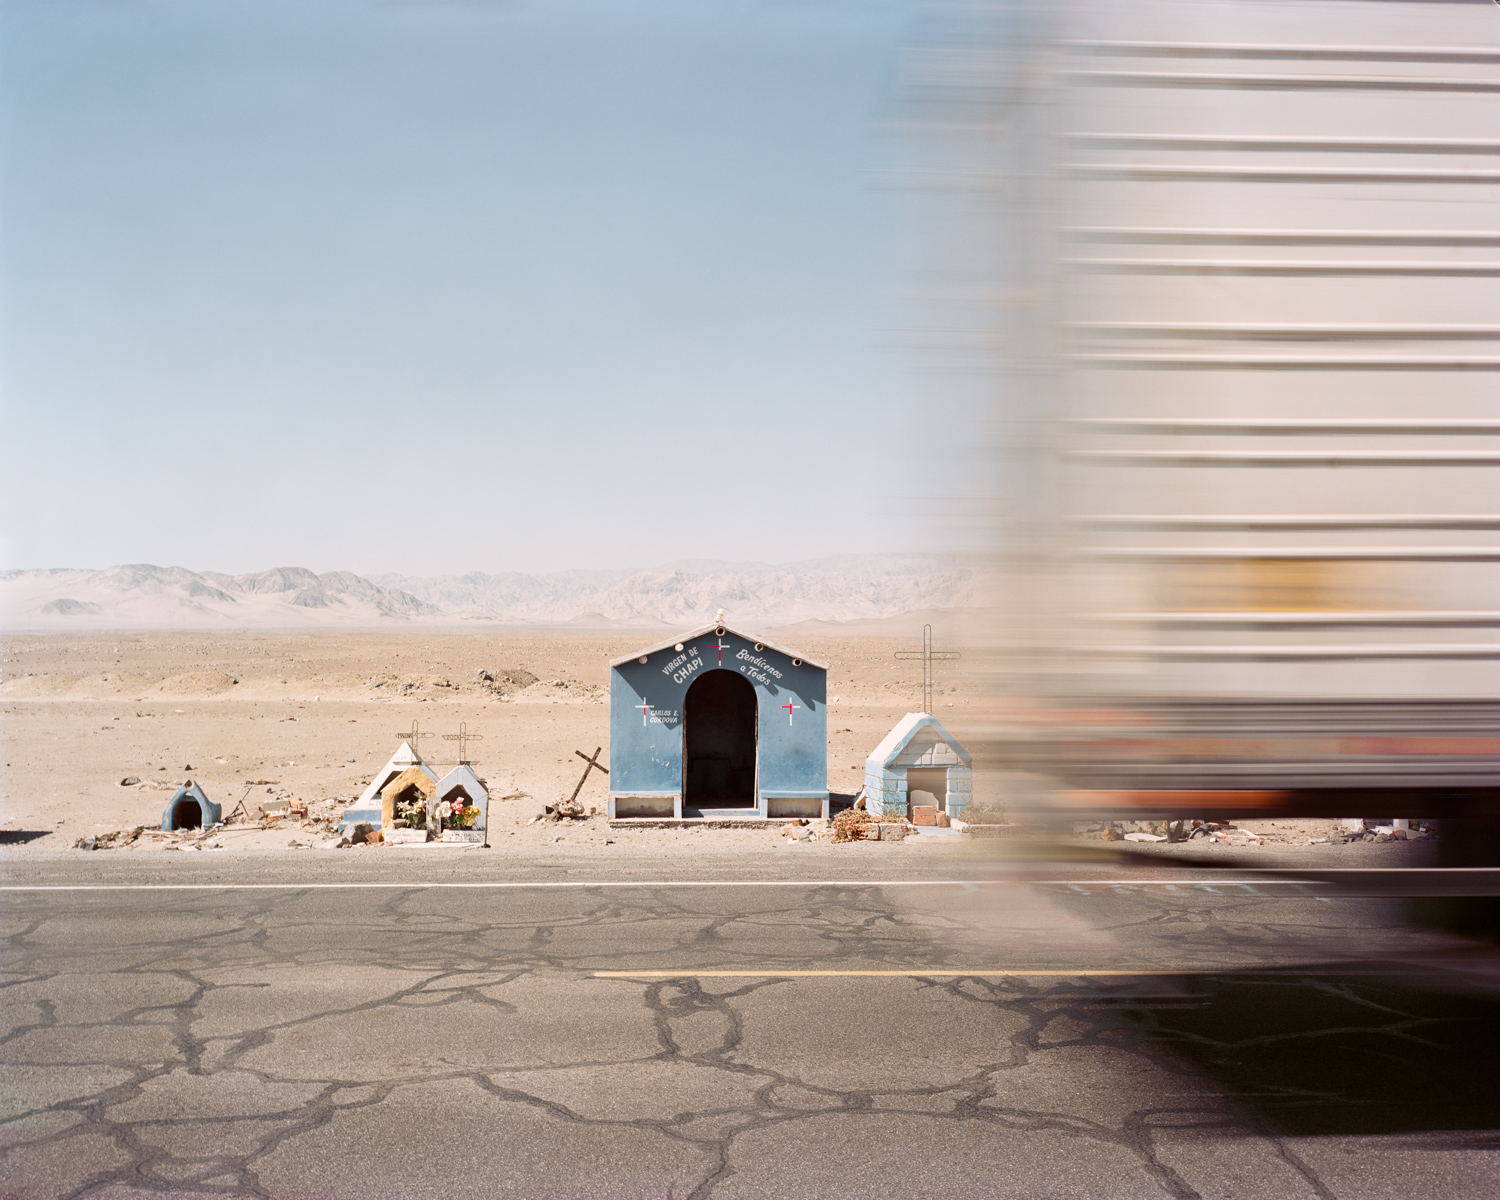
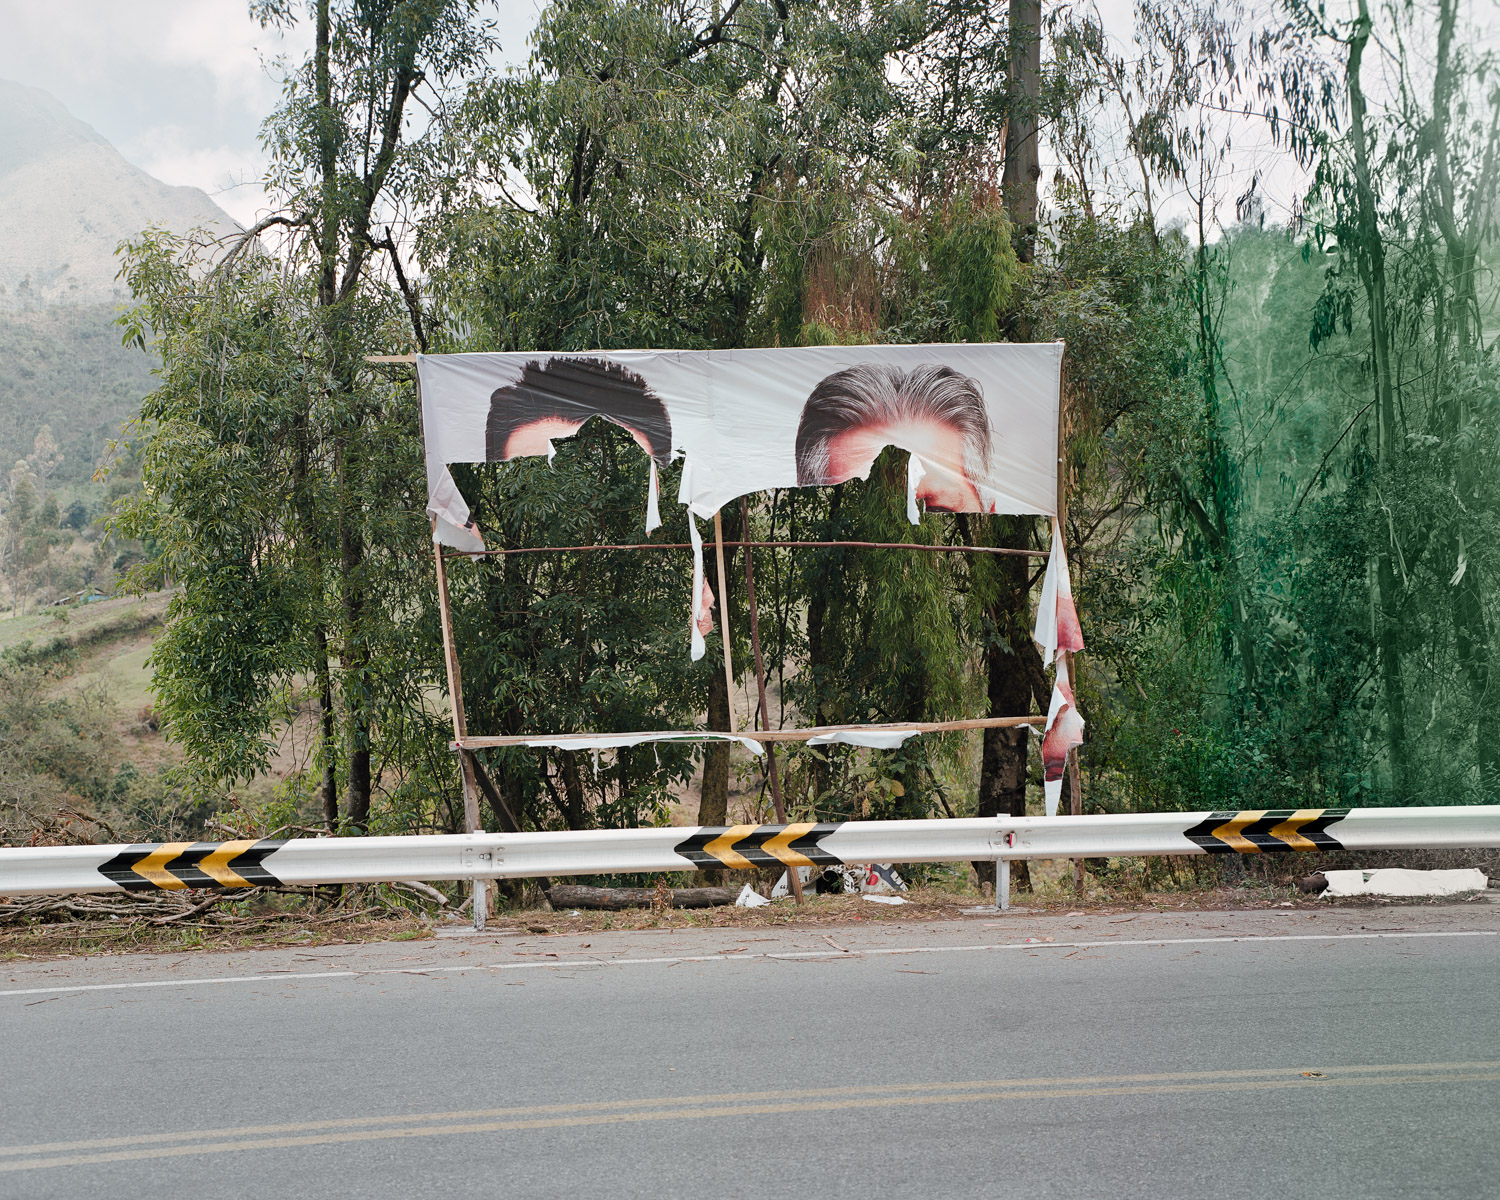
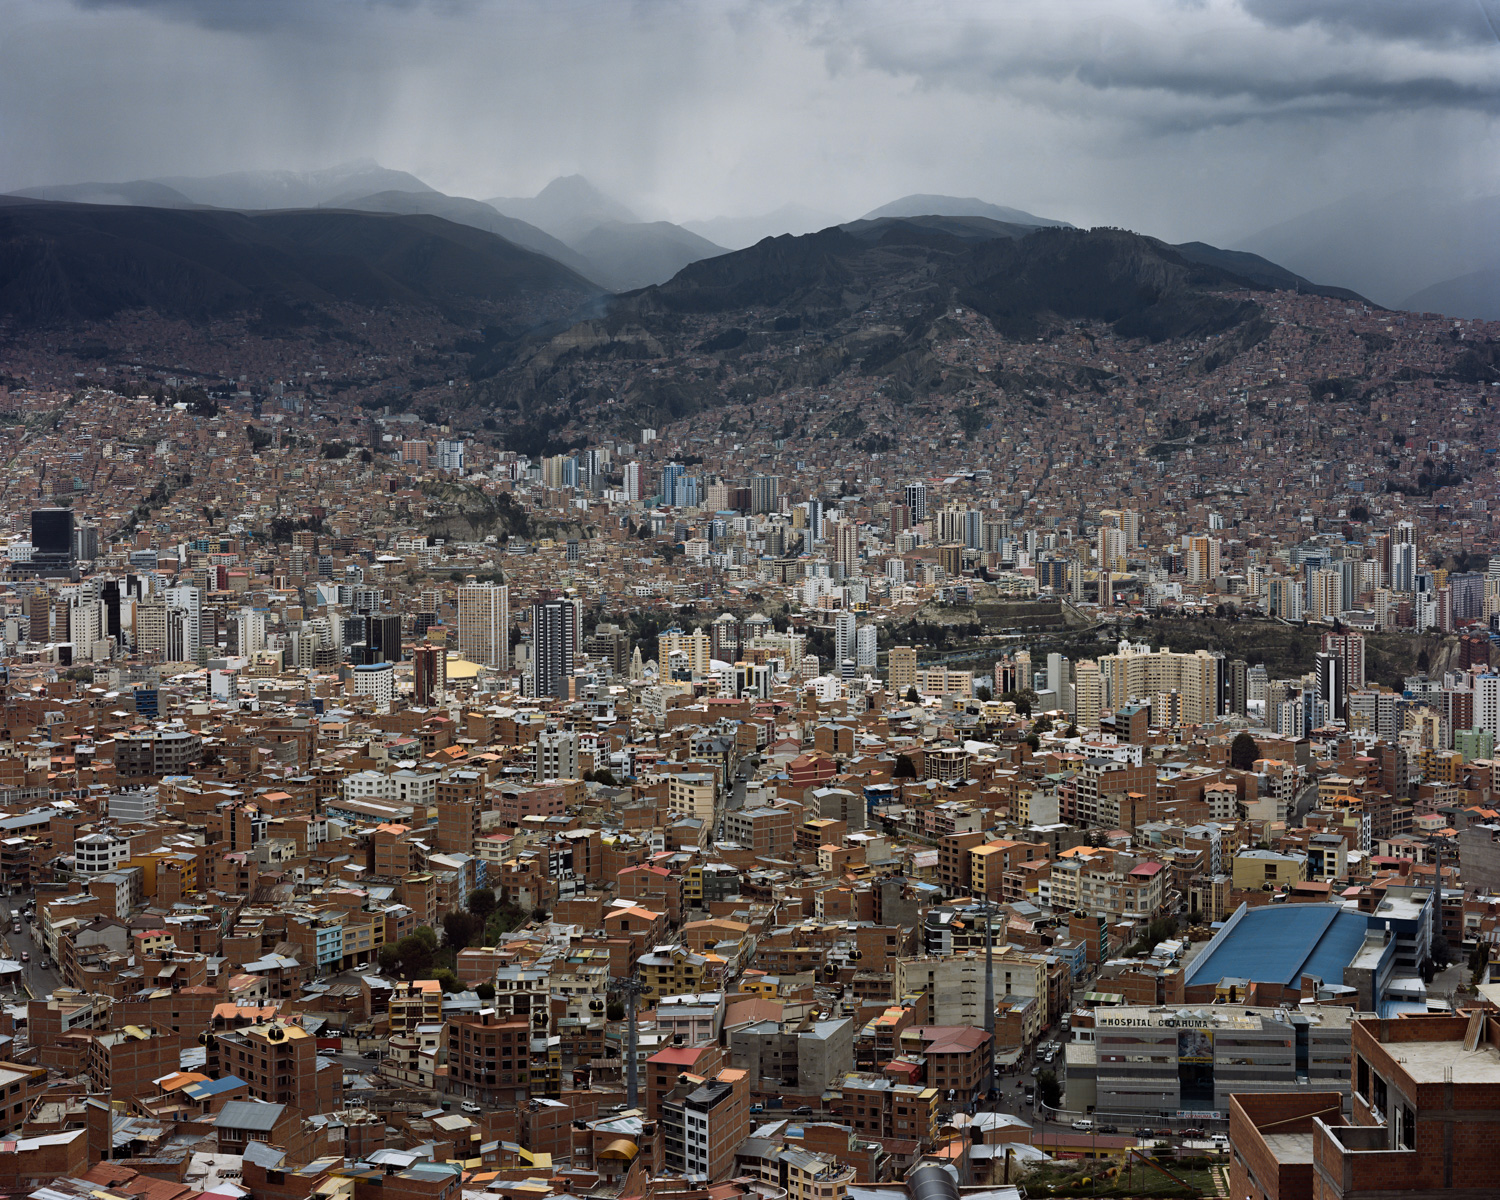
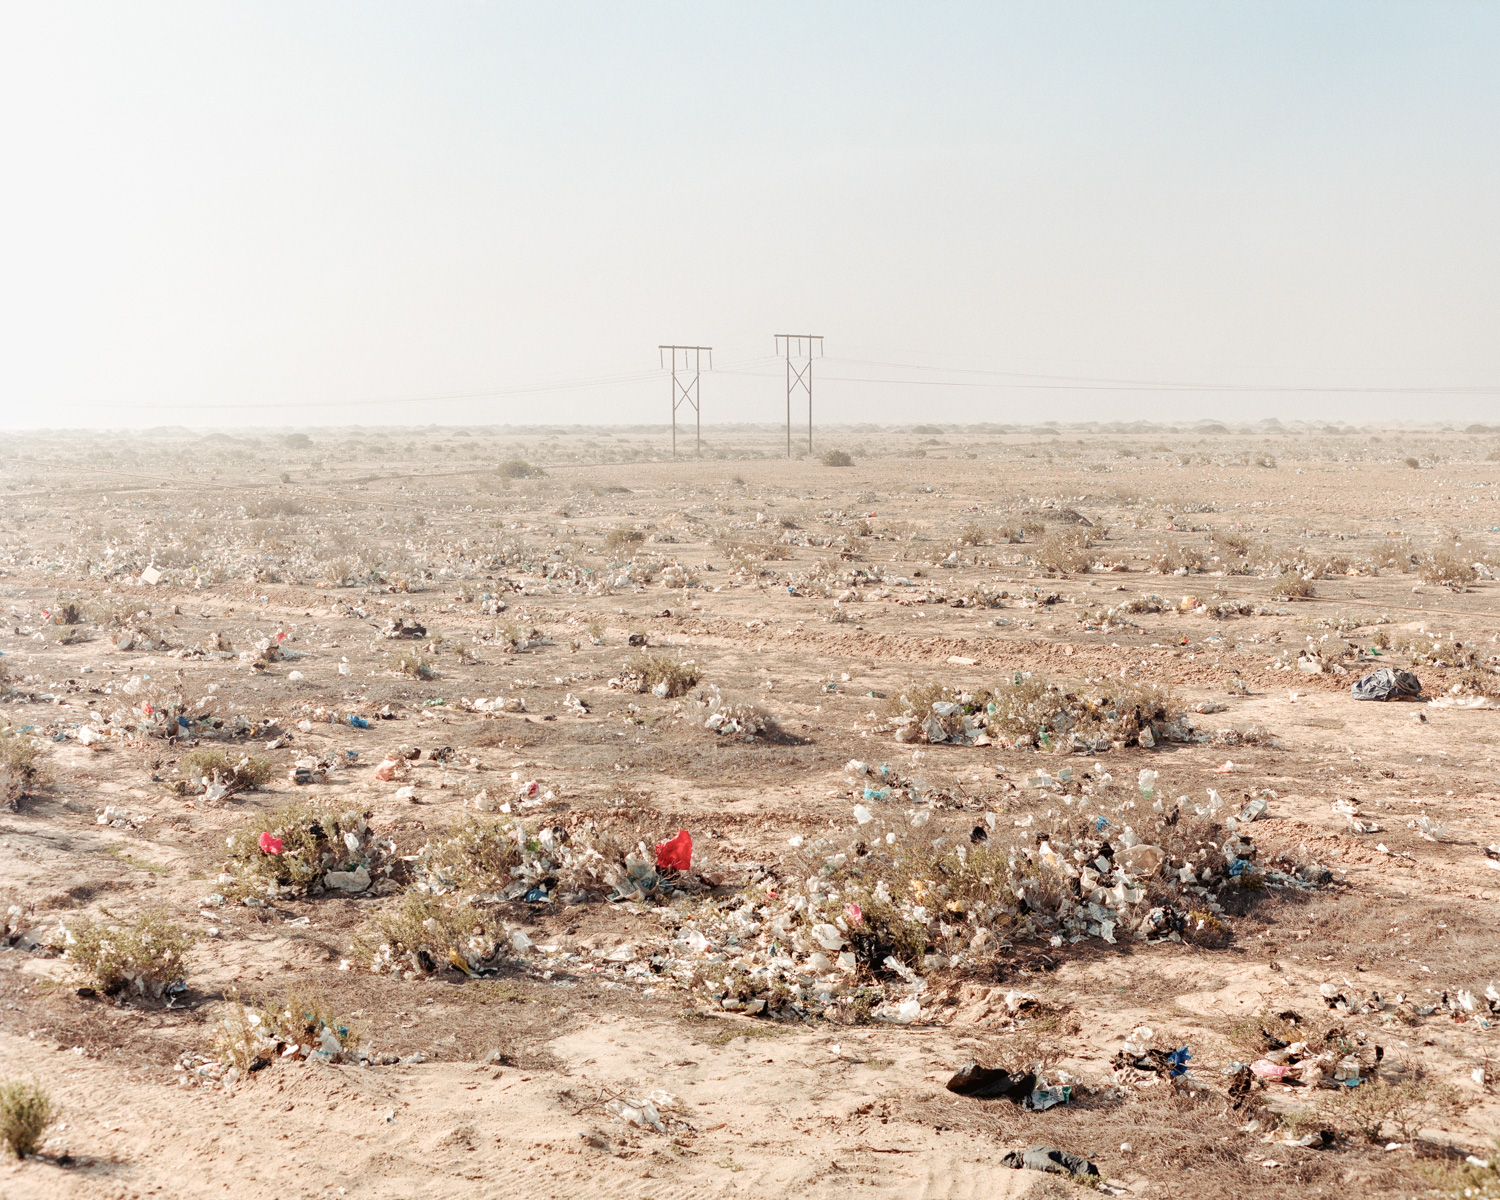
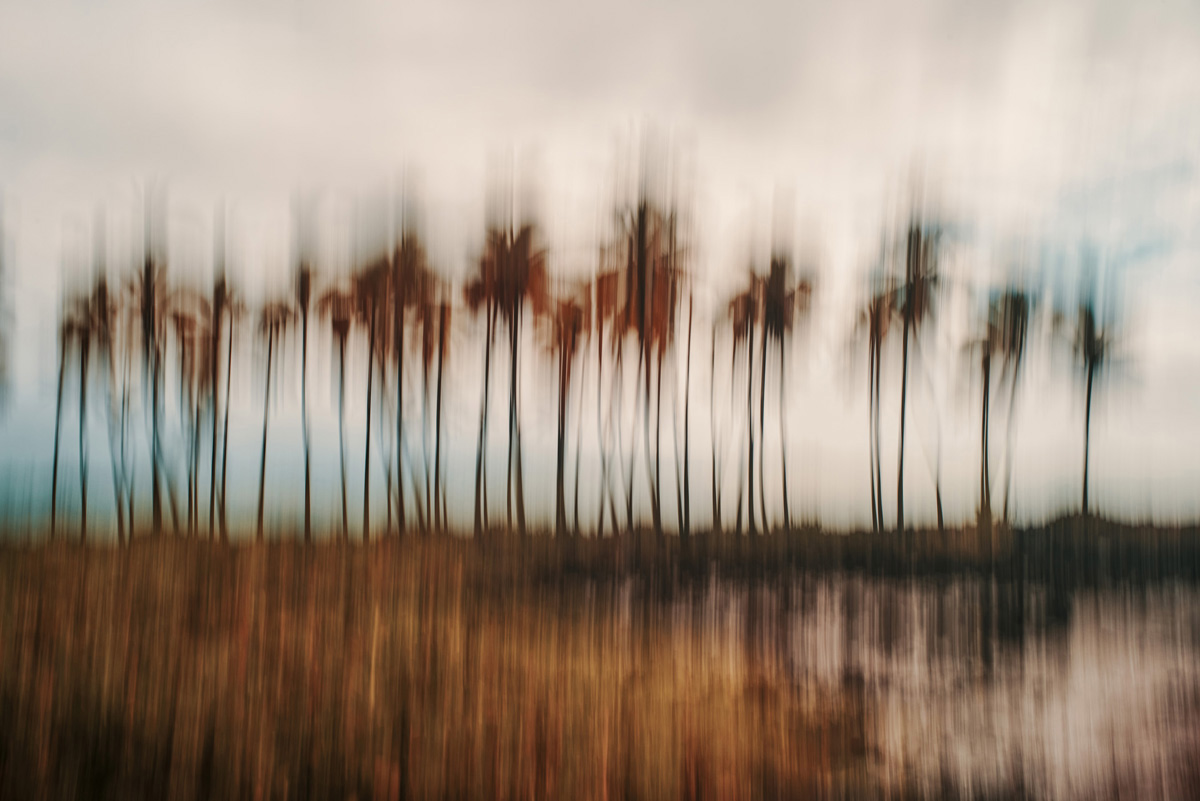
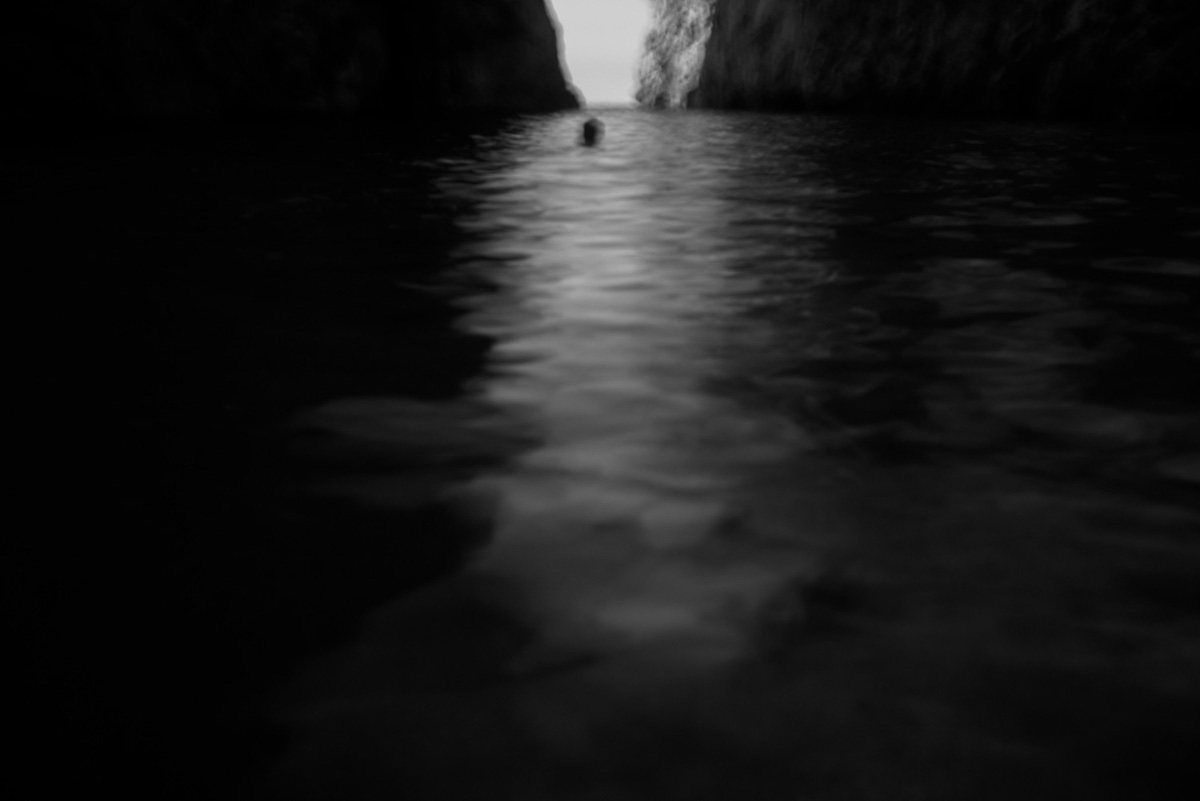
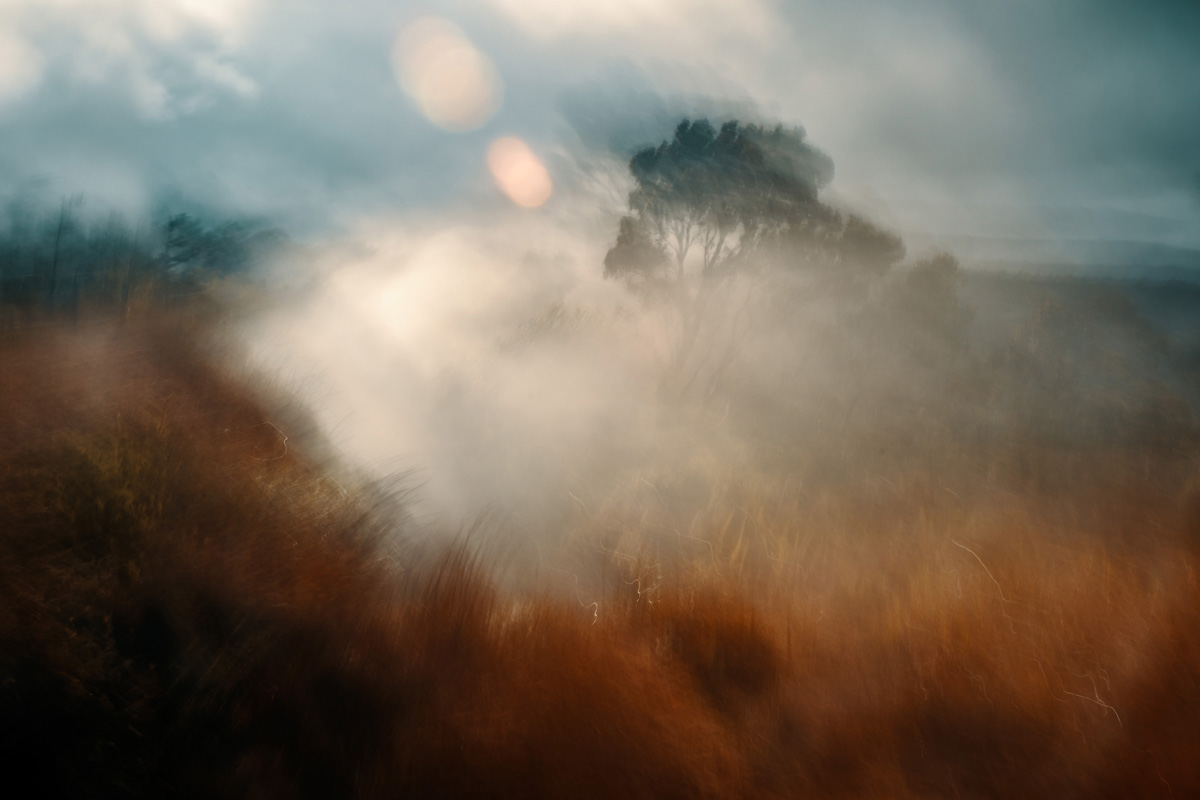
Terra Nostra is an exploration of place, memory, and the invisible threads that connect us to spaces we inhabit. Photographed intuitively, the images embrace imperfection. Long exposures, soft focus, and alternative lenses let light and atmosphere shape each frame, softening sharp edges in favor of emotion and mood. These photographs prioritize feeling over documentation—a visual sense of how a place lingers in memory and spirit.
This project resurfaced during five years spent with my father during his illness. Places like Kimmel Lookout in Pennsylvania became meditative spaces as I made photographs to help process the emotions of witnessing a loved one’s decline. Through these experiences, this series became a bridge between personal story and a broader connection to place.
Terra Nostra invites viewers to step into the spirit of these spaces, to sense the echoes of the past and the presence of what endures.
The Art of the Personal Project is a crucial element to let potential buyers see how you think creatively on your own. I am drawn to personal projects that have an interesting vision or that show something I have never seen before. In this thread, I’ll include a link to each personal project with the artist statement so you can see more of the project. Please note: This thread is not affiliated with any company; I’m just featuring projects that I find. Please DO NOT send me your work. I do not take submissions.
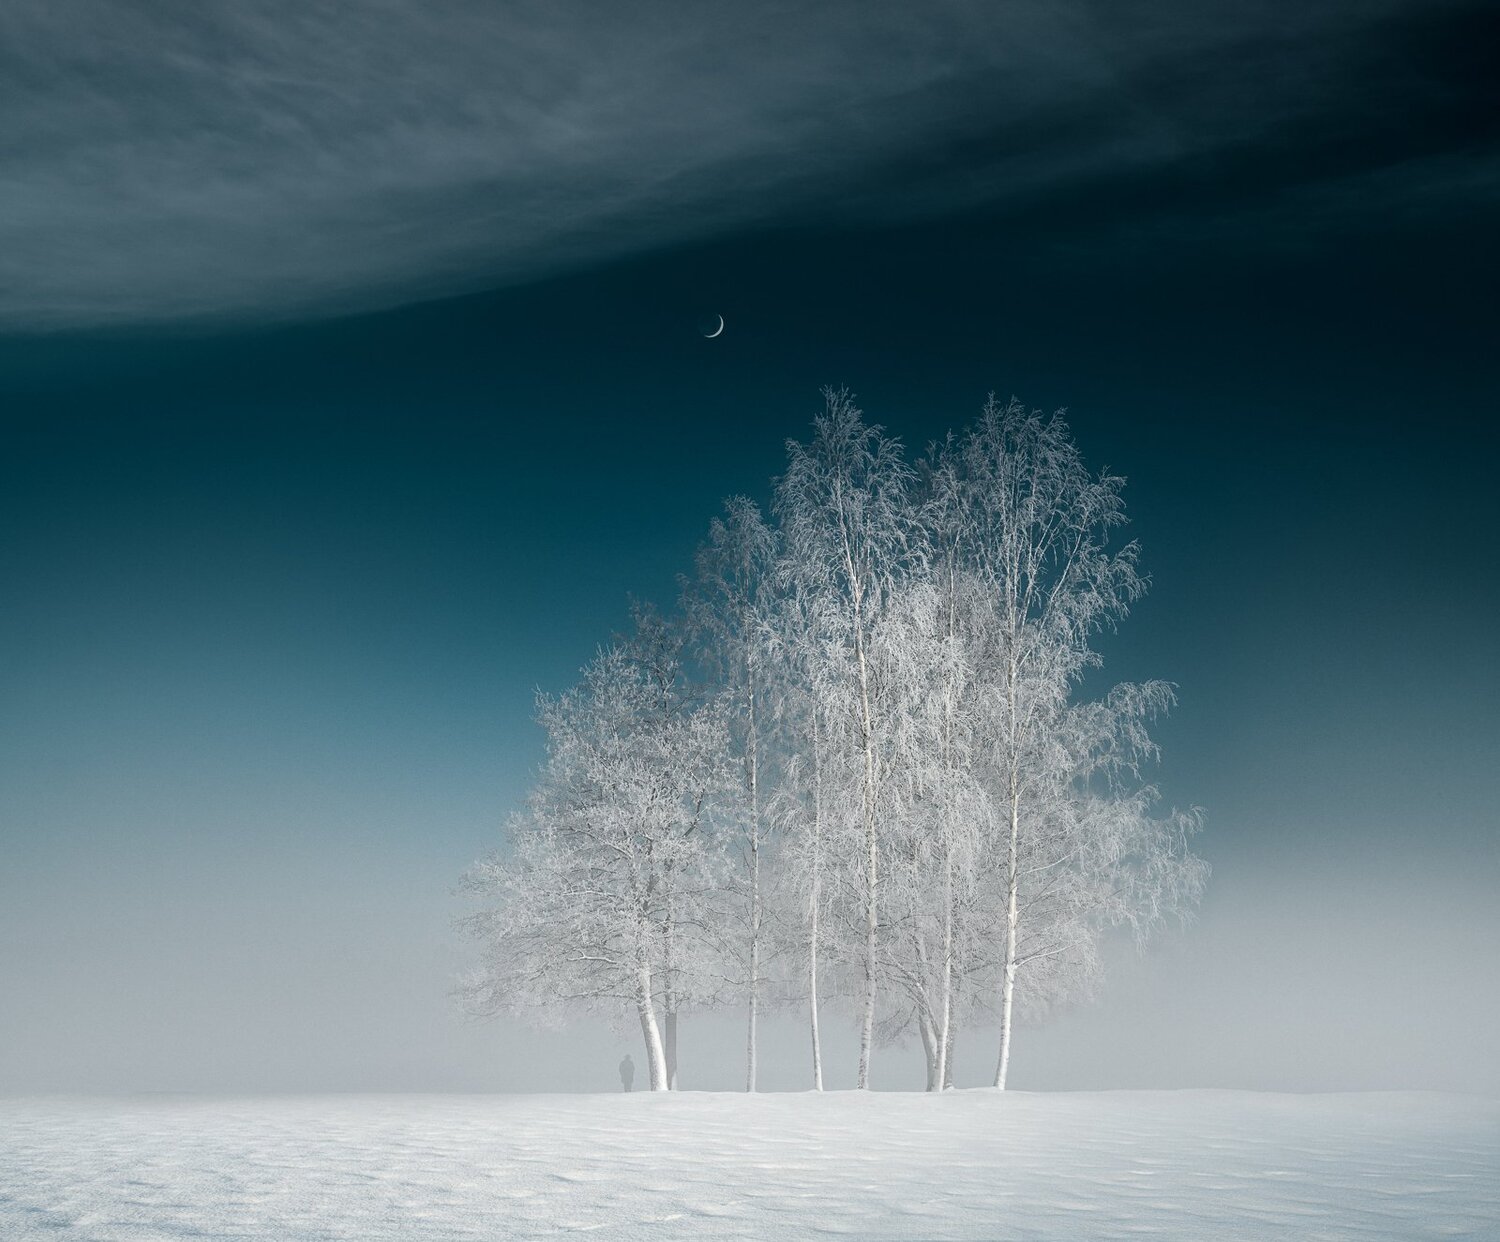
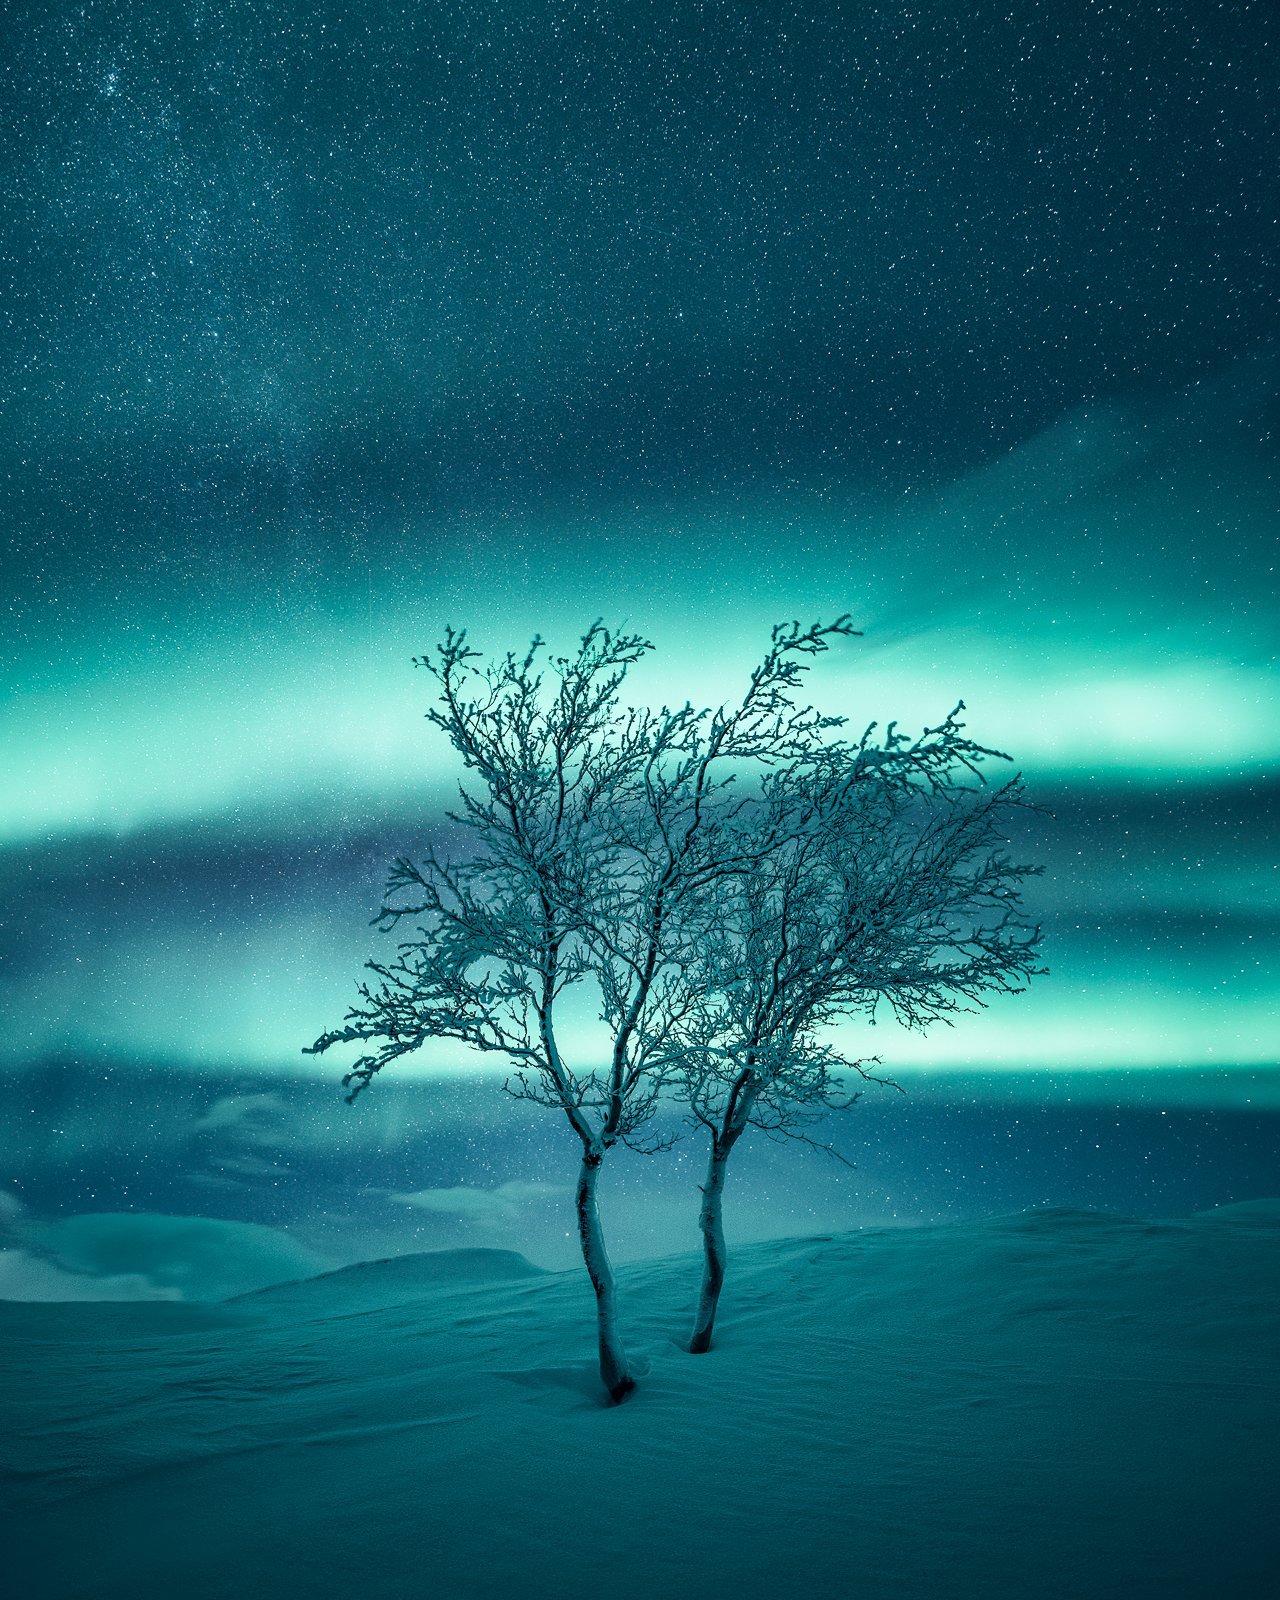
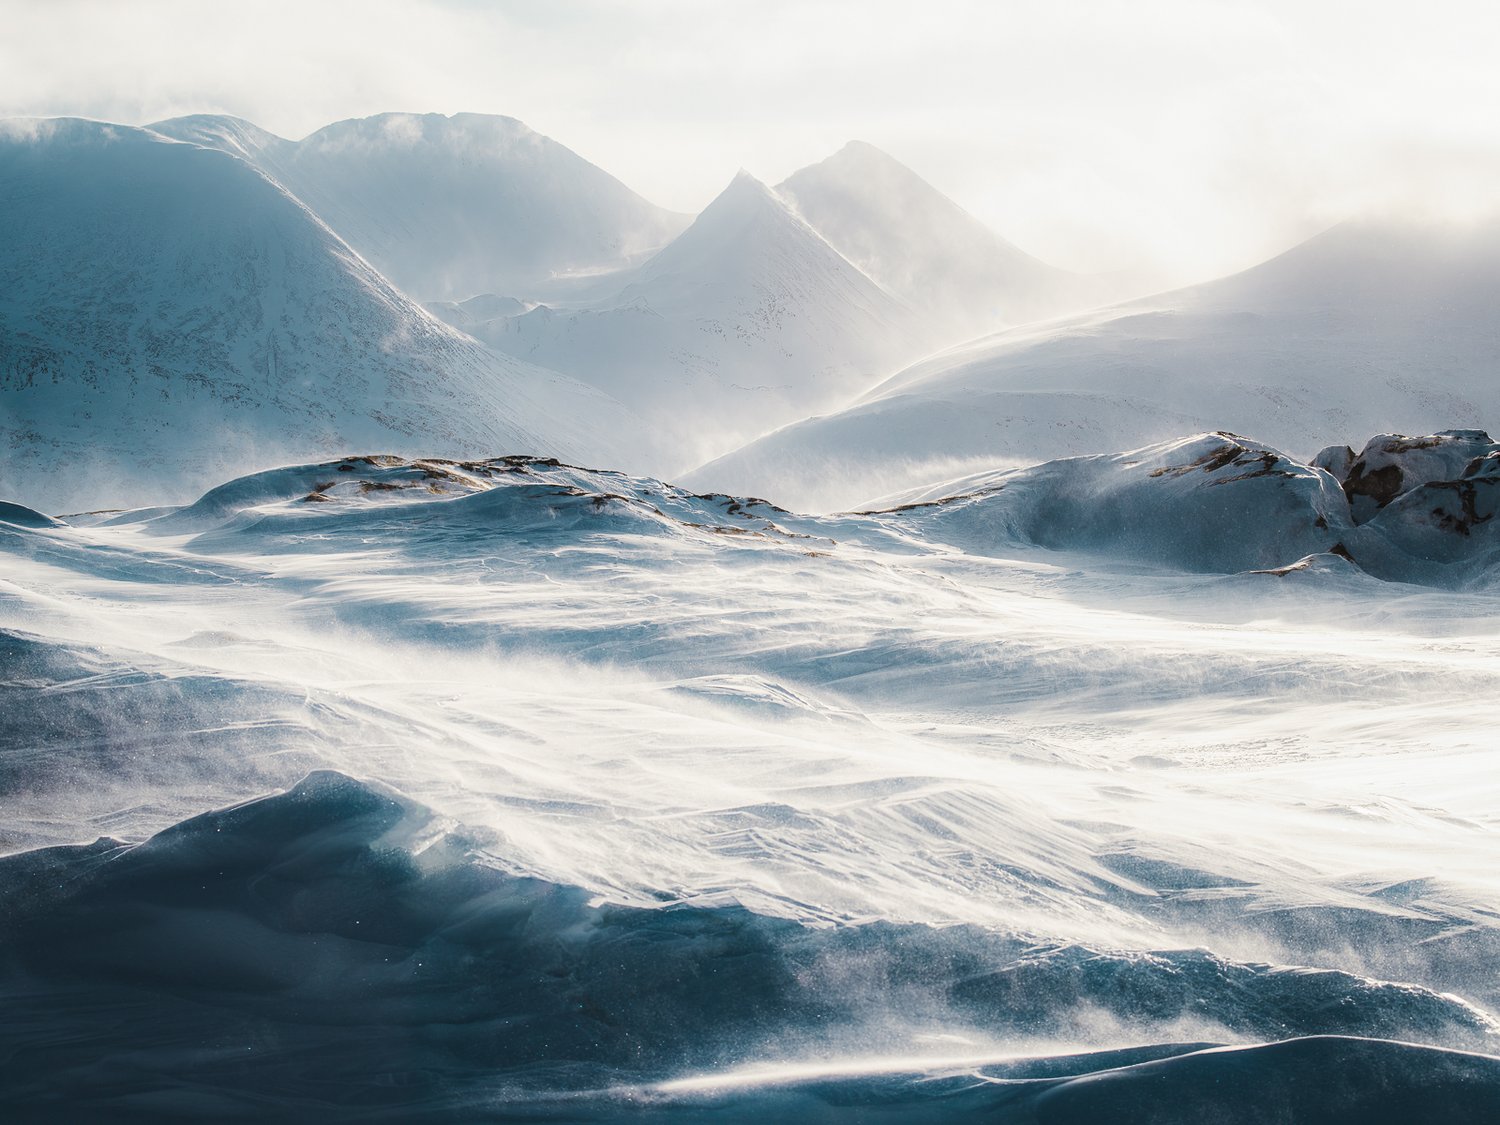
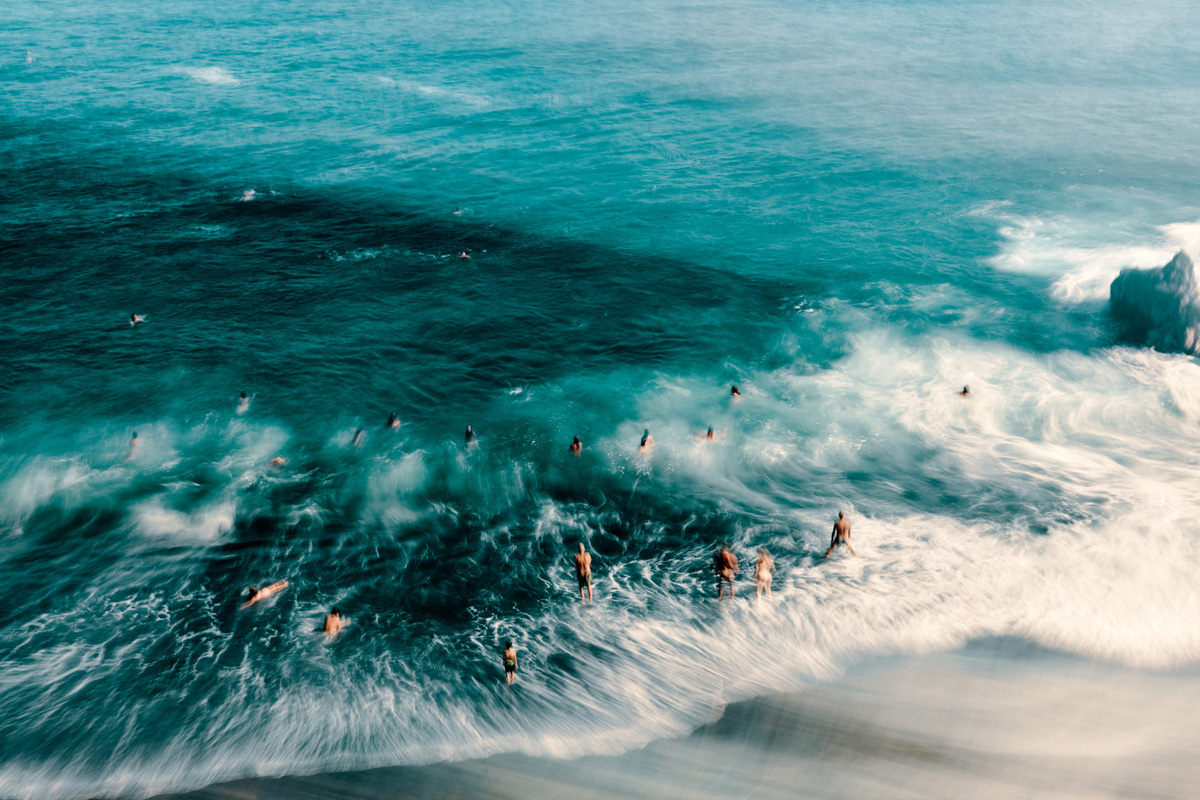
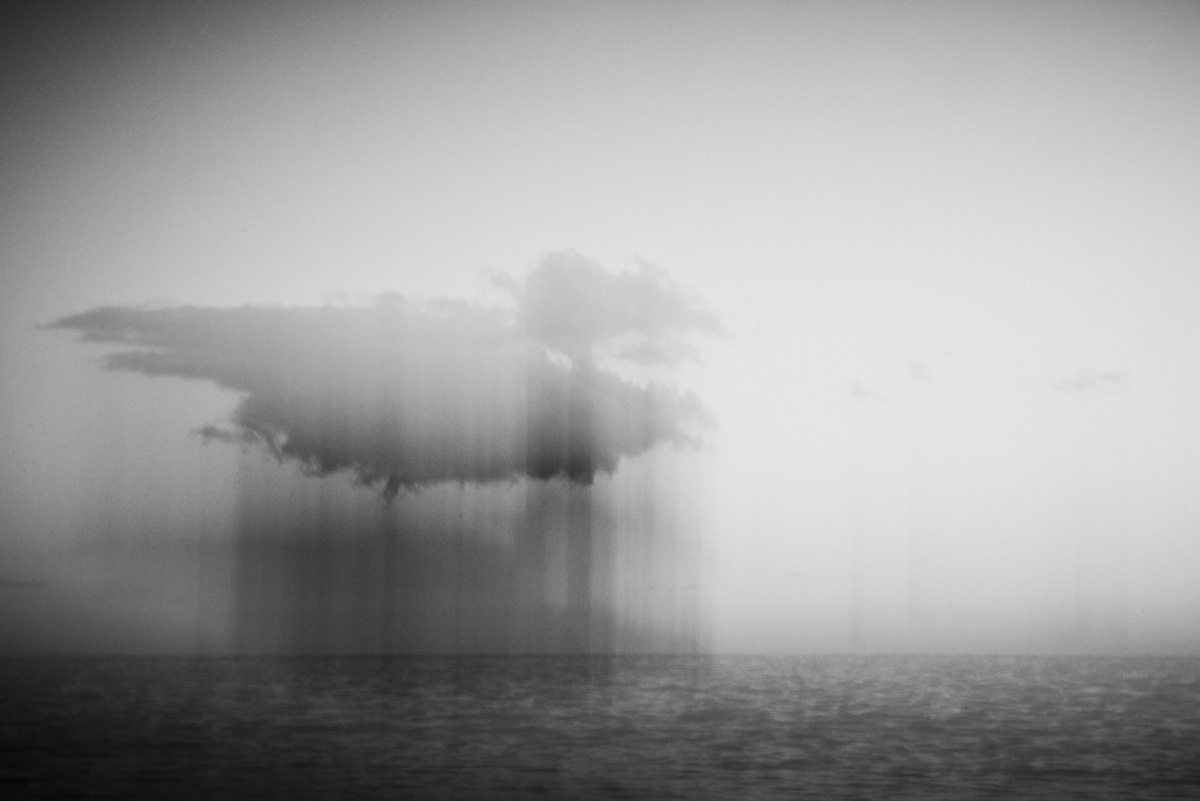
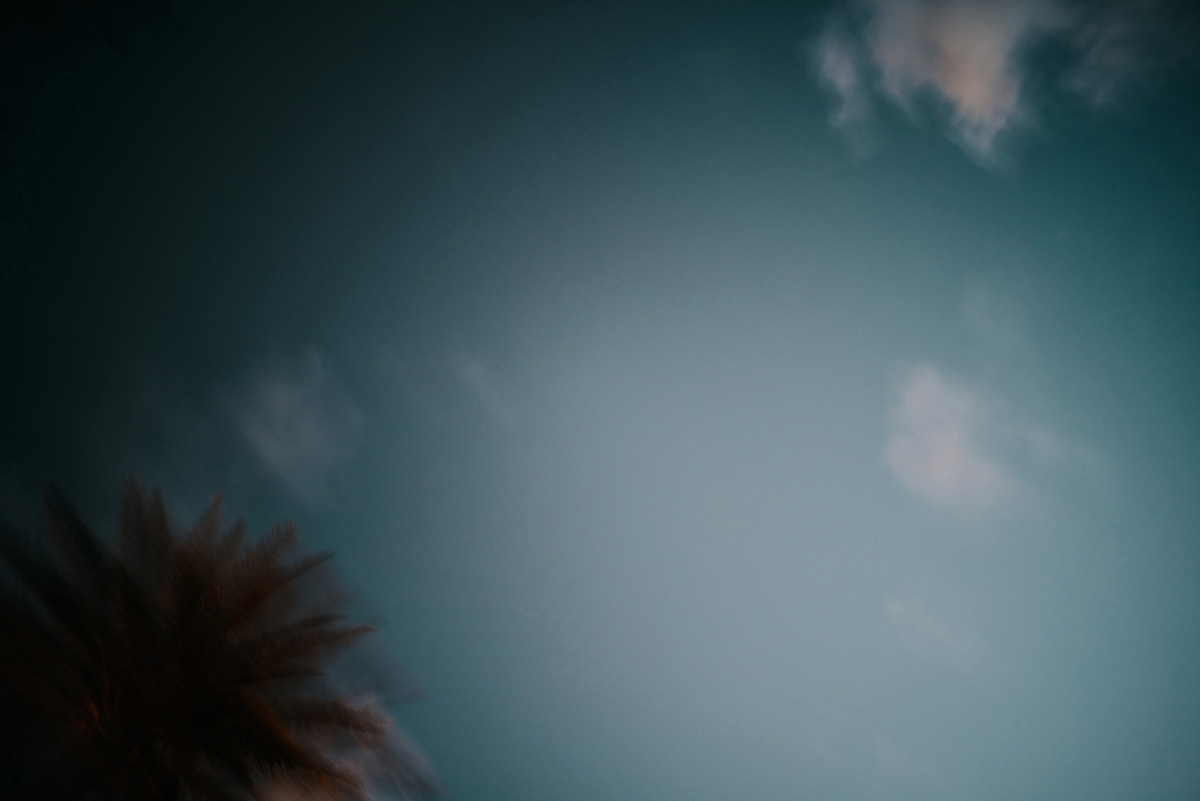
Today’s featured artist: Scott Lowden
Terra Nostra is an exploration of place, memory, and the invisible threads that connect us to spaces we inhabit. Photographed intuitively, the images embrace imperfection. Long exposures, soft focus, and alternative lenses let light and atmosphere shape each frame, softening sharp edges in favor of emotion and mood. These photographs prioritize feeling over documentation—a visual sense of how a place lingers in memory and spirit.
This project resurfaced during five years spent with my father during his illness. Places like Kimmel Lookout in Pennsylvania became meditative spaces as I made photographs to help process the emotions of witnessing a loved one’s decline. Through these experiences, this series became a bridge between personal story and a broader connection to place.
Terra Nostra invites viewers to step into the spirit of these spaces, to sense the echoes of the past and the presence of what endures.


To see more of this project, click here
Suzanne Sease is a creative consultant and former ad-agency senior art buyer. She works with both emerging and established photographers and illustrators to create cohesive, persuasive presentations that clients can’t resist.
Suzanne offers something rare: an insider’s perspective on how client’s source creative talent. Her deep understanding of the industry is underscored by her impressive resume: 11 years as senior art buyer at The Martin Agency, seven years as an art producer for Capital One, and stints with the art-buying department at Kaplan-Thaler and the creative department at Best Buy, where she applied her expertise to reviewing bids to see which were most likely to come in on budget. Over the years, Suzanne has worked with a wildly diverse range of clients, including Seiko, Wrangler, Bank One, AFLAC, and Clairol Herbal Essence. Now, as a consultant, she is equipped to problem-solve for her clients from an unusually dynamic point of view.
As a longtime member of the photo community, Suzanne is also dedicated to giving back. Through her Art of the Personal Project column on the popular website aphotoeditor.com, she highlights notable personal projects by well-known and up-and-coming photographers. The column offers these artists excellent exposure while reflecting Suzanne’s passion for powerful imagery.
[ad_2]
Source link