[ad_1]
The reality of the world is that images are almost always cropped from what they were in camera no matter how we share them. This is largely due to the constraints of mobile phones where wide aspect ratio images can be hard to view on phones when the phone is held in portrait mode.
The weird thing is that every website or app is a little bit different. Some sites force your images into their own highly restricted crop such as Instagram, and some sites like Flickr don’t care what crop is used. The main concern for using either of those services is how people are most likely to view your images which as far as I know is still a mobile device.
To help photographers deal with this, did you knot that most (if not all) full frame 35mm digital cameras have built in “crop modes” which apply a digital crop to your image in camera?
For example, my camera will shoot in 4 different crop modes (also called aspect ratios). It will shoot in a 4:3 aspect ratio which is the old TV standard for HD television. It will shoot in 1:1 format which is a square format used as we all know on Instagram. It will shoot in 16:9 which is the modern standard for television screens, computer monitors, and many TV shows. Take a look at the comparisons below to get more of an idea of how these different formats relate to each other.

When using these alternate aspect ratios the RAW image remains unaffected. After opening the RAW files in Lightroom a crop will be automatically applied to the image but you can just remove the crop and voila, you’re back to having a full frame image again. If shooting JPG the final image is cropped and the 35mm full frame image can’t be recovered.
Since the RAW file retains the 35mm full frame image a different aspect ratio can be used as a bit of a cheat to help avoid framing mistakes. Say you’re the type who tends to shoot with a tilt or off to the right all the time, or maybe you tend to shoot with the subject low or high and cut off people’s feet. If you’re one of those types then using one of these alternate aspect ratios can force you to frame your images better.
For instance, if you want to make sure you always have room on the sides of your images, you can use the 4:3 crop to force yourself to frame a little wider on your subject. This might be especially useful if you’re shooting fast action such as sports and you want to make sure that there is room in the image to get a nice frame around your subject for publication.
For instance, if I was shooting baseball or basketball where there is usually a focus on what a single player is doing, I might choose to shoot in RAW with the 1:1 crop active. This would force me to put the player close to the center of the frame at all times.
Think of it as a way of making a repetive job a little easier on yourself and you might start to see the benefits of using different crop ratios when you’re taking pictures.
It would be really cool if the camera allowed me to create a couple custom crop ratios for all the different websites out there as well, but, I haven’t heard of a camera that can do that yet.
The R5 can also shoot with a full APS-C crop. Below is a comparison of the full frame area vs the APS-C area.

If you’re far away from the subject, say a bird or other kind of wildlife, then shooting with an APS-C crop not only saves some file size but it can help the photographer get better framing for their final images. It also allows the R5 to work a little more seamlessly with other APS-C cameras if other people happen to be using those.
Despite all this, many if not most photographers will immediately ask why anyone would throw out all those pixels that they paid so much money for in a full frame camera. Well, they honestly have a good point and it’s why I rarely to never use APS-C crop on my camera. For one, while the APS-C crop does offer some logic, it’s really better to use a longer focal length to achieve precise framing. On the R5 a full APS-C crop is still 17.2 megapixels which isn’t too far off from actual crop sensor cameras that are often around 24 megapixels. But it is a far cry from the 45 megapixels of the R5’s full frame sensor. Bottom line: going to APS-C on the R5 throws out more than half the resolution and that would be true with any FF camera that offers the ability to shoot in crop mode.
[ad_2]
Source link


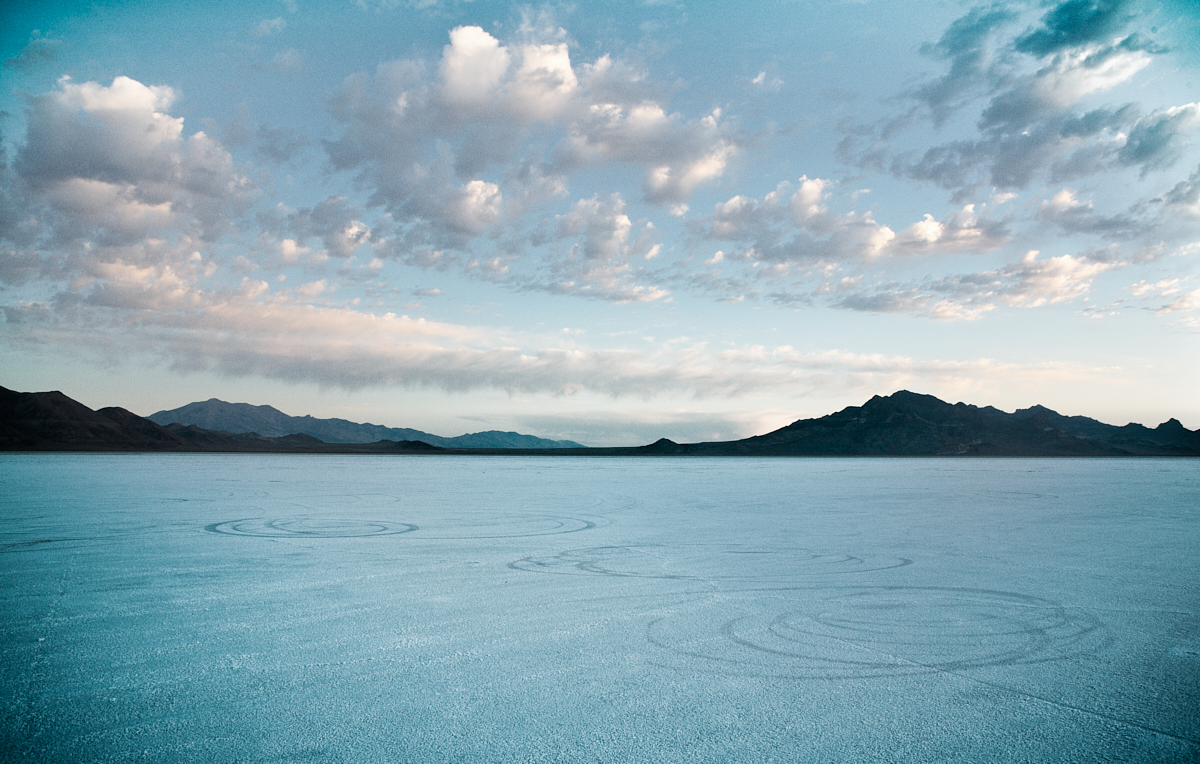

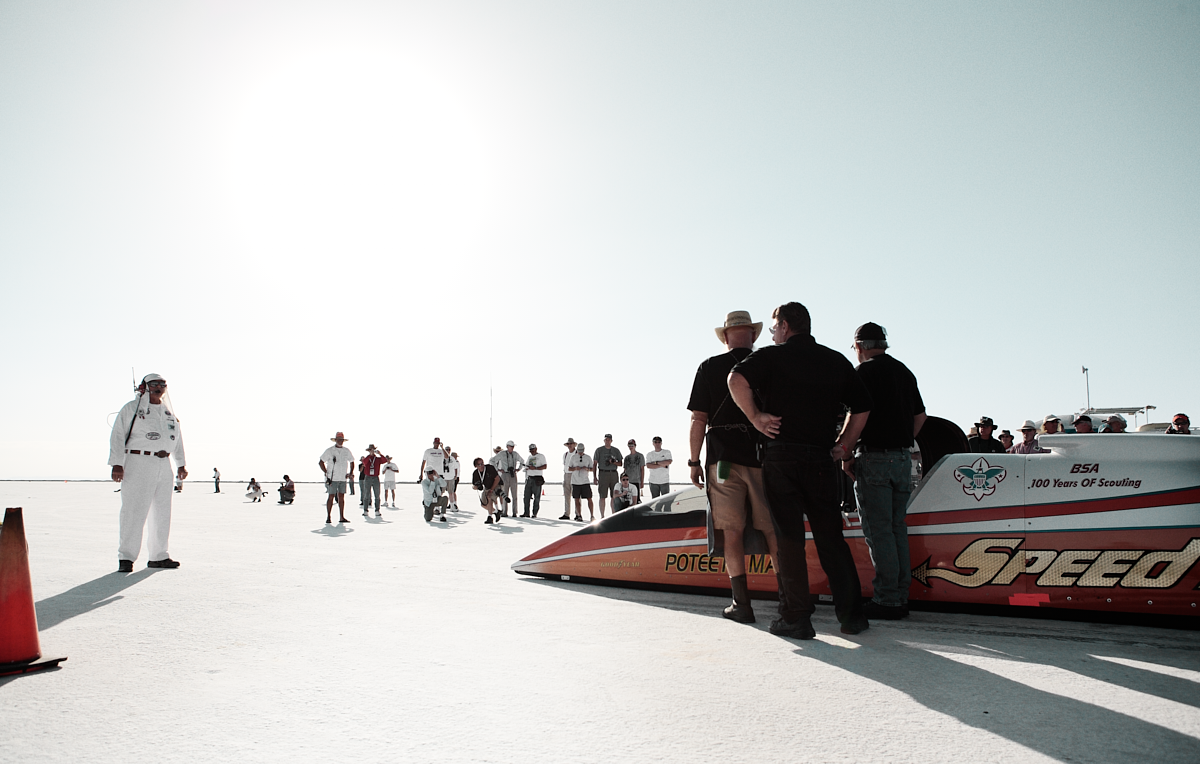
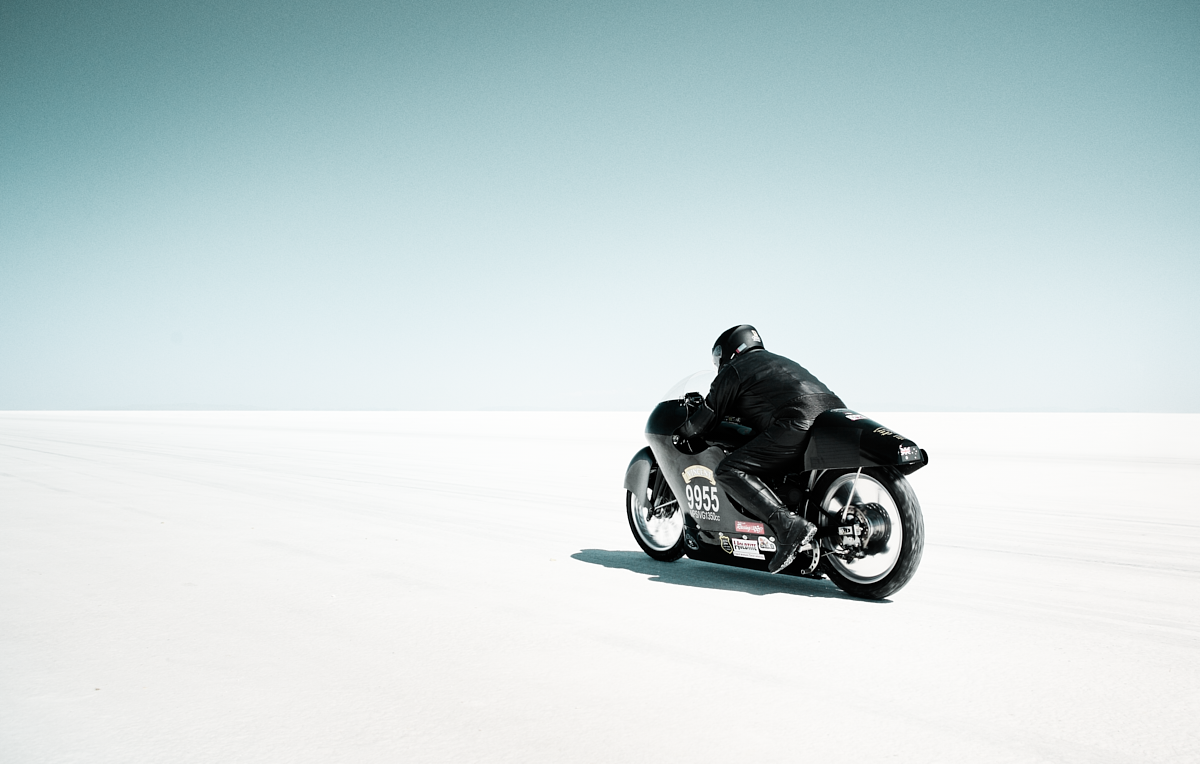

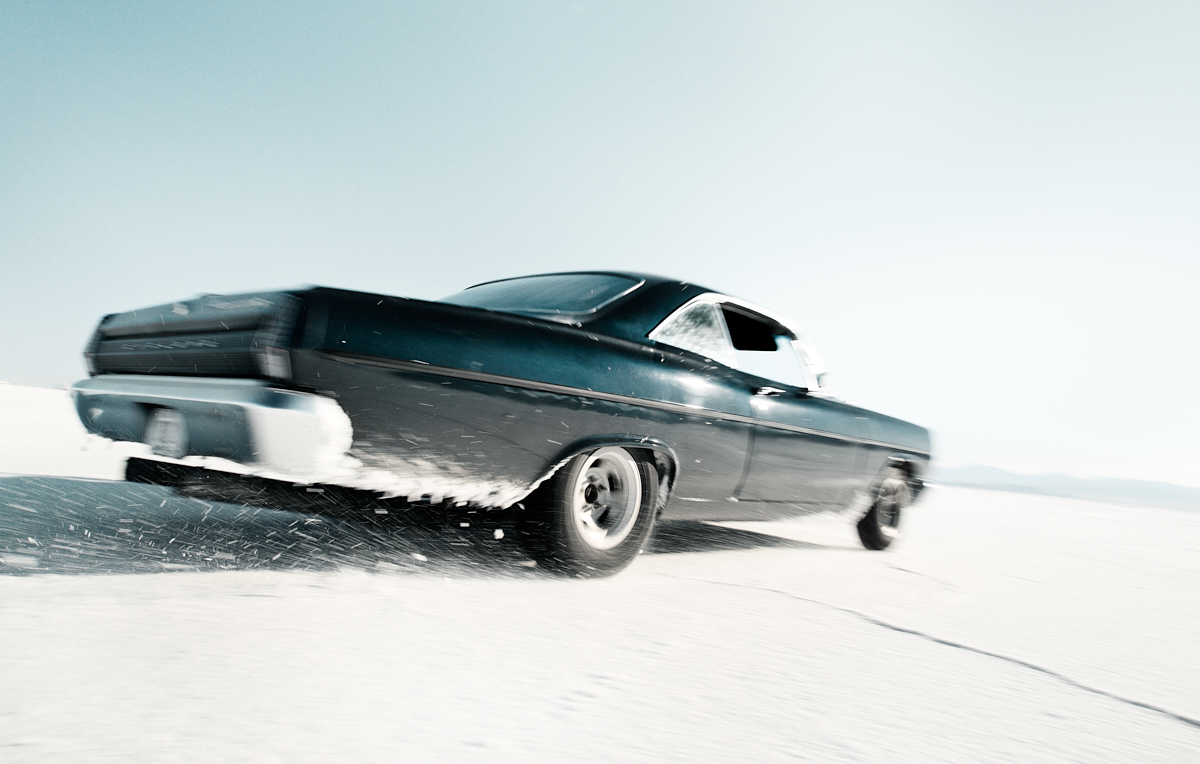
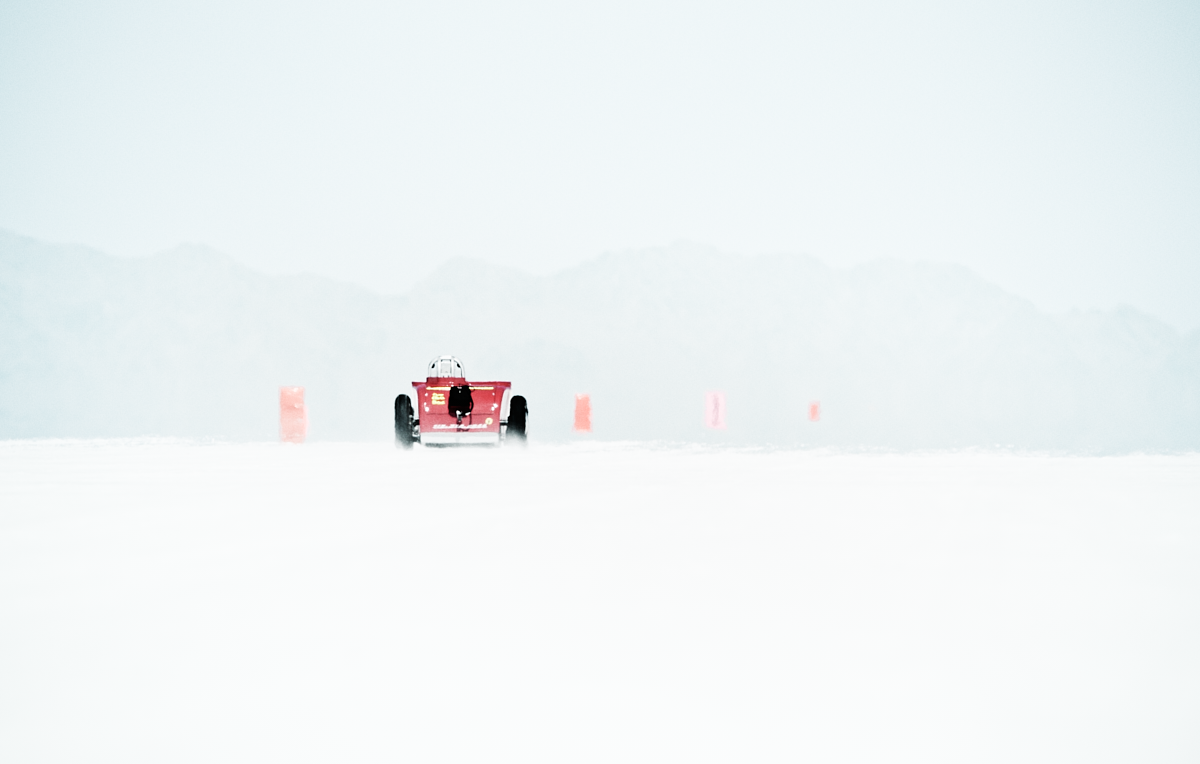
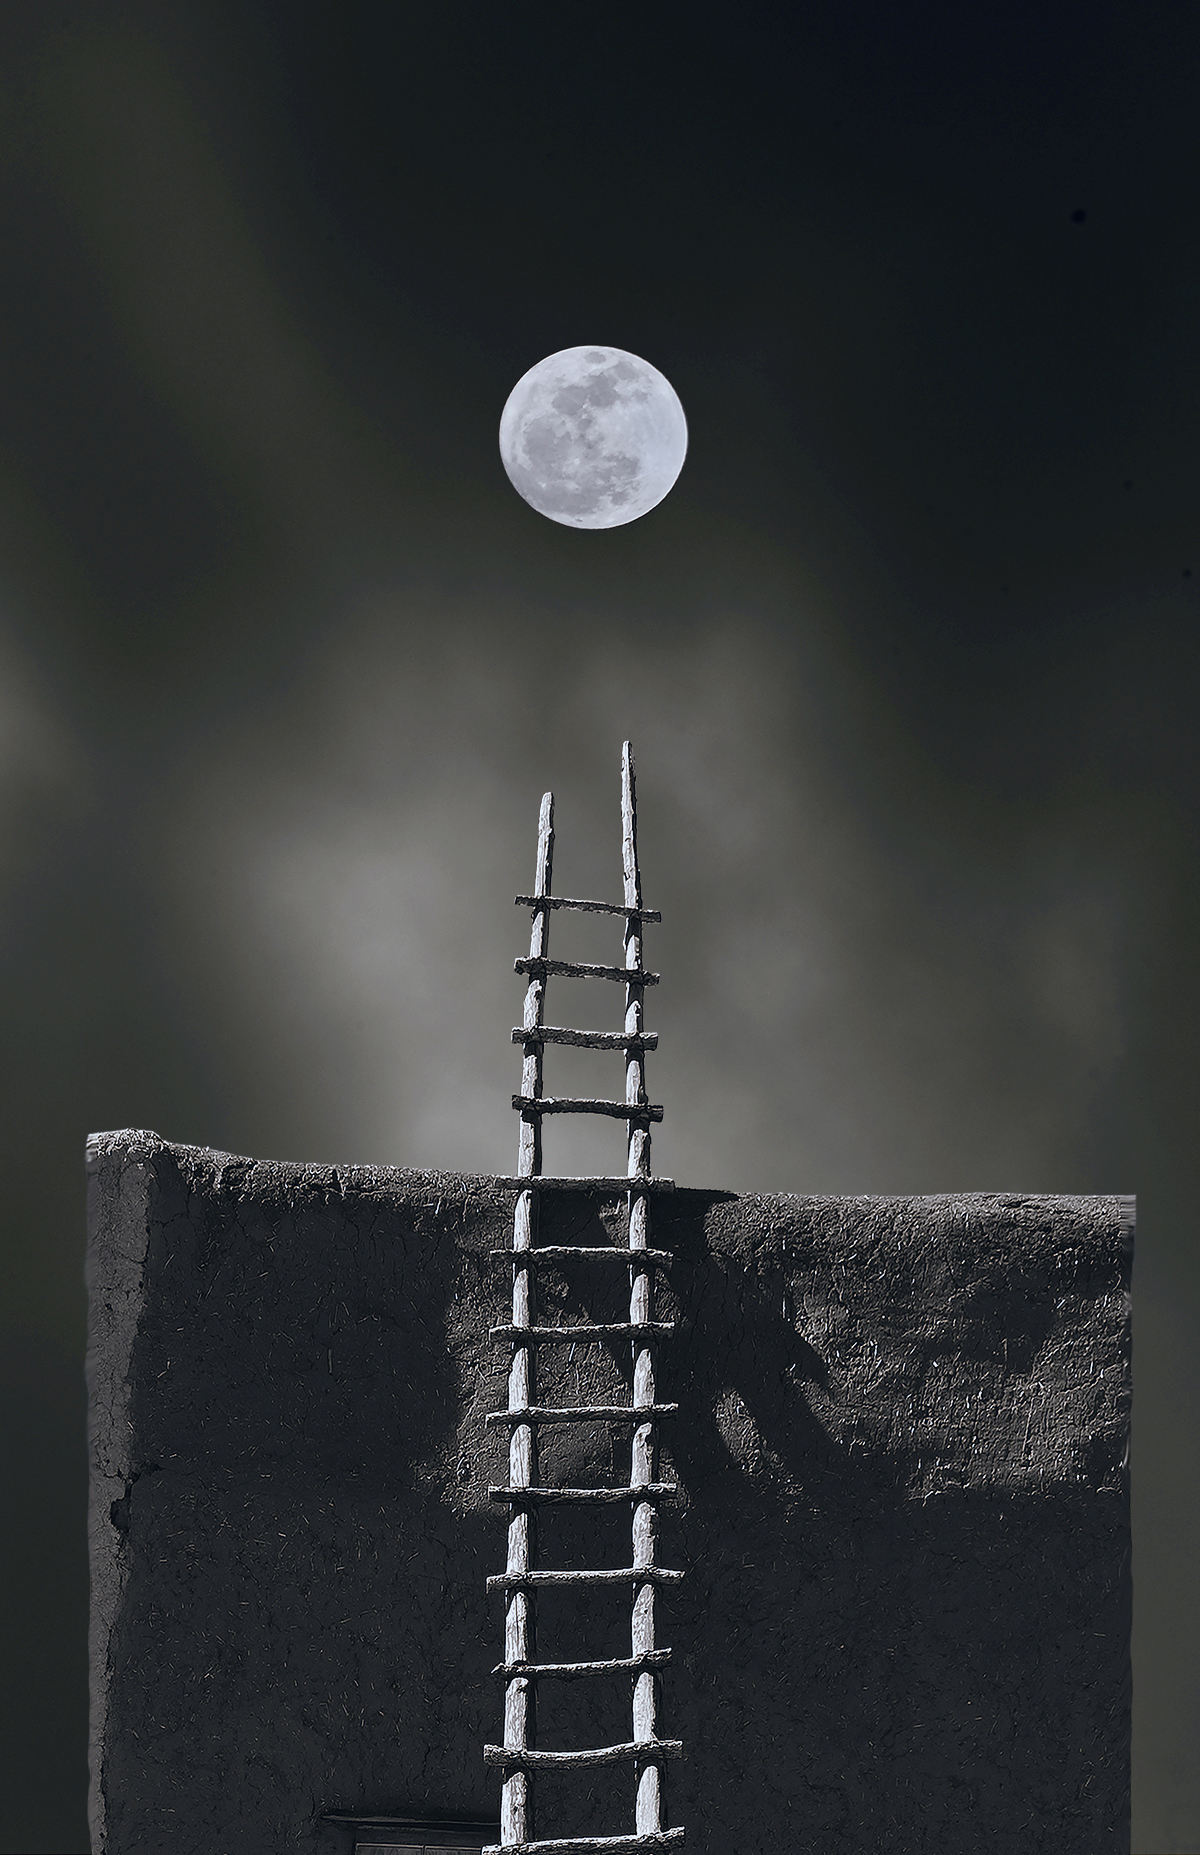
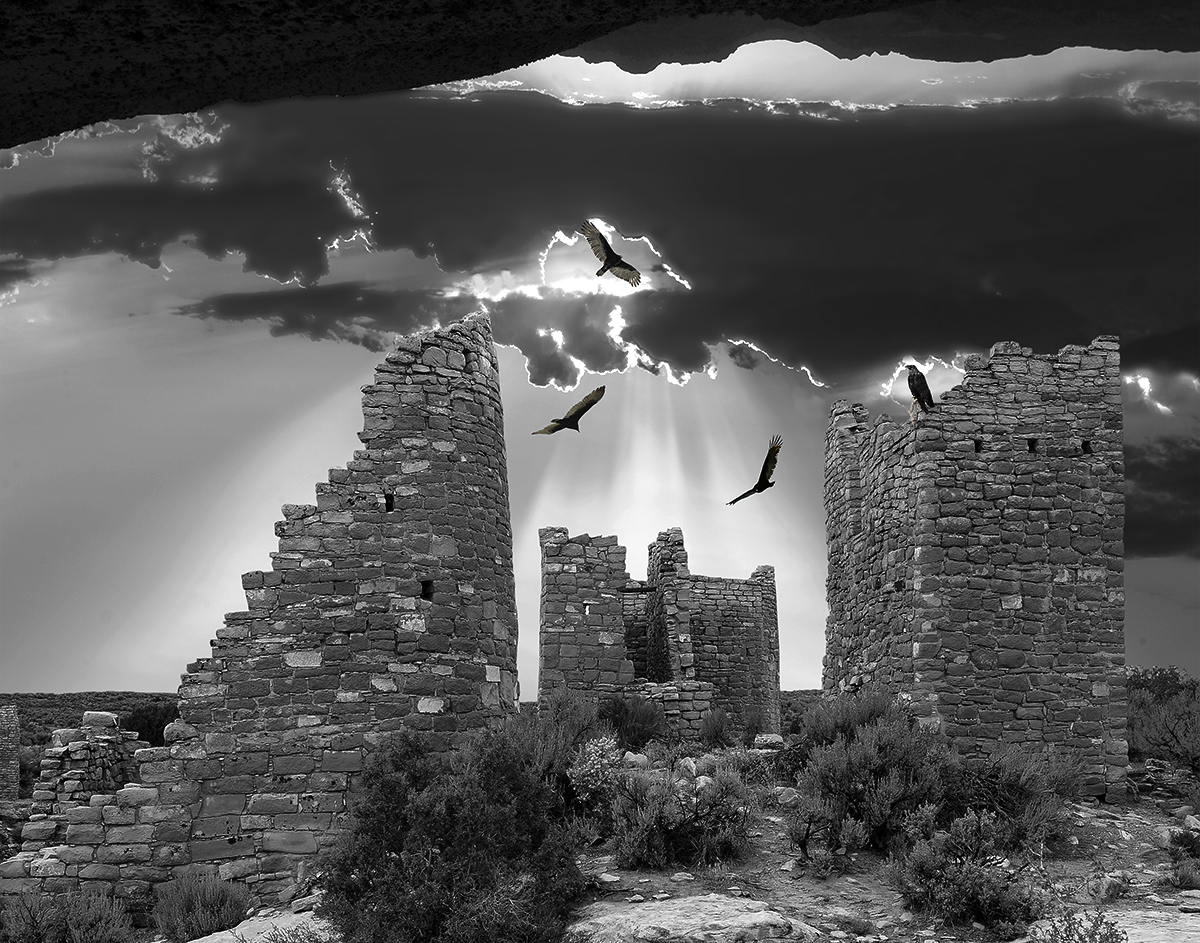
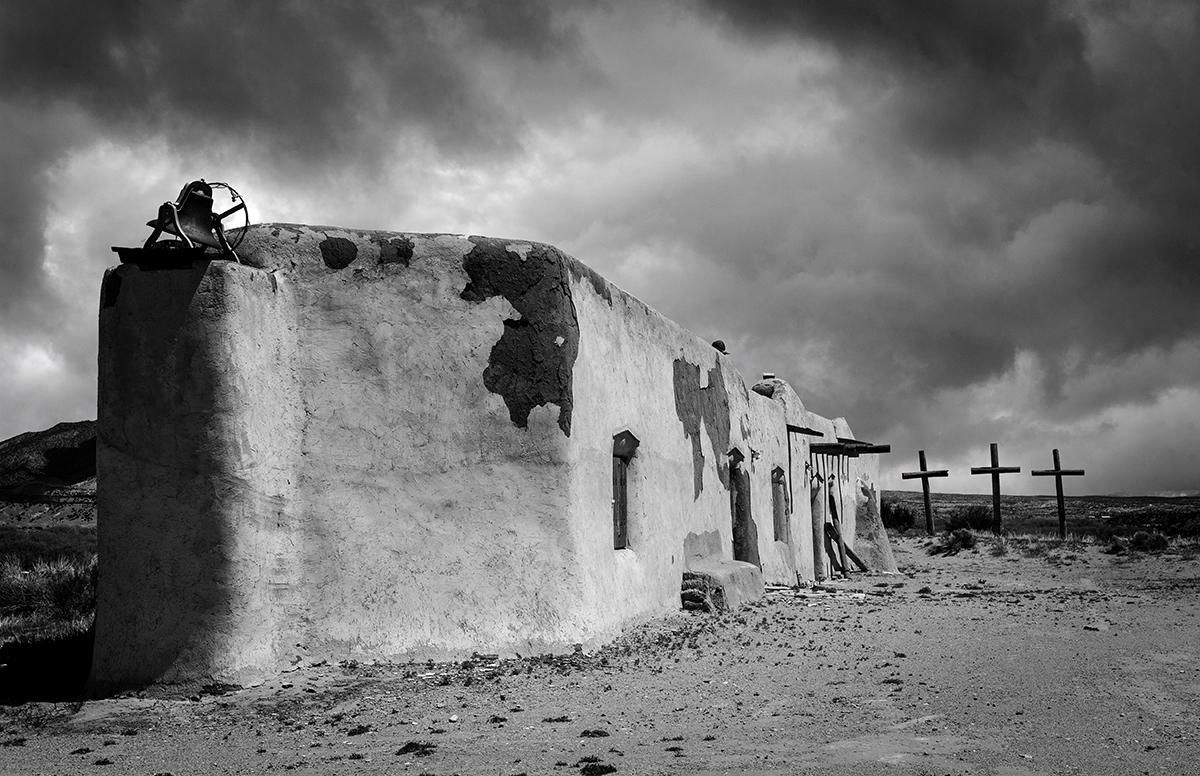
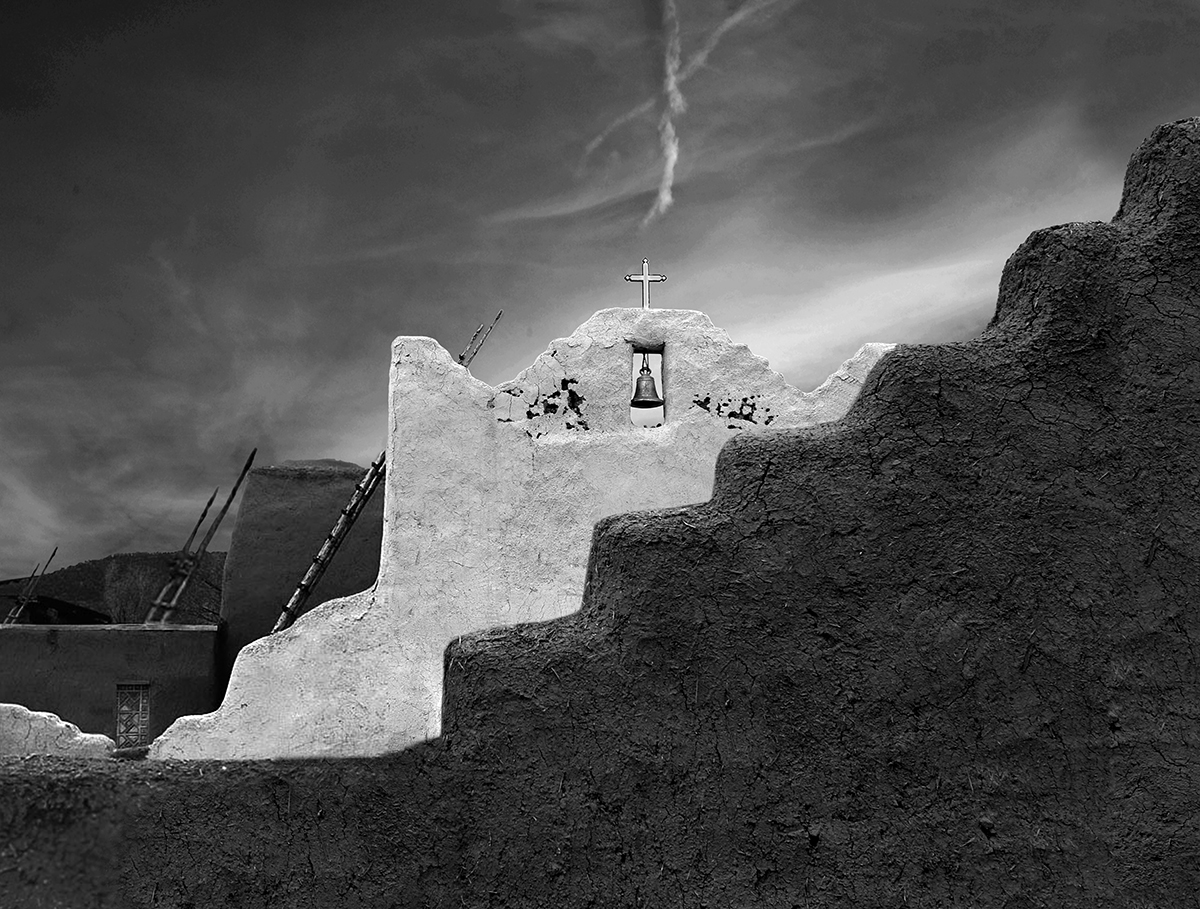
 Here’s one of the early results. Very pleased with the look given the demanding desert conditions that the tool had to deal with! More soon… and if you want to check out Aperty you can do so
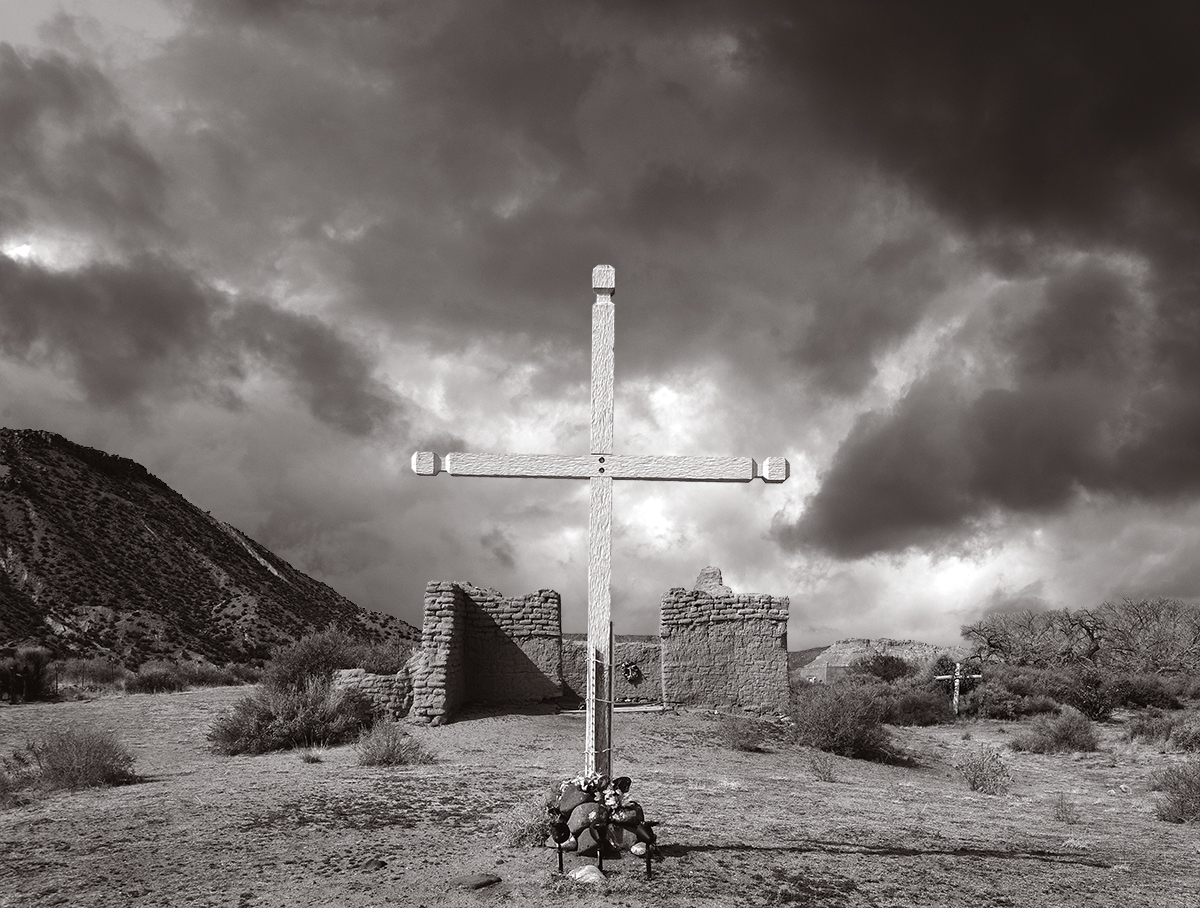


