دسته: کنتراست

  • How to use crop modes on your full frame digital camera.


    The reality of the world is that images are almost always cropped from what they were in camera no matter how we share them. This is largely due to the constraints of mobile phones where wide aspect ratio images can be hard to view on phones when the phone is held in portrait mode.

    The weird thing is that every website or app is a little bit different. Some sites force your images into their own highly restricted crop such as Instagram, and some sites like Flickr don’t care what crop is used. The main concern for using either of those services is how people are most likely to view your images which as far as I know is still a mobile device.

    To help photographers deal with this, did you knot that most (if not all) full frame 35mm digital cameras have built in “crop modes” which apply a digital crop to your image in camera?

    For example, my camera will shoot in 4 different crop modes (also called aspect ratios). It will shoot in a 4:3 aspect ratio which is the old TV standard for HD television. It will shoot in 1:1 format which is a square format used as we all know on Instagram. It will shoot in 16:9 which is the modern standard for television screens, computer monitors, and many TV shows. Take a look at the comparisons below to get more of an idea of how these different formats relate to each other.

    When using these alternate aspect ratios the RAW image remains unaffected. After opening the RAW files in Lightroom a crop will be automatically applied to the image but you can just remove the crop and voila, you’re back to having a full frame image again. If shooting JPG the final image is cropped and the 35mm full frame image can’t be recovered.

    Since the RAW file retains the 35mm full frame image a different aspect ratio can be used as a bit of a cheat to help avoid framing mistakes. Say you’re the type who tends to shoot with a tilt or off to the right all the time, or maybe you tend to shoot with the subject low or high and cut off people’s feet. If you’re one of those types then using one of these alternate aspect ratios can force you to frame your images better.

    For instance, if you want to make sure you always have room on the sides of your images, you can use the 4:3 crop to force yourself to frame a little wider on your subject. This might be especially useful if you’re shooting fast action such as sports and you want to make sure that there is room in the image to get a nice frame around your subject for publication.

    For instance, if I was shooting baseball or basketball where there is usually a focus on what a single player is doing, I might choose to shoot in RAW with the 1:1 crop active. This would force me to put the player close to the center of the frame at all times.

    Think of it as a way of making a repetive job a little easier on yourself and you might start to see the benefits of using different crop ratios when you’re taking pictures.

    It would be really cool if the camera allowed me to create a couple custom crop ratios for all the different websites out there as well, but, I haven’t heard of a camera that can do that yet.

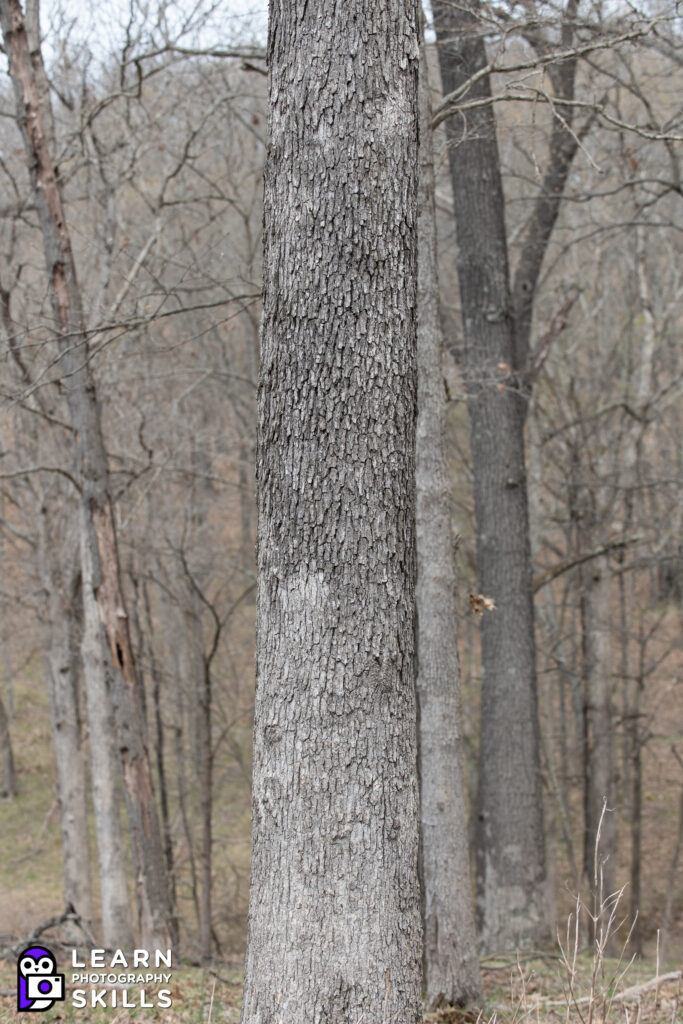
    The R5 can also shoot with a full APS-C crop. Below is a comparison of the full frame area vs the APS-C area.

    If you’re far away from the subject, say a bird or other kind of wildlife, then shooting with an APS-C crop not only saves some file size but it can help the photographer get better framing for their final images. It also allows the R5 to work a little more seamlessly with other APS-C cameras if other people happen to be using those.

    Despite all this, many if not most photographers will immediately ask why anyone would throw out all those pixels that they paid so much money for in a full frame camera. Well, they honestly have a good point and it’s why I rarely to never use APS-C crop on my camera. For one, while the APS-C crop does offer some logic, it’s really better to use a longer focal length to achieve precise framing. On the R5 a full APS-C crop is still 17.2 megapixels which isn’t too far off from actual crop sensor cameras that are often around 24 megapixels. But it is a far cry from the 45 megapixels of the R5’s full frame sensor. Bottom line: going to APS-C on the R5 throws out more than half the resolution and that would be true with any FF camera that offers the ability to shoot in crop mode.


    Source link

  • A New Range of Tripods from Peak Design


    Everyone reading this post should know that I love Peak Design products. Obviously a while back we had a great time working together on the Everyday Messenger bags but that didn’t require me to stick with their products *checks calendar*… *faints*… *gets up off the floor* 10 years later! How did a decade happen????

    Anyway, one of the more recent bits of kit that I use from them is the Travel Tripod. It’s been allll over the place with me since launch, from the most southern tip of New Zealand to the north coast of Scotland and loads of places in between and has never let me down. In this relationship, unlike others in my life, I’m far more likely to be the one to cause issues, that’s for sure. Back to my original point. Today Peak Design are launching the Pro Tripod line with enhanced features such as increased strength and stability to carry heavier cameras and lenses, improved ball head functionality and accessories for full fluid pan/tilt video capture. It looks like they’ve also refined the design and further enhanced build quality too. Nice stuff all round!

    So, if the original wasn’t “pro” enough for you maybe the new one will be. You can find our more here where they’ve spent countless hours crafting a useful info and sales page. If you grab one, have fun! And if you don’t well, um, enjoy knowing that you made a terrible life decision. 😉


    Peak Design Pro Tripod


    Source link

  • Exploring the Fjords


    One from a semi recent trip around the NZ fjords…

    The post Exploring the Fjords appeared first on Stuck in Customs.


    Source link

  • Adam Ewing – A Photo Editor


    The Art of the Personal Project is a crucial element to let potential buyers see how you think creatively on your own.  I am drawn to personal projects that have an interesting vision or that show something I have never seen before.  In this thread, I’ll include a link to each personal project with the artist statement so you can see more of the project. Please note: This thread is not affiliated with any company; I’m just featuring projects that I find.  Please DO NOT send me your work.  I do not take submissions.

    Today’s featured artist:  Adam Ewing

    I had the opportunity, through a client connection, to follow a team at Bonneville’s Speed Week. Each year, hundreds of speed freaks bring their machines to Bonneville with the goal of setting a land speed record in dozens of classes from vintage motorcycles to futuristic rockets on wheels.

    The legendary Bonneville Salt Flats, with its expansive vista that stretches 12 miles long and five miles wide, has been likened to the surface of the moon. In this series, I sought to capture the dizzying speed of the man-made machines, being tested on a surreal landscape.

    To see more of this project, click here

    Instagram

    Suzanne Sease is a creative consultant and former ad-agency senior art buyer. She works with both emerging and established photographers and illustrators to create cohesive, persuasive presentations that clients can’t resist.

    Suzanne offers something rare: an insider’s perspective on how client’s source creative talent. Her deep understanding of the industry is underscored by her impressive resume: 11 years as senior art buyer at The Martin Agency, seven years as an art producer for Capital One, and stints with the art-buying department at Kaplan-Thaler and the creative department at Best Buy, where she applied her expertise to reviewing bids to see which were most likely to come in on budget. Over the years, Suzanne has worked with a wildly diverse range of clients, including Seiko, Wrangler, Bank One, AFLAC, and Clairol Herbal Essence. Now, as a consultant, she is equipped to problem-solve for her clients from an unusually dynamic point of view.

    As a longtime member of the photo community, Suzanne is also dedicated to giving back. Through her Art of the Personal Project column on the popular website aphotoeditor.com, she highlights notable personal projects by well-known and up-and-coming photographers. The column offers these artists excellent exposure while reflecting Suzanne’s passion for powerful imagery.

    Instagram


    Source link

  • James Evangelista – A Photo Editor


    The Art of the Personal Project is a crucial element to let potential buyers see how you think creatively on your own.  I am drawn to personal projects that have an interesting vision or that show something I have never seen before.  In this thread, I’ll include a link to each personal project with the artist statement so you can see more of the project. Please note: This thread is not affiliated with any company; I’m just featuring projects that I find.  Please DO NOT send me your work.  I do not take submissions.

    Today’s featured artist:  James Evangelista

    I create images that celebrate the spirit and beauty of the American Landscape, and like my father before me, photography is my passion and my career. In the world of solidity and structure, the silence of the desert, the play of light and shadow, and the forces of wind and water resounds with images that are stirring, touching, and profound. These are the places that occupy a special spot in my imagination. Places that seem to suggest more than just another beautiful spot. Transcending conventional clichés of location, each photograph is more than a record of natural beauty. Within the image, a feeling of vanishing moments when light, tide, and time hold one’s being in their grip and solicits a quiet and introspective moment that reflects the solitude of the work that I’ve done over the years.

    I find my photography restorative, and often, while I’m travelling, I am inspired when I see places where priorities – nature and traditions that respect and preserve the land, all seem sensible, humane and in balance. With decades of dedication to the craft, my photography reflects a mastery of technique and a deep connection to nature. I work to capture those moments where the camera and life come together to create a feeling that’s authenticate and real, and although the stories I tell through my photography may vary, my dedication to finding beauty and originality is constant.

    To see more of this project, click here

    Instagram

    Suzanne Sease is a creative consultant and former ad-agency senior art buyer. She works with both emerging and established photographers and illustrators to create cohesive, persuasive presentations that clients can’t resist.

    Suzanne offers something rare: an insider’s perspective on how client’s source creative talent. Her deep understanding of the industry is underscored by her impressive resume: 11 years as senior art buyer at The Martin Agency, seven years as an art producer for Capital One, and stints with the art-buying department at Kaplan-Thaler and the creative department at Best Buy, where she applied her expertise to reviewing bids to see which were most likely to come in on budget. Over the years, Suzanne has worked with a wildly diverse range of clients, including Seiko, Wrangler, Bank One, AFLAC, and Clairol Herbal Essence. Now, as a consultant, she is equipped to problem-solve for her clients from an unusually dynamic point of view.

    As a longtime member of the photo community, Suzanne is also dedicated to giving back. Through her Art of the Personal Project column on the popular website aphotoeditor.com, she highlights notable personal projects by well-known and up-and-coming photographers. The column offers these artists excellent exposure while reflecting Suzanne’s passion for powerful imagery.

    Instagram


    Source link

  • And Another – Stuck in Customs


    Discover more from Stuck in Customs

    Subscribe now to keep reading and get access to the full archive.


    Continue reading


    Source link

  • Processing Portraits – A New Toy…


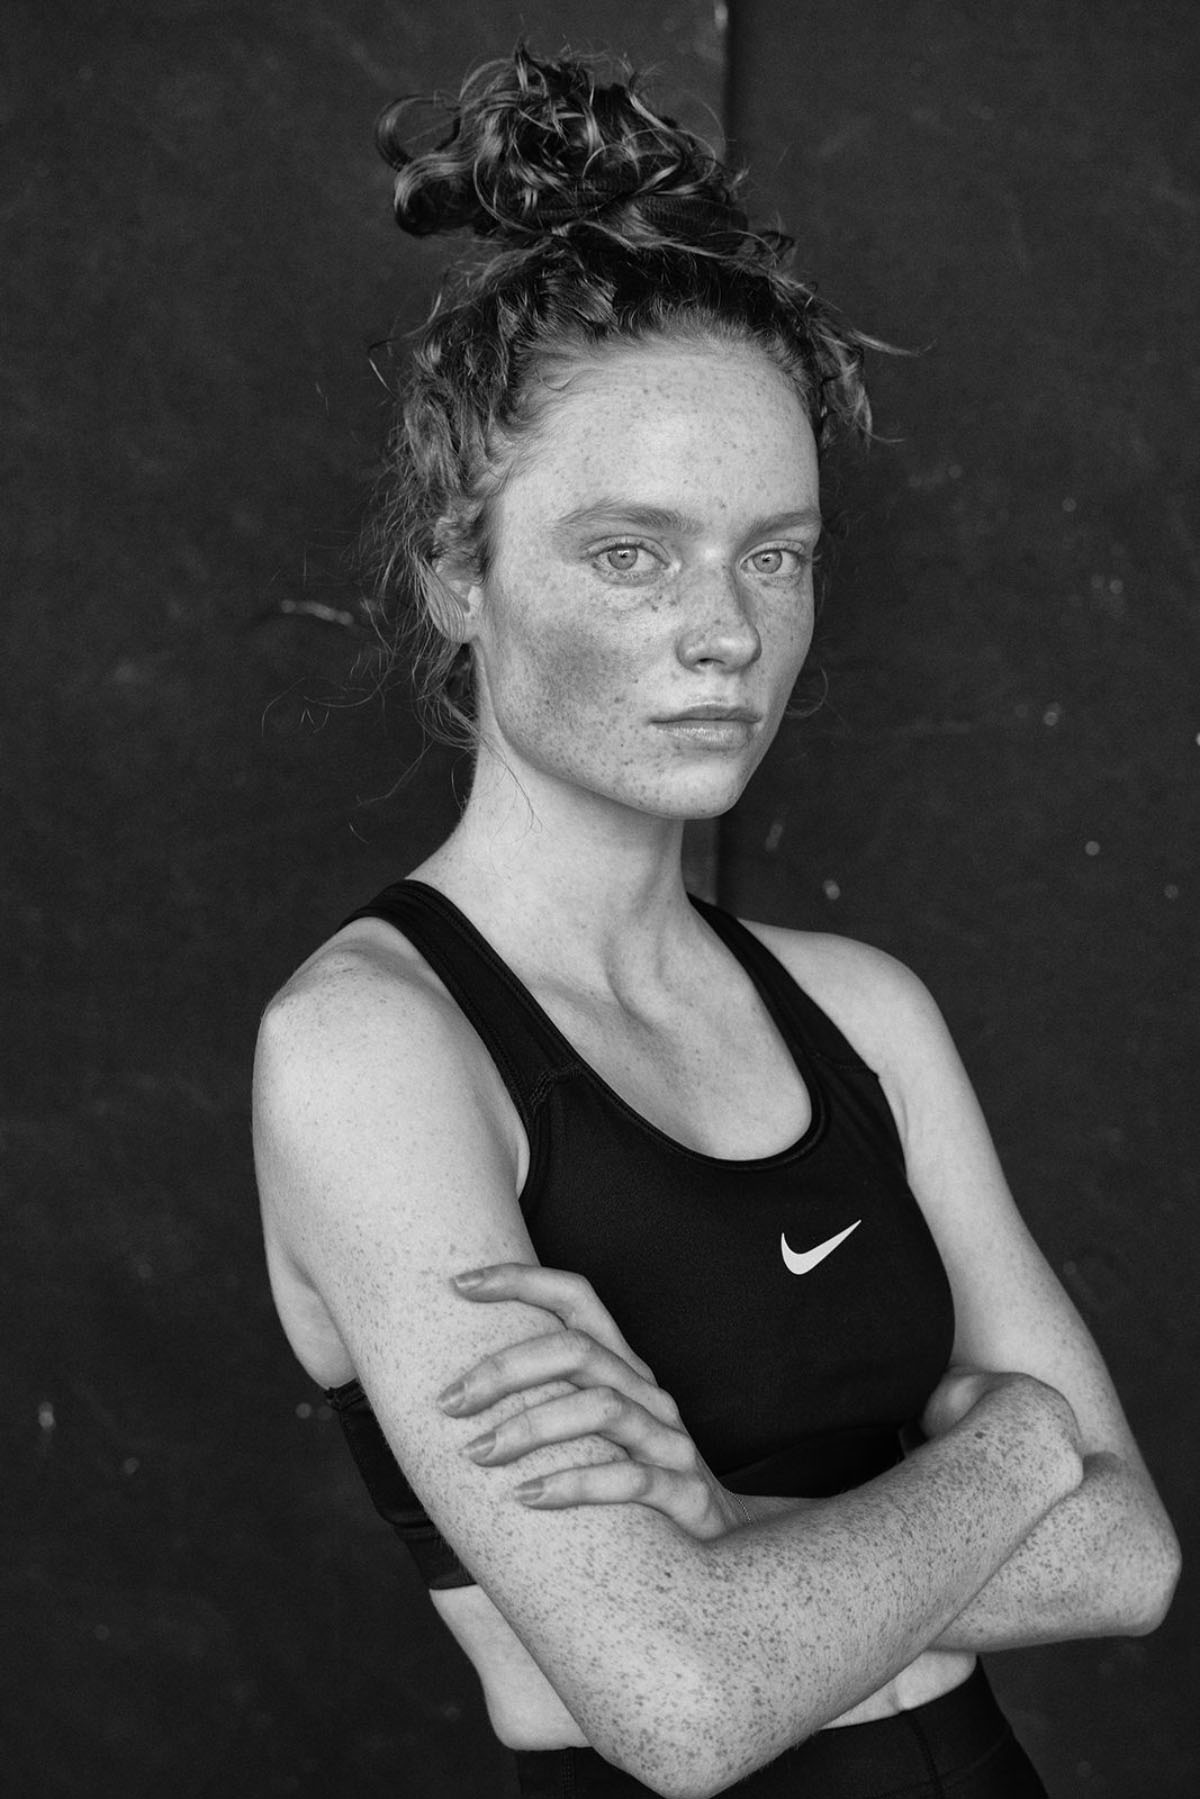
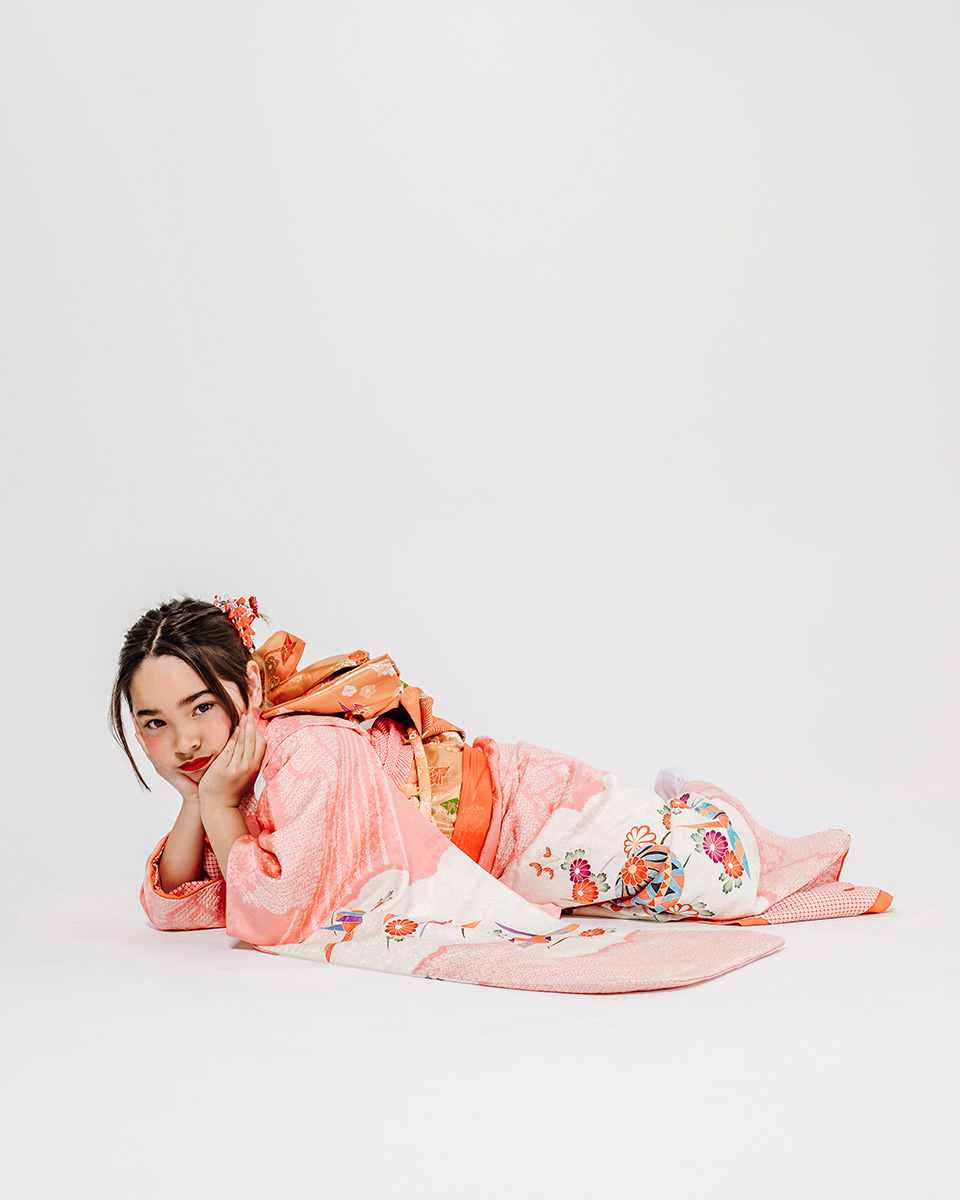
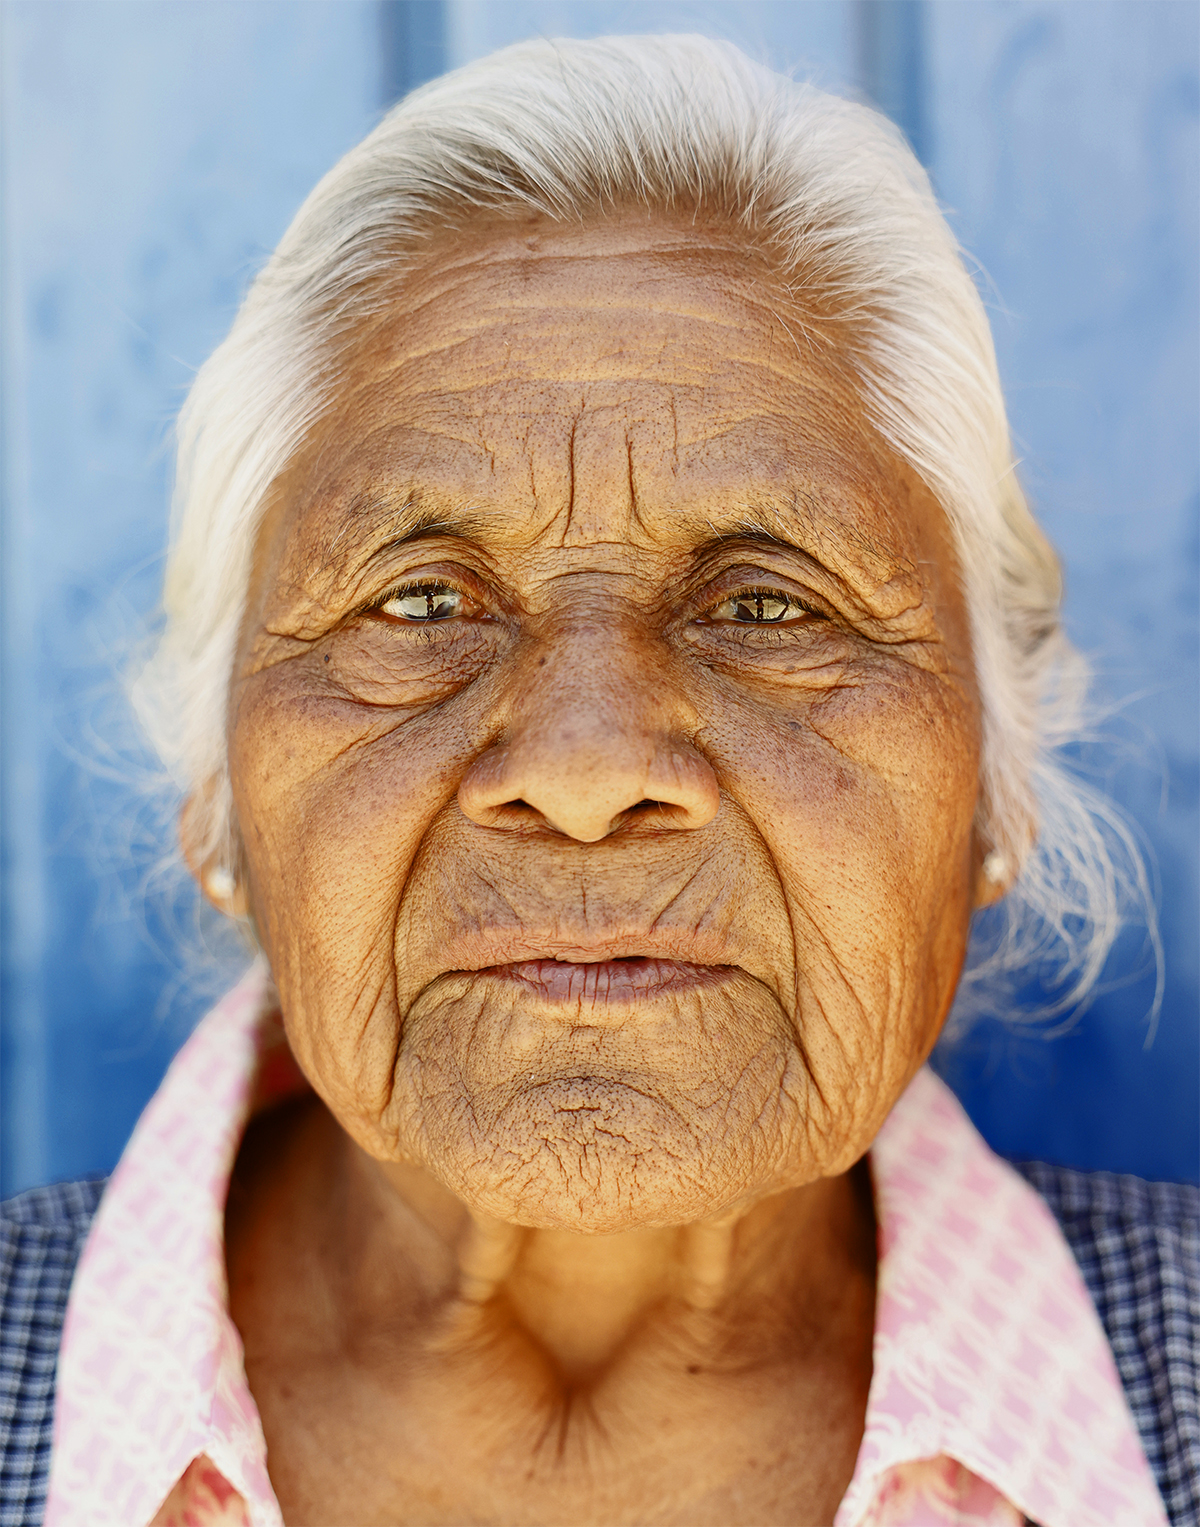
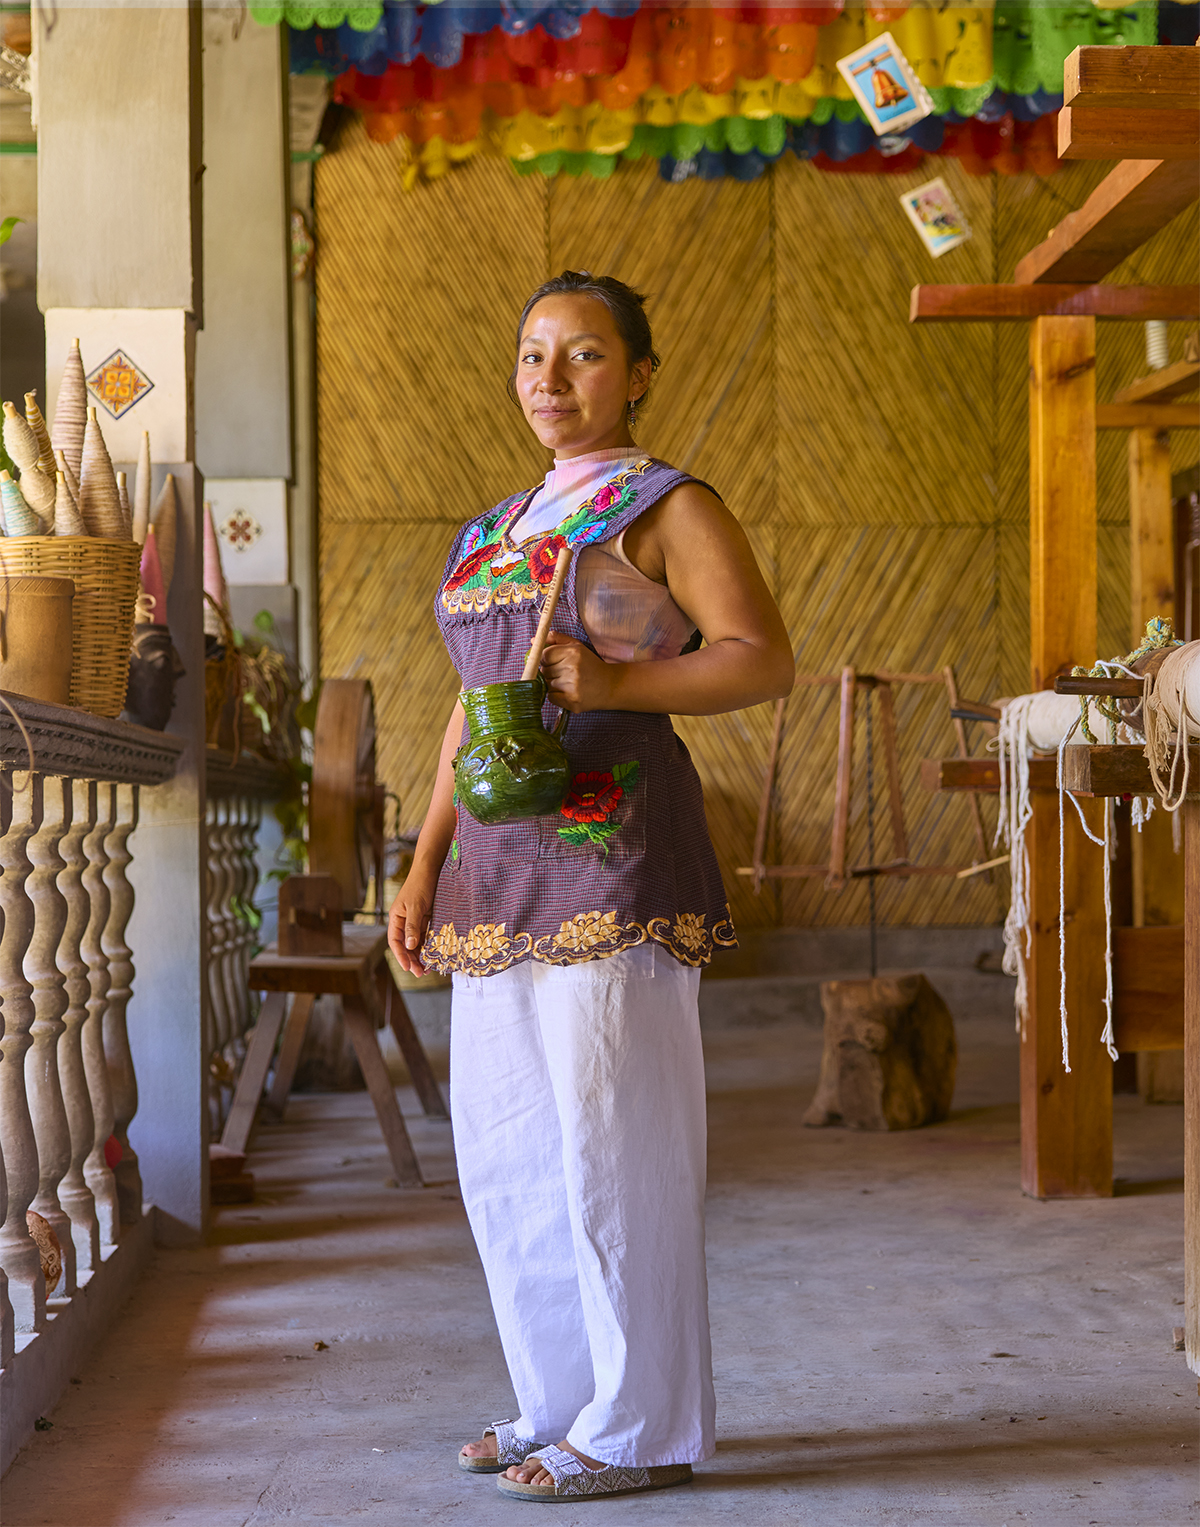
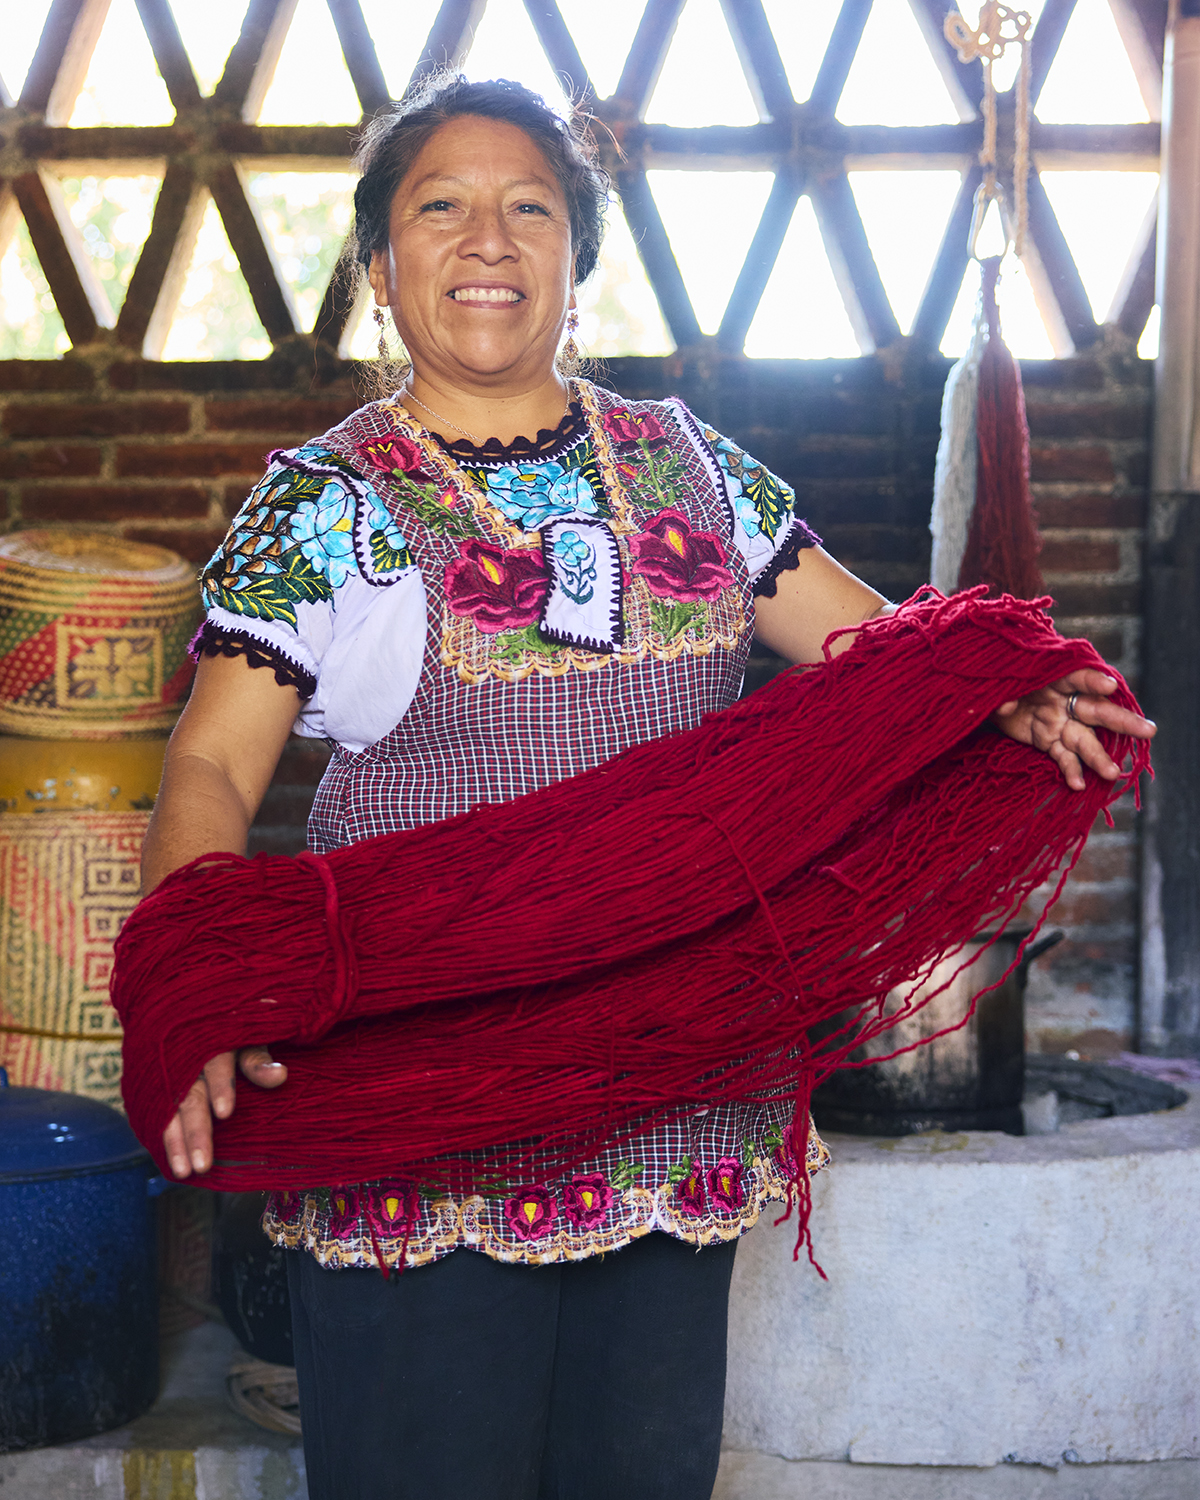
    I’m working on a new people-based photography project and decided I’d give Skylum’s Portrait Editor a try. New toys are always fun. 😀 Here’s one of the early results. Very pleased with the look given the demanding desert conditions that the tool had to deal with! More soon… and if you want to check out Aperty you can do so here.

    Trey Ratcliff - StuckInCustoms.com - Creative Commons Noncommercial contact licensing@stuckincustoms.com

    The post Processing Portraits – A New Toy… appeared first on Stuck in Customs.


    Source link

  • A New Portrait Project – Stuck in Customs


    27


    Apr 2025 : Sunday

    And Exploring Skylum Aperty

    I’ve started work on a portrait project which is, let’s just say not insignificant, in its scope… because if I think about it too much, I realise it’s quite the crazy undertaking! So, while I was planning this out, I had to think about how my workflow might work. How do I make things as easy on myself as possible and keep the creativity as the priority, keeping the “how” out of the way as much as I can. I played with a few tools for a while and have now settled on Aperty. Before I get into that here’s a quick look at it:


    Skylum Aperty Example

    That image in the interface, pretty great end result from minimal time. It was clear to me from early on in the testing that my normal tools, like Lightroom and Luminar, which I use A LOT, offer great processing but Aperty and its focus on portraits, offers a slicker workflow and quicker almost one click solutions.


    Skylum Aperty Wrinkle Example

    Above you’ll see exactly what I mean. On the left, a before, right is the after. 2 button clicks to apply some sympathetic tweaks to the image. Areas to pay particular attention to are the bridge of the nose, forehead and right of the eye. In some cases, the wrinkles disappear, in others the harshness (which was partially due to the environment) is reduced.


    Skylum Aperty Skin Example

    Now, don’t get me wrong… if transforming your models into smooth skinned alienlike creatures is your style, that’s possible too… but for more terrestrial based portraits, the tweaks applied by Aperty in just a few clicks feel appropriate, never overdone. Above, that’s the blemish and skin smoothing sliders at work.

    This being Skylum there are of course some fun additions to the normal options available too. You can for example have the software add some eyeliner to your model, or tweak their iris color as just two examples but that’s something for another day.

    For now, what I see from Aperty is a great tool for anyone working on people pictures. The tools flow in a really nice, logical way for a processing work and a lot of the clutter you’d find in more general processing applications doesn’t feature here. Yet you can still do great environmental portraits too, which is what I think I’ll leave you with today… oh, and one more thing. You can grab Aperty for a 50% discount here, plus a bonus month on the subscription and a bunch of extras. Have fun!


    Skylum Aperty Environmental Portrait Example


    Source link
  • More from my in progress Project


    Hey awesome reader. A little more from me on Aperty, which if you read the previous post you’ll know I’m using for a current project. A couple of things this time round. Firstly Sklyum let me know that the offer I mentioned expires in the next day or so. Therefore, if you want to grab it, now’s the time. Secondly, I wanted to cover some of other features that stood out in my time so far with the software…


    Skylum Aperty Example

    Last time I talked about a couple of features which really help with processing workflow. Fixing common issues with skin, etc. This time let’s focus a bit on the eyes. I LOVE a good iris in an image… or two depending on how you look at it. Sometimes that can be a challenge though, like the image above. Originally, with such a bright day in the African desert, the lovely Rose had some significant reflections in her eyes. Not a problem with Aperty, just a few button clicks and we’ve got some nice iris replacement. You can also keep things more natural and enhance what’s already there if you have a good clear image however here replacement was needed to remove the distracting reflection.

    Skylum Aperty Example Iris

    The before and after can be a little odd, so here’s the final version.


    Skylum Aperty Eyeliner Example

    Aperty also has some cool creative enhancements, like the ability to add a flash of color via generated eyeliner. Again a click or two and a move of a slider and it’s done. It’s not my sort of thing usually, I tend to stick with whatever look the person had, however this software magic tickles my tech brain in a fun way. Nicely done Skylum!


    Skylum Aperty Wrinkle Example

    Wrapping things up for now, I think the best way I’d sum up Aperty is that at its core it is a great bit of software for those processing people photos (including groups, street photography, etc) on a regular basis. Especially those who do sessions with the same model, or have a consistent look to go for over a large range of images. For example, being able to apply some sympathetic, natural skin smoothing and blemish removal quickly and easily across a batch of images of the same person is a real time saver. Oh, and the batch processing feature is included in the price, not as a charged extra as with some competing software. The speed and lack of clutter in the UI is also great, getting you (well, me in this case) to the more creative, fun processing as quickly as possible.

    So, that’s it for now. As I mentioned, their current offer with 50% off and some free stuff ends tomorrow-ish. So it’s now or never for that. Be sure to share some of your creations with me… by email, or tag me on socials. Have fun! 🙂 And finally, here are a few more of my creations. 🙂


    Skylum Aperty Example 1


    Skylum Aperty Example 2


    Skylum Aperty Example 3


    Source link

  • One from Milford – Stuck in Customs

    Daily Photo – One from Milford

    Milford Sound at Sunset…

    Photo Information

    • Date Taken2025-04-28 17:03:41
    • CameraILCE-7CR
    • Camera MakeSony
    • Exposure Time1/1250
    • Aperture4
    • ISO500
    • Focal Length24.0 mm
    • FlashOff, Did not fire
    • Exposure ProgramManual
    • Exposure Bias


    Source link