[ad_1]
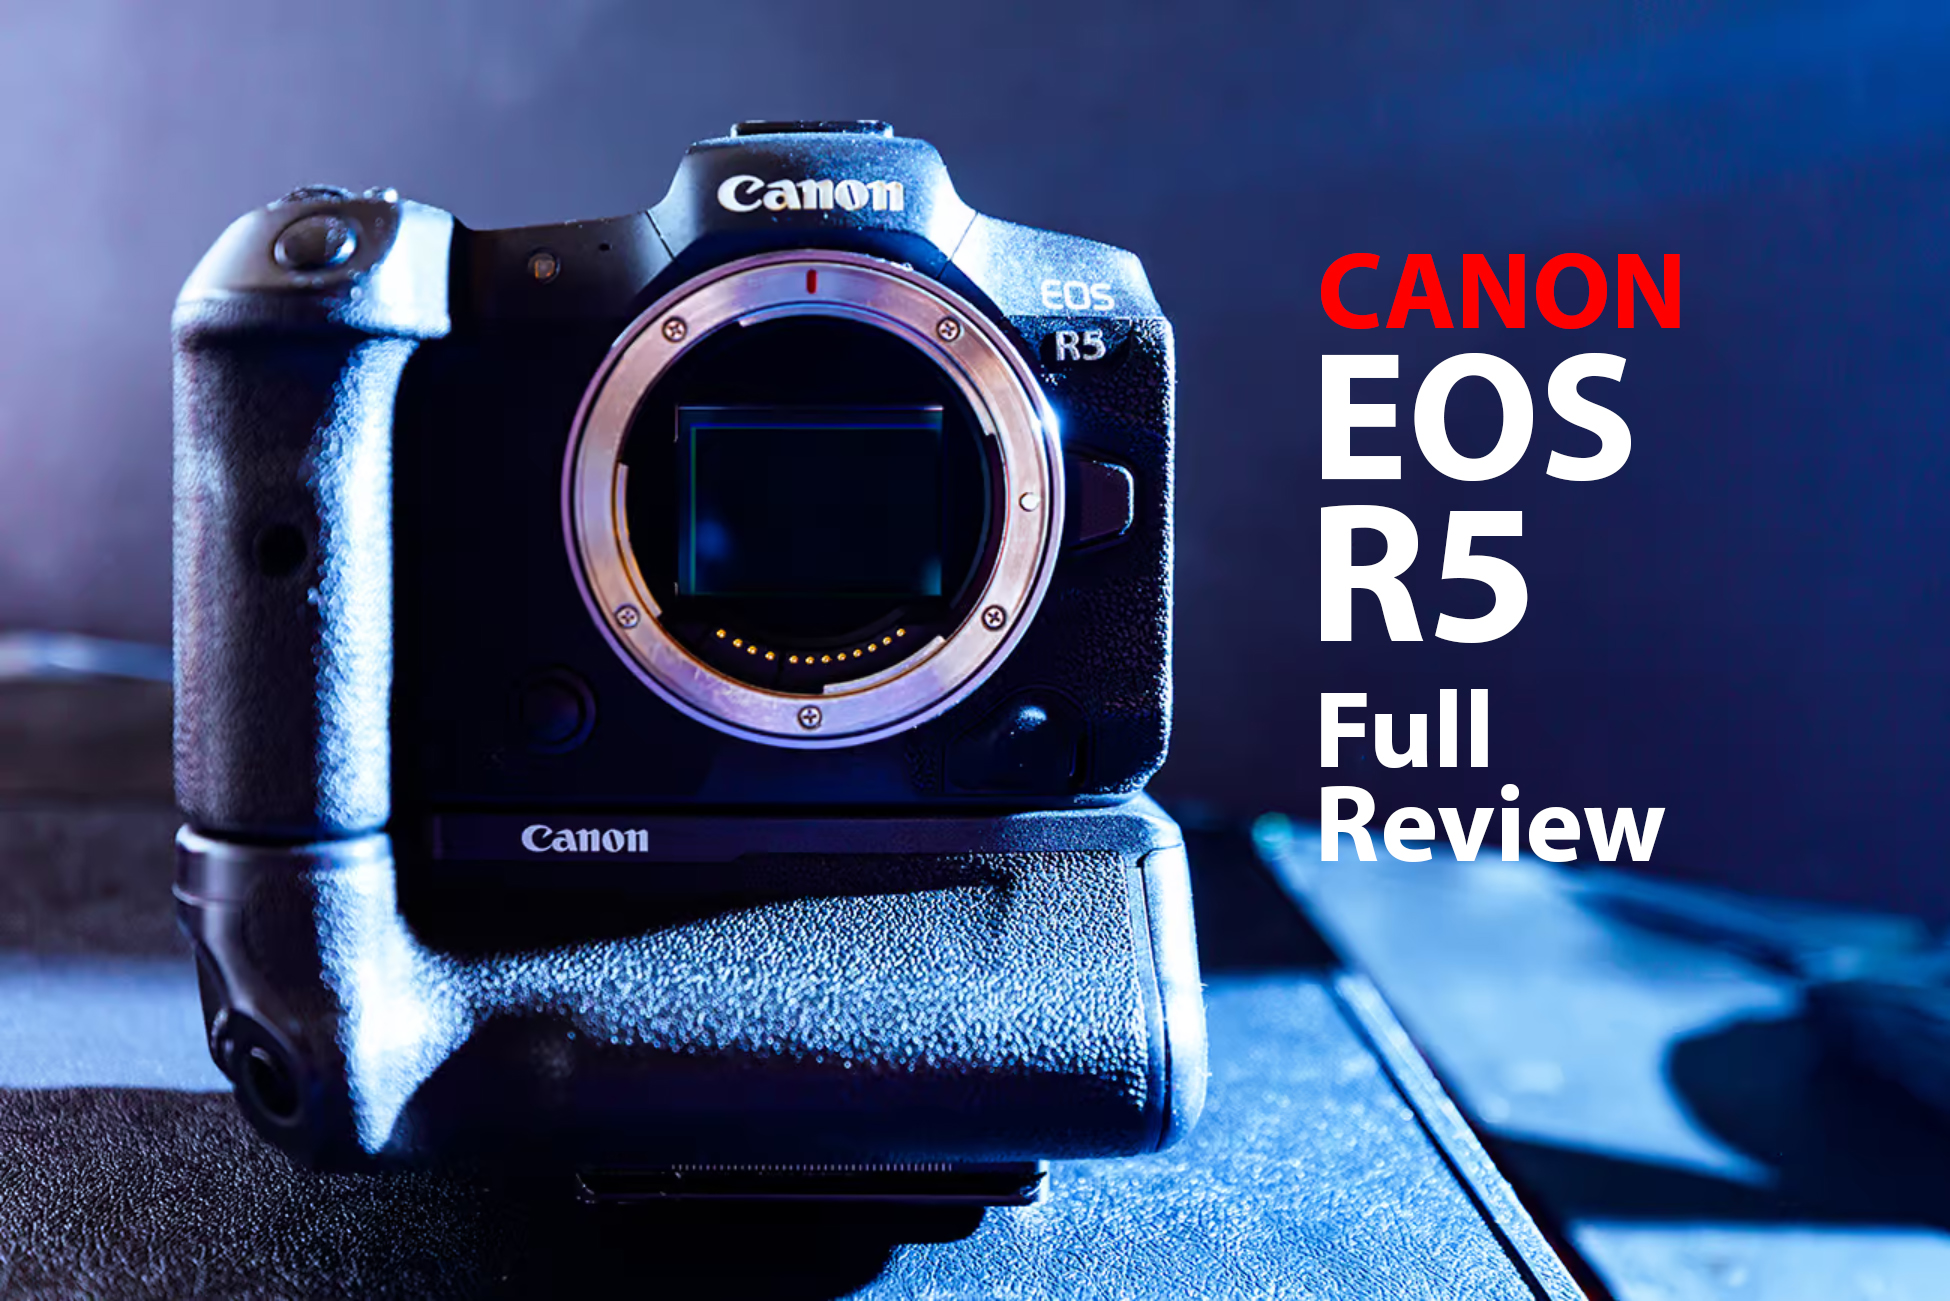
In this review I discuss my experiences with the Canon EOS R5 in detail having owned it and used it as my primary camera for the last 5 years.
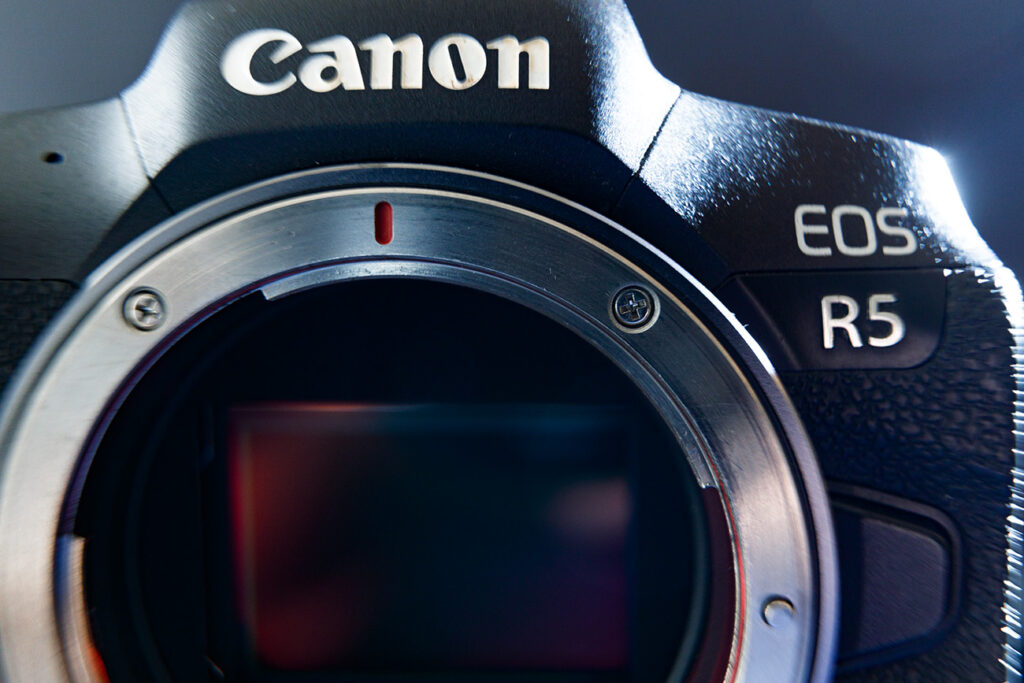
Appearance & Build Quality
The EOS R5 is a bit odd looking overall. It is rather small but has a lot of buttons on it. The smallness plus the buttons make it rather hard to hold on to and use effectively at first. It should be a bit larger with more room for people with X-Large hands. I personally wear XL sized gloves which actually isn’t that big. It’s not abnormal or anything, and I find the camera usable but I also find it very cramped. It could use some MAJOR improvements in the design and layout.
The little screen on top is pointless because it has too much information in it. They should put less information there and try to keep simplifiy that screen because as it is the fonts are way too small inside of that screen which makes glancing at it like trying to read the fine print in the bible at arms length, you know what I mean?
Now, one things I actually really hate is the stupid top screen backlight button… why is that even there? It’s a dumb inclusion and should be removed or changed into something else. Instead, why not make the screen touch sensitive so it can be touched and it turns on? Then, make it swipe sensitive so I can swipe left and right and see other settings on it with larger fonts?? Ok, does that help at all or am I just crazy?? *rollseyes*

The flash hot shoe is an old fashioned piece of junk that should be completely rethought. They gotta be kidding with these idiotic flash hotshoes in 2025. Guys, the current flash hot shoe, even the one on the R1, R3, and R5 mk II, is a low level piece of junk that isn’t worth putting on the camera. On my camera the flash hot shoe has come loose and no longer holds certain flashes securely. They really need to fix this flash hot shoe because it is making them look bad. The thing about these hotshoes is that they’re the same thing you’ll find welded to to the top of an ancient camera from the 1950’s. It’s just too old of a concept for modern lighting demands.
The rubberized grip on the R5 is cheap which is reminiscent of a 1960’s consumer camera manufactured in a sweatshop. It has started bubbling up all over on my camera. So, the grip is actually moving around on the camera which means it is doesn’t feel as secure in hand which is a bad thing.
All of the buttons are basically badly designed and are like pressing on mush. The clicky wheels are all bad. Every clicky wheel should have the same indentation spacing but they don’t. Some of them are oddly hard to control like the wheel for ISO which is oddly difficult to scroll just one click at a time. The other two wheels are easier to control.
The menu system is of the spray and pray variety. It is a mess of settings simply dumped onto screen with little or no logic. They need to come up with something new for the menus.
The overall build quality of the camera is middle of the road, it has good aspect and bad aspects, but, it is also a pretty cheap camera for what it offers so… it is what it is.

The R5’s exterior is mostly plastic but the top sections are magnesium. The internal frame is magnesium also which should mean that the camera might withstand some abuse.
Overall the build quality leaves a lot to be desired. Especially the flash hot shoe and the exterior grip which slowly comes loose. We’re past the days of just gluing a grip onto the exterior of the camera… why is my EOS 1N RS built like a tank compared to my R5? I don’t know, but it really is night and day.
Weather Sealing
It might be weather sealed it might not… they say it is. I have used it in mild rain by the fact is I don’t trust it very much. The CF card door is pretty weak and worn out at this point so I would assume water would make its way in there pretty quickly if it were in actual rain. The I/O port covers are also just those annoying little rubber covers. They are not going to protect the camera in an actual downpour. Over all the weather sealing is second rate. I’m sure that certain aspects of it or decent, but again, this isn’t something that will survive all day shooting in the rain with no protection on it. Now, it definitely won’t survive being dunked in river or something like that for more than an instant. Bottom line is I wouldn’t trust the weather sealing for more than momentary forays into mild to moderate rain. Best to treat it like its not weather sealed and hope that the weather sealing protects the camera if mistakes are made.
Battery Life
The battery on the R5 is one area where there is definitely some room for improvement. The battery grip, BG-R10 is absolutely essential if you actually intend to use this camera professionally. That is because it the batterly life is improved greatly with having two batteries in use rather than just one. You will also massively extend the life of your batteries by using them in the battery grip.
The bottom line here is that the R5’s battery behaviors are less than perfect but if you use the battery grip the batteries do tend to last.
Input/Output
The R5 has the typical inputs/outputs including the standard 3.5mm stereo mic input, stereo headphone out, USB-C port, micro HDMI port, and a flash sync port. The camera can also be charged via the USB-C port if you have a PD compatible USB-C charger to plug it into.
The issue with the I/O is the same as it ever was. They keep using those annoying little rubber doors to cover the plus. Well, that hardly seems weather resistant but it might be sneeze resistant, I don’t know… I’m starting to think I am living in an echo chamber and nobody will ever hear my words because this crap just never gets fixed. It just goes on and on and on. When will anyone listen to what I am saying to them about anything?
Dual Card Slots
The much requested feature of Dual Card Slots was finally added into the EOS R5. The R5 sports a UHS-III compatible SD card slot and a CFExpress type B card slot. Both card slots can deliver impressive performance which is necessary to handle the high bandwidth video this camera can generate in it’s 8k RAW setting.
Most camera’s in this price bracket have dual SD card slots so the fact that the R5 has a CFExpress type B slot at all is a bonus. CFExpress Type B cards are capable of higher speeds than SD cards currently are. This is because CFExpress Type B is essentially the NVME standard for SSD’s that are used in laptops and desktops. NVME drives have a memory controller built onto the drive which allow them to run at high speeds but also generate a lot of heat.
CFExpress Type B cards are great but they’re also expensive. I appreciate the dual card setup because it means I don’t have to rely solely on expensive CFExpress Type B cards. If worse comes to worst and I forget my cards (happened before), then being able to borrow an SD card from a fellow photographer is a lot more likely than borrowing a CFExpress Type B card. I have also stored cheap SD cards in bag pockets, cases, and gloveboxes just in case I forget to bring cards again. For most kinds of photography SD cards are perfectly usable. The main reason to use CFExpress Type B is for 4k and 8k video on the R5.
Video Capability
The R5 continues Canon’s penchant for putting video in their still camera’s and takes it up to whole new level. We’re now at 8k video! Wow. 8k video is a lot of pixels and the R5 can shoot 8k RAW. Just to give you an idea of what the R5 can do with regards to video here is a chart that lists the bandwidth generated at a few its available video settings:
| 8k DCI | RAW | 29.97 fps | 2600 Mbps |
| 8k UHD | ALL-I | 29.97 fps | 1300 Mbps |
| 4k DCI | ALL-I | 119.88 fps | 1880 Mbps |
| 4k DCI | ALL-I | 59.94 fps | 940 Mbps |
| 4k UHD | IPB | 29.97 fps | 120 Mbps |
| Full HD | ALL-I | 59.94 fps | 180 Mbps |
| Card Type | Maximum Sustained Write Speed |
| CFExpress Type B | Varies by type & brand: approximately 1,170 Mbps to 16,777 Mbps (bus speed maximum) |
| SD V-90 | 755 Mbps |
| SD V-60 | 503 Mbps |
| SD V-30 | 251 Mbps |
The biggest issue with the video is quite simply the overheating! Yes, the camera overheats within 15 minutes when used outdoors in 90F weather. I almost always shoot in 4k 60fps so that is what you get with this camera, just about 15 minutes and then you’re done. Why it is so low I honestly don’t know. I see videos online of people walking around for hours with cameras and the video is shot at 4k 60fps. I guess they have a better camera than the R5.
Aside from that the video quality can be good if you know what you are doing. And that’s really the key thing here. Don’t expect the R5 to be the kind of camera that anybody can just pick up and use. Nope, whomever uses this camera will need to be well versed in all the technical details to make the best use of it for the purpose.
Still Photo Capability
The still photo capability of this camera is middle of the road in all honestly. While it is 45MP, and certainly is pretty good, and usually looks better than a cellphone, it is by no means great. The quality falls off by a LOT even at relatively low ISO’s. It depends on the lighting situation is what I have noticed. But, if you’re shooting in low light, the camera really struggles with absolute image quality. Basically you’ll want to avoid shooting in low light with high ISO’s if you want the best image quality. I don’t know why this is?? Maybe they’re trying to sell tripods, no idea, but the camera works best on a tripod and with longer shutterspeeds.
At lower ISO settings the image quality is better but still not great. What I’m seeing is that color fidelity falls off and gradient quality falls off substantially by about 800 ISO. I actually feel like the camera was better with earlier firmware versions and has gotten worse at the higher ISO settings with the most recent firmware releases.
The reality of the still photo capability is that it feels like there is something missing unless I shoot at 100 ISO. Even going to 200 ISO I see issues with the image that aren’t there at 100 ISO. It is just a little too obvious. Because of that, especially when I shoot landscapes, I feel very much trapped at 100 ISO. While the camera may be better than past iterations up to 400 ISO, it’s still not quite meeting expectations for image quality there.
AF Capability
Probably the one part of the camera I can say meets most expectations is the AF performance. Now, it’s good for what it is. It is not as a good as a cellphone which is kind of odds, but phones like the iPhone 16 Pro have crazy good tracking AF, even if they don’t focus super fast they track amazingly well.
On the other hand the EOS R5 tracks well but doesn’t match the iPhone’s tracking capability. The good news is that the R5 doesn’t need to track well for many kinds of photography such as landscape, architecture, or even most portraiture. However, if you’re working with a single person or a couple, the R5’s tracking behavior is probably good enough for professional use. Where the R5 isn’t as good is when there are groups of people, then the tracking AF is best turned off.
Overall AF accuracy is very good though and it is capable of getting very high focus precision. This is the one feature where I feel like maybe I’m getting a little bit more than I paid for in the R5’s price. Sure, it’s not quite as perfect as an iPhone at tracking but we have to take into account that the iPhone’s battery will be dead in about 1hr of constant use so it is barely worth considering as a professional photo or video tool for that one reason. The reason an iPhone kills its battery is simply because it has a powerful and power hungry CPU in it. On the other hand, the R5 is sipping power by comparison so, for what it is the R5 works pretty well.
At the end of the day it seems like they’ve kind of finally solved the AF accuracy problem with the latest RF series cameras. Most of the time the images are sharp and in focus and focus misses are usually explainable as slightly mispositioned focus points or something of that nature. Very rarely does the camera just miss focus on a static subject.
Stabilization
The performance of the stabilizer in the R5 is a mixed bag. For photo it definitely can help, but it also seems to hurt image quality at times. I can’t say that the R5’s stabilization system really impresses me but I think it does help just enough to make it worth having. Basically, you’ll generally get 3-4 stops of extra room for a lower shutterspeed with most native RF lenses attached to the R5. Some lenses are definitely better than others but I have found that it is tough to make predictions about the stabilization based on lens quality or whether it has IS or not. Regardless of lens, the absolute limit for hand held is about 1/2 a second, which is a pretty long exposure to be sure. But, what I have noticed is that at 1/2 a second the edges are often blurred, so, the center is sharp but the edges are blurred and that is true for almost any lens shot at 1/2 a second. For telephotos obviously 1/2 a second is way too long, the whole frame will just be badly blurred at that speed.
It’s important to realize that in the standard range, whether shoot at 50mm, or 35mm, or 24mm, or even 10mm, a 1/2 second seems to be about the limit for the stabilizer. I find that kind of odd and I would have thought the 10mm would manage a 1 second shutter speed but it really doesn’t work like that apparently.
For video the stabilization ranges from amazing to passable depending on the lens used. Lenses like the RF 10-20mm f/4 L seem very well stabilized for video. I also noticed that the RF 24-240mm had great video stabilization results on the R5. In fact, I’d say the RF 24-240mm is one of the best stabilized lenses I own. However, some other lenses like the RF 70-200mm f/2.8 L didn’t perform as well as I’d expected they would.
Again, I’m generalizing a lot so you may find that for your use case the R5’s stabilzation is exceptional. If all you’re doing is standing there and carefully holding the camera still for a video shot, the IBIS is very, very good. In fact, it’s good enough to be used with manual, unchipped lenses up to around 200mm. If you want stable footage for video the R5 is great if you shoot hand held and simply point the camera where you want to film without panning or moving too much.
Where we separate lenses with built in IS from those that don’t have it is if we try walking/panning and shooting hand held. Then the lenses like the RF 10-20mm f/4 L and the RF 24-240mm STM really separate out from the rest of the pack.
But, for the most part, the video stabilization of the R5 is very good if you use the camera within its parameters.
I don’t think it is fair to compare the R5 to a cellphone because the stabilization on a cellphone has so many advantages to the R5 that it’s basically a dumb comparision. However, with certain lenses like the RF 10-20mm f/4 L, the R5’s stabilization is very close to what a modern pro-level cellphone can do. That is pretty impressive considering how much bigger the moving parts are in the R5.
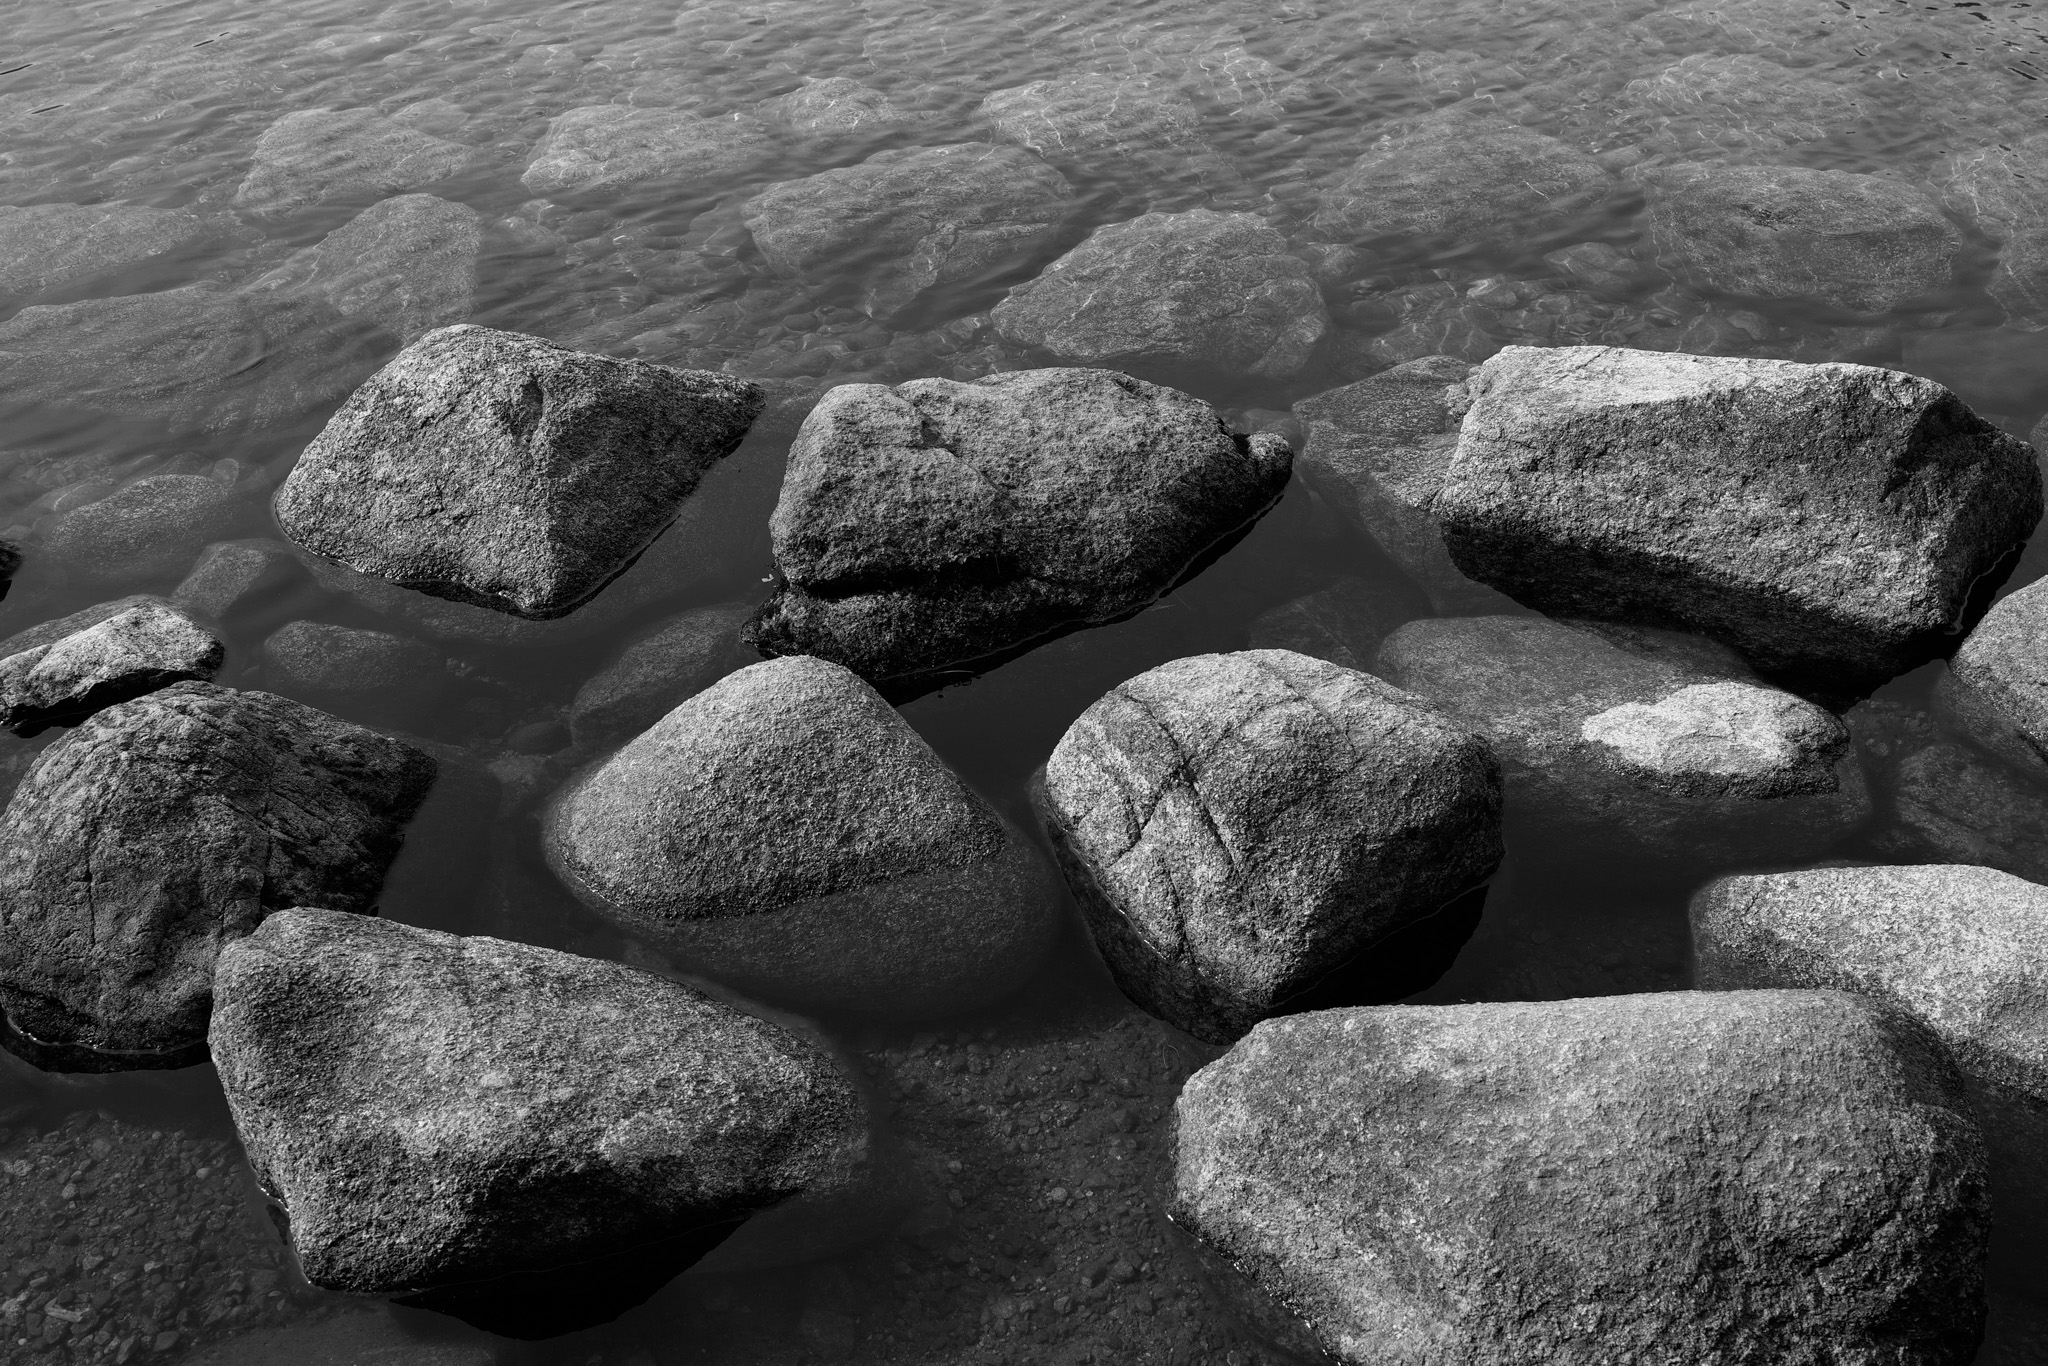
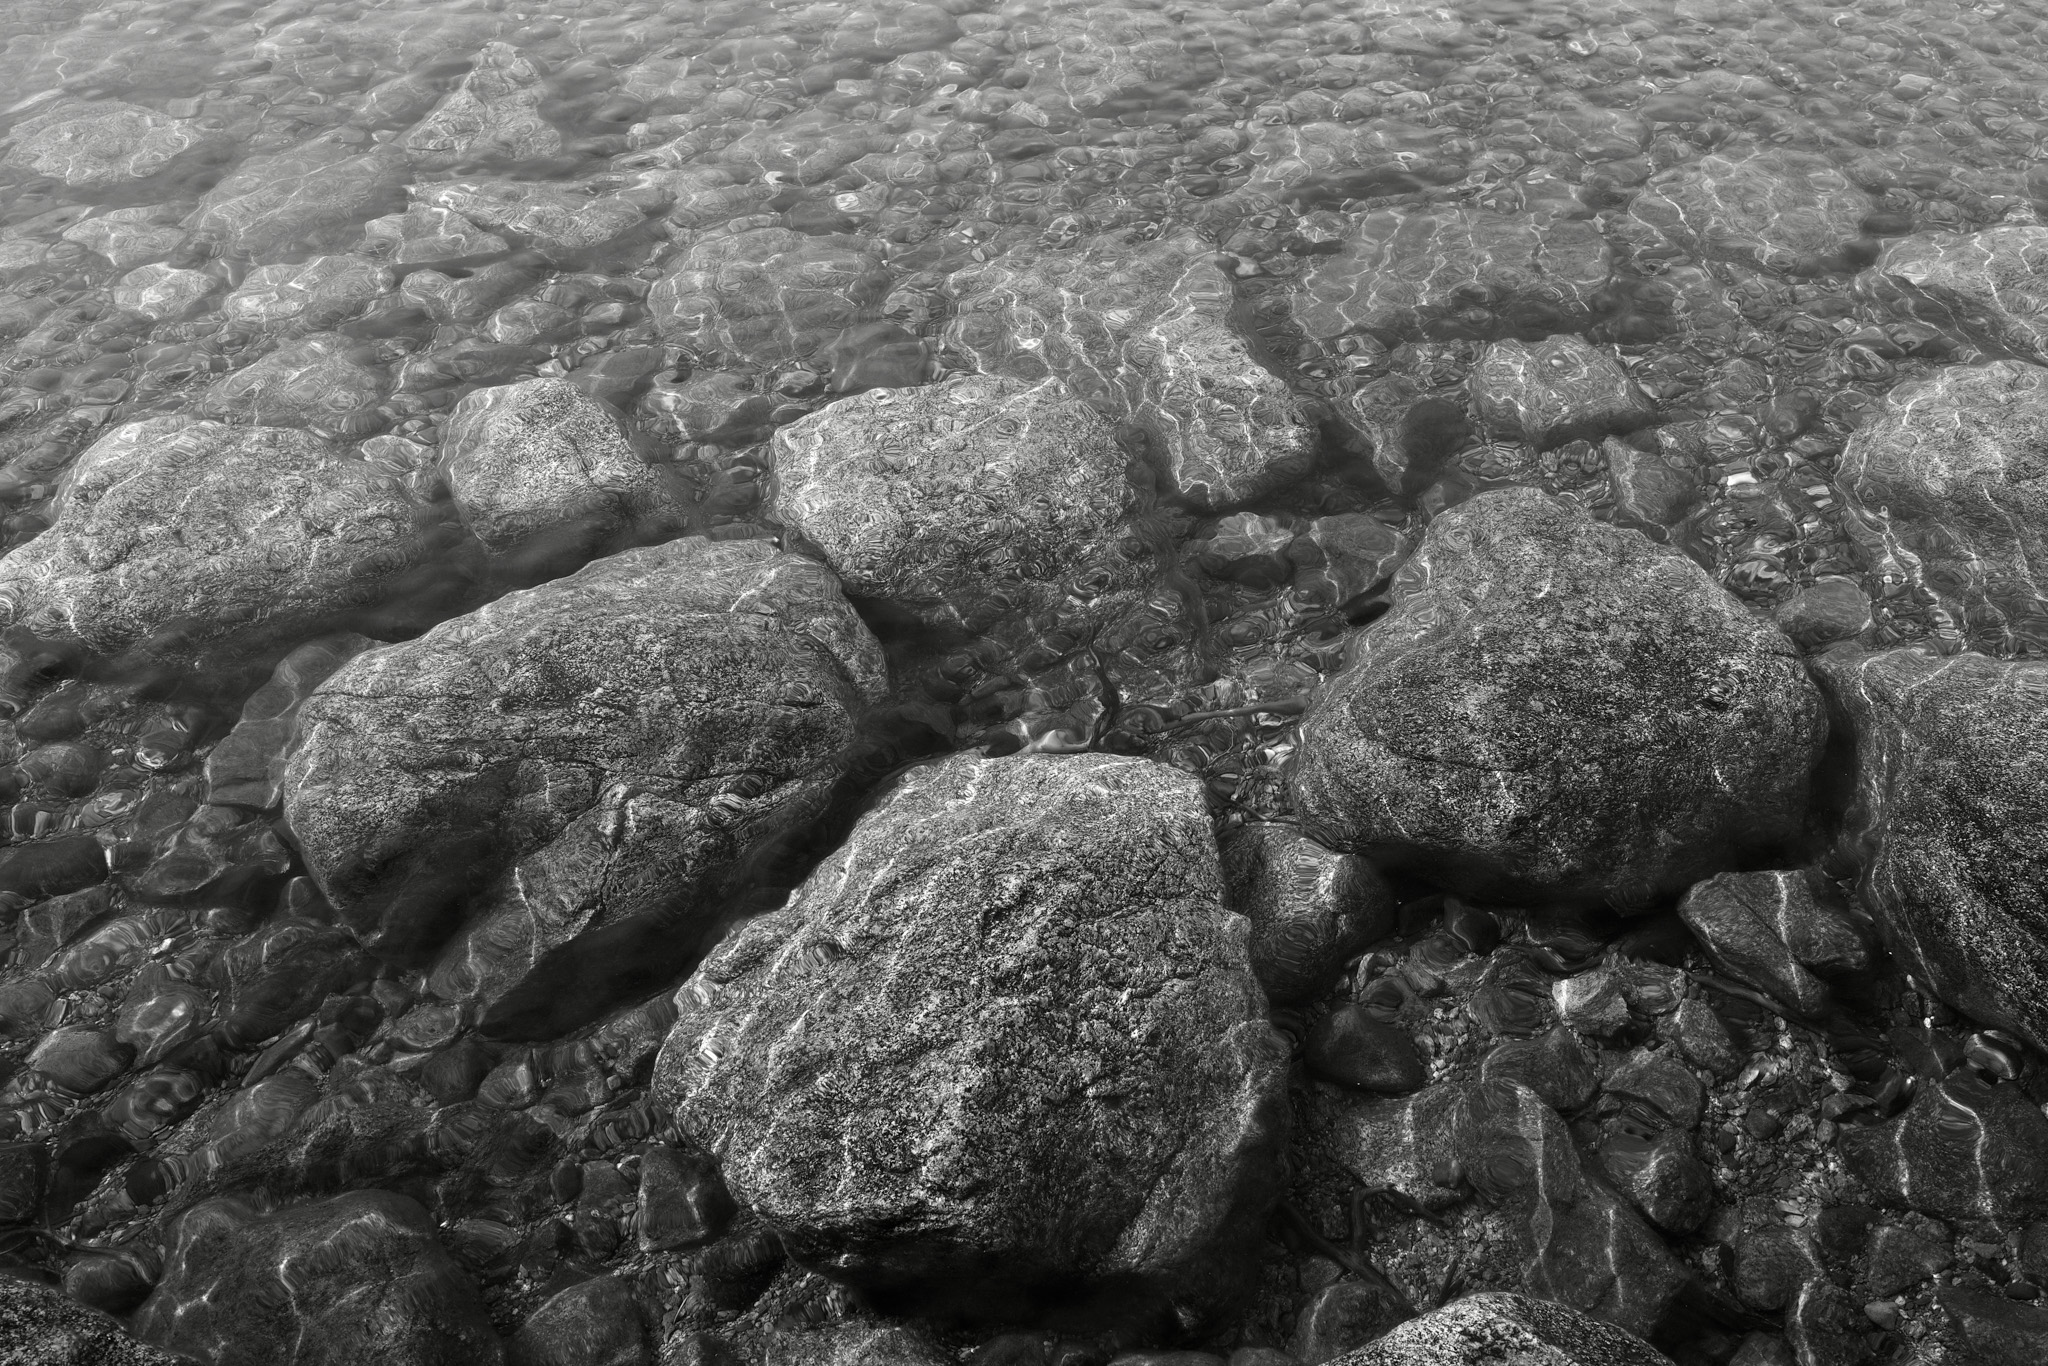
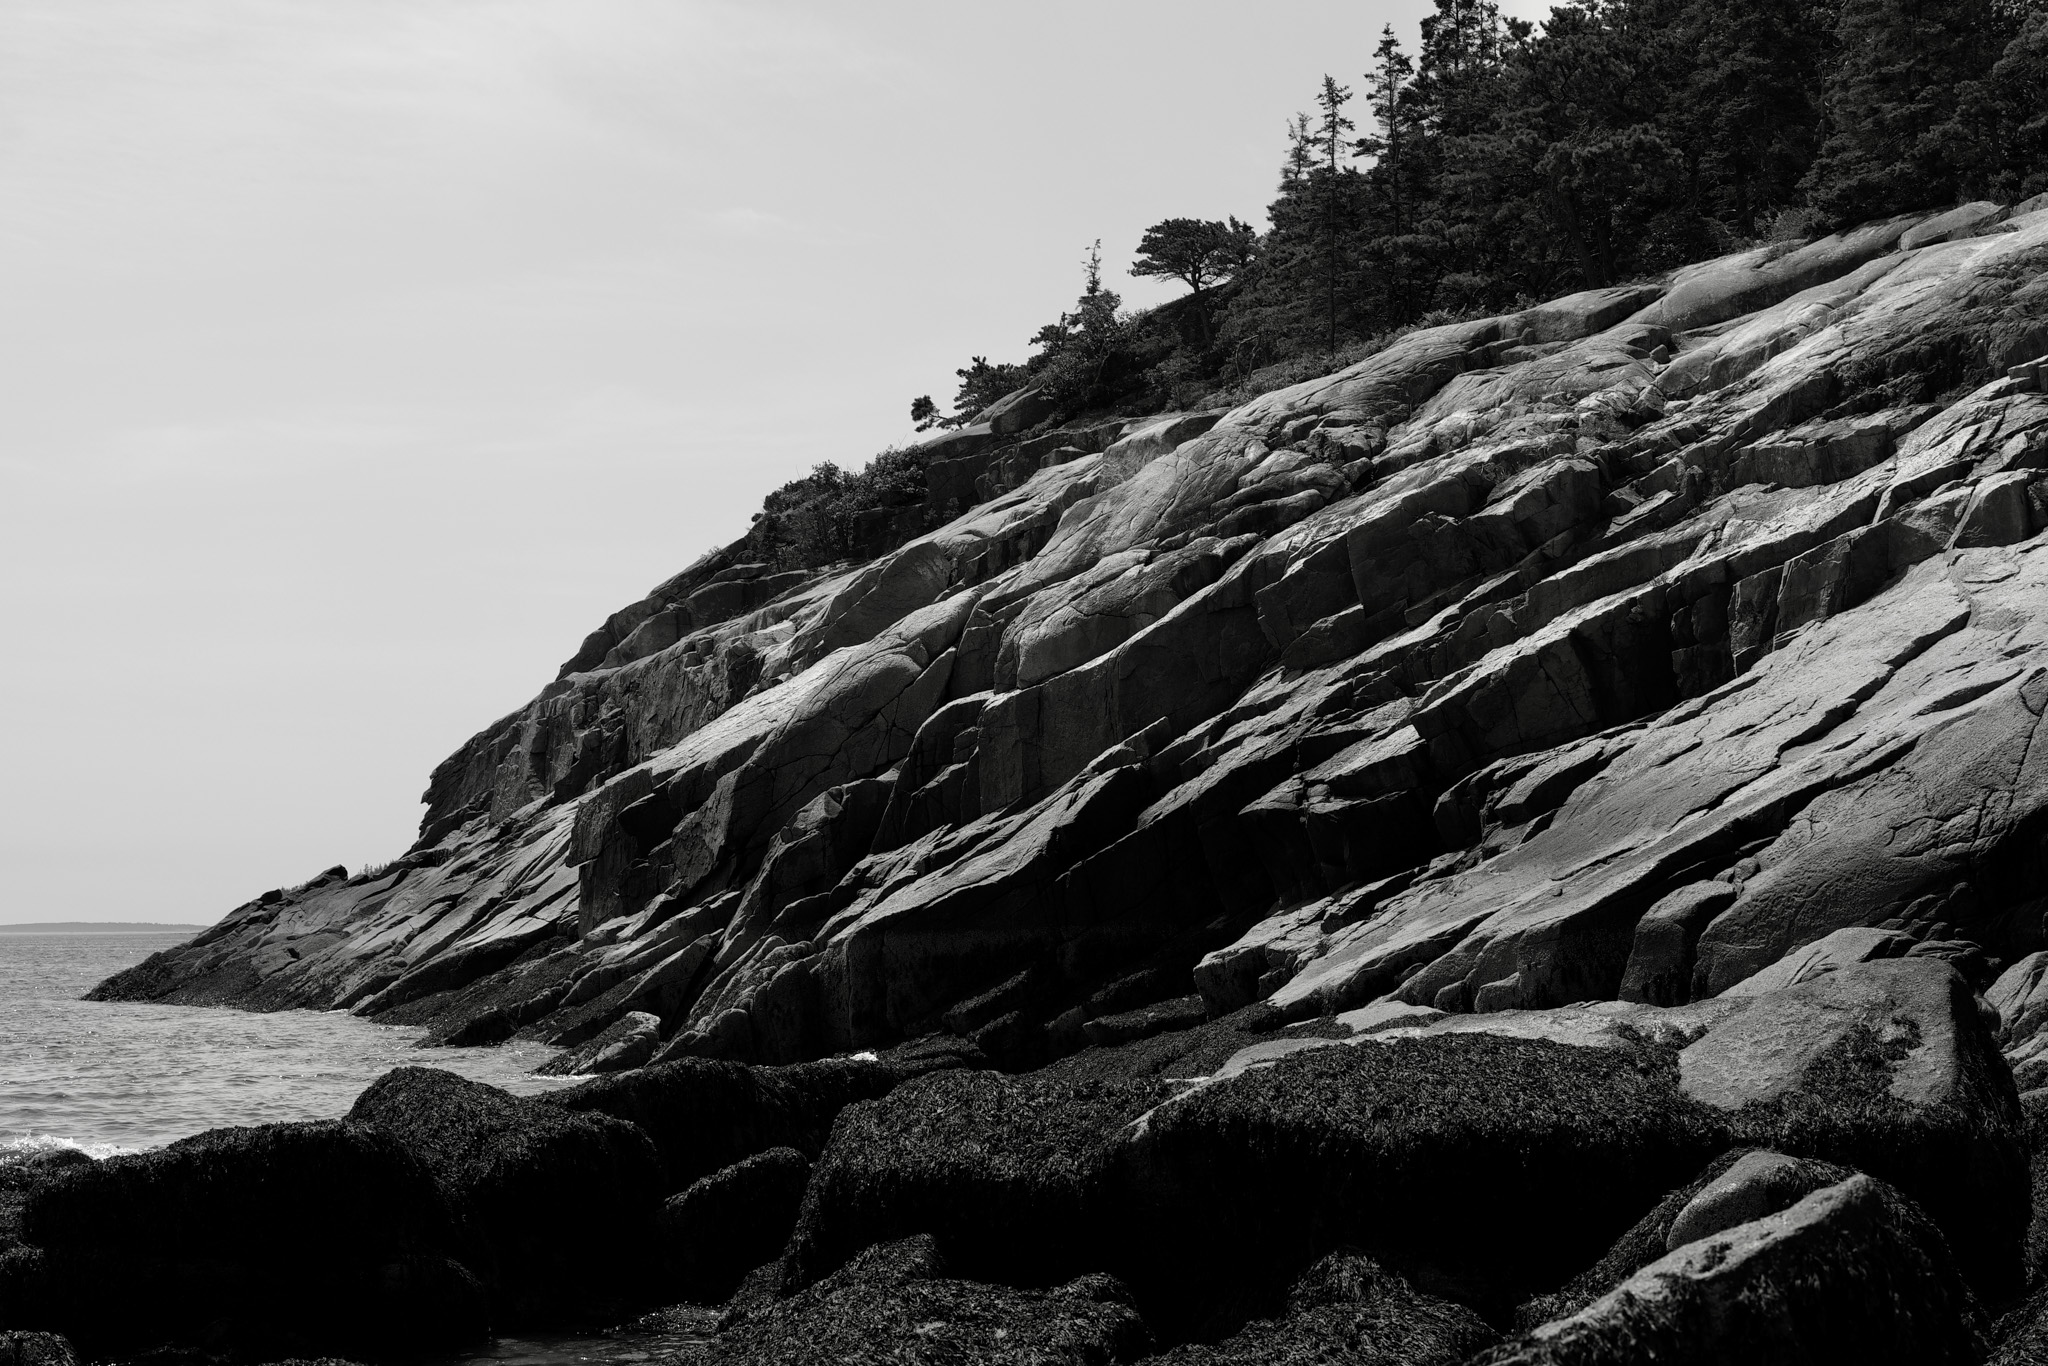
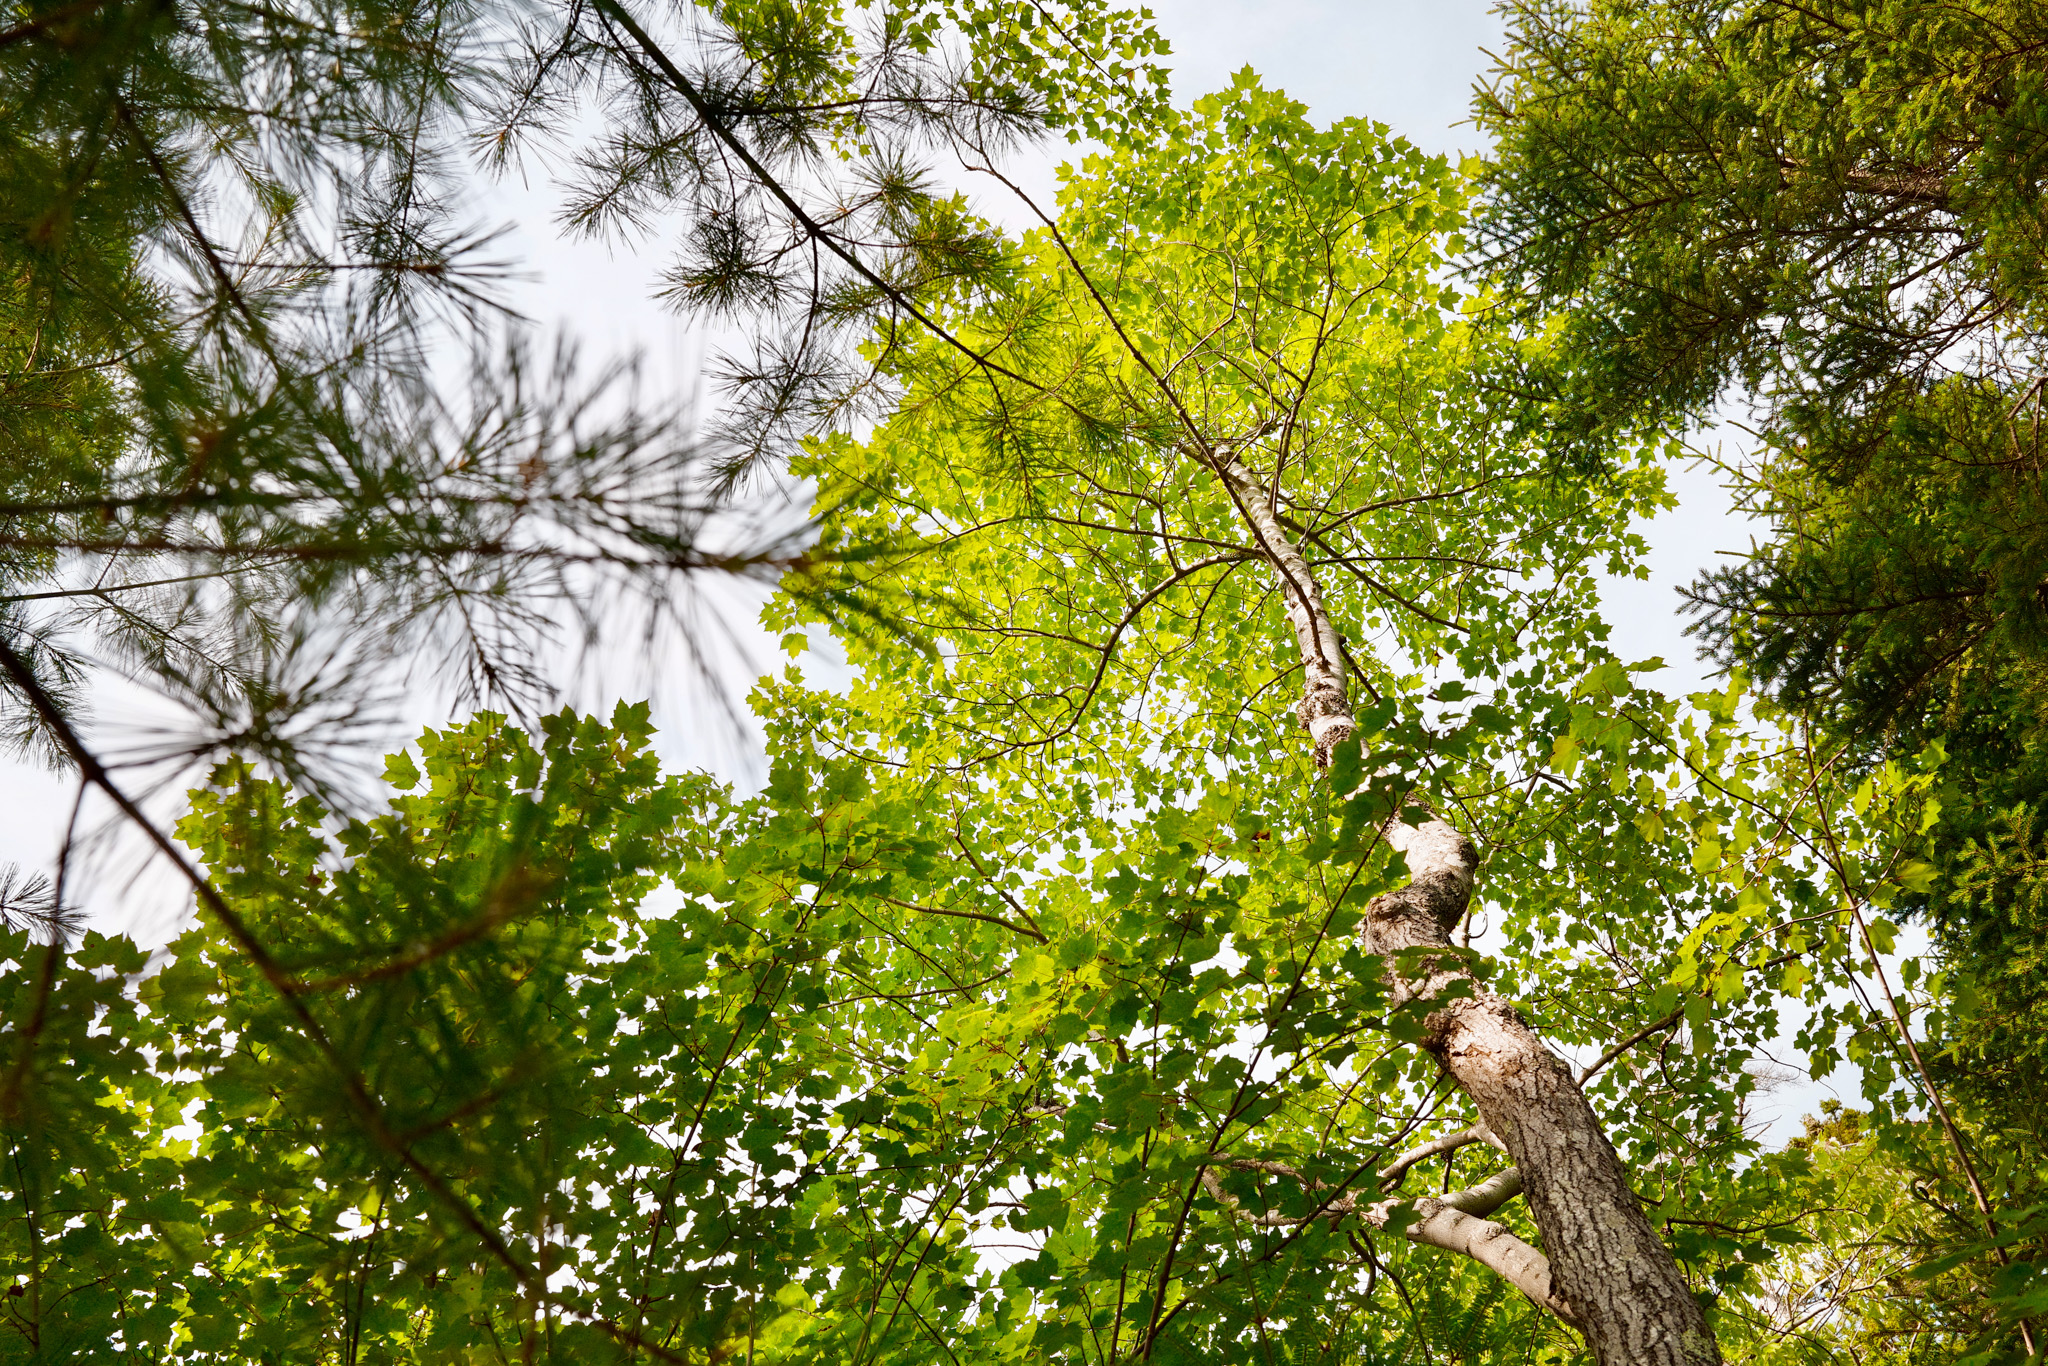
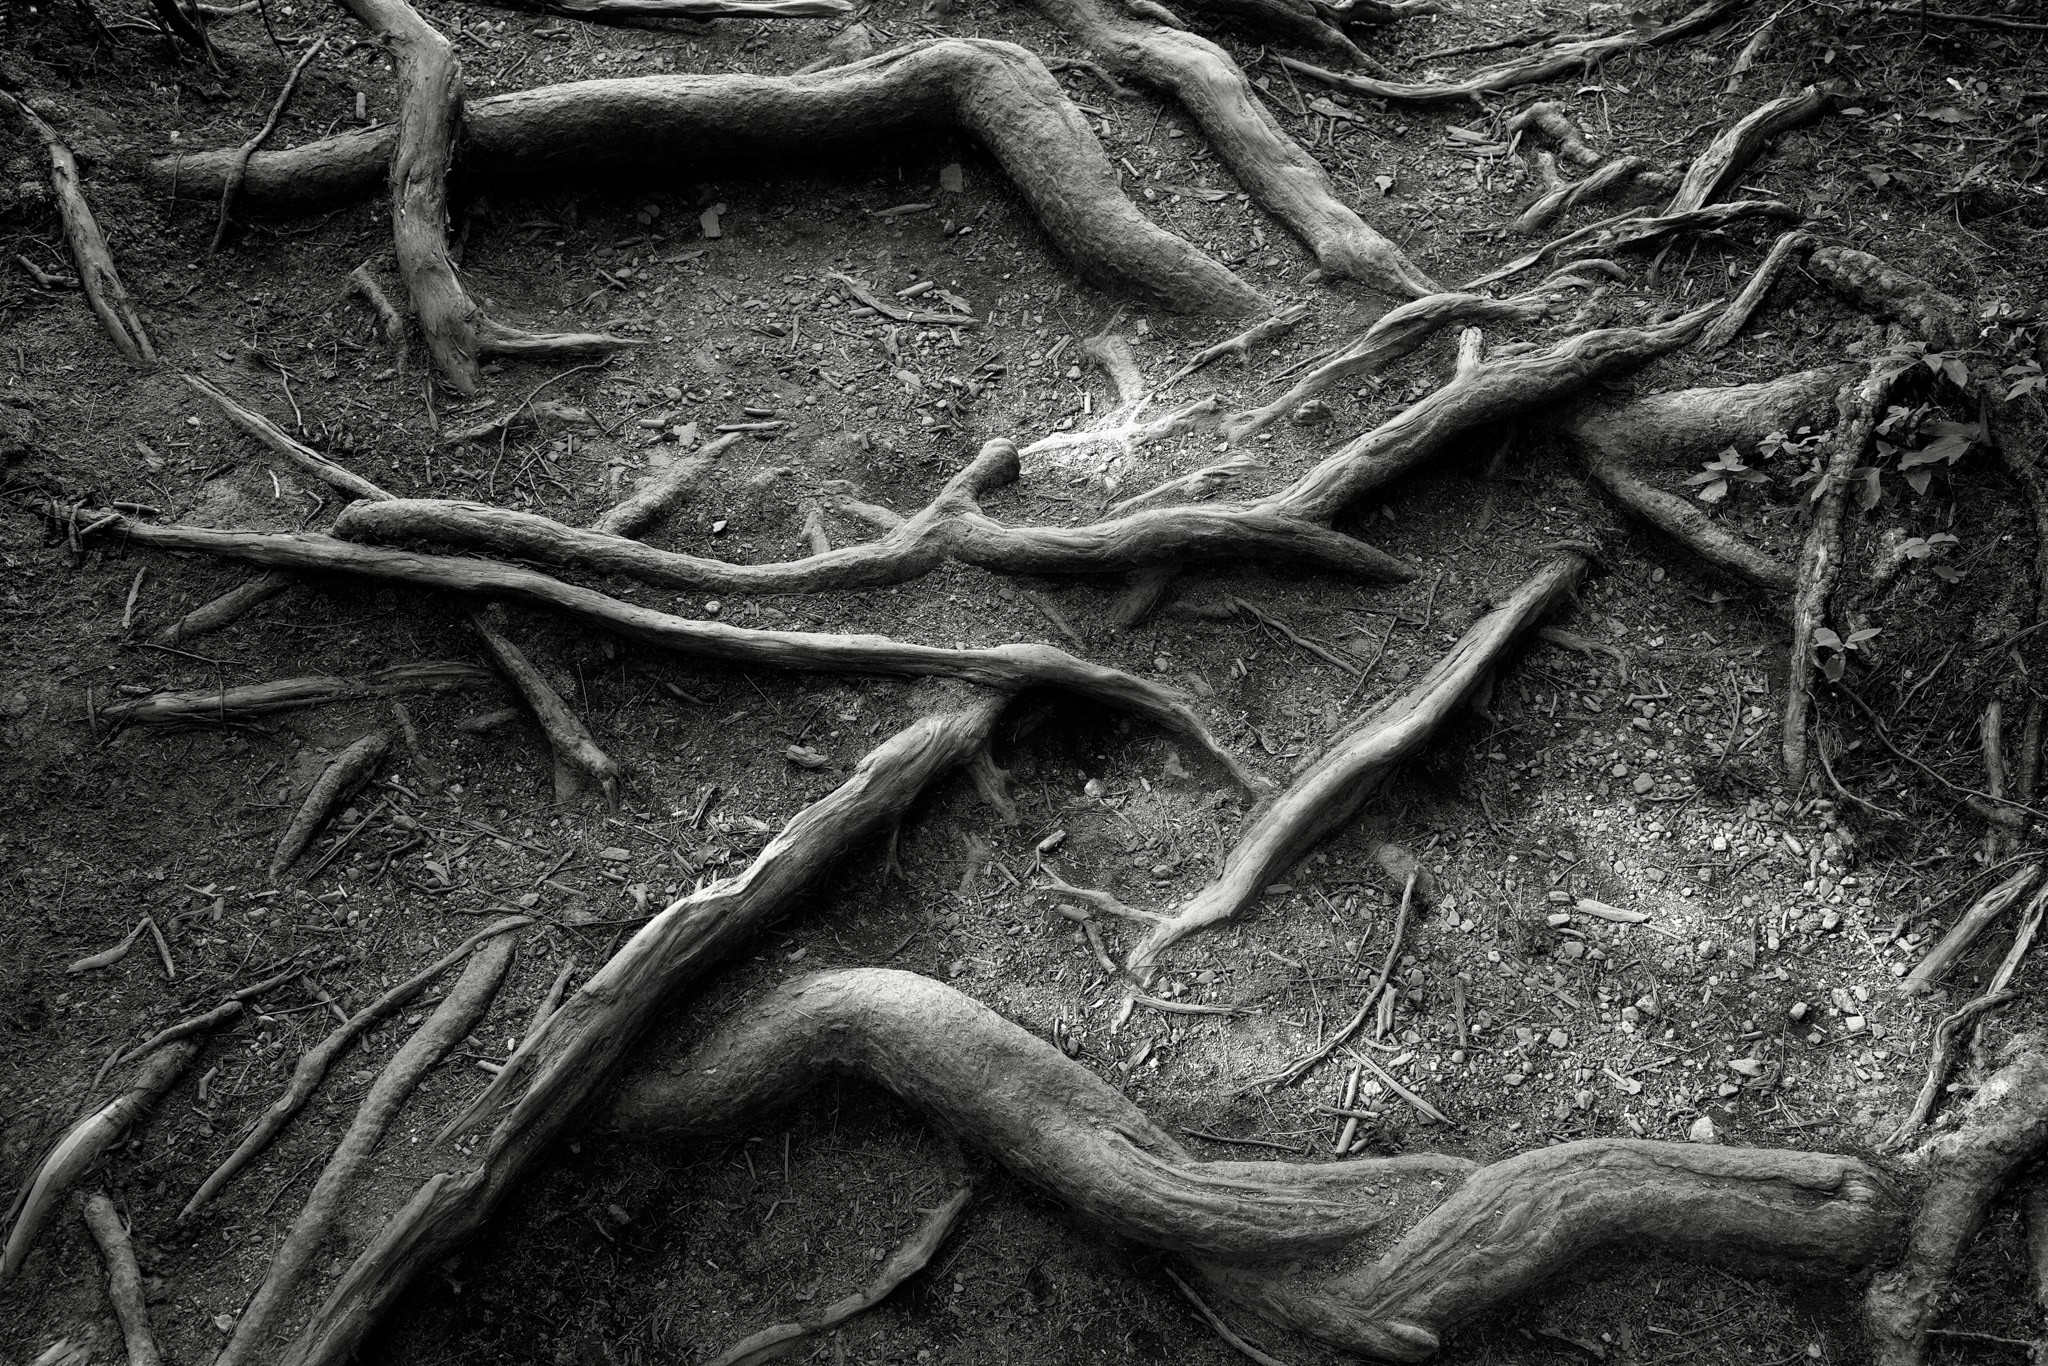
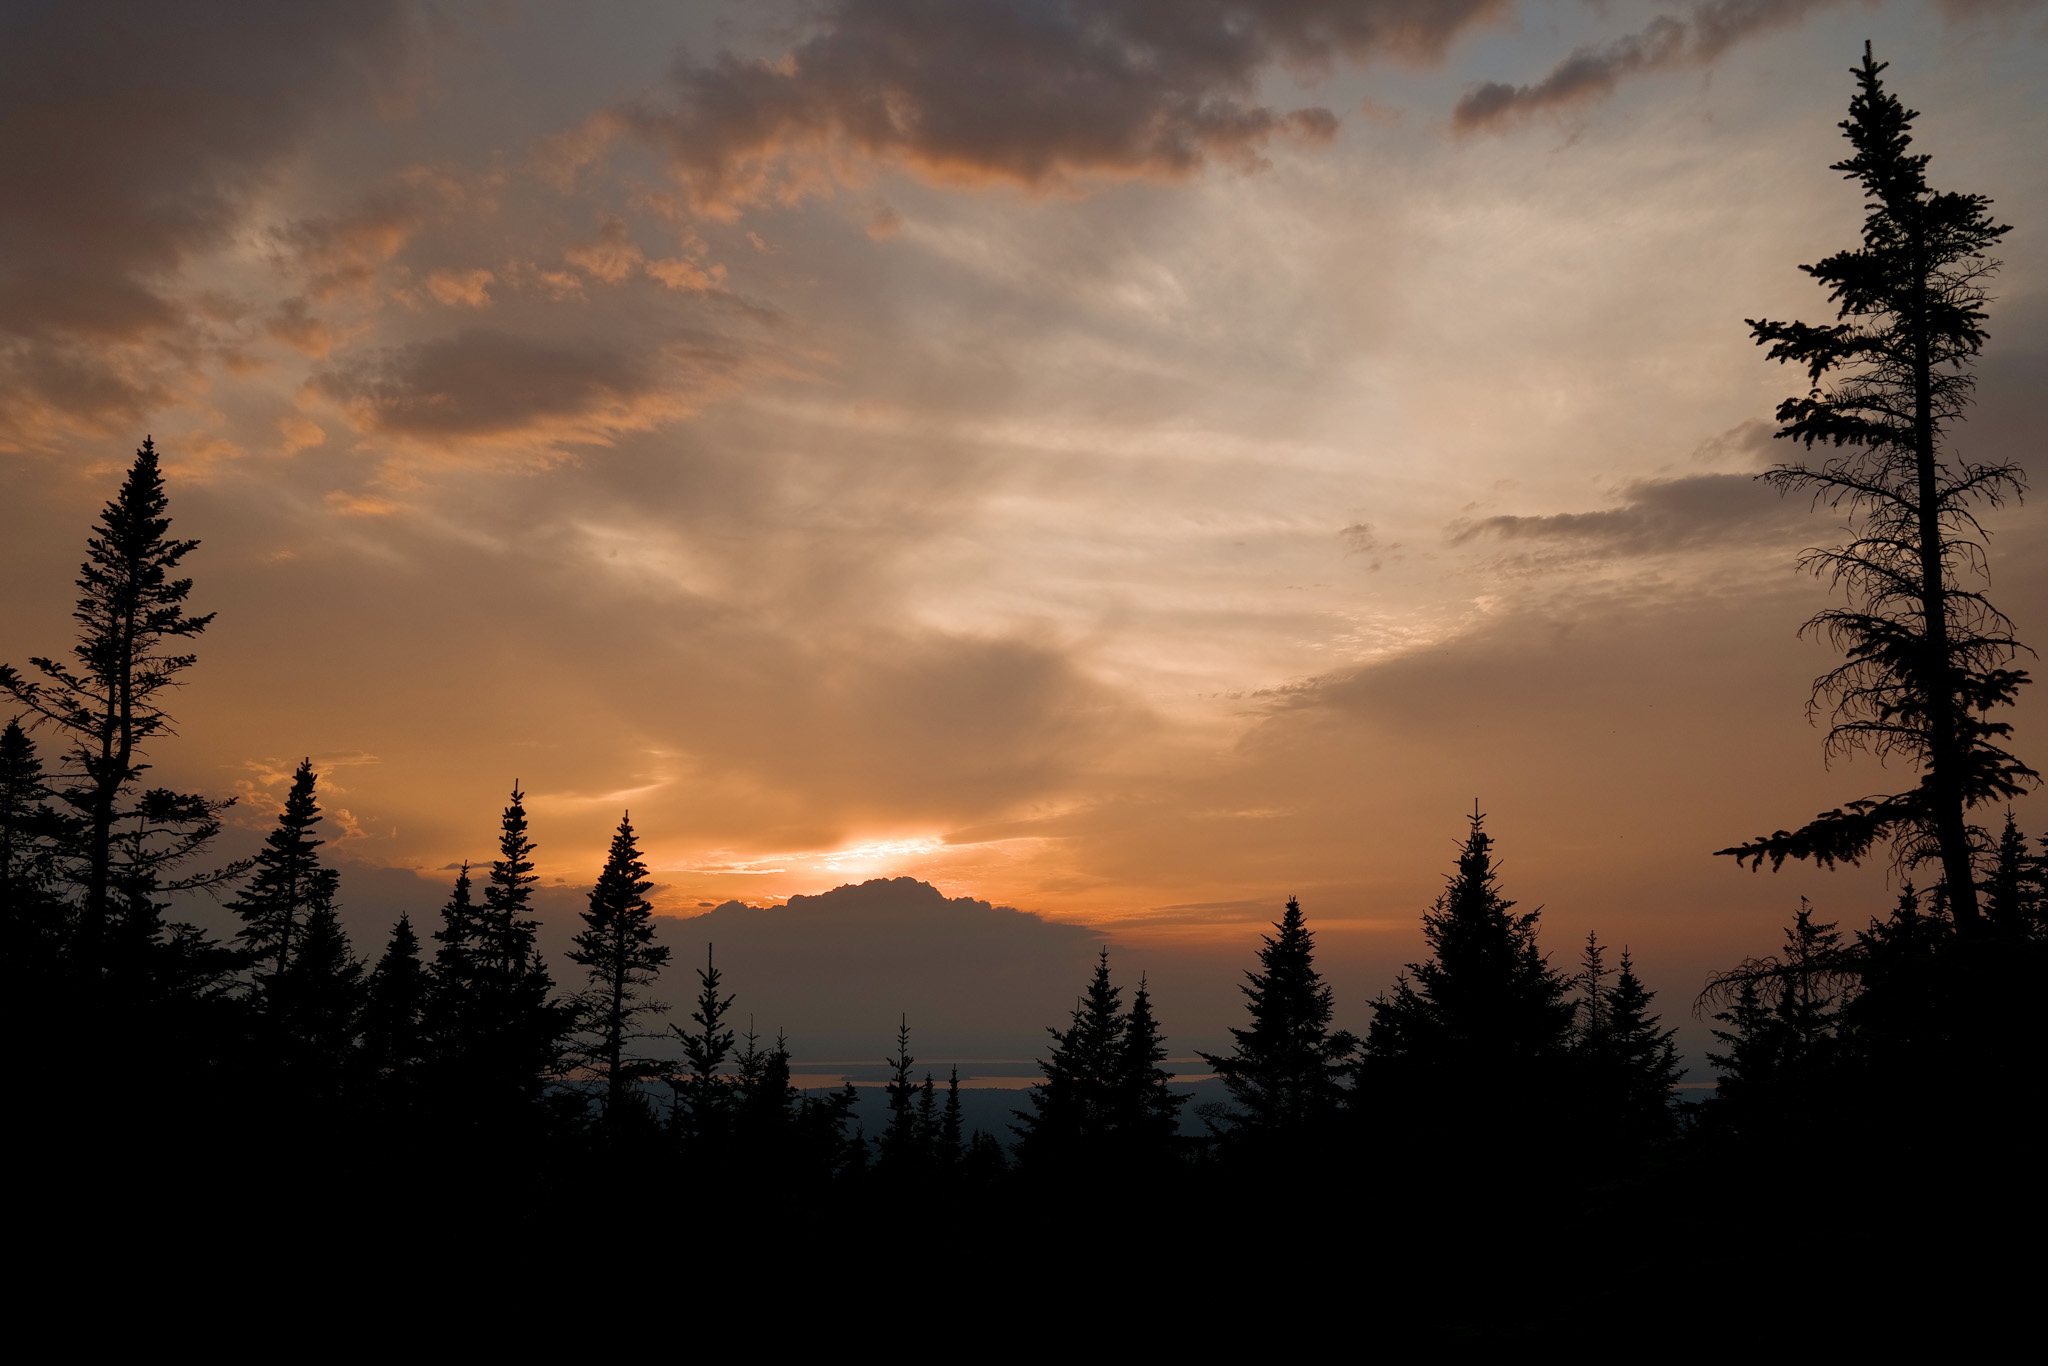
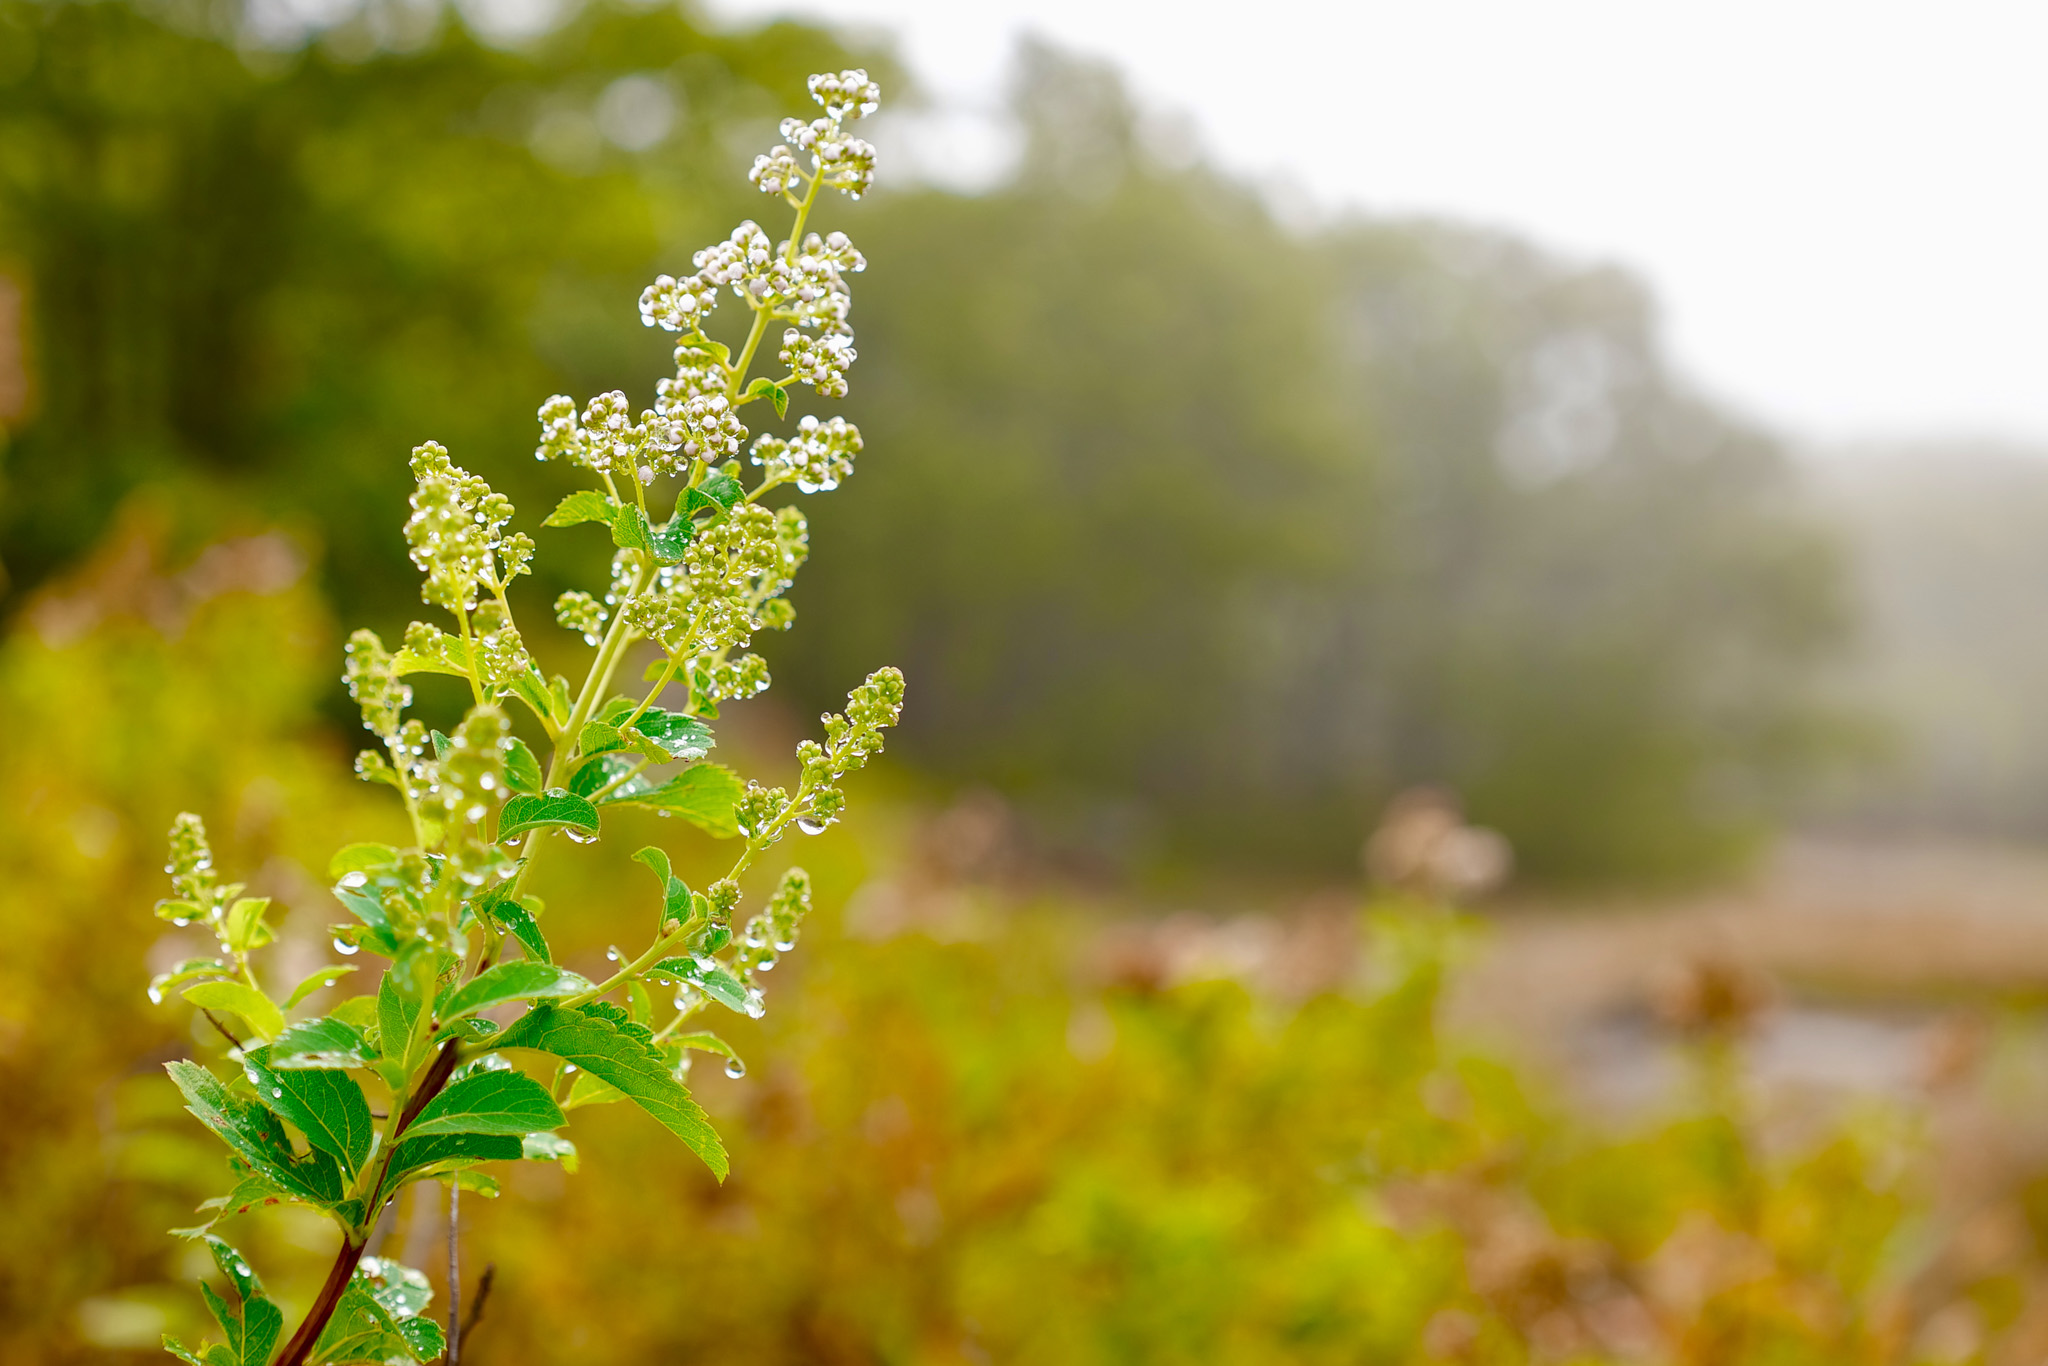
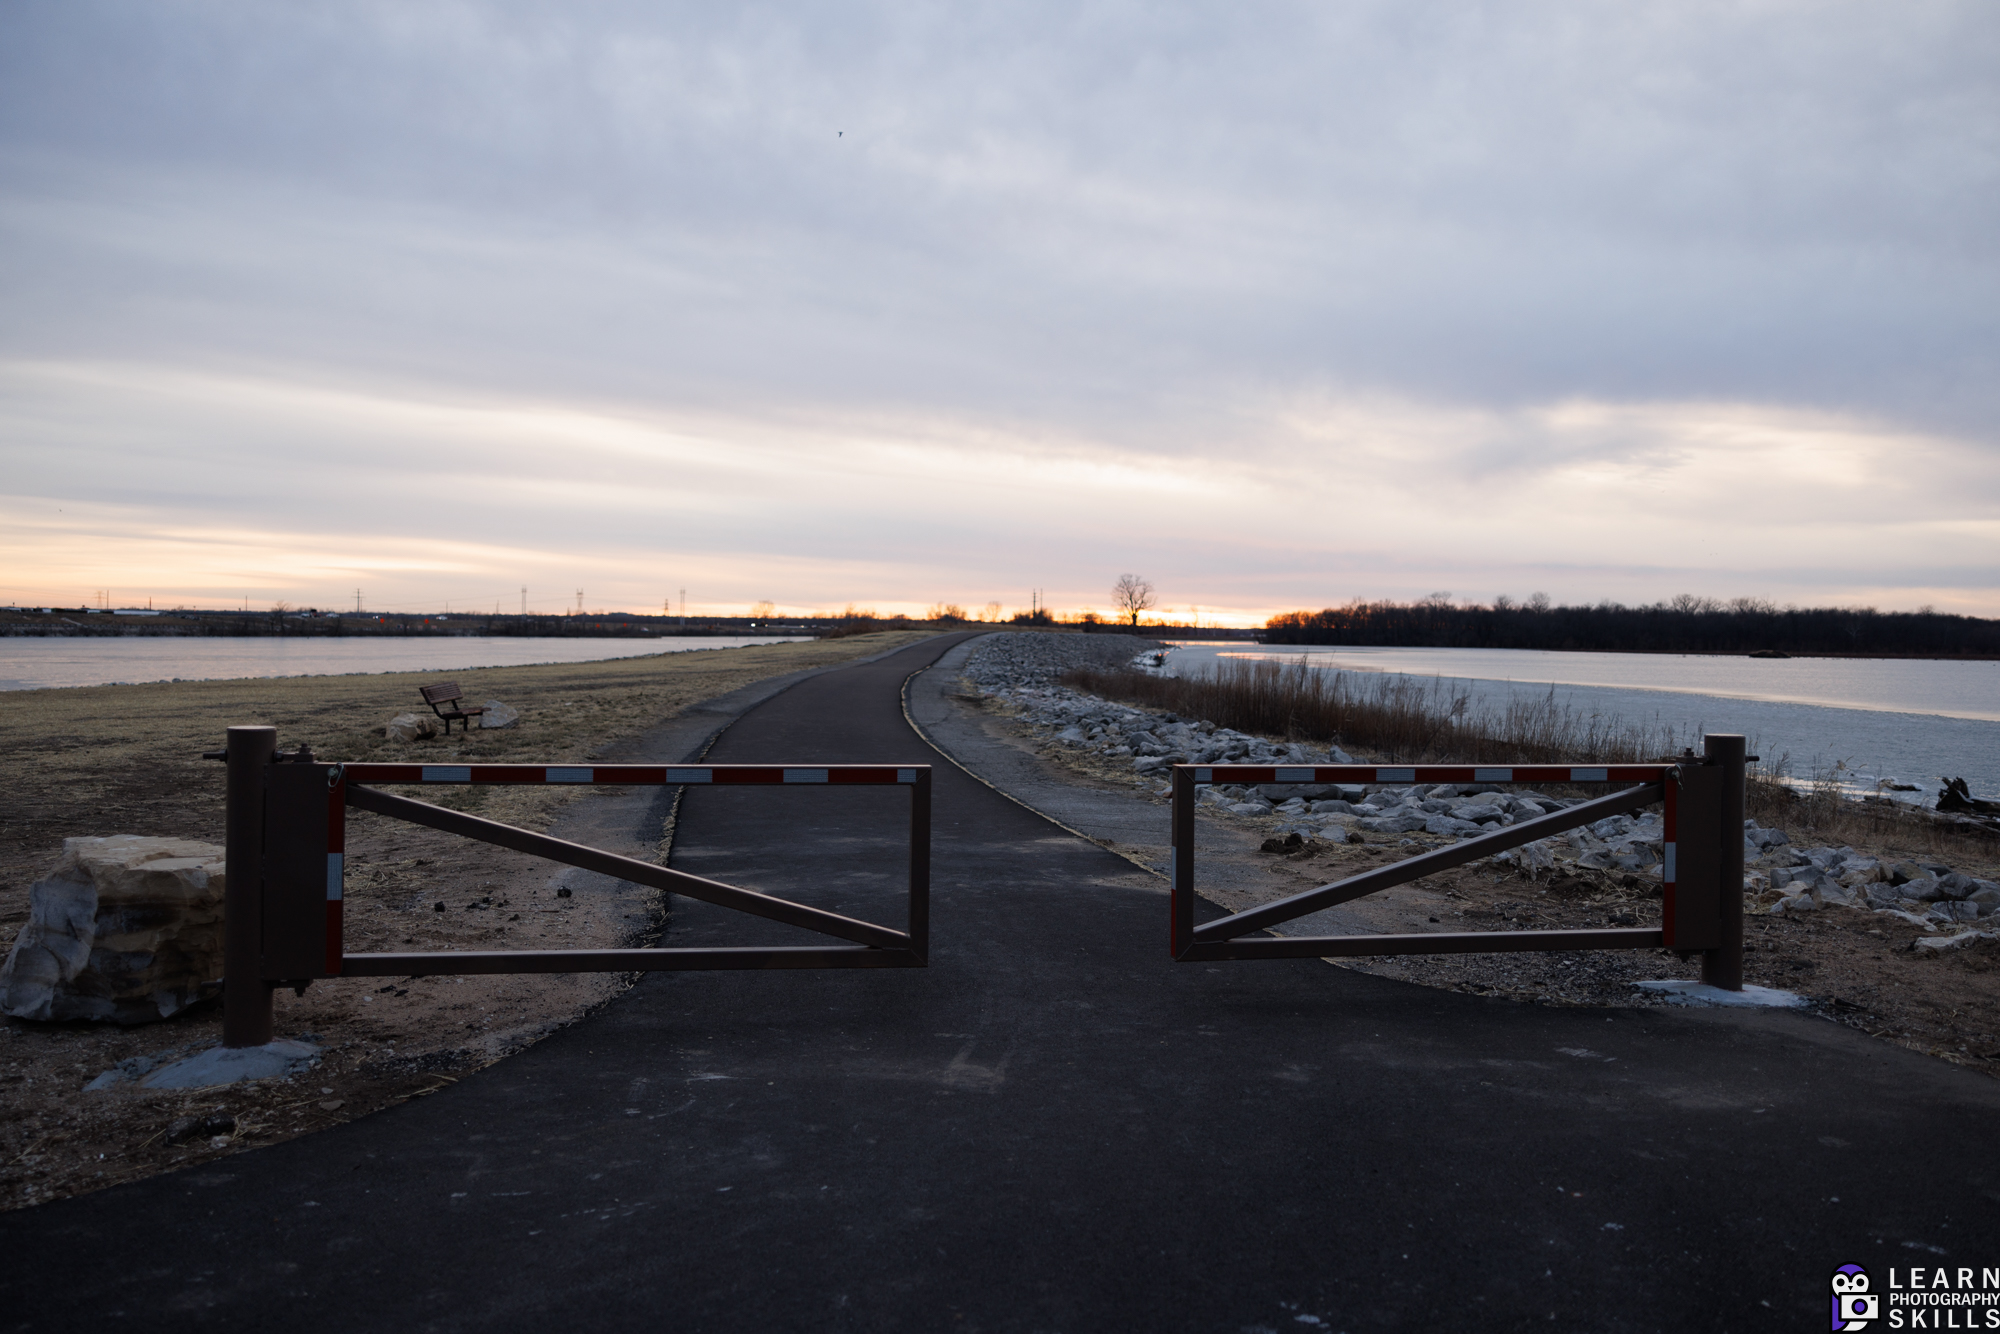
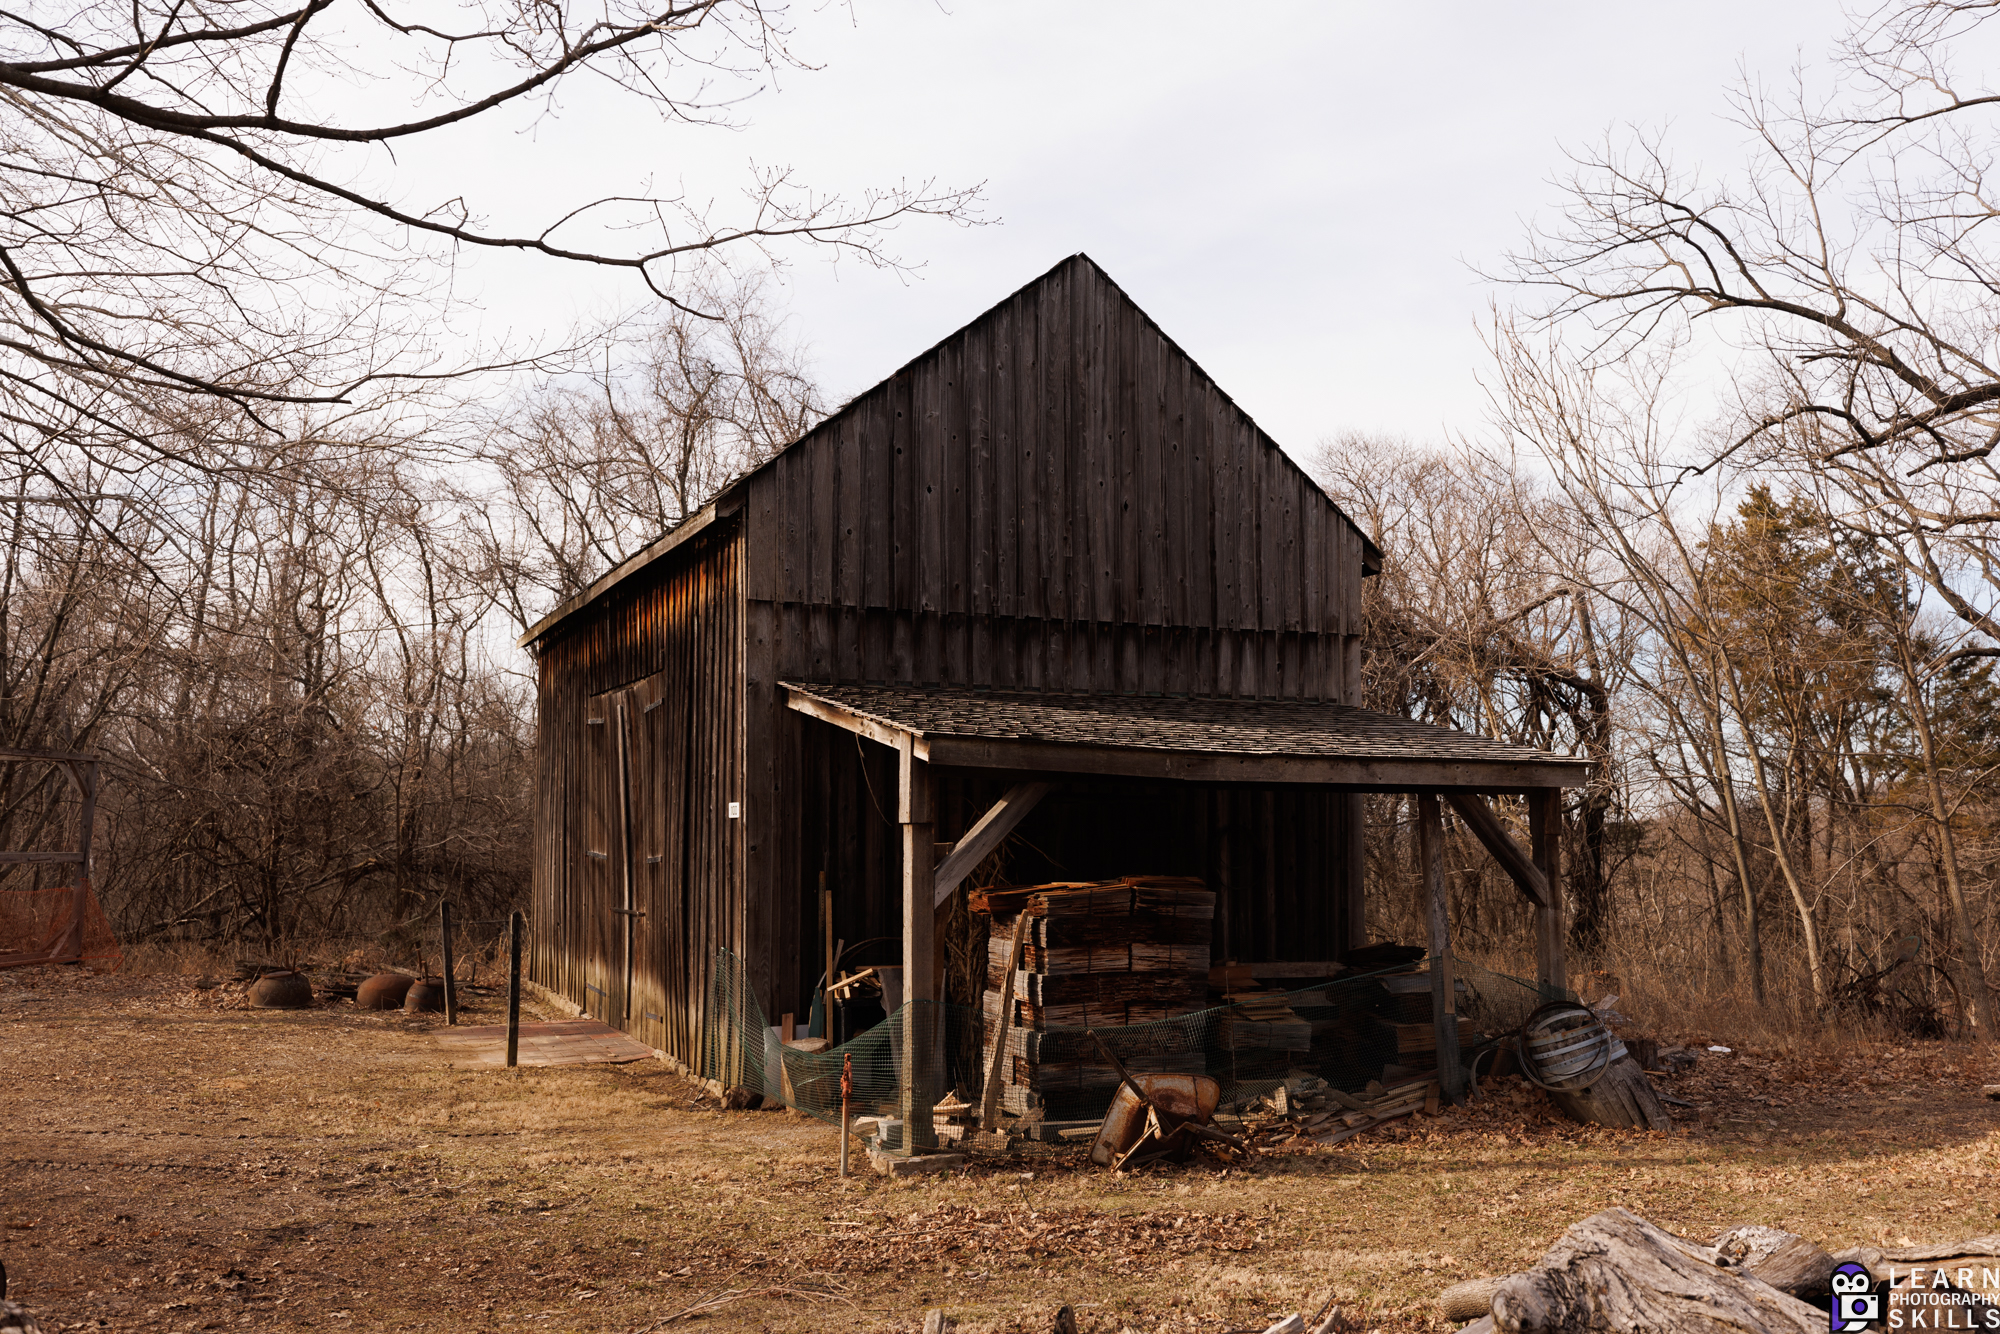
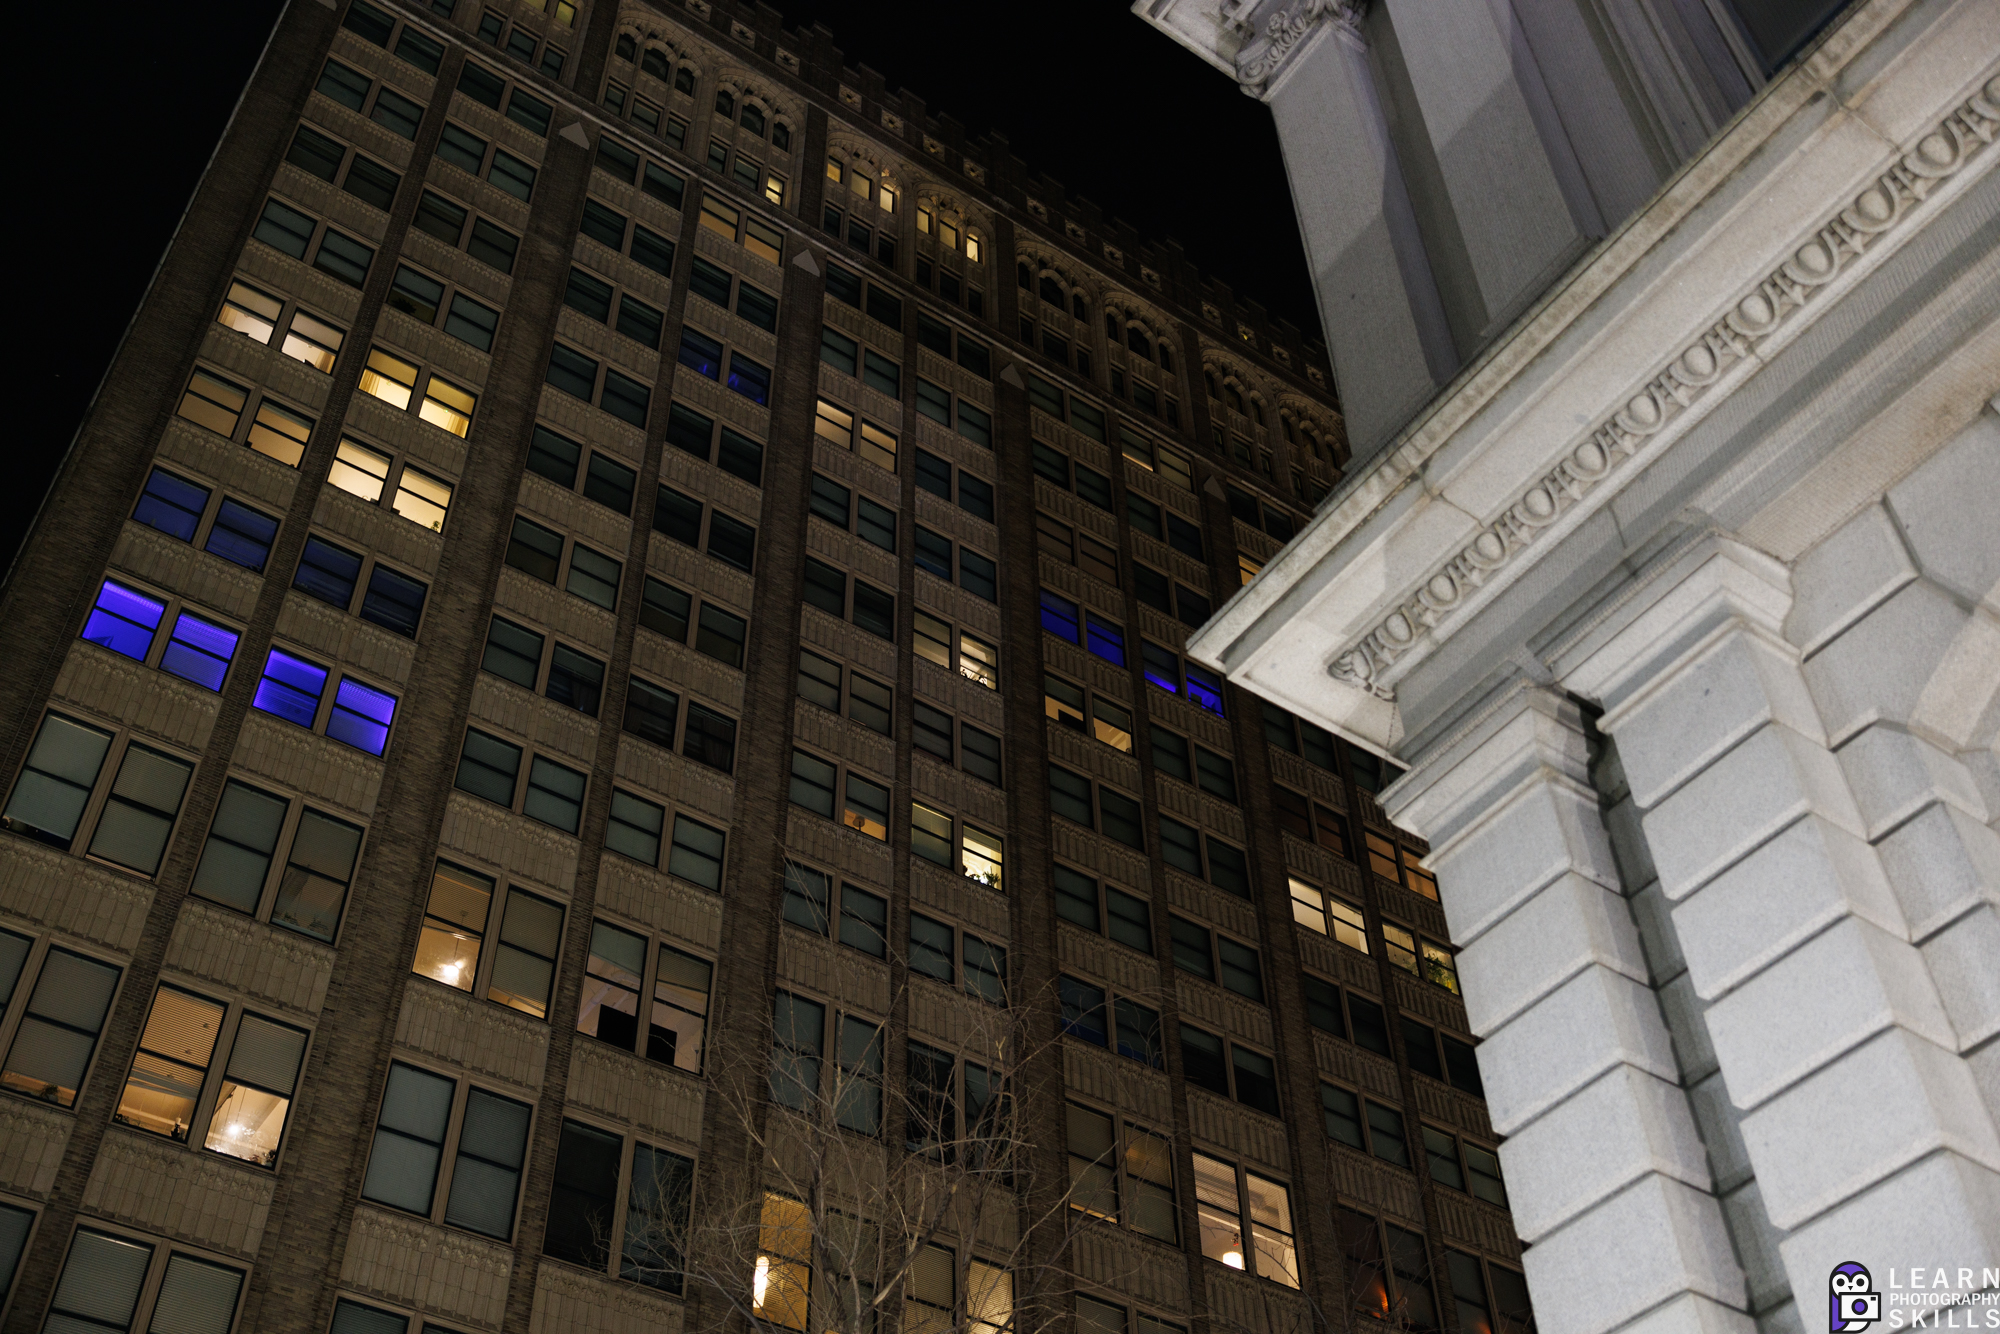
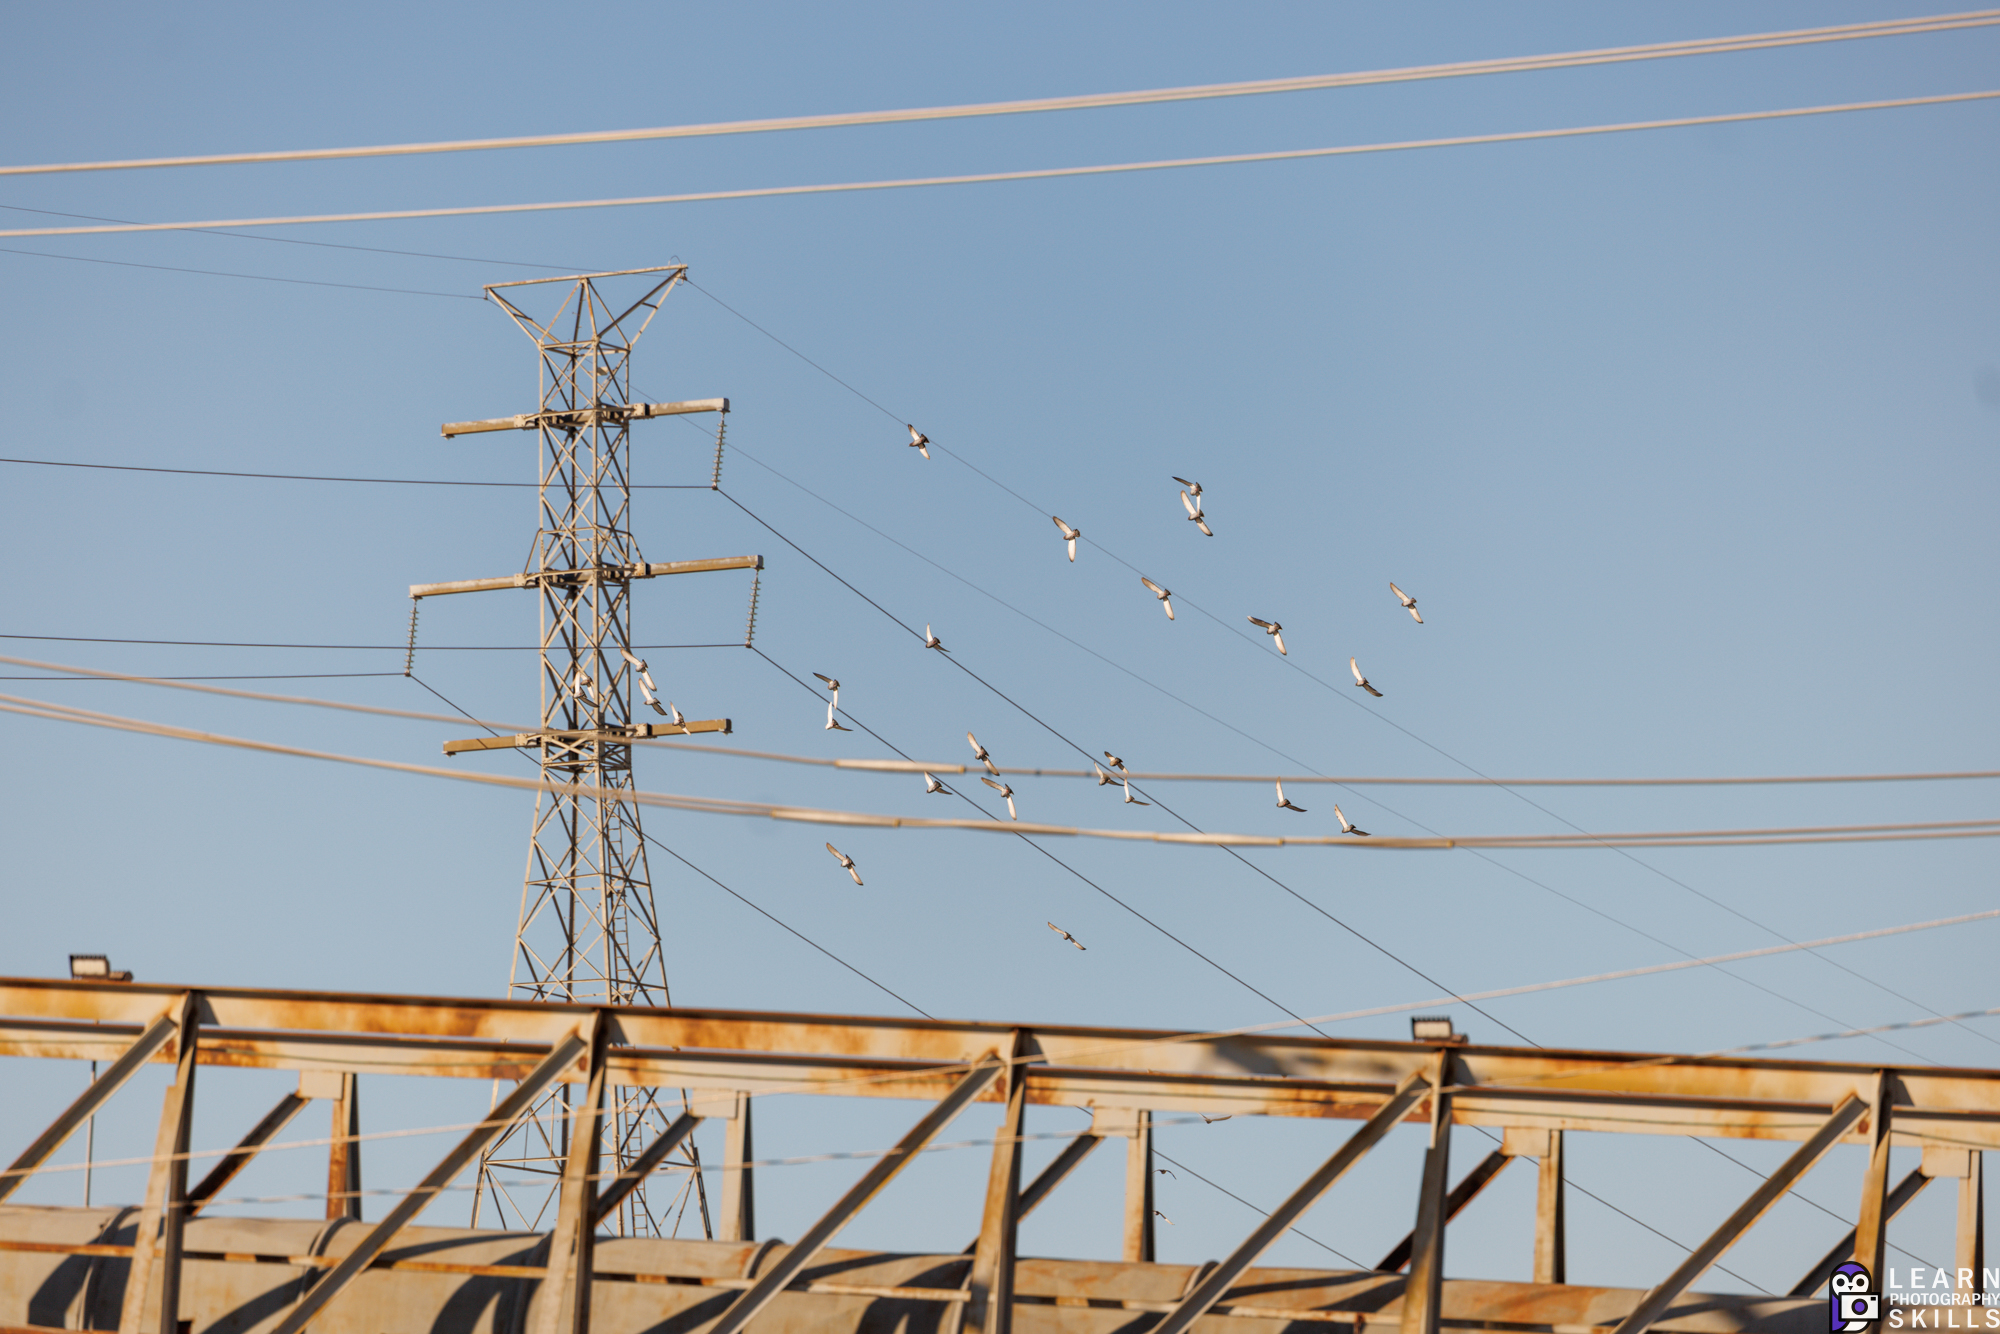
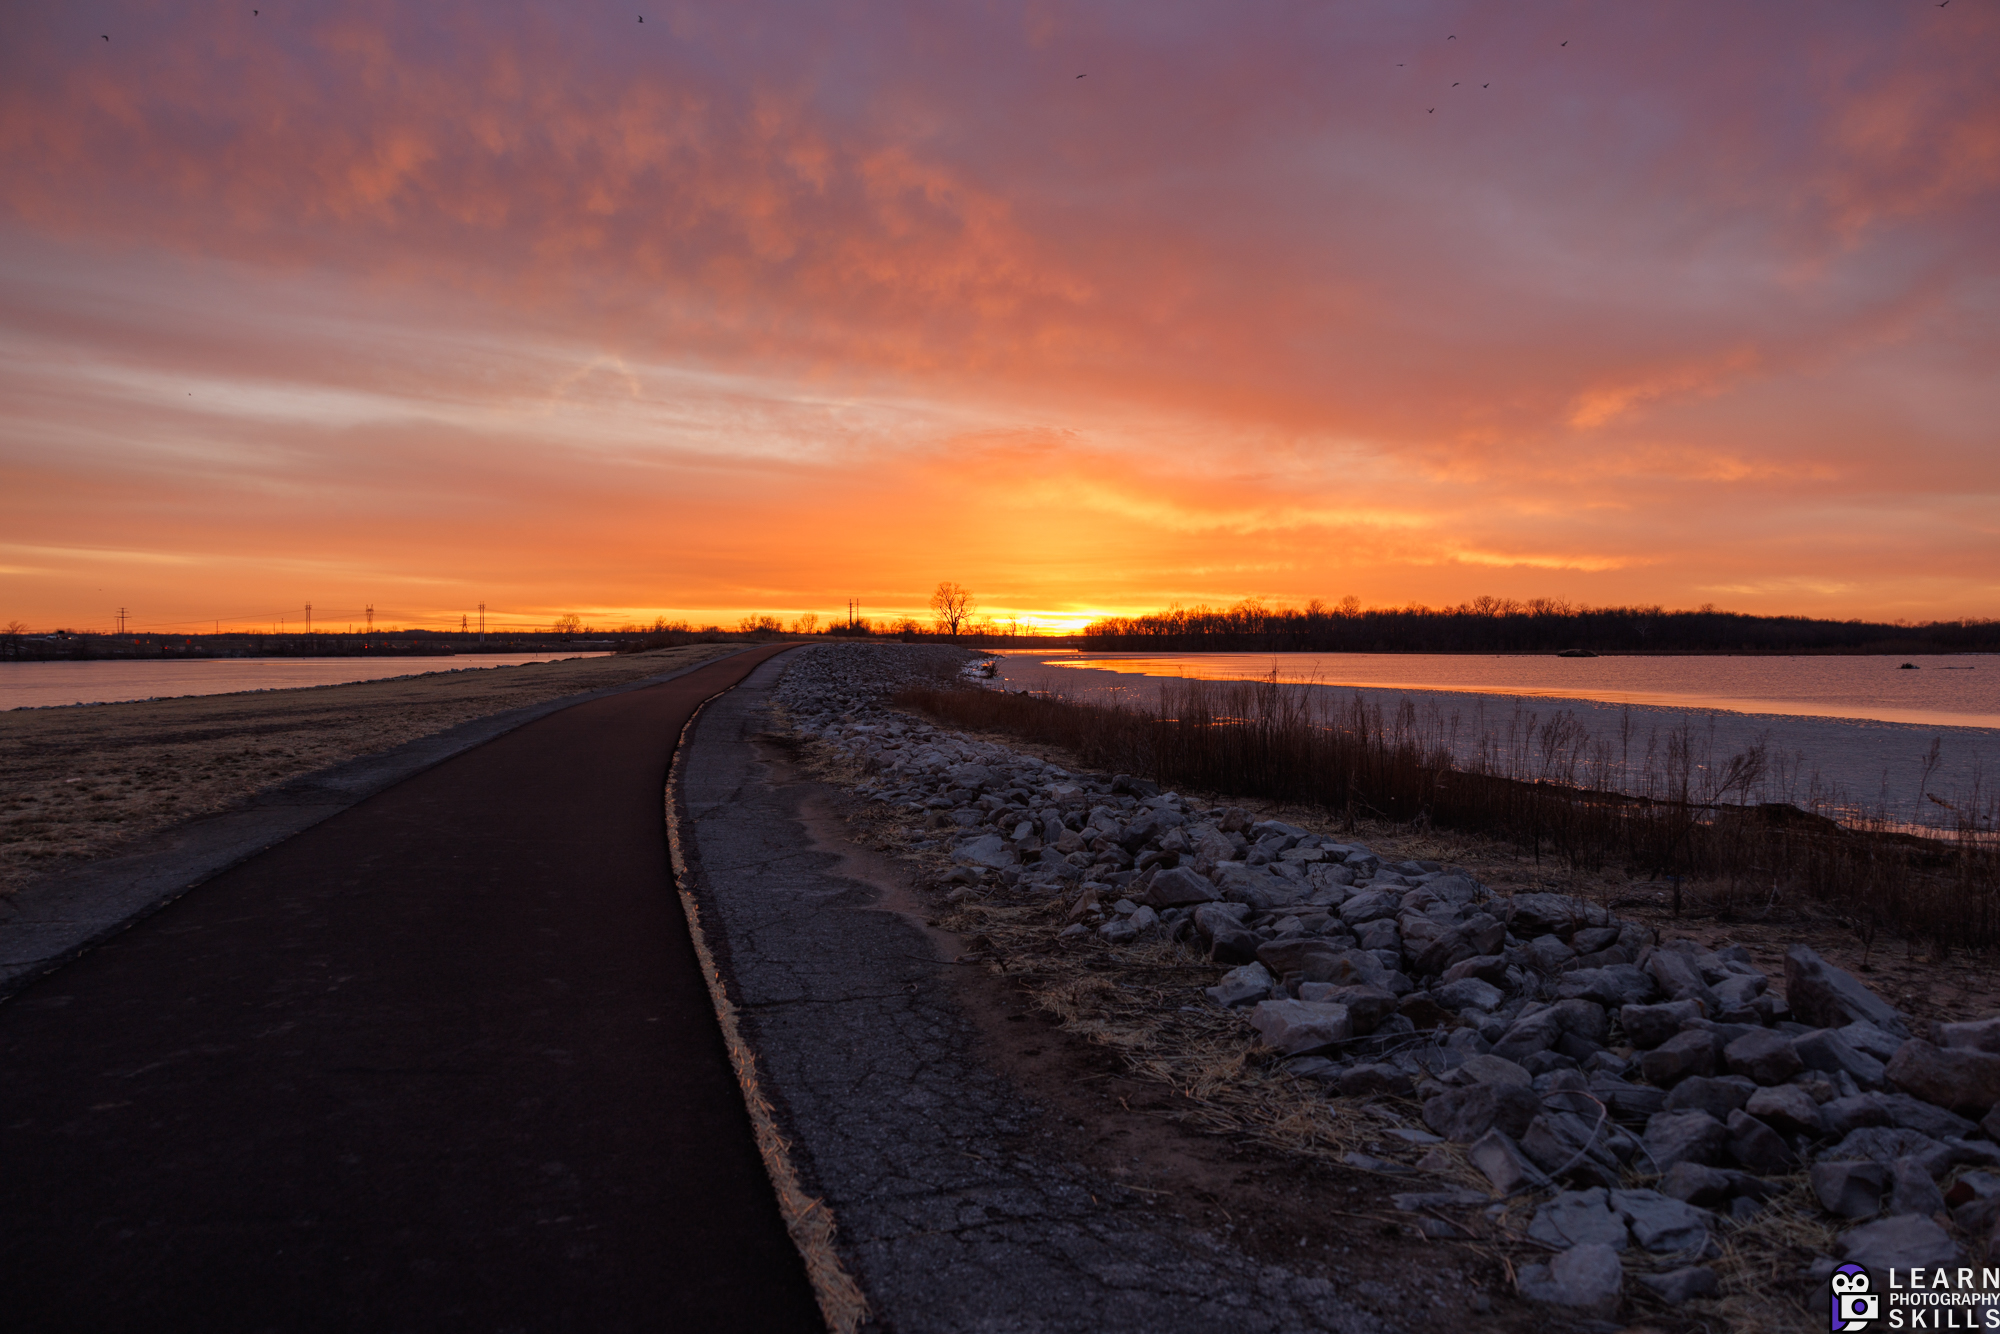
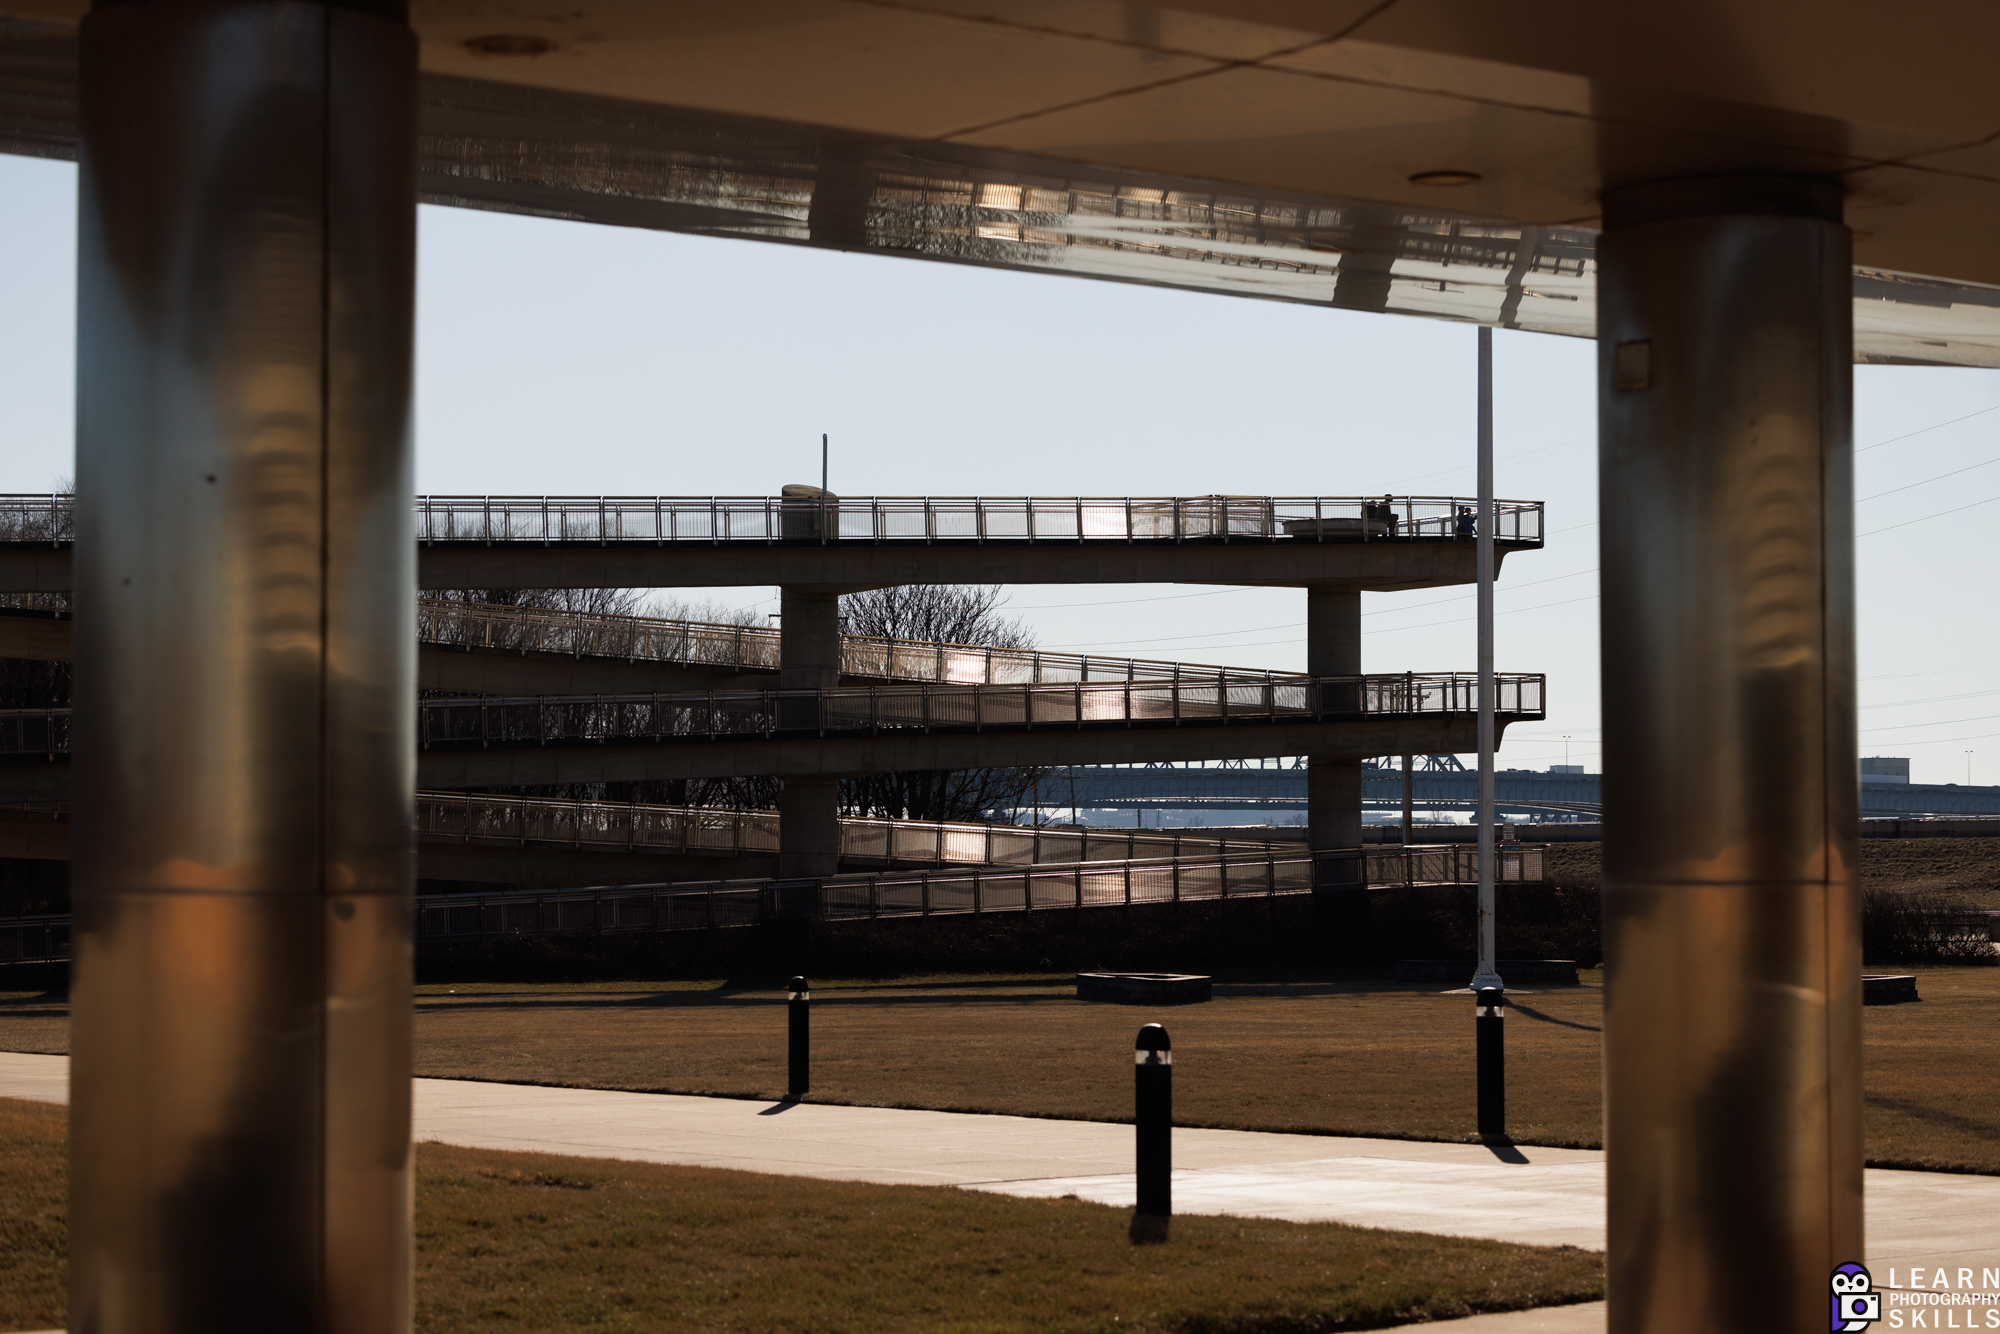
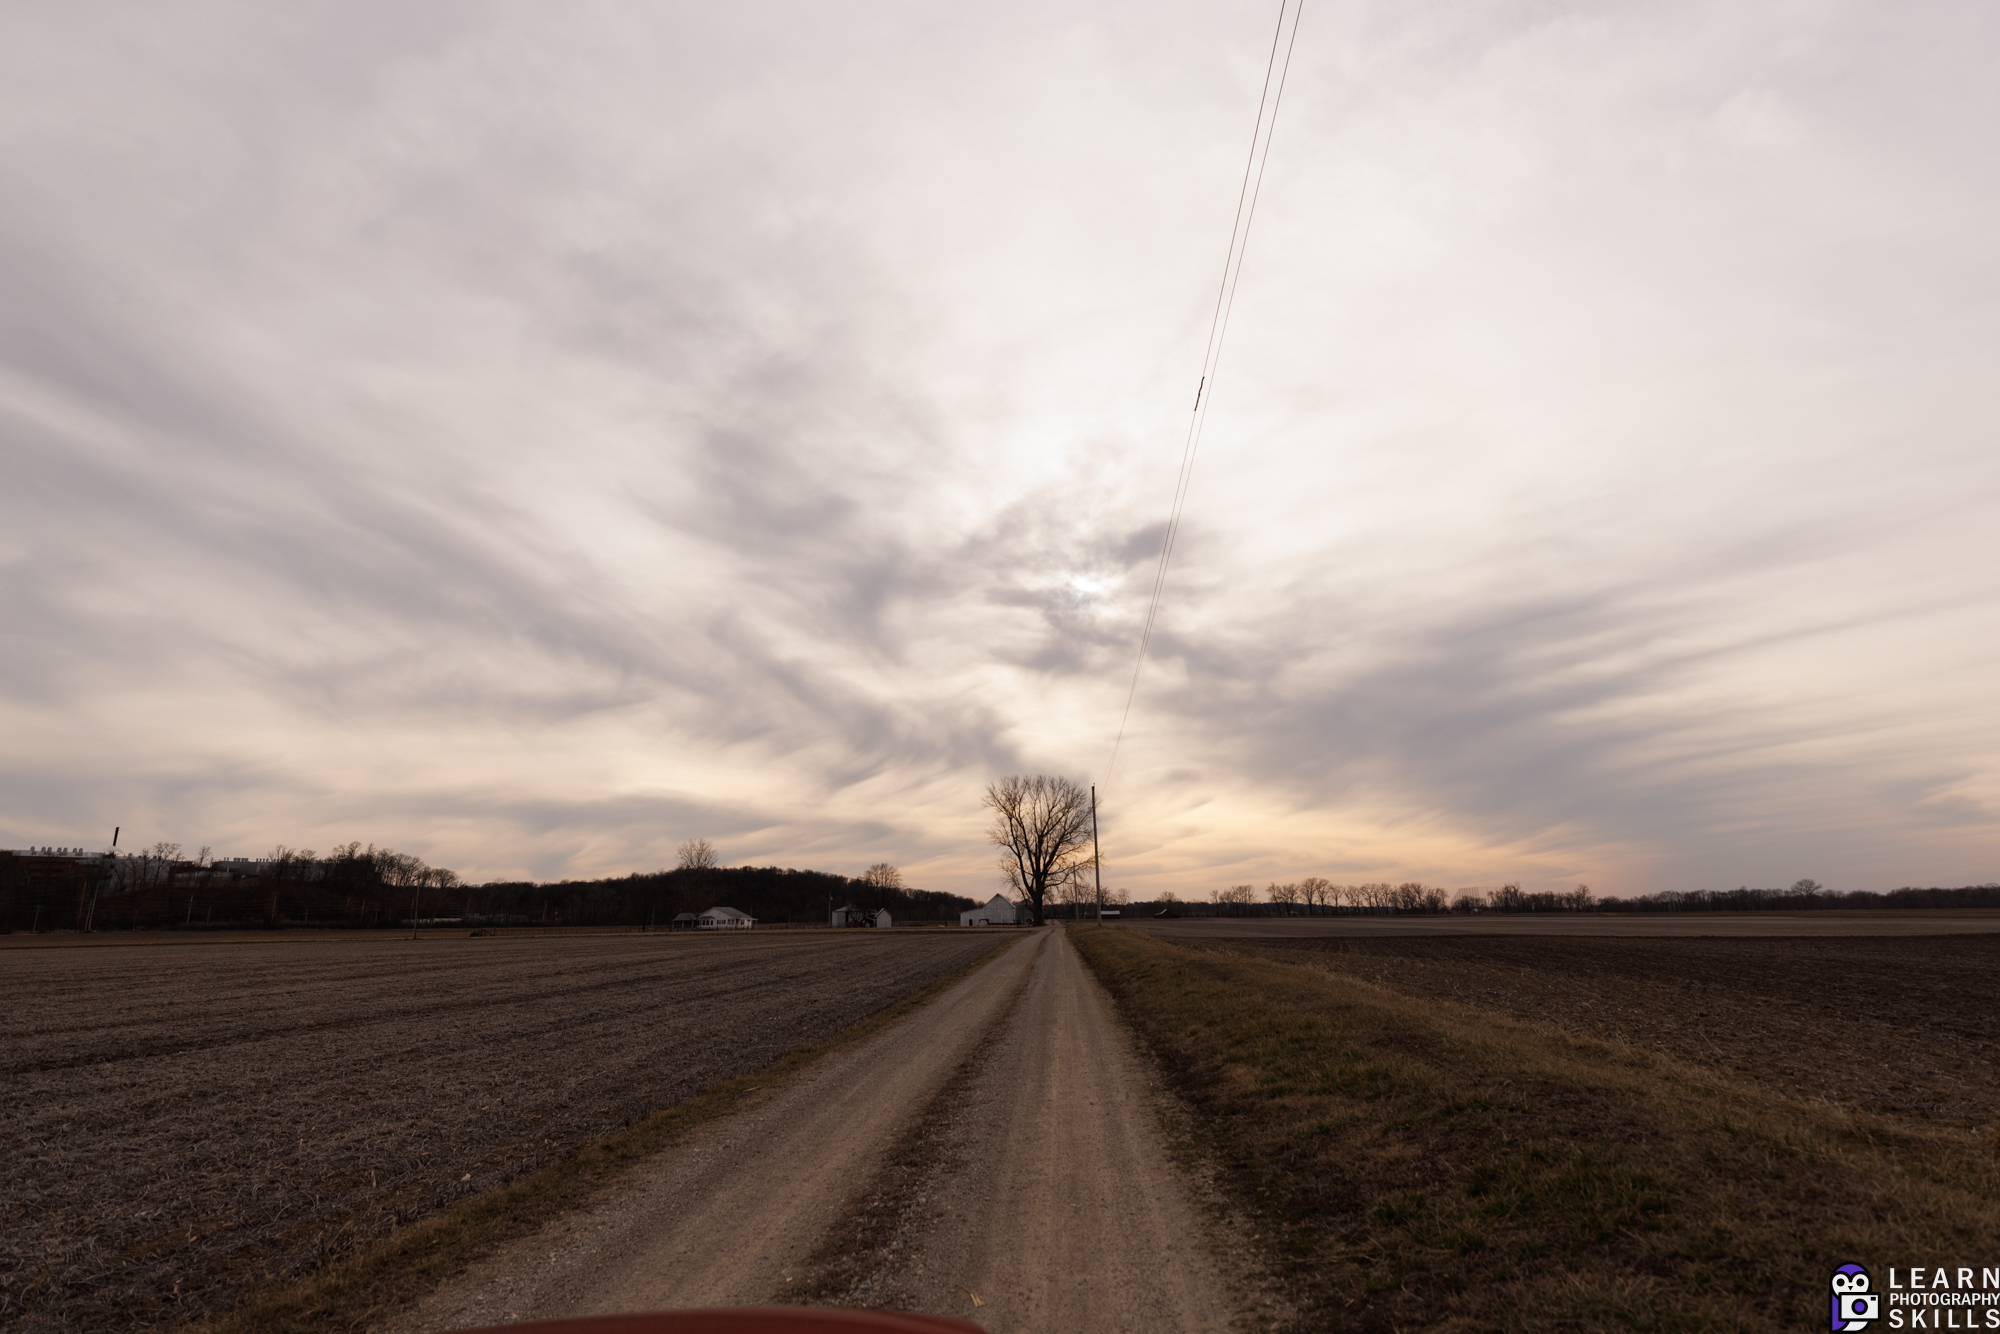
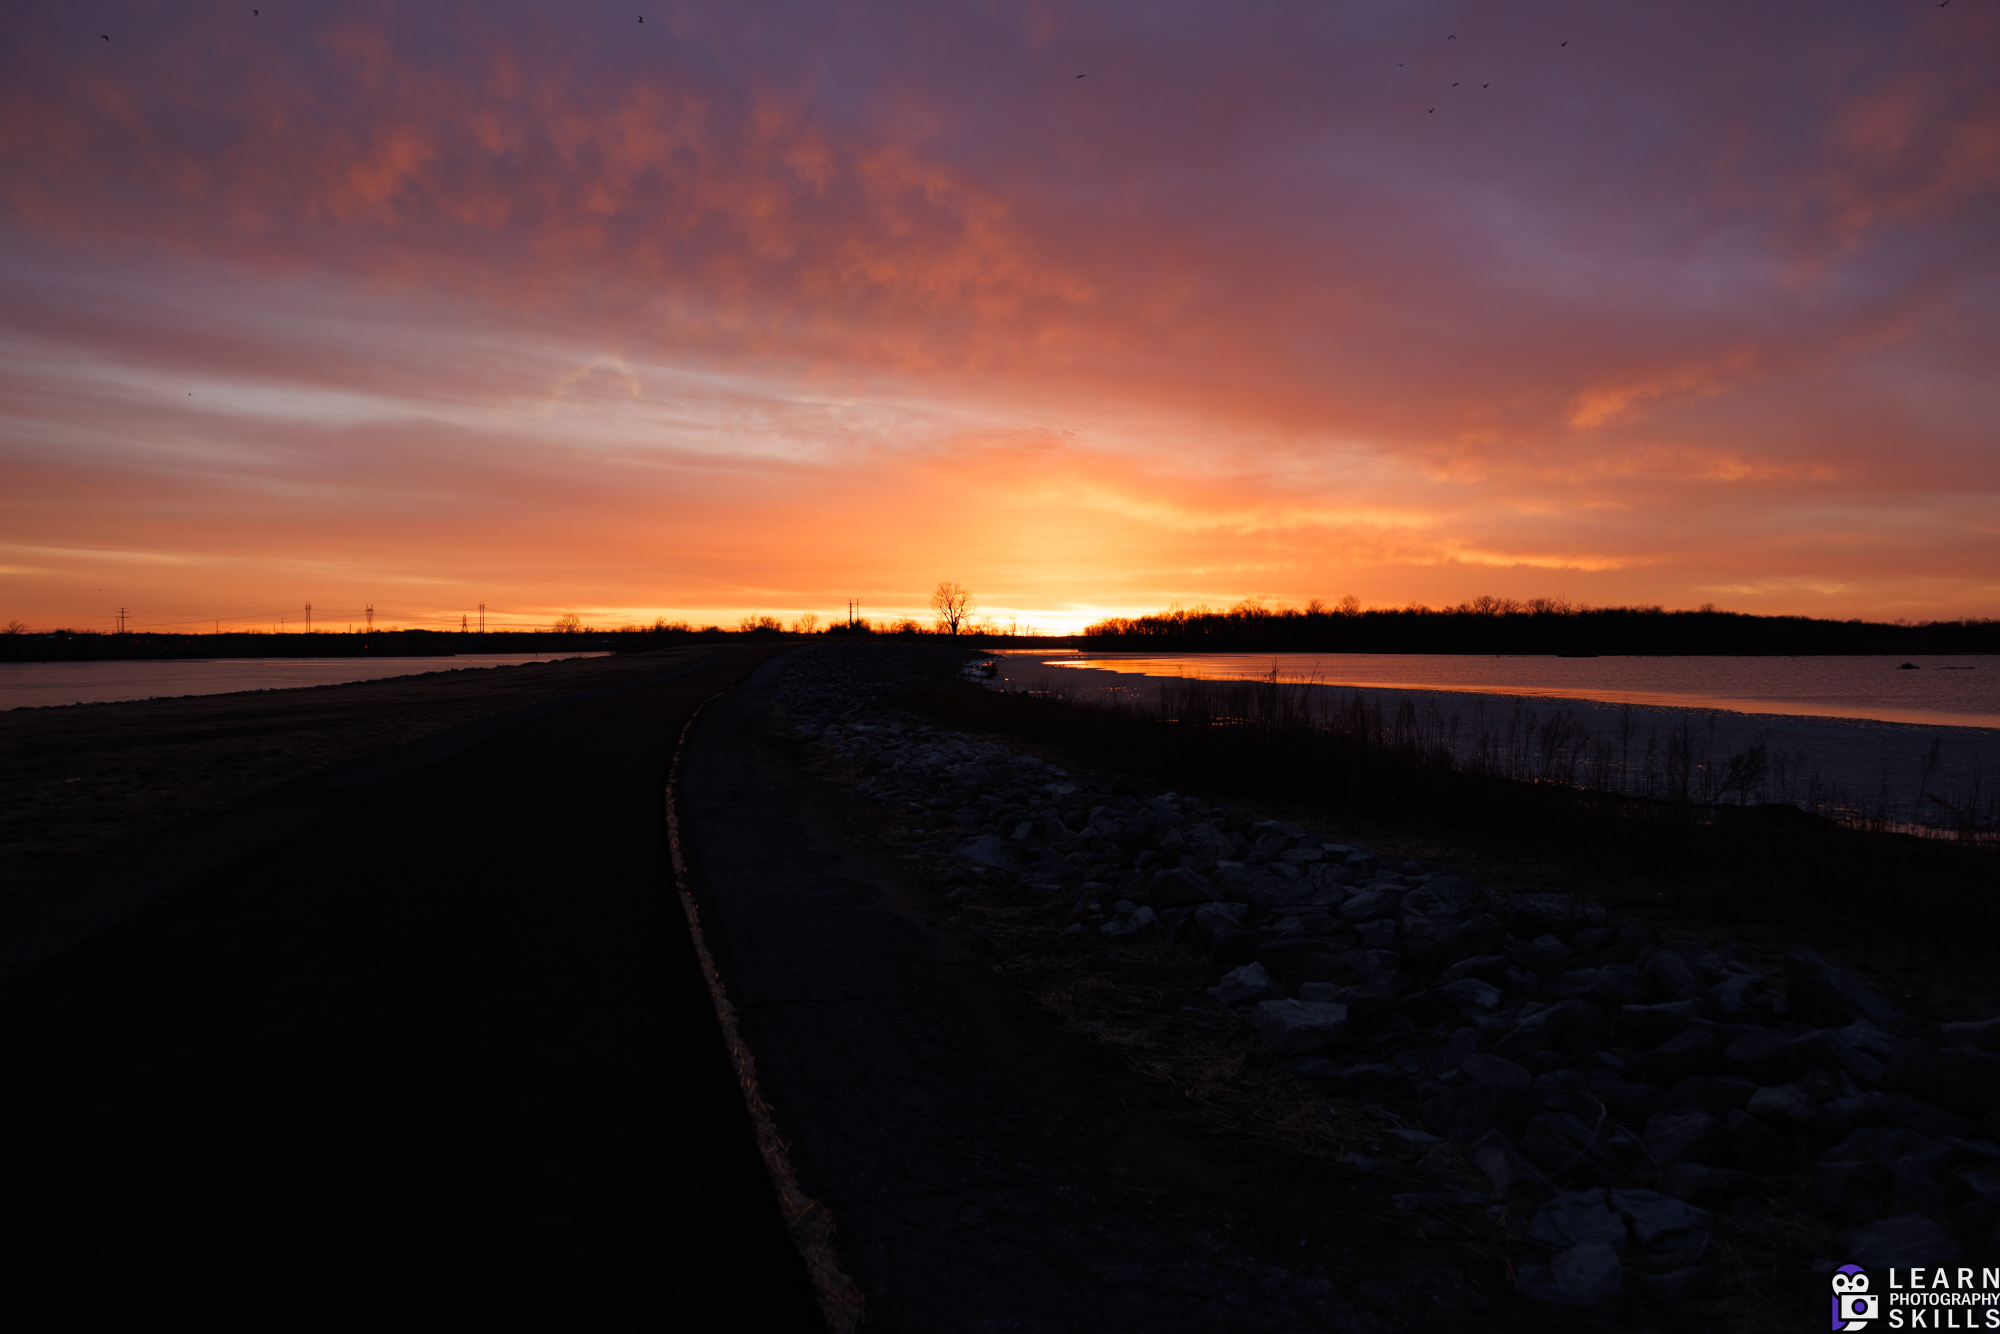
Example Gallery


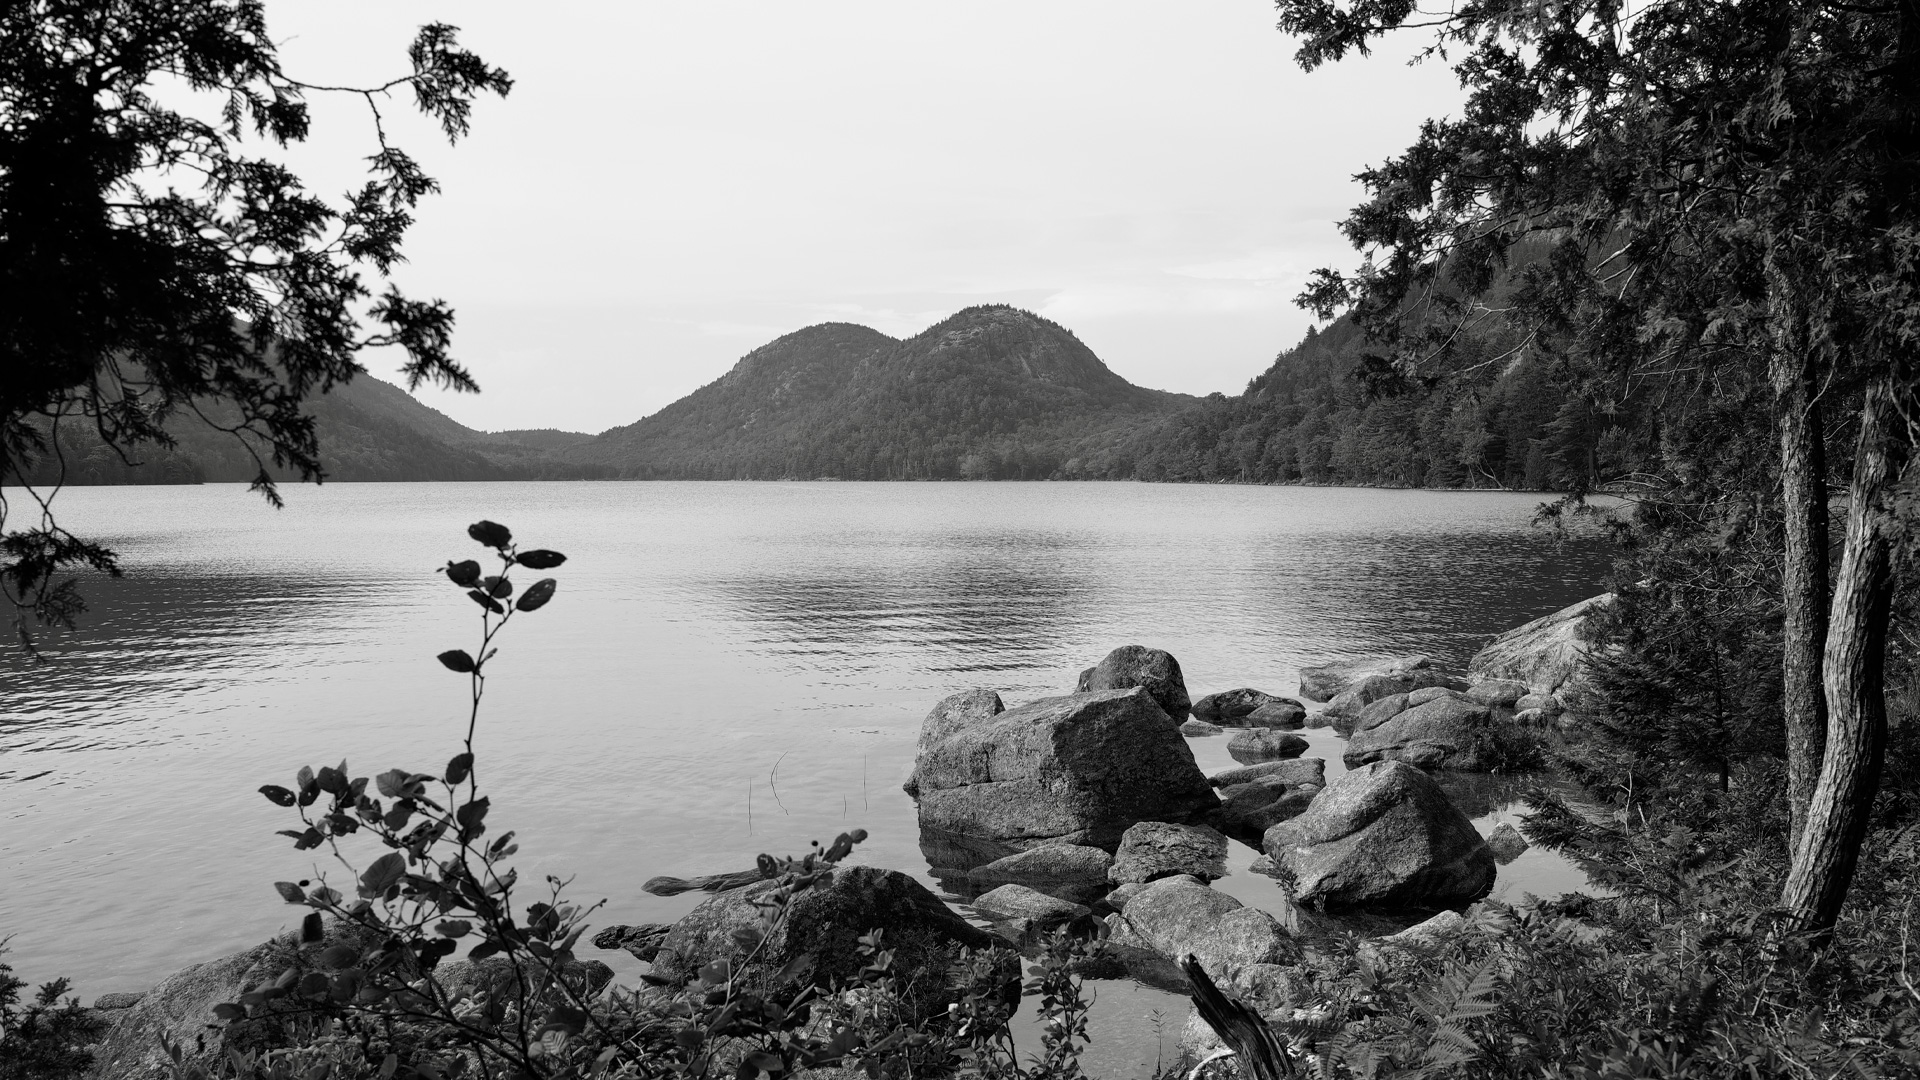
Highlight/Shadow Recovery
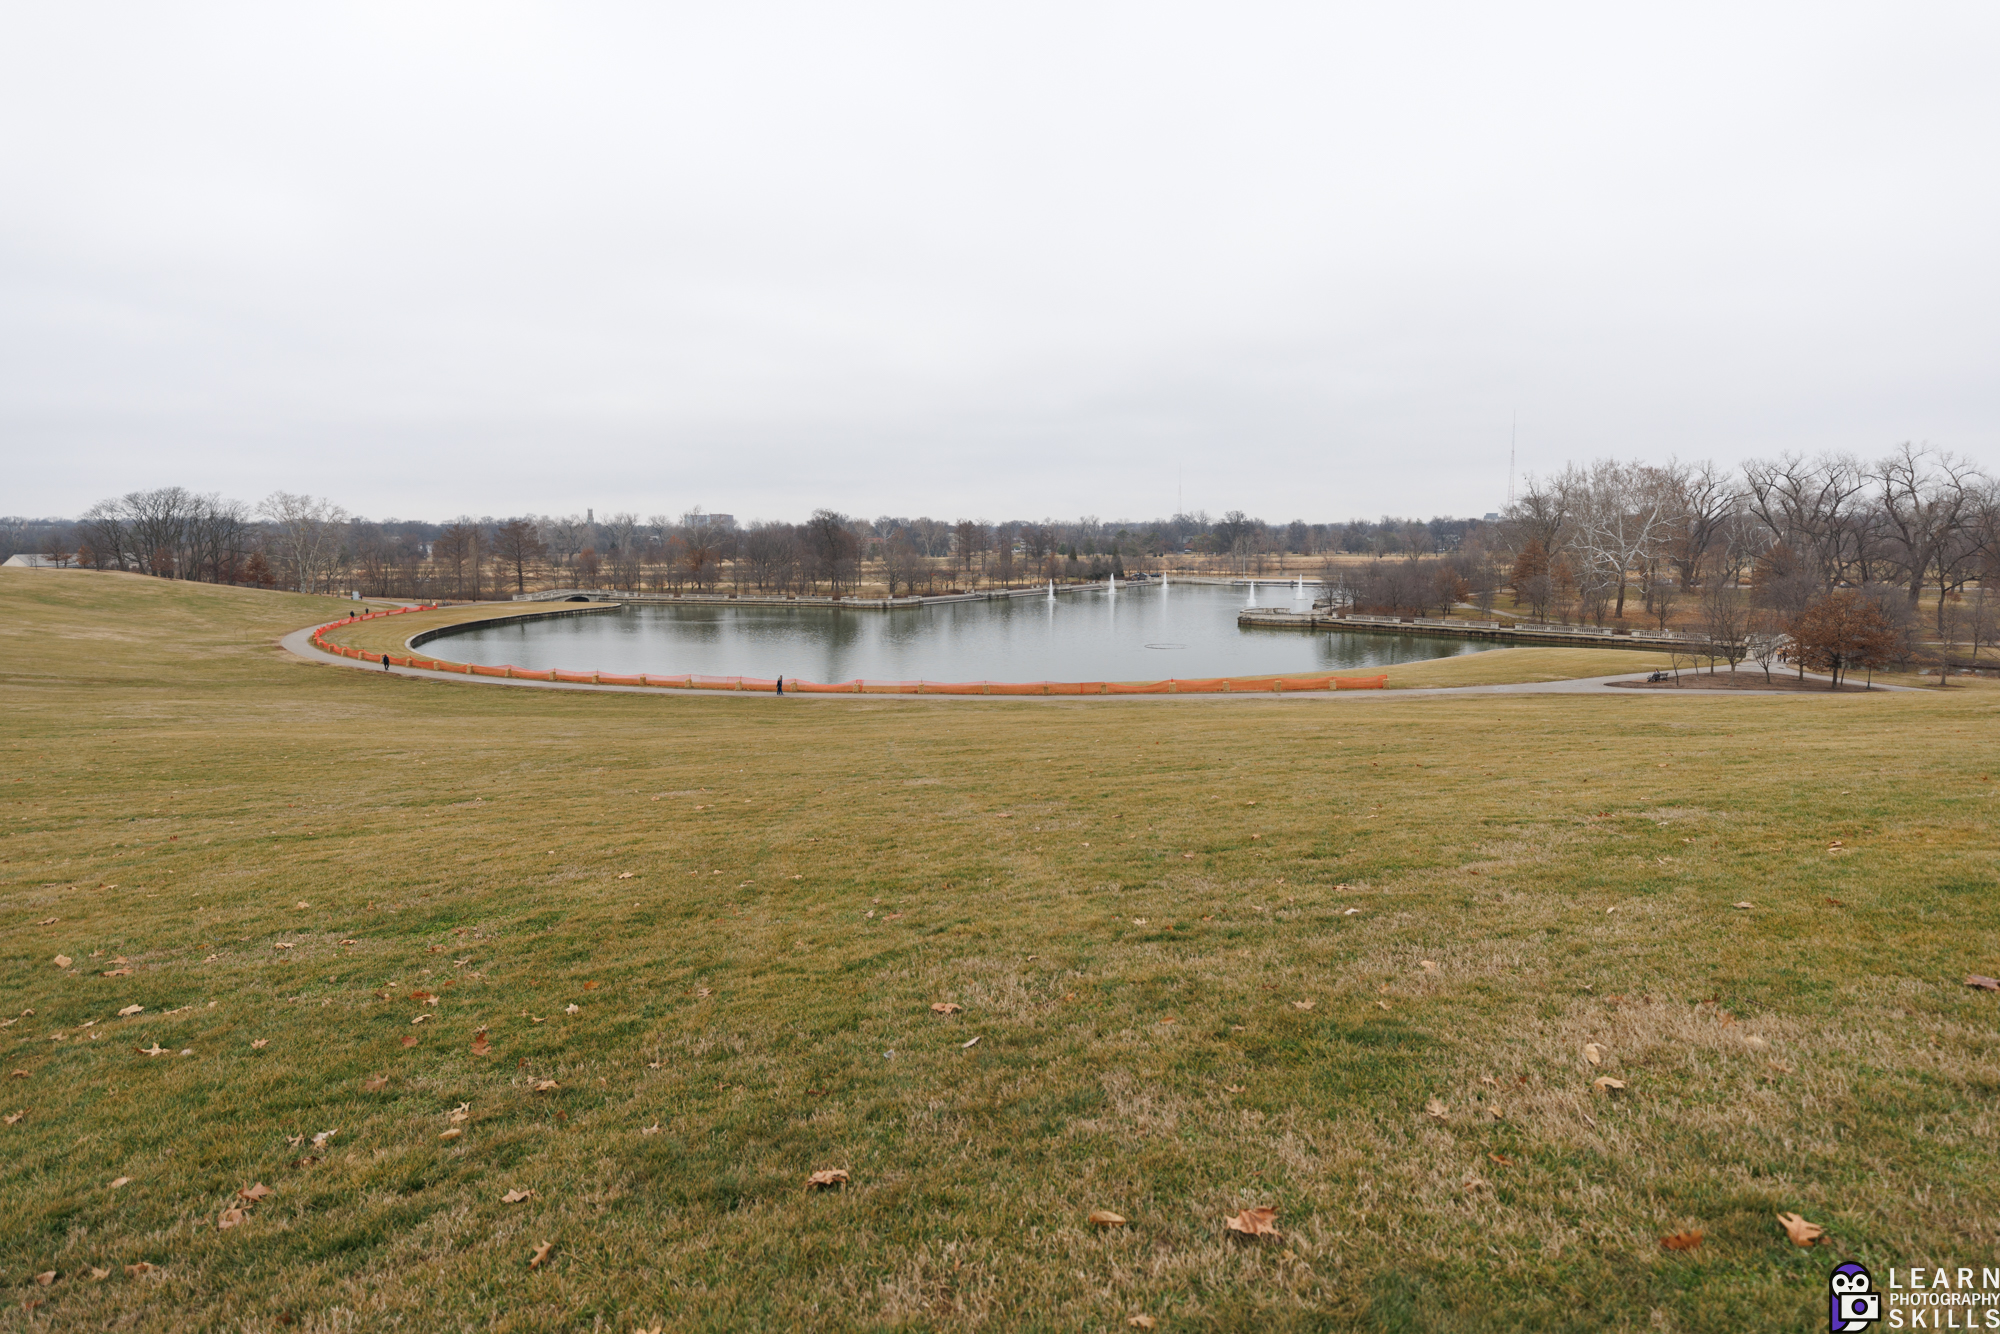
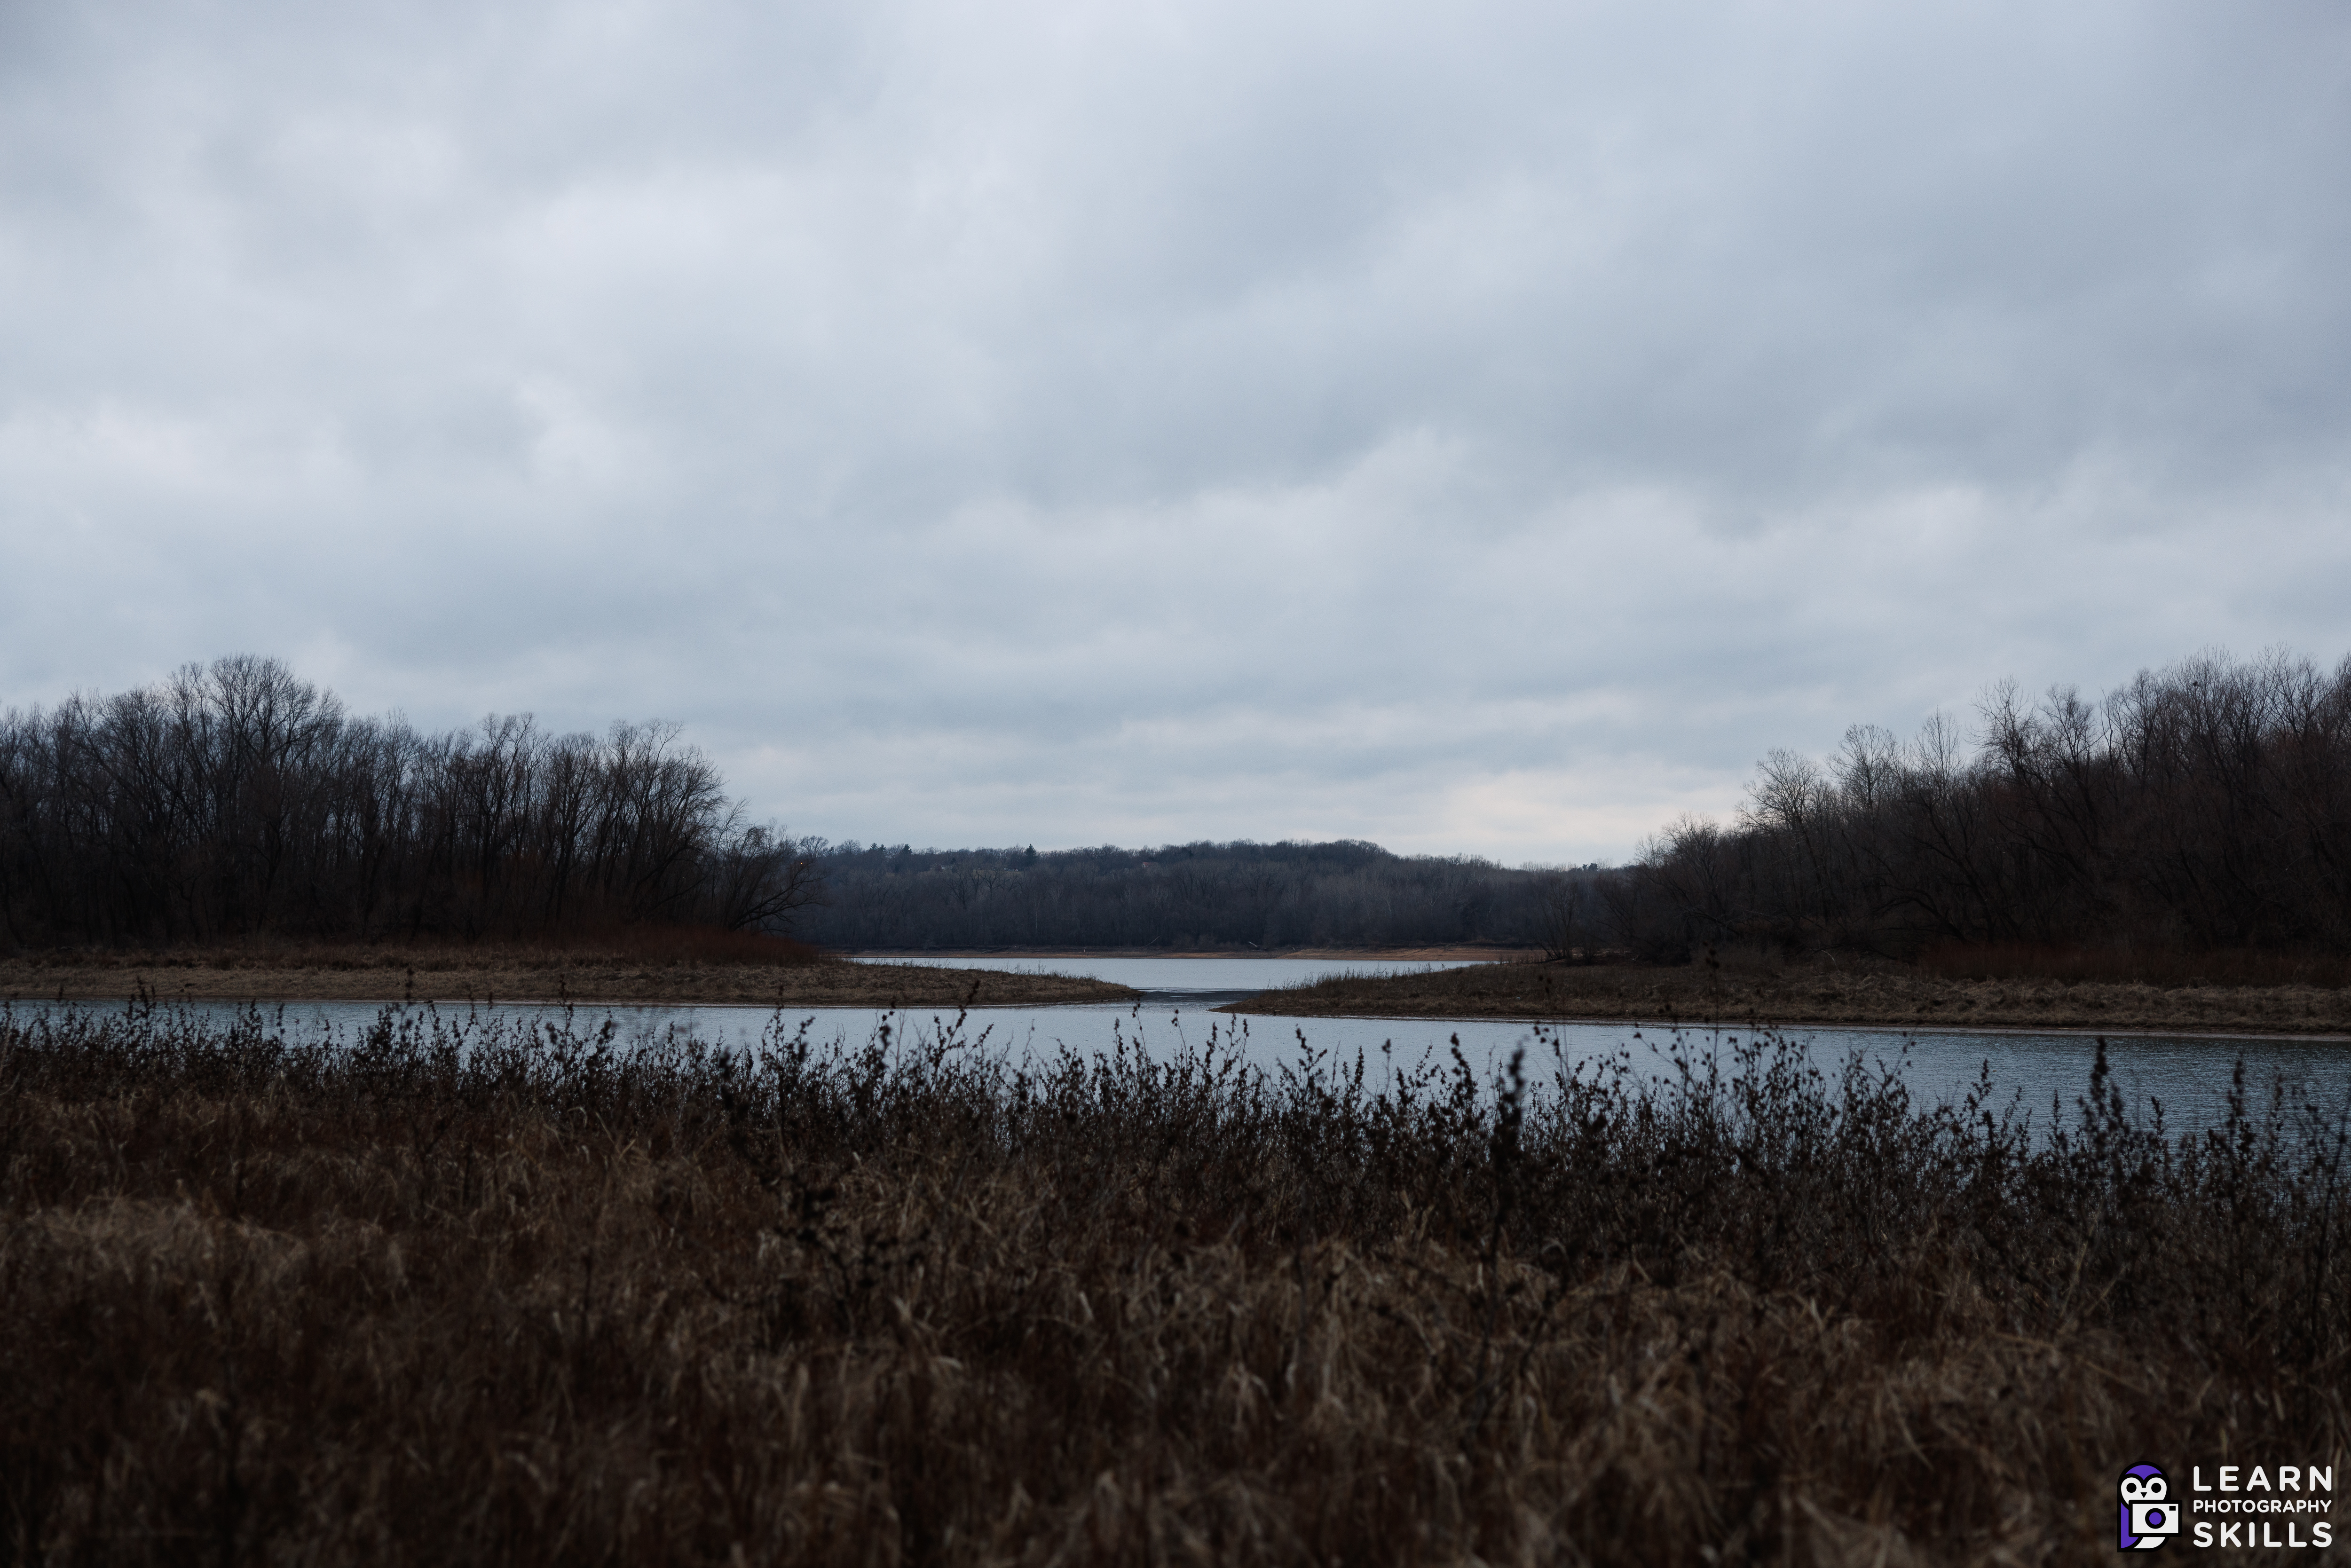
The R5 is also really good about recovering shadows at 100-200 ISO. Beyond that it requires being very careful with the selected exposure as shadows get noisy at 400 ISO and beyond. Shadow noise is really grungy with the R5 beyond 1600 ISO. This is where the IBIS can be a benefit if the scene allows for a slow shutter speed. If you plan on recovering shadows in your scene, then you should learn to lean on the stabilization more to keep the ISO as low as possible.
This example below shows that at 100 ISO the shadow/highlight recovery is barely enough for cloudy shots.
All in all it has been a solid camera for me. It was a big improvement over the EOS R in terms of AF and stabilization. Overall image quality is similar between the two but I think the final edge goes to the R5. The R5 does seem to pick out more color and produce more distinct gradations of color than the R does. I wouldn’t fret too much about the R5’s image quality, just focus on taking good pictures if you’re lucky enough to have one!
Conclusion
The Canon EOS R5 is a good camera that is capable of performing many photography and videography tasks. It may not be the best choice for all, but it can do sports, wildlife, landscapes, low light, events, family, portraits, studio, product, and I doubt anyone would complain about the results.
Rating

4.25 out of 5 stars
I WORK HARD TO BRING YOU THIS FREE INFORMATION, PLEASE CONSIDER SUPPORTING THIS WEBSITE WITH A DONATION:
https://www.buymeacoffee.com/learnphotographyskills
[ad_2]
Source link