[ad_1]
We’re happy to announce the winner of August’s competition, “The Art Of Reflection.”
For those who don’t know, the Light Stalking Monthly Photography Competition carries a $100 People’s Choice Award and a $100 Overall Winner Award. The People’s Choice Winner is selected by a vote of the community, whereas our guest judge selects the overall winner.
The “Art Of Reflection” Photo Contest
Reflection in photography is a compositional technique where one uses reflective surfaces either natural or manmade, to capture interesting images that may sometimes look very dreamy and even abstract. One’s creative vision and perspective can help to capture reflection photos that may sometimes look like an illusion.
When capturing reflection photos, you can apply it to any genre of photography like landscape, architecture, street, nature, still life, etc. Using the right perspective, angles and powerful compositional techniques will result in compelling and visually appealing images.
The contest theme for August was “The Art Of Reflection” and the photos from the participating members included submissions covering various genre in photography like macro, portraits, abstracts, nature, landscape, still life, etc. The submitted photos portrayed unique interpretations of the theme with images shot using great compositional techniques and under good lighting.
When choosing the winning photos, we wanted to make sure that the decision process was based on a good interpretation of the theme, followed by other factors like light, composition, story, details, creative vision, etc. The results are entirely subjective and there are no losers in any competition as we all know.
Here are August’s winners:
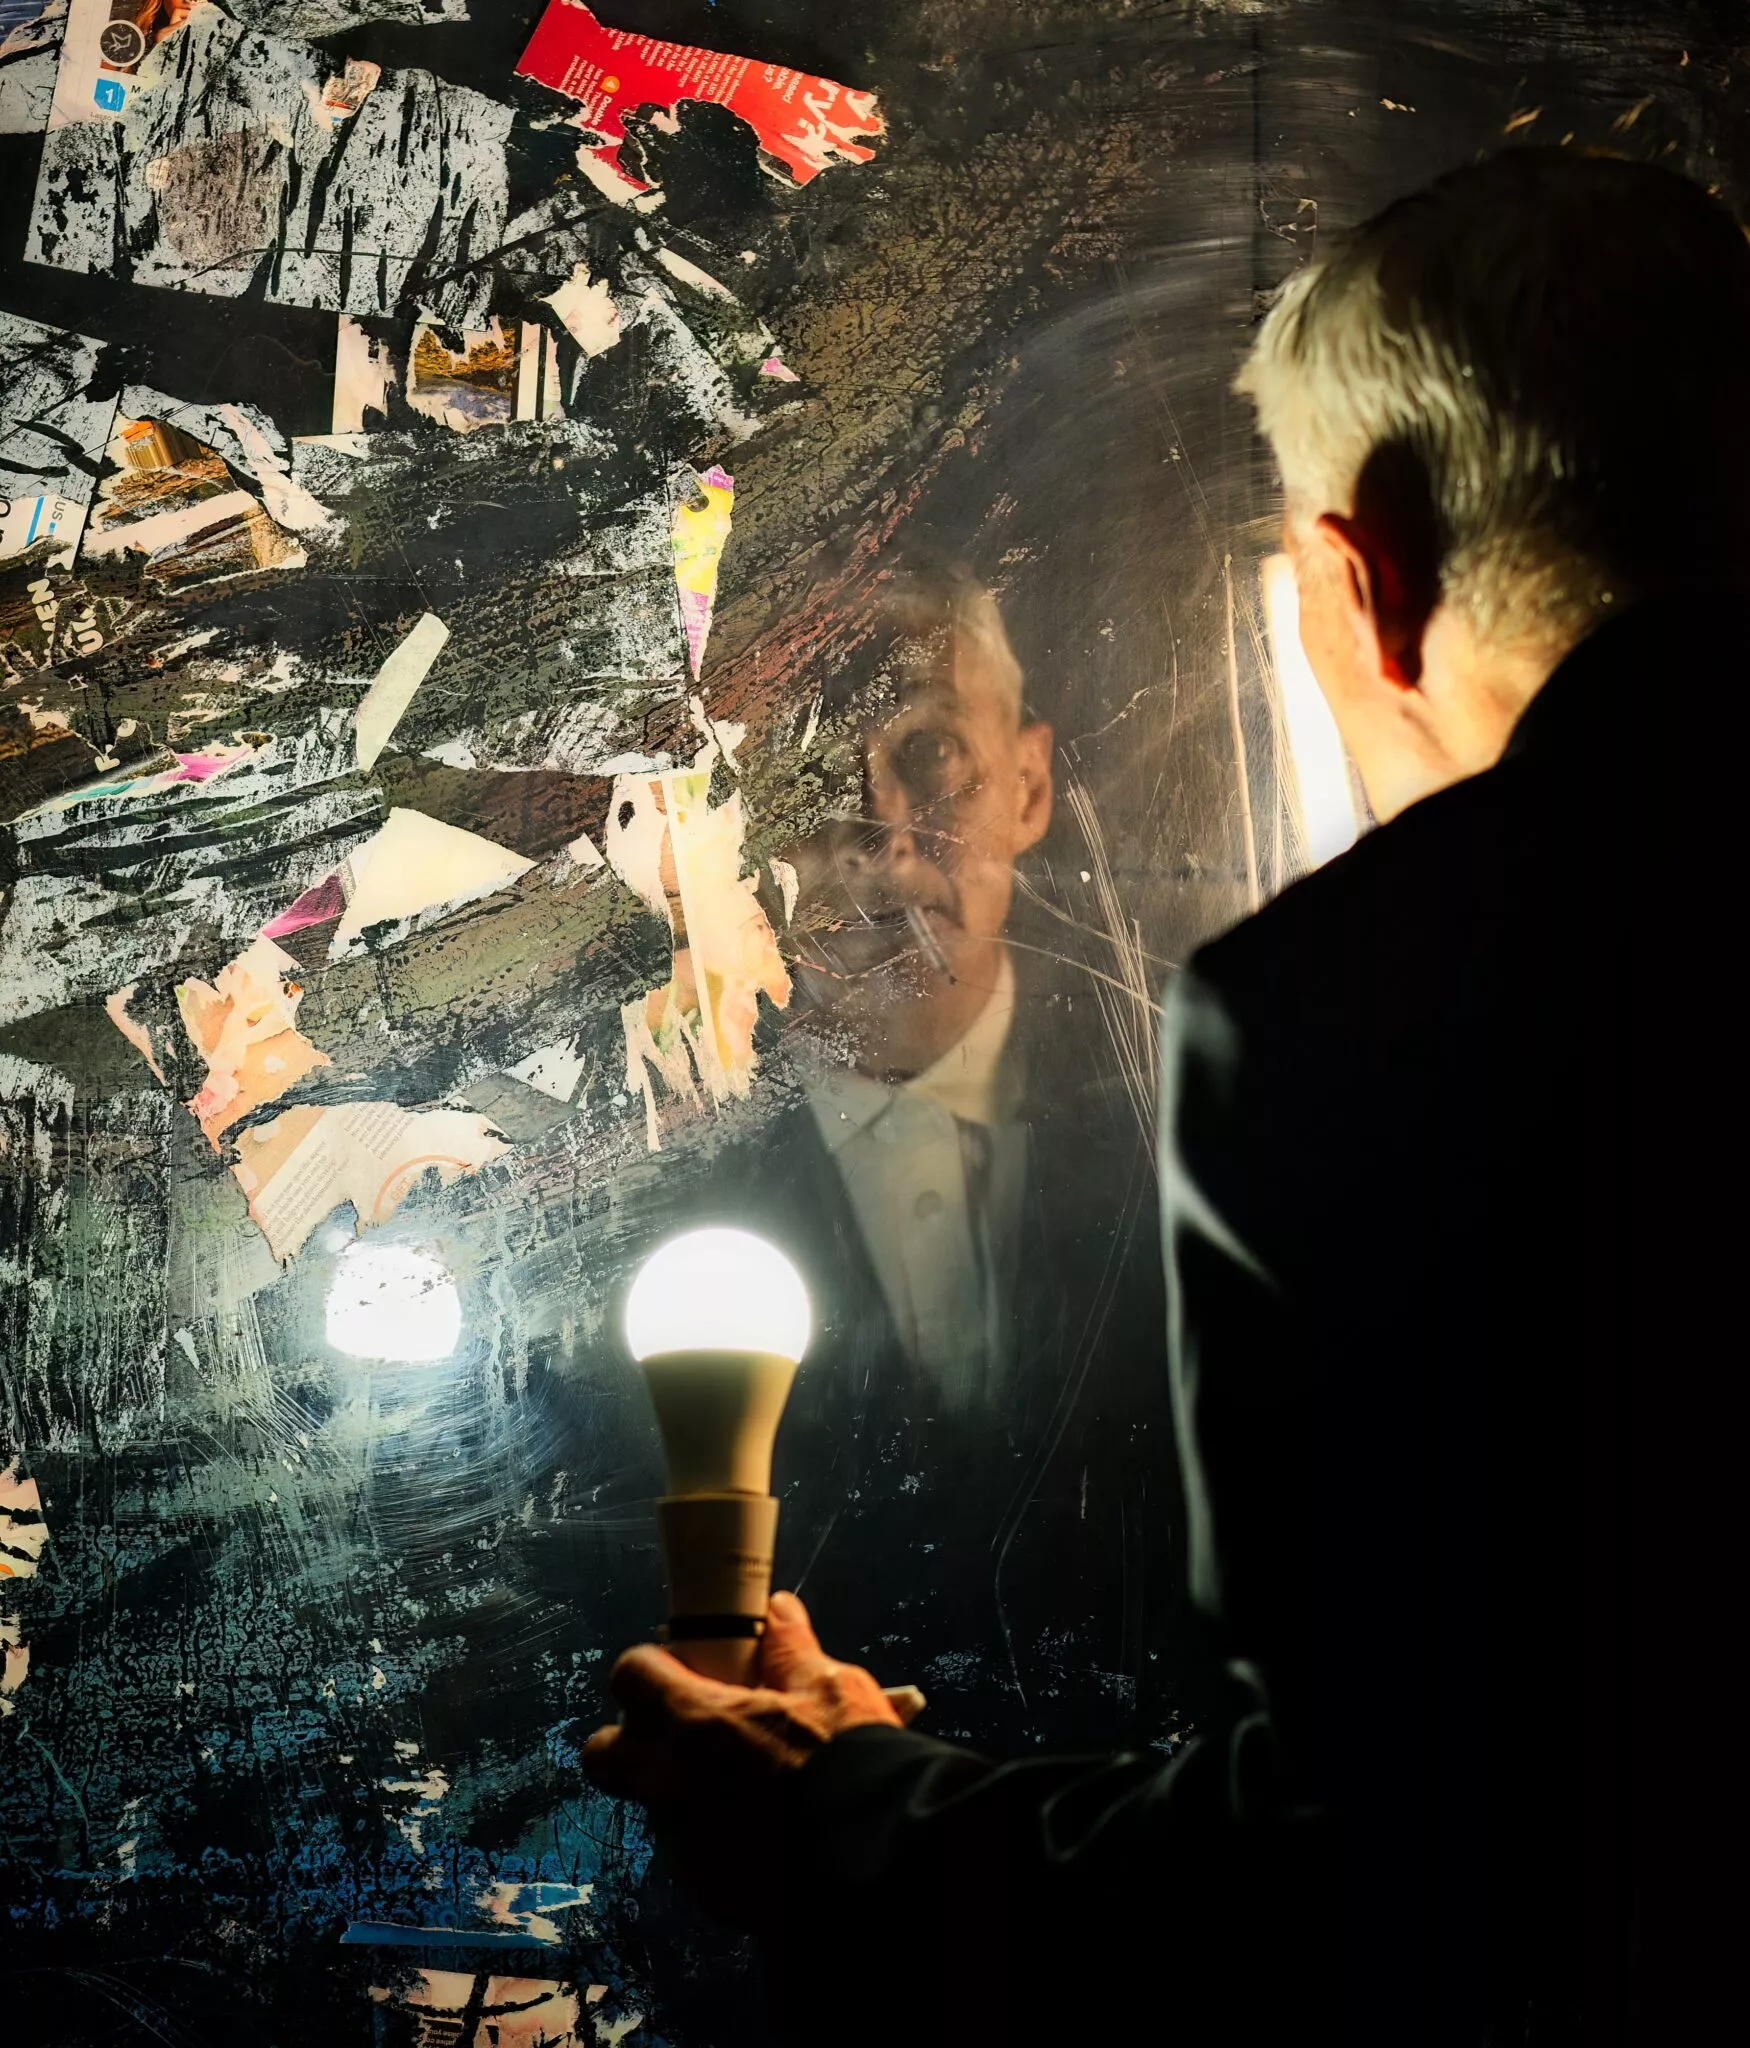
First Place: “The Ghost in the Machine” by Patrick

Patrick shared a beautiful photo which is a self portrait with an abstract twist, in which he has used abstract patterns on one half of the frame, while revealing the reflection and part of the subject, which is himself, on the other half. The use of lighting in this photo is quite clever if you look closely. The subject is illuminated from both sides, so that the reflection has illumination on one side and the subject itself on the other.
The colours in the photo are also warm and work well together to give the photo a classic look. The composition is also spot on with a combination of compositional guidelines. Congratulations Patrick on the win and for capturing such a clever and well planned image.
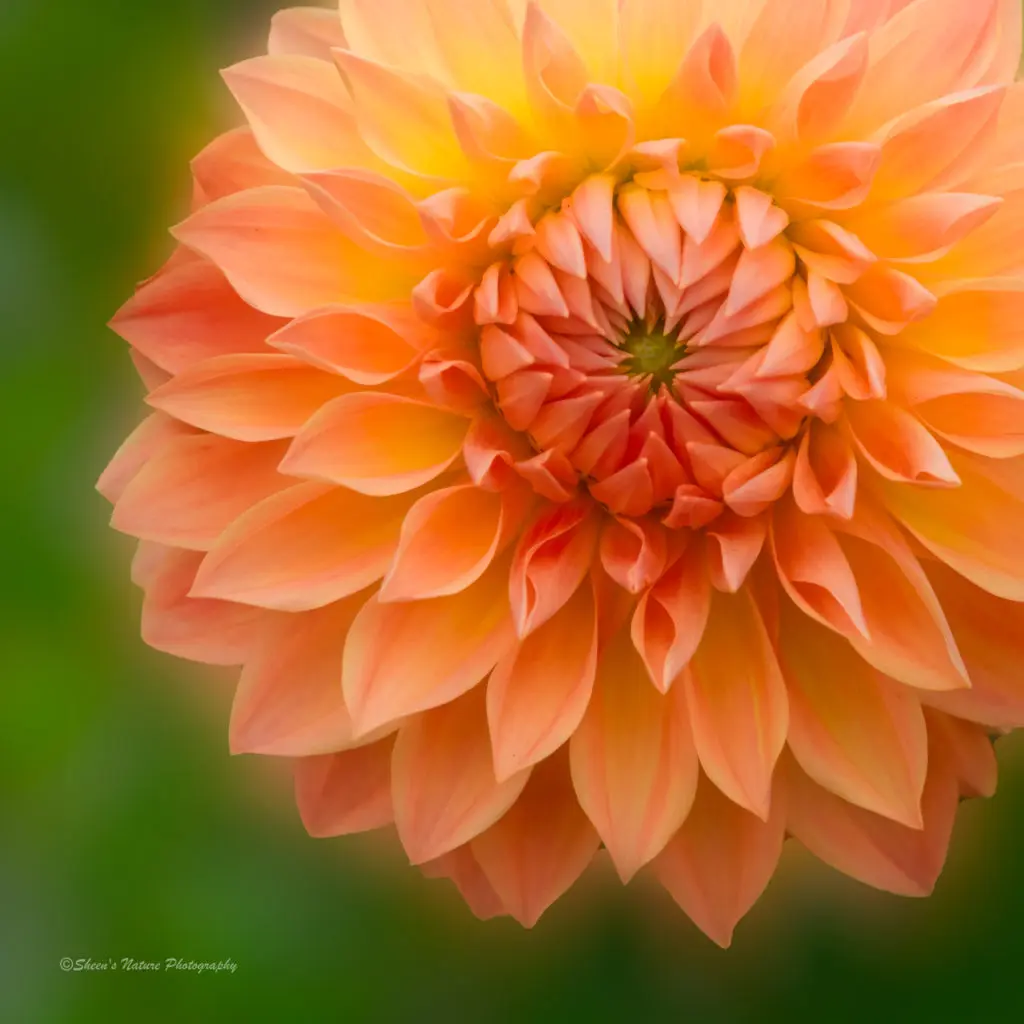
Second Place: “One single leaf” by Tersha

Tersha has captured a photo of a single leaf and its reflection. This is a semi-abstract image with a wonderful choice of colours, composition and background. The leaf itself has a combination of complimentary colours that make the image stand out and visually pleasing.
The composition in this photo is quite interesting where the petiole acts as a leading line drawing the attention of the viewer to the centre of the image and then the various lines all pointing towards the same area. Overall it is a beautiful photo and congratulations Tersha for capturing it.
Third Place: “Admiring Pigeon” by Doug H

Doug has captured an interesting photo where a pigeon is admiring its own reflection. The moment that Doug has captured is quite interesting and arouses curiosity. There are quite a few elements in the frame that contribute to the composition of the photo and draw the viewer’s attention straight to the subject.
The colours in the photo look quite analogous keeping the contrast subtle but the lines and patterns are strong and make up for it. Congratulation Doug on capturing this interesting photo.
People’s Choice Award Winner
Our monthly photo contests also come with a People’s Choice Award. The winner of this part of the contest receives $100 worth of store credit on Light Stalking which they can spend as they please on our blueprints, drills, courses or Presets.

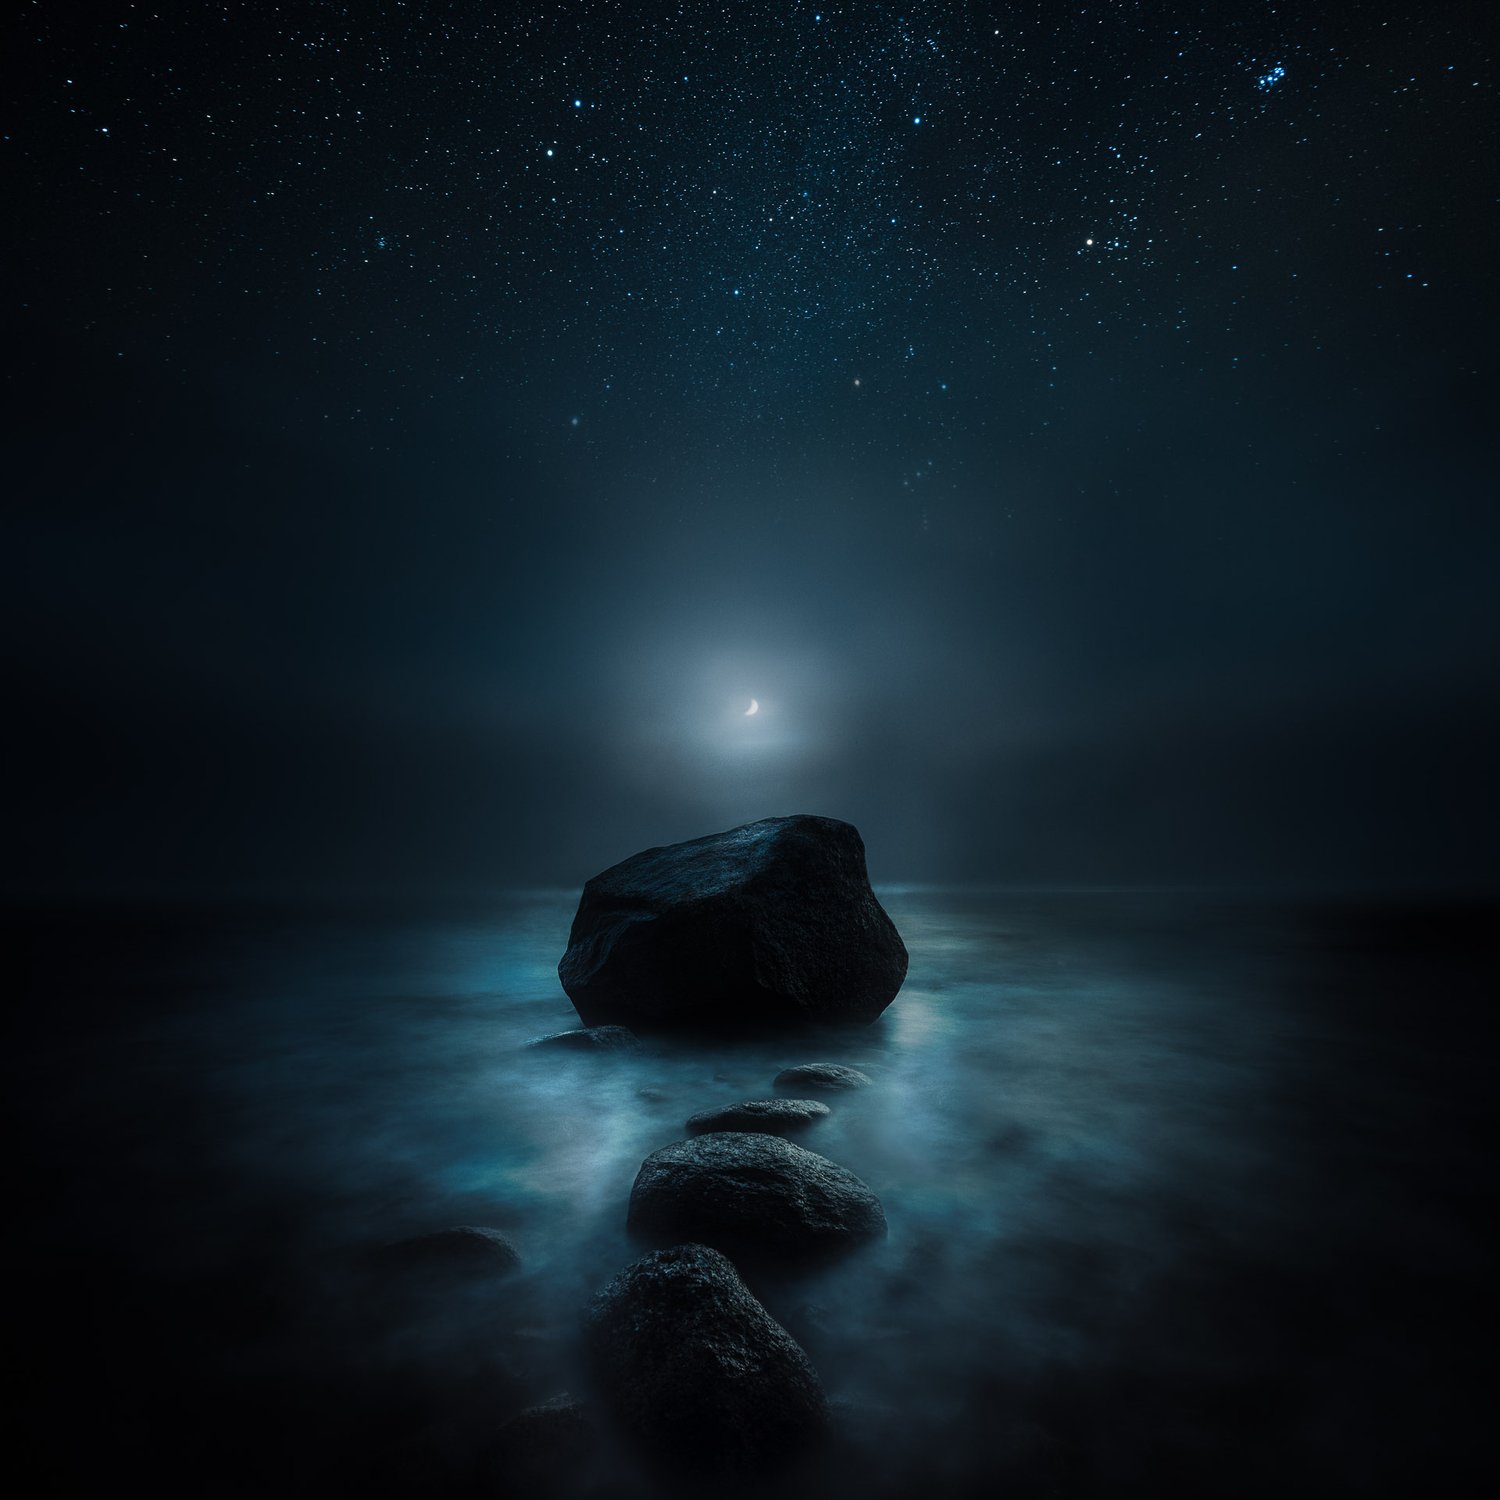
The most popular photo for August, voted by the contestants was “Spiral” by Tersha, which has won the people’s choice award. This is a very simple reflection photo with a good choice of colours. The contrasting subject and background colours makes the image pop. Congratulations on the win Tersha.
We are almost three weeks into this month’s photo contest and still have a few days left to submit photos to our September’s monthly contest. This month, our theme is an interesting one, “The Beauty Of Everyday Life.”
If you would like to join and enter some images into our monthly contest then take a look at your options here.
[ad_2]
Source link