[ad_1]
Photographer: Perrin James
Freediver: Kimi Werner
Photo Editor: Jenning Steger
Heidi: This stunning cover image intersects magic, nature, and those who respect her. – tell us the backstory around how you and Kimi met this moment?
Perrin: Kimi and I were invited on a bit of a reunion trip with our good friend Edmund Jin, We had all traveled extensively for a few years together and we wanted to revisit some of our adventures. We were about 100 miles from the mouth of Isle Magdaleña. Every year there’s a sardine run that is usually met with striped marlin as the main predatory fish. But this year was a transitional year from El Niño to La Niña, and the ocean seemed to have exploded with a few different types of baitfish and millions of mahi mahi. We swam playfully into the bait balls until that mahi fish crashed into us. At one point a bull mahi caught me right below the eye and now I have the cool little scar to show from that one. Kimi was filling her spearfishing cup and preparing to bring back a bunch of Mahi for Buddy and Turk. I swam over and asked if could shoot this particular baitball. It was a different type of mackerel. This vortex of fish was just so beautifully formed. She swam up through the bait and came out with two fish one in each hand. We laughed so hard I think I drank some saltwater.
How many covers have you two collaborated on?
Perrin: This is our second Patagonia cover. I think we’ve gotten close to 15 though in the outdoor space, it’s been a beautiful journey of creating, and ocean time.
Patagonia Cover, 2016


BTS of their first Patagonia cover, published in 2016
Nature reigns supreme as the ultimate producer. How do you know when you got the image and not overstay your welcome?
Perrin: For this particular situation I think the bait fish were actually incredibly happy to have us. The moment we would swim away the ongoing feeding frenzy would continue. I feel that with my dive buddies and best friends we have language underwater that really doesn’t rely on speaking. it’s mostly hand gestures and facial expressions and occasional underwater grouper calls (a grunting noise that can be heard underwater. As soon as I shot this image I broke the silence communication and just yelled WE GOT IT.
How did this photo come across your desk at Patgonia and ultimately make it as the coveted cover placement?
Jenning: I received a text from Kimi post dive saying she and Perrin shot some on point Patagonia photos that she thought I would love. It was a few weeks by the time Perrin got home from Mexico and sent me the submission. Its always a treat when we receive Perrin photos as he is a remarkable underwater photographer and we love all things Kimi. I renmbember excitingly downloading his photo folder, after a quick glance I knew what they (Kimi, Perrin + Mother Nature) managed to create + capture was something special. I shared my top selects with the Patagonia Journal (catalog) team who shared the same thoughts I did that the image set was solid and captured the essence of Patagonia photography. My department manager Heidi Volpe helped secure the coveted journal cover. I emailed Perrin + Kimi and told them to keep the photo on ice for us, since the journal is print the lead times are longer but I was jockeying for some prime real-estate for the bait ball story + images and to please be patient as I pushed photo thru the process to image final.
What does nature tell you about women in the water?
Perrin: Women have a special place in the ocean. It’s always interesting the way whales and other cetaceans or even predatory fish that would typically be shy, always seem to swim directly up women in the ocean.
What cues do you tap into when searching for a potential location to free dive?
There are a number of factors that play into looking for a new freedive spot. I think the biggest one is the underwater architecture of that location and how the tide affects that location. It’s also seasonal just as surf follows the seasons, so do fish. Everything is timing ( at least for the best spots).
Once you find the spot, what does your prep look like?
I like to let people go first and watch the drift. Then work with the captain on how we can improve the angle of the current or the distance from the pinnacle or point of interest. If the current is fast you need a greater distance to breathe up enough before your dive.
How does your creativity differ in these two worlds: immersion in the ocean vs terra firma?
Oh I really do my best to do everything in the ocean or around it. I’m not very good at being on dry land for too long.
Photo: Nick Kelly
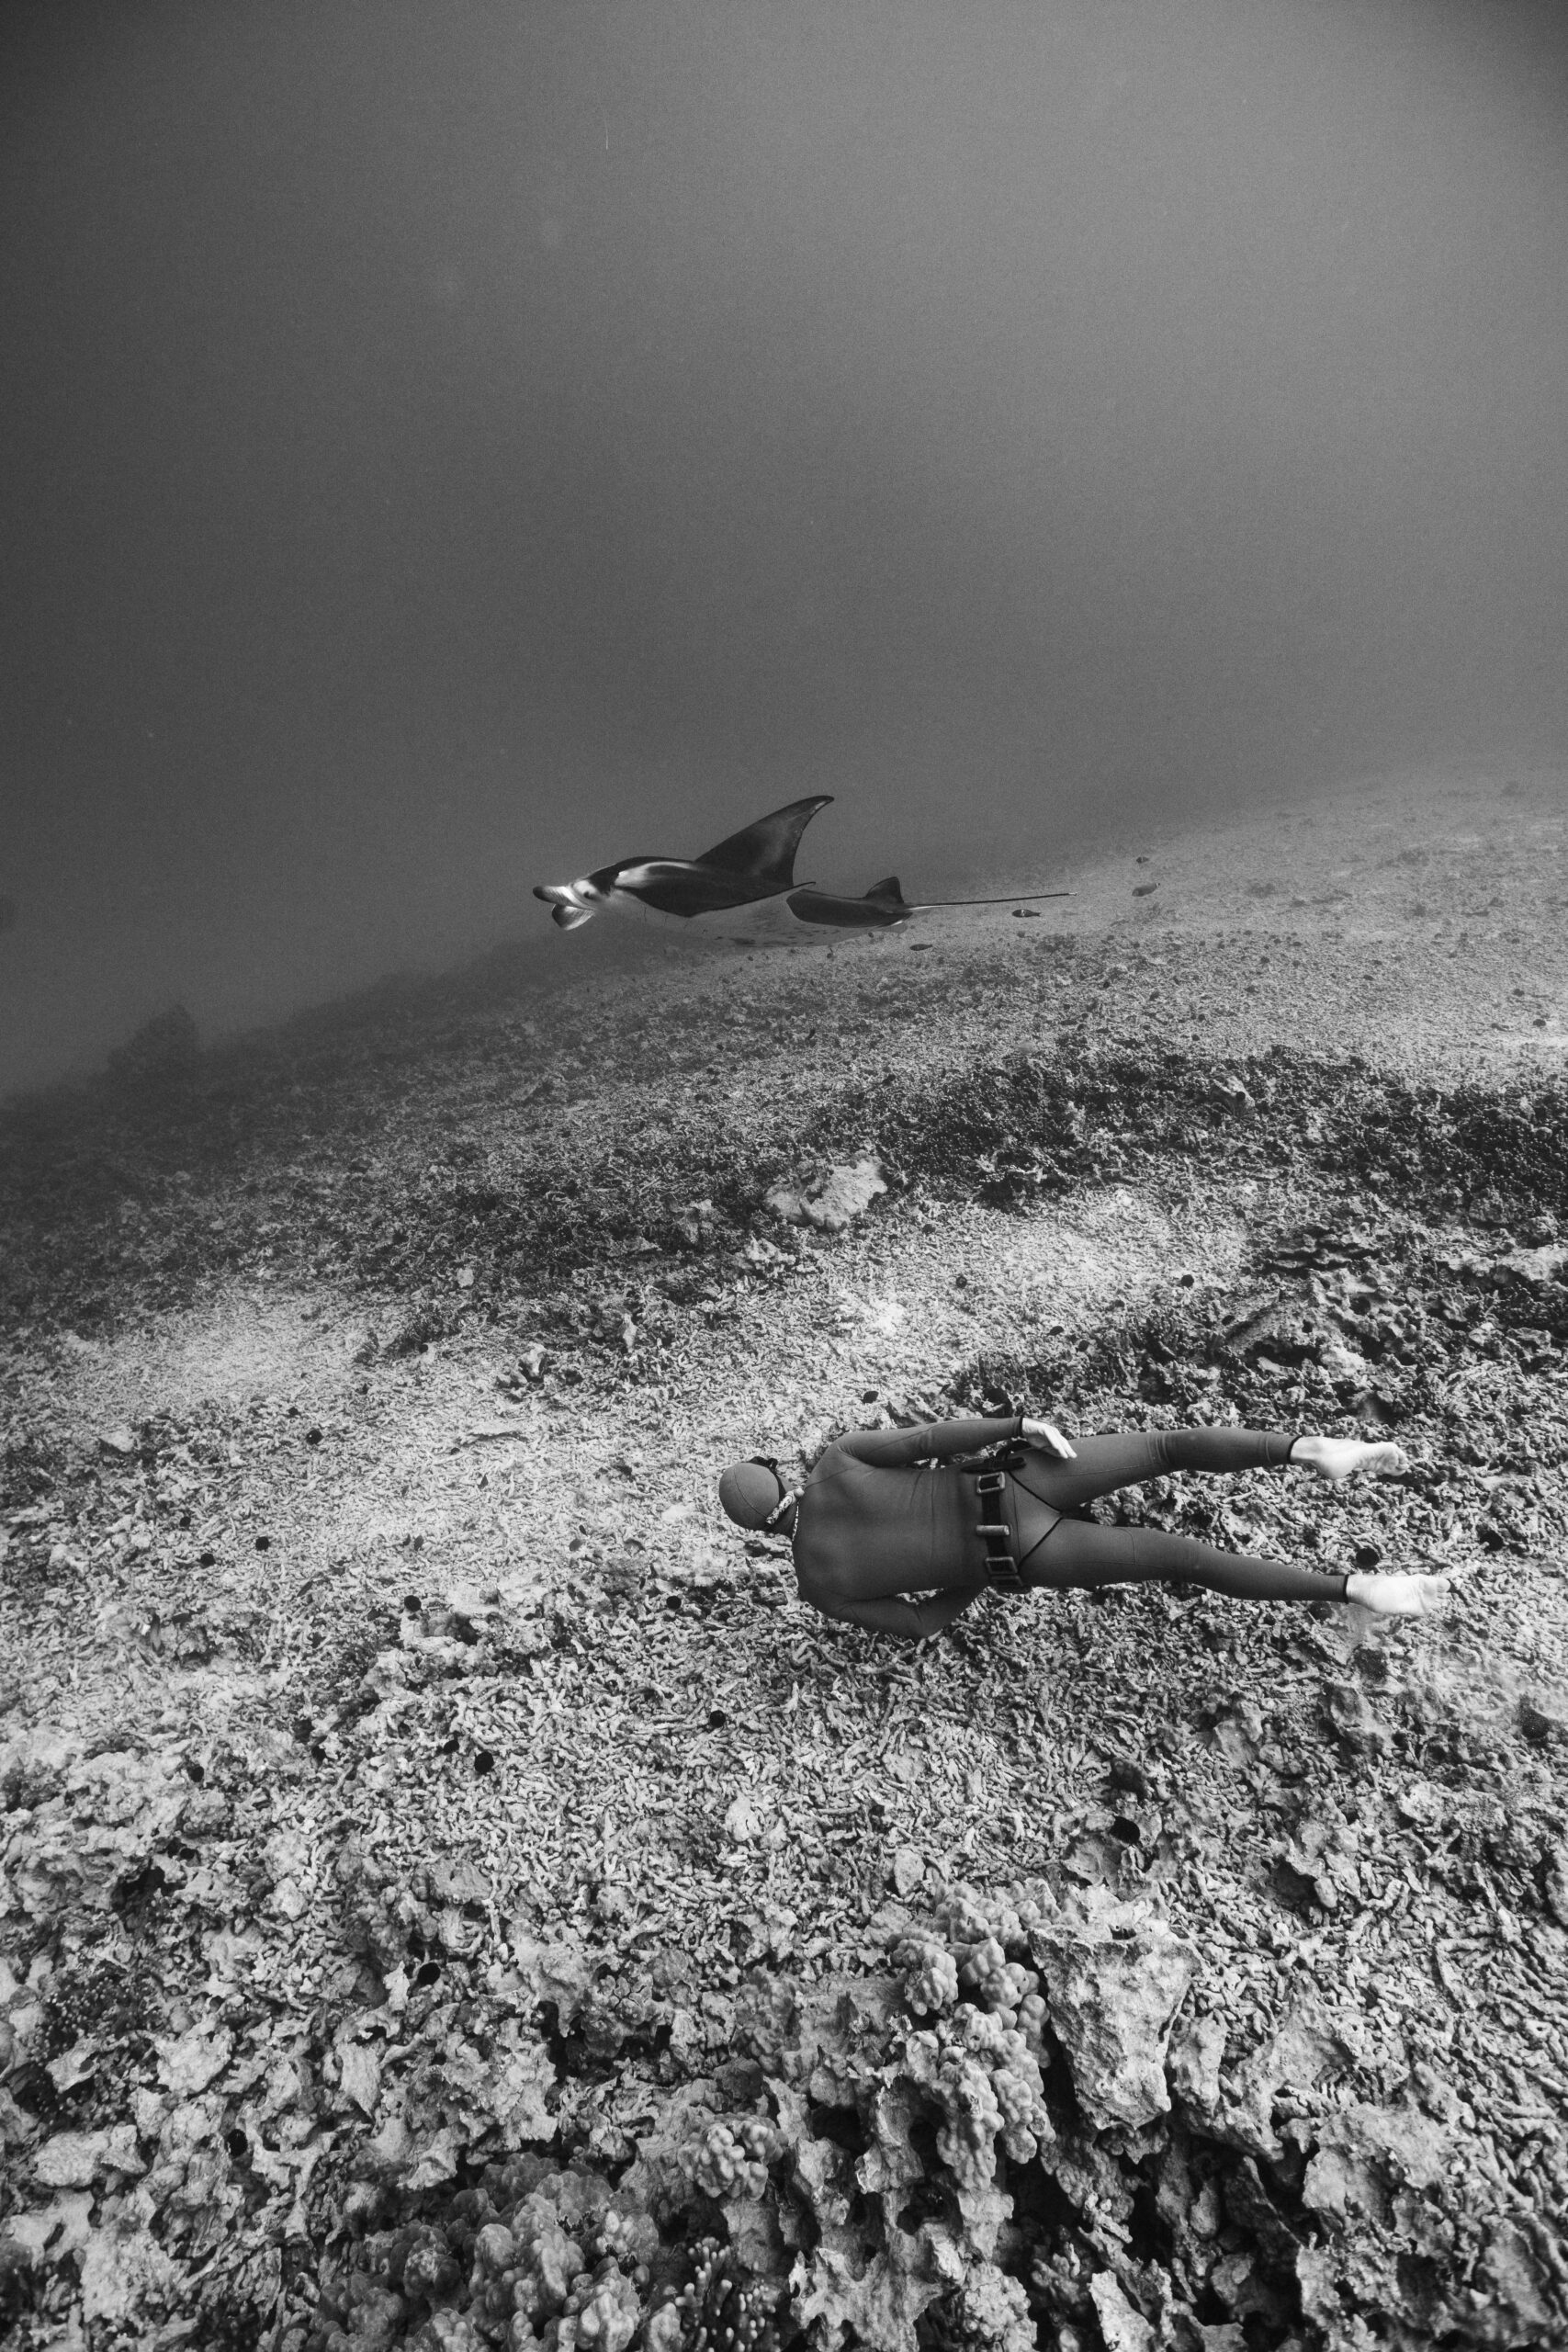


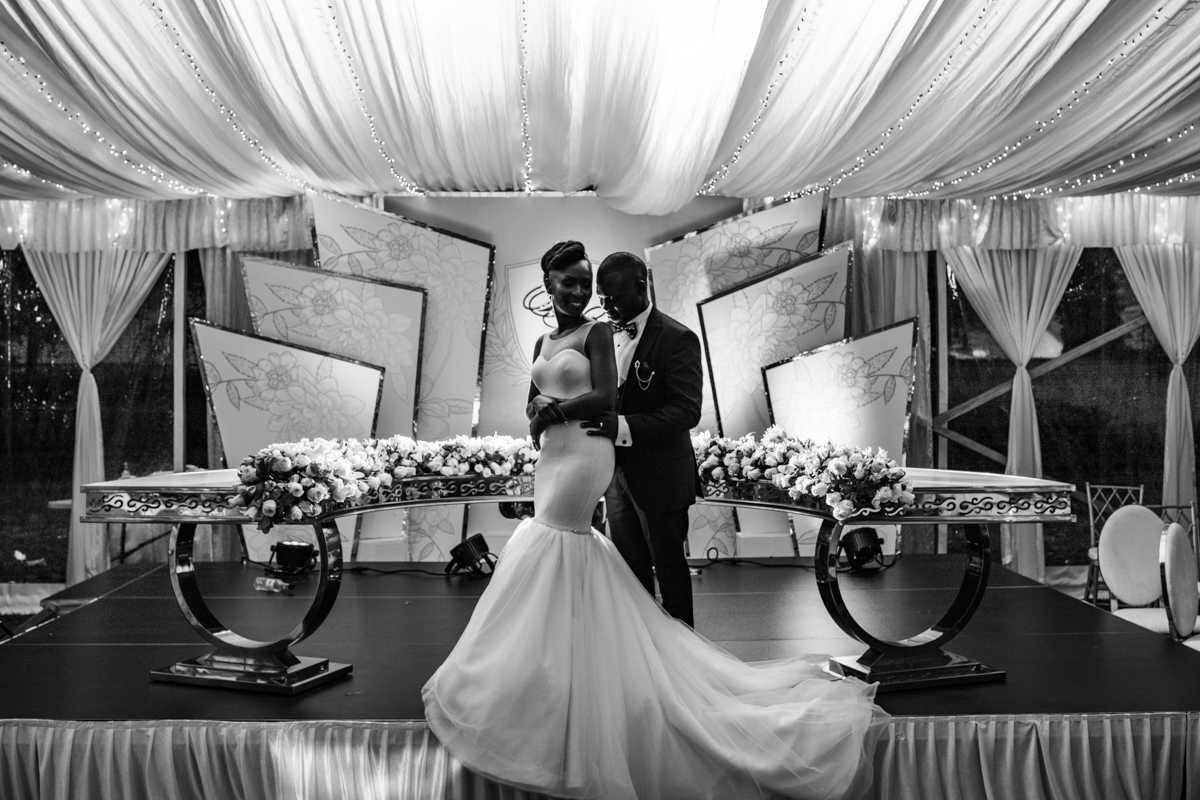
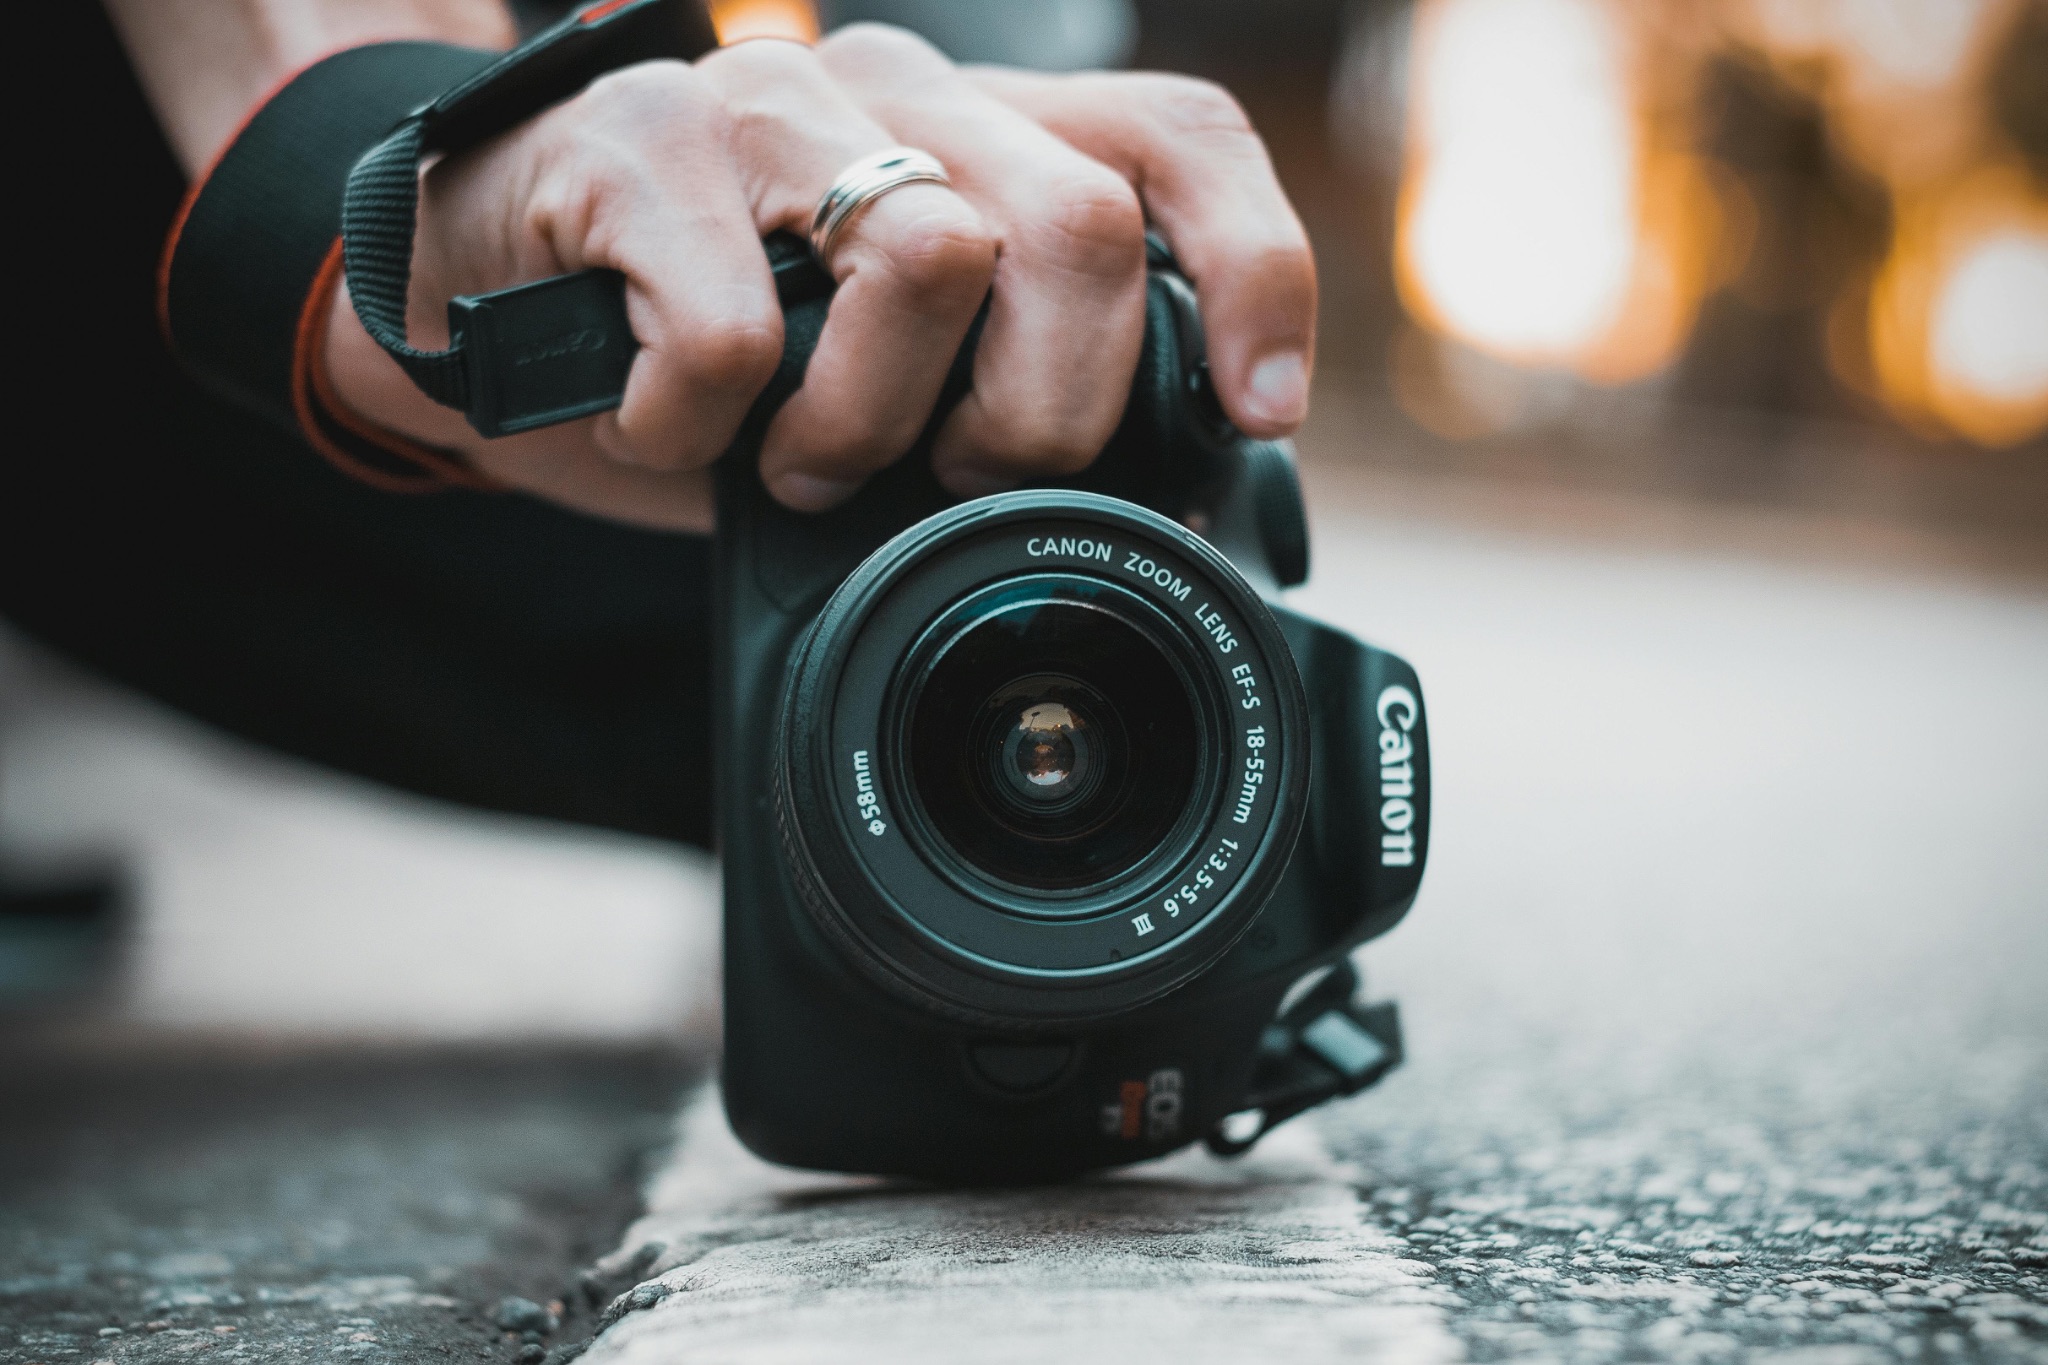
All black and white photos: Katharine Kollman

Photo: Geoff Coombs
After so many years in the water, what are the most drastic changes you’ve seen, what can everyday people think about or what behaviors can we change to avoid further ocean impact?
I always think about the saying (well you should have seen it in my day). that is usually coming from much older people. I feel that I watched it change drastically from a kid till now and again once I started traveling oceans and revisiting places only a few years later.
Single use plastic is an easy one but also just being conscious of the type of fish you are consuming and where it came from or more importantly how it was caught.
The ocean faces challenges that are almost without borders however. I think there needs to be more attention addressing factory fishing and the global fishing fleets that are quite literally emptying the oceans.
You’ve contributed to several films around the ocean as a healer, how did you expand as a creative after working on those two projects?
I think my style of work has always leaned towards the darker more mysterious parts of the ocean showing beauty in the shadows and unknown. After working on Learning to Drown and Daughter of the Sea I think the importance of telling these types of stories was just amplified. The ocean helped me through the darkest parts of my life and I hope it can help others as well.
What ocean-based projects are you working on now?
We are just going into post production on the story of my friend Vaimiti, Its kinda a surf story but highlighting the cultural similarities and hardships that Hawaiians and Tahitians share through colonization and loss of identity and culture.
The next project is a Freedivers journey through a traumatic brain injury.
[ad_2]
Source link