[ad_1]
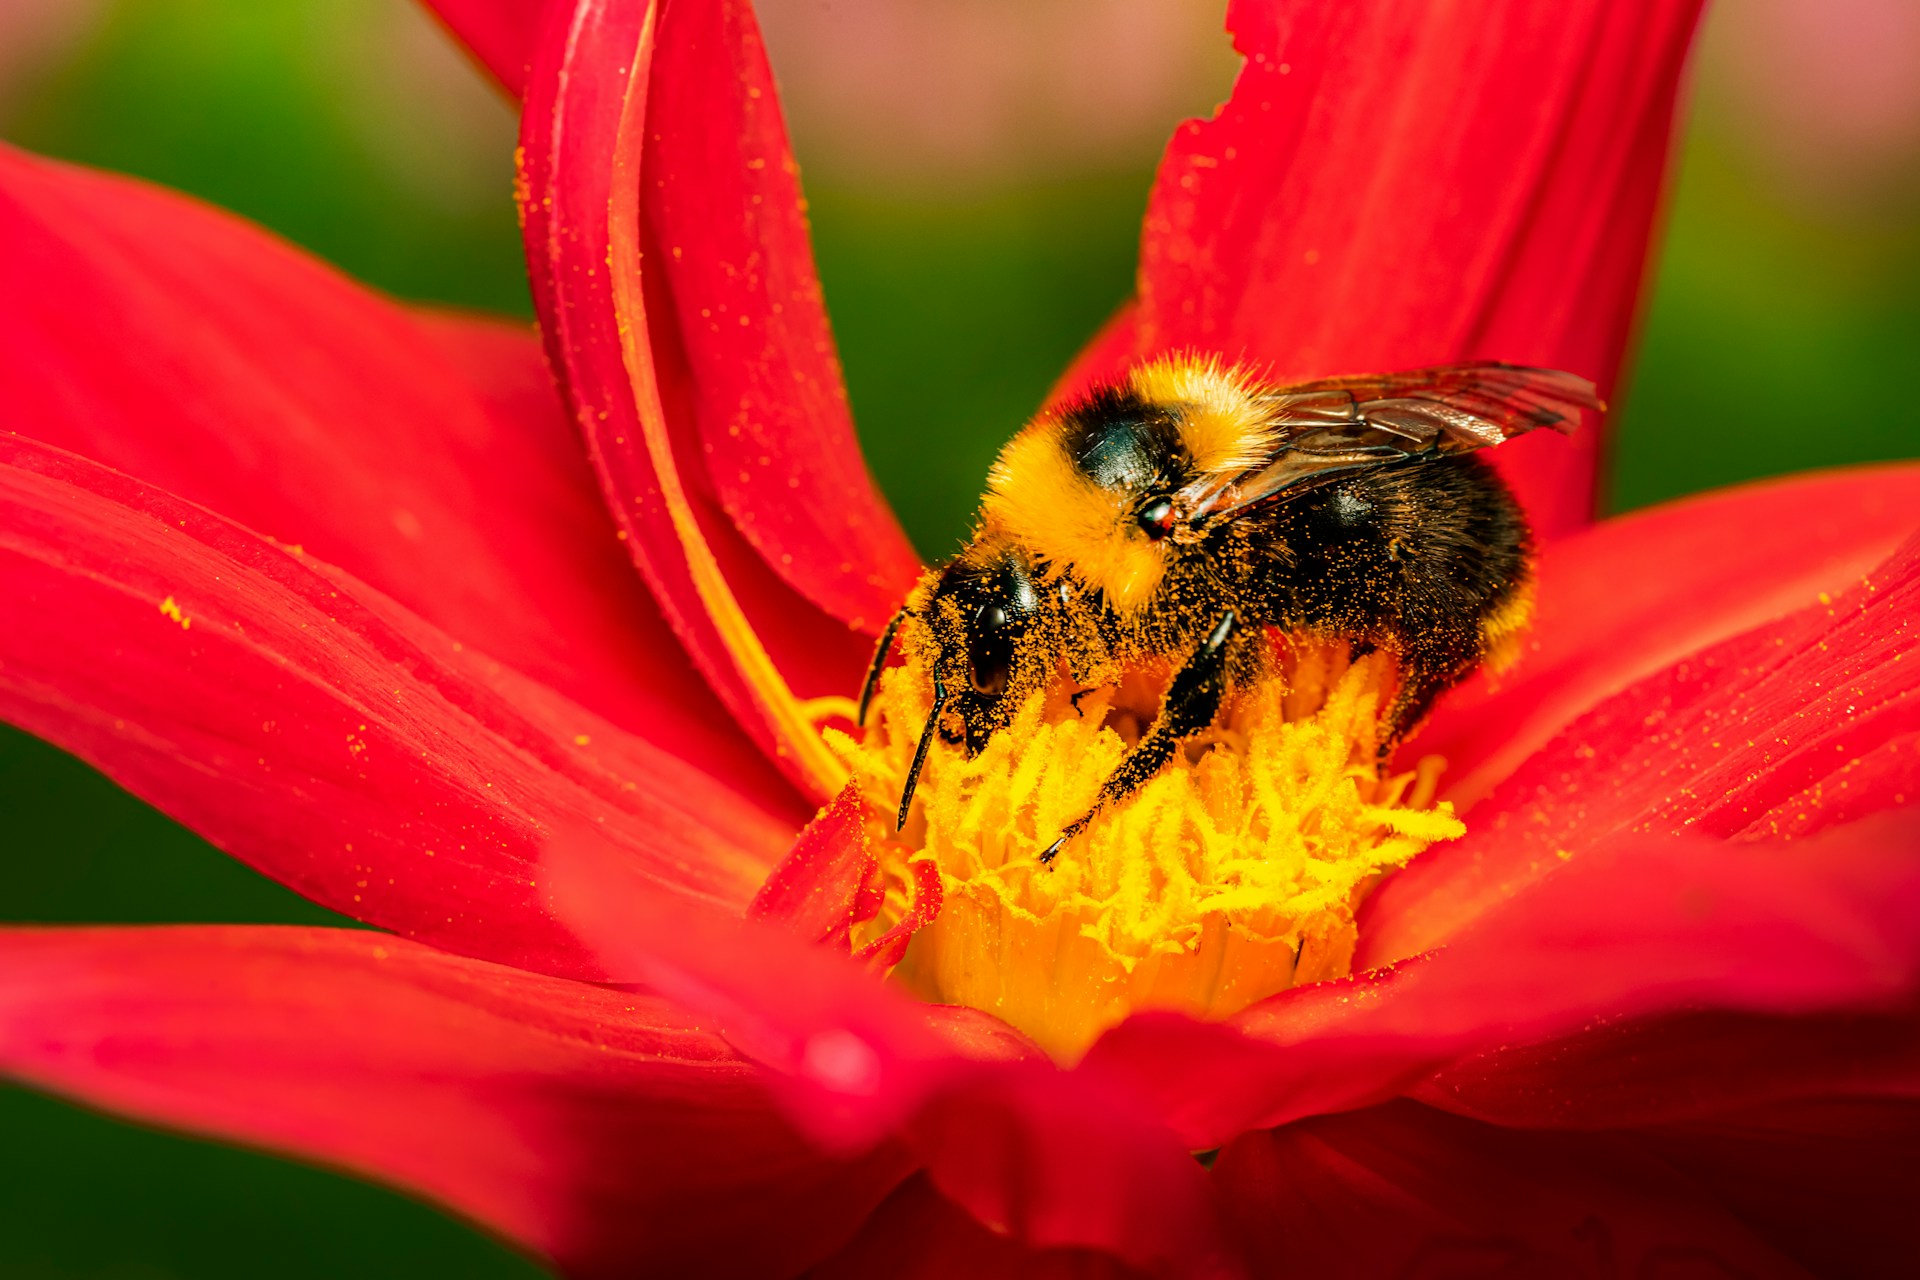
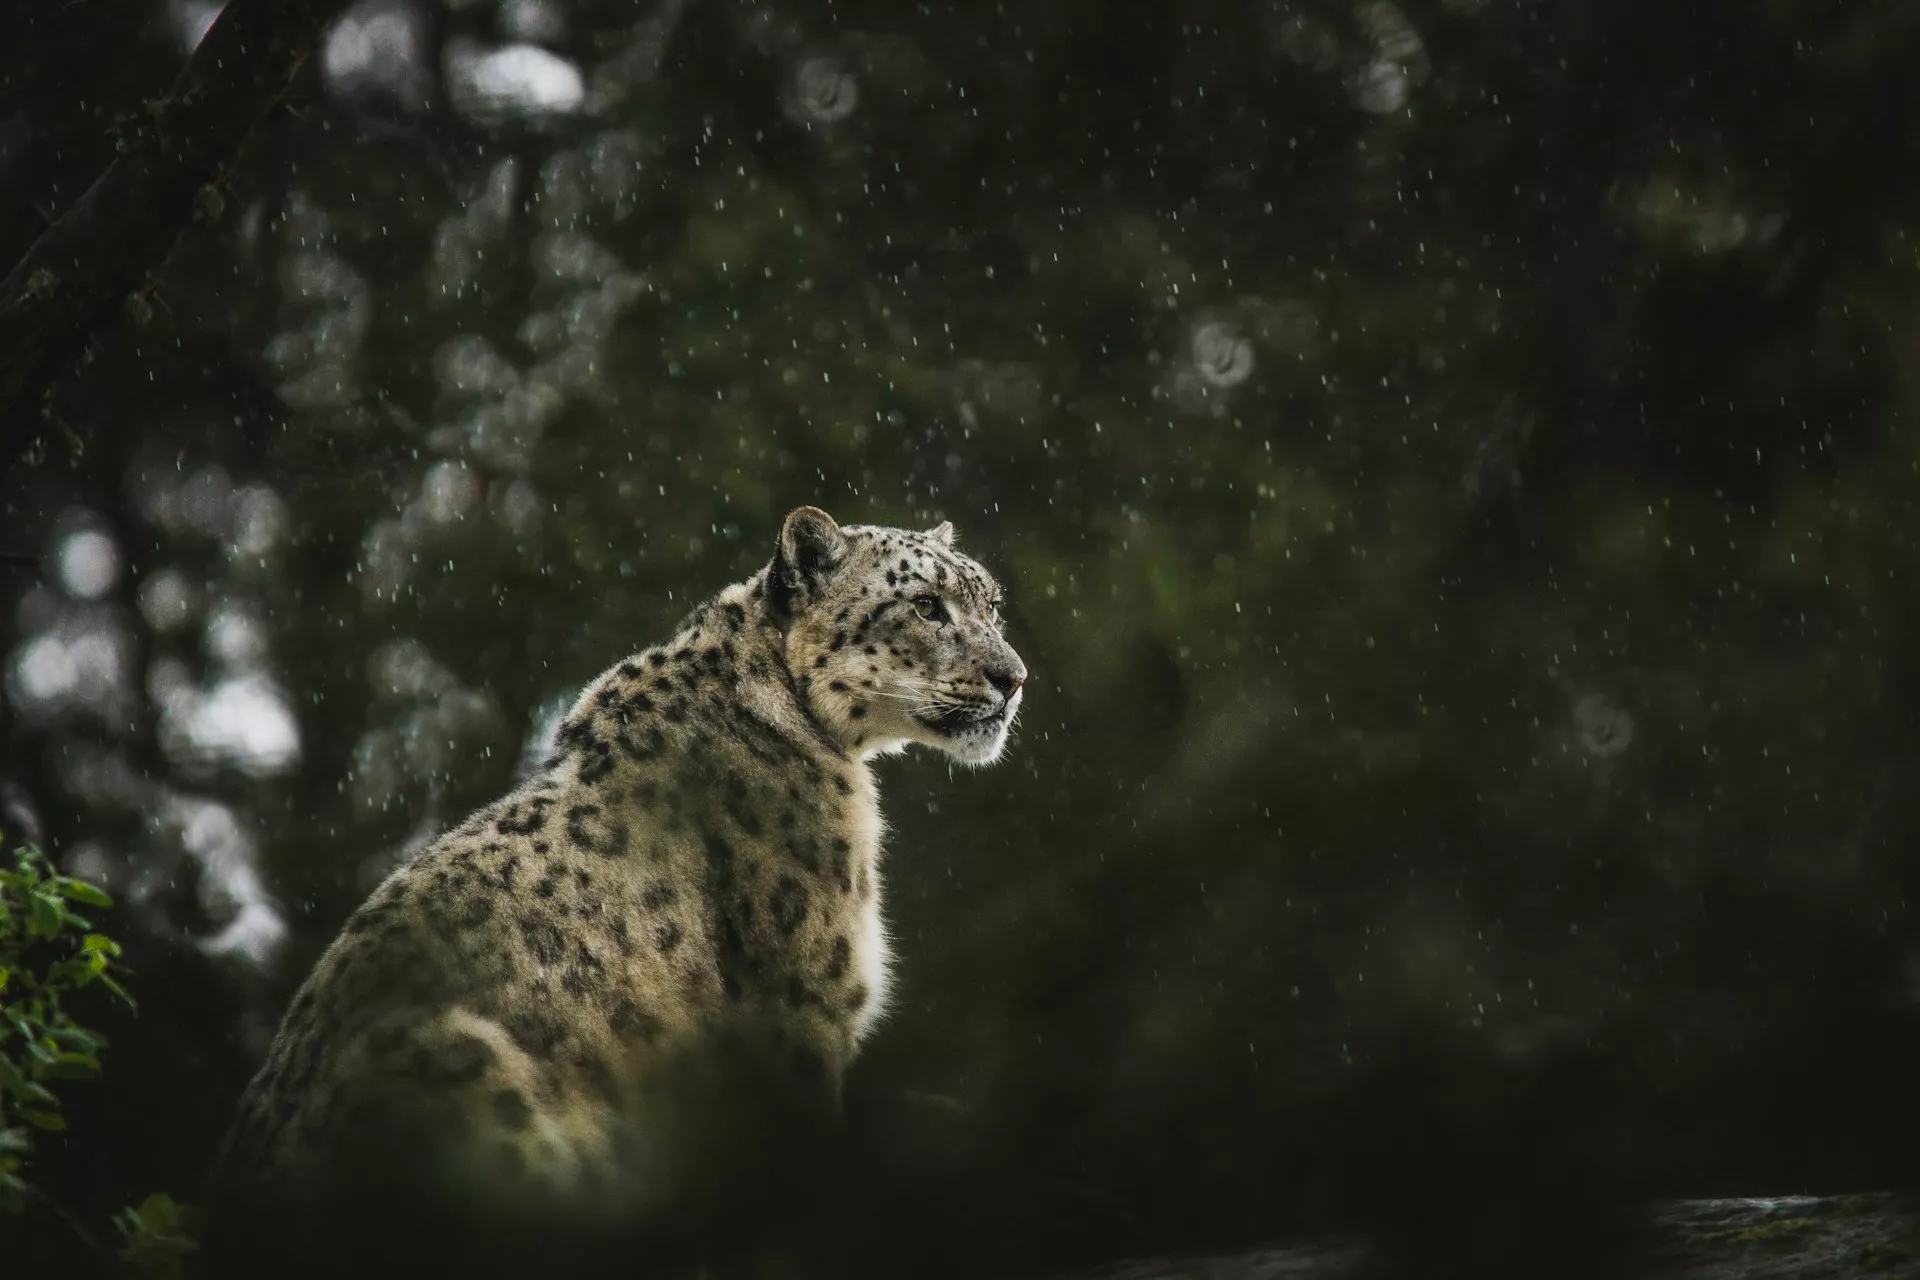
Wildlife photography is capturing photos of birds, animals and other critters in the wild, in their natural habitat. It is completely different from capturing photos of animals or birds in the zoo. Wildlife photography is not easy and requires a lot of patience and skills. It also needs educating oneself about different animal behaviours and having great respect towards wild animals.
Photographing wildlife will require special gear like a long lens and a camera that has continuous autofocus and can shoot in burst mode. In this article we have put together a set of tutorials that will help you to get started in wildlife photography.
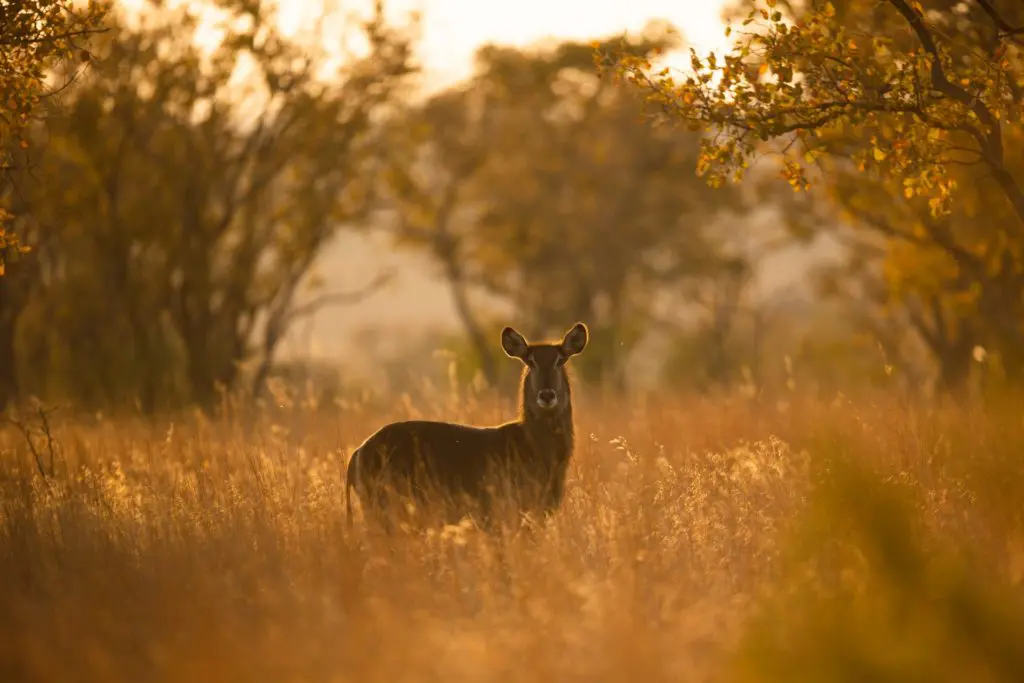
Wildlife photography is one of the most rewarding genre in photography and working with such stunning subjects requires a lot of observational skills, research and understanding of the subjects, to get the best shots. Scouting for locations, working with the light and elements and wisely choosing compositional techniques are some of the most important factors that will help to capture the best wildlife photos. In this article, we have put together some tips that will help you to capture beautiful wildlife photos.

Wildlife photography is quite different compared to other genre of photography in the sense you cannot always predict the behaviour of your subjects and it is also difficult to spot them in the wild. You may have heard of wildlife photographers who have spent days, weeks and months looking for their favourite or a particular subject. Besides you will need to take into account a few other factors as well in order to capture the best shots. If you are a beginner in wildlife photography, this article will help you get started.

In the early days into wildlife photography, you may be practicing with a smaller lens like your kit lens that came with your camera. Most of the time when this lens is used with a crop sensor camera, it will work well for shots of bigger animals that are not too far away and also for good environmental shots. Wildlife photography can be done better with the right gear if you are planning to take it up seriously and this article discusses the gear you need to get started.

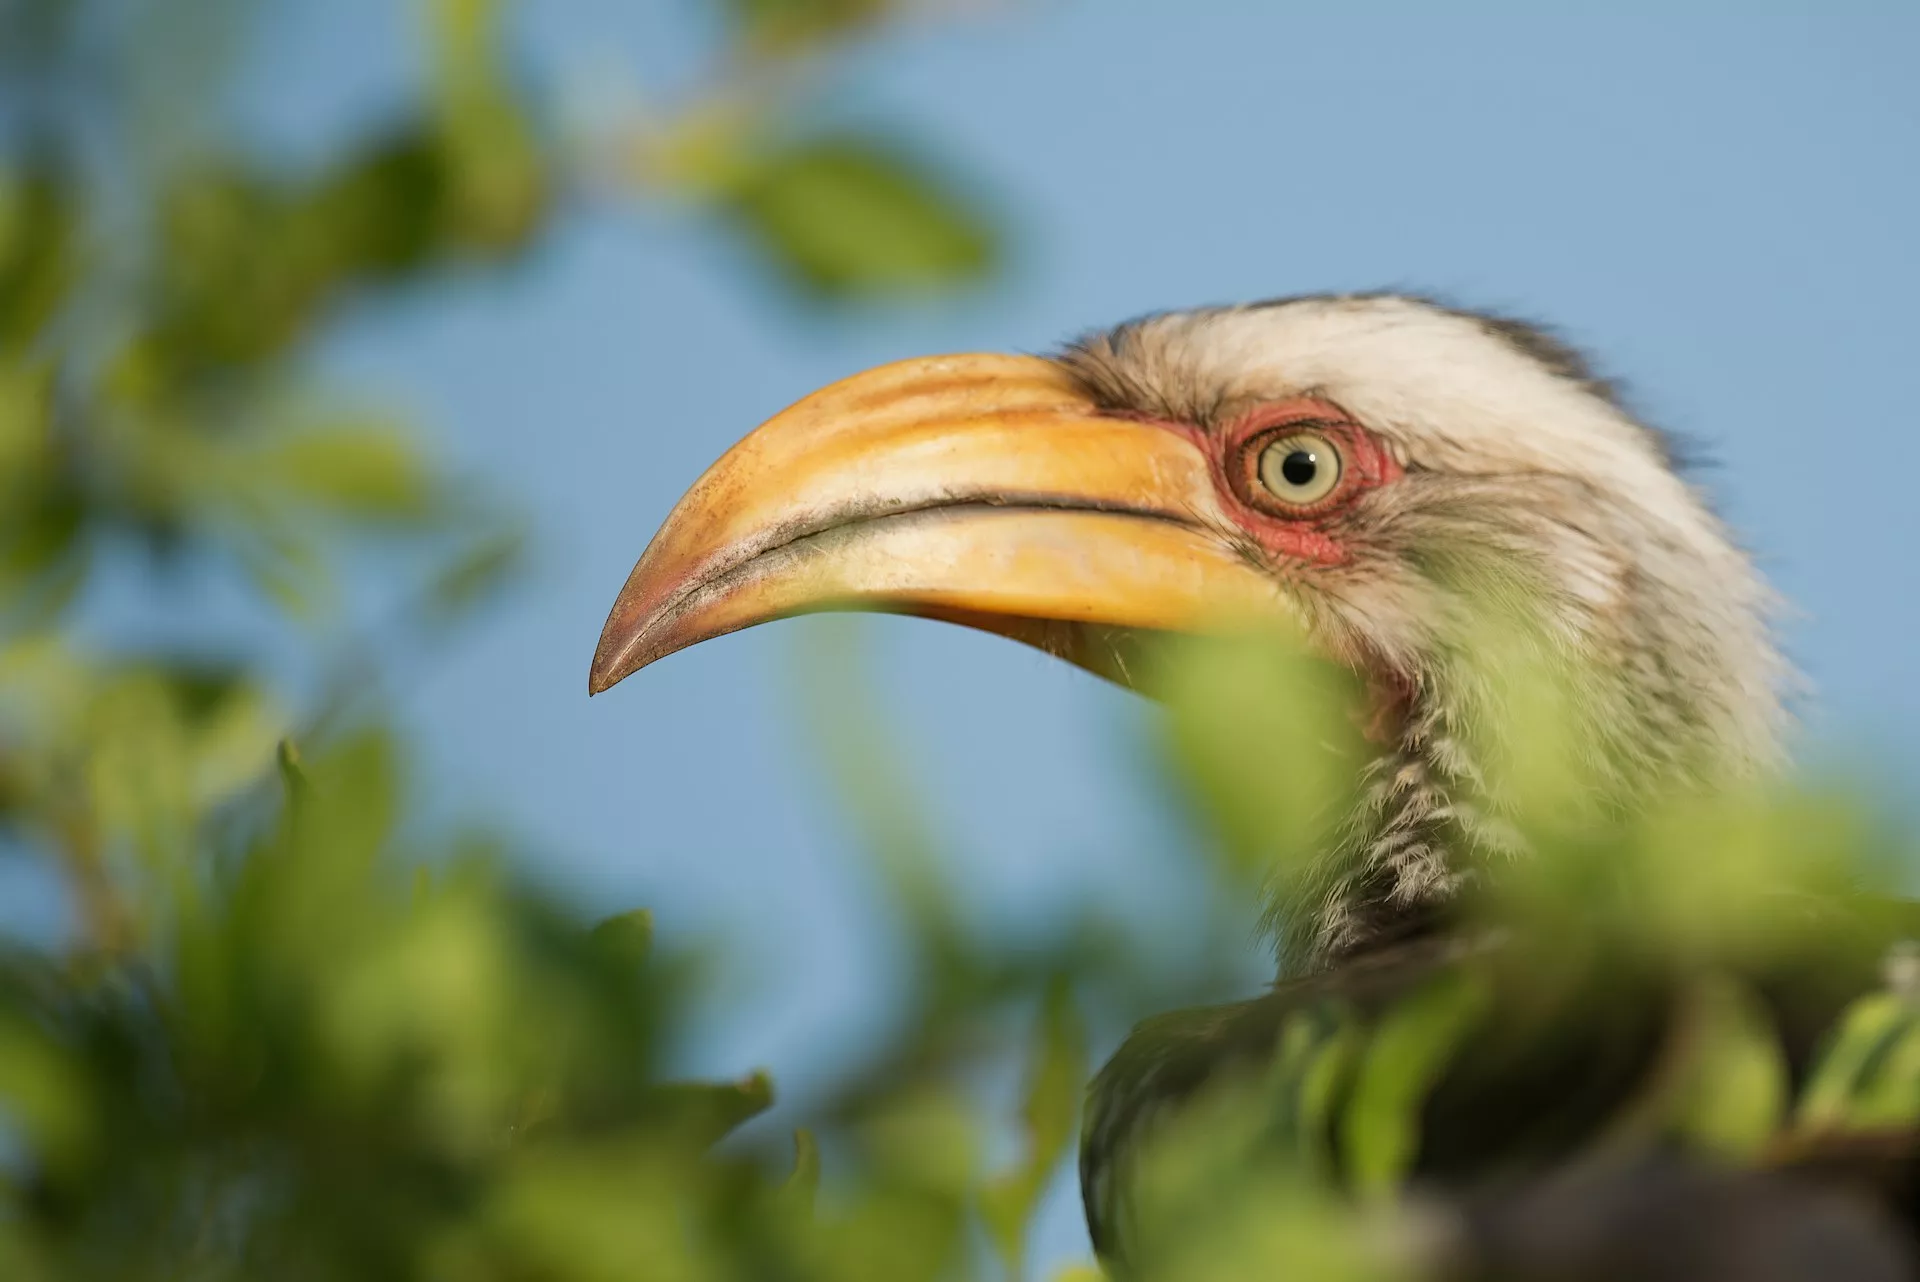
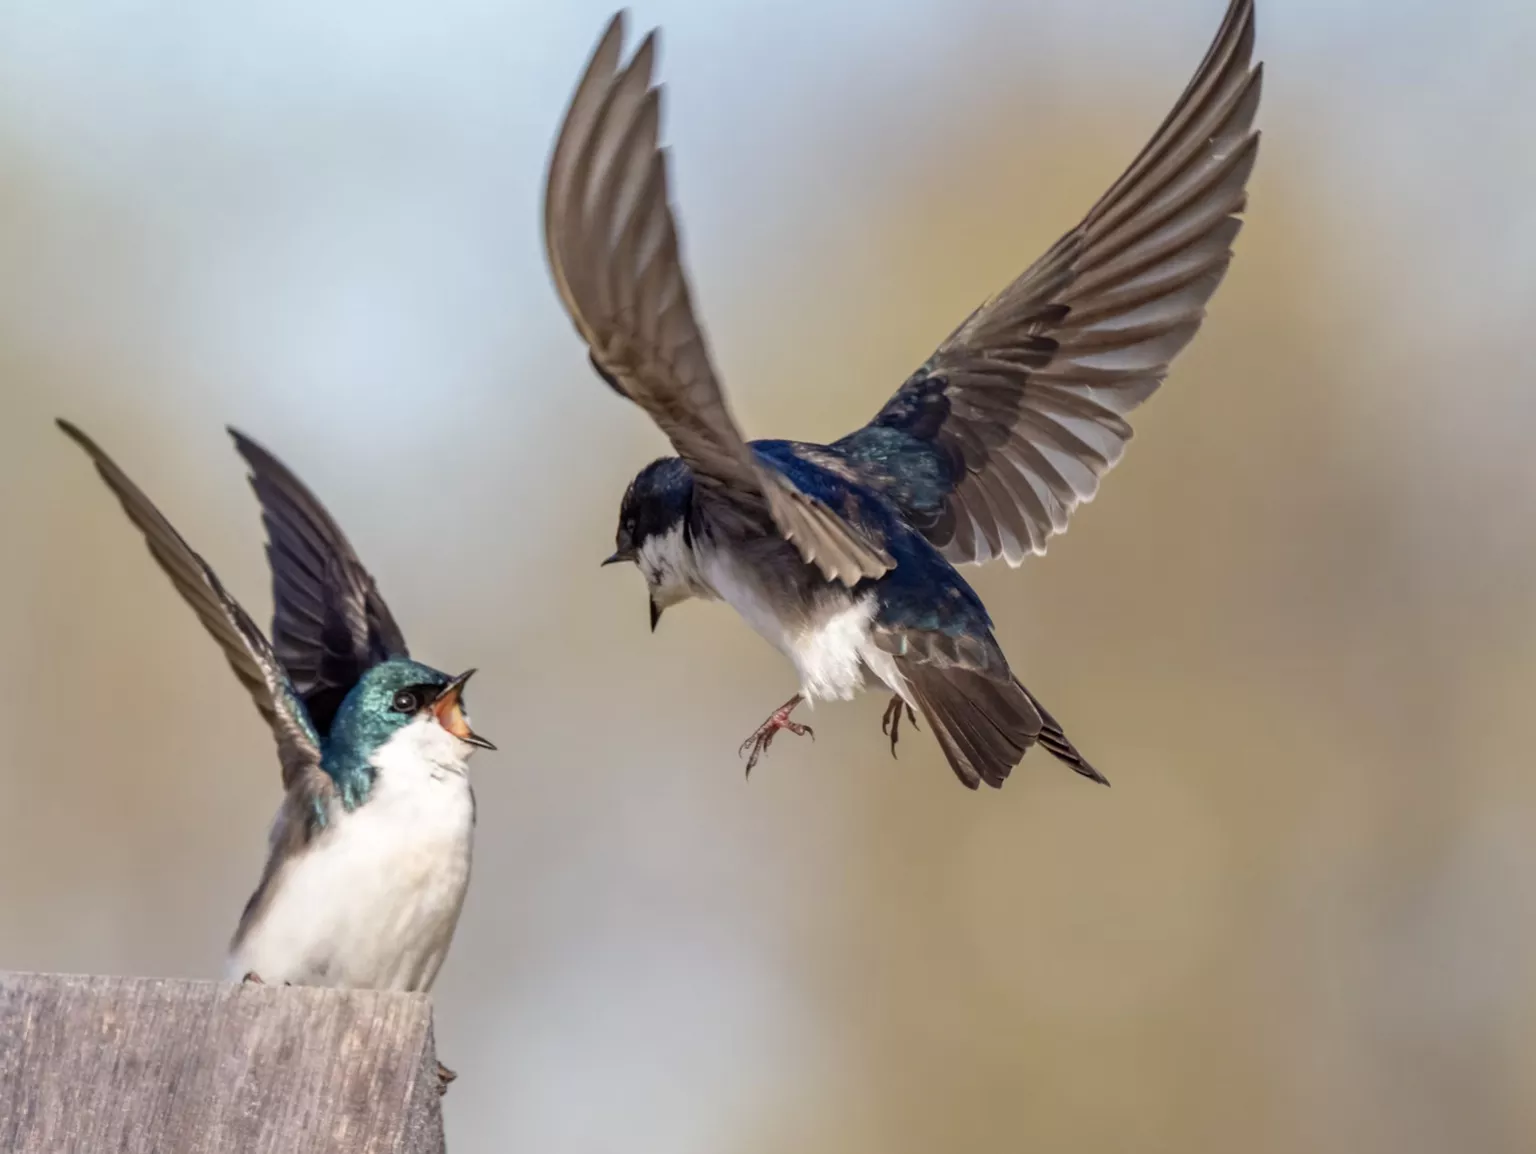
Some wildlife photos can be done better if you take care of some little things when out in the field. All animals portray attitudes and behaviour and capturing these against a good background can result in compelling photos. You just need to move around a bit and look at your subject from a different angle and perspective. This article provides some tips to add a wow factor to your wildlife photos.

You may have started wildlife photography and shot a few photos but found that they are not very interesting. Following a few tips and techniques can help you capture better wildlife photos. This article talks about research, patience, backgrounds, light, settings for creative shots, composition, ethics and gear for wildlife photography in the form of short tips.

If you are someone who lives in urban areas, you would have come across a few species off wildlife in public places. Photographing these wildlife is a way to get started in wildlife photography. Most of the urban wildlife are not very shy and come quite closer to humans compared to the animals and birds in the wild. Practicing wildlife photography in an urban area, is a great way to start wildlife photography. This article gives a few tips to shoot urban wildlife

There are times when photographers plan safaris or other wildlife expeditions and they will need to be in locations where they will need to work with the gear in hand for a few days or even more. Even if you go out for a day safari or wildlife adventure, you will need to pack the necessary gear in order to capture the shots without any stress. This article talks about the gear you need to pack when you go out for wildlife photography.

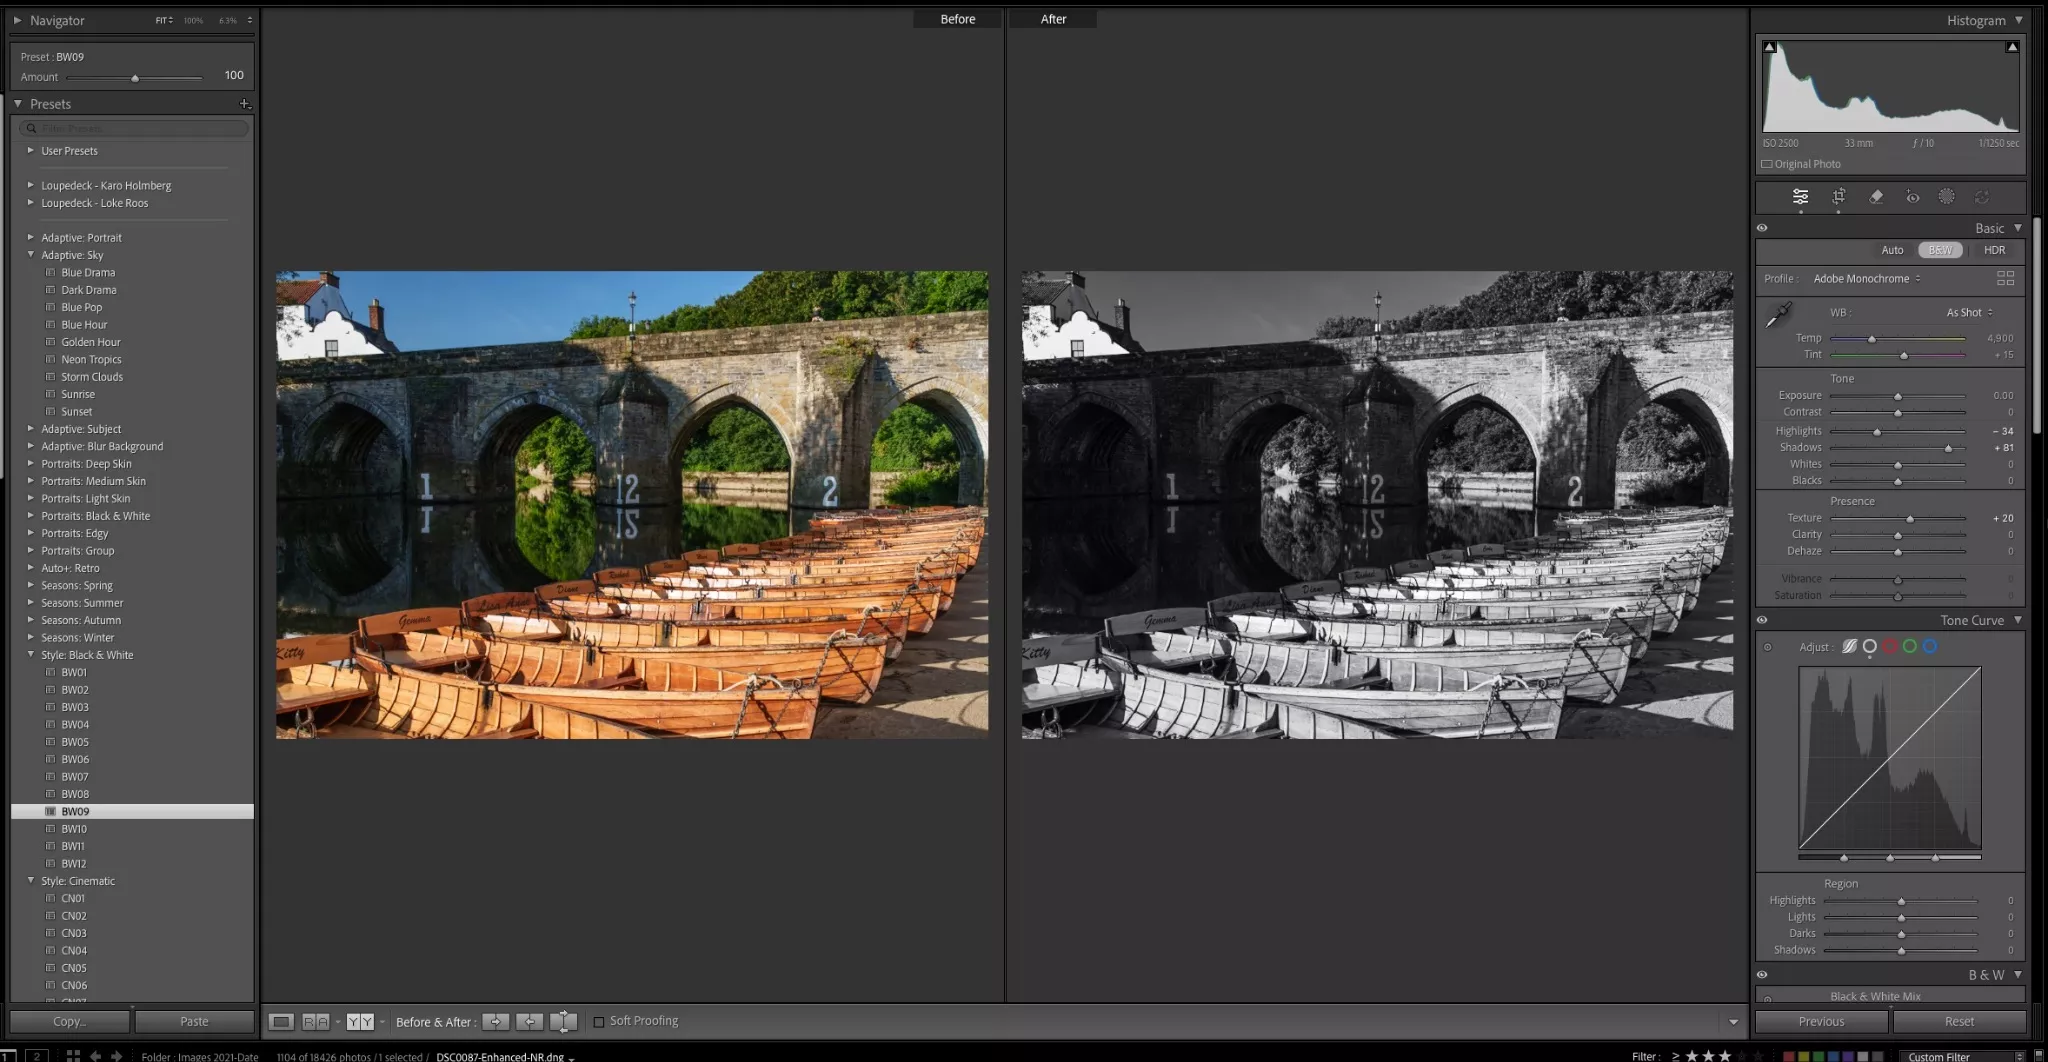
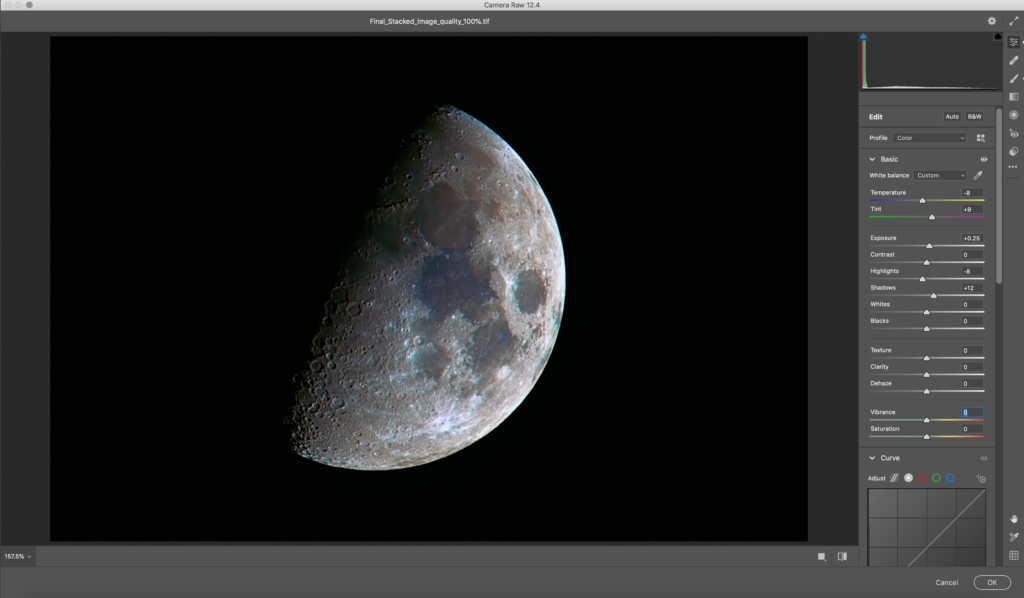
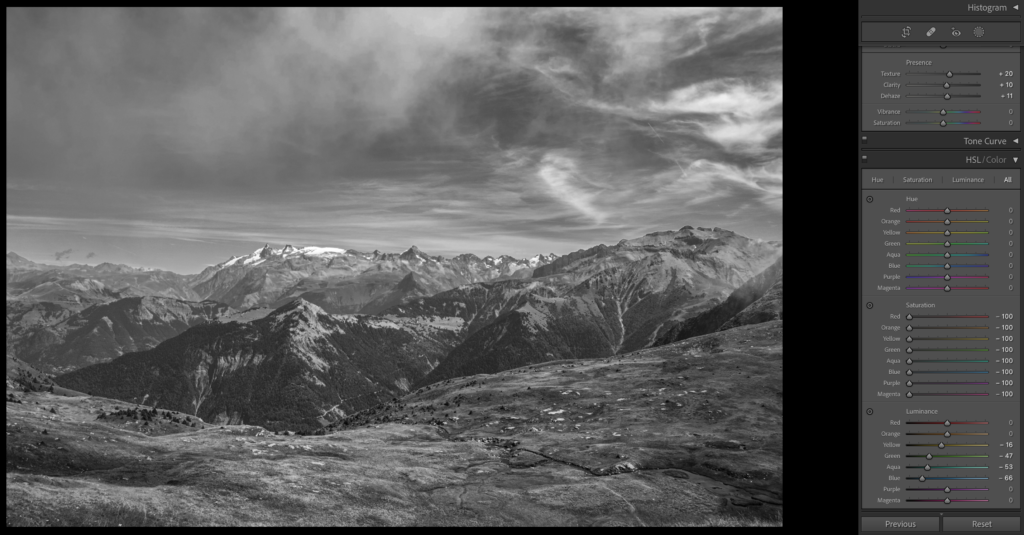
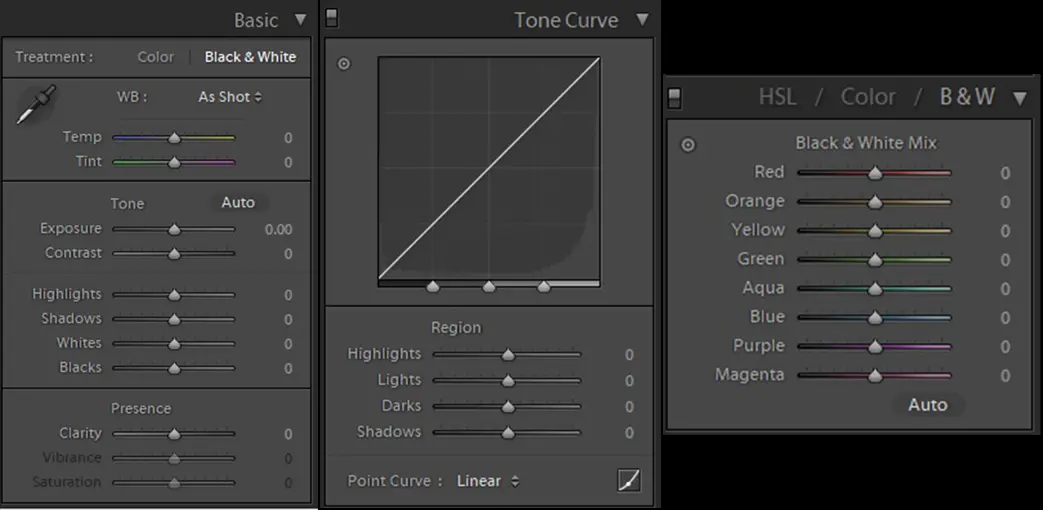
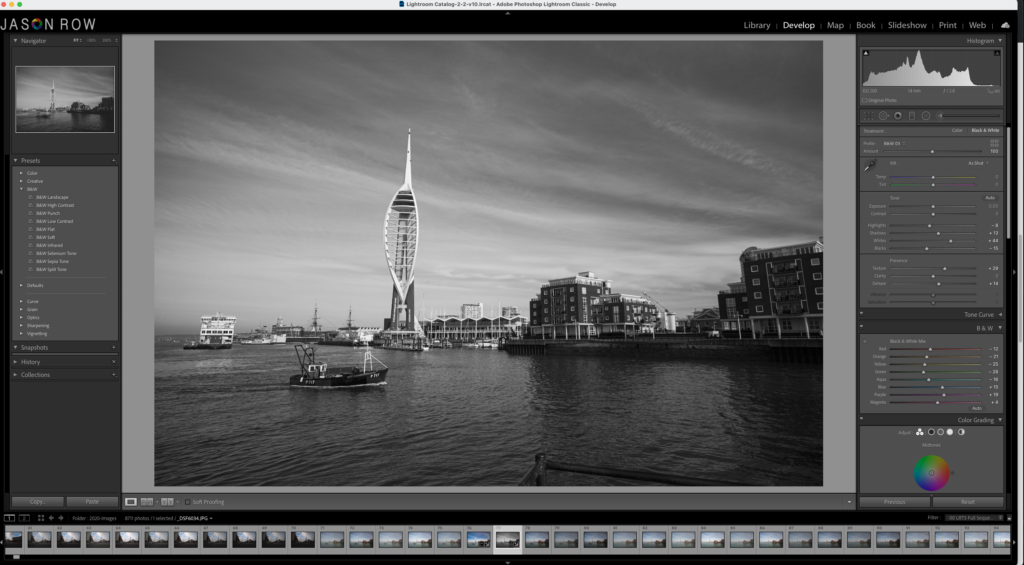
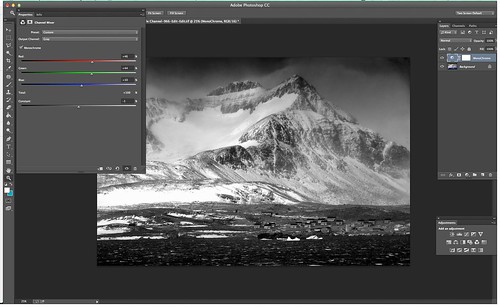
Once you have captured your wildlife shots, you will need to edit them to give the image a pop and the right colours. Remember to always shoot raw for effective post processing. A slight adjustment in exposure, contrast, adjusting the white balance, highlights and shadows will help to bring out the best from your raw files. Depending on the files, you may need to make further adjustments like vibrance, sharpness, clarity etc. This article talks about editing wildlife photos in Lightroom for visual impact.
Further reading
[ad_2]
Source link