[ad_1]
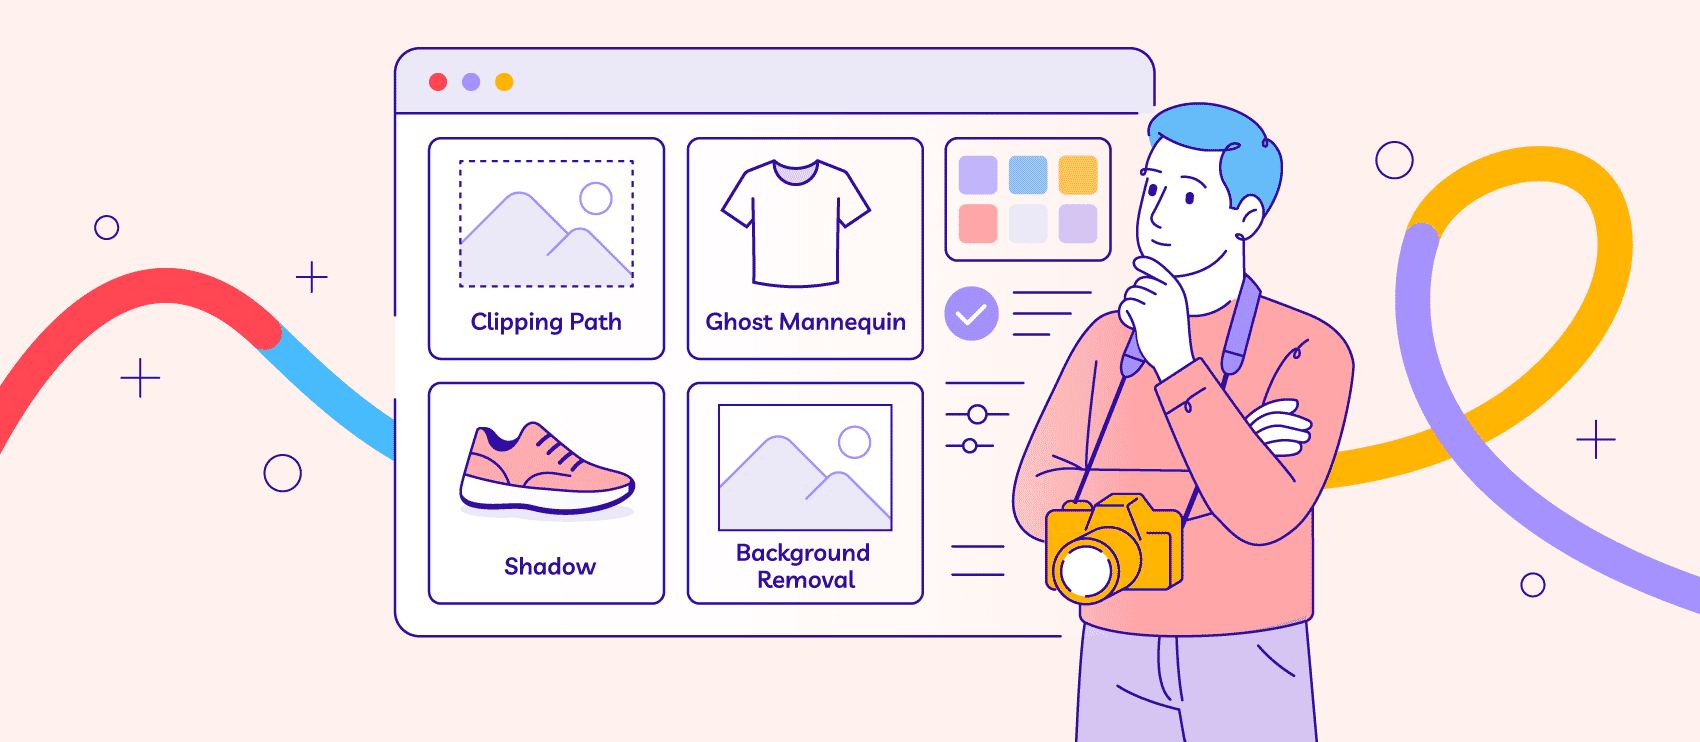
When you need photo edits and see a long list of editing services and techniques, it’s easy to feel a bit overwhelmed. With so many options plus multiple ways to combine them, where do you even start?
It makes perfect sense to go with what feels familiar, like basic retouching or background removal. But we’ve learned from working with thousands of photographers and business owners that your photos often benefit from multiple services working together. Combining services gets you better results with less hassle, since you can handle everything in one order instead of juggling separate projects. Let’s show you how to pick the right edits for your photos.
How to identify what your photos actually need
Before you start combining services, let’s figure out what you’re actually working with—it’ll save you time and help you get better results.
Photo diagnosis checklist
Take a look at your images and ask yourself if you spot any of these:
- Background issues: Is the background distracting, the wrong color, or inconsistent across your batch? Does it look messy or unprofessional?
- Subject problems: Are there imperfections, poor lighting, or color issues with your main subject? For apparel, does it need to show fit and drape without a model?
- Technical fixes: Is anything crooked? Are shadows missing or looking unnatural? Any dust, dirt, or glare issues?
- Brand requirements: Do you need multiple product colors? Specific formats? Transparent backgrounds for marketing materials?
Common photo problems and their solutions
Here are some scenarios we see all the time:
- “My product looks flat and boring” → clipping path + shadows
- “The background is messy and distracting” → background removal + retouching
- “I need to show this product in 5 different colors” → clipping path + color change
- “The model’s hair isn’t looking right” → image masking + retouching
- “My apparel needs to show shape without the mannequin” → ghost mannequin + retouching + symmetry
Most photo challenges need two to three services working together, not just one by itself.
How Path services work better together
Here’s why thinking in combinations instead of individual services makes more sense:
- Save admin time: Upload everything you need edited in a single order and get it all back together, ready to use. No juggling multiple orders or trying to keep track of which image versions are where.
- Speed up your workflow: Everything gets delivered together in the formats you need. Your designer handles all the edits for each image, so there’s consistency across the entire batch.
- Keep all photos consistent: When the same designer handles all your edits, you get cohesive results. Colors match, shadows look natural together, and the overall style stays consistent.
- Keep costs down: We offer discounts when you bundle multiple editing services together.
You can combine pretty much any of our services together—two, three, four, or more. What matters is understanding which combinations work best for your specific type of photography.
Service combinations by photography type
Every photography project has different needs, and you might even use the same image for different purposes. Here are some proven editing combinations that work well for different situations:
Sports photographers
When you’re dealing with high-volume shoots and tight deadlines, you need services that work fast and handle the most common issues in sports photography.
Your typical service combo:
- Image masking for complex backgrounds, hair, equipment details, etc.
- Background removal for clean, professional shots and official team photos, etc.
- Photo retouching for spot removal, color correction, skin touch-ups, etc.
There may be time-critical events such as championship coverage where you need polished images fast, or you might need to update and create consistent team roster headshots across an entire squad, just like this photographer does. You can choose different services depending on what each batch of images needs, whether that’s processing 200+ action shots or creating headshots with a uniform, professional look.
We offer turnarounds from 6 hours, so you can deliver images to your clients, magazines, or publications fast.
Product and ecommerce brands and photographers
For ecommerce, consistency is everything. Your product photos need to look professional, meet marketplace (like Amazon) standards, and convert browsers into buyers.
A standard combo:
- Clipping path for clean cutouts that meet marketplace requirements or create a clean website look.
- Shadow services add depth and dimension so products don’t look flat.
- Color change shows all available product colors without reshooting every single variant.
Advanced ecommerce stack (add these for even more polished results):
New ecommerce brands often start with the foundation combo (clipping path + shadows + color change) and add ghost mannequin as their apparel inventory grows. Established retailers may go with the full stack approach for complete consistency across their entire product catalog.
Portrait and headshot photographers
Professional portraits and headshots need to look polished but still natural. The goal is enhancing what’s already there, not creating something fake.
Typical professional edits for portraits and headshots include:
- Background removal/clipping path gives you versatile backgrounds for different marketing uses.
- Photo retouching helps with natural beauty enhancement, color correction, and flyaway hair fixes.
Corporate headshot scenarios may include:
- Basic combo of background removal + basic retouching.
- Premium package, adding advanced retouching and multiple background options for different brand uses.
Advanced portrait combination (for high-end clients or special projects) may include:
- Image masking for complex hair or clothing details.
- Color change for different outfit variations or brand color matching.
- Multiple background options so clients can use the same headshot across different marketing materials.
Wedding and event portrait combinations may include:
- Image masking for intricate dress details and flowing fabric.
- Retouching for flawless, natural skin and perfect lighting.
- Background removal for ceremony photos that need to work in albums and marketing.
How to choose your perfect edit combination
Use this simple framework to figure out which services make sense for any project:
- What’s your end goal? Are these photos for marketplace listings, marketing materials, portfolio work, or client galleries?
- What’s your biggest time constraint? Do you have a tight deadline, a high volume of images, or particularly complex edits?
- What’s your budget priority? Are you focused on cost per image, or is premium quality and time savings more important?
Consider your photo use case
Sometimes the same photo needs different sets of edits depending on how you plan to use it. For example, a product photo might need:
- For marketplace listing: clipping path + white background + basic retouching.
- For social media: same photo but with different background + enhanced colors + shadows.
- For print: higher resolution + color matching + vector conversion.
How to mix and match your edits
Use this simple approach to figuring out which services work best for your projects:
- Start simple: Pick two to three core services that address your biggest pain points.
- Test combinations: Try different combos on smaller image batches to see what works best for your workflow.
- Scale up when it makes sense: Add more services as you see results and understand how they improve your final images.
When to add each editing service
Not sure which services you actually need? Here’s a quick reference for what each one does best.
Clipping path: When you need hand-drawn, crisp clean cutouts that you can use on any background.
Background removal: When you want clean white (or any color) backgrounds for product photos.
Image masking: For intricate shots with hair, fur, or complex borders that need precise, natural-looking cutouts.
Shadow: When products look flat or unrealistic—shadows add depth and dimension, and they actually help generate more sales.
Ghost mannequin: For apparel that needs to show natural fit and drape without models or mannequins, essential for consistent ecommerce catalogs.
Color change: When you have multiple color options and need to show true-to-life colors without reshooting every single shade.
Photo retouching: When imperfections distract from your subject—this corrects flaws and makes every element shine.
Multi-clipping path: When you need to select multiple areas within images for separate editing (like changing just the shirt color but not the pants).
Vector conversion: When you need scalable graphics and logos that maintain quality at any size.
Symmetry: When product alignment matters for brand consistency and that premium, professional look that converts better.

How to place your Path order
Ready to try combining services? Here’s exactly how to do it and how it works:
Getting started
- Sign up for your Path account
- Top up Path credits (optional but recommended—you get bonus credits when you top up)
The ordering process
- Click “new order” to start your project
- Select all the services you need for this batch—you can choose as many as you want
- Upload your images using drag and drop
- Get instant quote and you’ll see your total cost immediately
- Set preferences like:
a) File format for your edited images
b) Additional comments or instructions
c) Upload any supporting files if needed - Select turnaround time (longer turnaround means cheaper pricing, or choose rush for time-sensitive projects)
- Review and approve your quote
- Choose payment method and submit your order
If you need 1,000+ images edited a month, we offer bulk pricing with better rates and priority support.
Ordering edits with Path couldn’t be any easier
Now that you know which combinations work for your type of photography, placing an order is straightforward. Try Path free with 2 free edits and see how much better your photos look with the right services working together.
Let us look after your image edits, so you can get back to the fun stuff. Try Path free.

[ad_2]
Source link