[ad_1]

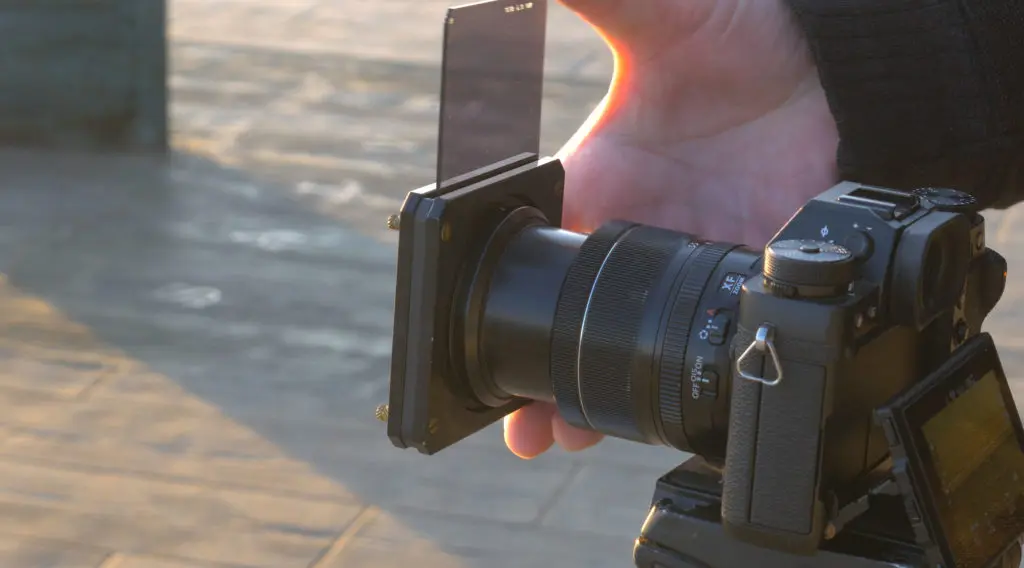
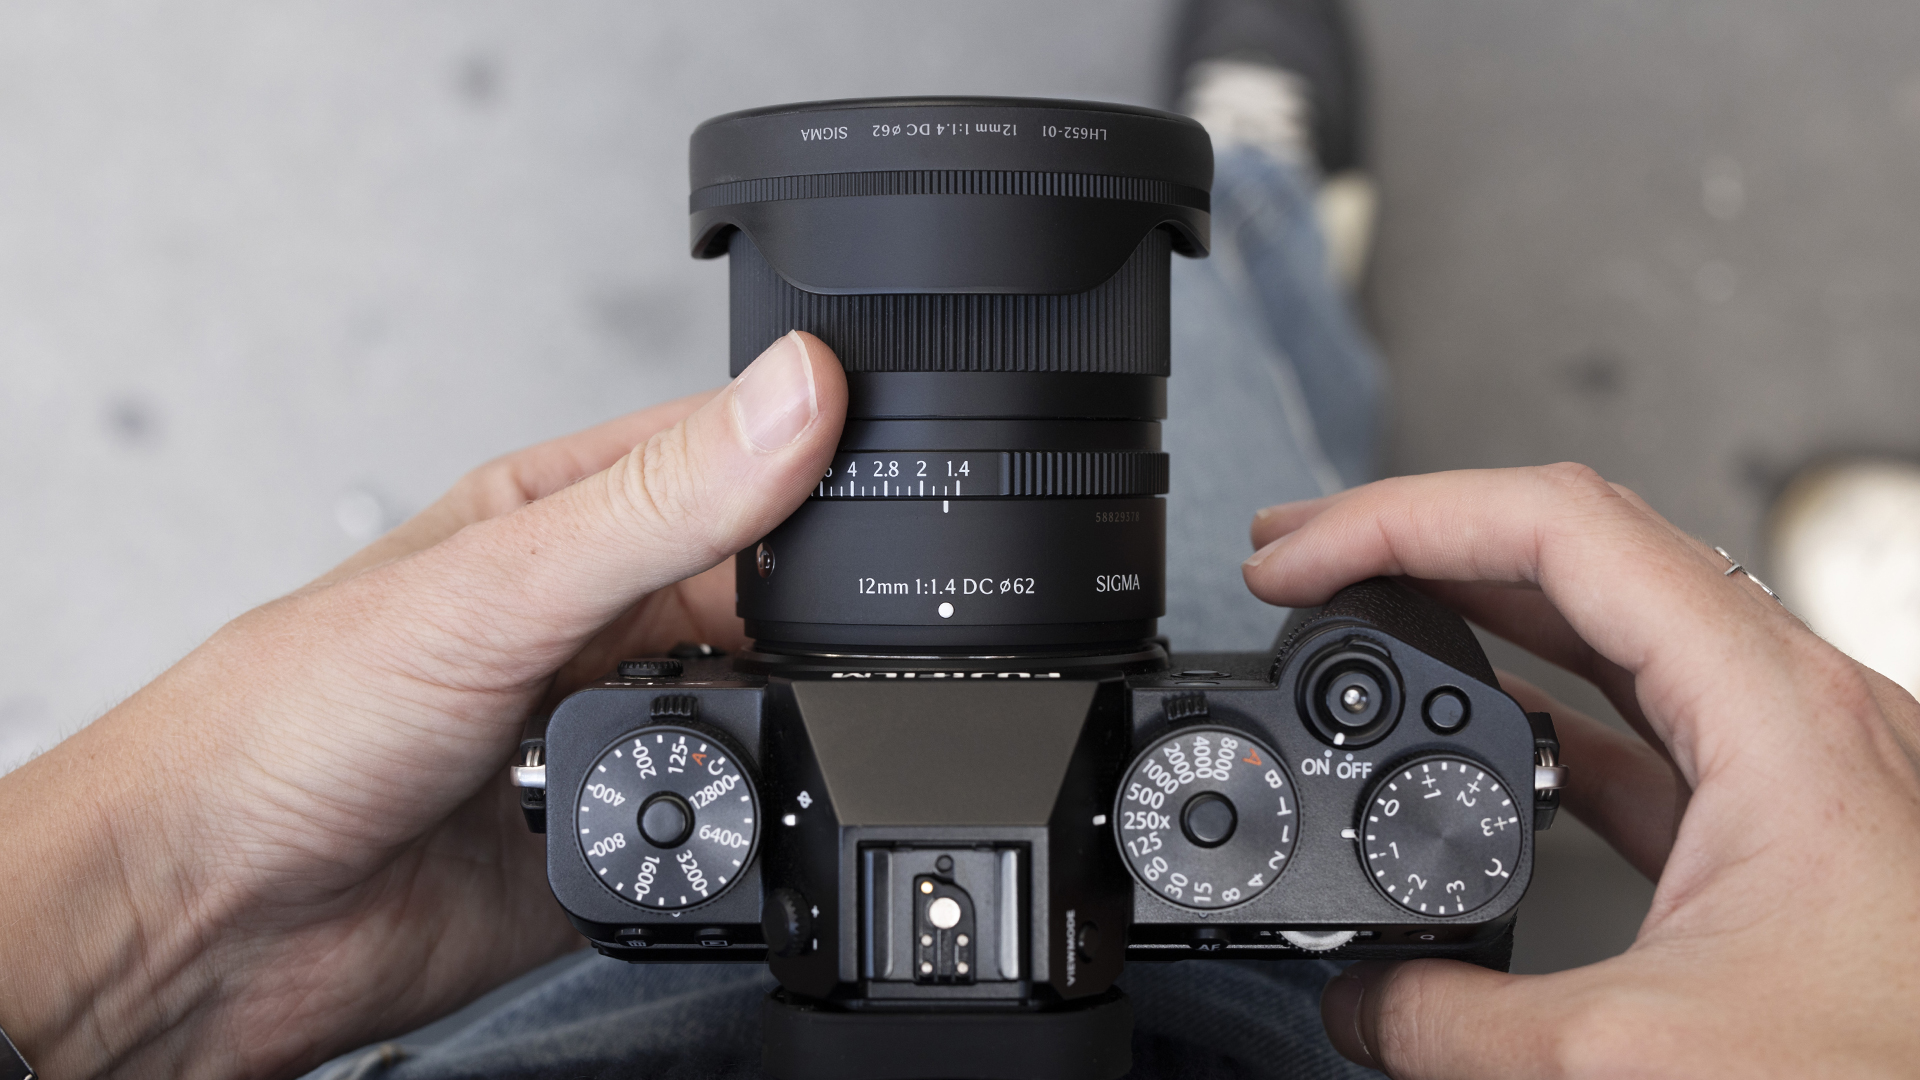
Committing to a single focal length for an entire trip can feel risky. Combined with a Fujifilm X-T5 camera, the Sigma 12mm F1.4 DC | Contemporary became my only lens for exploring Berlin, a decision that completely changed how I approached photographing the city.
Wide-Angle Perspective
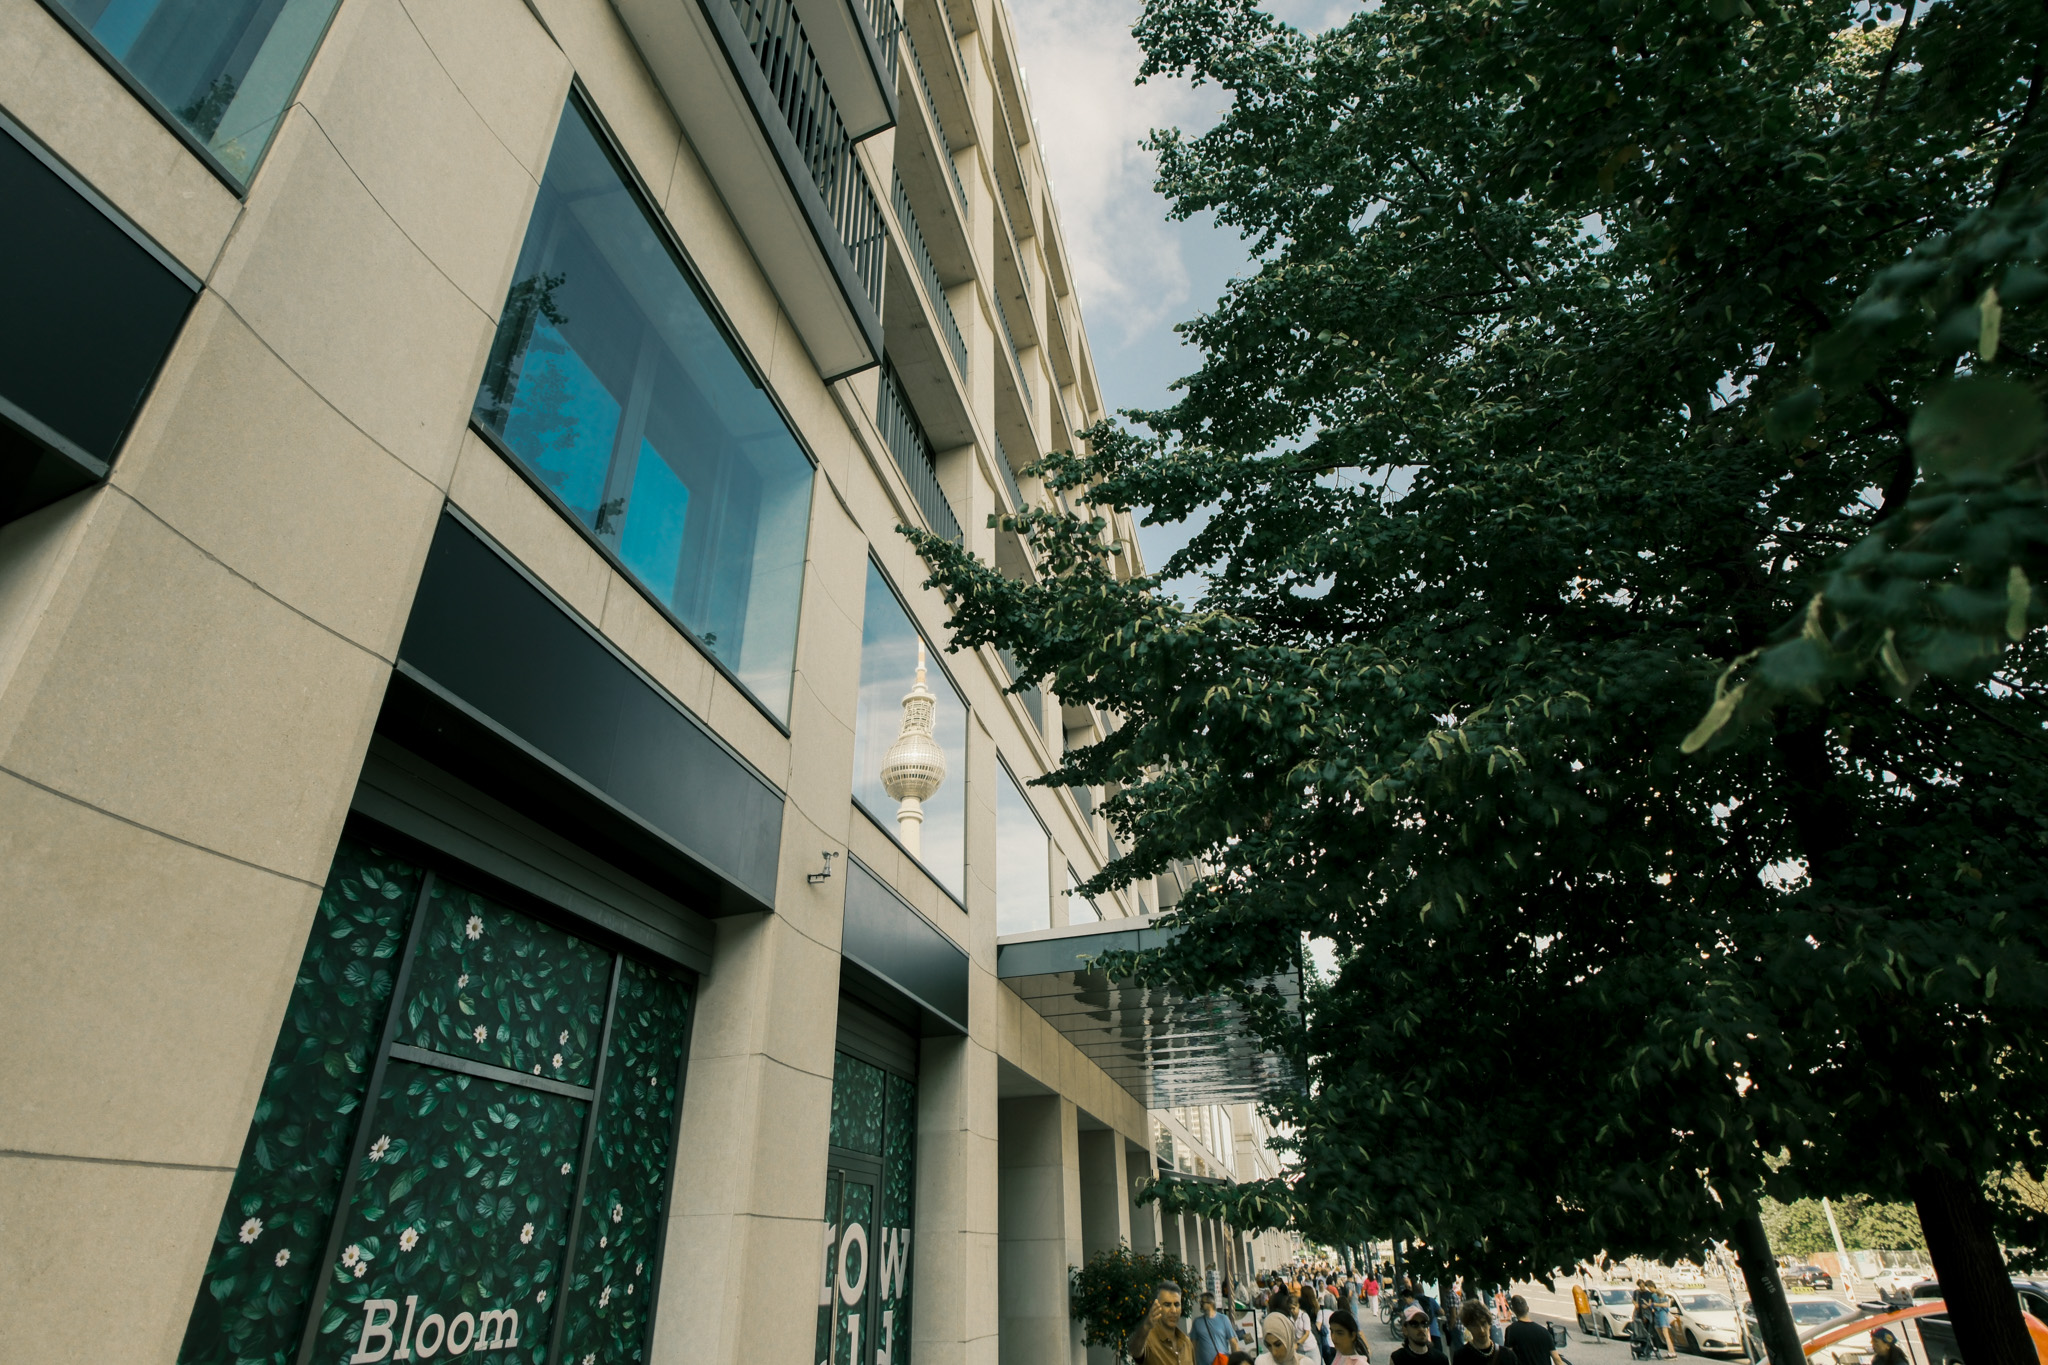
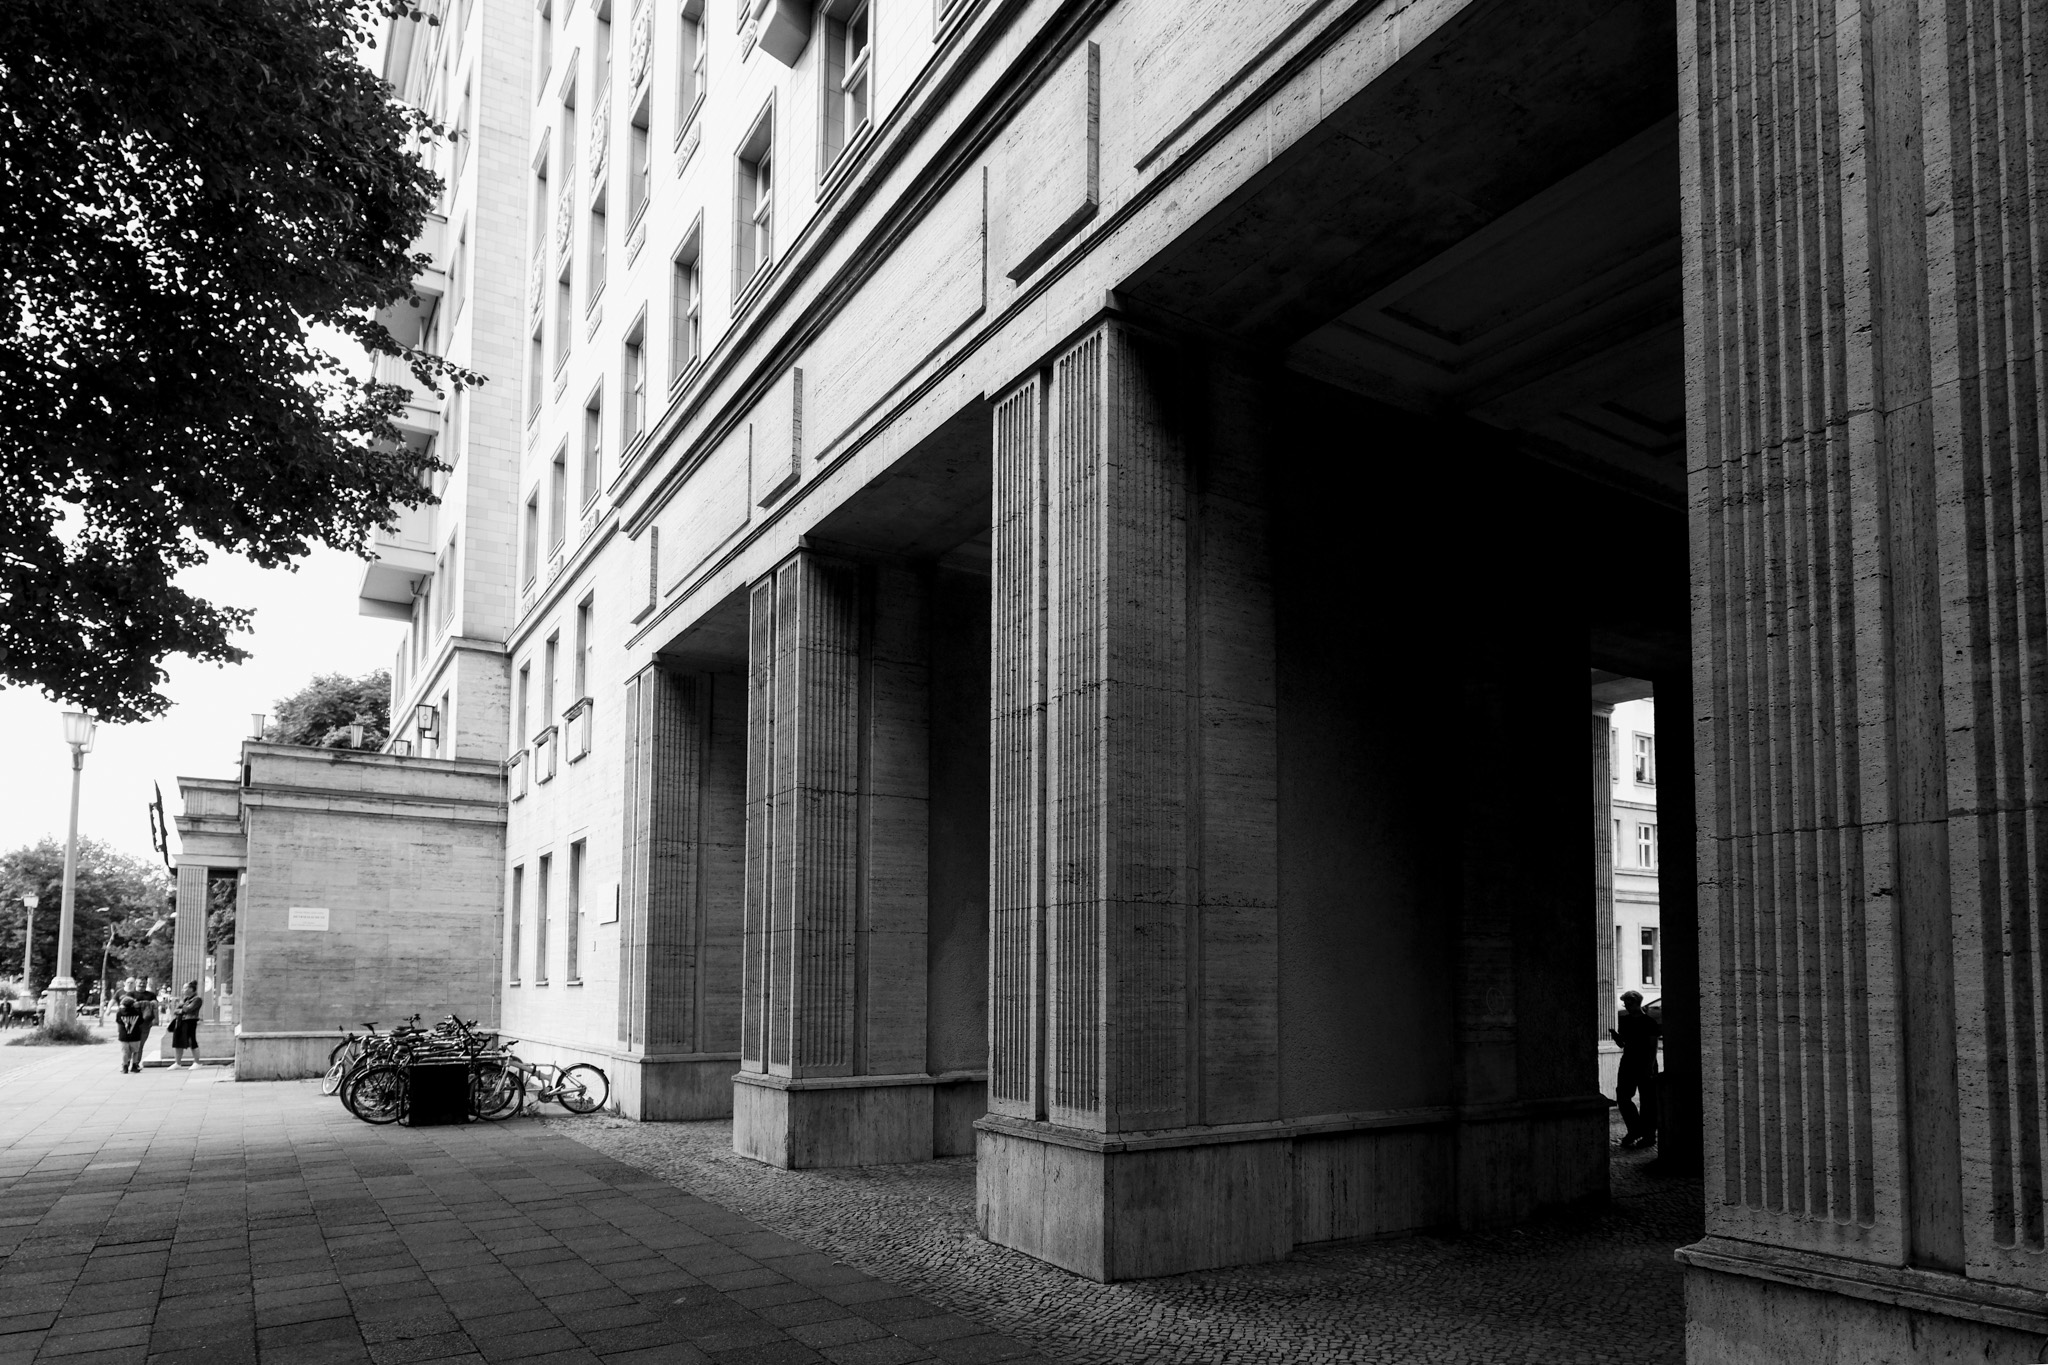
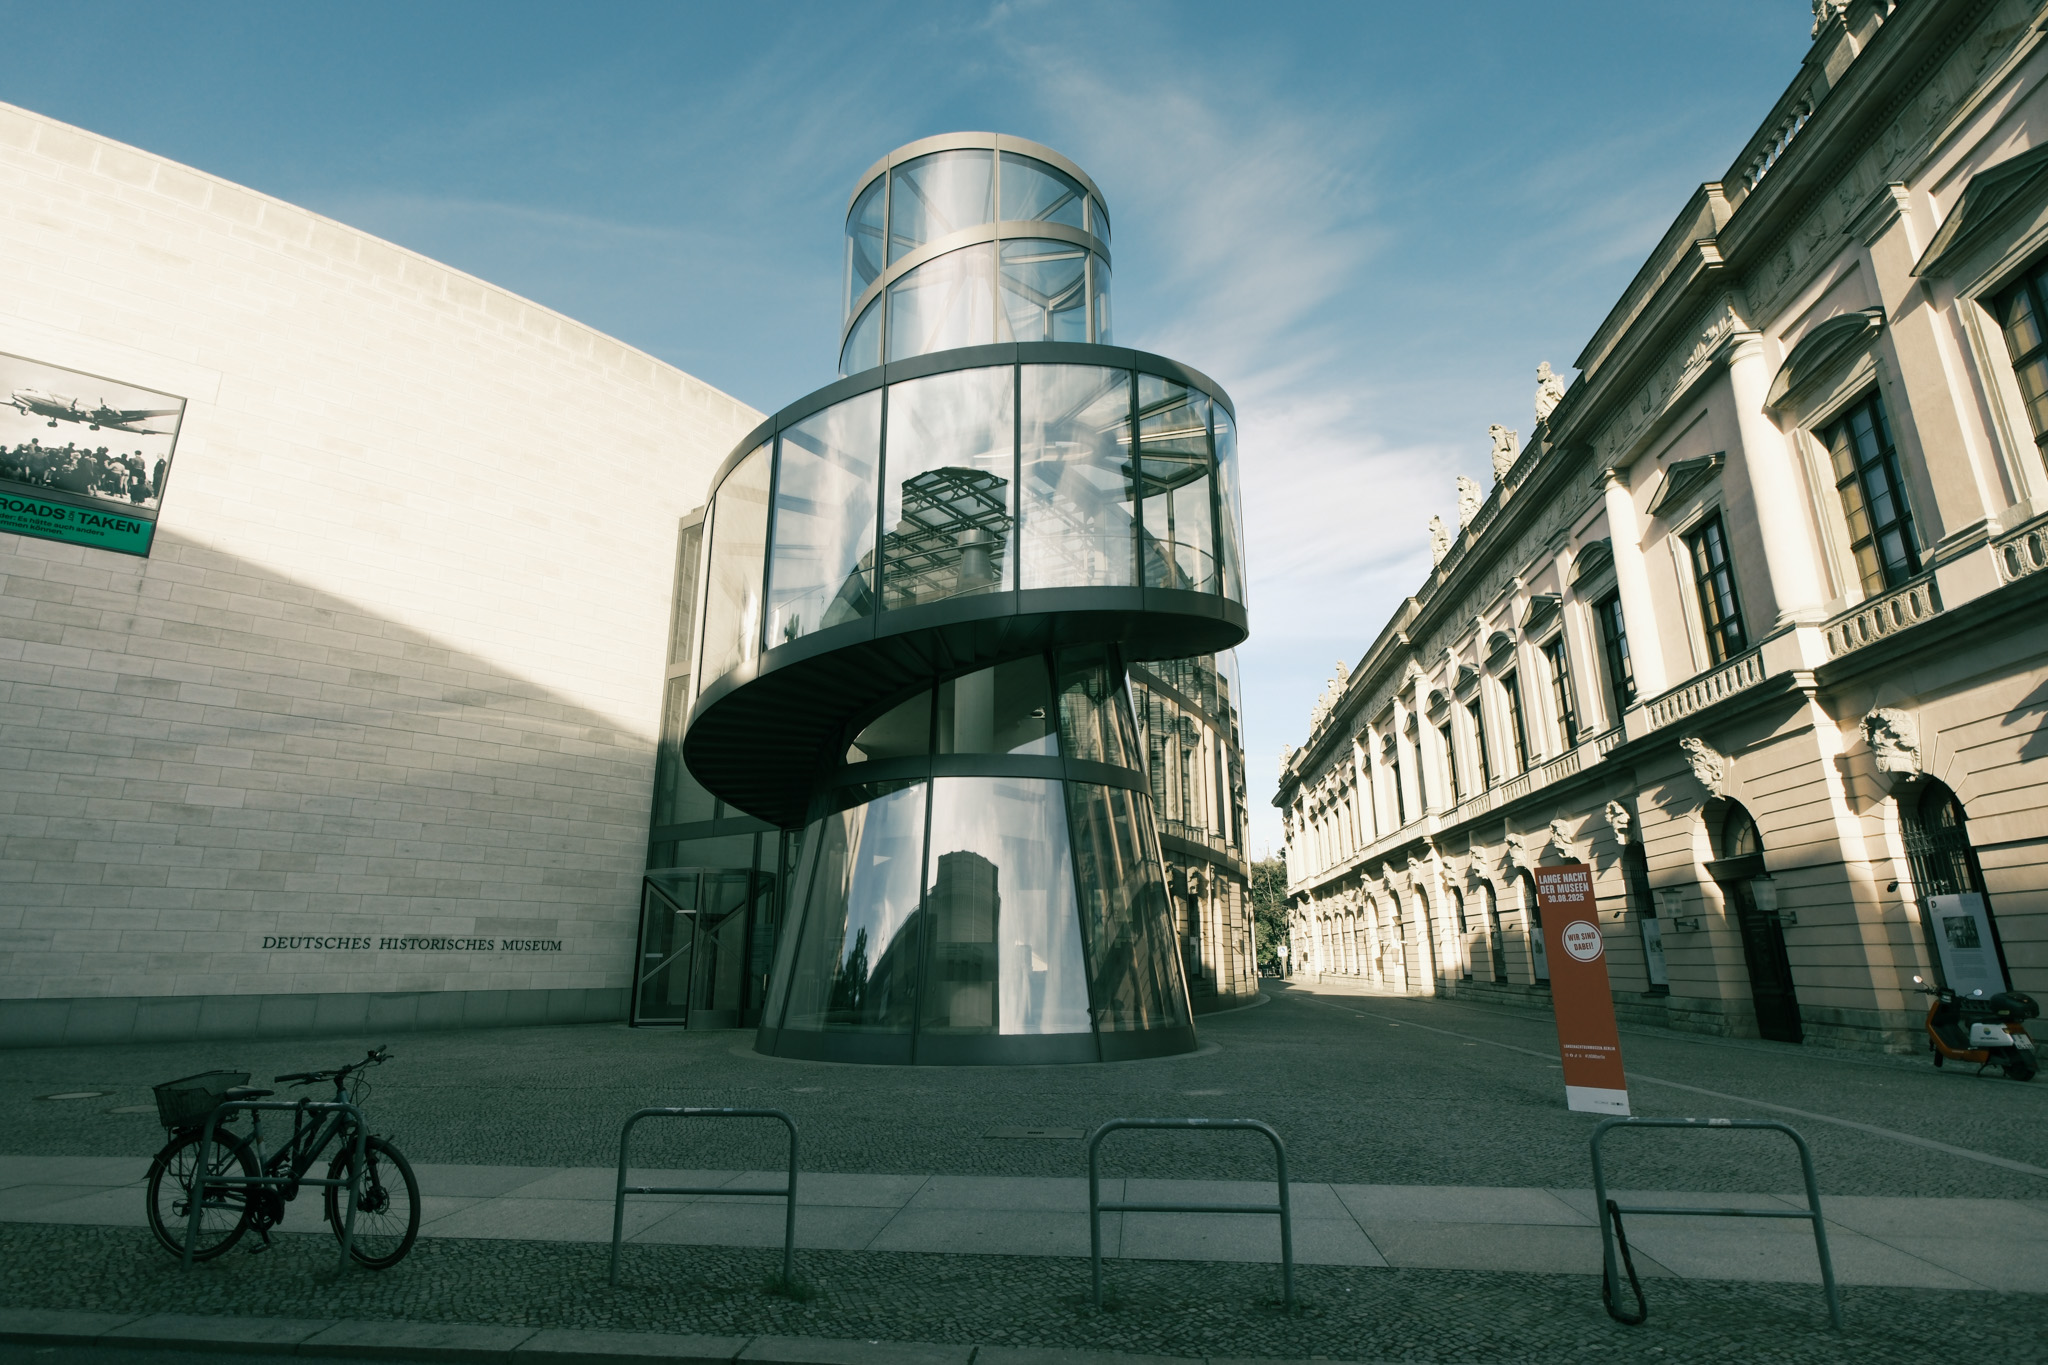
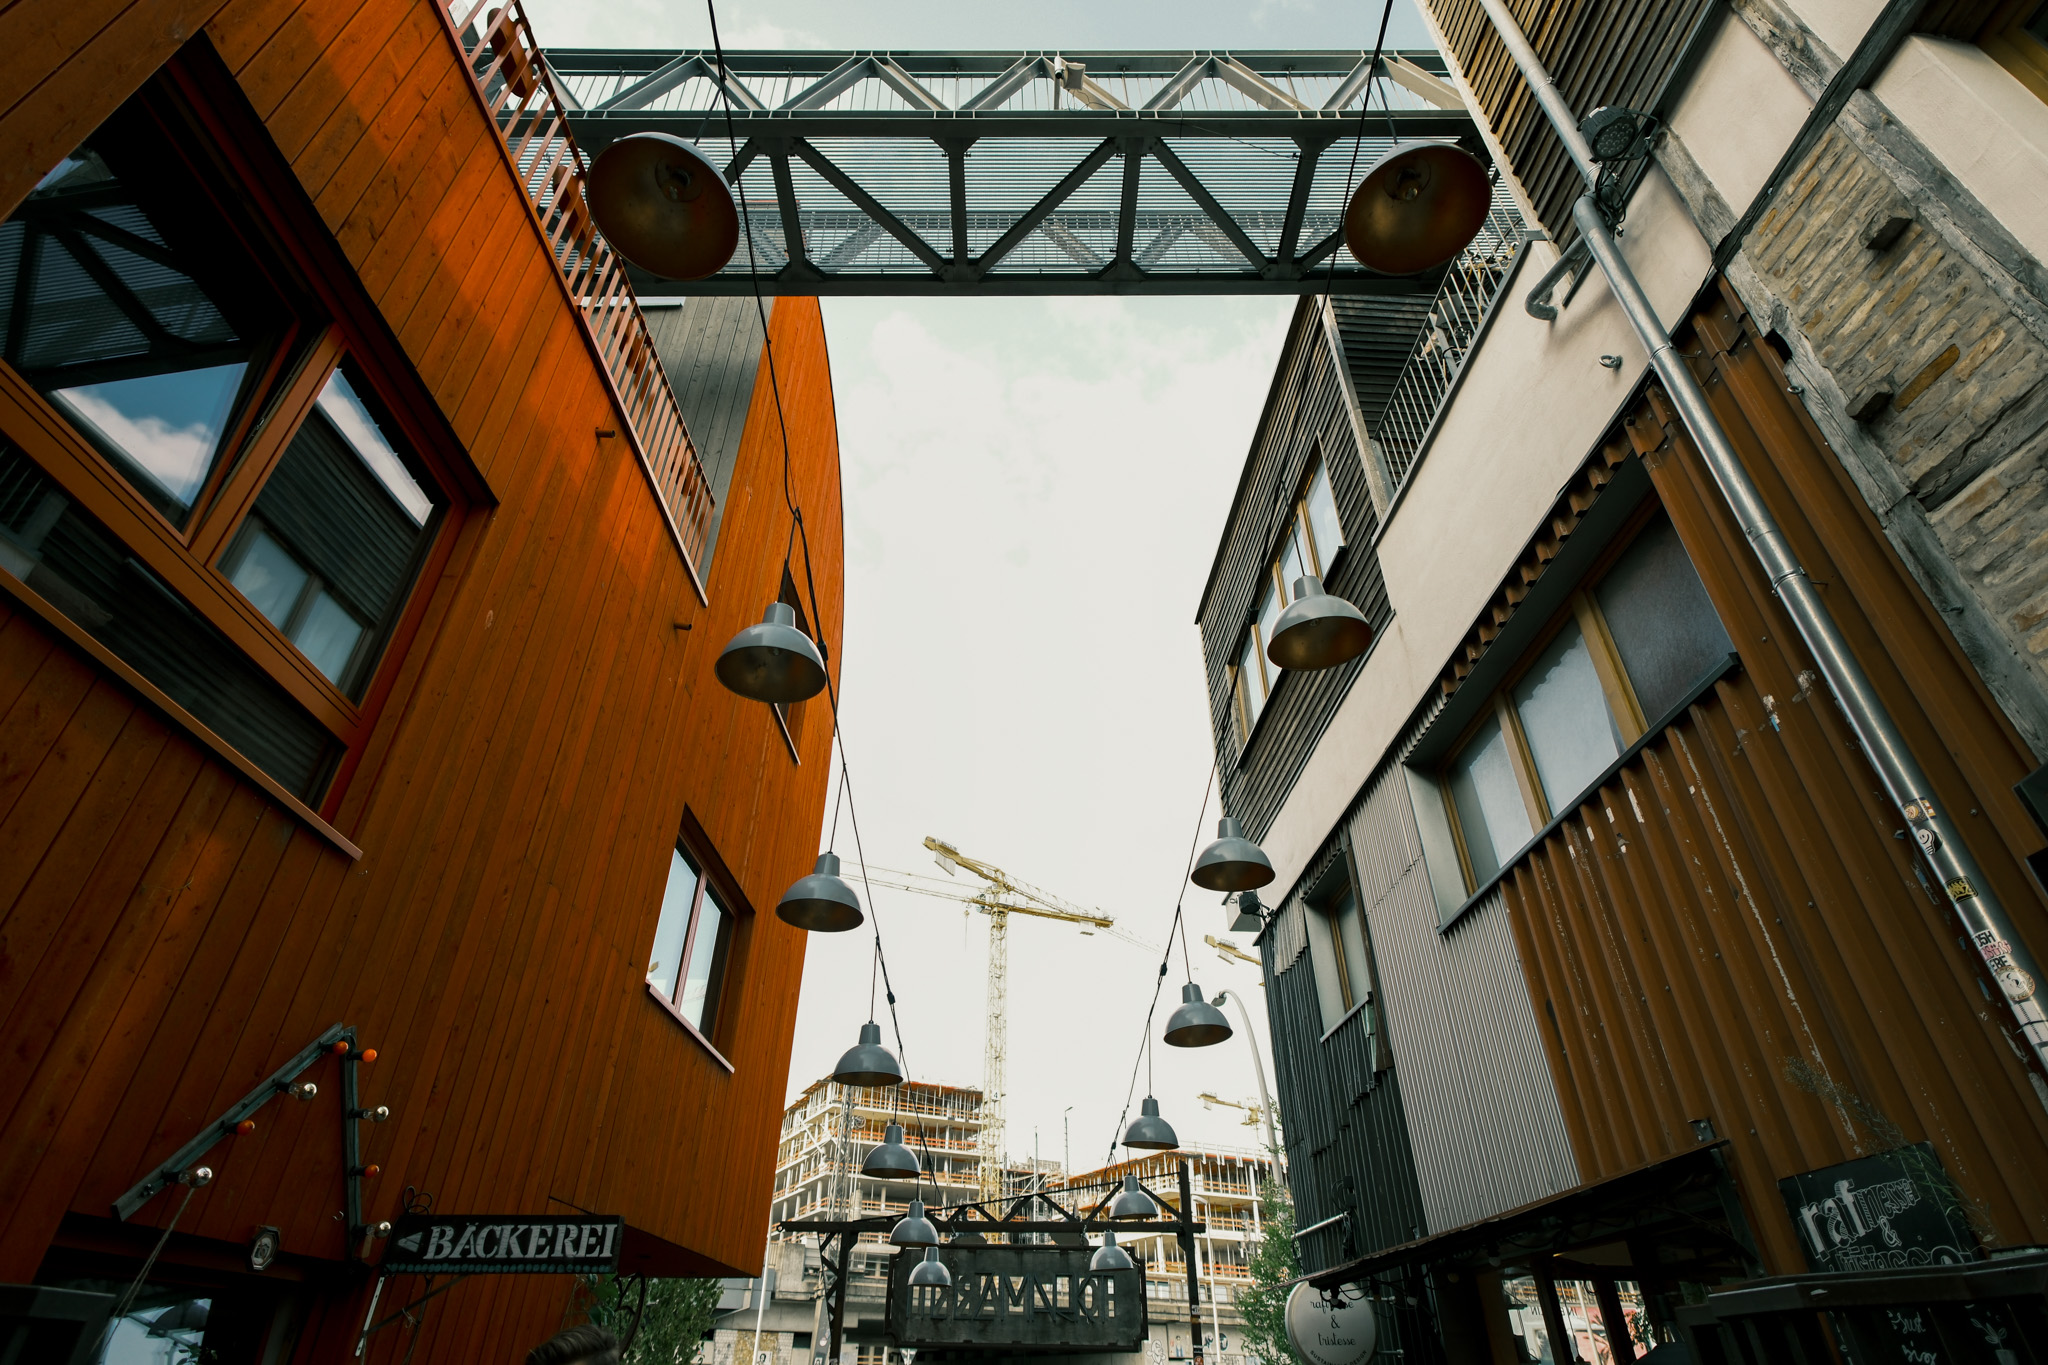
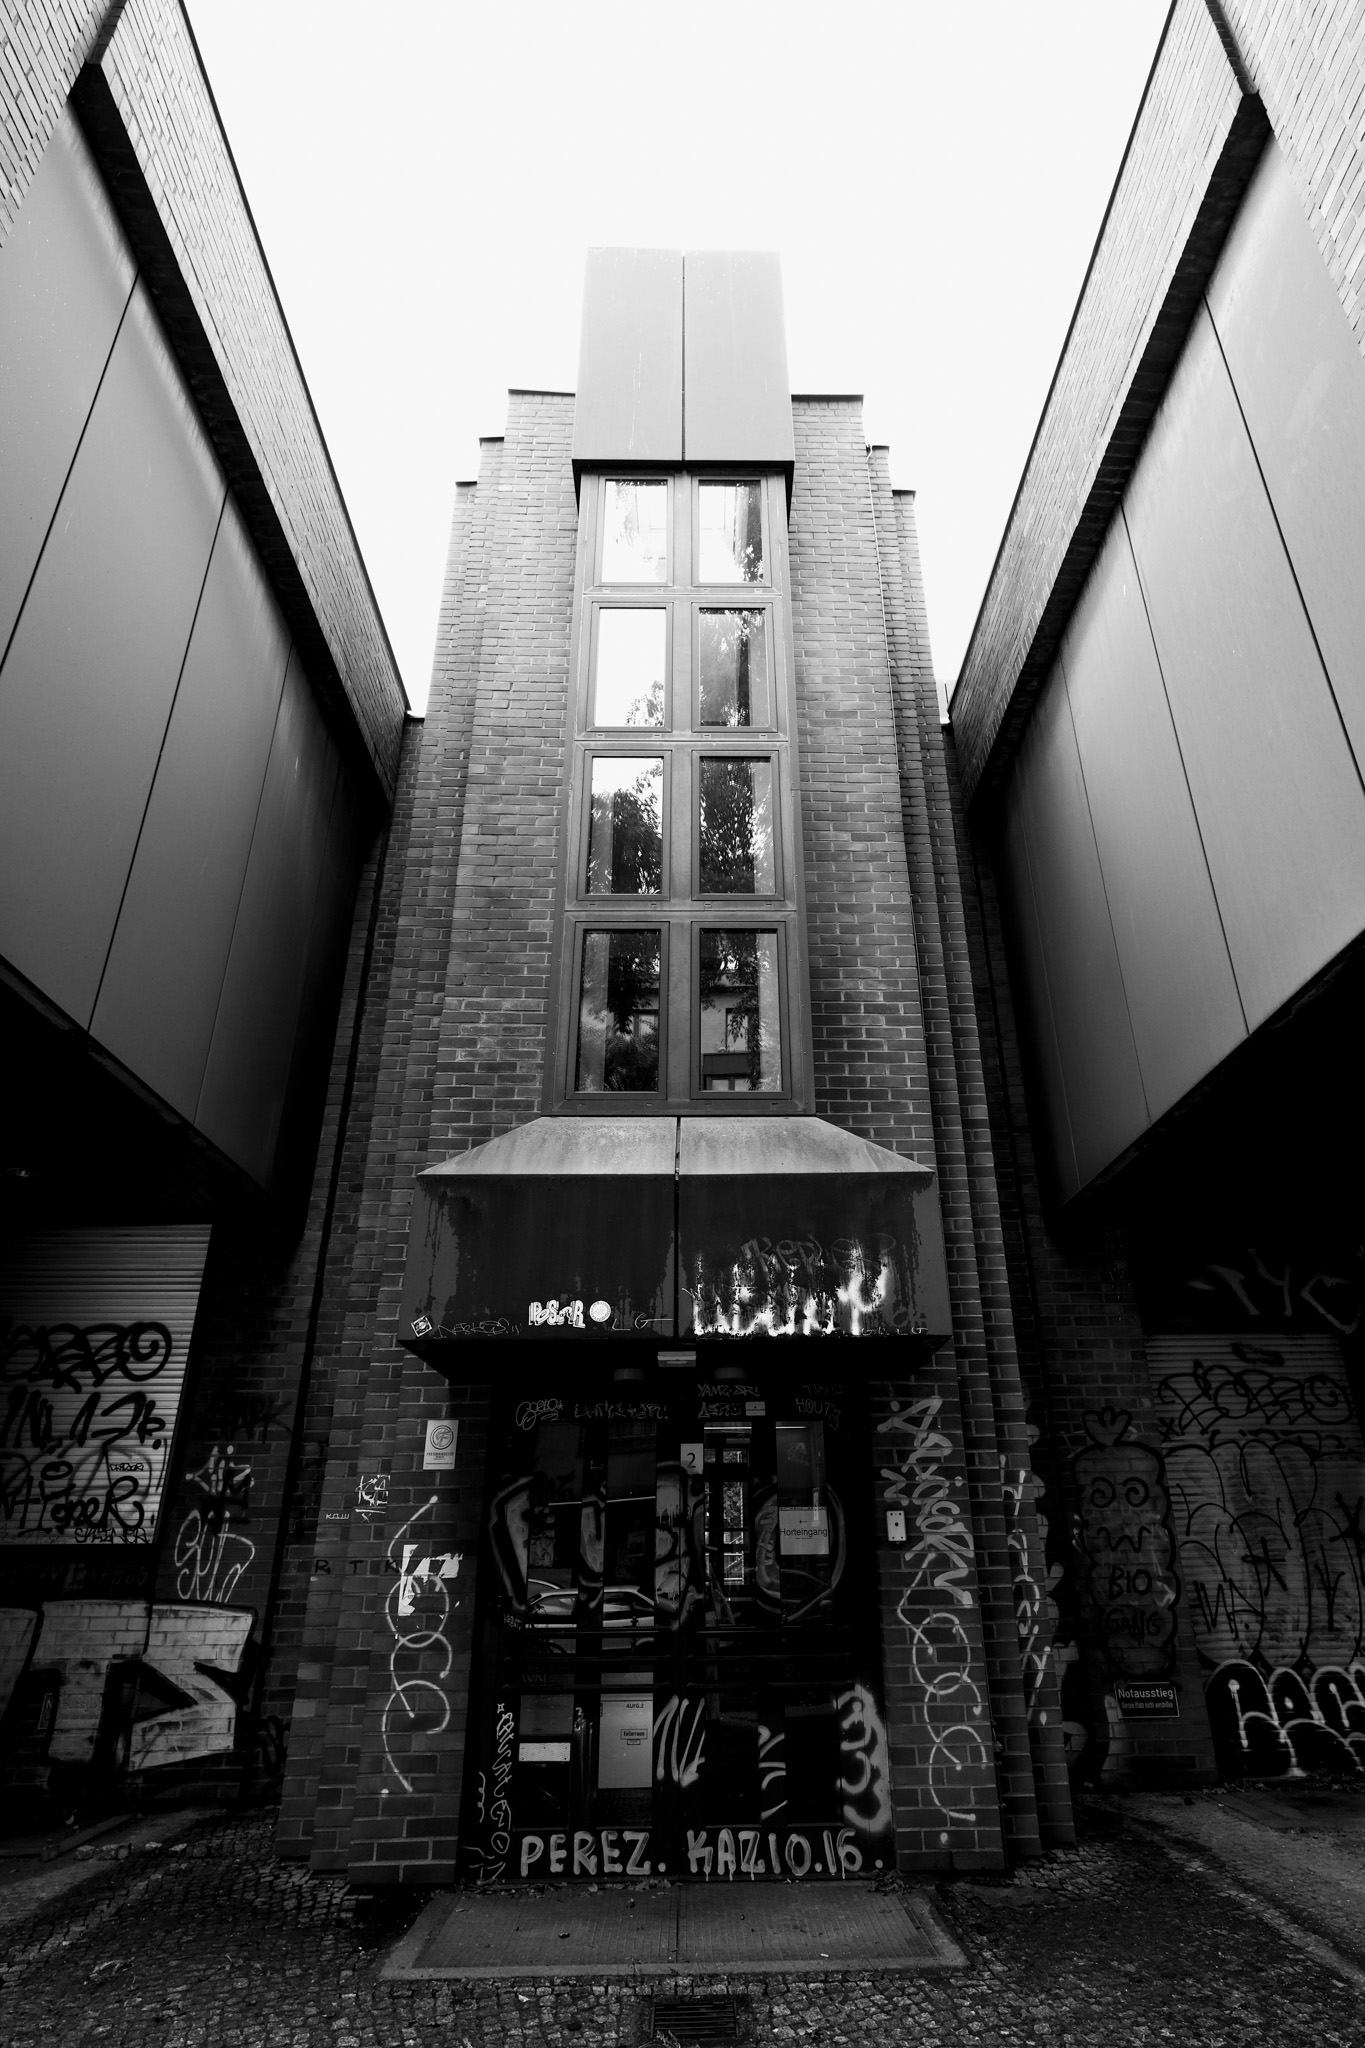
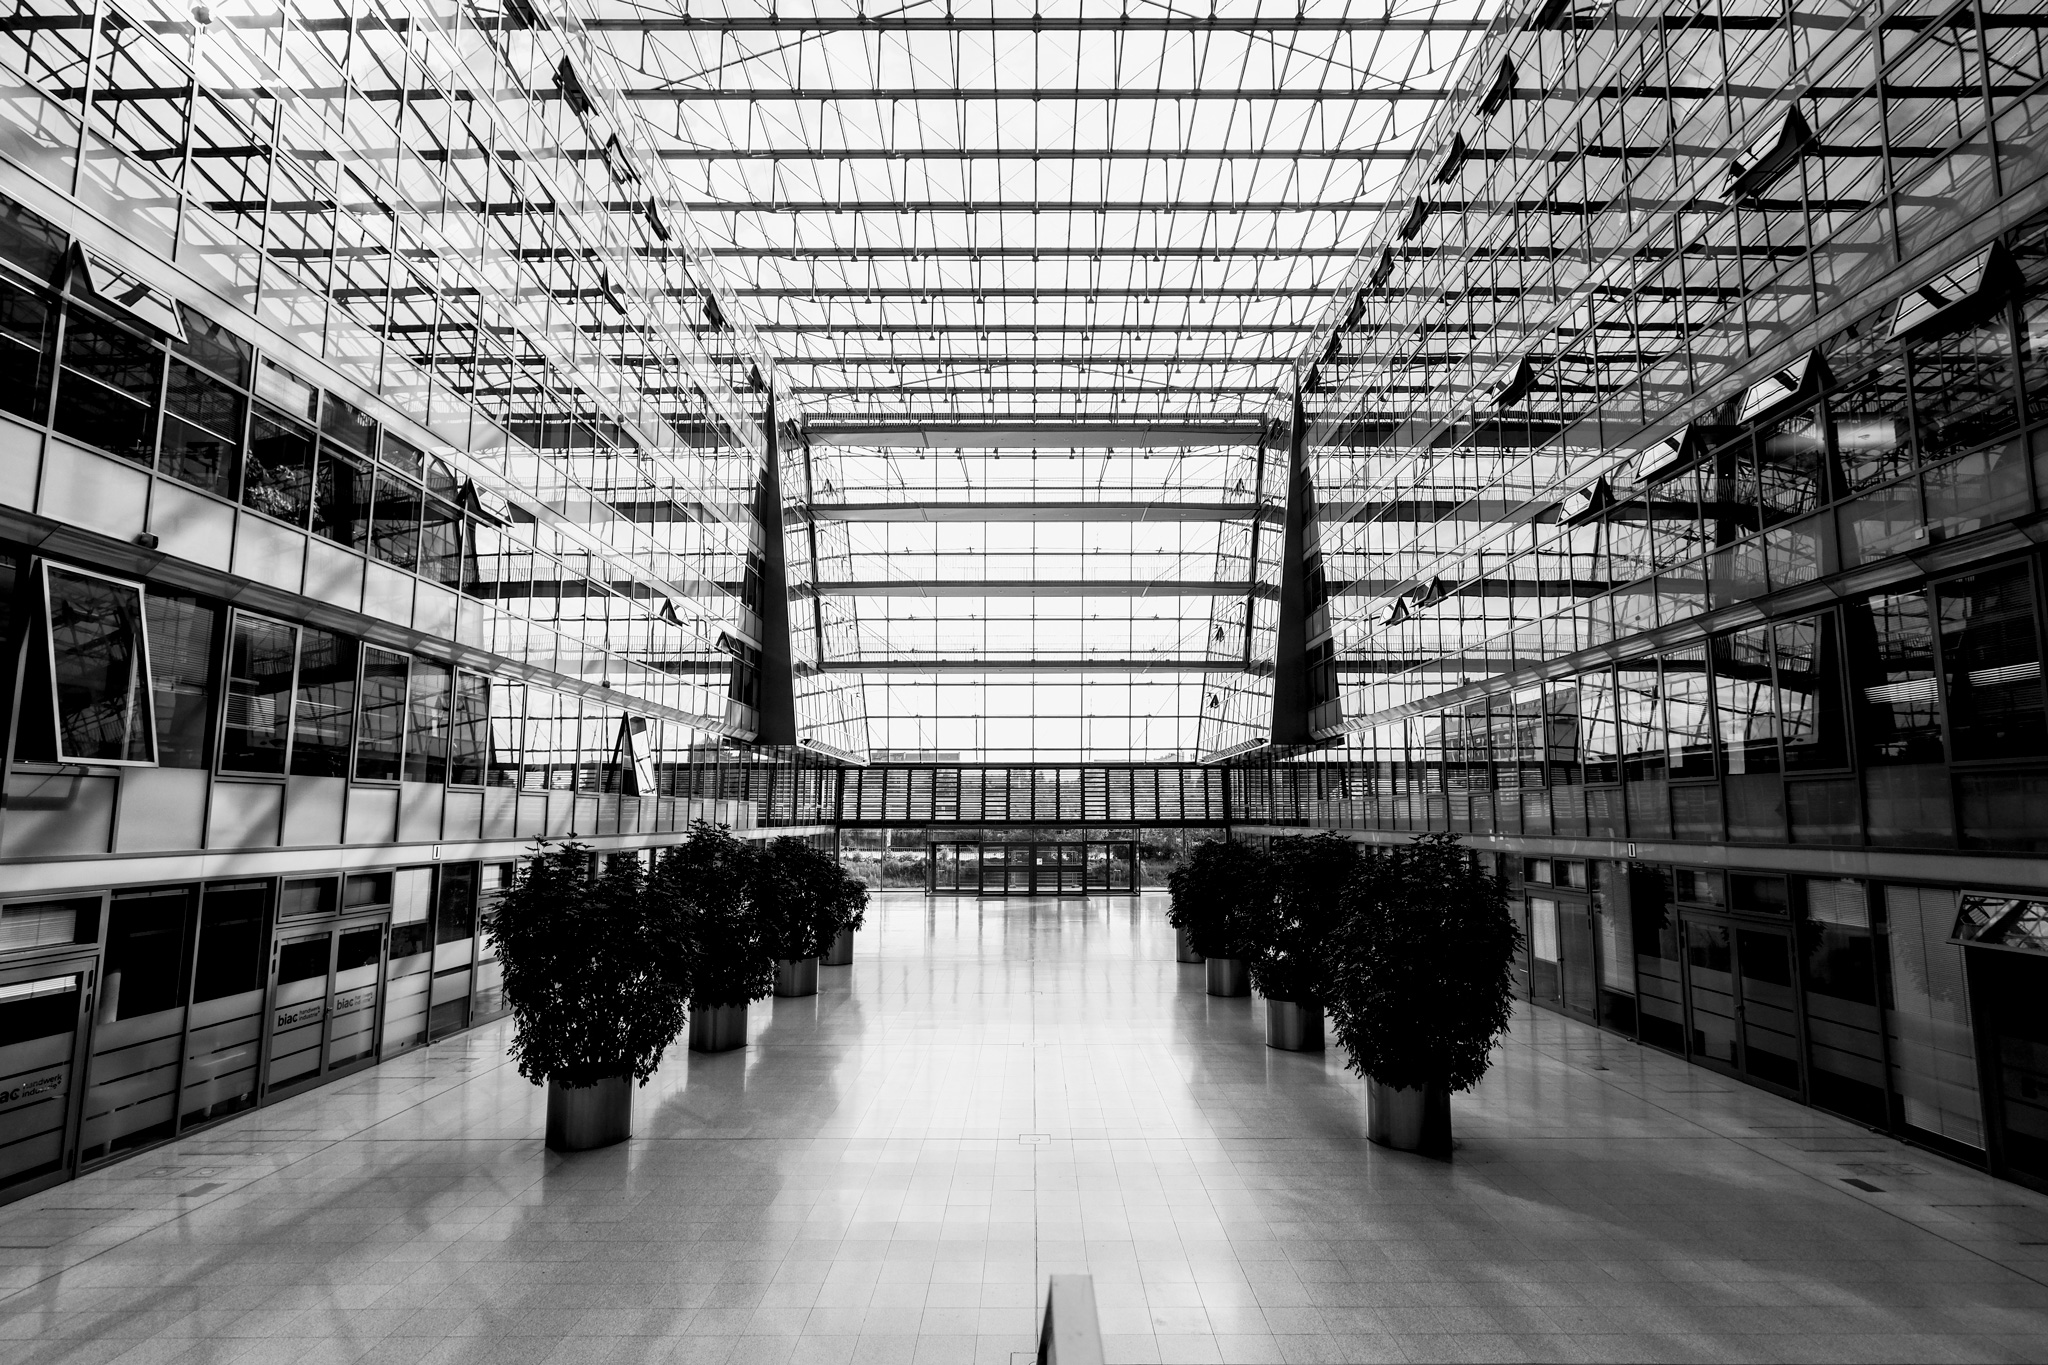
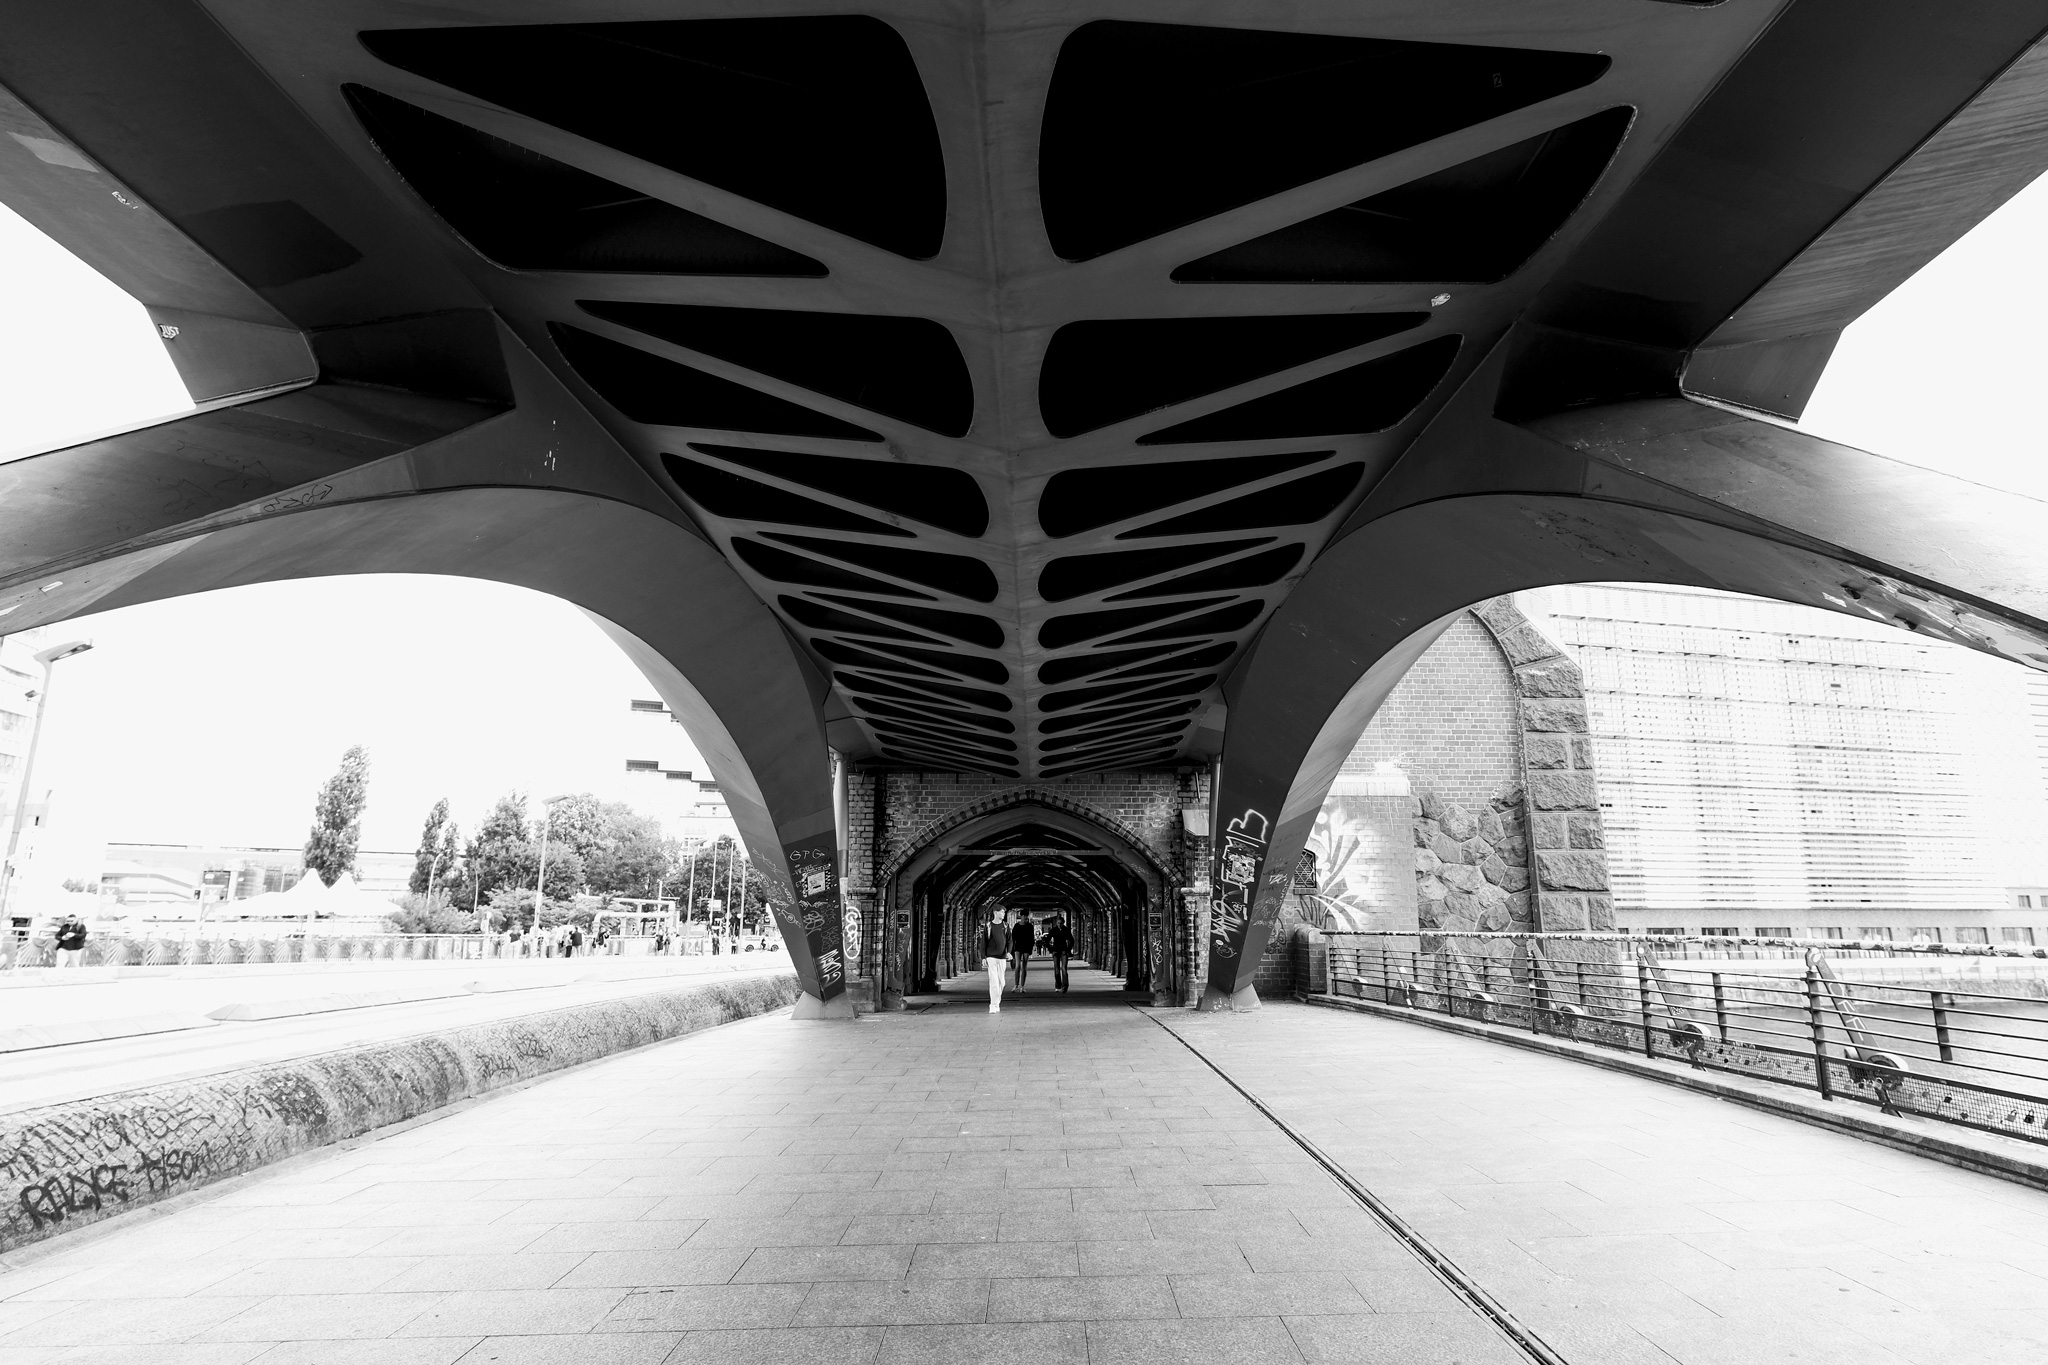
The 12mm focal length (18mm equivalent on typical APS-C sensor) provides an expansive view that suits Berlin’s architecture perfectly. Standing in front of the Paul Loebe Building or exploring Museum Island, I could capture entire structures without stepping into traffic or climbing onto benches. The ultra-wide perspective includes context, the street level activity, neighboring buildings, and urban environment that can make these spaces feel alive rather than sterile.
Fujifilm X-T5
F1.4, 1/3000s, ISO 400
Fujifilm X-T5
F1.8, 1/2500s, ISO 400
Fujifilm X-T5
F2.2, 1/2500s, ISO 400
Fujifilm X-T5
F2, 1/2500s, ISO 640
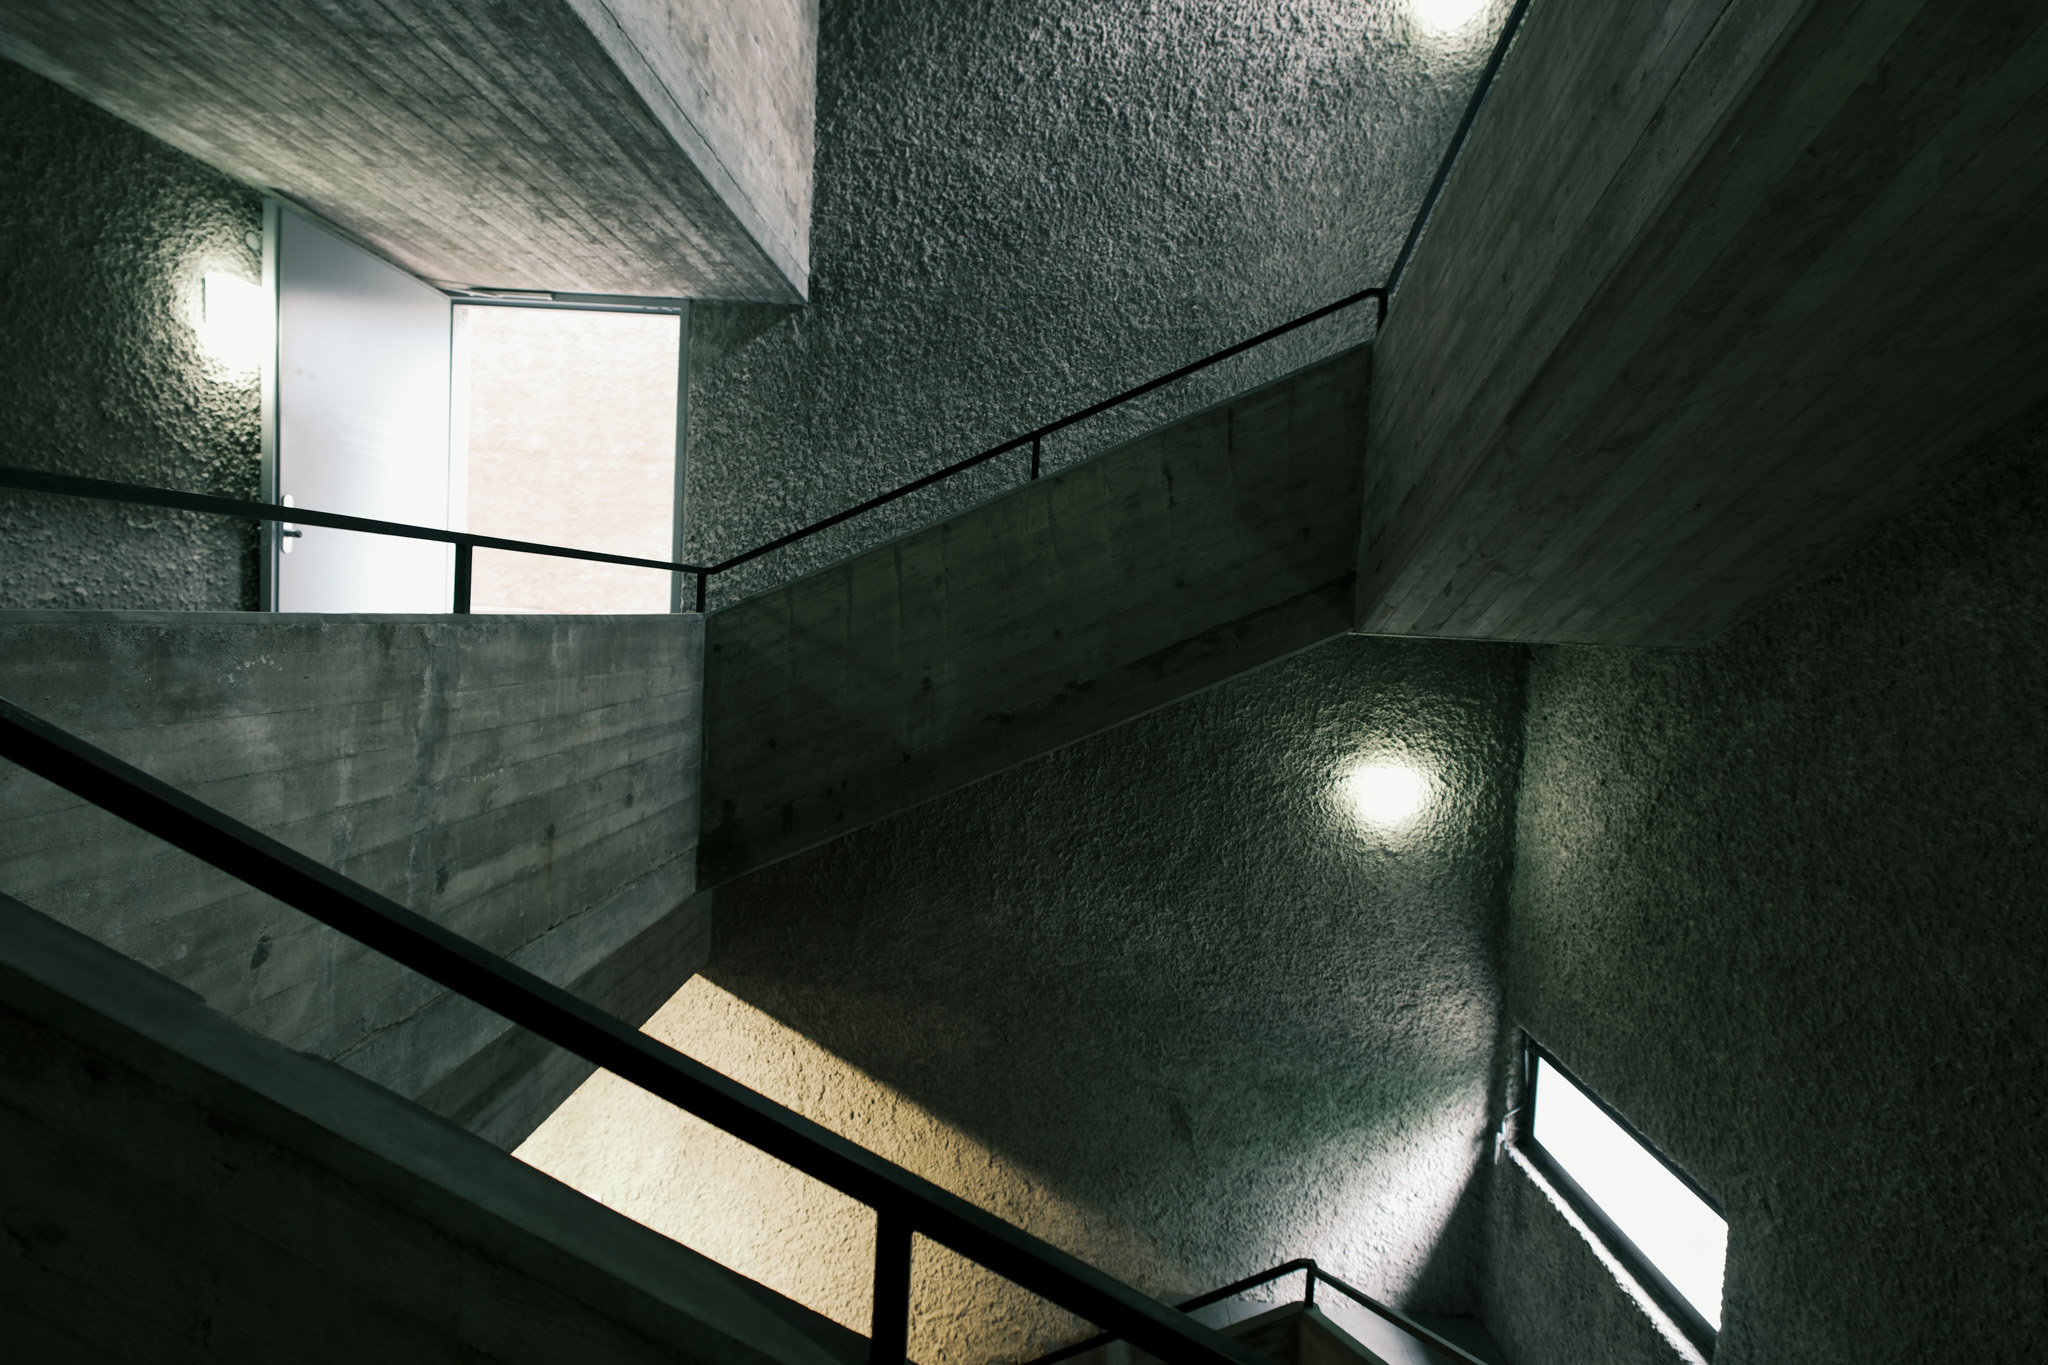
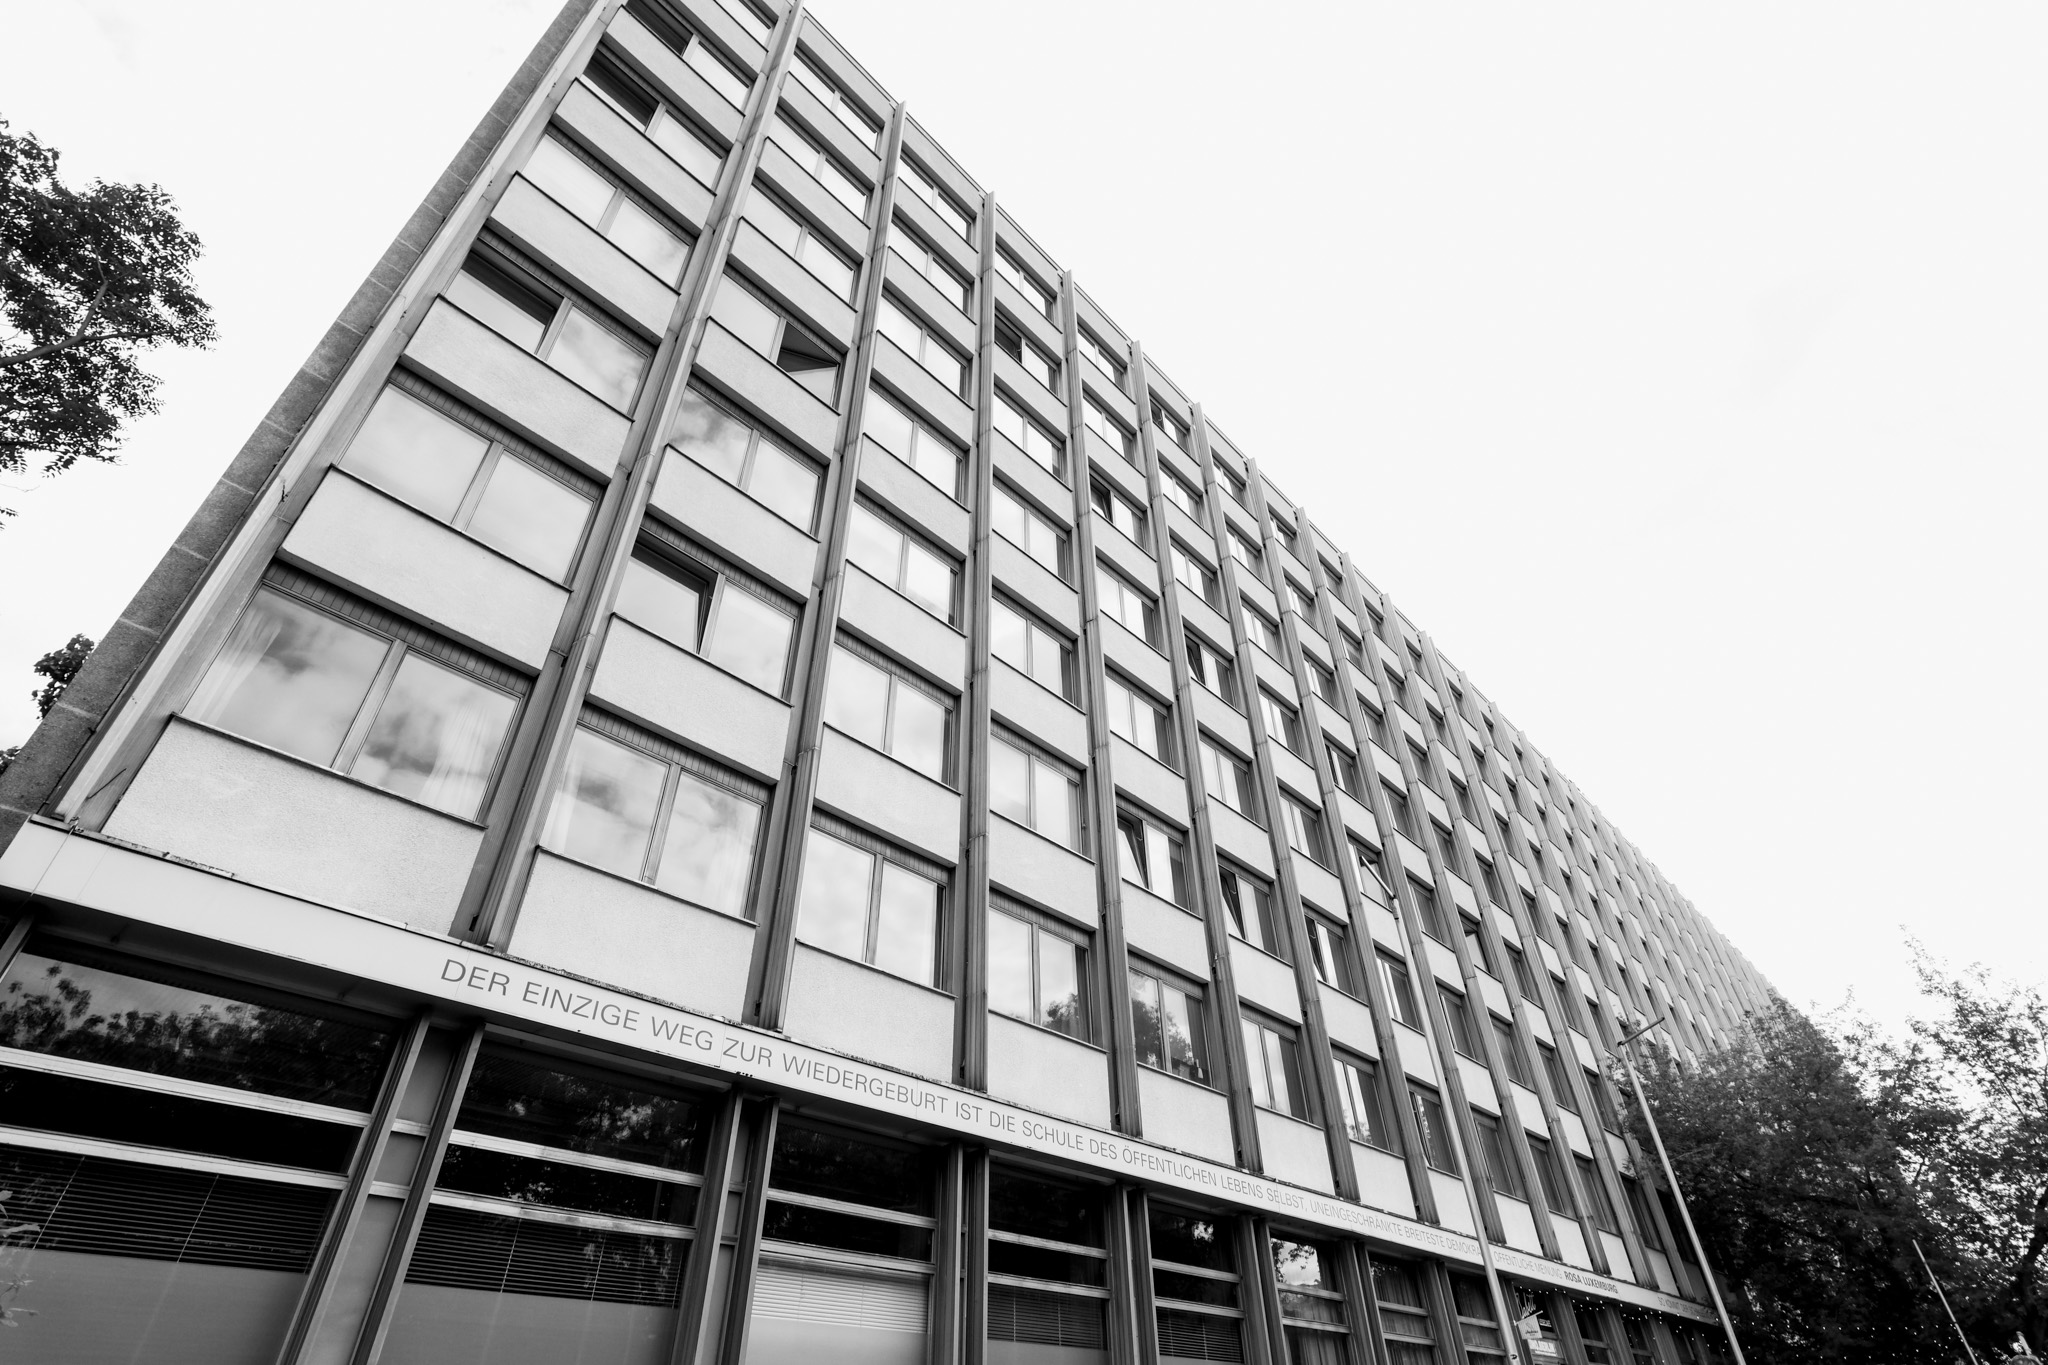
Unlike fisheye lenses, the 12mm F1.4 DC | Contemporary maintains relatively straight lines, especially through the center of the frame. Barrel distortion exists but stays controlled, reading as natural perspective rather than optical weirdness. This proved essential when photographing Berlin’s mix of architectural styles, from Bauhaus geometry to contemporary glass facades.
Fujifilm X-T5
F1.4, 1/8000s, ISO 250
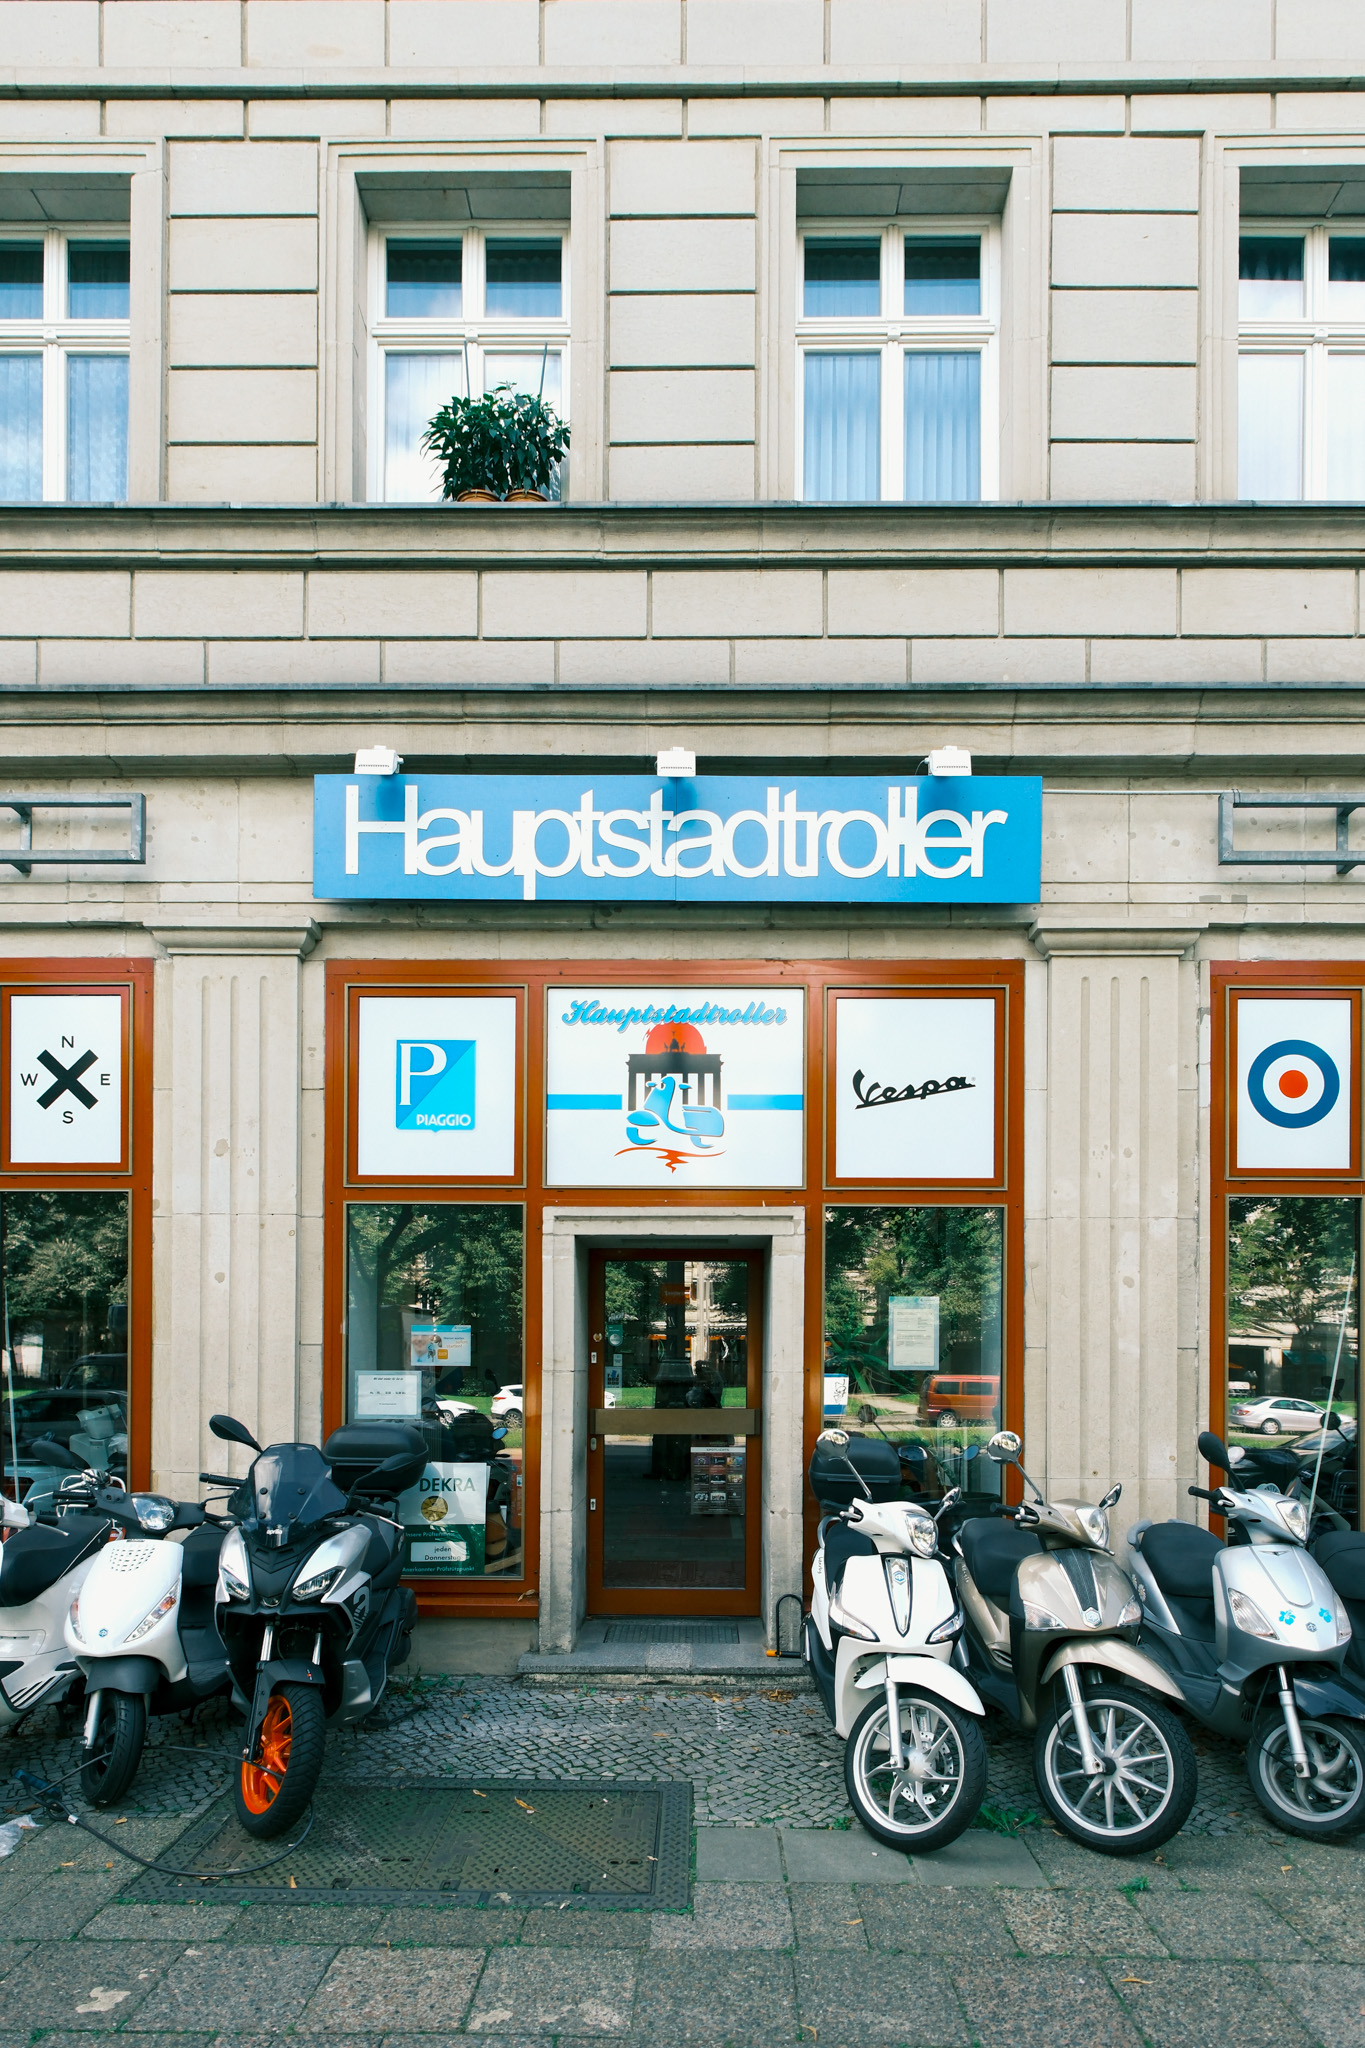
Berlin’s architecture suddenly made more sense through this ultra-wide view. I wasn’t frantically stepping backward trying to fit everything in frame. The 99.6° angle of view gave me breathing room I didn’t know I needed. More importantly, it let me capture these massive structures while still including the human elements, the urban context that makes these buildings feel alive rather than just monuments.
Fujifilm X-T5
F1.4, 1/4000s, ISO 125
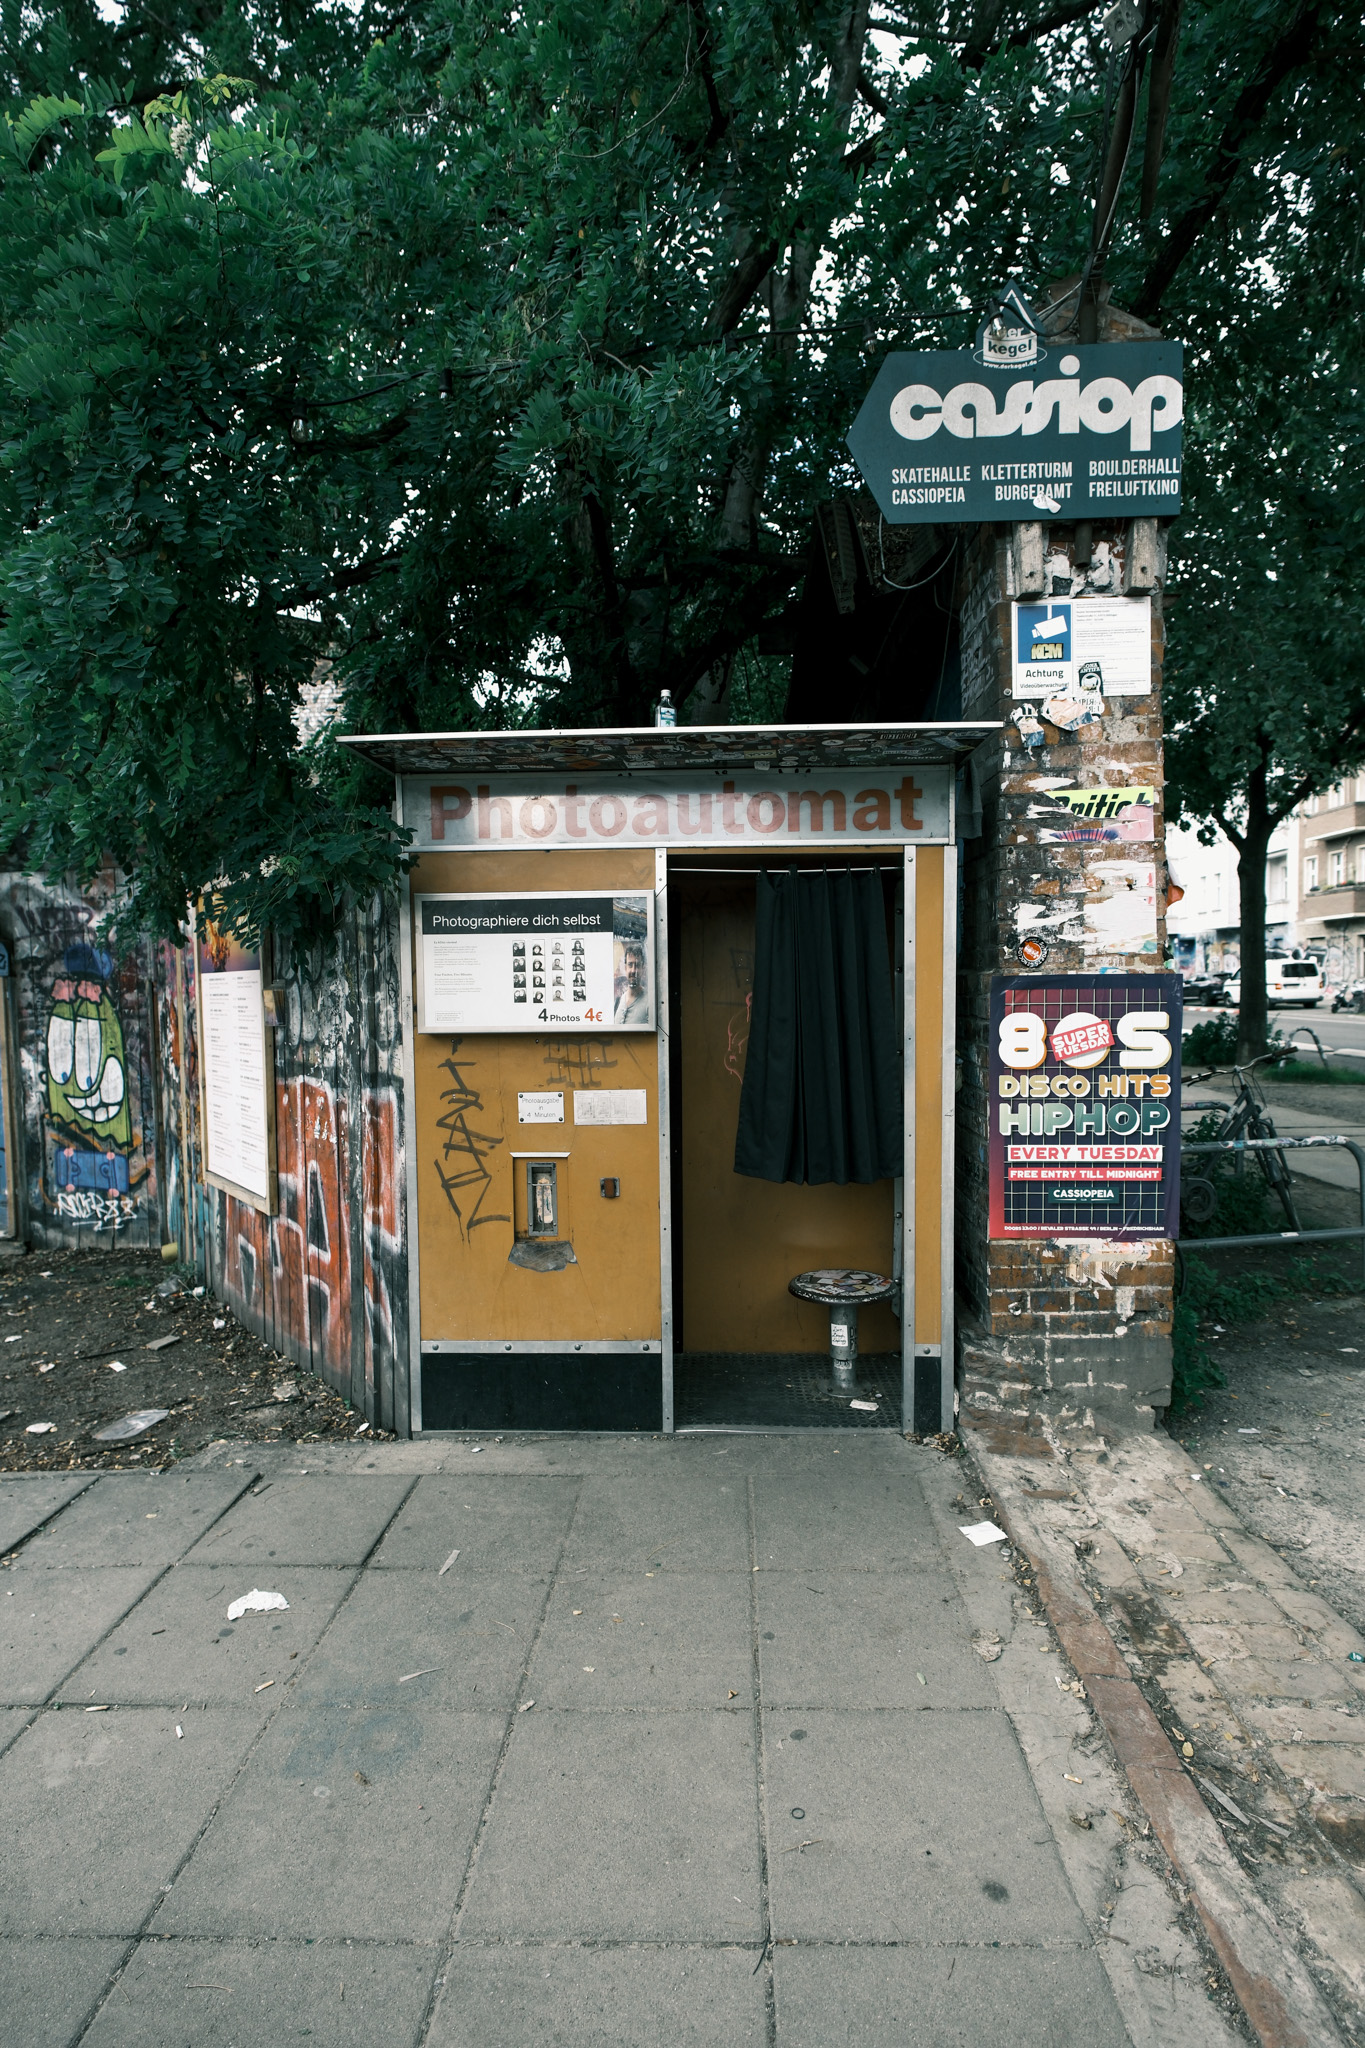
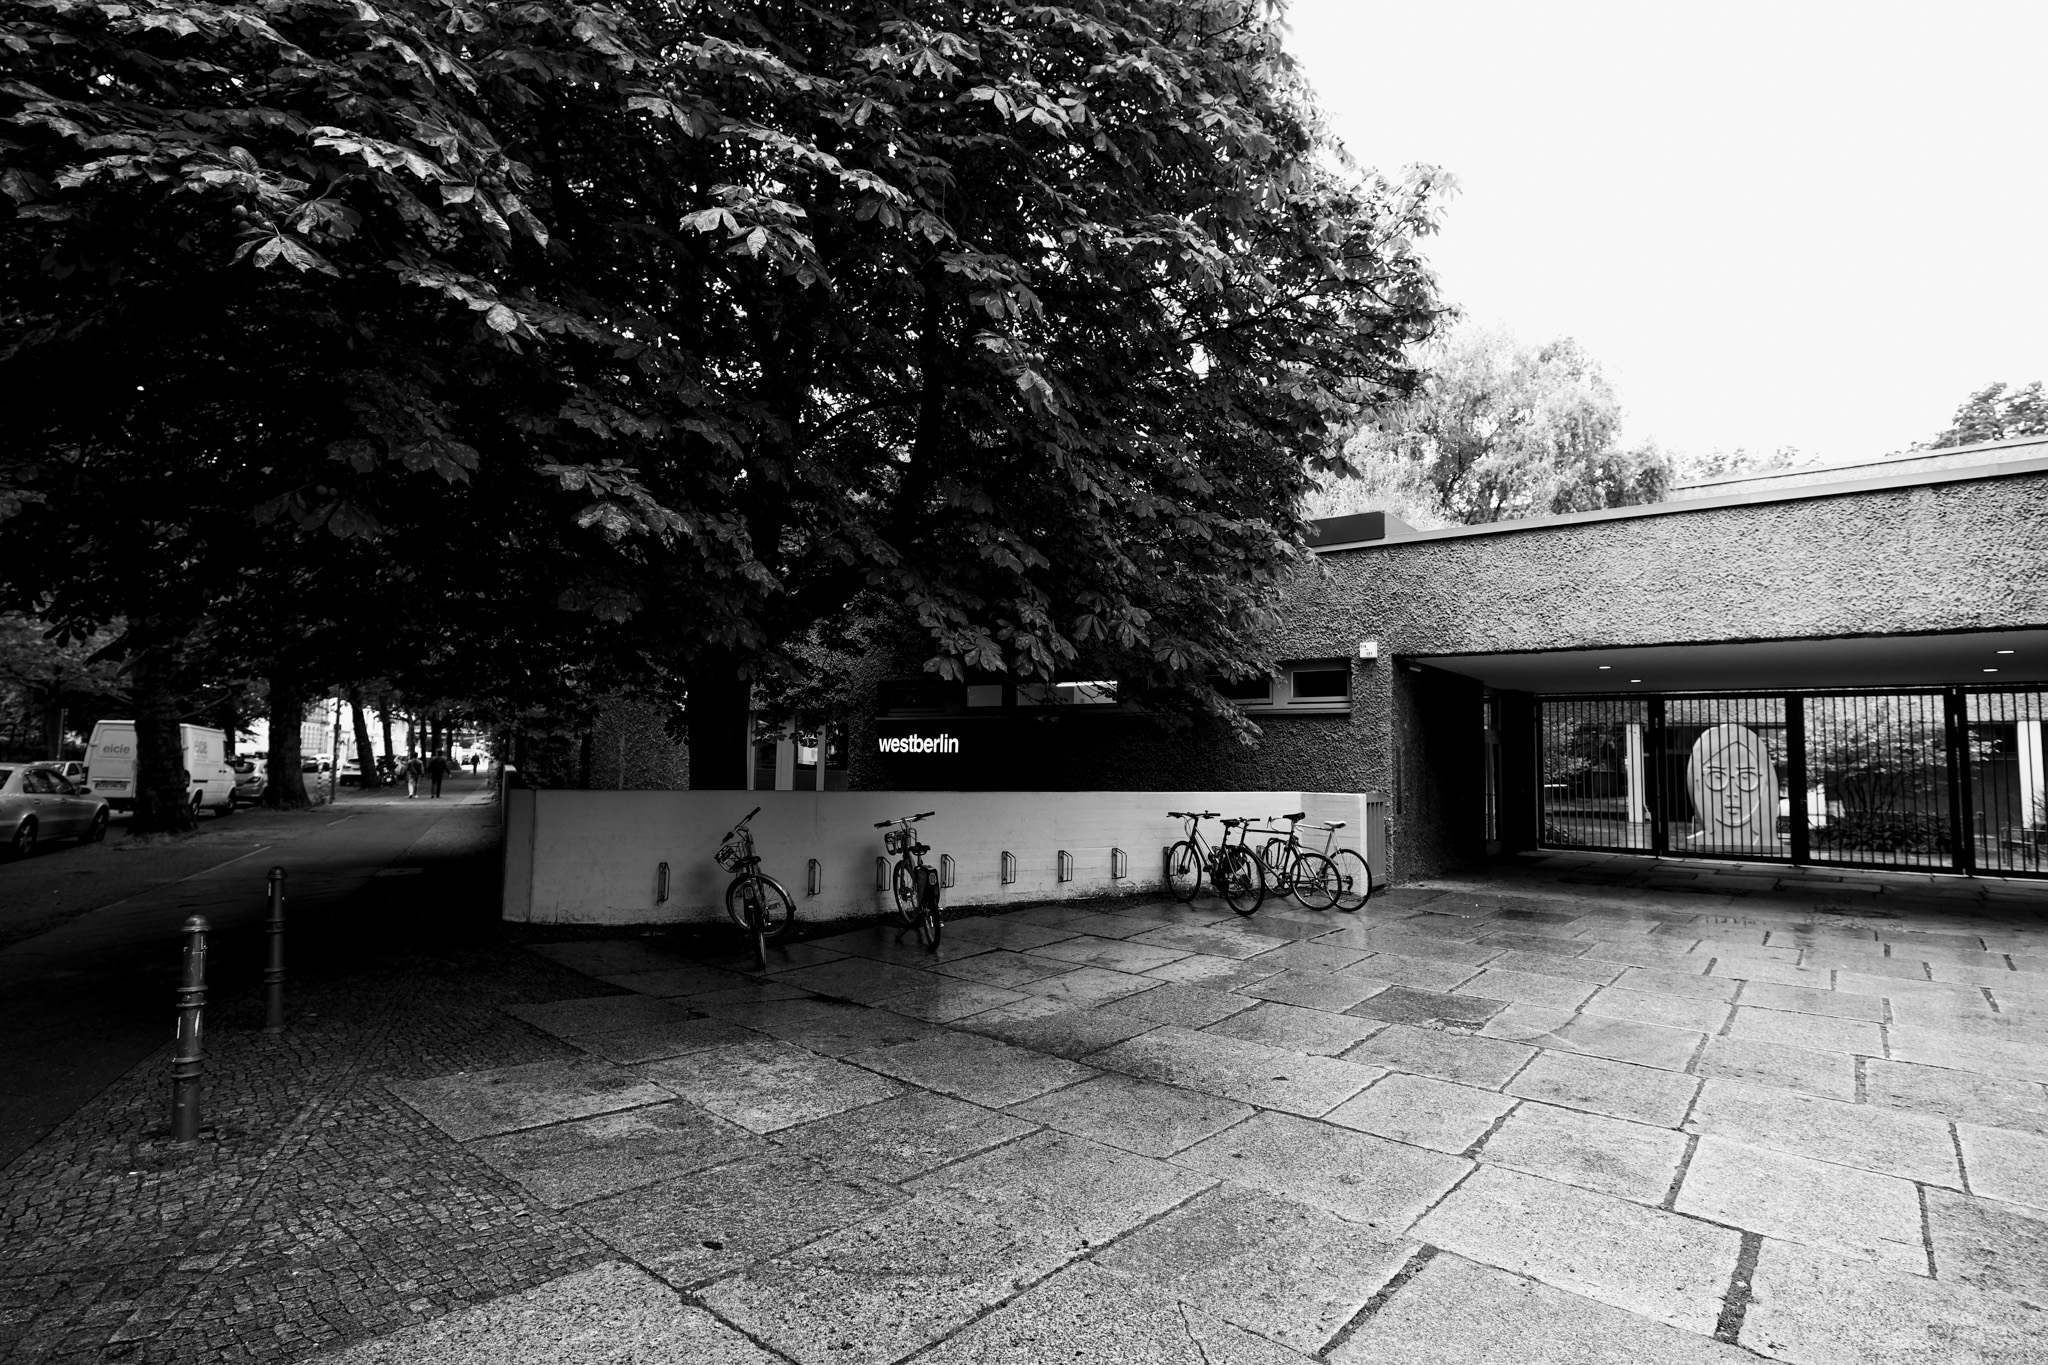
What surprised me most was how the focal length changed what I noticed. With a normal zoom, I’d instinctively frame tighter, focusing on specific architectural details or cropping out distracting elements. The 12mm F1.4 DC | Contemporary forced me to embrace everything in the scene like the messy power lines, construction scaffolding, the way modern glass facades reflect the older buildings across the street. Suddenly these “imperfections” weren’t distractions; they were part of the story.
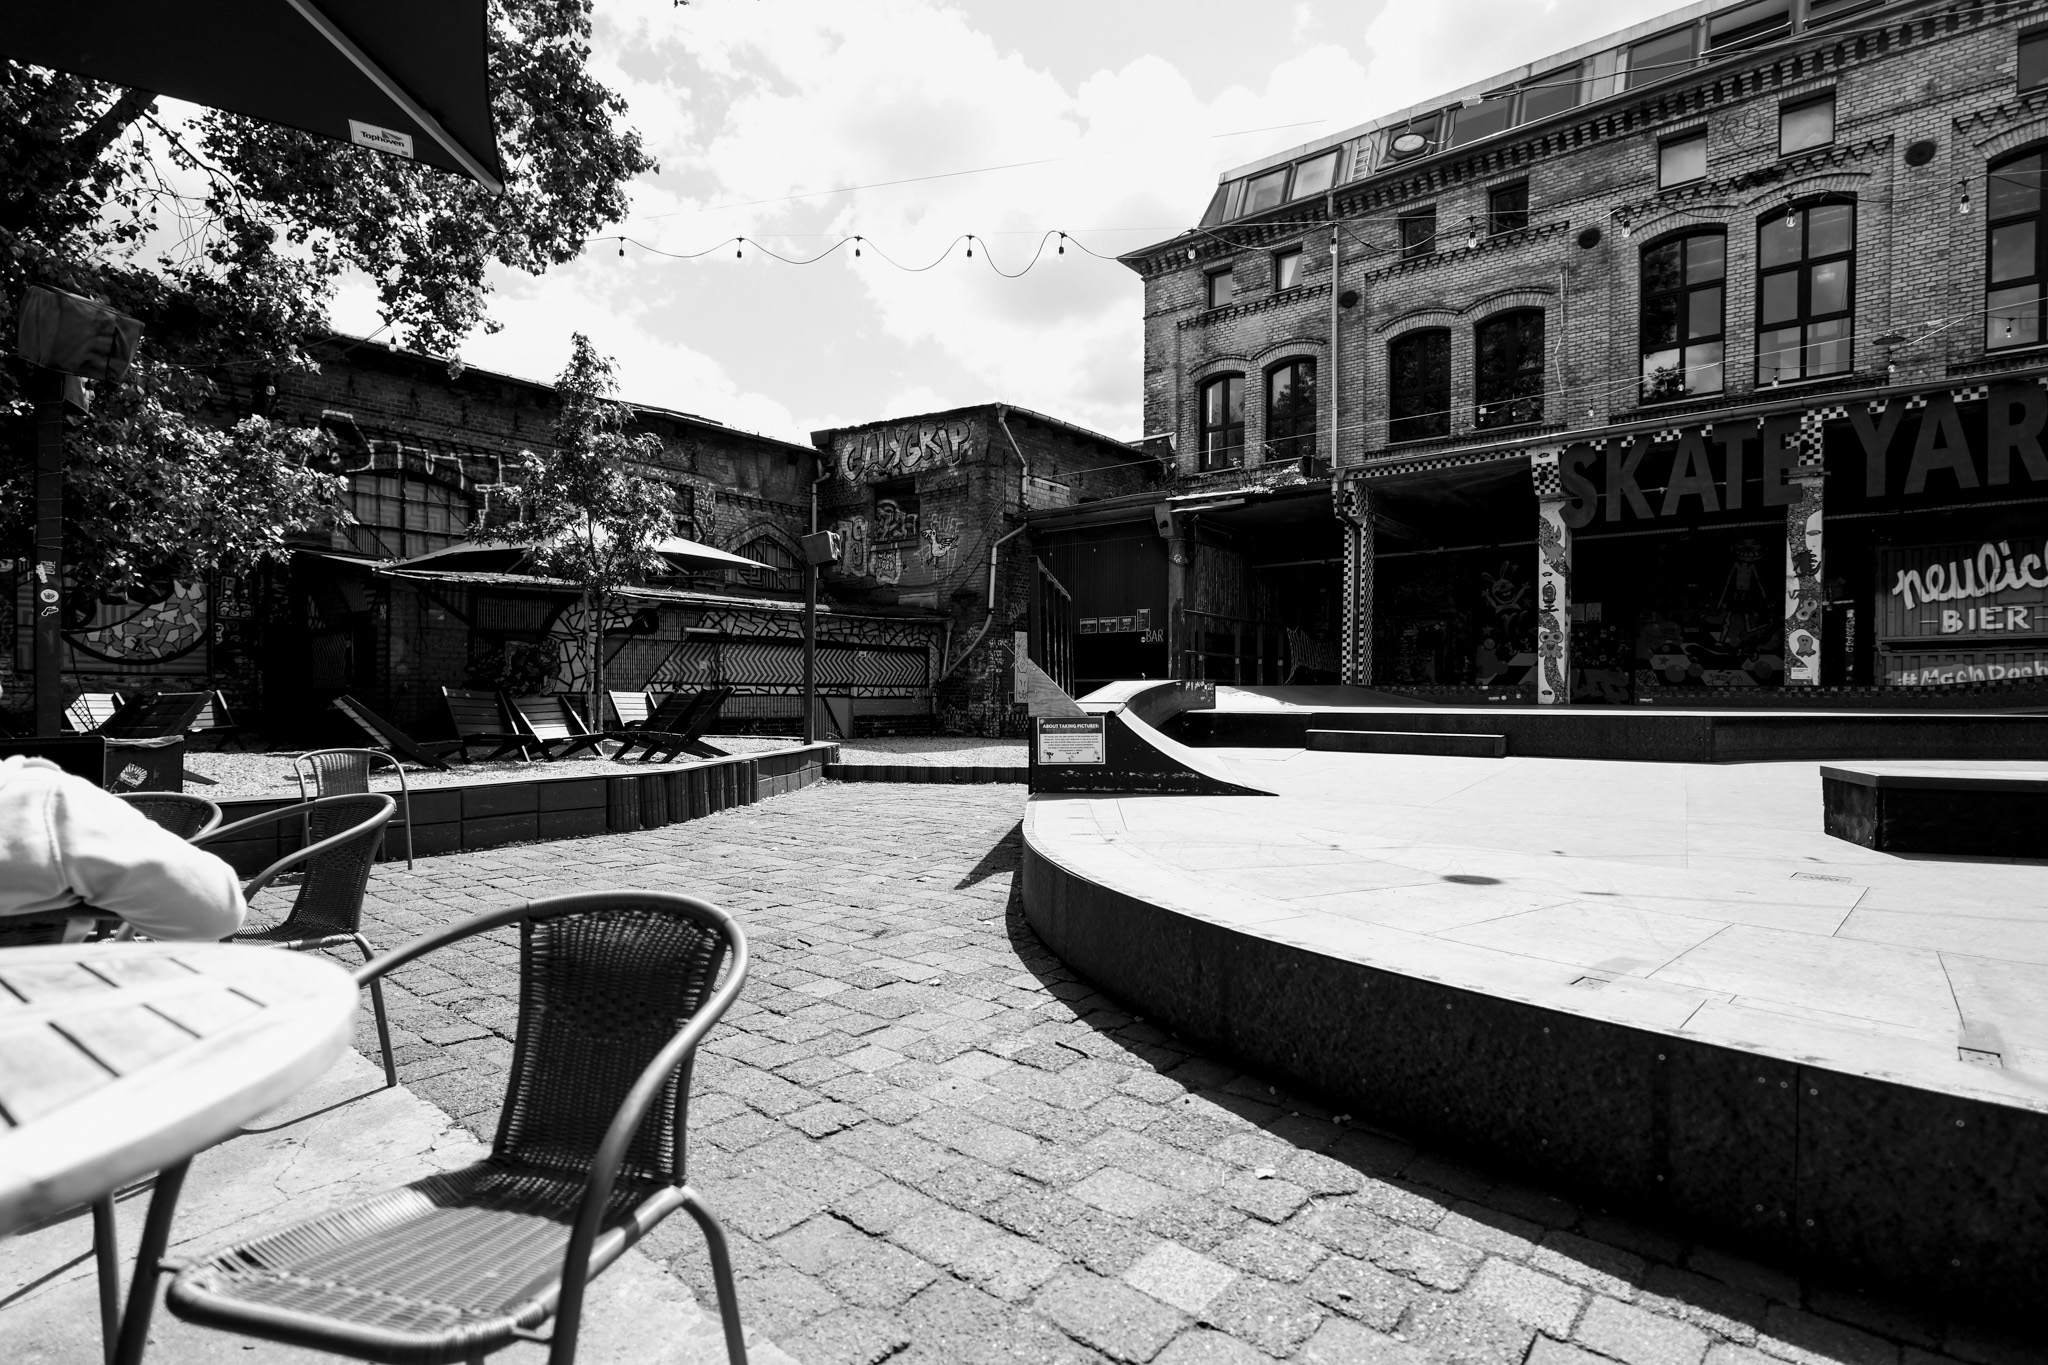
Fujifilm X-T5
F2, 1/4000s, ISO 160
Fujifilm X-T5
F1.8, 1/1250s, ISO 250
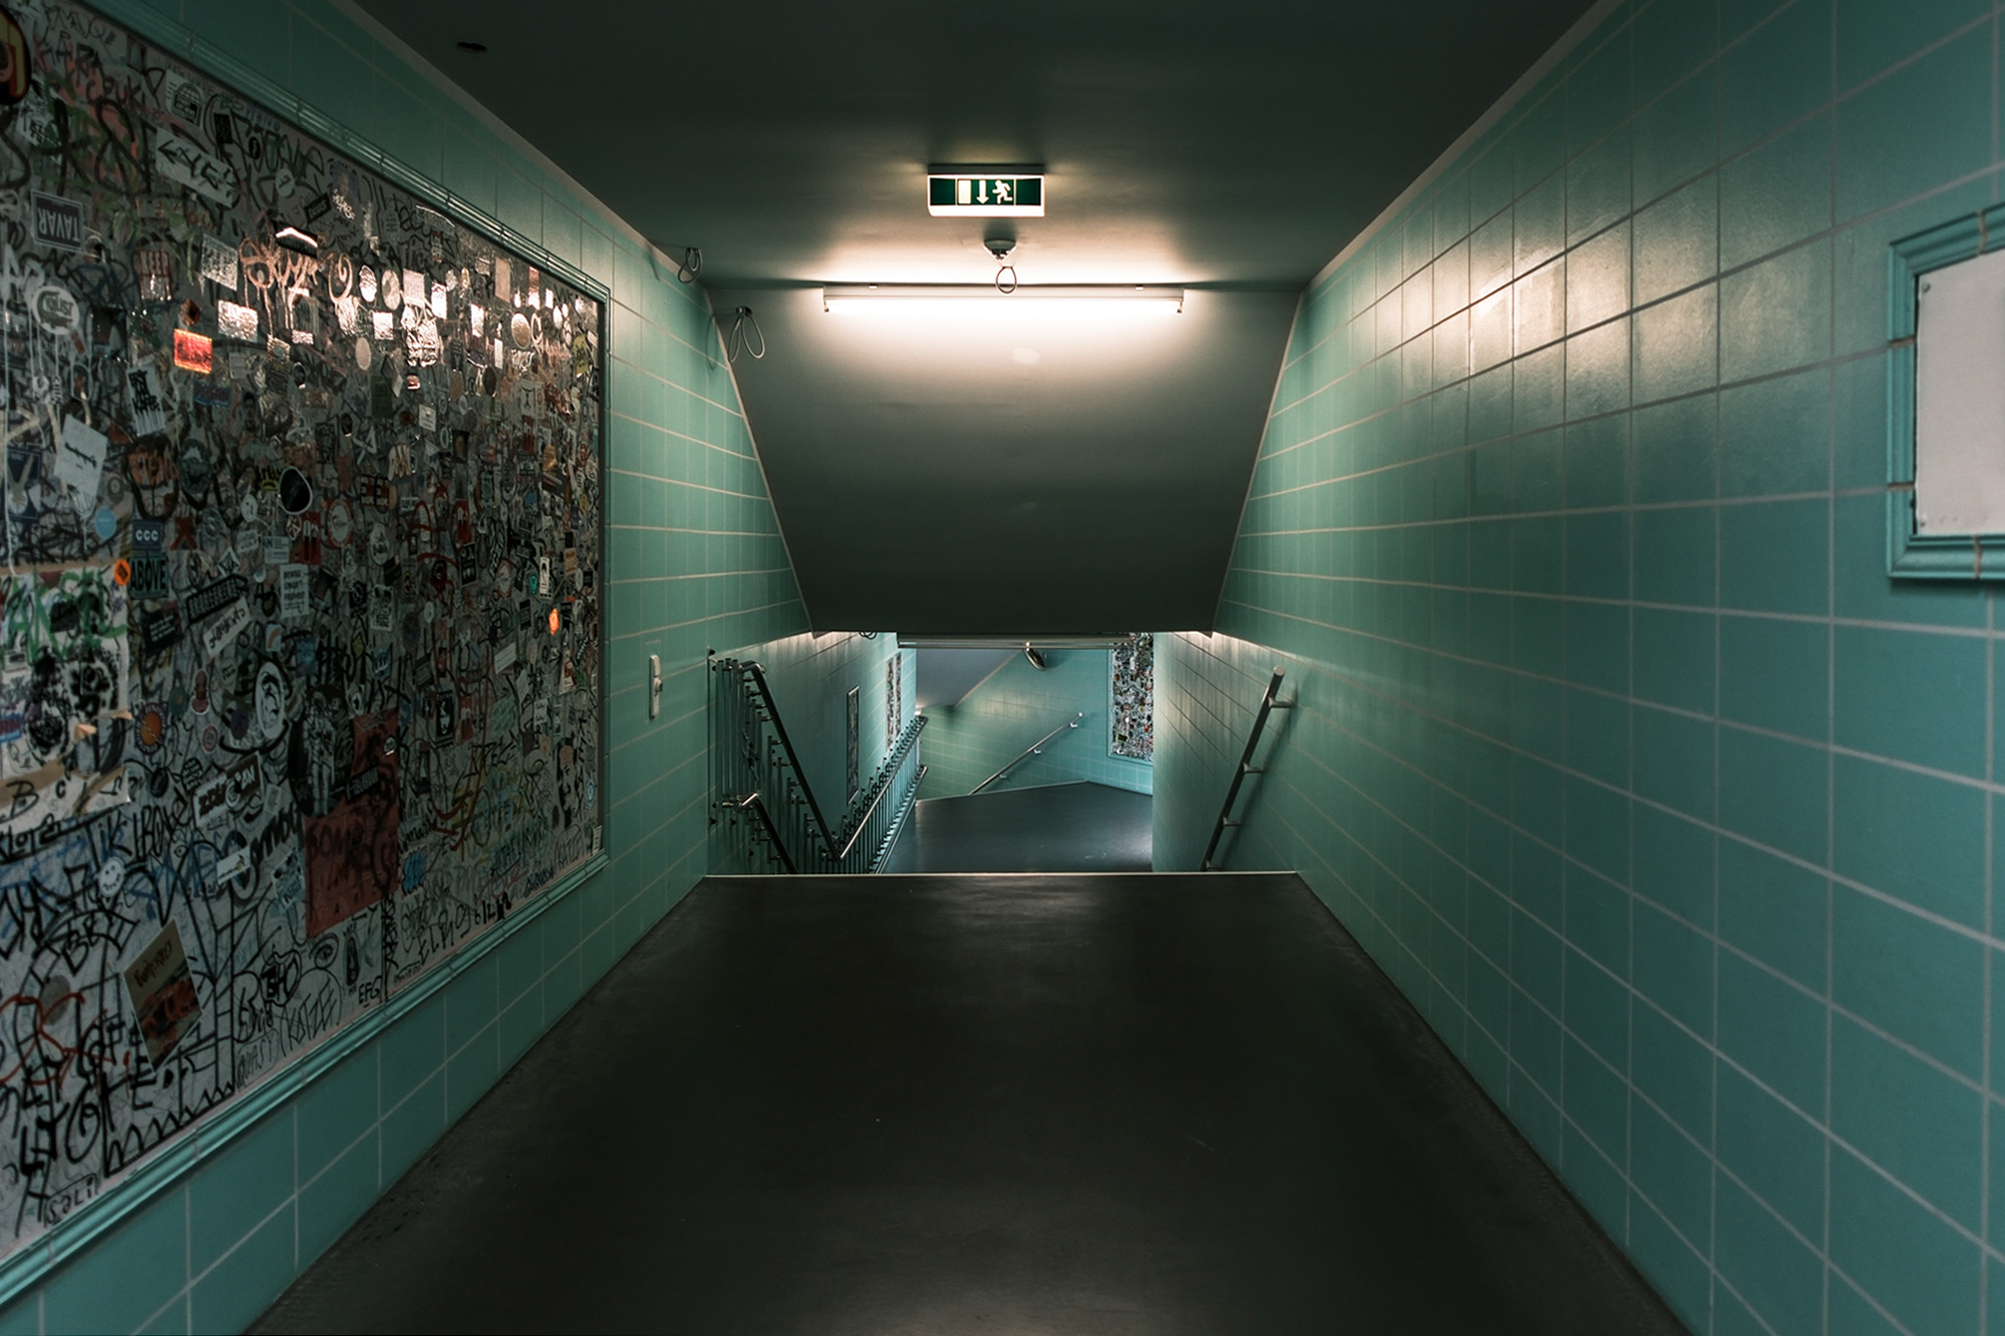
The Interior Advantage
Berlin’s museums became my real testing ground. Anyone who’s tried photographing in galleries knows the struggle of dim lighting, mixed color temperatures, and the constant balance between capturing the space and the art within it. The F1.4 aperture wasn’t just convenient here; it was essential.
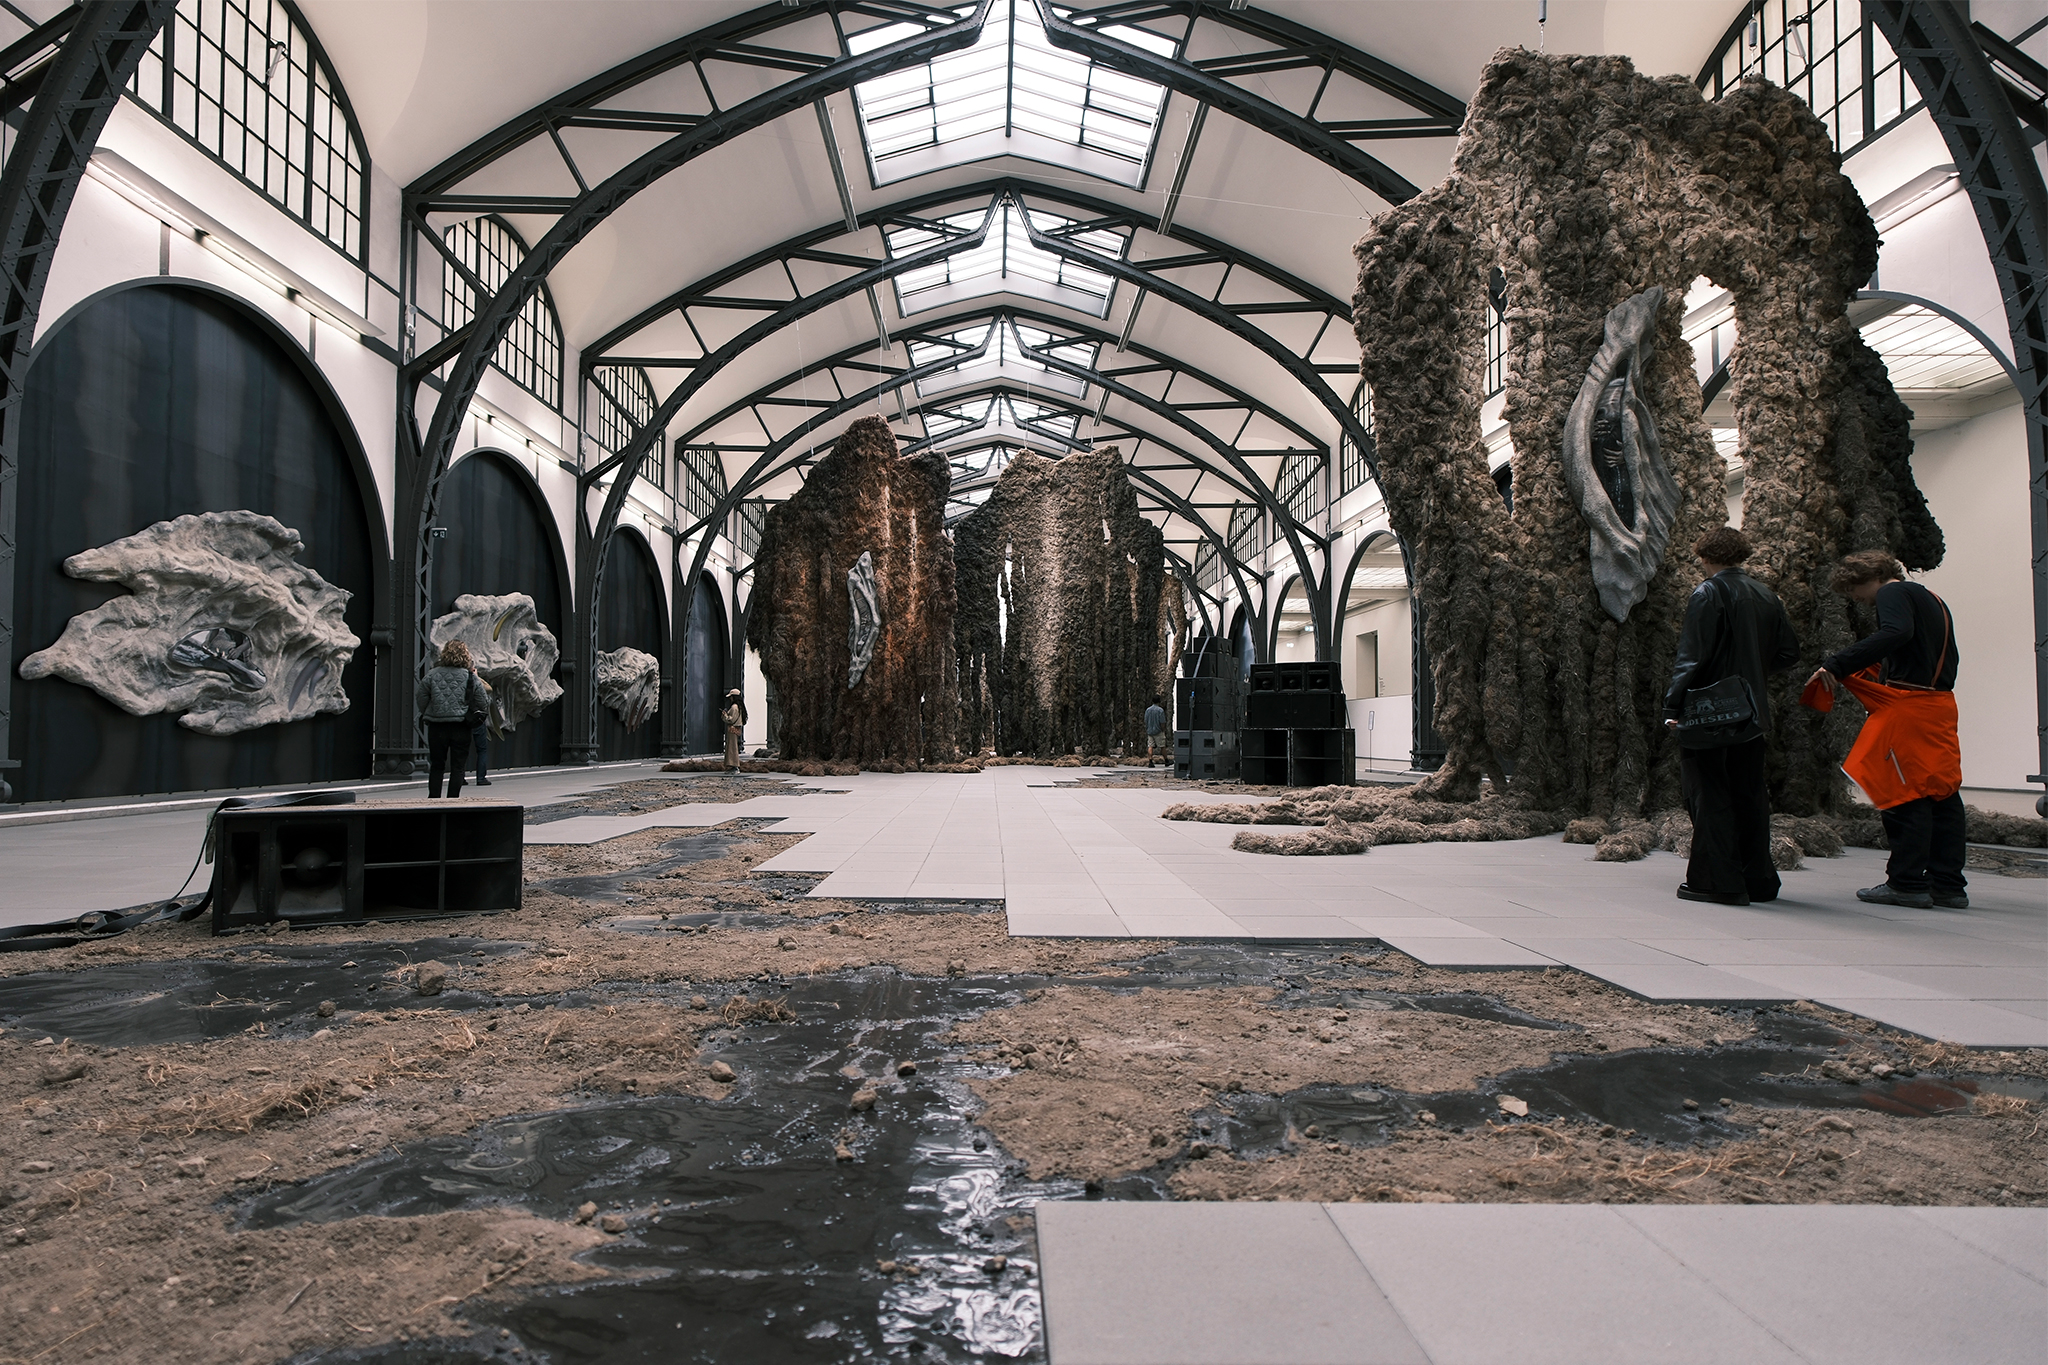
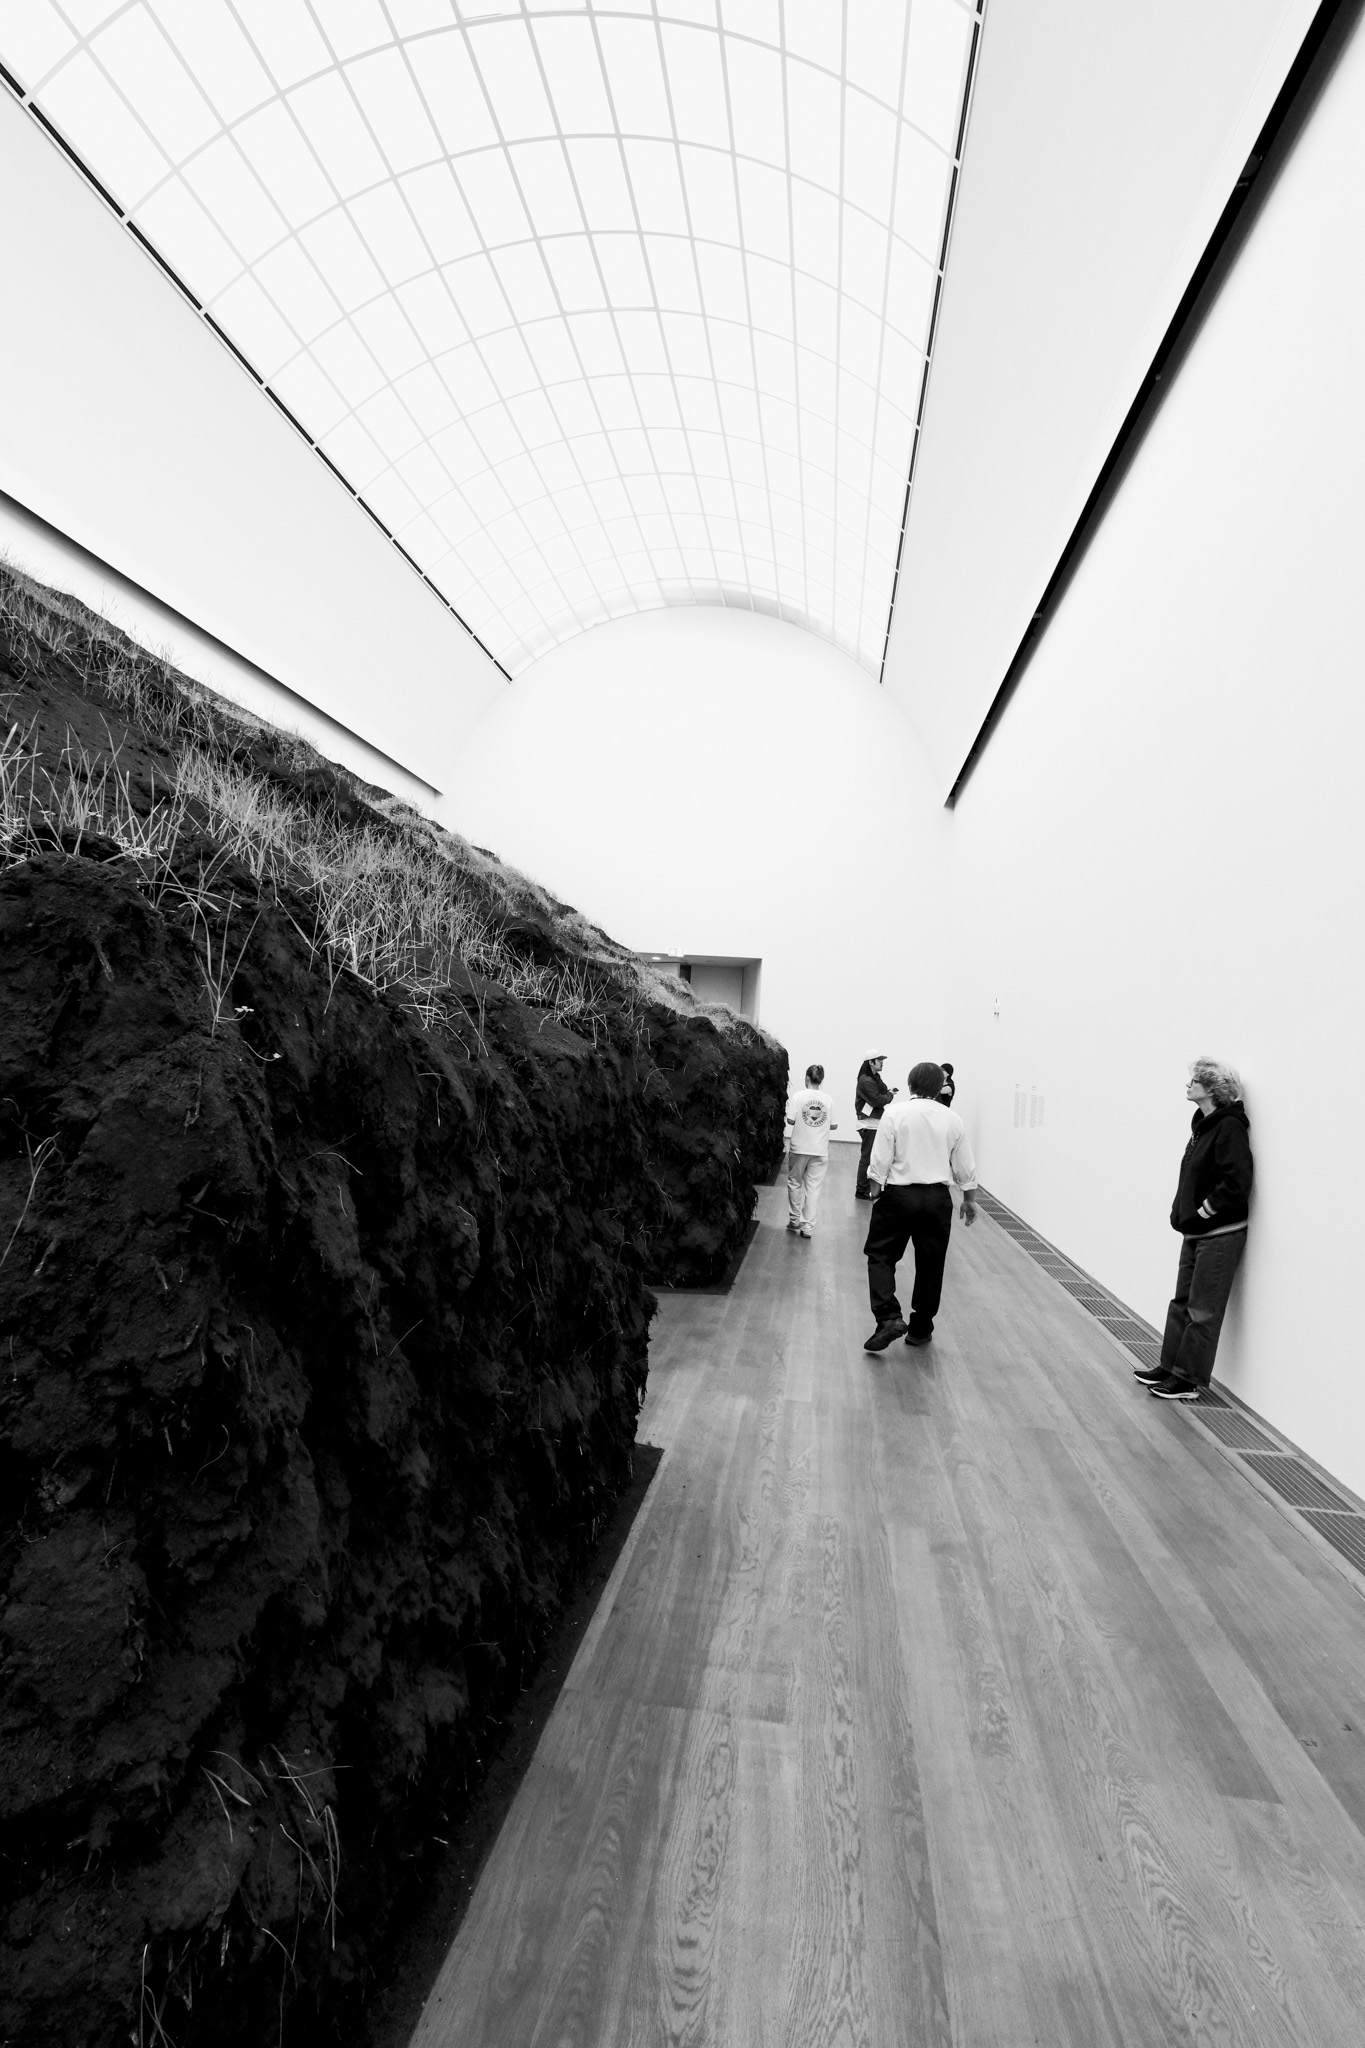
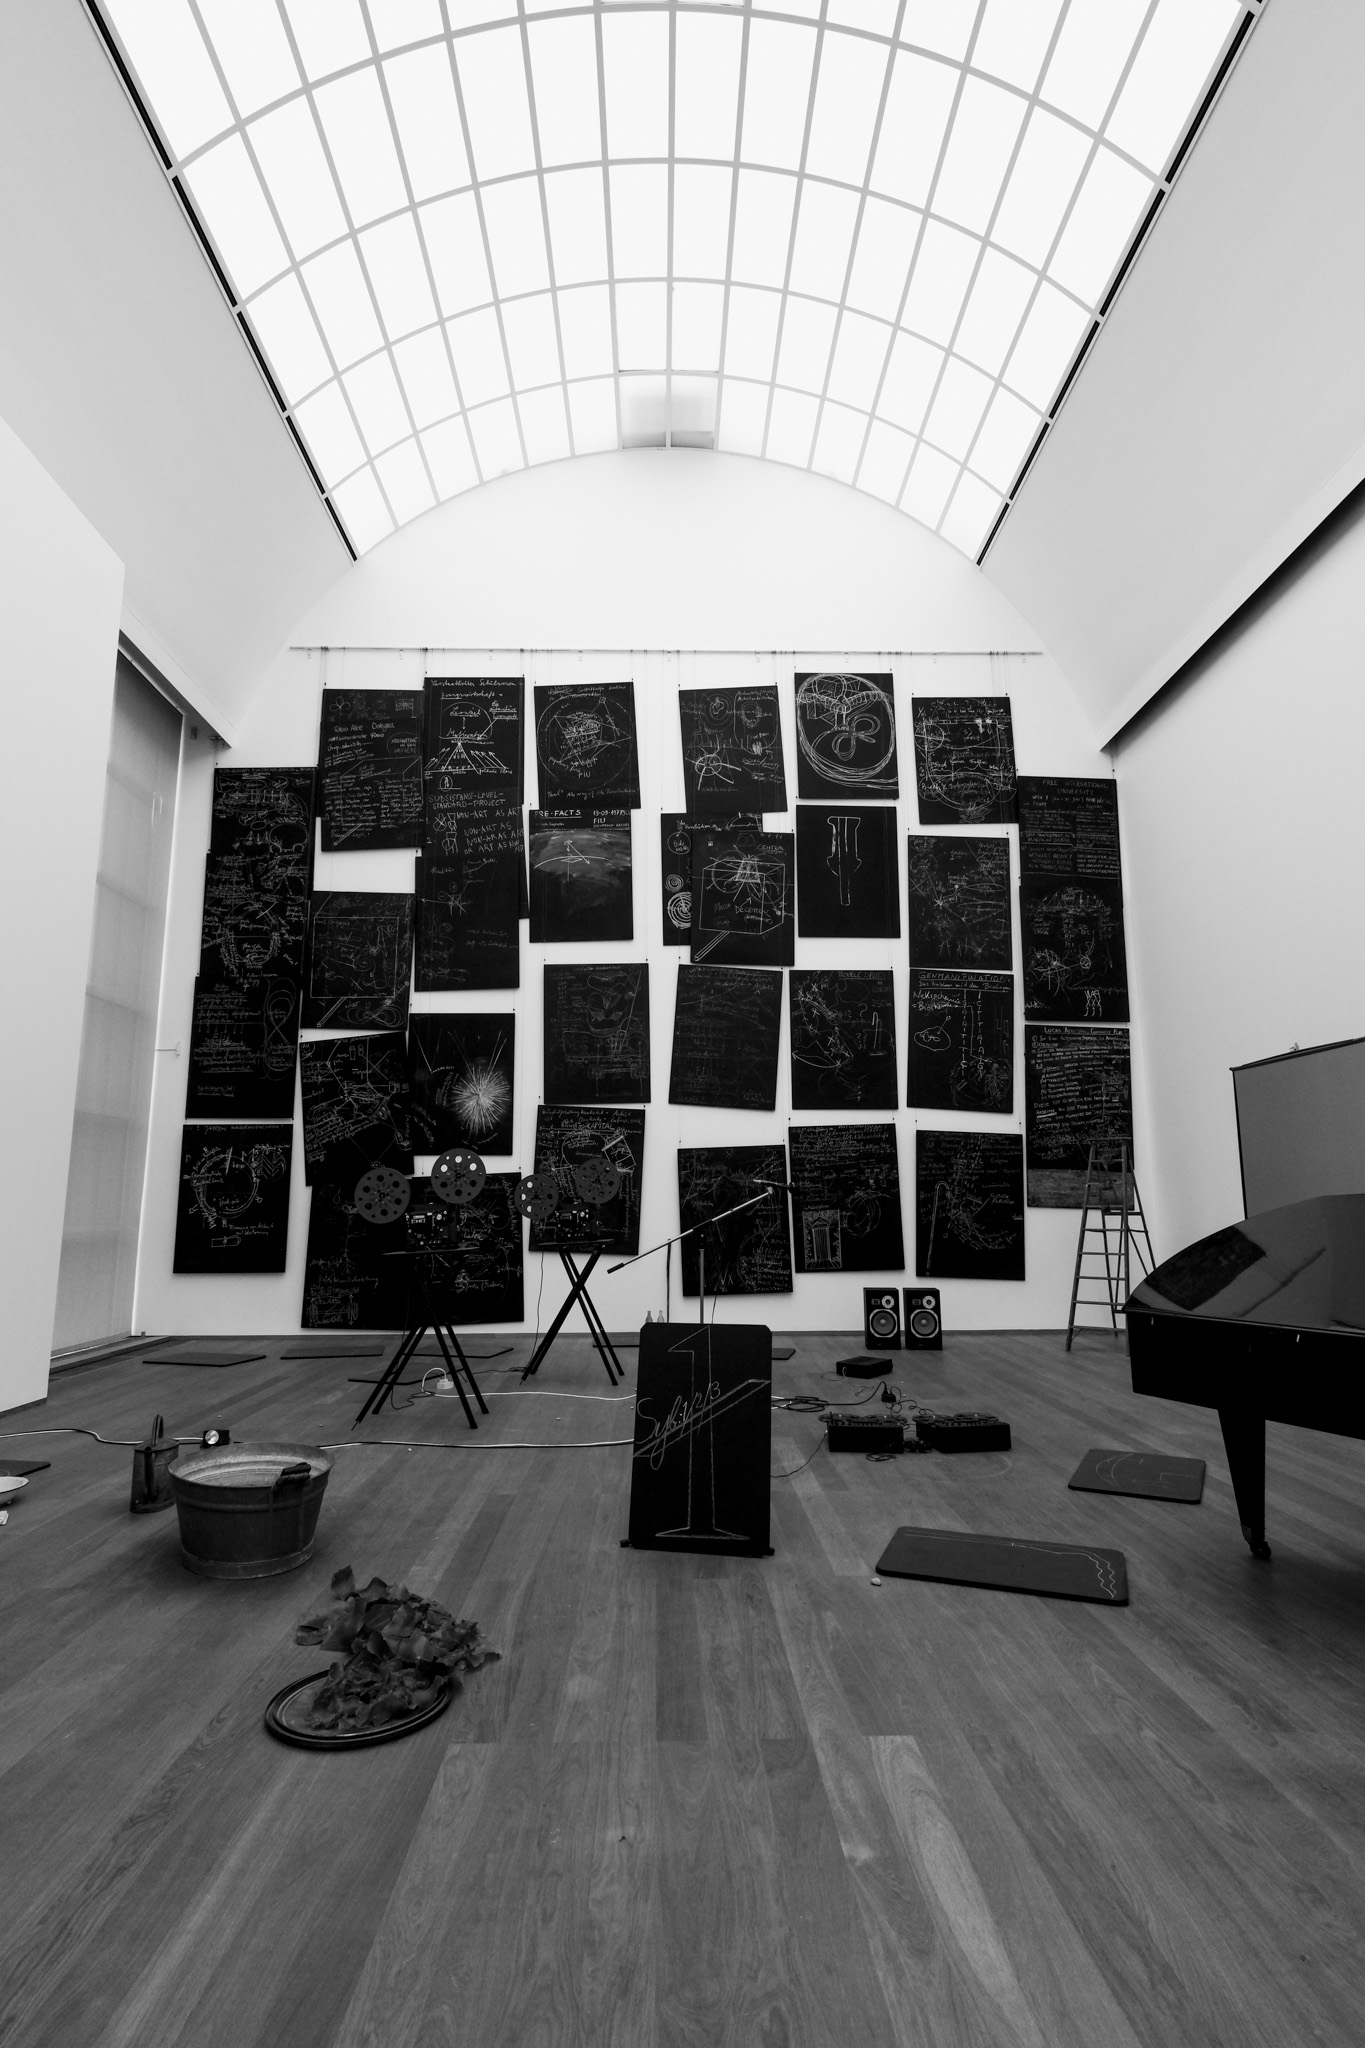
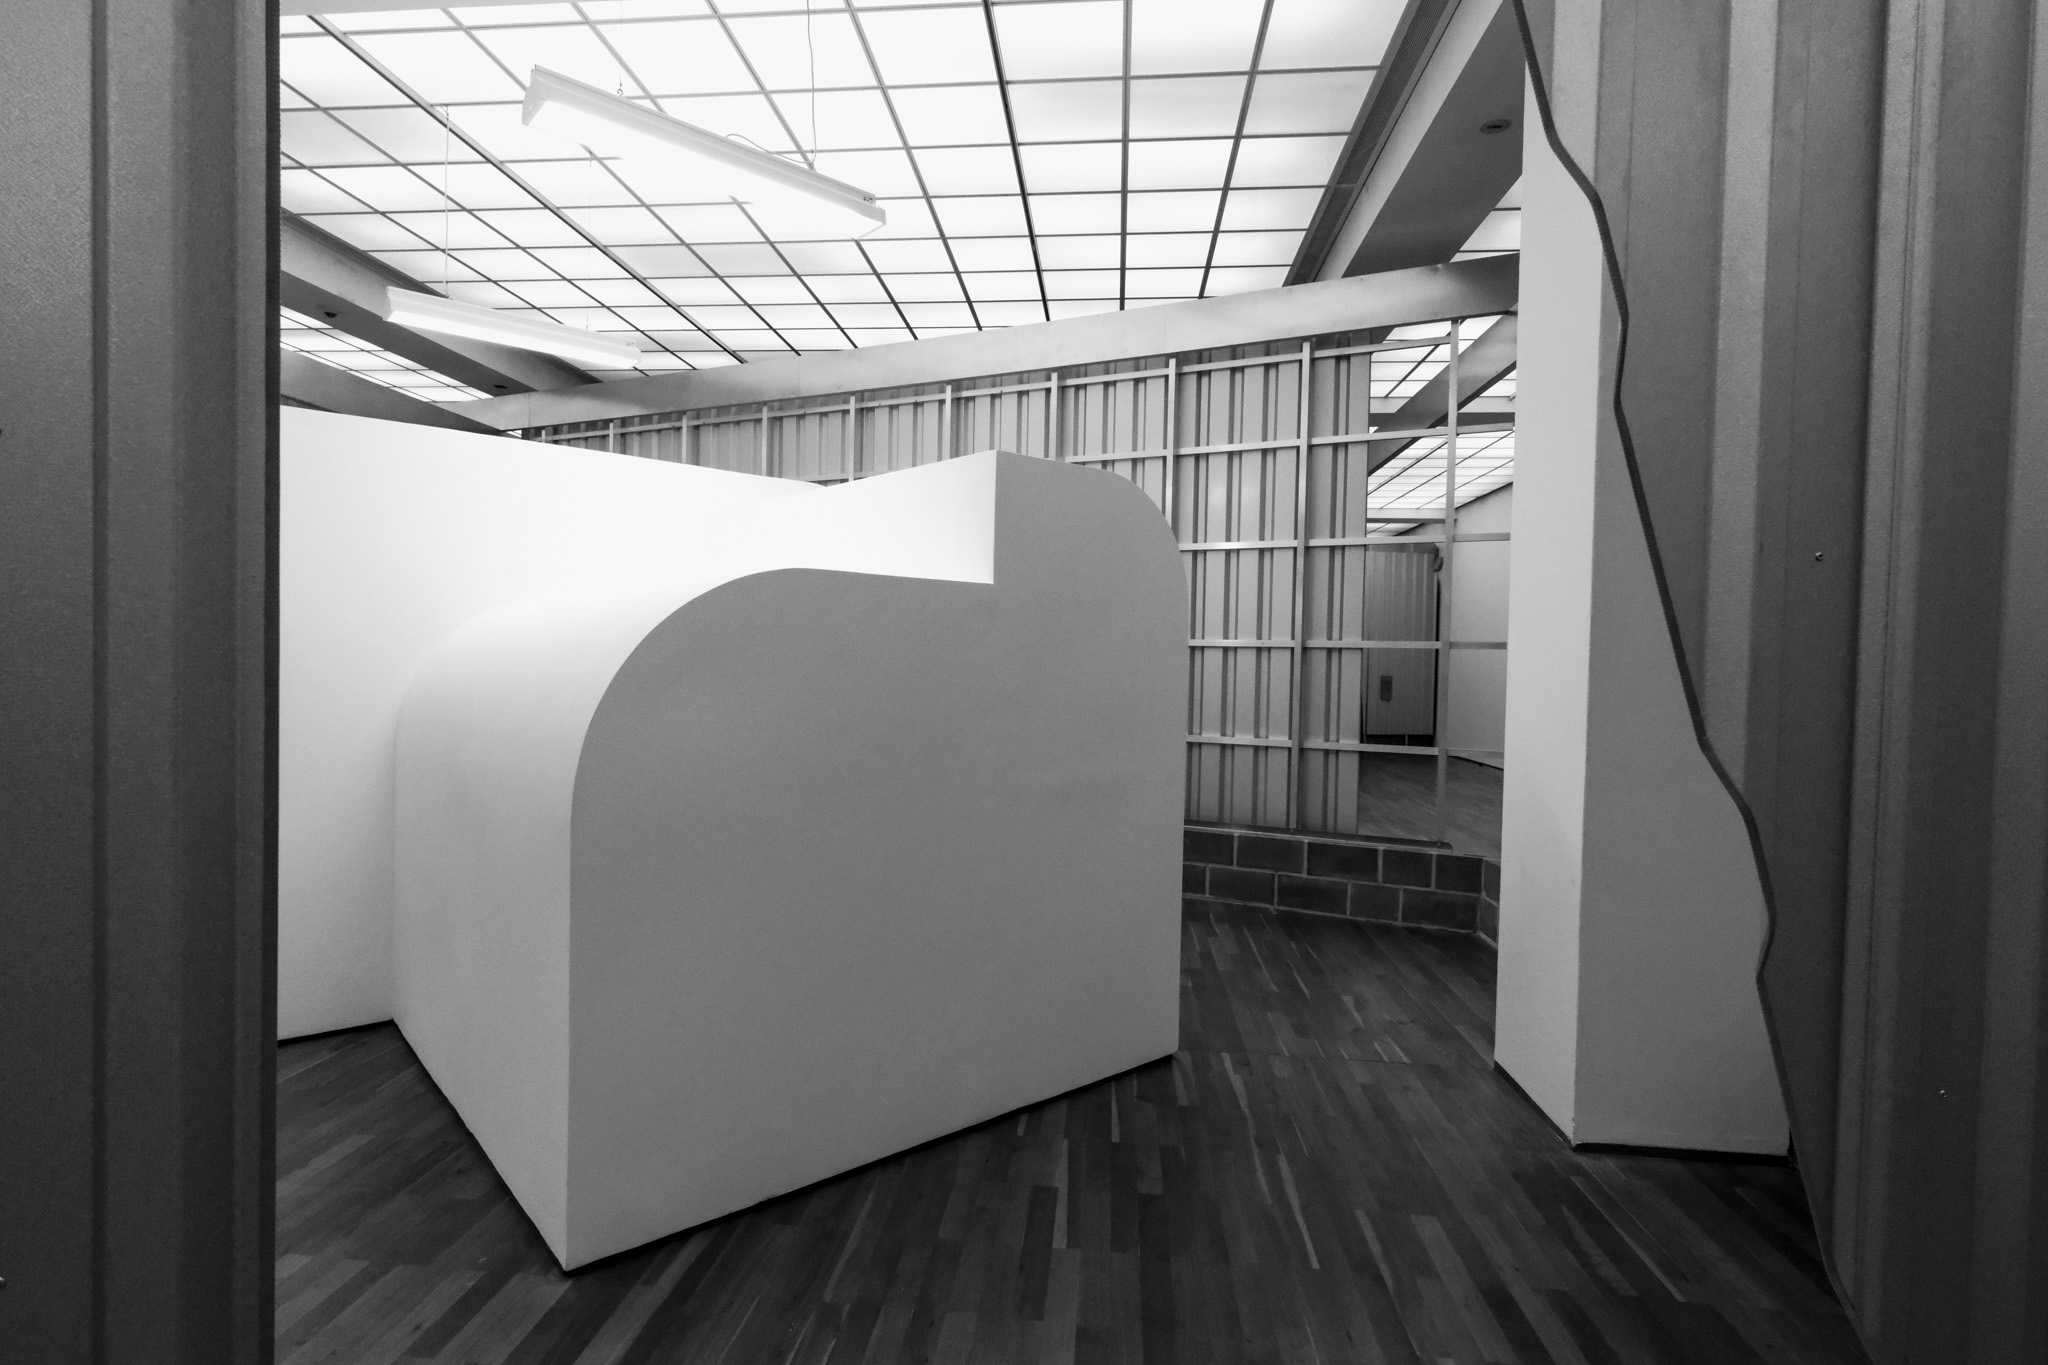
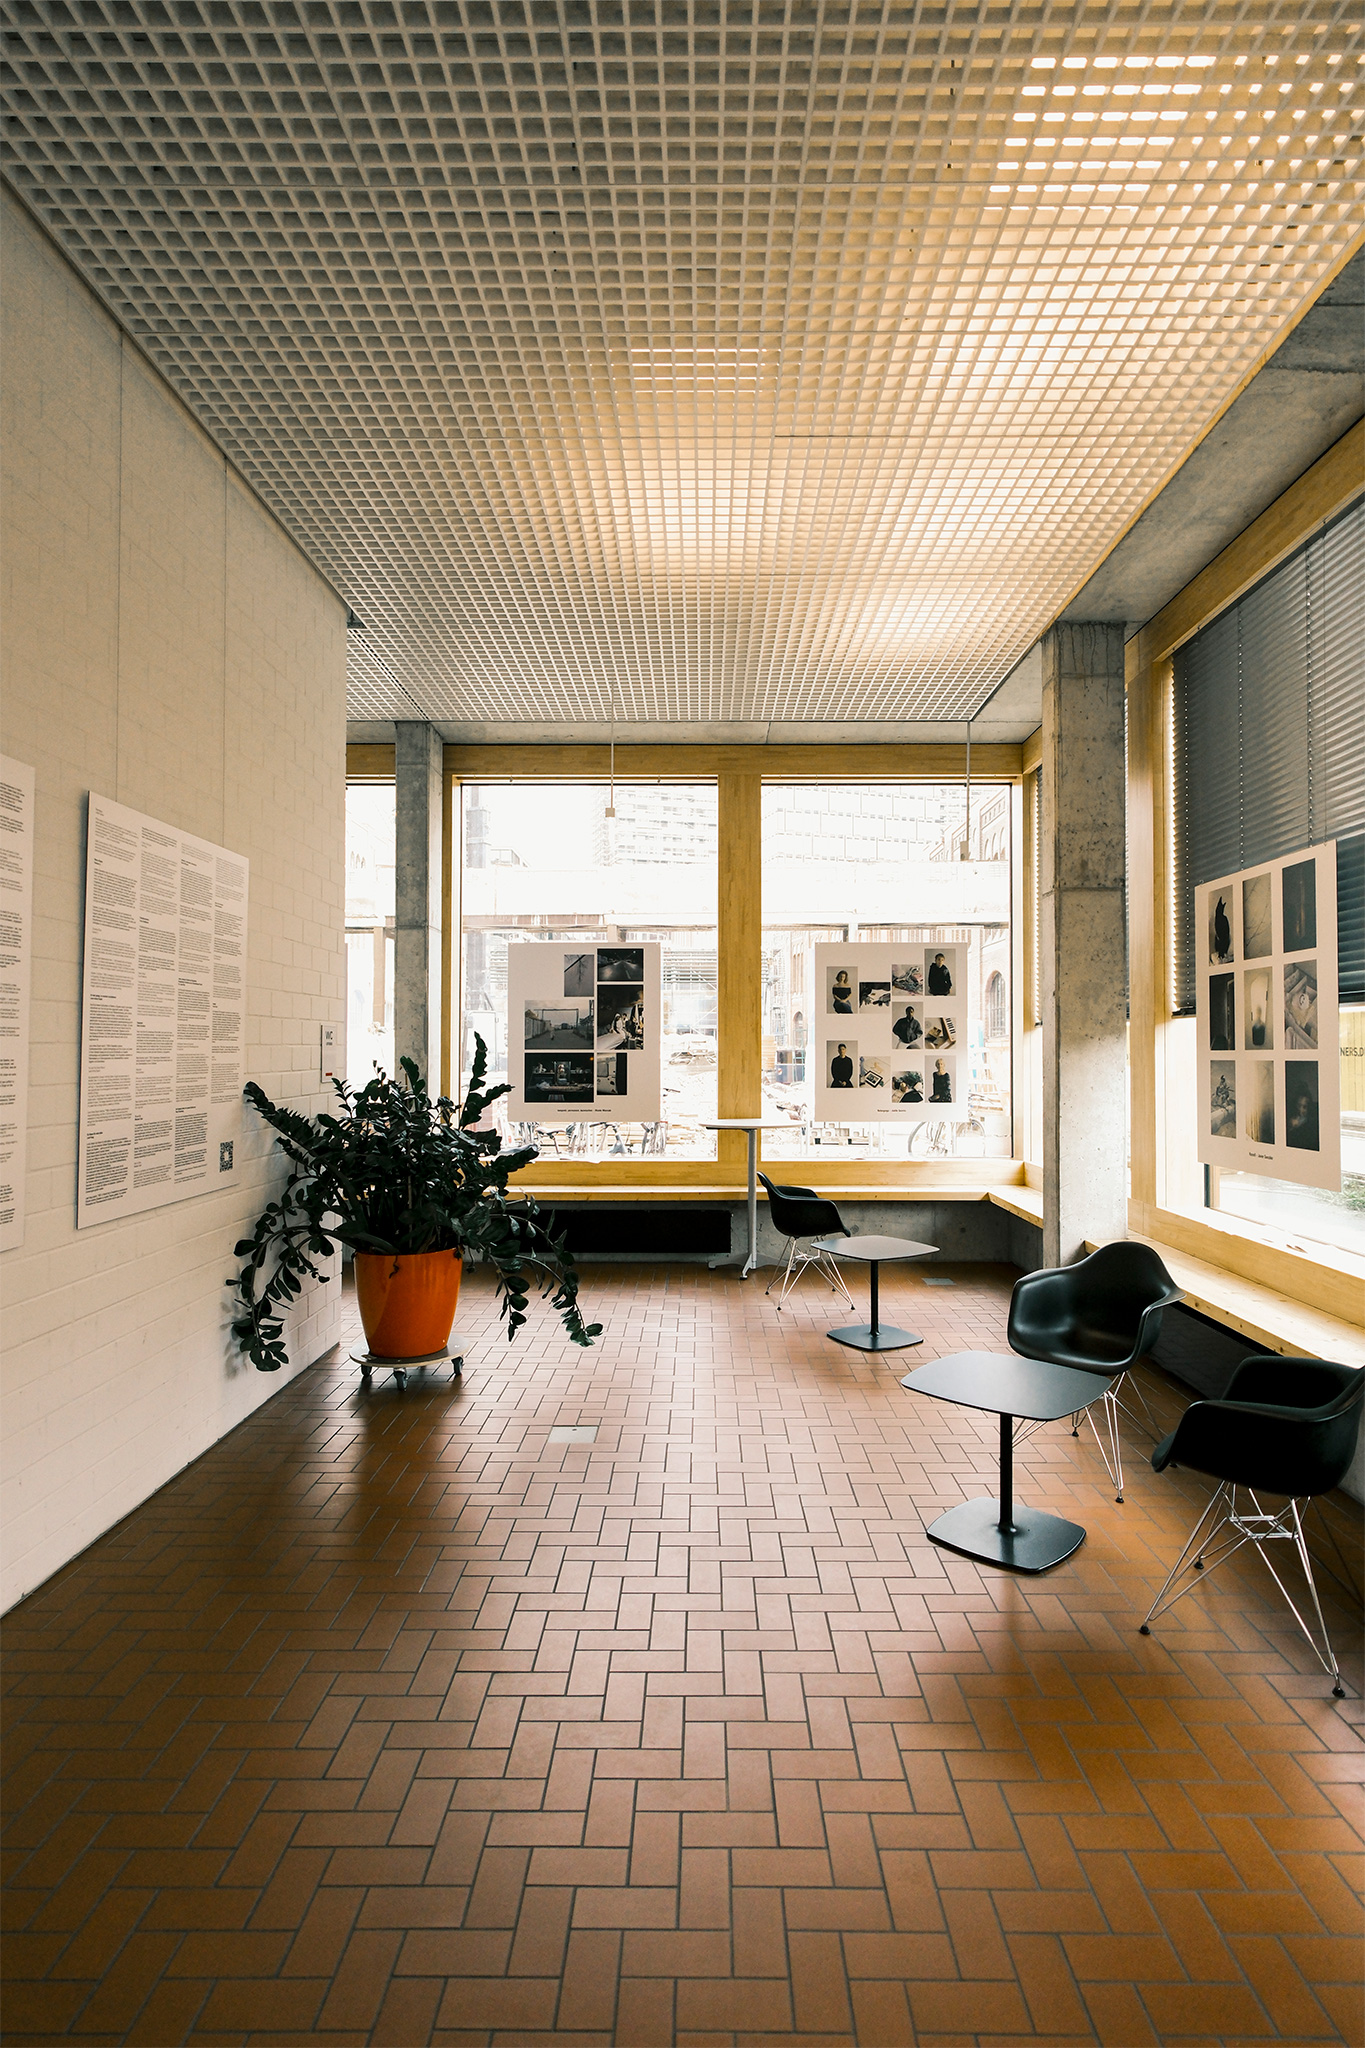
Museums present a unique challenge for ultra-wide photography — you’re often working in tight spaces while trying to capture installations that are meant to be experienced at scale. In Hamburger Bahnhof, this became immediately apparent. The 12mm F1.4 DC | Contemporary allowed me to step back just enough in cramped gallery spaces to include entire large-scale pieces without having to resort to multiple shots or awkward positioning.
Fujifilm X-T5
F1.6, 1/125s, ISO 125
Navigating those dramatic transitional spaces between bright exhibition halls, I found myself shooting wide open more often than not. The lens handled it surprisingly well. I’d expected some chromatic aberration shooting at F1.4, especially with the harsh spotlighting they use to illuminate art pieces, but it stayed remarkably controlled. The color rendition stayed neutral too, which mattered more than I initially thought. Museum lighting is notoriously tricky, with different galleries using different temperature bulbs.
Fujifilm X-T5
F2.2, 1/8s, ISO 320
Fujifilm X-T5
F1.4, 1/1000s, ISO 320
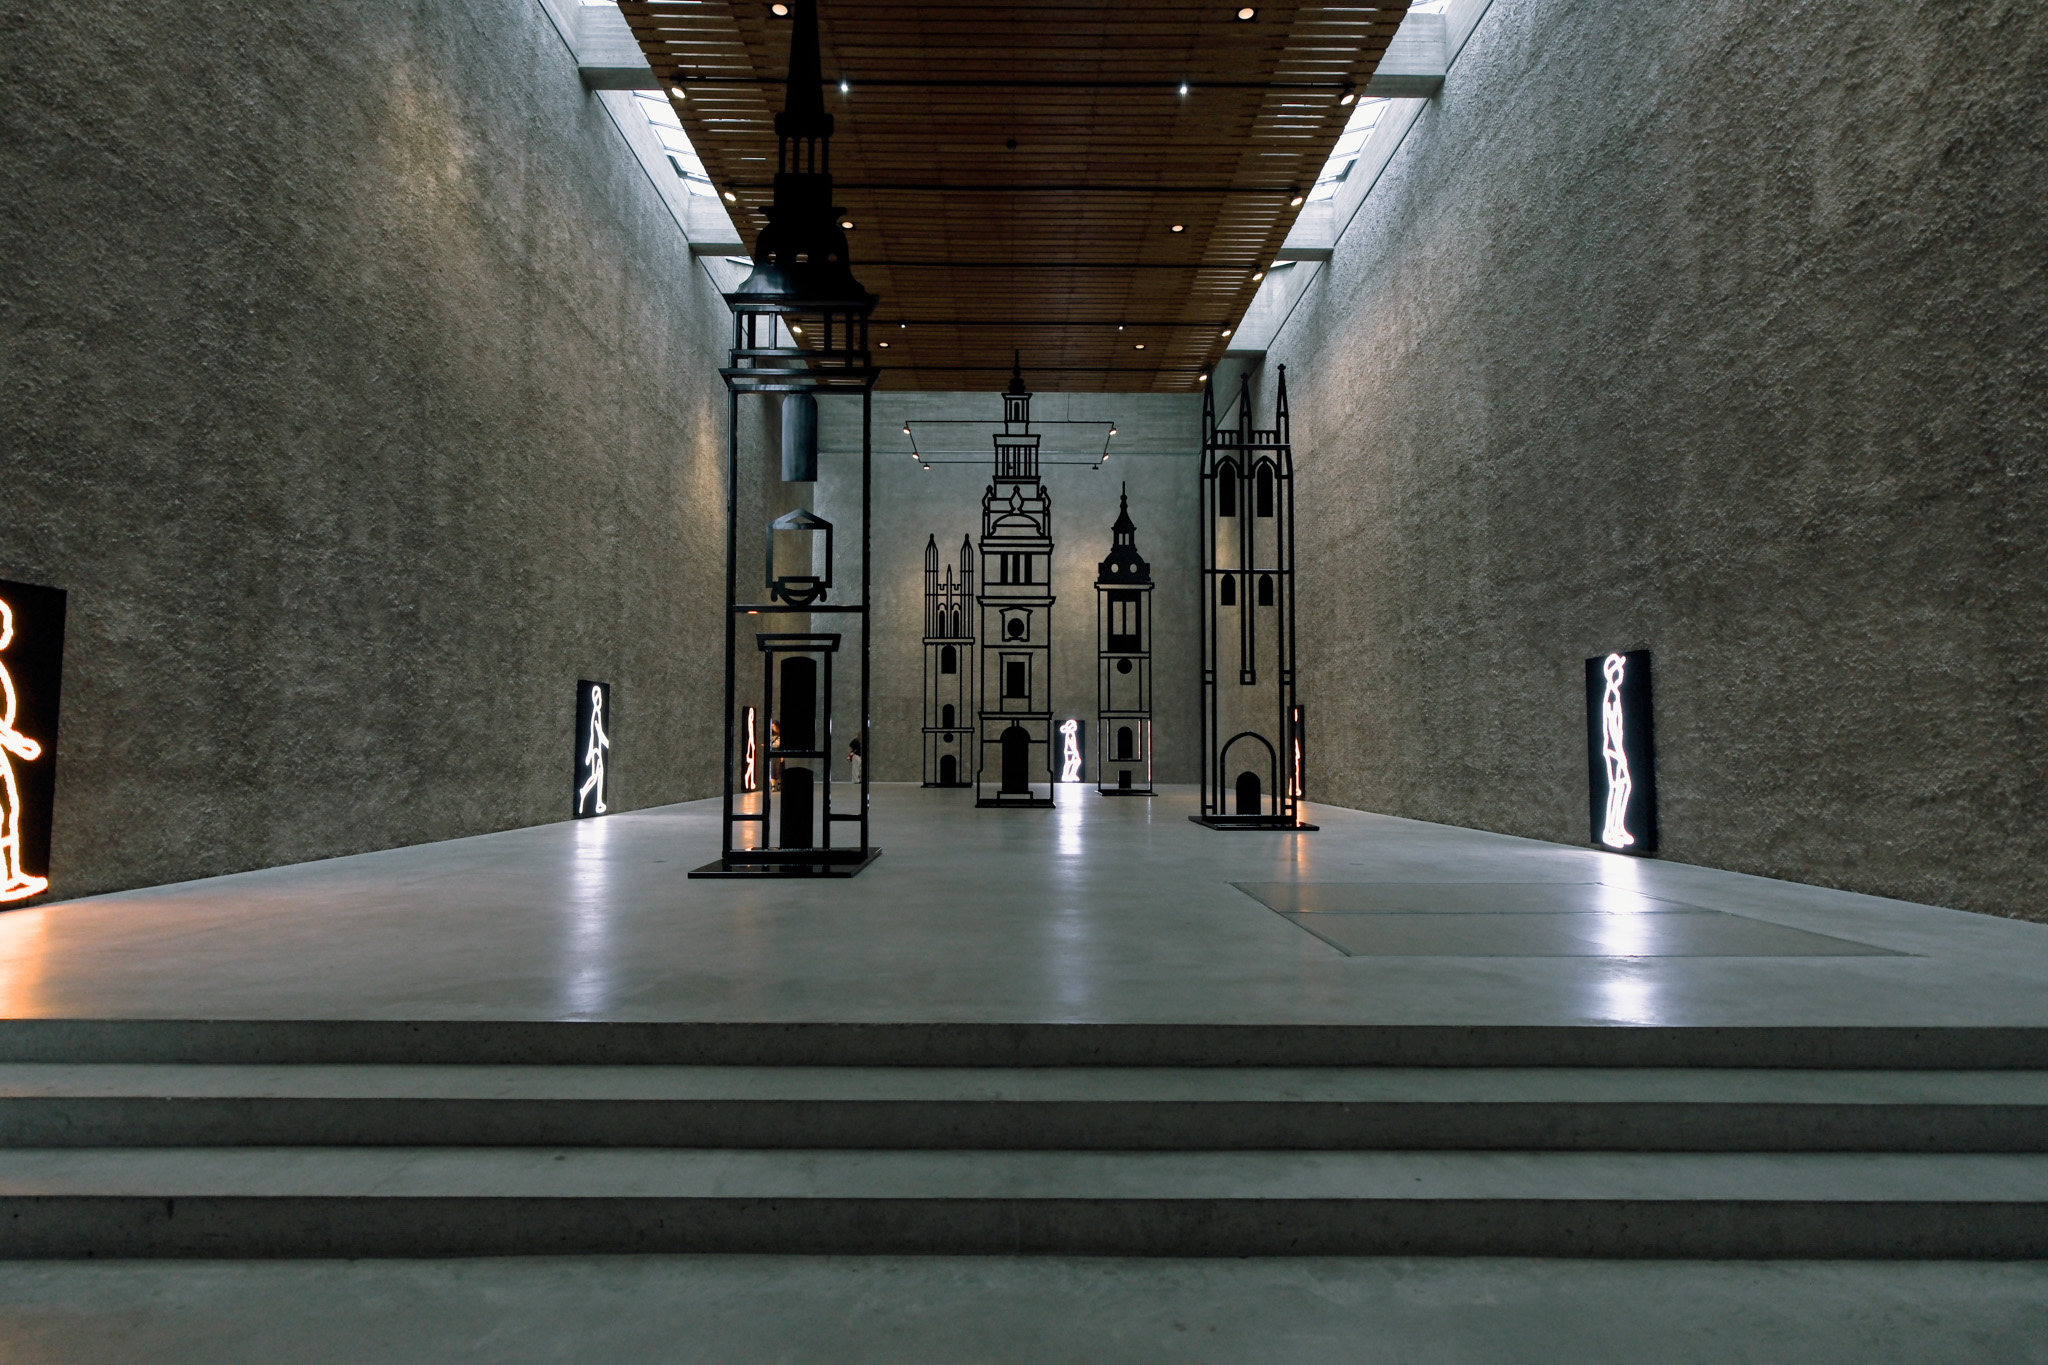
The highlights of the day were being able to capture Klára Hosnedlová’s installation for the CHANEL Commission, and Delcy Morelos’ exhibition, in their full scale with the 12mm focal length. These massive contemporary pieces are designed to envelope viewers, but photographing them usually means stepping so far back that you lose the sense of scale and presence. The 12mm let me include the entire installation while still showing enough of the surrounding space to convey how visitors interact with the work.
Fujifilm X-T5
F7.1, 1/125s, ISO 2000
Fujifilm X-T5
F7.1, 1/125s, ISO 1000
Fujifilm X-T5
F7.1, 1/125s, ISO 4000
After Dark
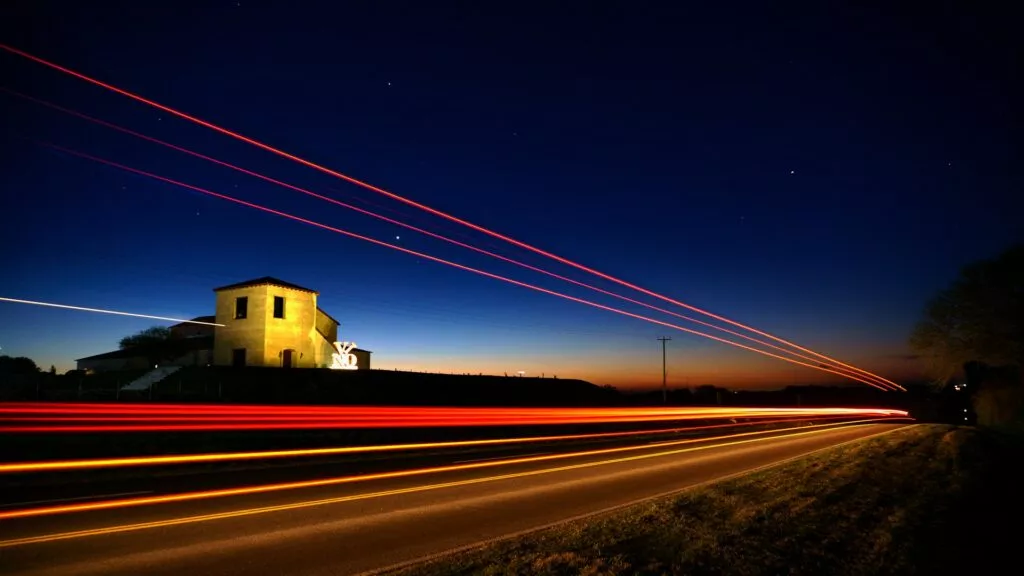
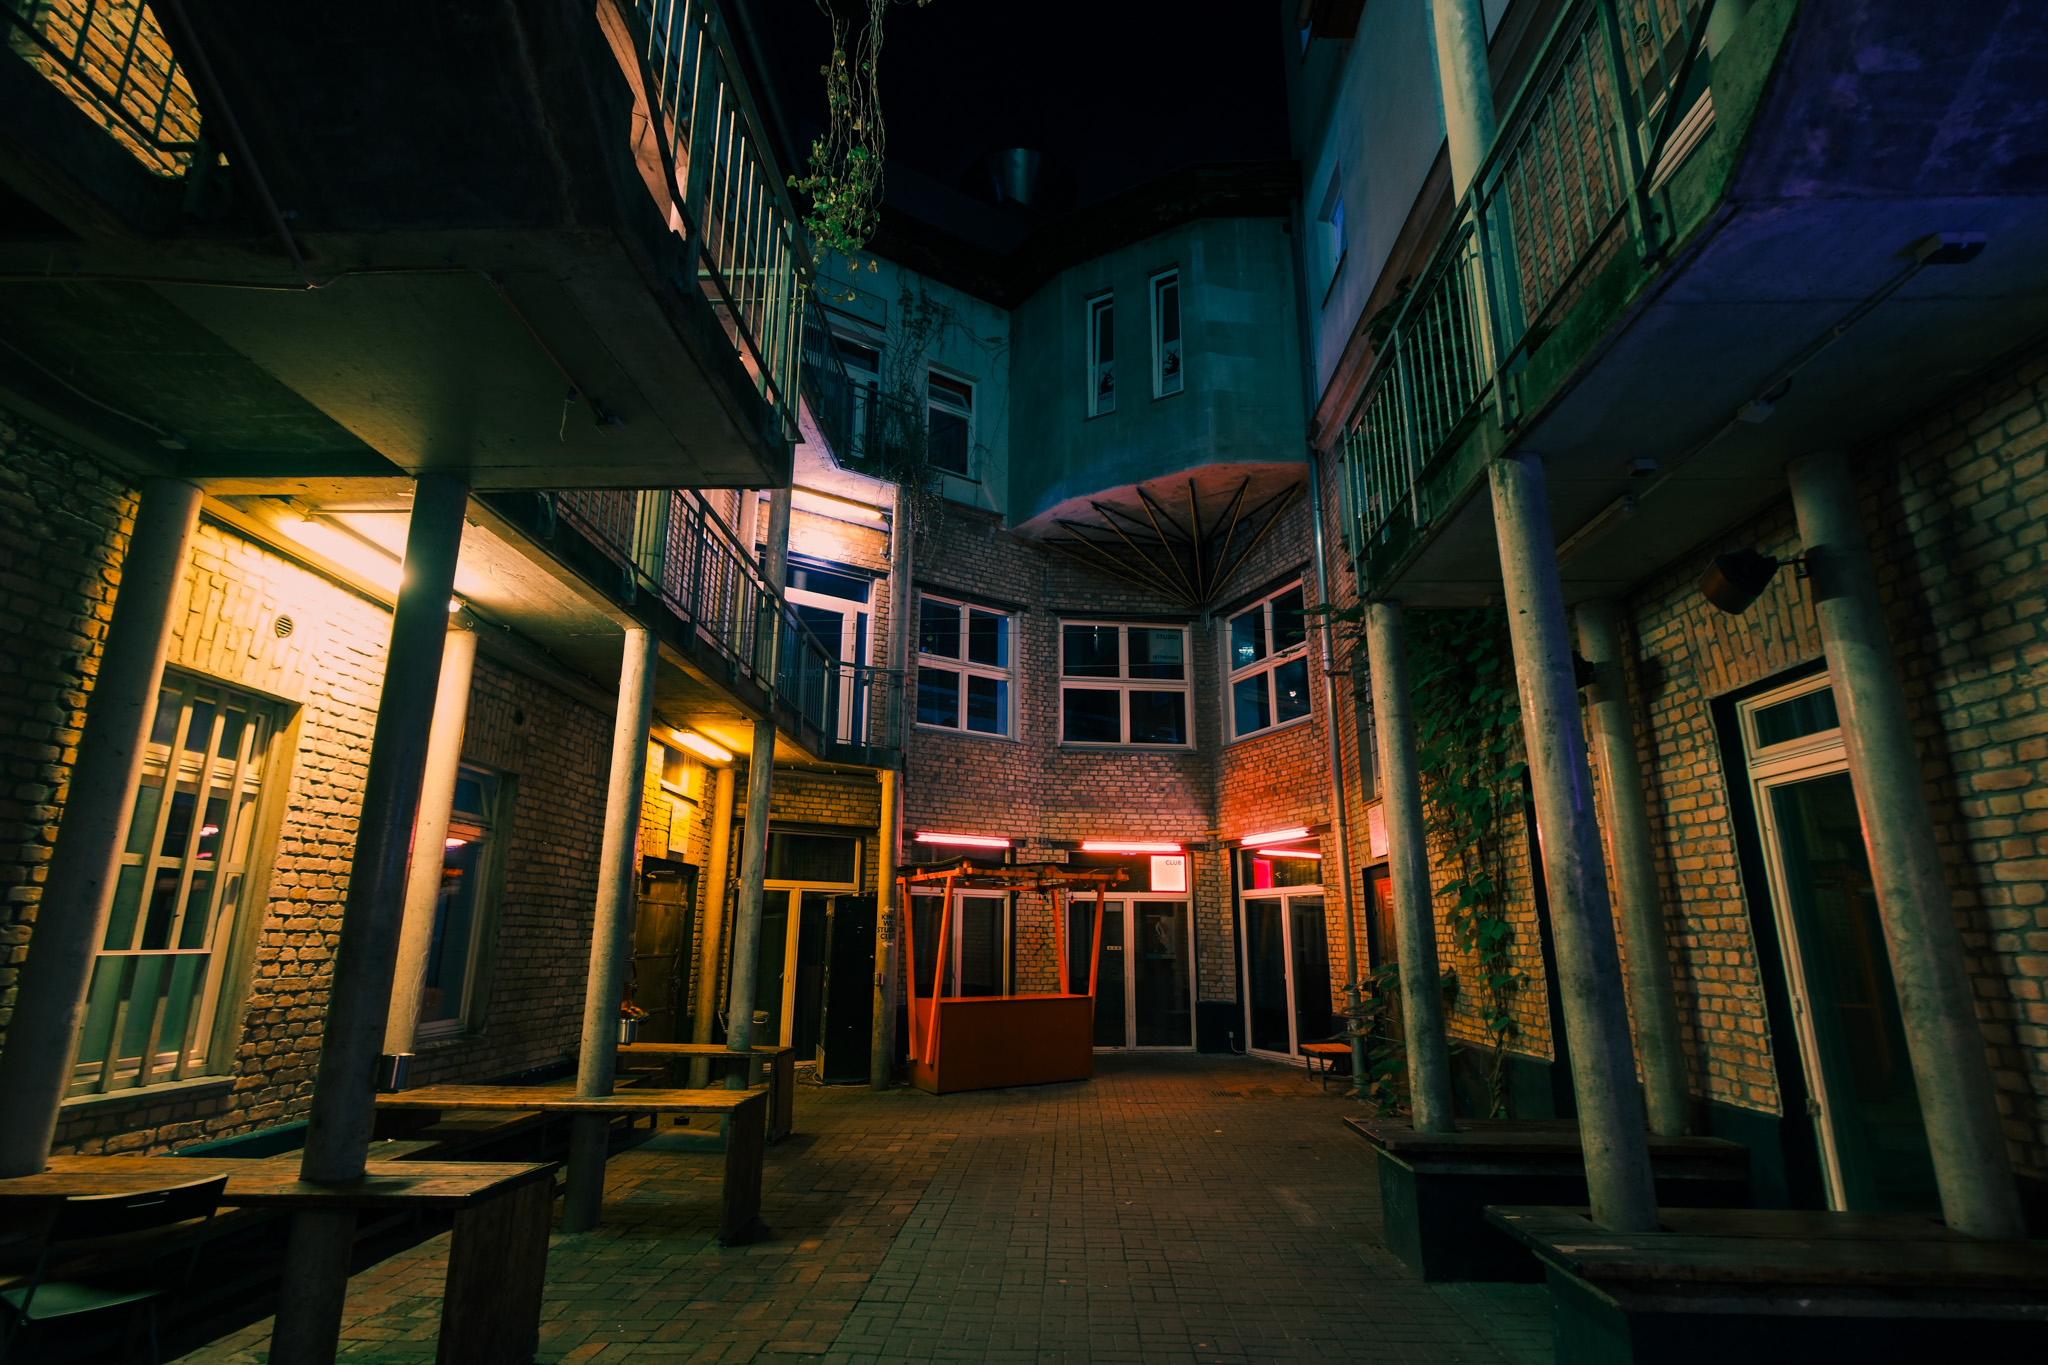
Berlin at night is a different city entirely. The cold war-era buildings take on this almost cinematic quality under street lighting, while the modern glass towers become these glowing monoliths. This is where the F1.4 maximum aperture really earned its keep.
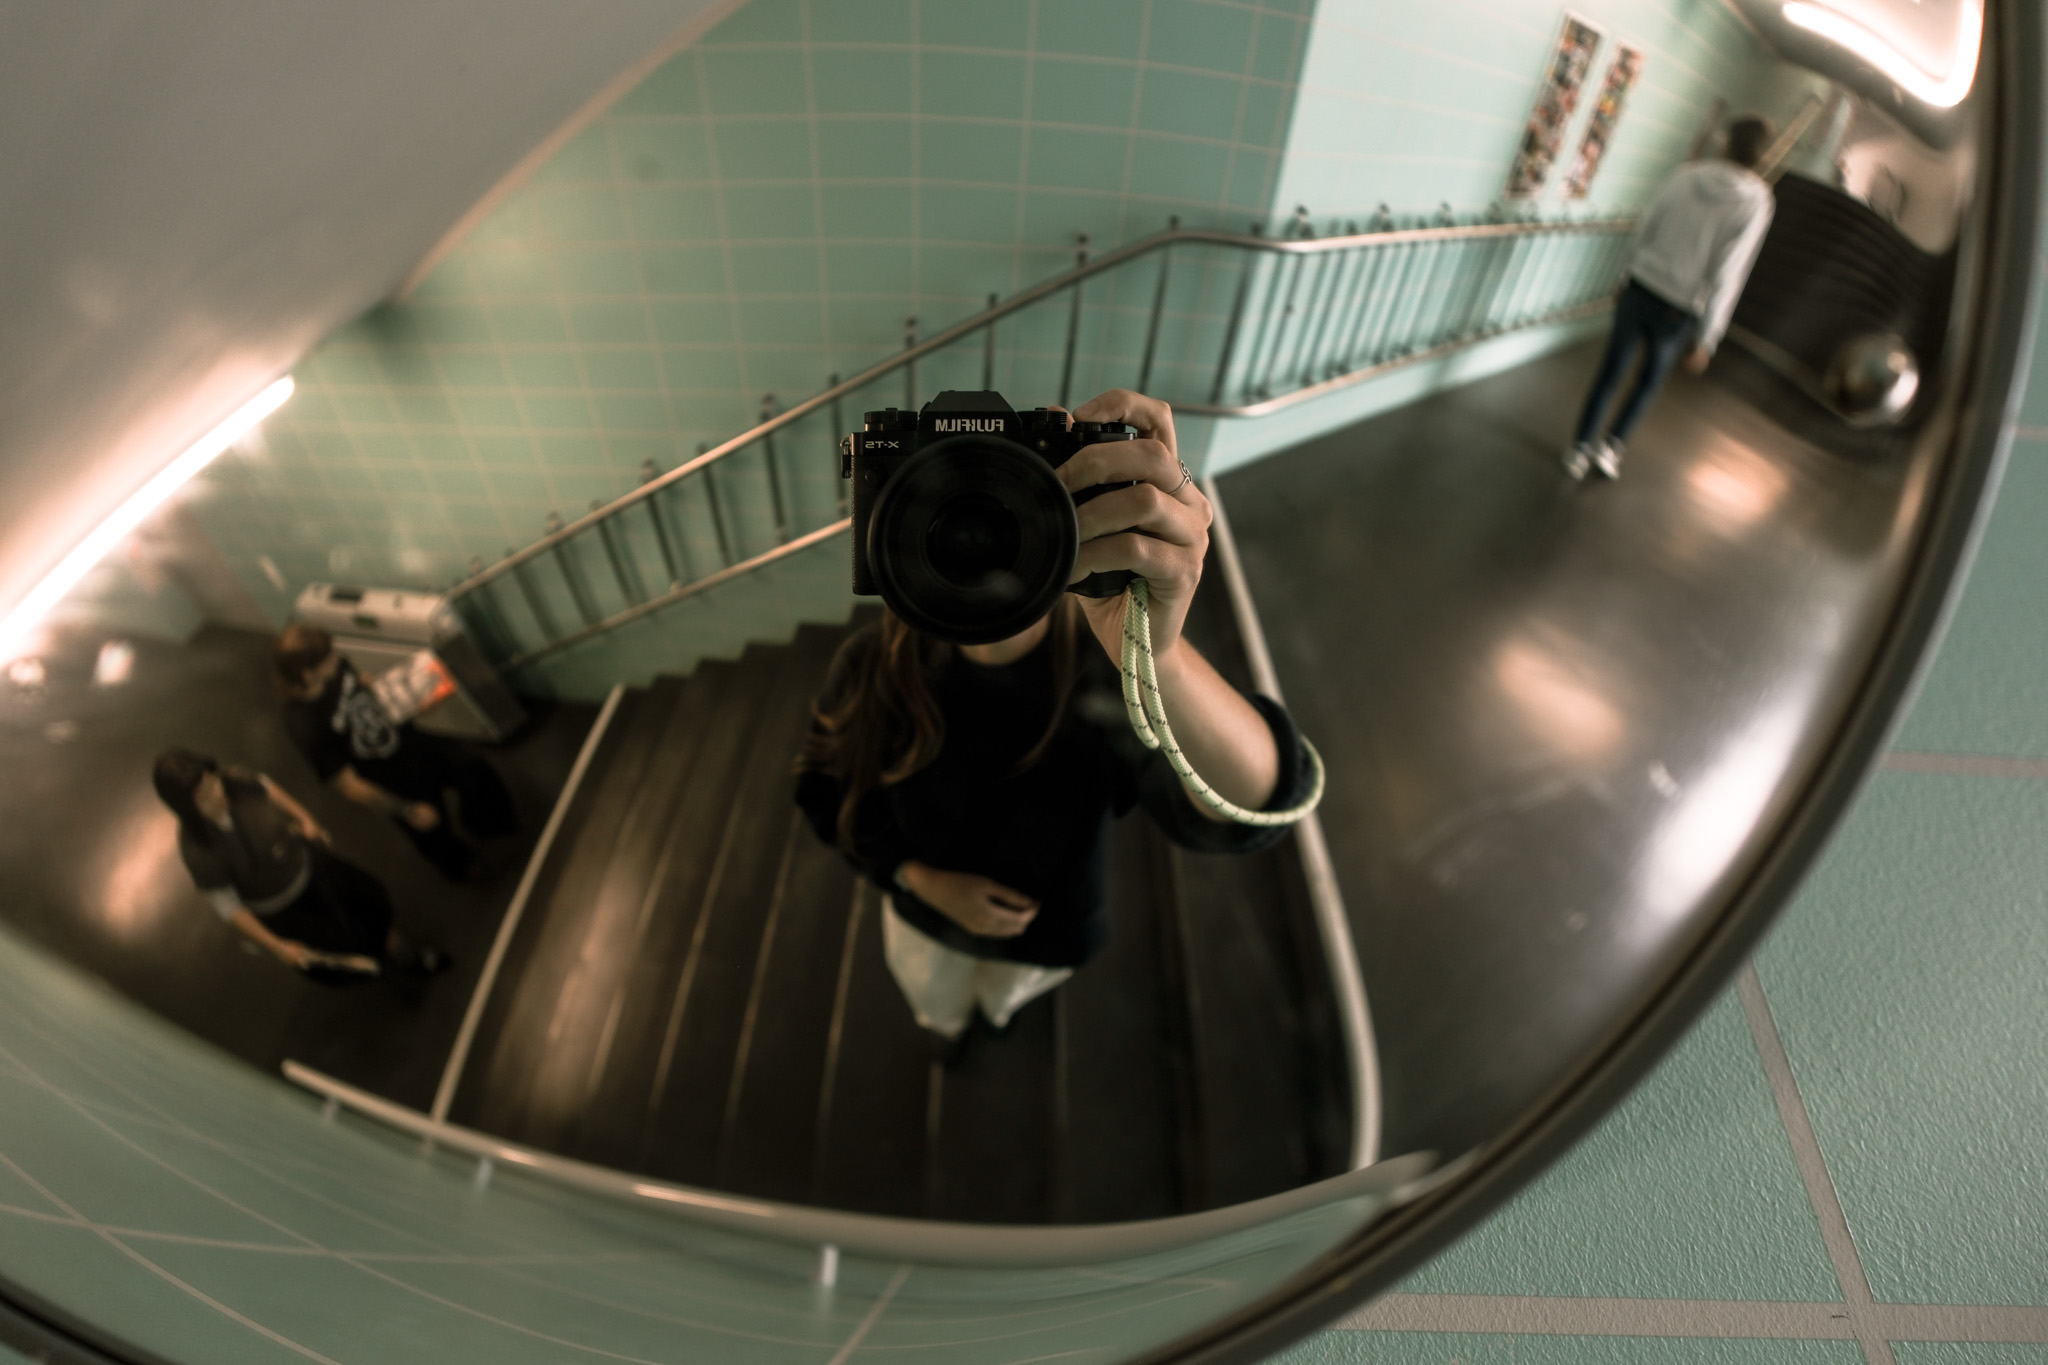
I spent an evening wandering around Kreuzberg and Mitte neighborhoods, shooting handheld as the light faded. With most lenses, I’d be reaching for a tripod by this point or pushing my ISO beyond what I’m comfortable with. The extra stop of light from the F1.4 kept my shutter speeds reasonable for handheld work, even as I tried to capture both the illuminated building facades and the ambient street lighting.
Fujifilm X-T5
F1.4, 1/4s, ISO 200
There’s something satisfying about being able to work quickly and quietly in low light. No tripod setup, no waiting for crowds to clear, just walking and shooting. The lens let me capture those fleeting moments when the artificial lighting hits just right, or when someone walks through the frame at exactly the right spot to provide scale.
Fujifilm X-T5
F1.4, 1/125s, ISO 125
Although it’s not the most lightweight travel lens, it was a lot less noticeable on my shoulder than the normal gear I use for commercial photography, even after a full day walking Berlin’s Museum Island. It’s so nice to have the right gear that’s easy to travel with. But what occurred to me when I edited these images was that I was essentially carrying two specialized lenses in one. An ultra-wide for architecture and a low-light specialist for interiors. There’s something liberating about committing to one focal length and one lens for an entire trip.
Fujifilm X-T5
F47, 1/125s, ISO 400
Fujifilm X-T5
F1.4, 1/2000s, ISO 1250
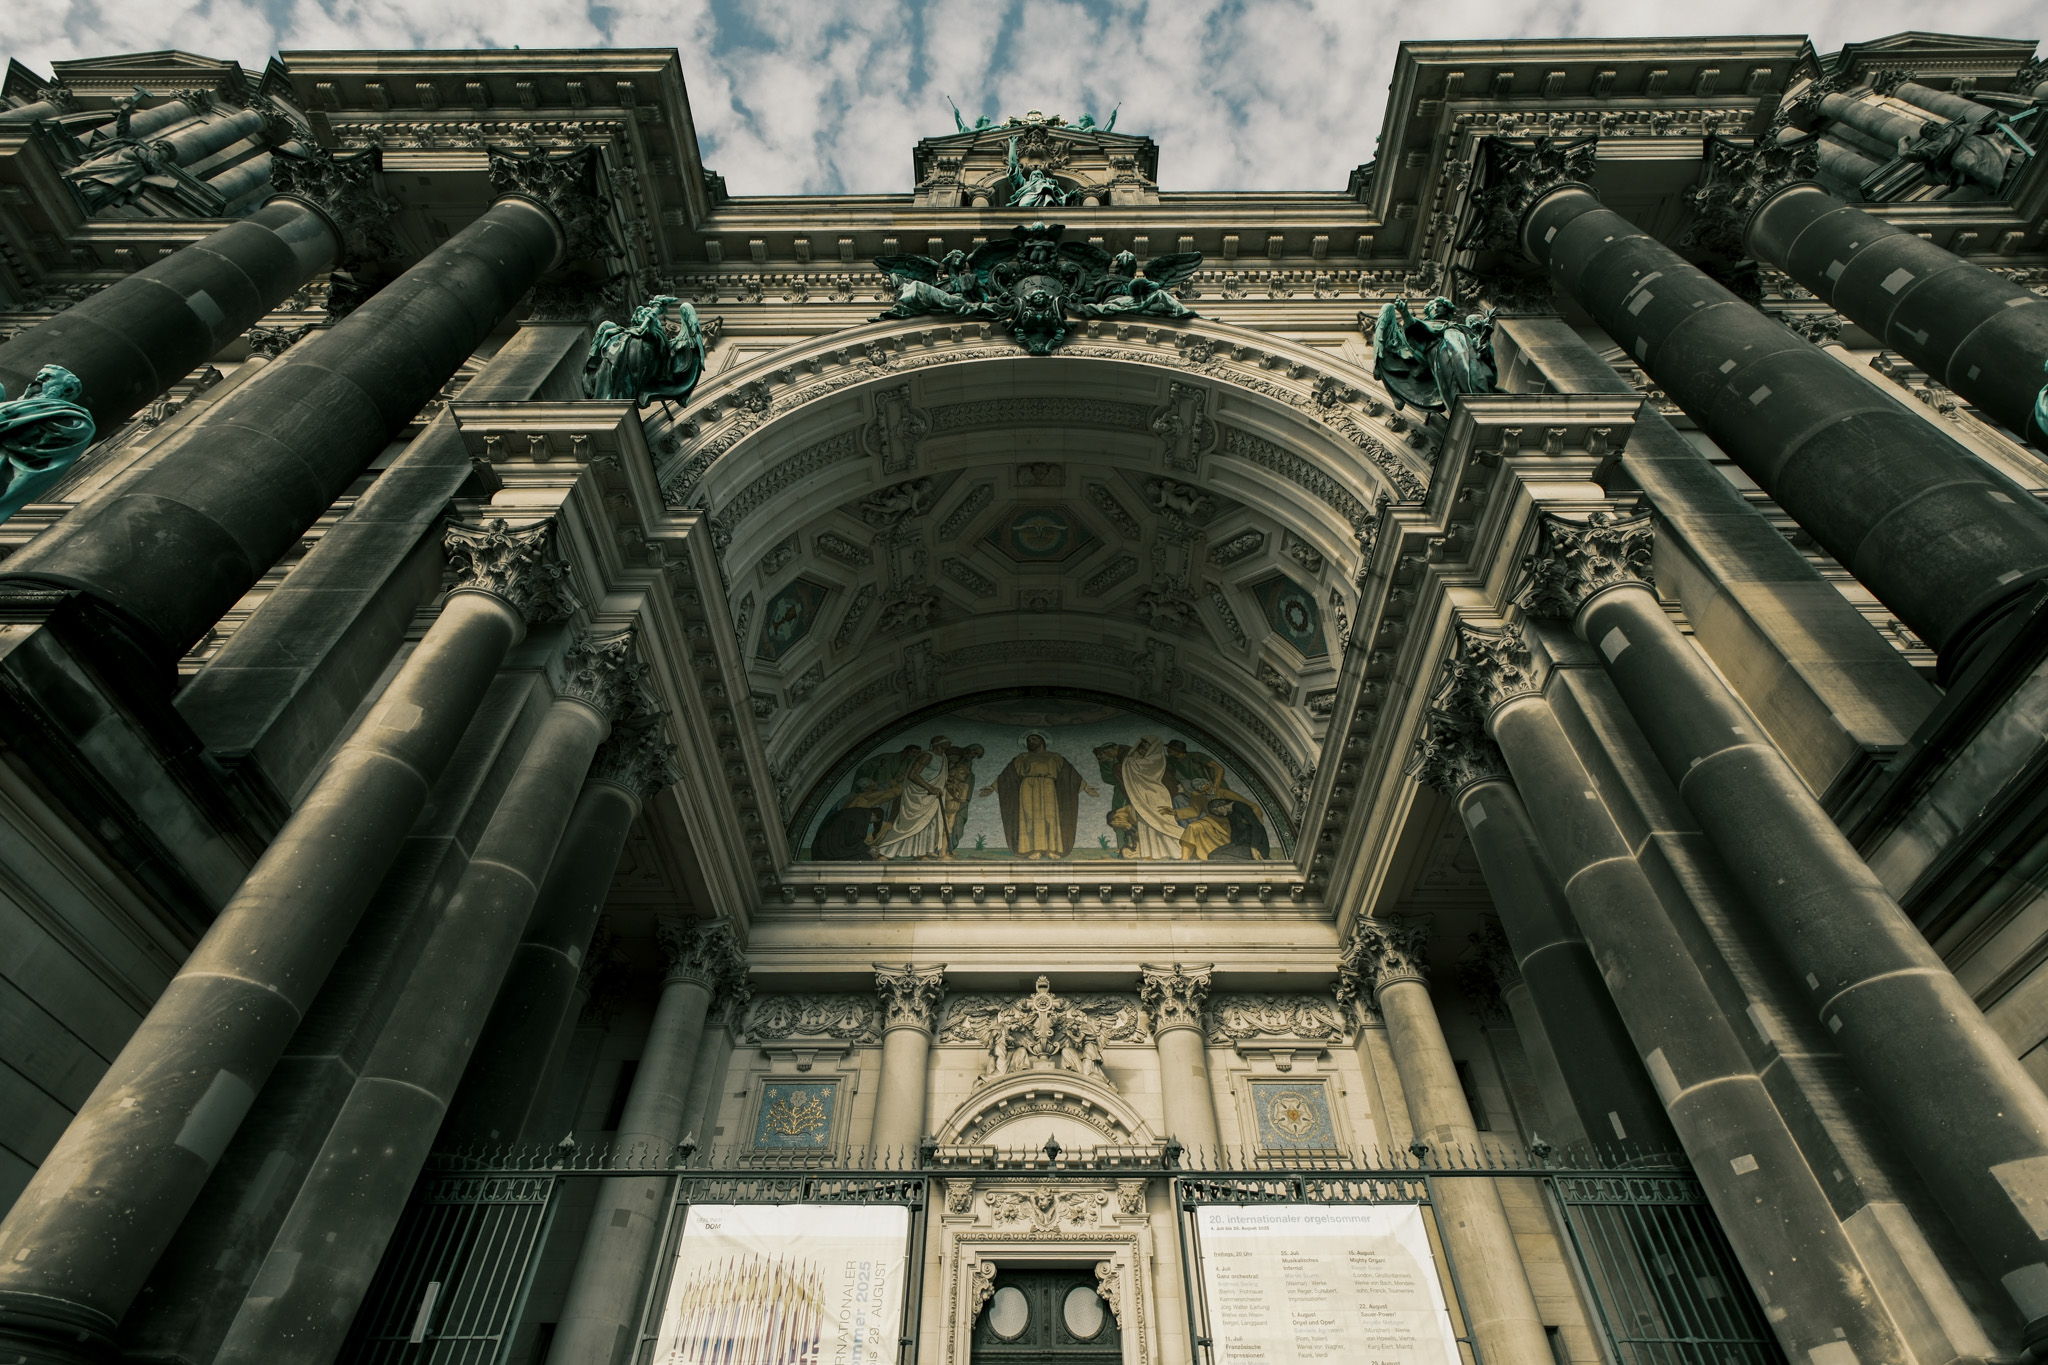
The Distortion Reality
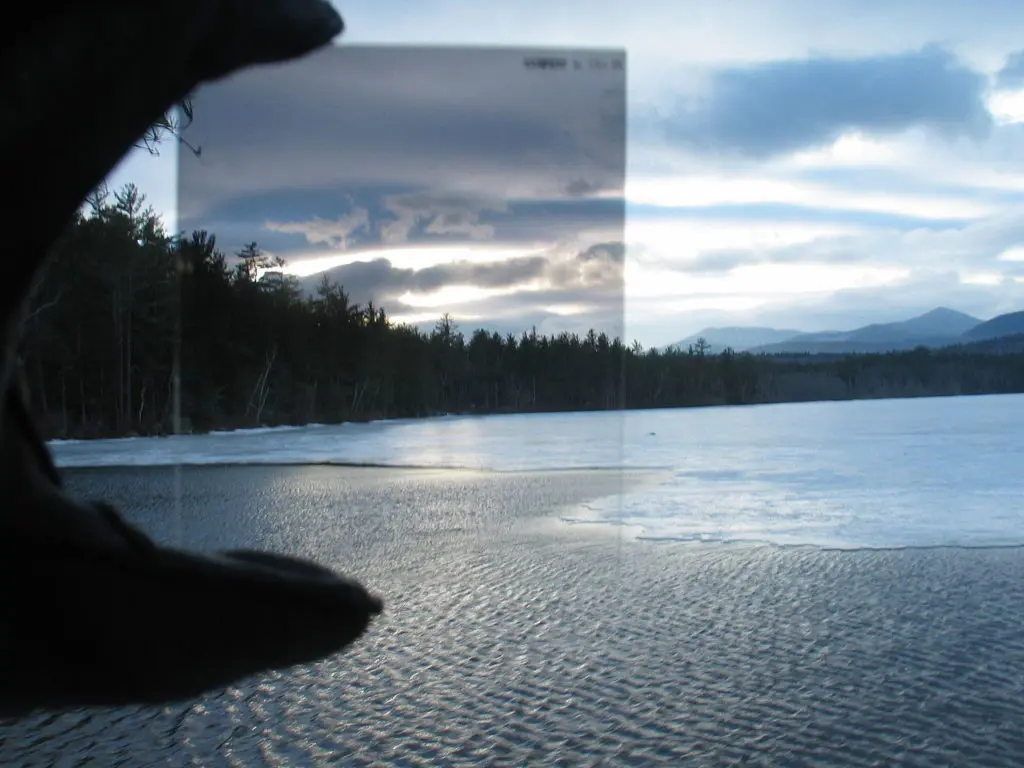
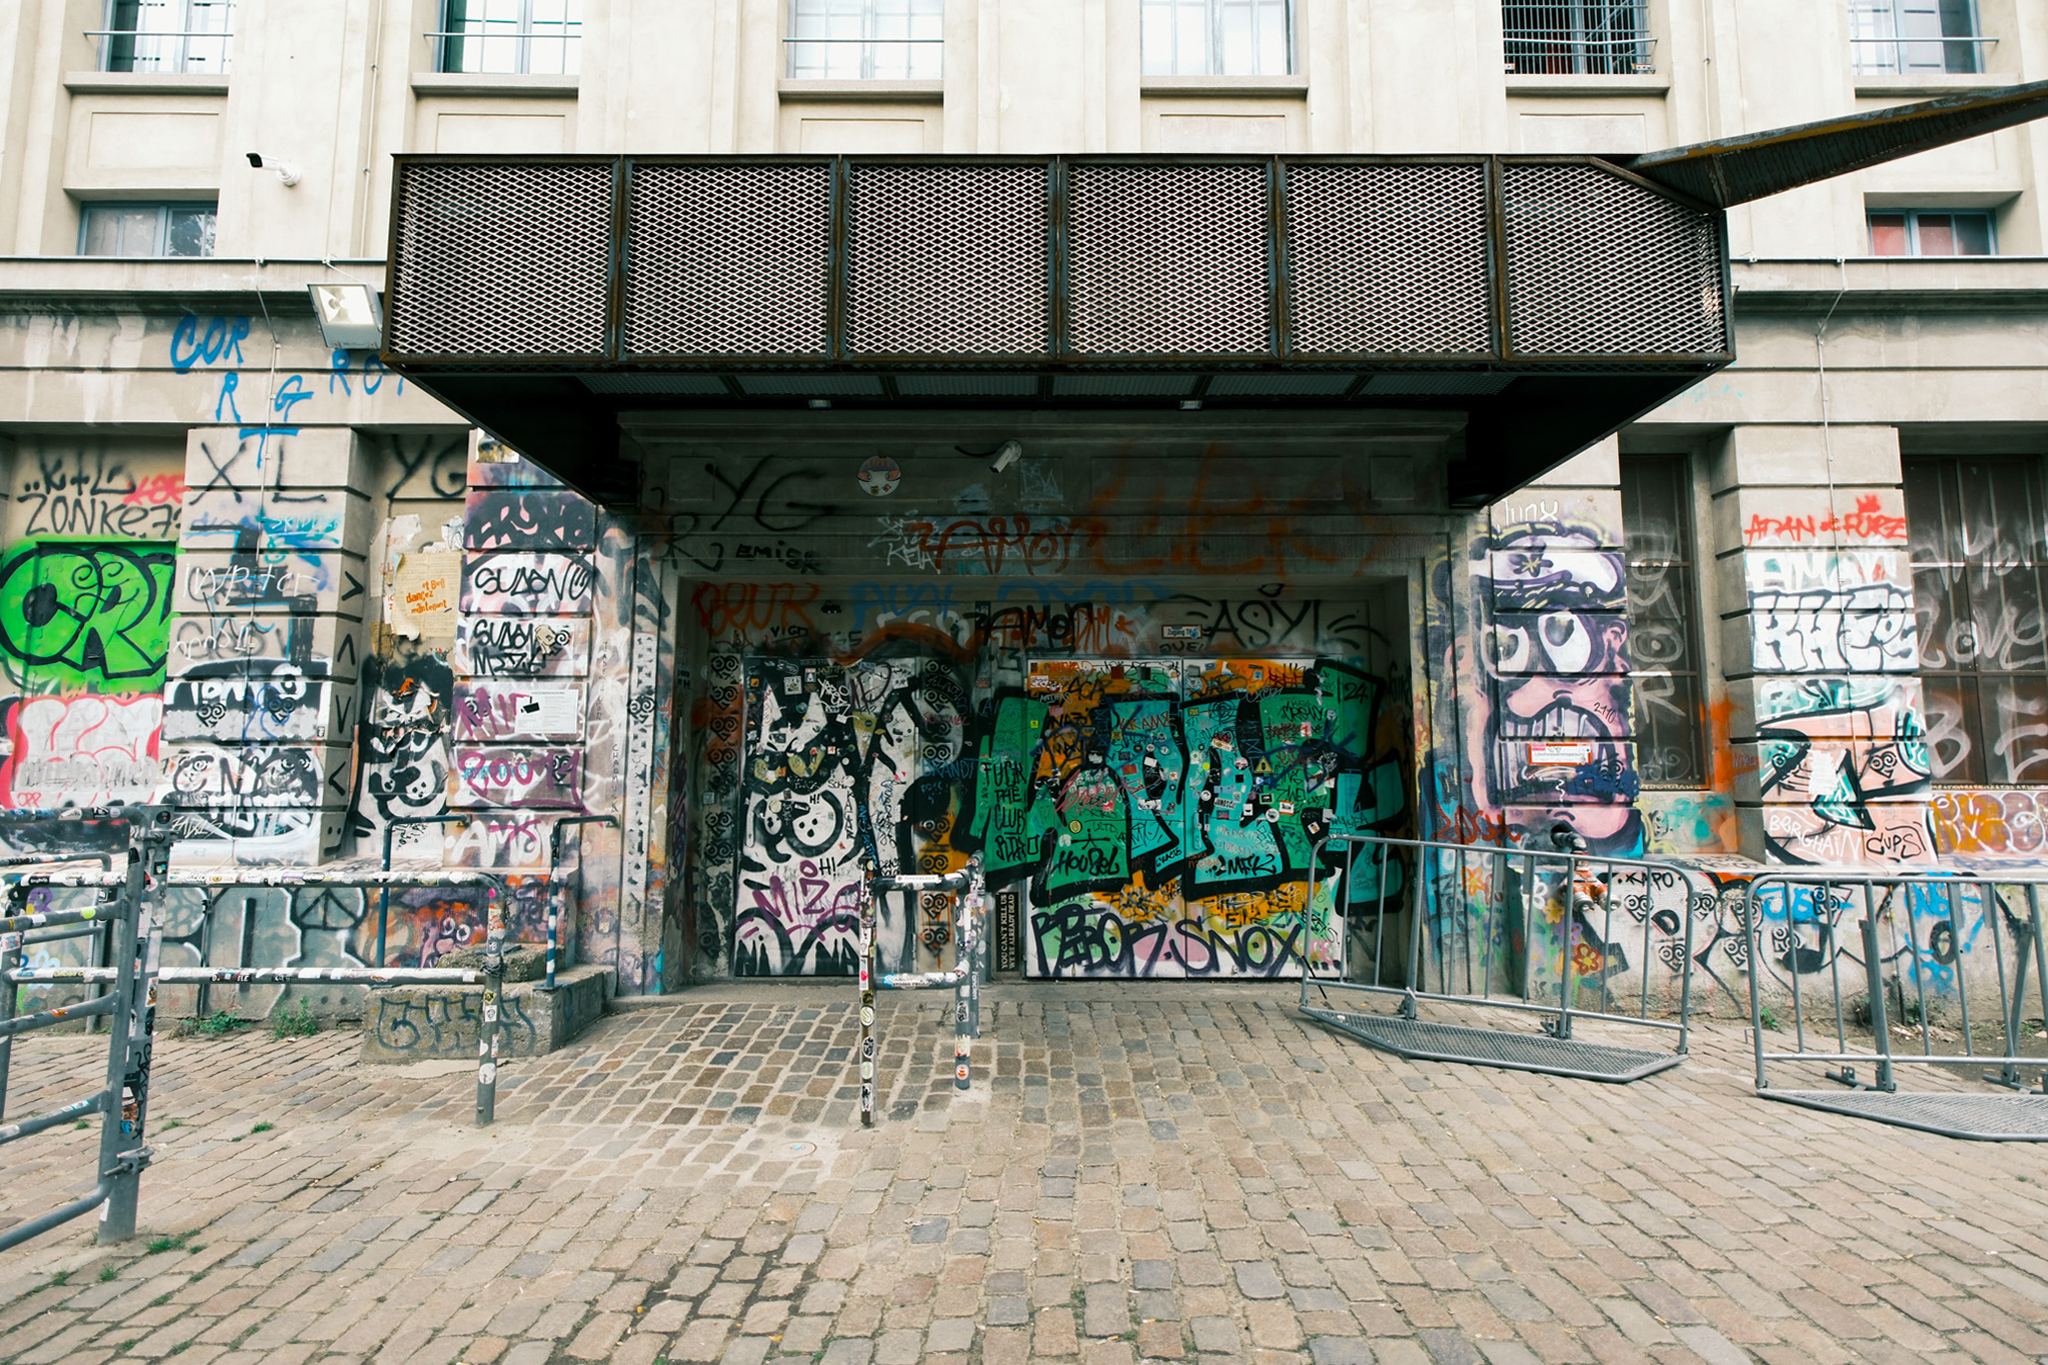
Ultra-wide lenses and distortion go hand in hand, and the 12mm F1.4 DC | Contemporary definitely has it, of course. But it’s controlled distortion, not the crazy funhouse effect you get from fisheye lenses. Straight lines stay straight, especially through the center of the frame. The geometric distortion is there, but it reads as perspective rather than optical weirdness.
Fujifilm X-T5
F1.8, 1/3200s, ISO 200
Fujifilm X-T5
F1.4, 1/8000s, ISO 250
This actually worked in my favor when shooting Berlin’s mix of architectural styles. The slight barrel distortion added drama to those sweeping shots of modern museum buildings without making them look unnatural. And when I got close to interesting textures or design details, the distortion helped emphasize the three-dimensional quality of the surfaces.

Fujifilm X-T5
F2.2, 1/2500s, ISO 8000
Fujifilm X-T5
F1.4, 1/125s, ISO 125
Fujifilm X-T5
F8, 1/125s, ISO 400
Different Tools, Different Stories
Looking back through the images from this trip, I realize how much the lens shaped what I photographed and how I saw the city. With a standard zoom, I would have shot tighter compositions, focused more on isolated architectural elements, and probably missed a lot of the contextual details that make these spaces feel lived-in.
The 12mm F1.4 DC | Contemporary forced me to include more of the surrounding environment, to think about how buildings relate to their neighborhoods, and how people move through these spaces. It’s the difference between photographing architecture and photographing urban life that happens to include interesting buildings.
Fujifilm X-T5
F2.5, 1/500s, ISO 250
Fujifilm X-T5
F2.2, 1/250s, ISO 320
Fujifilm X-T5
F1.4, 1/2000s, ISO 250
Would I recommend committing to a single ultra-wide for an entire trip? It depends on what kind of photographer you are. If you like the safety net of a zoom range, this approach might feel limiting. But if you’re interested in developing a more intentional approach to composition, in really learning to see at a specific focal length, there’s something valuable about the constraint.
The Sigma 12mm F1.4 DC | Contemporary proved itself a capable travel companion in Berlin — sharp enough to capture the architectural details that matter, and fast enough to handle whatever lighting conditions the city threw at it. More than that, it showed me a different way of traveling.

[ad_2]
Source link