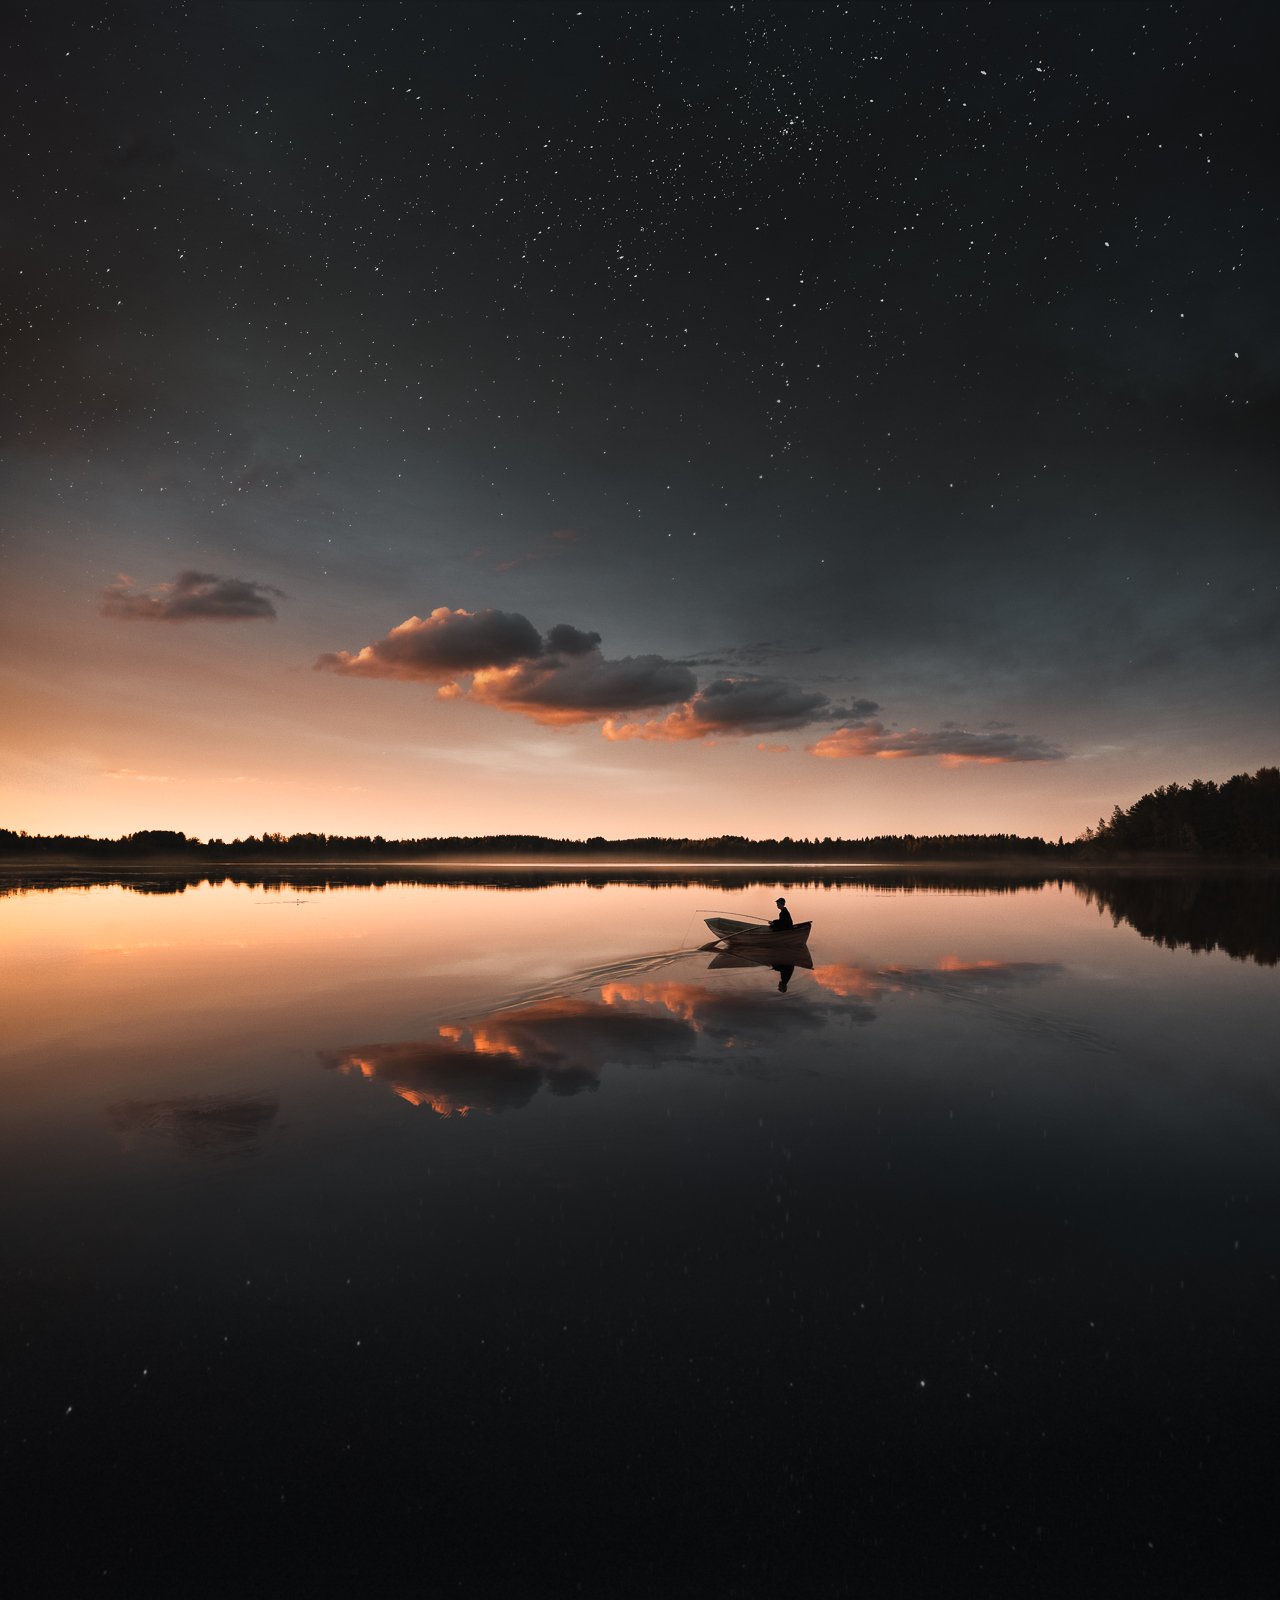
Throughout the years, landscapes have vastly presented themselves as splendid opportunities to be missed by me; yet, I indulge my eyes with a dollop of landscape imagery once in a while. For this week’s visual treat, Diane took the long-shot and asked for emotion in landscape!
And as you’ll notice right away while scrolling down, landscapes aren’t fixed to wide-angle crispy clean images. Using fixed telephoto lenses from 50mm and beyond triggers the photographic imagination into looking for unexpected angles and frames. Consider such tight compositions in the wild as ready-made abstract images to be grabbed as you roam.
Now, for the other way around; wide-angle views require extreme levels of control. From sturdy support —achieved via tripod, monopod or others to scouting, generous compositions demand meticulous planning before they occur. Do mind that if you feel inspired and who knows, even triggered to share some of your takes on emotion in landscapes with us.
Before diving in, remember this is part of a series on storytelling in a single frame; but is also part of an even larger effort to make this world a more literate place in terms of visual data and language.
Photo of the Week
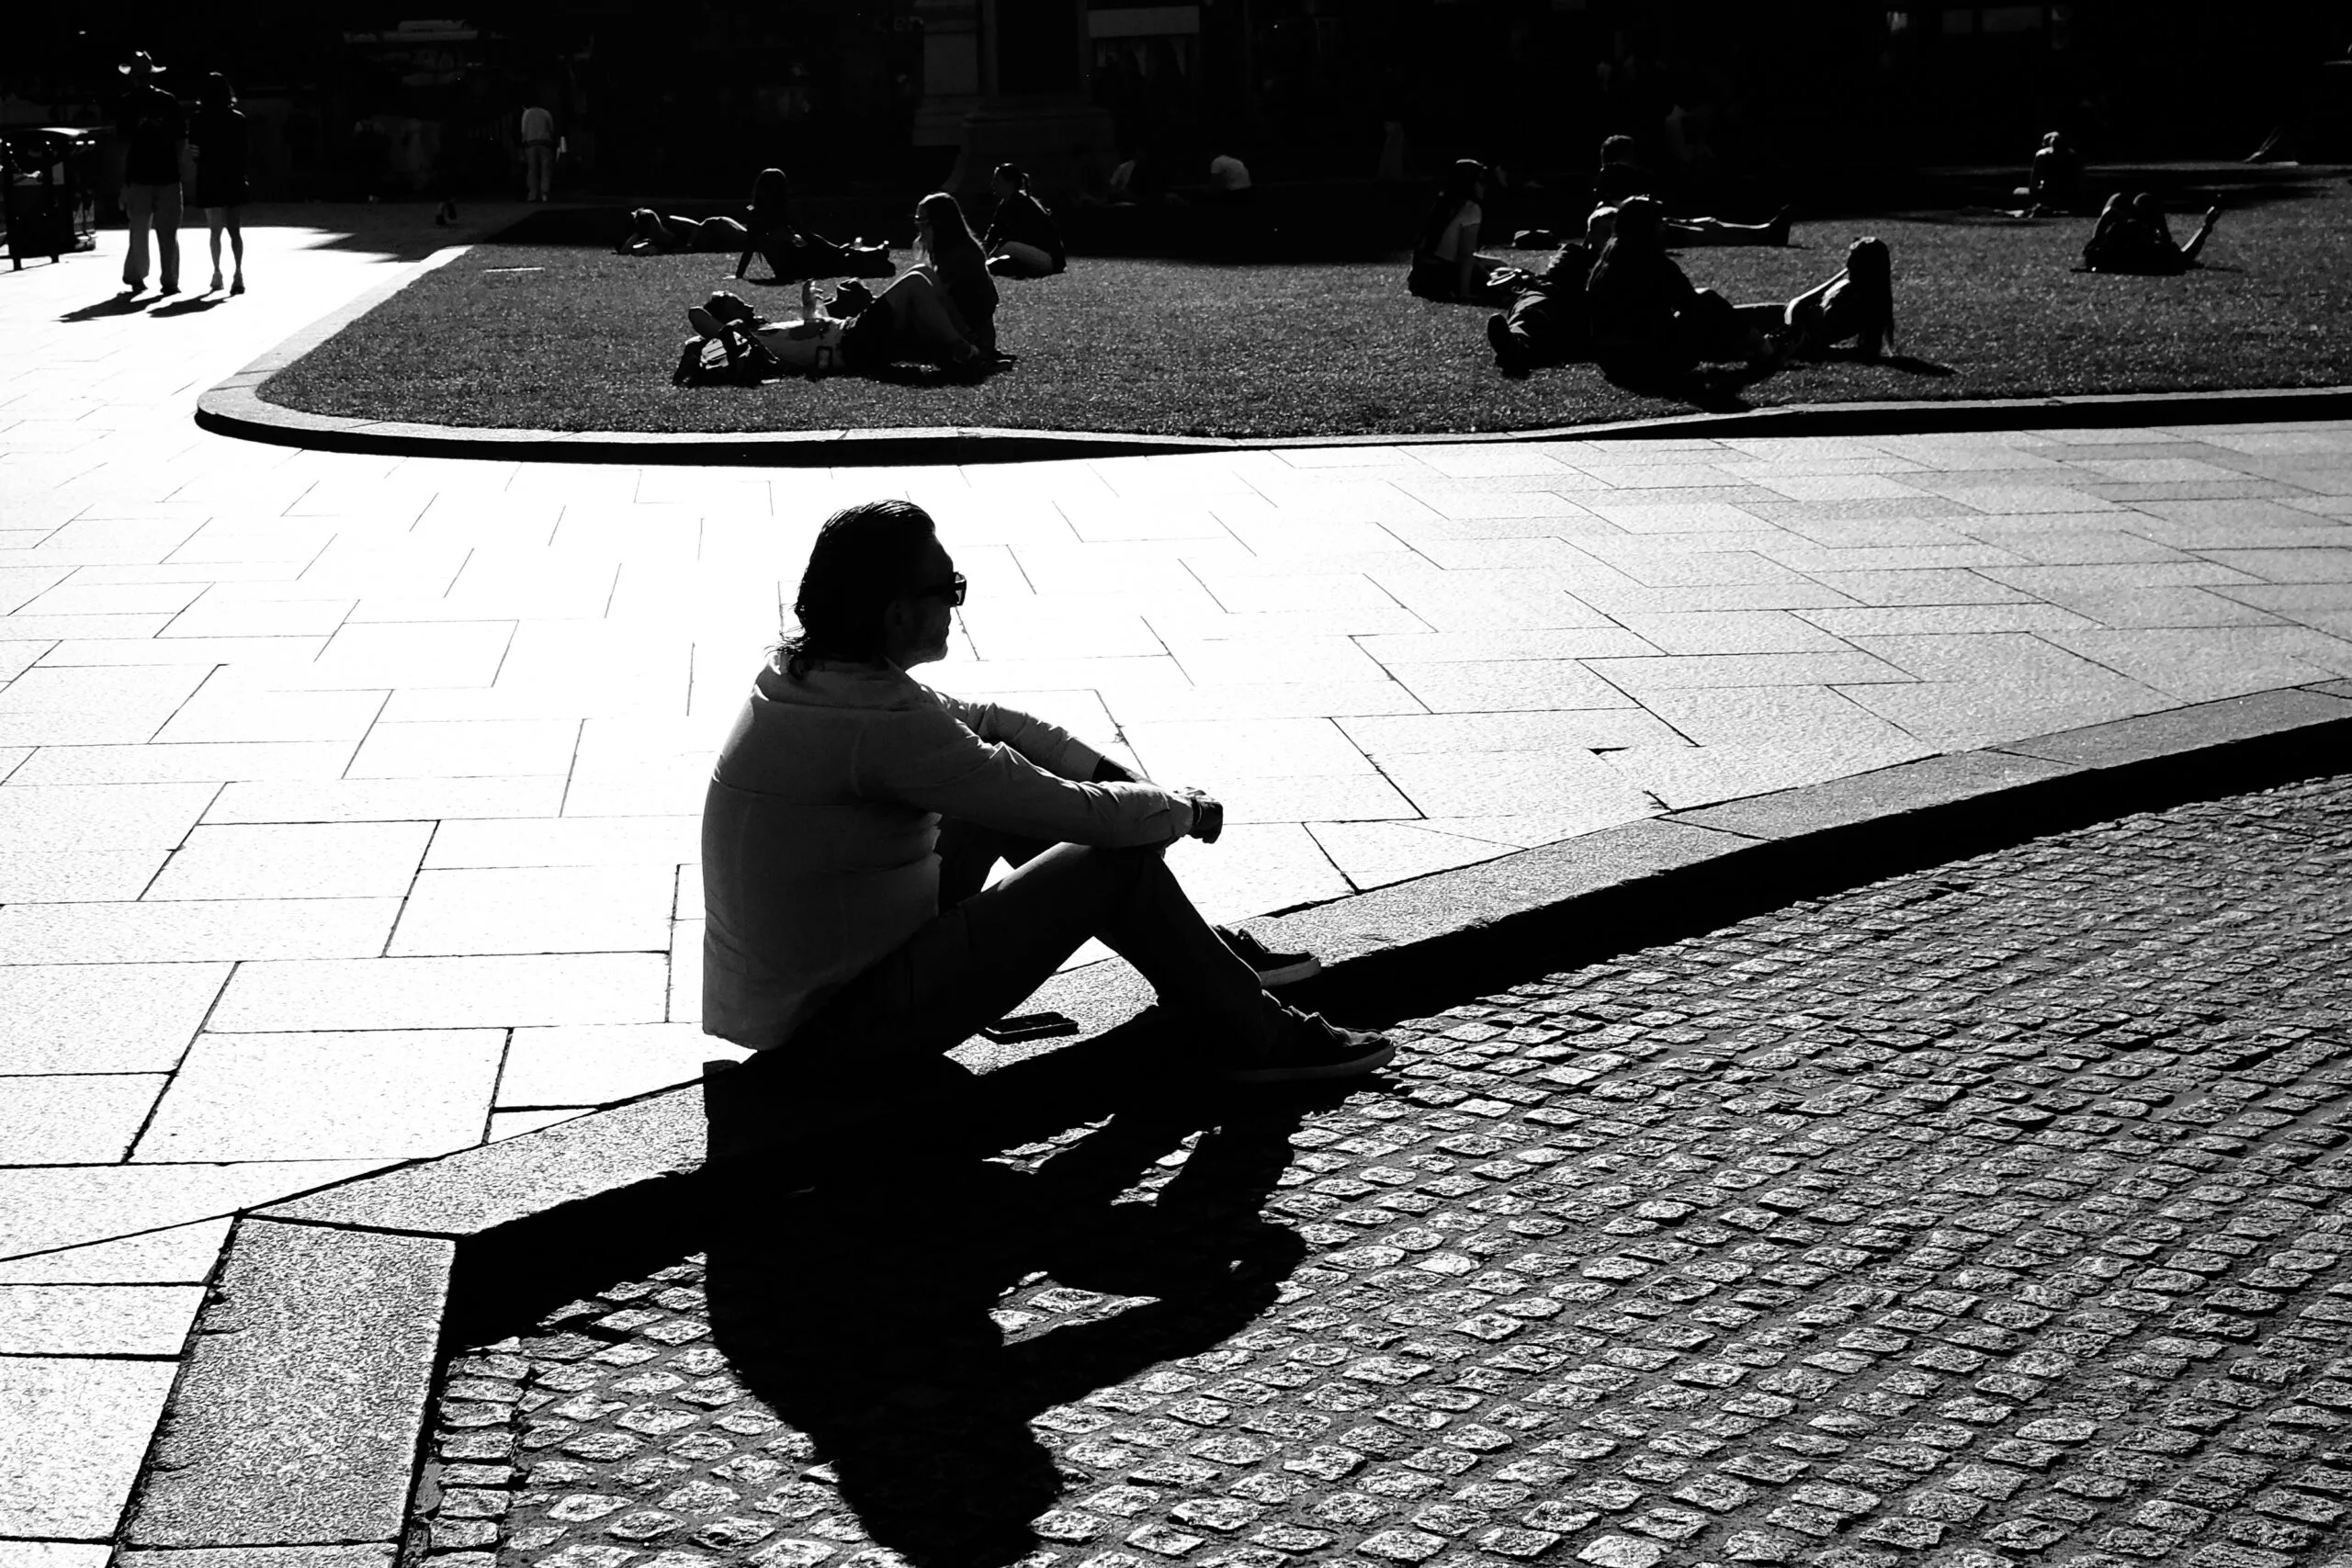
This beautiful shot was posted on the emotion in landscape challenge. True, it qualifies better as a street image rather than something related with landscape, but there’s a huge difference between “emotion in landscape” and “emotional landscapes”. Because one can find emotion within a given context, this visual piece works both-ways.
Congrats Patrick, thanks for sharing such a high quality photograph with us!
copyright – Patrick
Belfast city hall Lawns
Black and white are the colors of photography. To me, they symbolize the alternatives of hope and despair to which mankind is forever subjected – Robert Frank
Weekly Photography Challenge Digest
Thanks again to Diane and Dahlia for pushing our creative boundaries one step forward every week!
copyright – Wendy P
BLIZZARD
copyright – Robert Apple
Lost in the windswept sand dunes!
copyright – Wendy Pcopyright – Wendy P
Sadness
copyright – davidc
The road less traveled
copyright – Deidra White
Abandoned
copyright – Deidra White
Sunset at Saguaro National Park, Tucson, Arizona.
copyright – Michaelcopyright – Robert Applecopyright – Frogdaily
For contributing, check out the original challenge post!
A Highlight on the Latest Activity at our Community
Patrick went full minimal and captured one of the most innovative takes on street photography I’ve seen in a while!
copyright – Patrick
Stripped Back To The Essentials
And speaking of you mate, don’t forget checking out the mono edits started by the master himself:
copyright – Patrickcopyright – Patrick
Steve enjoys the quiet moments before the action, and took these right-on-spot storytelling frames!
And last but definitely not least, have you met David Clare? Swing by and say hi, thanks Dahlia for retaking this series focused on our talented community!
Don’t forget to check the photo contest winners for the Essence of Movement which will be published soon; and remember, this month’s photo contest is now open for entries. The theme revolves on “Storytelling in a Single Frame“. Submit your photos for a chance to win $250 and please don’t forget voting as well. Last but not least, keep an eye out for the Members Picks — the instructions are pretty straightforward:
Members reference what you might consider a five star photo. Give a call out to the photographer and share their photo even if it lies in the Shark Tank and feel free to give a Critique on why it trips your Trigger. Be sure to mention the photographer and the Thread you saw it in.
And if you want to make out the most of your Light Stalking user account, make sure to check the latest posts. Also, don’t forget to swim the Mobile Monday Challenge! Last but not least, Check out the current reading throwdown, it has some nice insights and recommendations!
We’d Love To Hear Your Thoughts
Our Feedback Forum is a fine place for all those people wanting to grow fast as photographers. Here, you’ll get your work reviewed by well-intended photographers, but you’ll also have the chance of commenting on the work of others. We believe in the power of feedback, and here are the latest shots shared in the pool:
The Shark Tank is a great place to learn and to discuss, but please read the instructions in order to get a better experience. Share your comments, opinions and doubts on any or all of the images above. We also will be delighted to see some of your own images. Remember all comments are given to the photographs; not the photographers. Also, don’t forget to participate in our upcoming challenge!
I mostly use Lightroom CC Classic as my daily choice. The AI tools inside Lightroom are powerful, and I often use the masking panel to create selections and fine adjustments. Occasionally, when I need to do some heavy editing, such as removing a difficult part from an image, I turn to Photoshop. The Content-Aware Crop is brilliant for adding more sky to a picture if cropped too tightly. Or, if I need to have more flexibility with layers, Photoshop is an excellent choice.
For experimenting with a photograph or when I feel too comfortable with editing, I use Luminar Neo. I can easily step into a beginner’s mindset while working with it. And finally, my go-to sharpener at the moment is Topaz Labs Sharpen AI, which does an excellent job when I need to add sharpness to my images. Also, GigaPixel AI is fantastic for ensuring my photographs look brilliant when printed.
AI image editing tools can significantly improve your landscape photography editing process. By using Lightroom, Photoshop, Luminar Neo, and Topaz Labs, you can achieve beautiful results and bring your creative vision to life. While these tools are powerful, they may have some flaws, so finding the right balance and workflow that suits your needs is essential. I recommend exploring and incorporating these tools into your workflow to enhance landscape photography.
Unlock Your Creative Potential
As you delve deeper into the world of AI-powered photo editing tools and unleash their potential, consider exploring some of the resources I’ve created to help photographers at all levels improve their skills and find inspiration.
The Complete Photography Collection. This all-inclusive package features all of my tutorials, presets, and eBooks, offering a comprehensive guide to enhancing your landscape photography and achieving the recognition your photos deserve.
Epic Preset Collection. Transform your editing process in Lightroom with my presets to help you unlock your creative potential and bring your images to life.
1-on-1 Photography Coaching. Whether you’re a beginner or an experienced photographer, my new online 1-on-1 coaching service is designed to provide personalized guidance and support to your needs and goals.
Free Tutorials. For those just starting or looking to expand their skills without breaking the bank, check out my collection of free tutorials covering various aspects of photography and editing.
Remember that AI is a tool; like any tool, it can’t replace the human element in the creative process. Embrace your intuition, emotions, and experiences as a photographer, and let them guide your editing choices. This will help you create images that not only look interesting but also resonate on an emotional level.
Your personal style and artistic voice are what makes your photography unique. While AI tools can help you achieve technical perfection, preserving your creative identity and ensuring that your images reflect your personal touch is essential.
Let me know if you use any of these tools or want to try them out. Thanks for reading!
Disclaimer: I’m an affiliate of some of these programs. Remember that using the affiliate links in this article helps support my work and enables me to continue sharing my experiences and insights with you.
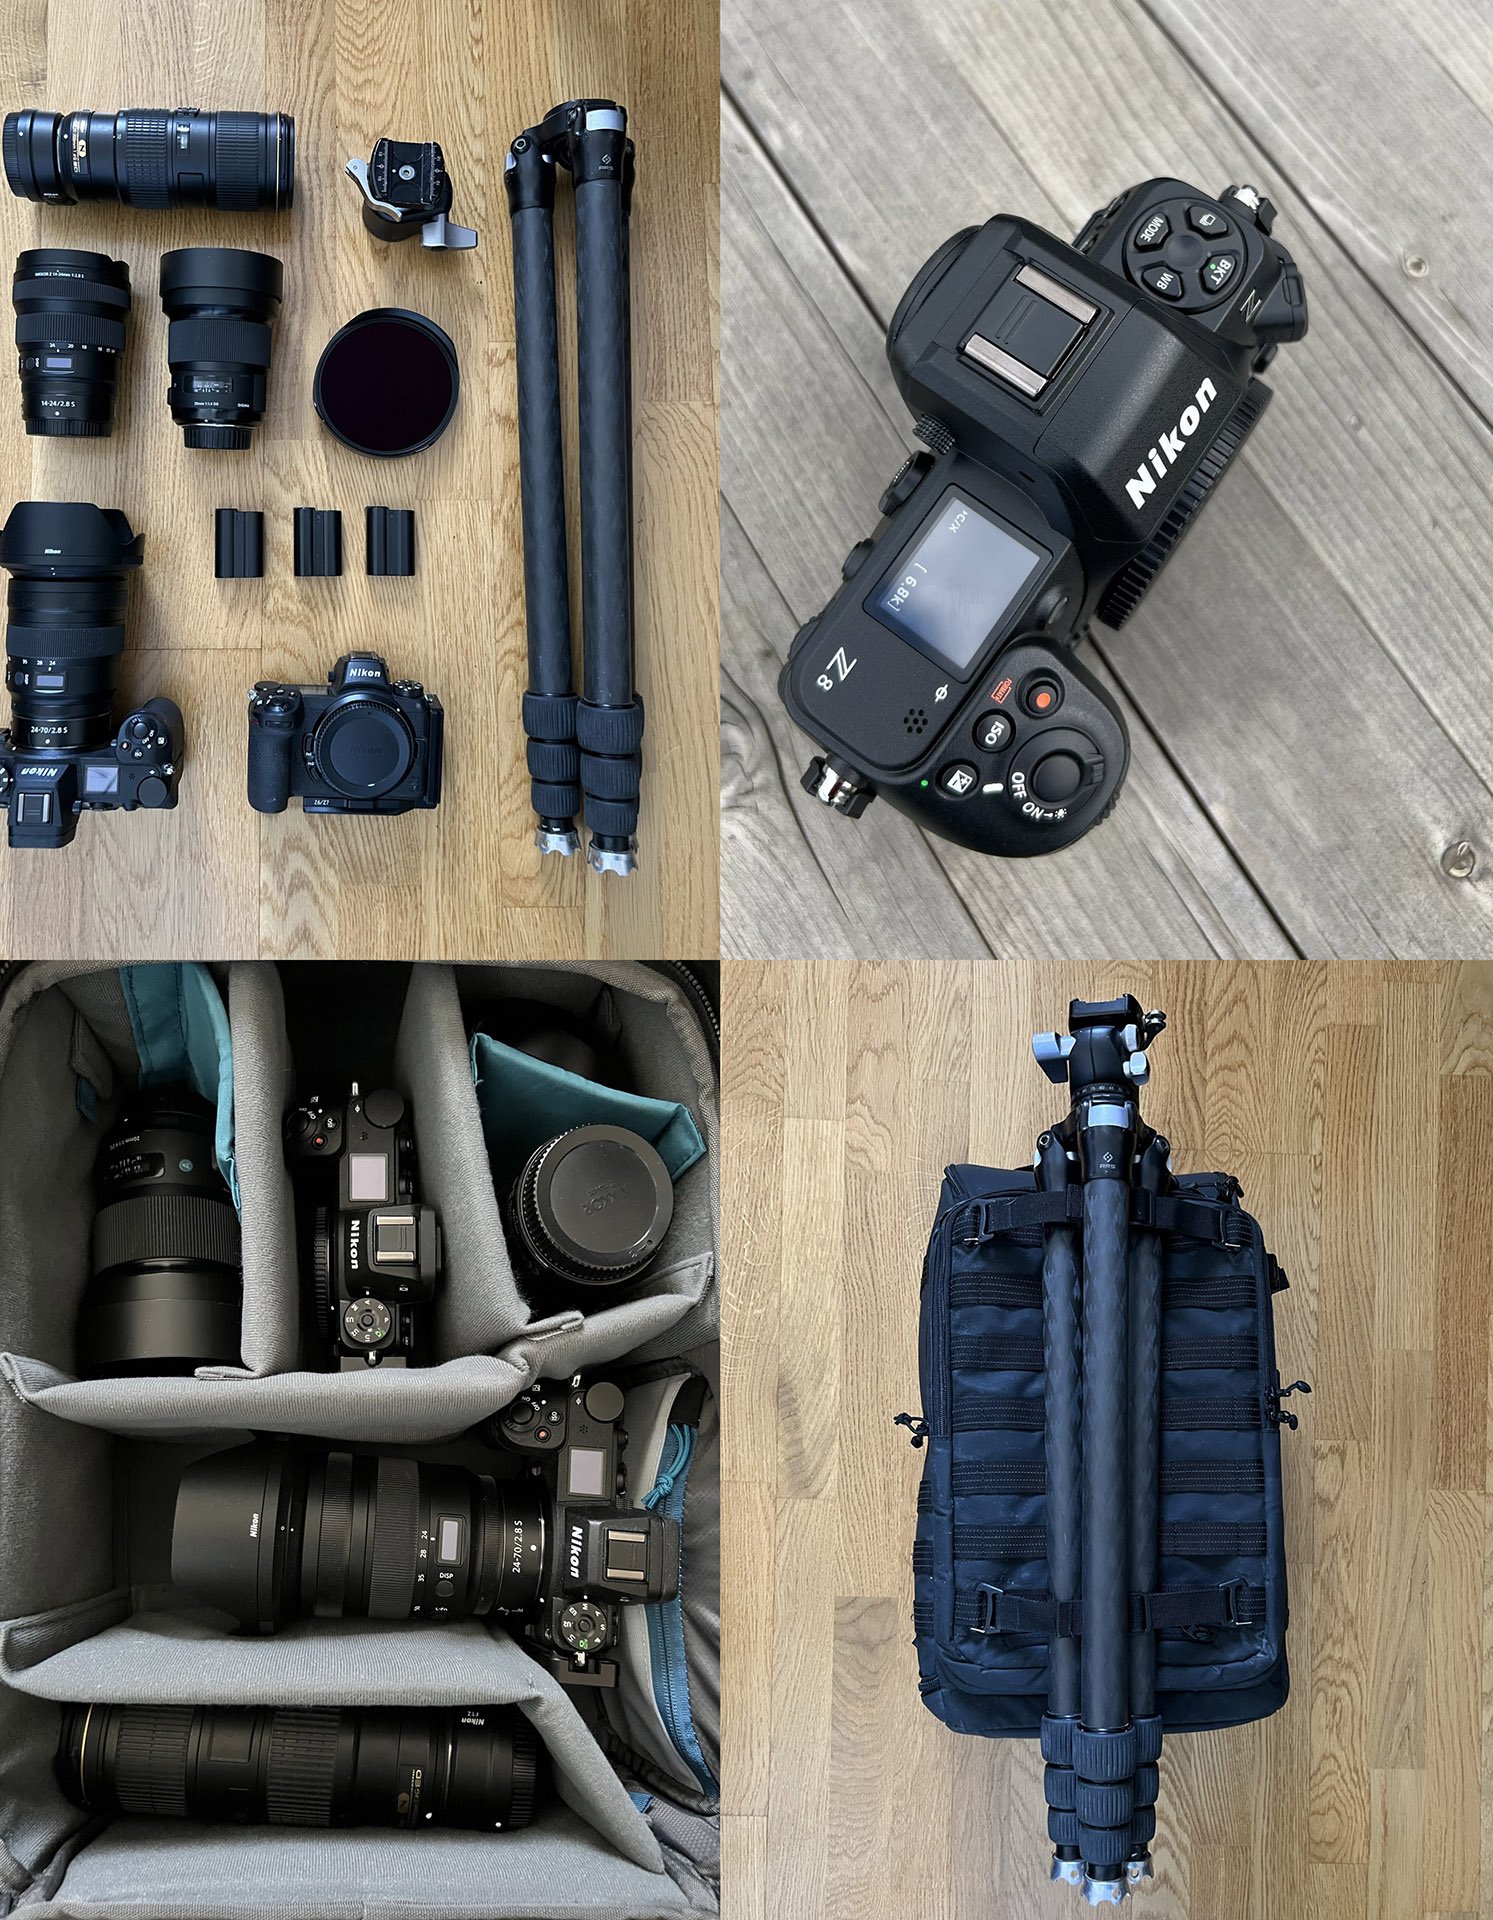
I don’t often write about gear, but it’s the most common question I get, so today, let’s talk about gear and what I currently use in landscape photography. Throughout my journey, I’ve experimented with various Nikon cameras, from D90 to Z7 II and now to the new Z8. I have used lenses from Nikon, Sigma, Tokina, Tamron, and Laowa, ultimately finding the current setup that allows me to express my creative vision.
I used the new Nikon Z 8 for a week in March, and it was fantastic. From a quick overview, I think it delivers an excellent upgrade for the autofocus and video options compared to the Nikon Z 7II. I’ll receive my copy of the Nikon Z8 later, so I can give you more thoughts about the camera. These are my honest opinions about the gear I use. Even though I’m a Nikon Creator, this post is not sponsored by Nikon.
Nikon Z7 II
I have used the Nikon Z7 II as my primary camera for the past year. Before that, I used Nikon Z7 and D810. You can view my review of the Nikon Z7. Now with the Nikon Z7 II, I barely use anything else. The SD card slot is a great addition to the previous version. I’m not currently shooting video much, but that part has also been upgraded from Z7. The battery life is slightly better than in the Z7. When I want to capture time-lapse as well as stills I bring with me the Z7 to have the option to shoot two different perspectives at the same time.
Sensor
Although not the highest-megapixel sensor in the market, the Nikon Z7 II‘s 45.7-megapixel sensor produces high-quality images with incredible detail. It is essential in landscape photography, where every nuance, from the texture of rocks to intricate patterns, adds depth and richness to the final image.
Dynamic Range
The dynamic range of a camera refers to its ability to capture detail in both the brightest and darkest parts of a scene. It is essential when photographing landscapes with high contrast between bright skies and shadowy foregrounds. The Nikon Z7 II excels, allowing me to capture images that retain detail even in challenging lighting conditions.
Low-Light Performance
One of my favorite aspects of landscape photography is capturing the beauty of the night sky. The Nikon Z7 II‘s excellent low-light performance allows me to photograph the stars and the Milky Way with minimal noise and incredible detail. The camera’s high ISO capabilities and noise reduction ensure that my astrophotography images are clean and sharp.
Nikon Z7 II pros and cons
+ Exceptional image quality + Low-light capability + Dynamic Range + Low weight, only 705 g + Dual card slot – No in-camera RAW video capabilities – Relatively slow autofocus – Could have a better battery life
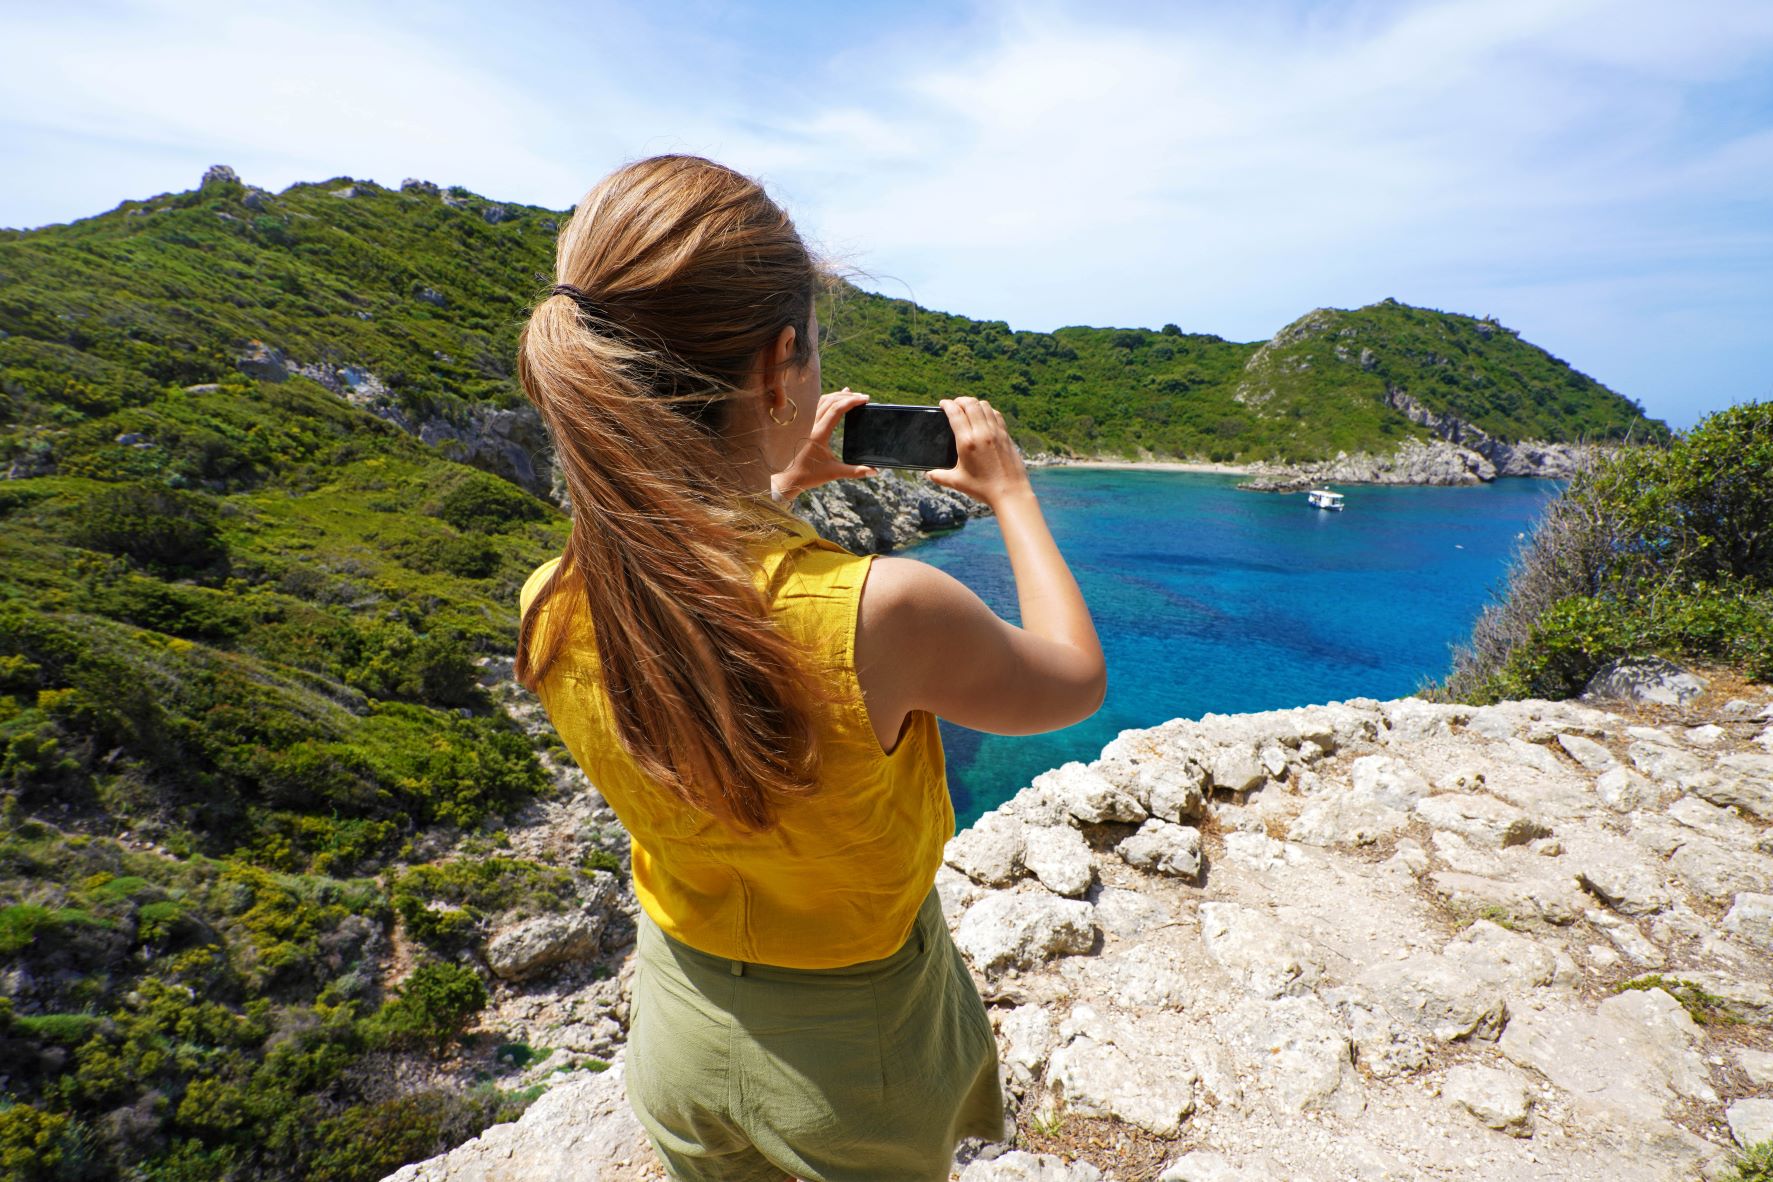
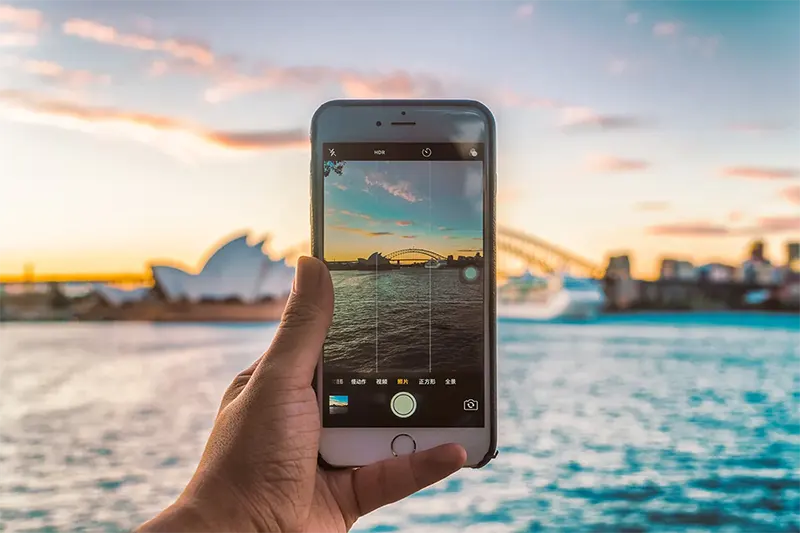
When you’re traveling, it’s always a good idea to travel light. The fewer things you’re carrying, the easier it is for you to move around. However, when you’re a photographer, it can be quite challenging since DSLR cameras are quite heavy and bulky.
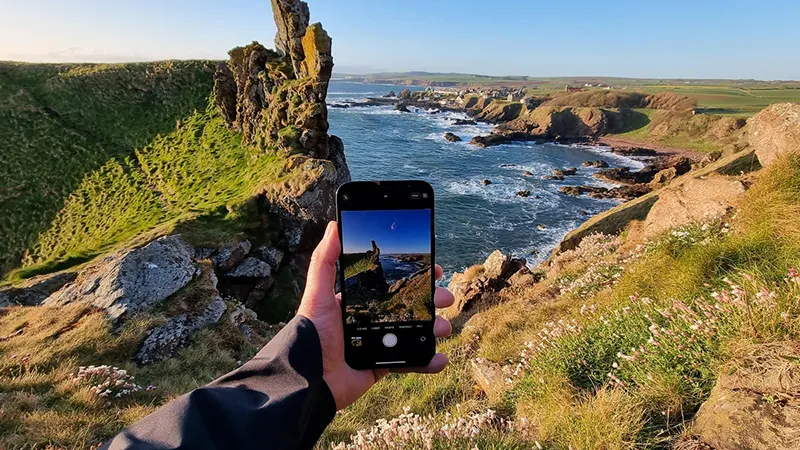
A smartphone can be all you need for your next landscape photography adventures. You just need to know how to find the best exposure along with other tips and you should be able to produce really great images.
In this guide, you’ll learn about the 15 best smartphone landscape photography tips for your next nature travel!
Tips for Landscape Photography Using Smartphone
cnet
Ready to get started?
Make sure to take note of the following tips. They’ll help you get the best landscape photos using just your smartphone.
1. Finding the Best Exposure
Sometimes when you shoot during the sun’s peak time, the exposure levels may be too much. You must do more than tap, focus, and shoot to have the best landscape images. iPhone users need to slide up or down the screen to adjust exposure levels. On an android phone camera phone like Samsung, find a light bulb at the bottom part and slide left to right to change the exposure.
2. Use the Rule of Thirds
The next thing to do is to compose your shot. It would be better if you put a horizon line on your screen. Try searching on your settings app or directly within the camera app to add grid lines.
It would be best if you focused on your subject to make the rule of thirds. For instance, you want to take a flower with a landscape scene in the background. Often, we want to put the flower or the object at the center. However, in the rule of thirds, it will be more pleasing when the things are in the left-most or right-most quadrants of the grid lines.
Reading from left to right is ideal for putting your subject on the left vertical line. By doing this, your eye will be given a flow, which also conveys movement and direction.
3. Ensure a Straight Horizon
Aside from using the grid line feature for the rule of thirds, you can also use it to make sure to get the horizon straight.
As a landscape photographer, do this one right so you will save time in straightening up your smartphone images in the post-production.
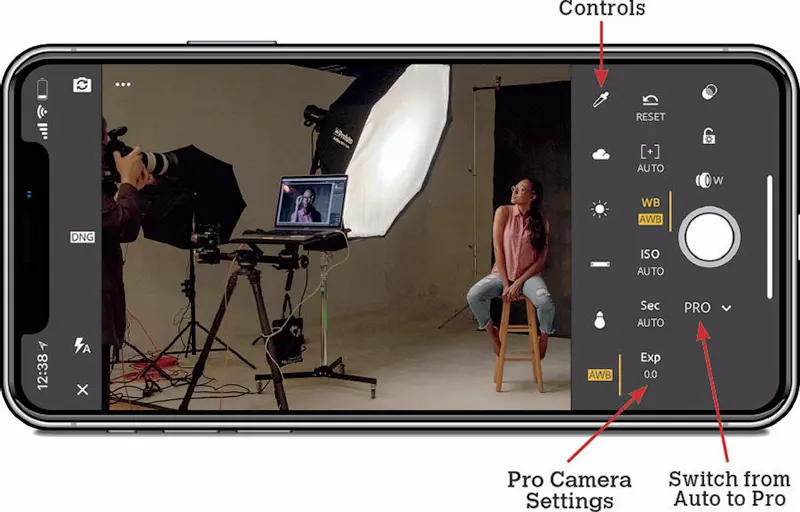
4. Check Camera Settings
oreilly
Your phone can undoubtedly take a great landscape photo in its automatic settings, but let’s push things a little further.
Change into the “pro” mode on your phone if it allows you to adjust settings manually. If it doesn’t, you can modify settings like ISO, shutter speed, and white balance using an app like Moment, Lightroom, or MuseCam.
In landscapes, altering the white balance is often crucial. Being able to tone down some of the highlights from a bright sky or bring up the shadows in the foreground is essential. You also need to know how to alter your white balance after you have taken the shot.
It will give you much more flexibility in your editing (particularly on occasions when you want to warm up the tones in a beautiful sunset, for example).
5. Shoot Too Early or Too Late
The time of the day is a significant factor in landscape photography. No, it is EVERYTHING! I suggest you check the night before what time the sunrise and sunset will be. Then, set your alarm to capture the sunlight slowly rising. Also, ensure you are in a gorgeous location on top of a mountain, near bodies of water, or by the beach.
On the other hand, you can also stay out late. You will witness shades of yellow and orange when you wait for the golden hour. Note that midday is not a good time to shoot in raw format due to the shadows created by the overhead light.
6. Use the Autofocus or Auto Exposure Lock Feat
New smartphone cameras have the capability to autofocus subjects with every move of the lens same goes for the exposure. You can do manual control by tapping on the object you want to focus on, and the rest of the background will blur.
Long press the screen to lock in the amount of exposure and focus of your preference. This feature works well for iPhone mobile photography.
7. Try Wide and Zoom Lenses
You can also buy different interchangeable lenses available online or in tech shops to enhance your camera phone. Wide lenses enable you to widen and double the field of view. Meanwhile, telephoto lenses allow you to have a digital zoom without making the landscape photos pixelated.
Do not be afraid to experiment with your wide and zoom lenses in taking photos. Give it a try, especially since some smartphone cameras do not have a wide camera mode.
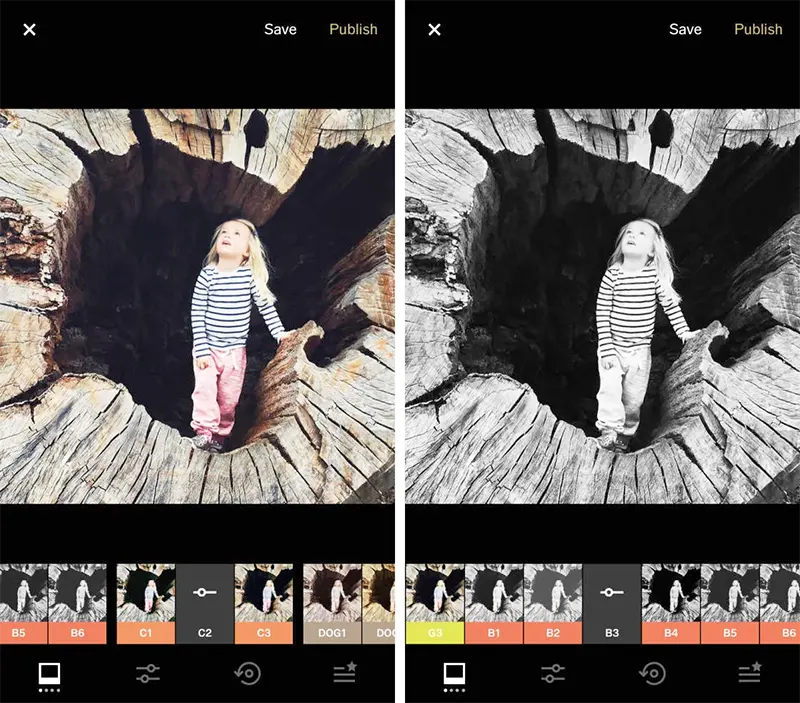
8. Post Edit Landscape Photos
iphonephotographyschool
The debate about whether to shoot in raw and leave it as is or use editing apps has gone on for years. Some people would want to maintain the landscape photos they took without processing them afterward. However, did you know that you can enhance the scene’s colors when you post-edit the pictures?
There are free and low-cost editing apps available to install, like Snapseed and VSCO, with decent presets for landscape photography. VSCO is best used for minor adjustments like brightness, contrast, and sharpness. It will also let you adjust the filter intensity. You can opt for paid editing apps to enjoy more editing features.
Lightroom and Photoshop can help you remove distracting elements. You can use these editing tools using your phone and computer.
Therefore, you’ll need to load your images onto your computer anytime you need to make adjustments that demand more processing power, such as removing rocks, adding a dramatic sky, or making other changes.
9. Get Low
Since most mobile phones have wide-angle lenses, going close to the topic can make it much more intriguing. Your foreground will appear longer and more fascinating in your photos if you get down low. They will notice features that previously would not have stood out, like shrubs, flowers, and rock faces.
You may give your image a lovely balance by having the foreground and background meet in the bottom third. Mobile phones frequently include a thirds overlay that will help you do this more evenly while also assisting you in maintaining the alignment of the images.
The pictures don’t look all that attractive from above. However, the images seem more unique and intimate when you look at them directly down on your knees. It’s comparable to bending to take a child’s picture.
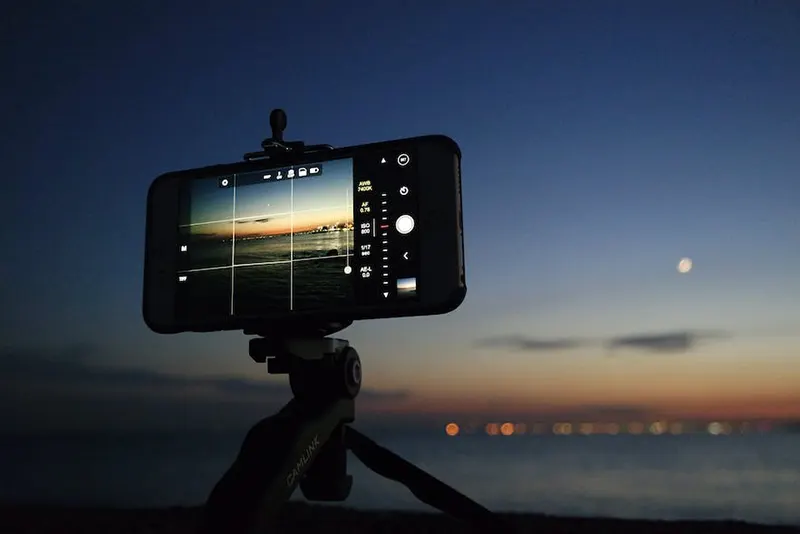
10. Use a Tripod or a Stabilizer
Did you know that a DSLR camera has a more prominent camera shake than a smartphone one?
On the market, most mobile phones offer built-in image stabilization. However, if your phone has a high-megapixel sensor, it tends to be very sensitive to motion blur. And it can give your sharp photos. However, this won’t eliminate motion blur if you utilize long exposures, time lapses, or other features.
iceland-photo-tours
Invest in a good tripod or stabilizer. The ones for smartphones do not cost a fortune. Make sure they are also handy and not bulky for your light travels.
11. Try Timelapse
This type of shot is quite simple, thanks to built-in smartphone stabilization and computational photography, which eliminates all the arithmetic and post-production work. With the help of time-lapse photography, you may view the passage of time in precise seconds. You can observe patterns and waves in the sky in even a minute-long clip that are too sluggish to be visible with the bare eyes.
A tripod or phone stabilizer will be essential for creating excellent time-lapses. Set it up, pick the recording speed, then allow the phone to record for however long it is necessary.
Tips for using timelapse for your smartphone landscape photography:
5x Speed – capturing people and their emotions
10x Speed – when the photographer is on the move, like walking, running, on car rides, and even on planes.
30x Speed – works well when using a tripod to record motion in a city or other setting. Excellent for recording weather for 10 to 30 minutes. A 15-second video is produced after 7.5 minutes of recording.
120x Speed – for dramatic weather changes and fluctuating light conditions. Imagine converting a downpour into a beautiful evening. Thirty minutes of the recording are needed to create a 15-second video at this Speed,
12. Feature a Strong Foreground
Spend a few minutes looking around for something you can include in your shot to help the area come to life when you’re shooting your photograph at the top of the hill. In your scenes, look for foreground interest. In landscape photography, you can use things like tree stumps, moss-covered boulders, and even some gorgeous wildflowers to draw attention to a location.
13. Flip Your Phone to Get Close to the Water
This trick will leave you completely astounded. You need to come up close to the surface to see reflections in puddles. When you look down at them, all you will see is the sky, not the scene that is taking place in front of you. But if you don’t want to immerse the bottom half of your phone in water, the way we hold our phones naturally makes finding the puddles challenging.
So, to get around this, simply flip your phone over and start taking pictures! I also employ this technique when photographing tiny flowers, fungi, or other difficult-to-approach subjects.
14. Play with Distance in Smartphone Photography
digital-photography-school
Note: If your subject is a wild animal, disregard this advice. It would be best if you kept animals at a safe distance. If your background is dull, dimly lit, or very distracting, approach near and allow your subject takes up most of the screen.
Try to back up to a medium distance for dynamic action photos. Be in a position just far enough to fit your subject’s entire height in the frame.
Try backing up even more and using a person, animal, or item in the middle distance to produce a sense of enormous scale to highlight a beautiful background.
15. Try Burst in Moving Objects
When you have a moving objects like animals or vehicles in your smartphone photography, try using burst mode to capture them. It will give you a varied range of photo options.
Using the burst mode will reduce your chance of the camera shaking because you only need to touch the shutter when you start and stop taking pictures. As a result, you’ll be able to quickly shoot a series of photos that you may evaluate afterward to select the best and most precise ones.
Know Your Smart Camera Phone
For all these tips to work, you need to know your phone. Smartphones have different camera settings and features. Most of the time, quality precedes price.
Although most cameras on the market have built-in stabilization, this won’t be sufficient to prevent motion blur when capturing long exposure photos, such as time-lapses and other similar photographs. Perhaps the best investment you can make to steady your smartphone and save time is to purchase a small, affordable phone stand or tripod.
Smartphone landscape photography
Using smartphone cameras in landscape photography is a very convenient way of taking photos. However, if you plan to do this often, make sure to have enough phone memory or storage for your editing apps and pictures.
Also, remember that the key to getting great photos lies in your camera sensor size. The quality of your images will improve as the sensor size increases. It would also be nice if your camera phone had a great night mode feature, even in dark scenes and low-light places.
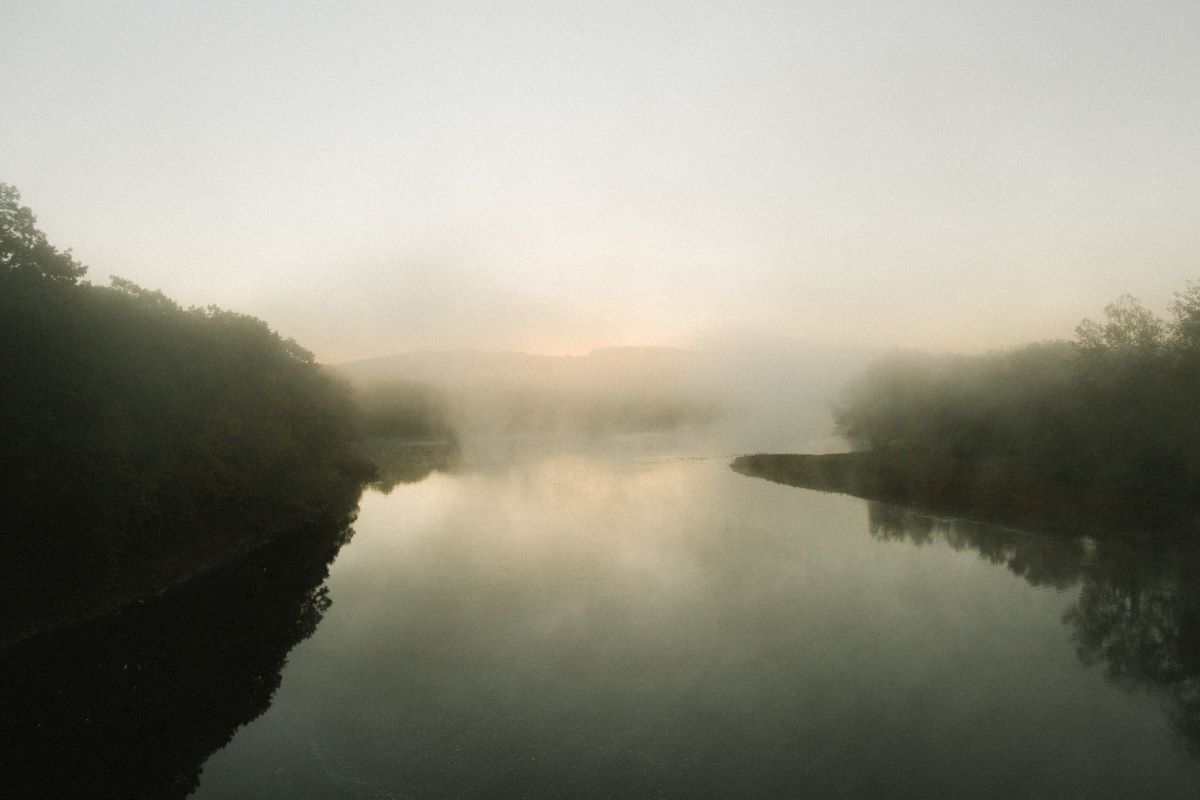
Haze can be a photographer’s ally, but it is a trouble to endure most of the time. Misty mornings allow us to create fascinating and subtly beautiful images. But how can we ensure that visuals are radiant with charmed captures rather than dissipate into a photo setback?
To reduce the haze in landscape photography, add a polarizer to the scene to reduce the scattered light. After taking the picture, you may use a combination of the Dehaze, Clarity, and Contrast changes in the photo editor (particularly Lightroom) to reduce the haze effect and improve the clarity of the picture. You can also use Auto Tone in Photoshop.
Read on to learn how to clean up haze from your photos and reduce unwanted haze as you take the shot.
What Causes Landscape Haze?
marklincoln
Haze results when dust, smoke, water, or other airborne pollutants scatter light as it travels through the atmosphere. As humidity rises, these particles often enlarge, further reducing visibility. Haze may soften a view and lessen the sharpness of landscape components.
Photographing in the haze is significantly different from photographing in clear weather. With proper knowledge, these climatic events might make your photographs more exciting.
How to Reduce Unwanted Haze in the Field As You Take The Shot
After setting up your photo arrangement, you notice some haze. How do you eliminate it?
Bring the Correct Gear
You can bring a UV filter, skylight filters, a tripod, and wet-weather gear for the least chance of getting ominous hazy shots (including a lens cloth).
A wide-angle lens may be helpful when using an SLR camera, or you might carry a long lens to emphasize the photo’s depth. Using a tripod allows you to experiment with exposure settings, and an open mind is vital when photographing haze.
Choose the Best Time to Avoid Haze
Due to the day’s high temperatures, atmospheric haze is more frequent in the afternoon and evening. The quantity of haze rises due to the warmer air expanding to accommodate more particles. The daytime increase in winds also stirs up more haze and other particles into the air, adding to the haze effect.
Often, haze is the least prevalent in the morning since the air is cool, less humid, and moist. There is also naturally less haze when the sun is directly above since the light passes through the atmosphere the least.
Reduce the Haze Through A Polarizing Filter
Atmospheric haze is essentially light dispersed by moisture and airborne particles. A polarizing filter will eliminate this undesired haze before taking the picture. A polarizing filter will also improve the clarity and sharpness of the scene’s objects by reducing the amount of dispersed light entering the lens.
Remove the Atmospheric Haze
Atmospheric haze is often to blame for nature photos that are murky, dusty, and have the dreaded blue color. A UV filter or skylight filter will eliminate any air haze in your photograph.
adorama
Your lens may be shielded from dirt, grime, and scratches by a high-quality UV filter without compromising the color, contrast, or exposure of your pictures. A UV filter or skylight filter decreases the likelihood of a blue cast, which will also improve the clarity and accuracy of your photos.
Modify Your Angle
The sun may lessen haze by adjusting the camera’s angle concerning the light source. Unfortunately, it is only sometimes possible to dramatically alter the camera’s orientation.
You could think about shifting the light’s axis, however. If you return to the same spot later in the day, the sun will be positioned differently concerning the camera.
Play Around with Exposure
With a long exposure, you may capture the illusion of movement in a slow-moving mist and create a clear contrast adjustment between blurred and static elements in your shot.
Even the most seasoned photographers may learn a lot by photographing hazy and foggy landscapes, so make sure you spend the time experimenting with exposure settings.
Balance is Important
Because hazy situations often lack color, it is crucial to pay attention to the color balance and lower the likelihood of getting boring, vanilla photos. Ensure your white balance is in order to balance the cold tones of early morning. You may also want to think about shooting in RAW to have additional post-processing possibilities.
Pro tip: To portray your people as black shadows, make sure that you expose depending on the haze, not the subject. Exposing the haze gives this transient phenomenon additional complexity and texture.
How to Remove Haze in a Landscape Image?
We provided some ideas on reducing haze in the photo in the first part of this article, which you may utilize when shooting on location. However, how can you lessen its effects post-processing?
Many methods will work to remove haze from a photograph, and a more effective strategy is to combine many modifications to get the desired effects.
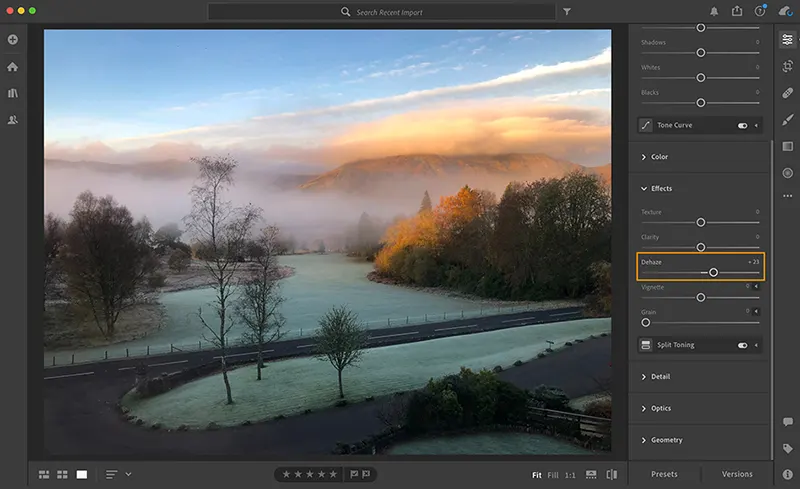
Use Dehaze To Remove Haze
The Basic panel in Lightroom has the Dehaze slider. Dehaze may be used to decrease haze across the whole picture. However, this modification may also result in saturated colors and a darkened picture. Therefore, use cautiously and in conjunction with increasing exposure and lowering colour saturation.
You may also use Dehaze with the Masks above the Basic panel. Using a mask, you may choose which parts of the picture the Dehaze effect is applicable.
shotkit
For tiny areas, use the paintbrush tool. The Grad Filter might be helpful if the sun comes from one side since it allows you to choose vast areas of your picture.
Clear out the Haze with Clarity
You may boost the mid-tone intensity with the Clarity slide. Choose the Natural or Classic settings first since they are the most effective when you want to keep highlighting detail.
Make a white-balance adjustment or an Auto Levels adjustment before utilizing the Clarity tool, ideally by using the individual Red, Green, and Blue Channel modes.
It is doubtful that the Structure slider will improve much, although it depends on how bad the haze is. Images with greater detail and slight haze may show enhancements. Move the Clarity and Structure sliders to the left gradually, staying at low values if you want to add haze creatively.
Set the Blacks and the Whites Apart
You may wish to change the black and white levels after adjusting the mid-tones using the Clarity slider. The benefit of this strategy is that you may alter each of them separately to get the desired outcome.
Any dark tones in the photograph can be washed away by the haze. But because the black levels may be affected by the Dehaze and Contrast sliders, it is a good idea to recheck them after each change.
Make the Tonal Curve Adjustments
Just below the Basic Panel is where you will find the Tone Curve Panel. In a setup, the haze often appears when the left side of the curve’s solid line is higher than the dotted line. Click on one of the dots on the left side of the curve and drag it closer to the dotted line to lessen the haze effect.
The Tonal Curve provides access to precise tone alterations throughout the whole image. You may choose one of the preset tone options and fine-tune any tonal values. While you may adjust certain tones, the changes may affect the whole picture.
White Balance Correction
Haze may make your White Balance do bizarre things, depending on where you are and what time of day it is. Haze, for instance, may artificially warm the image and filter out blue tones. As an alternative, your shot can have blue color casts.
You have great versatility when you take your pictures in RAW. A photograph in RAW format may always have its White Balance changed without degrading the image’s quality.
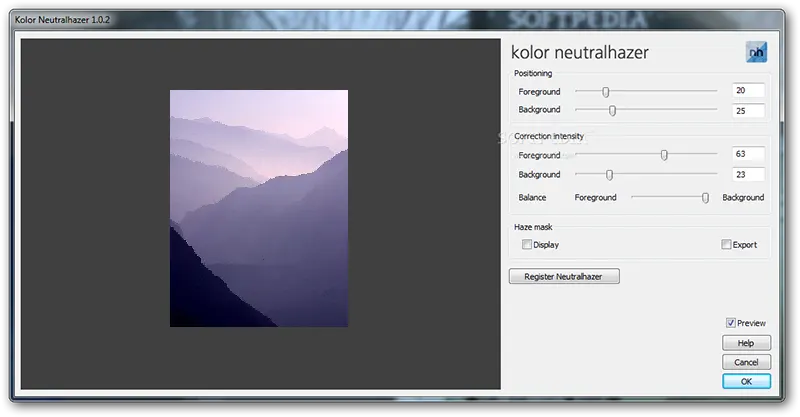
The NeutralHazer Approach
Paid software is available to reduce haze for individuals who want to do it entirely under their control. NeutralHazer is a plugin for Photoshop and Photoshop Elements that determines the air thickness in each pixel, allowing the user to define the boundaries between the foreground and background.
NeutralHazer is a unique tool since it allows users to choose the covered background and foreground sections, the strength of the impact on each of them, and the transition between the two areas.
Add Contrast
You may restore contrast to your image by using the Contrast slider. Be careful that changing the contrast will influence all tones, including black, mid-tones, and whites. You could utilize the Clarity slider if you don’t want to affect the blacks and whites.
It is also a fantastic place to experiment using the Unsharp Mask technique and adjustment in Adobe Camera Raw. For this “haze removal” approach, you do a Local Contrast Enhancement utilizing Radius rather than the more extreme value shift in a typical Unsharp Mask procedure called Amount.
Haze is Not Always A Bad Thing
Haze may significantly affect your image and limit your ability to see what is in front of you. Even while this can at first look terrible, it can be a positive thing! Haze may provide a dynamic layer of mood and atmosphere to your photographs, altering how viewers may interpret them.
Haze may be used successfully in a landscape photo to enhance the composition and the message you convey about the scene.
For instance, haze may create a cluttered backdrop, create separation from subjects, capture images like the sun’s color and enhance a picture’s atmosphere and warmth. Consider inventive methods to include the haze in the composition so that it tells a powerful tale
Conclusion
Use a polarizer to remove scattered light for a crisper picture if you wish to lessen it, or shoot in RAW and apply various modifications while editing the picture. Consider using the lighting and including the haze as a design element for a fantastic job.