برچسب: Lagerstedt

  • Underneath the Surface — Mikko Lagerstedt

    Underneath the Surface — Mikko Lagerstedt


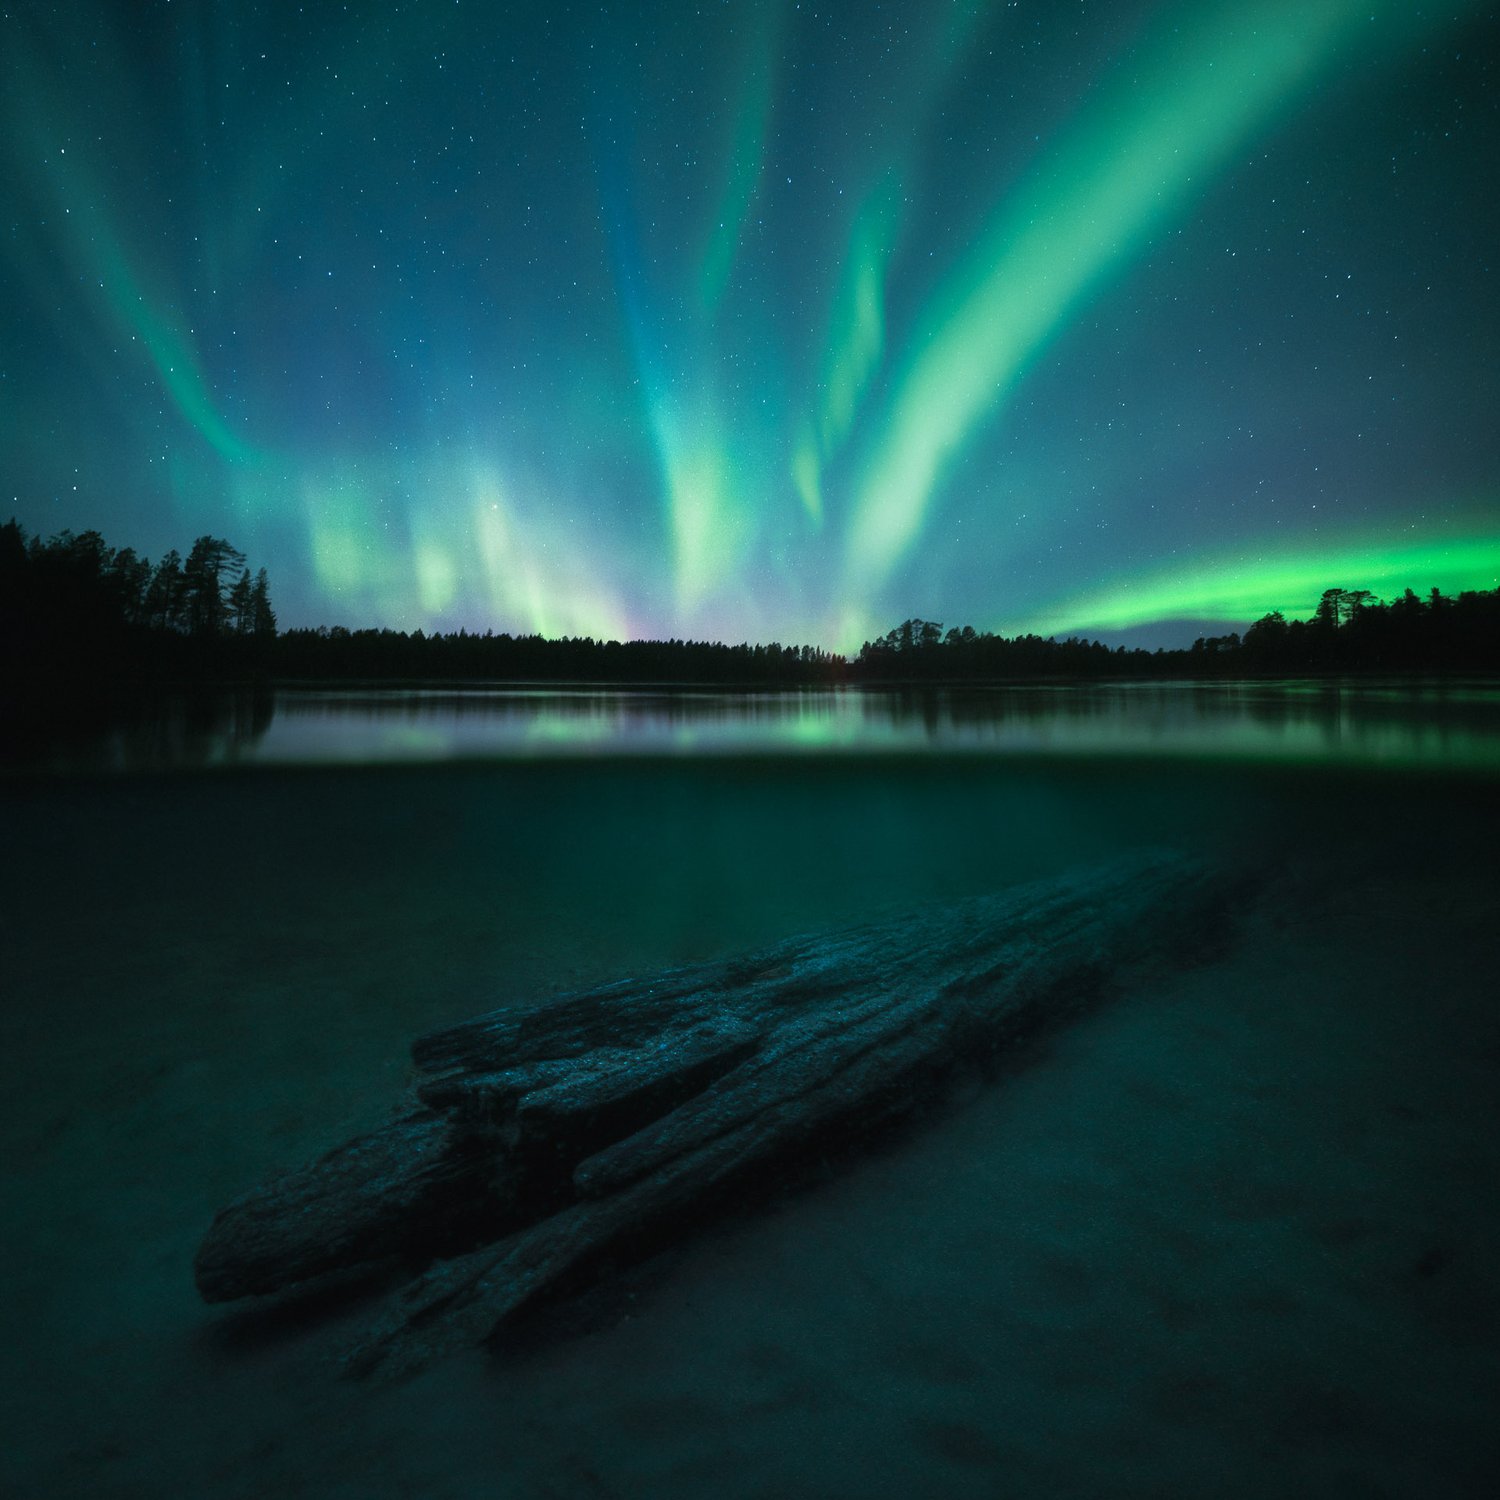
    As a creative, I try to push myself to develop new ideas and visions. I had this strong pull to do something different, to push the boundaries of what I could capture with my camera and convey the ever-changing beauty of our planet.

    I wanted to push myself out of my comfort zone and express the emotions of transformation. I wanted to connect this piece to my roots, guiding the visuals with Finnish literature, Kalevala, the theme of the mythic transformation of nature, light, and darkness. This was the start of the birth of my new photography piece, Underneath The Surface.

    I packed my gear and headed to the stunning landscapes of northern Finland, unsure how I would bring this dream to life. It sure wasn’t easy. The project turned into this intense journey of battling sleeplessness and the brutal cold of Finnish Lapland. Imagine spending hours in freezing water, trying, failing, and then trying again the next day.

    But then, there was this moment. After all those attempts, I finally got the shot I was after. Sitting there in the icy water, watching the Northern Lights, I felt this overwhelming sense of connection and change. Time stood still, and I was there, soaking in every second.

    It’s funny how we often scratch the surface of things, isn’t it? But we must keep pushing and trying, no matter how often we stumble. And that’s what makes us succeed.

    This piece blends the natural world and the mystical stories from the Kalevala. It invites you to step into a scene where these two worlds collide, showing the ever-changing nature of our planet alongside those age-old stories. Through this process, I learned so much about myself and how pushing your limits can lead to some amazing discoveries. Below, you can find a behind-the-scenes video and a chapter on how this photograph was captured.


    Source link

  • Editing Minimalistic Photography in Lightroom — Mikko Lagerstedt

    Editing Minimalistic Photography in Lightroom — Mikko Lagerstedt


    You can use multiple masks and make highly complex selections.

    You can also use the following manual masking tools:

    • Select the Graduated Filter tool from the toolbar on the right side of the screen. This tool allows you to apply a gradient effect to your photo, which can help draw the viewer’s attention to a specific area of the image.

    To use the graduated filter, click and drag on the part of the image where you want the effect to start. Then, release the mouse button where you want the effect to end. It will create a gradient effect that gradually changes the photo’s exposure, contrast, saturation, or other settings.

    • Next, you can use the Radial Filter tool to apply a circular gradient effect to your photo. It can help create a vignette effect or draw attention to a particular image area. To use the radial filter, click and drag on the part of the image where you want the center of the effect to be, and then release the mouse button to set the radius of the effect.

    • Finally, you can use the brush tool to apply effects to specific areas of the photo selectively. Select the brush tool from the toolbar on the right side of the screen and then adjust the brush settings to control the brush’s size, hardness, and other properties. Then, brush over the areas of the photo where you want the effect to be applied.

    Using these tools, you can create a more minimalistic photograph by selectively applying adjustments to specific areas of the image. It can help draw the viewer’s attention to the essential parts of the photo and create a more cohesive and balanced composition.

    4. REMOVING DISTRACTIONS

    One of the most helpful ways to make your photograph more minimalistic is to remove distracting elements. In Lightroom, the healing tool is the tool you can use to get rid of unnecessary elements. This tool allows you to selectively remove unwanted objects from your photo, which can help create a more minimalistic and cohesive composition.

    There are three different tools inside the healing panel in the Lightroom CC 2022 version. The Content-Aware Remove, Healing, and Clone tool.

    1. The Content-Aware Remove tool tries to automatically remove selected distractions without suggesting an area to apply with.

    2. The healing tool suggests a replacement for the spot you are trying to remove and uses an algorithm to match the color and light of the applied area.

    3. The clone tool clones an area you want to remove.

    Use the cropping and straightening tools to remove distractions and frame the photograph to emphasize the subject.


    Source link

  • The Art Of Capturing Winter Fog Photography — Mikko Lagerstedt

    The Art Of Capturing Winter Fog Photography — Mikko Lagerstedt


    My favorite thing about photography is that you don’t always have to travel far to capture unique photographs. In this week’s tutorial, I talk about capturing fog in winter and how it can add a sense of mystery and atmosphere to your photos. This is the ultimate guide to capturing winter fog photographs.

    Whether a thin layer of mist hovering over a frozen lake or a thick fog enveloping a forest, fog can transform a mundane scene into something magical. In this tutorial, I show you how to capture stunning winter landscapes with mist, from finding the right location to choosing the right time of day and experimenting with compositions.

    Find the right location

    Fog can be elusive, so it’s essential to find a place where it is likely to appear. Look for areas with low-lying valleys, rivers, or lakes. These areas are more prone to fog because the cool air tends to sink and settle in these areas. Look for locations where the fog is likely to accumulate, such as near water, valleys, or low-lying areas.

    1. Look for forecasts of foggy conditions, especially in the early morning or late evening when the air is cooler, and the humidity is higher. You can also check the humidity and dew point, as the fog is more likely to form when the air is saturated with moisture.

    2. Pay attention to the wind direction. Fog is more likely to form in areas with calm winds. Look for locations where the wind is calm or where the wind is blowing away from the area you want to photograph.

    3. Look for locations with interesting features that can add depth and interest to your photos, such as trees, buildings, or other landmarks. Consider using these elements to create leading lines or to add a sense of scale to your photos.

    4. Fog can be unpredictable, so it’s a good idea to visit your location at different times to see if the fog appears. This will also give you the opportunity to experiment with different lighting conditions and compositions.

    5. The seaside can be an excellent place to capture fog in the Winter. The warm seawater and temperature drop can create a massive cloudlike fog.


    Source link

  • Unlock Your Photography Potential — Mikko Lagerstedt

    Unlock Your Photography Potential — Mikko Lagerstedt


    4. Breaking down goals

    This is how you can achieve goals and track them in your journal. Write down each of these and be as thorough as you can.

    Specific Goal
    What do you want to improve? “I want to improve my Lightroom Color editing.”

    Specific Action
    What are your action steps? “Use the HSL panel in Lightroom and watch tutorials on how to use it.” 

    Timeframe
    How many hours does it take? “I will spend 1 hour per day editing in the HSL panel to improve my color editing.”

    Track your Actions
    How many hours have you spent this week? “I have spent learning 2 hours this week using the HSL Panel?”

    Results
    Write down what you learned. Be specific and acknowledge your improvement. “I understand the HSL panel easily and can identify how to improve the colors in my photography.”

    I believe these steps will help you improve your photography and make you continue to enjoy taking photographs.

    5. Goal ideas for Your Photography

    When you set inspiring goals, it’s easy to feel inspired to start creating and have fun in the process. Let your creativity flow and create what you desire!

    • Practice shooting in different lighting conditions, such as sunrise or sunset, to improve your skills in capturing the golden hour

    • Experiment with using filters, such as polarizers or neutral density filters, to enhance the colors and contrast in your photos

    • Work on composing your shots more effectively by learning about the rule of thirds or practicing leading lines

    • Practice shooting in different weather conditions, such as fog or rain, to capture unique and atmospheric images

    • Learn how to use a tripod effectively to capture sharp, blur-free photos, especially in low light

    • Experiment with different focal lengths and perspectives to create different effects in your photos

    • Practice shooting in manual mode to have more control over your camera settings and to create the desired exposure and depth of field in your photos

    • Experiment with different types of lenses or camera settings to create other effects in your photos

    • Shoot in a new location or visit a new destination specifically to photograph landscapes

    • Work on improving your post-processing skills, such as using software to enhance colors and composition

    • Collaborate with other photographers or participate in a photography workshop or retreat

    • Work on developing a personal style or theme in your landscape photography

    • Explore new local locations. Many beautiful locations are likely near your home, even if you cannot travel far. Aim to explore these new locations and try out different compositions, lighting conditions, and subject matter.

    If you want, you can do daily tasks, such as the one below. You can Download Your Free Photography Planner I made last year.


    Source link

  • Print Collection 2023 — Mikko Lagerstedt

    Print Collection 2023 — Mikko Lagerstedt


    As a landscape photographer, I have always been captivated by the beauty and solitude of the natural world. It’s where I can find peace and inspiration and am reminded of our planet’s vastness and complexity.

    I wanted to capture this sense of wonder and connection to the earth in my new  2023 print collection, “In The Solitude.” This collection features a selection of my favorite landscape photographs from the North.

    From the coastline of Finland to the endless snow views of Swedish Lapland, each photograph in this collection is a testament to the majesty and power of the natural world. These prints will transport you to these magical places and inspire you to connect with the earth in your own way.

    But this collection is about more than just pretty pictures. It’s about capturing the emotion and drama of the natural world and the way it makes us feel. Whether the peaceful stillness of a misty morning or the wild energy of the northern lights, each print is meant to evoke a sense of awe and connection.

    I am so proud to present this collection to you, and I hope it brings the natural world into your home. Keep an eye out for the full reveal and details on how to purchase, coming soon!


    Source link

  • Have You Lost Your Inspiration For Photography? A Toolkit to Find Your Inspiration Back. — Mikko Lagerstedt

    Have You Lost Your Inspiration For Photography? A Toolkit to Find Your Inspiration Back. — Mikko Lagerstedt


    It’s natural for us, as photographers and creatives, to lose our inspiration. While taking a break can initially be a great way to get your inspiration back, it can also harm your inspiration. Procrastination will sometimes sneak in when you are too comfortable.

    It can be easy to fall into a creative rut and feel like you need more ideas. I certainly have been there. However, finding new sources of inspiration is an essential part of any creative process, and there are many ways you can do this. In this article, I share a toolkit of ten tips for finding sources of inspiration.

    If you haven’t read my earlier posts about inspiration, here you can find them below.

    Get Out of Creative Rut
    How To Find Inspiration For Your Photography?
    Stay Inspired – Create a Catalog of Inspiration

    1. Be ready for inspiration

    Take your camera with you wherever you go, and be open to capturing unexpected moments and subjects. Visit new locations and try shooting at different times of day to see how the light and atmosphere changes. Explore new neighborhoods, towns, or even countries – sometimes, the most unexpected locations can yield the most inspiring photographs.

    2. Try new techniques or subjects

    Consider trying new editing techniques or using different lenses or cameras to change the look and feel of your images. Try shooting in black and white, trying long exposures, or experimenting with different compositions. The more you experiment, the more you’ll learn about what works for you and what doesn’t, and the more you’ll be able to develop your own style.

    3. Get out of your comfort zone

    Stepping outside your usual routine and trying something new can be a great source of inspiration, such as taking up a new hobby or visiting a new location. Taking a break from your routine can help you see things in a new light and spark new ideas.

    4. Find new subjects

    Keep your eyes open for inspiring subjects and moments in your everyday life. By staying attuned to your surroundings, you’ll be more likely to spot unexpected moments and topics that can inspire your photography. It could be a beautiful sunset, a stunning landscape, or an interesting street scene.

    5. Journal

    Consider keeping a journal of your photography ideas and inspiration; this can be a great way to keep track of your ideas and revisit them later. Having a place to capture your thoughts can help you stay organized and keep your creativity flowing. You could include sketches, notes, or even photographs that inspire you.

    6. Seek inspiration elsewhere

    Photography is just one art form, and many other art forms can inspire. Consider looking at paintings, sculptures, or even music for inspiration. Pay attention to the colors, compositions, and themes in these art forms, and think about how you could apply these ideas to your photography. For example, you might look at a painting with a strong color palette and try to recreate that same palette in your photographs. Or, you might be inspired by a sculpture’s texture and try incorporating texture into your compositions.

    7. Open your Mind

    Keep your eyes open for inspiration in the world around you. It could be the changing seasons, a city’s architecture, or the natural landscape’s beauty. Look for patterns, textures, and colors that catch your eye, and think about how you could capture these elements in your photographs.

    8. Plan a trip

    Planning a trip specifically for photography can be a great way to step outside your surroundings and find new sources of inspiration. Consider researching locations known for their photographic potentials, such as national parks, historic cities, or natural wonders. Look for places that offer a variety of landscapes and lighting conditions, as this will allow you to experiment with different techniques and subjects. Wander from the beaten path and explore off-the-beaten-track locations – sometimes, the most unexpected places can yield the most inspiring photographs.

    9. Collaborate with others

    Collaborating with other photographers on a project or photo shoot can be a great way to learn from others and find new sources of inspiration. Working with others can help you see things in a new light and inspire you to try new approaches to your photography. Consider reaching out to photographers whose work you admire and see if they would be interested in collaborating on a project. Alternatively, you could join a local photography group or participate in online forums or communities where you can connect with other photographers and discuss ideas and techniques.

    10. Seek new experiences

    One of the best ways to find new sources of inspiration is to seek new experiences. It could be trying new hobbies, traveling to new locations, or simply trying something new in your everyday life. By stepping outside your comfort zone and trying new things, you’ll be more likely to find new subjects and experiences that inspire your photography. For example, if you’re a landscape photographer, consider trying a new type of photography, such as portrait or still-life photography. It can help you see things in a new light and find new ways to approach your landscape photography.

    An additional source for inspiration: Create a theme or a goal.
    Consider setting yourself a personal photography project with a specific theme or goal. This could be a project where you photograph a particular location over the course of a year or a project where you focus on a specific type of landscape or subject. Having a specific project to work on can help you stay motivated and focused and can also provide new sources of inspiration.

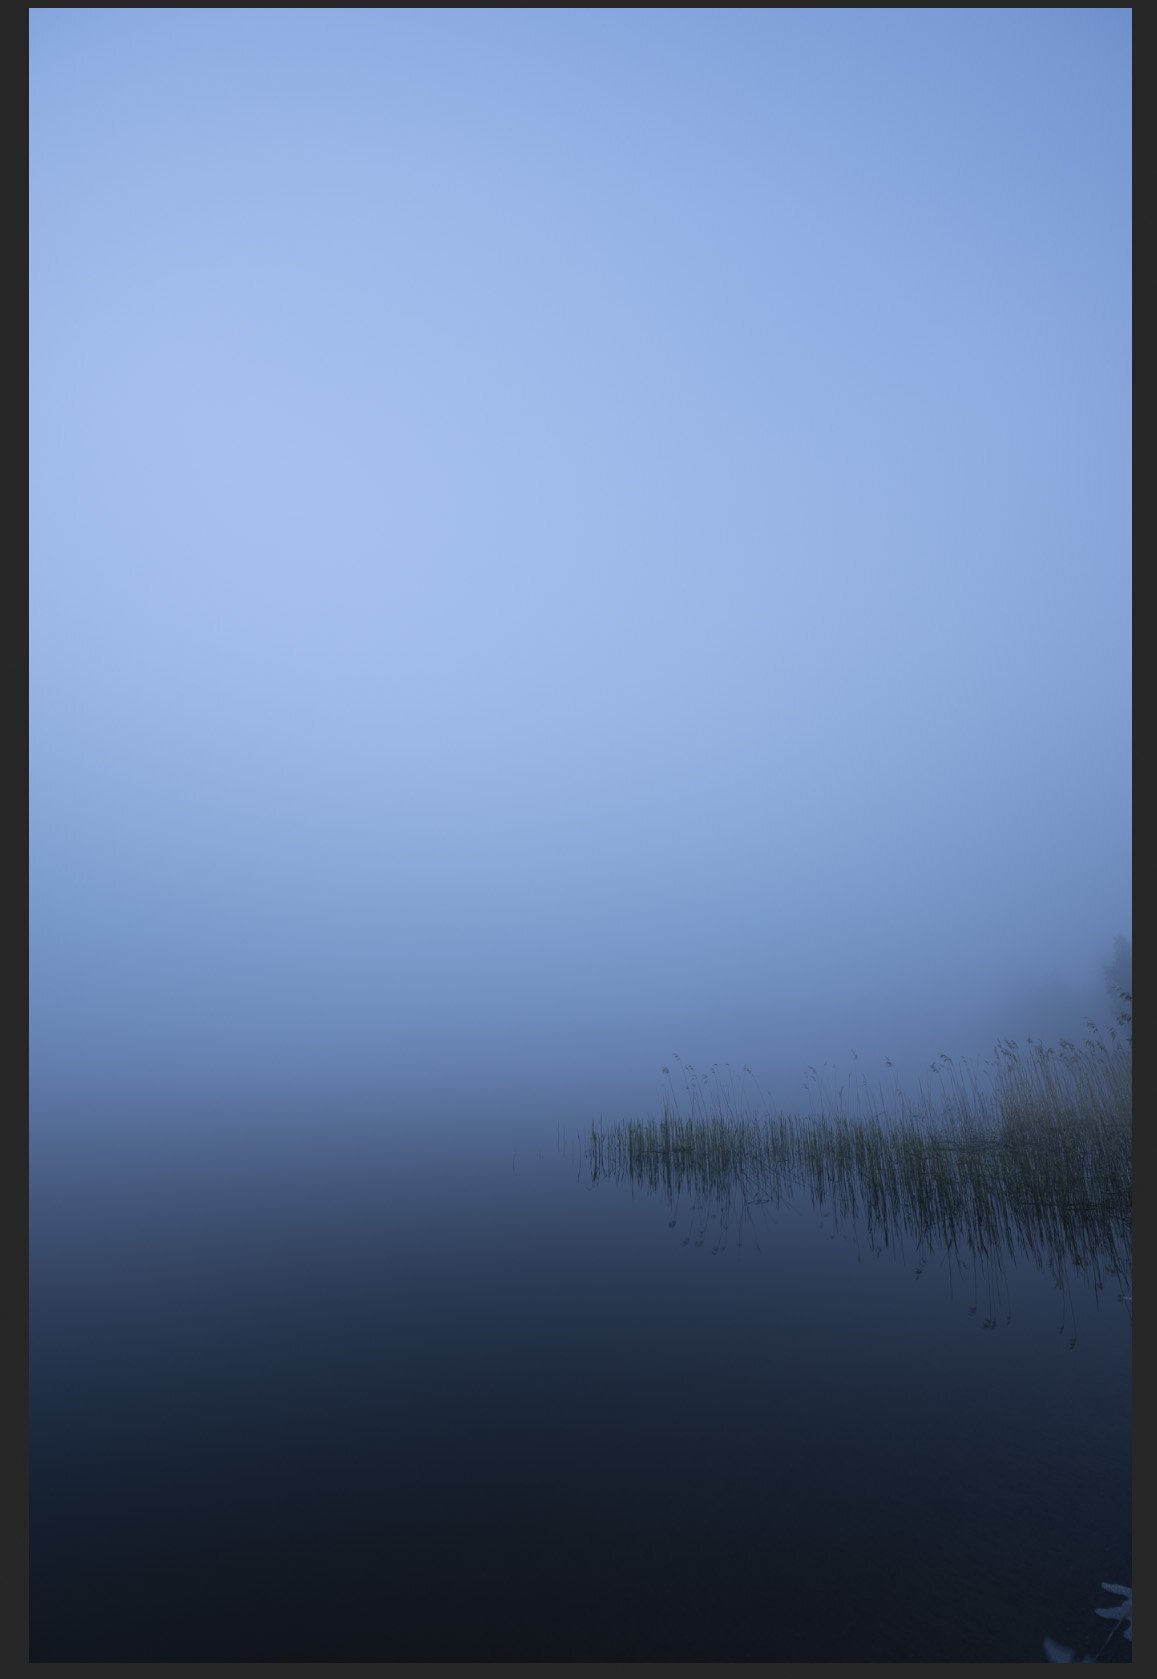

    Source link

  • Frozen Patterns — Mikko Lagerstedt

    Frozen Patterns — Mikko Lagerstedt


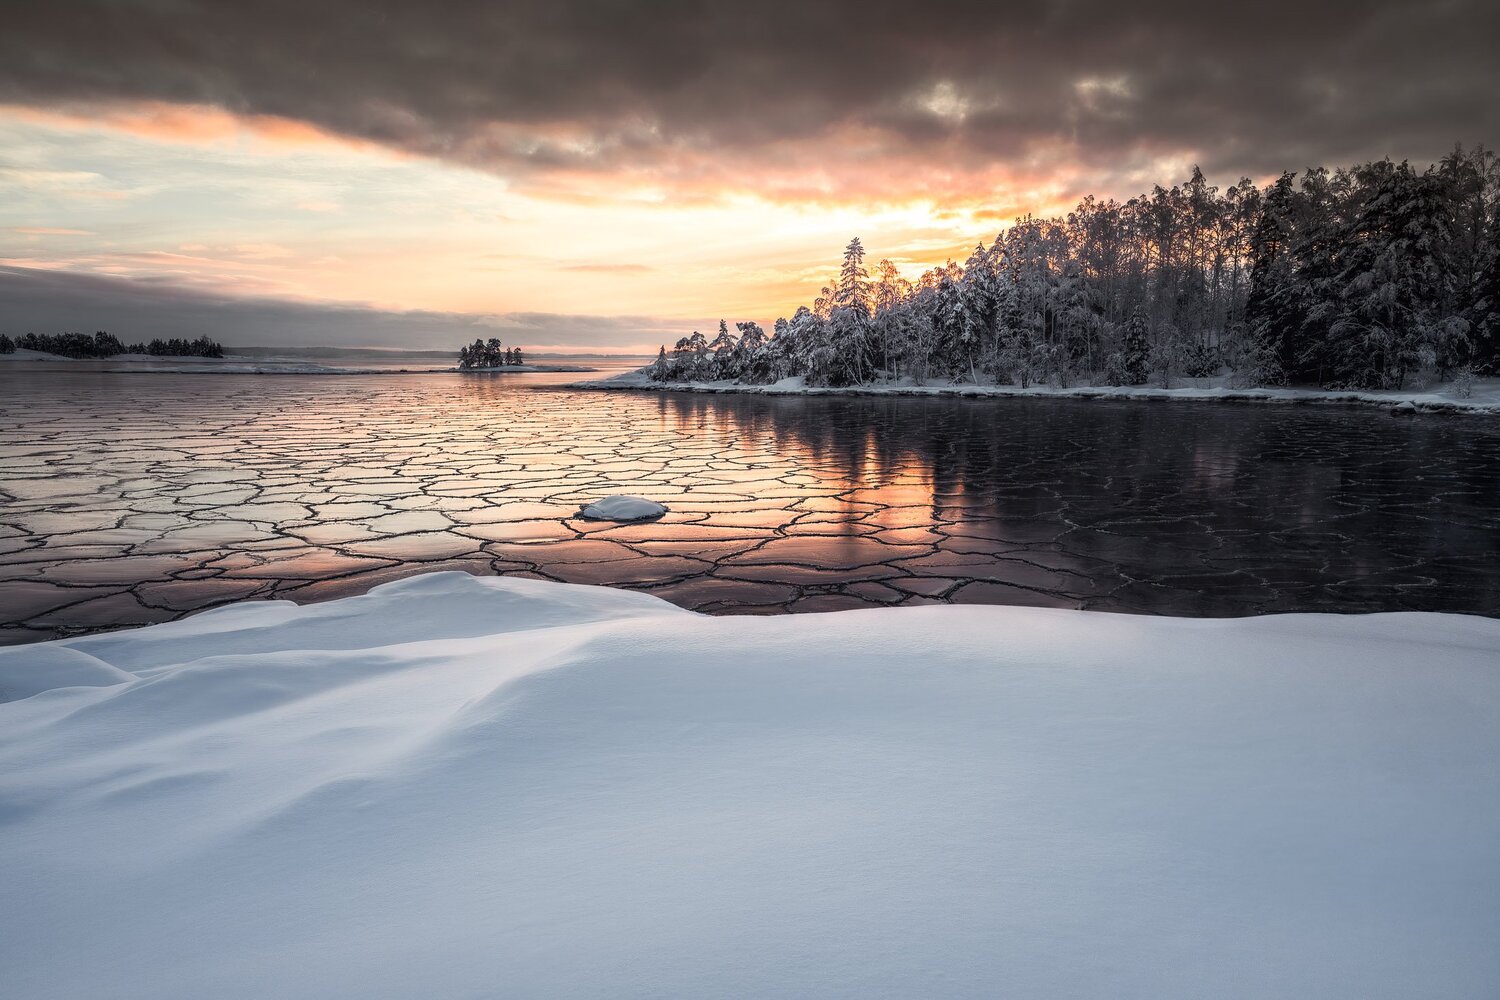
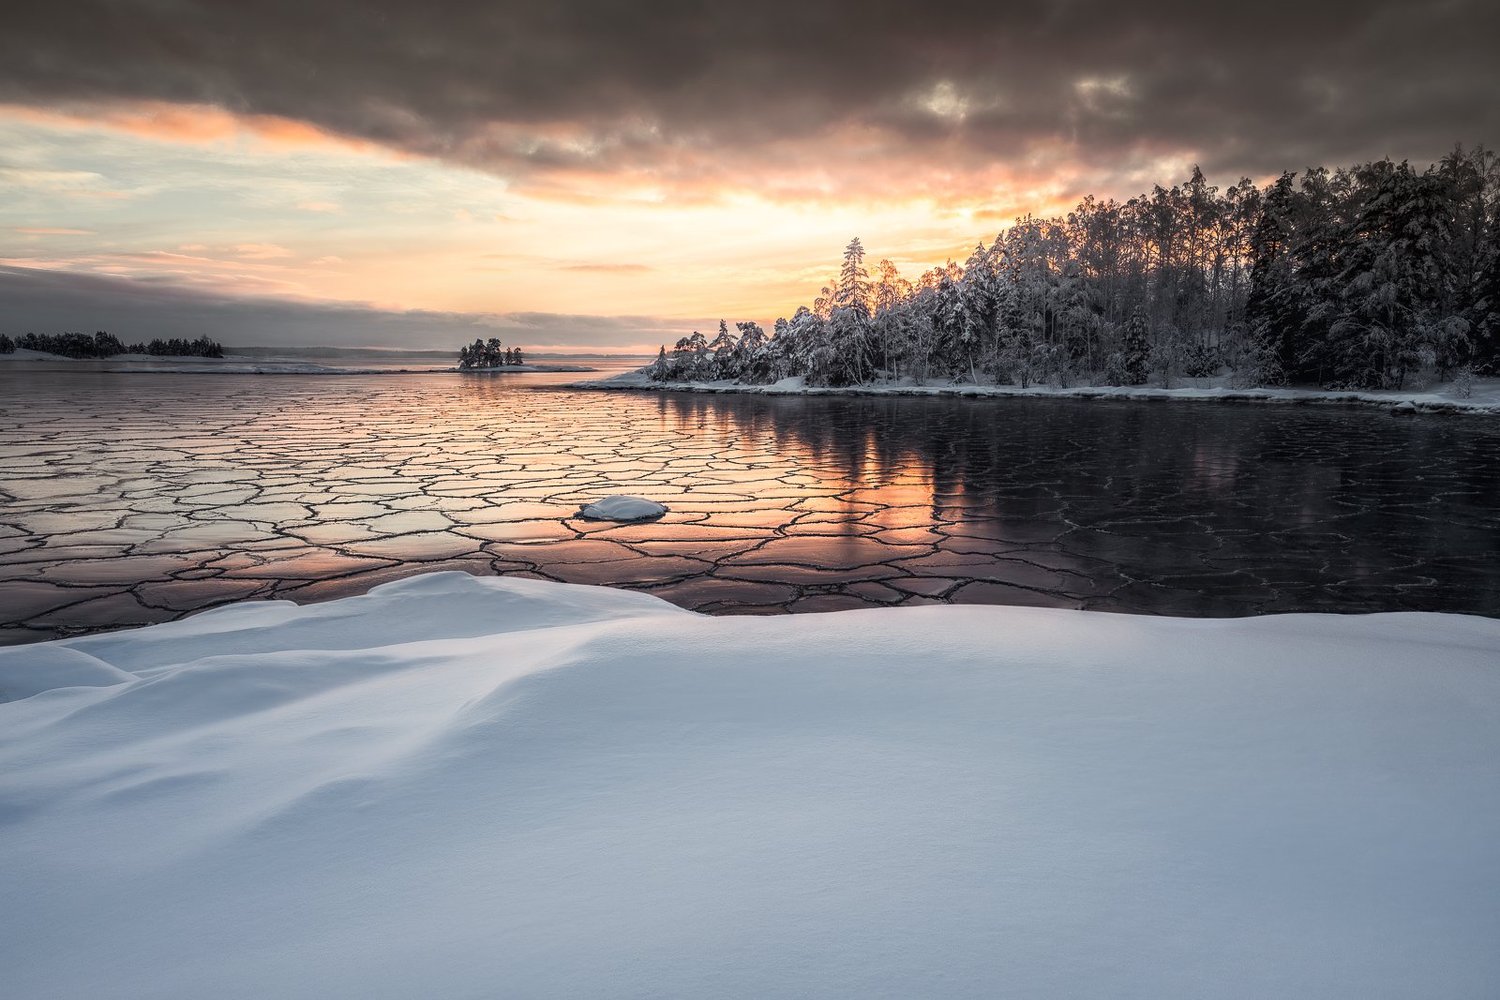
    This is a behind-the-scenes story on how I captured the Frozen Patterns photograph. One of the photographs from my upcoming print collection, In the Solitude. It was a cold winter day on the coast of Finland near Inkoo. A place I have visited many times.

    Wandering around the area was mesmerizing. I couldn’t help but feel a sense of awe at the natural beauty surrounding me. Walking along the coast, I saw a frozen sea, a surface covered in unique and intricate patterns. The ice was like a canvas, displaying a masterpiece of nature’s art. I knew I had to capture this moment, to freeze it in time forever. And so, I set up my camera and began to compose the shot.

    As I set up my camera on the tripod, I couldn’t help but feel a sense of familiarity with the place. I had been to this spot many times before, but I had never seen it like this. The sun was setting, casting a warm glow over the snow-covered landscape. The sky was painted with orange light, and the clouds seemed to be on fire.

    I knew I had to capture this moment. I adjusted my aperture and shutter speed, composing the shot to include the beauty of the untouched snow and patterns of the ice with the stunning light behind the trees. As I clicked the shutter, I felt a rush of excitement. I knew that this photograph would be unique.

    As I walked back to my car, I couldn’t help but feel grateful for the opportunity to witness such a stunning sunset. The place may have been familiar, but it had never looked so beautiful. I couldn’t wait to get home and see the final image, but I knew that no matter how well it turned out, it would never fully capture the magic of that moment.

    How to capture a view like this?

    Equipment & Camera Settings
    Nikon Z 7 & Nikon 24-70 f/4 and tripod RRS Tripod
    ISO 64, 1/100 sec. exposure, f/8.0 @ 24 mm

    1. Timing

    The weather is an important part of landscape photography, and forecasts are a great tool to use. The best time to photograph ice patterns at the coast is during the winter months, this was captured in February when the temperatures were low enough for the sea to freeze. The patterns in the ice are most visible and intricate during this time. The best time of day to photograph ice patterns is during golden hour, sunrise, or sunset when the light is low, and the sun is not too high in the sky. This type of light also makes details more visible.

    2. Composition

    Once you have the right light, you must think about how you want to compose your shot. Try to include different elements in the frame to create a sense of scale and depth. A good rule of thumb is to use the “rule of thirds,” which means placing your main subject off-center to create a more exciting photo. Even tho I broke the rule here myself, I wanted to have the beautiful foreground in the lower thirds of the frame and the patterns in the middle with eyes leading to the trees and to that small island on the horizon.

    3. Taking sharp photographs

    Next, you want to ensure you capture the scenery with the correct settings. For this photo, I used f/8 to capture the scene as sharply as possible with epic detail in the image. I used a tripod to get a sharp photograph, even if the shutter speed wasn’t too slow. Also, I tend to use the camera’s self-timer to remove any unnesasery movement.

    4. Post-processing

    You don’t need to edit this type of photograph with multiple layers. You can edit your photo using Lightroom. You can adjust white balance, exposure, and contrast to make your image look how you saw the scenery. There is no right or wrong way to do it. It’s all personal preference. I used only Lightroom in this case to create small changes to the original RAW file. Edited with the help of my EPIC Preset Collection. I wanted to have more balance, so I used the built-in filters to balance the foreground and background light.

    I hope you enjoyed this BTS post about how I have captured one of my favorite seascape images. If you want this photo as a fine art print, the print collection will be out in a couple of weeks, so stay tuned.

    Let me know if you have any questions or suggestions for my next post.
    Until next time my fellow photographers, keep on creating!

    Here is a short video I wanted to share from that day. Nothing special, but to give you more depth to the story. First, we drove to the coast, spent five hours walking on ice, and finally arrived at the place before sunset. The scene was magical.


    Source link

  • The Storm — Mikko Lagerstedt

    The Storm — Mikko Lagerstedt


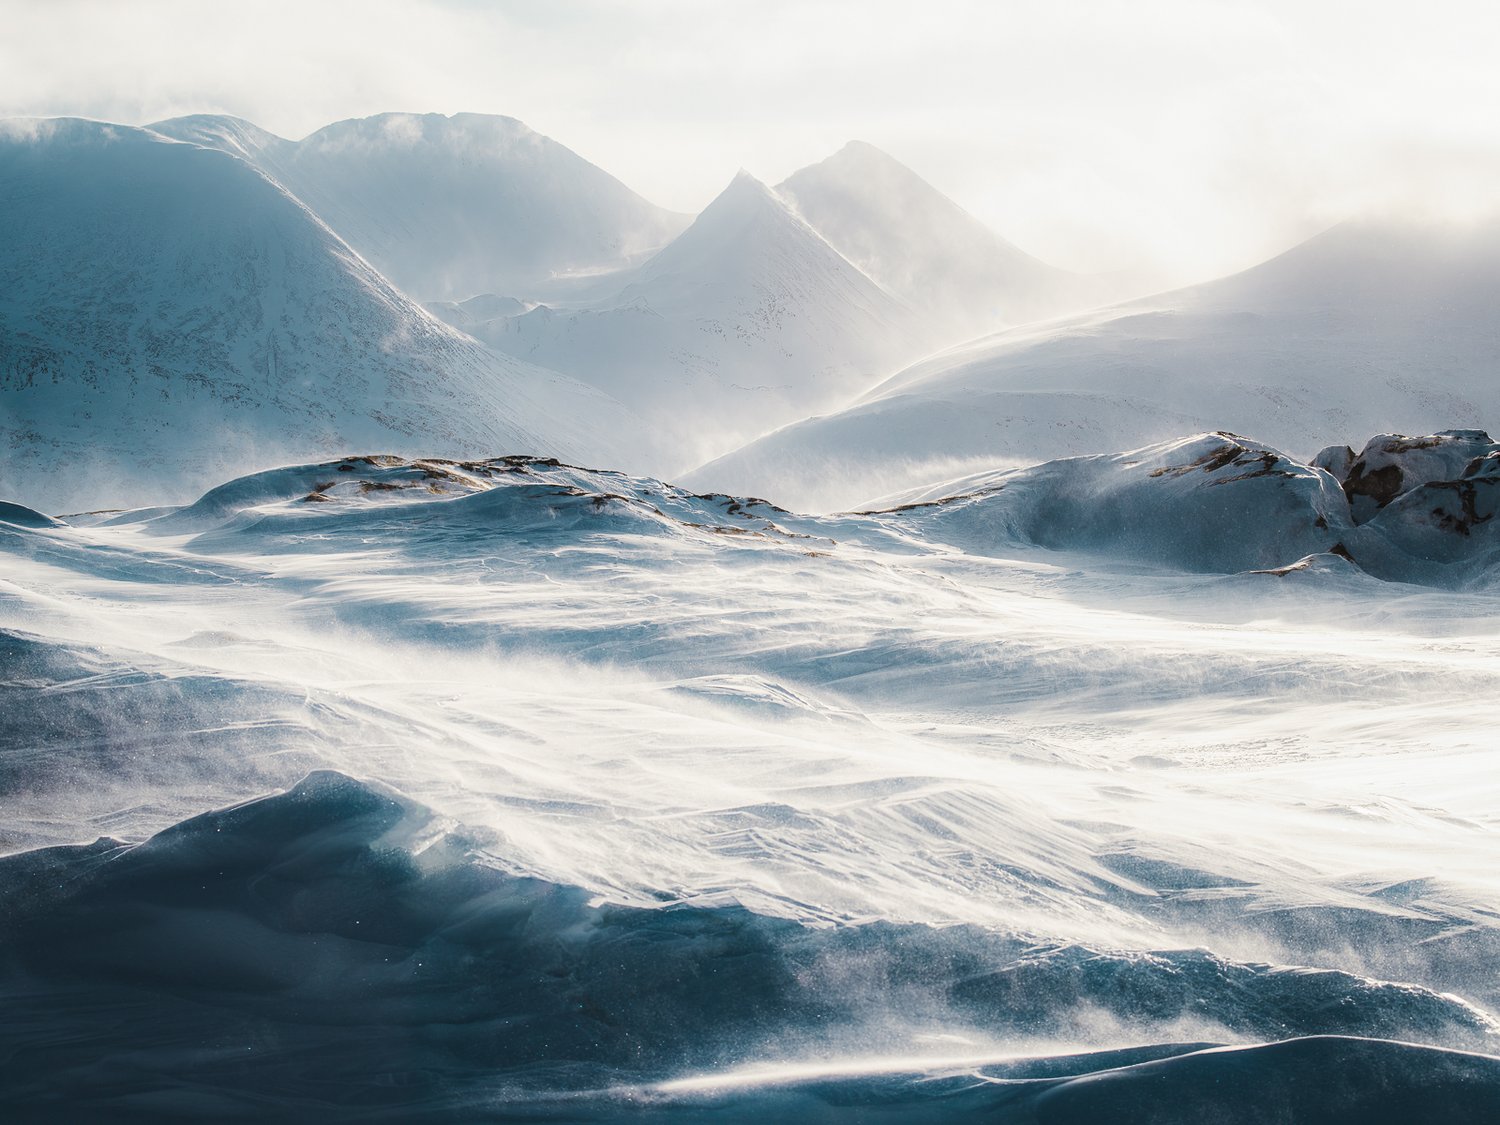
    This week let’s go behind the scenes of my photograph, The Storm. One of the photographs from my print collection. The Swedish Lapland is a unique location. It can be a beautiful place in every season. The winter can be spectacular with a lot of snow.

    I captured The Storm photograph in February 2020. I visited the place with my fellow photographers, Konsta and Tobias. Our guide was Magnus, who works in the far north of Sweden. After the first two days of exploring the place, we encountered heavy winds and stunning views.

    The wind started to pick up in the late evening and continued to get stronger by the time we left our camp in the morning. We were determined to capture the perfect shot, so we ventured out into the strong wind with our cameras. And as we battled against the elements, we were rewarded with some of the most stunning views I have ever seen. It was hard to see at times as the wind blew the snow straight to my face.

    The harsh environment and cold wind made the views look straight from a movie. Cinematic and powerful. I wanted to show the majestic scale of the place and the extreme elements. I walked this small hill and used a low angle to get the perfect composition with light bursting on the top right of the frame. I took hundreds of photographs of this scenery as the gusts moved the snow around. The Storm photograph is my favorite of the view.


    Source link

  • Behind The Scenes: Wonder — Mikko Lagerstedt

    Behind The Scenes: Wonder — Mikko Lagerstedt


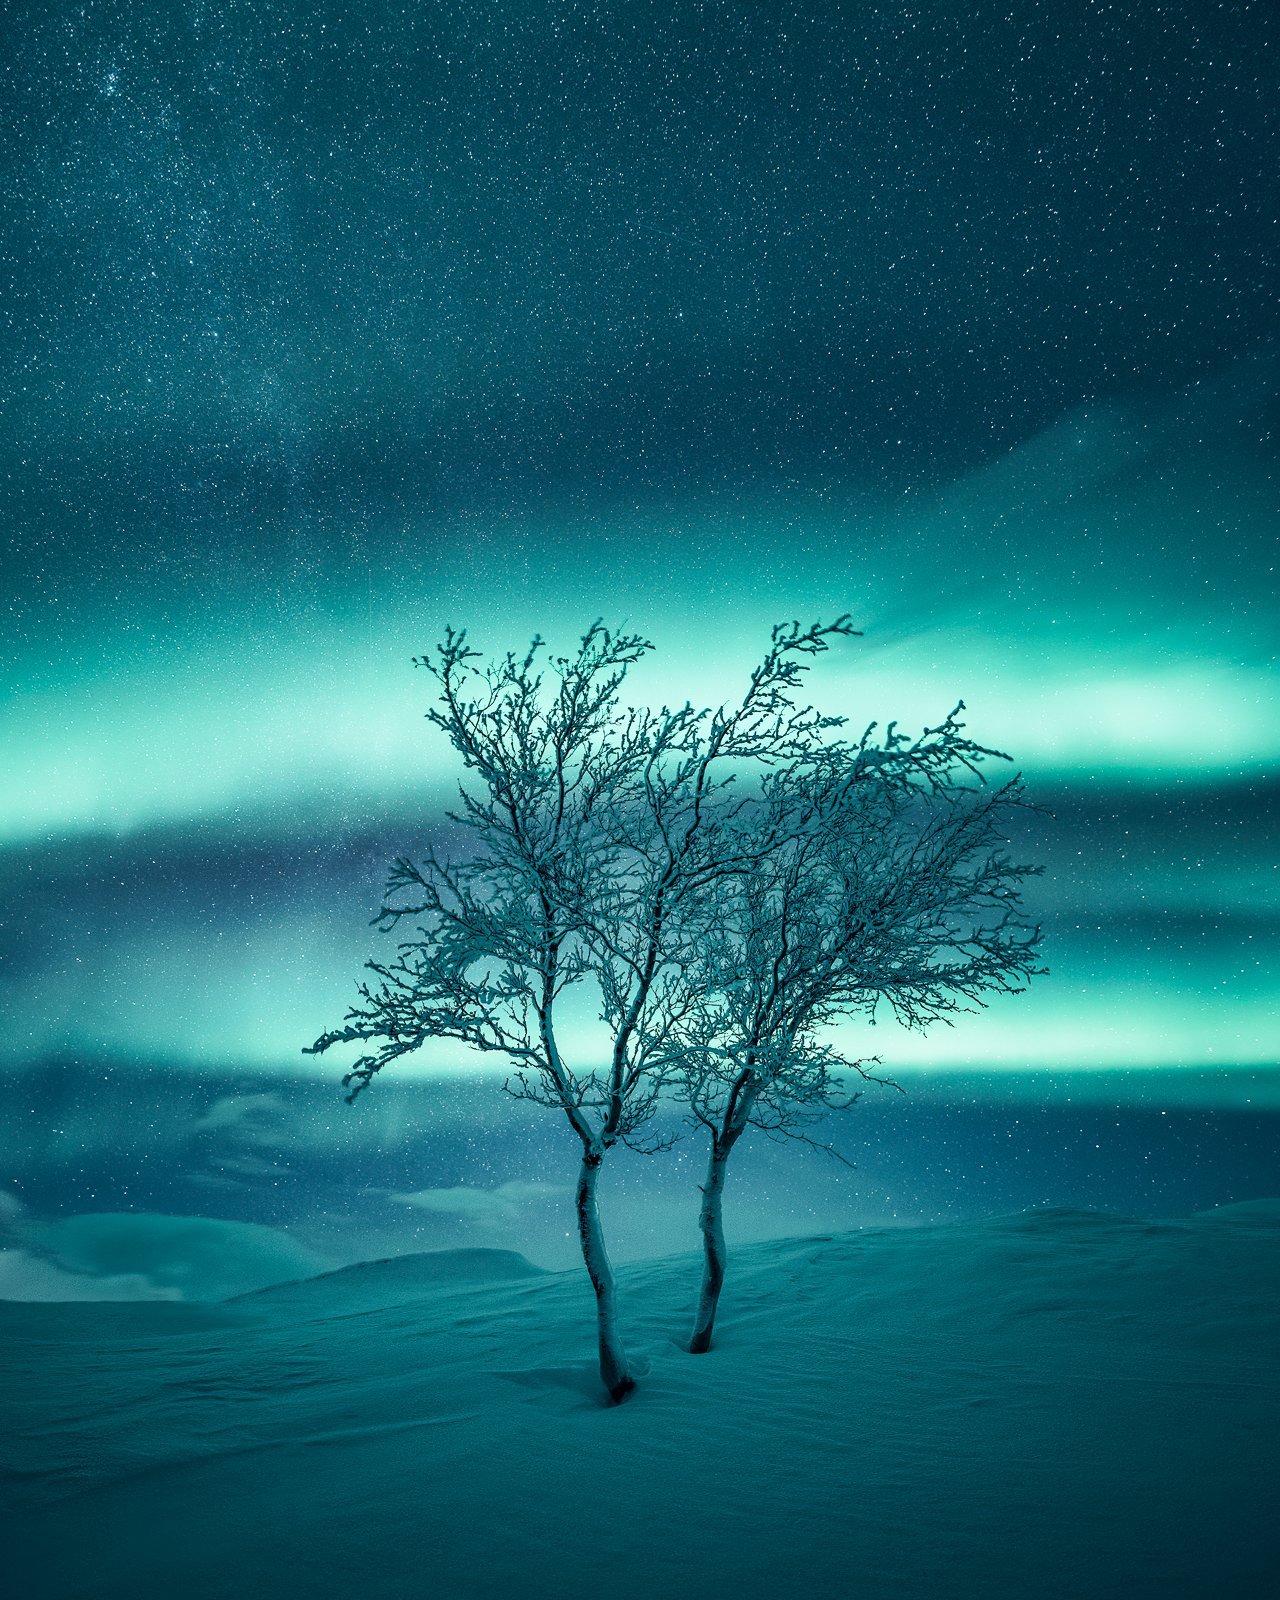
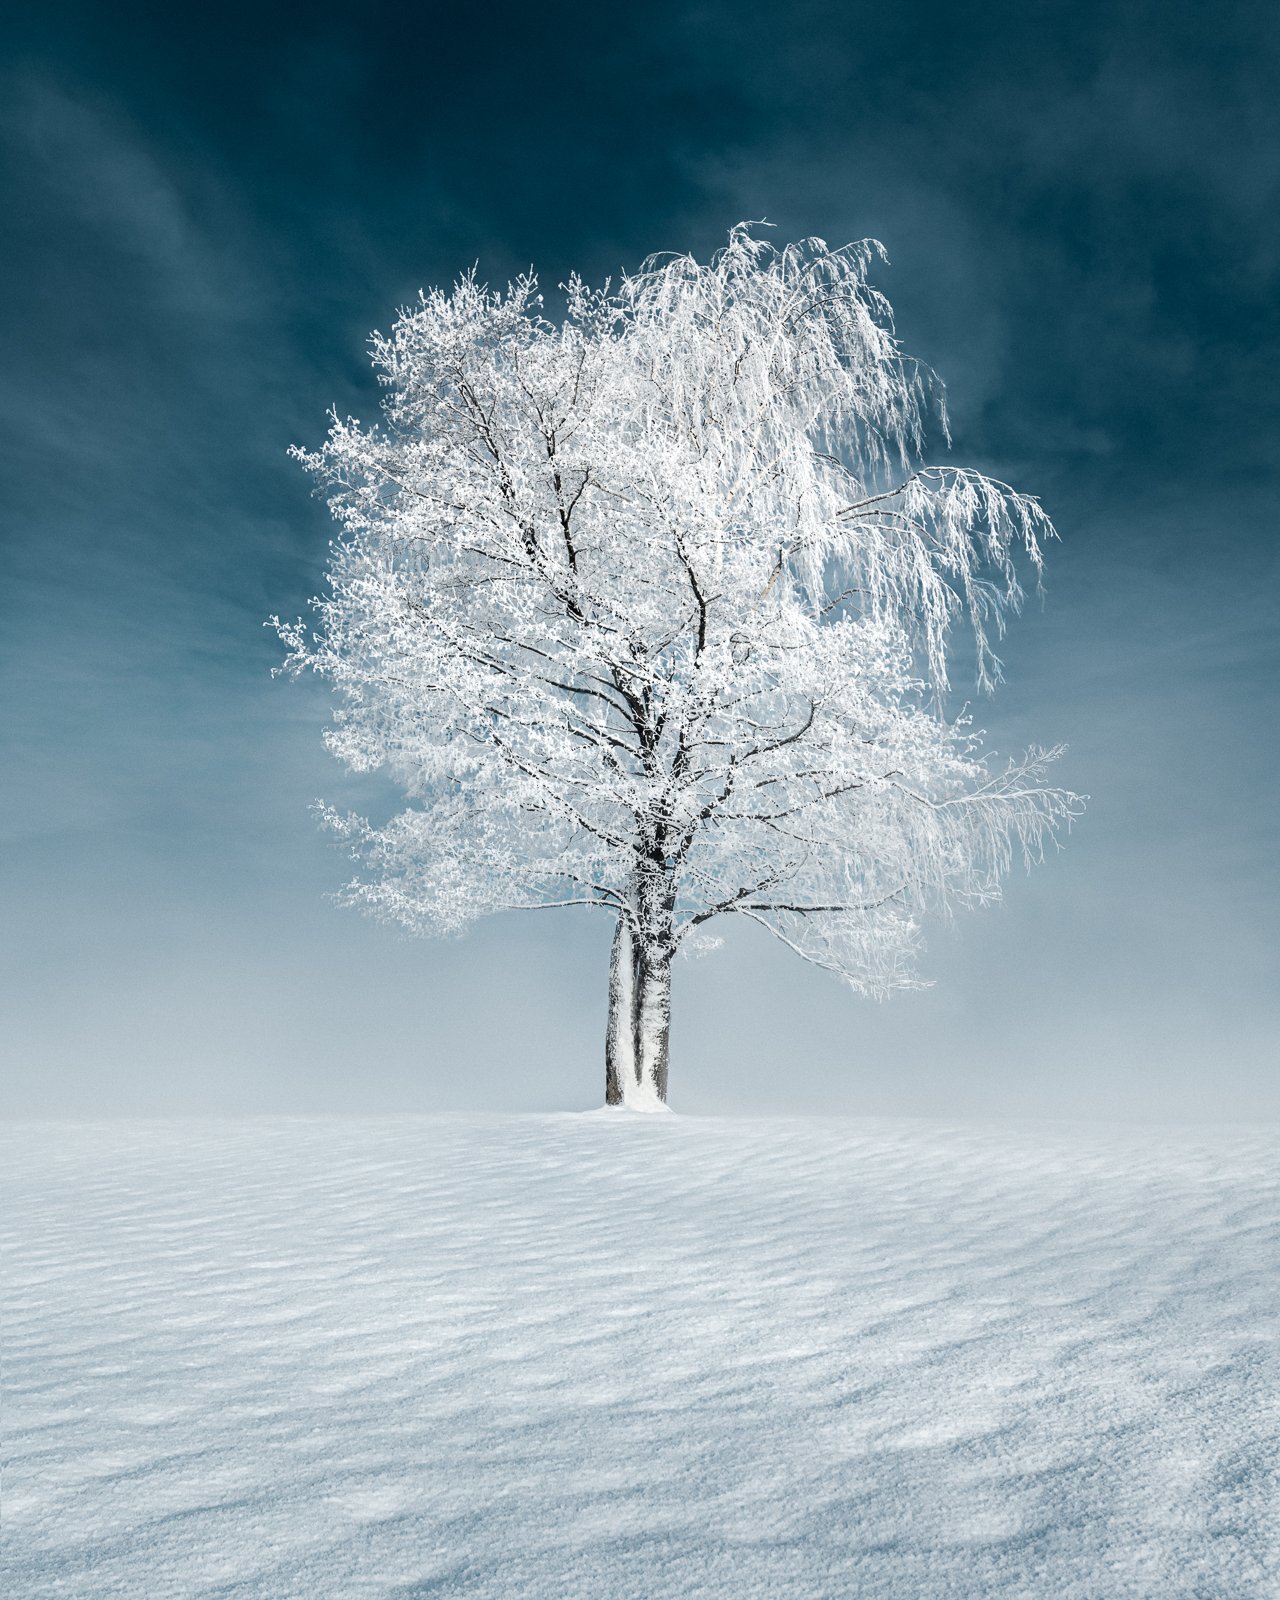
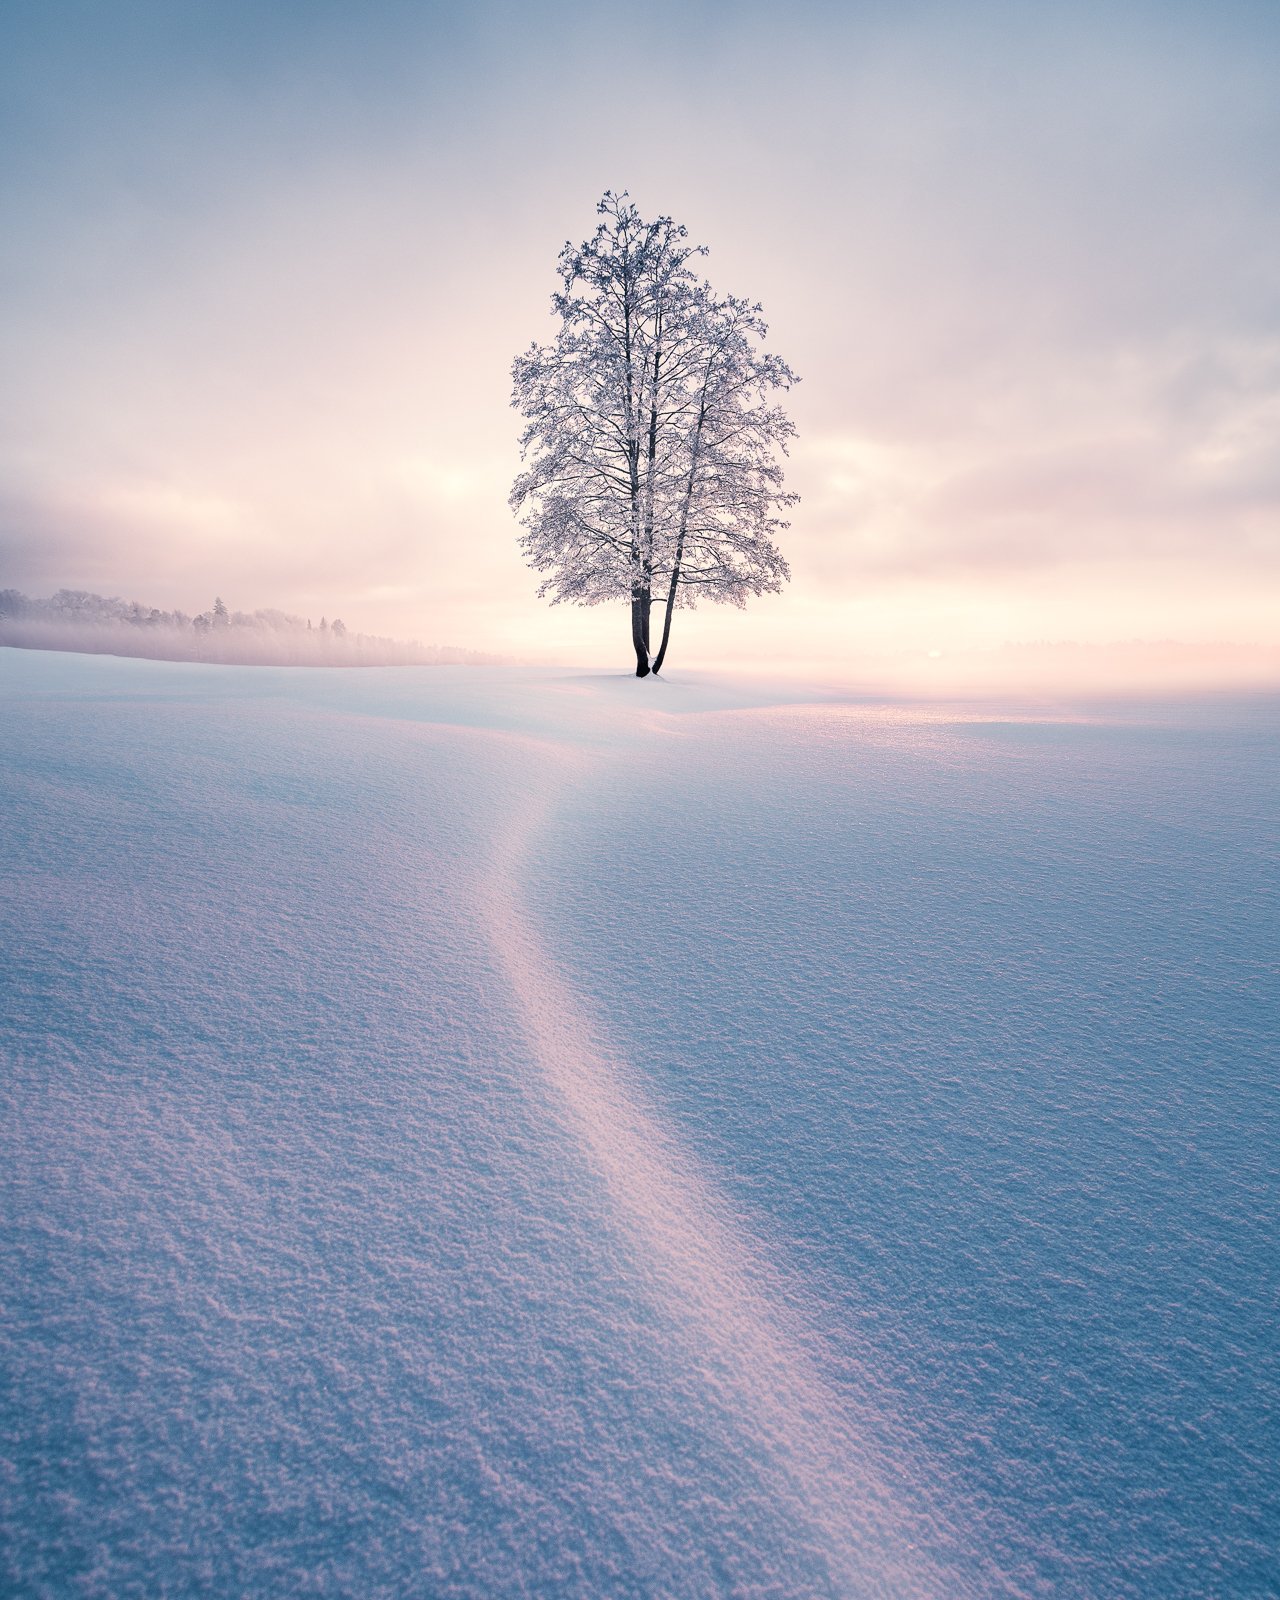
    This week I wanted to share the story behind one of my favorite recent landscape photographs, Wonder. It was quite a cold morning. When I woke up, I saw the mist rise, so I headed out. I went around the nearby places and saw the mist rising on the lake. I had been waiting for the perfect shot of this majestic tree I had been photographing for years. I never was able to capture its full glory until that day.

    As the sun began to rise, the frost-covered branches were illuminated by the cold morning light, creating an eerie and magical effect with a wonderful blue sky. One of those moments which reminds me why I do what I do. The feeling of being out in the cold, surrounded by the beauty of nature, is when I feel most alive.

    If you look closely at the photo, you’ll notice that it’s not just one tree but two tangled together. This adds another layer of wonder and magic to the scene, making it even more special. It’s like something out of a movie, and moments like these make me grateful to be a photographer.

    I used a low angle to go near the smooth snow and get the perspective without distracting background elements. I love the frost on the tree and how the snow looks crisp yet smooth simultaneously.


    Source link

  • Capturing the Beauty of Everyday Landscapes — Mikko Lagerstedt

    Capturing the Beauty of Everyday Landscapes — Mikko Lagerstedt


    Today, I want to share some insights on finding and capturing the hidden beauty in everyday landscapes. In recent years, there has been a trend to seek out and photograph the most spectacular views, often replicating the same composition down to every detail. While these images may be visually stunning, they only sometimes showcase true creativity or originality. I’ve personally done the same, but it’s good to practice finding beauty near where we live. Traveling is always inspiring, but I firmly believe you can see beauty almost everywhere – even in the most mundane places by thinking creatively.

    As a landscape photographer, I’ve learned that even the most ordinary places can become breathtaking works of art with the right conditions, approach, and perspective. So, let’s challenge ourselves to break free from the popular trend and explore some tips on capturing the magic in the ordinary!

    the Art of Observation

    To discover the beauty in overlooked places, you must train yourself to observe your surroundings more intently. Make a conscious effort to notice the details, textures, and colors that make up the world around you. Look for patterns, lines, and shapes you might not have seen before. Developing a keen sense of observation will help you identify the hidden gems in ordinary landscapes.

    Become more open and attentive to your environment. Observe how light changes throughout the day and how weather and atmospheric conditions can alter the landscape. By being mindful of these changes, you can uncover unique compositions and captivating scenes in the most unexpected places.

    Don’t be afraid to return to the same spot multiple times to capture it under different conditions. Experiment with various lighting, weather, and angles to reveal new aspects of the scene that might have gone unnoticed during your first visit. This approach challenges your creativity and helps you develop a deeper connection with the location.

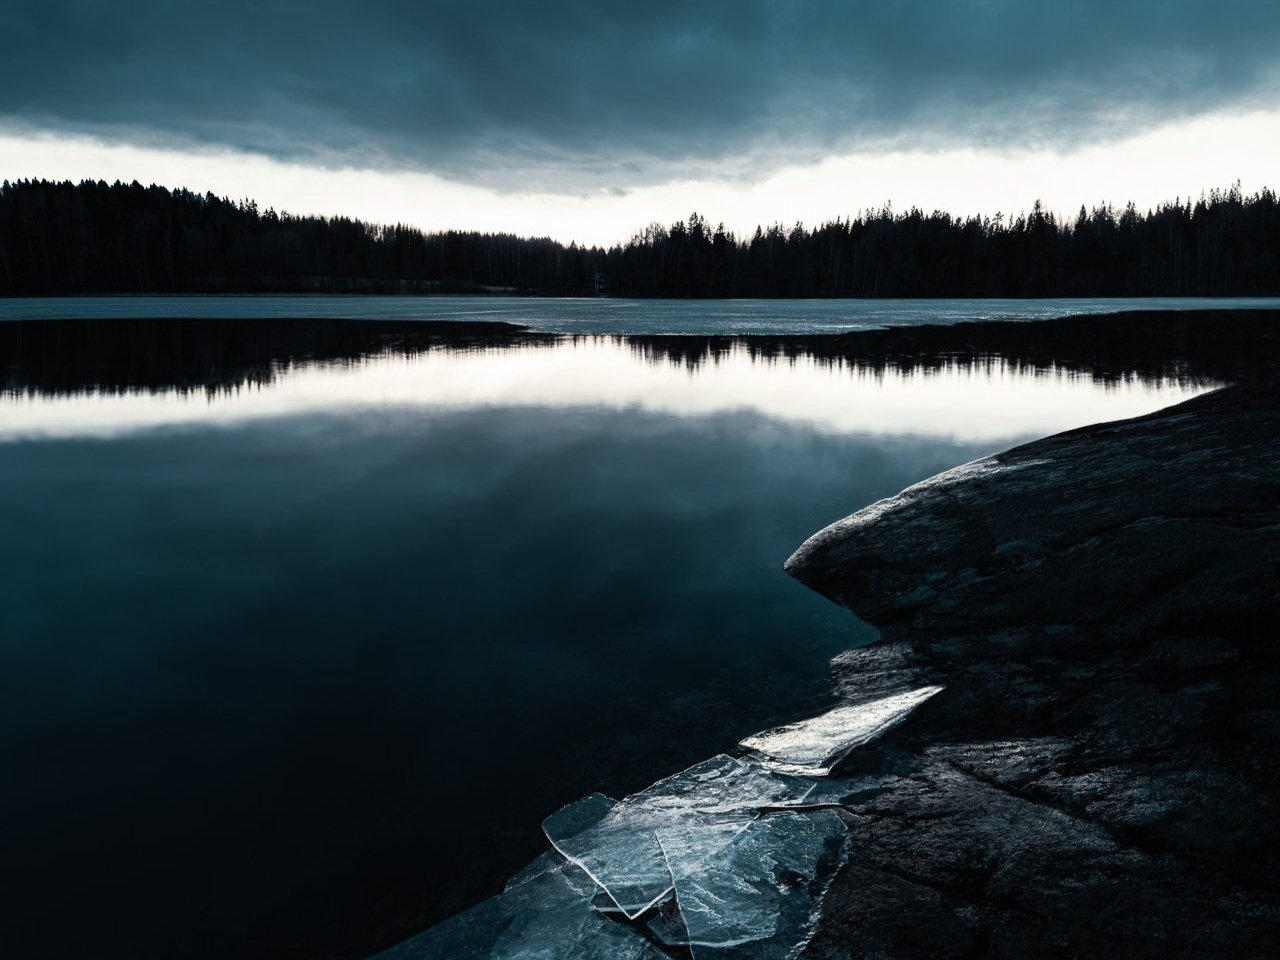
    The story about the photograph Edge.

    A place I have visited more than a hundred times. A place where I thought I would never find a new perspective to photograph. However, on this day, I kept my mind open and tried to see if I could capture something unique. As the sun set, I looked for anything that caught my eye. I saw how the thin ice had come to the lake shore, making this beautiful foreground, reminding me of the long winter. While composing the shot, I saw how the treeline created a line between the frame, with the clouds almost perfectly replicating it. I took the photograph and was pleased with how it turned out. It was already quite dark, yet, the horizon was bright. I wanted to emphasize the mood in post-processing and used the EPIC Preset collection to add more contrast and darken the sky with the built-in masks.

    Equipment & Camera Settings

    Nikon Z7 II, Nikkor Z 14-24 mm f/2.8 S & RRS Tripod and Ballhead
    1/6 sec, f/9.0, ISO 64 @ 15.5mm


    Source link