[ad_1]

What does it take to get out of your comfort zone? Over the last 10 years or so, I’ve very rarely shot anything outside of astrophotography. I’ve always had an appreciation for other styles, but very little desire to explore shooting them myself. While I always try to improve my work, my comfort level with astro allows me to fully enjoy being out under the stars and focus on creating.
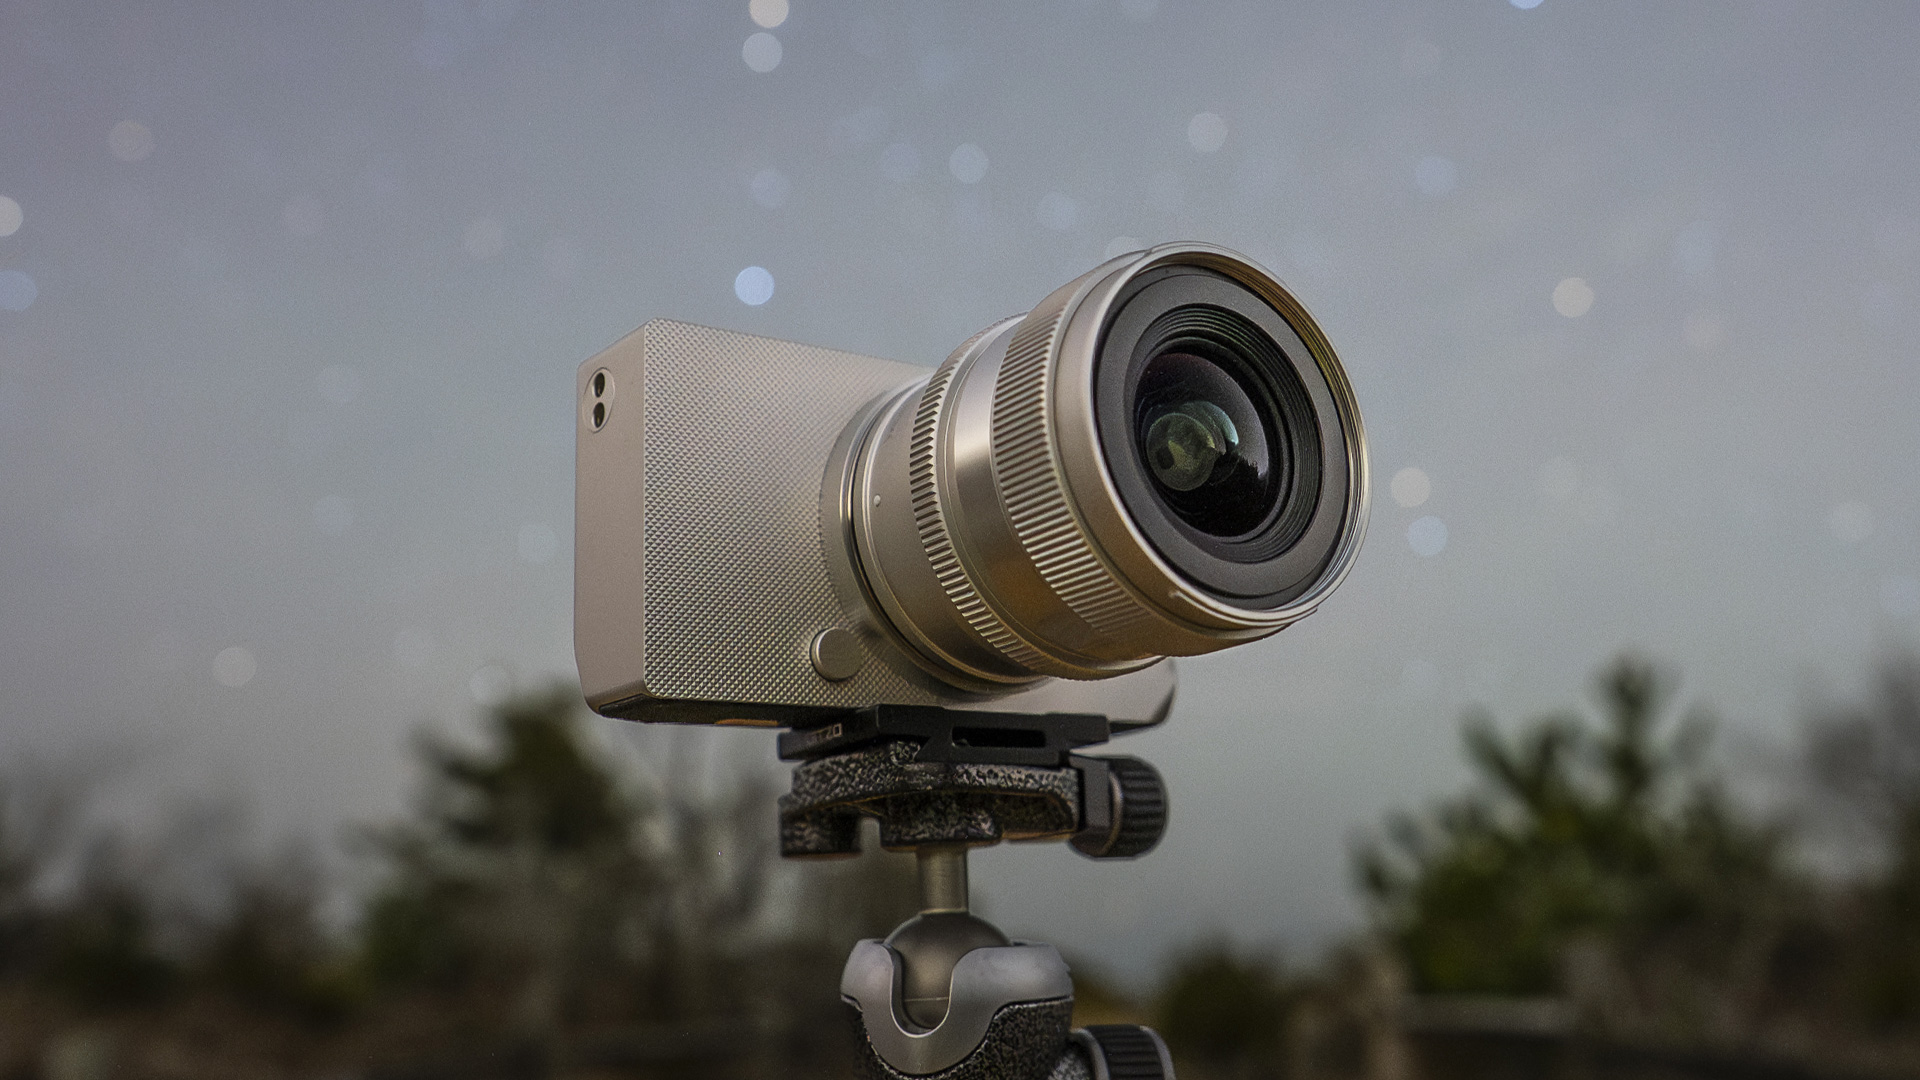
Hearing about some of the details around the new Sigma BF definitely had me intrigued. While it’s hard to deny the design of the camera stands out, it was really the simplified approach that grabbed me. I visited the pop-up in NYC during March 2025 to get my first look at the camera, and then returned two weeks later so I could have the chance to shoot with one.
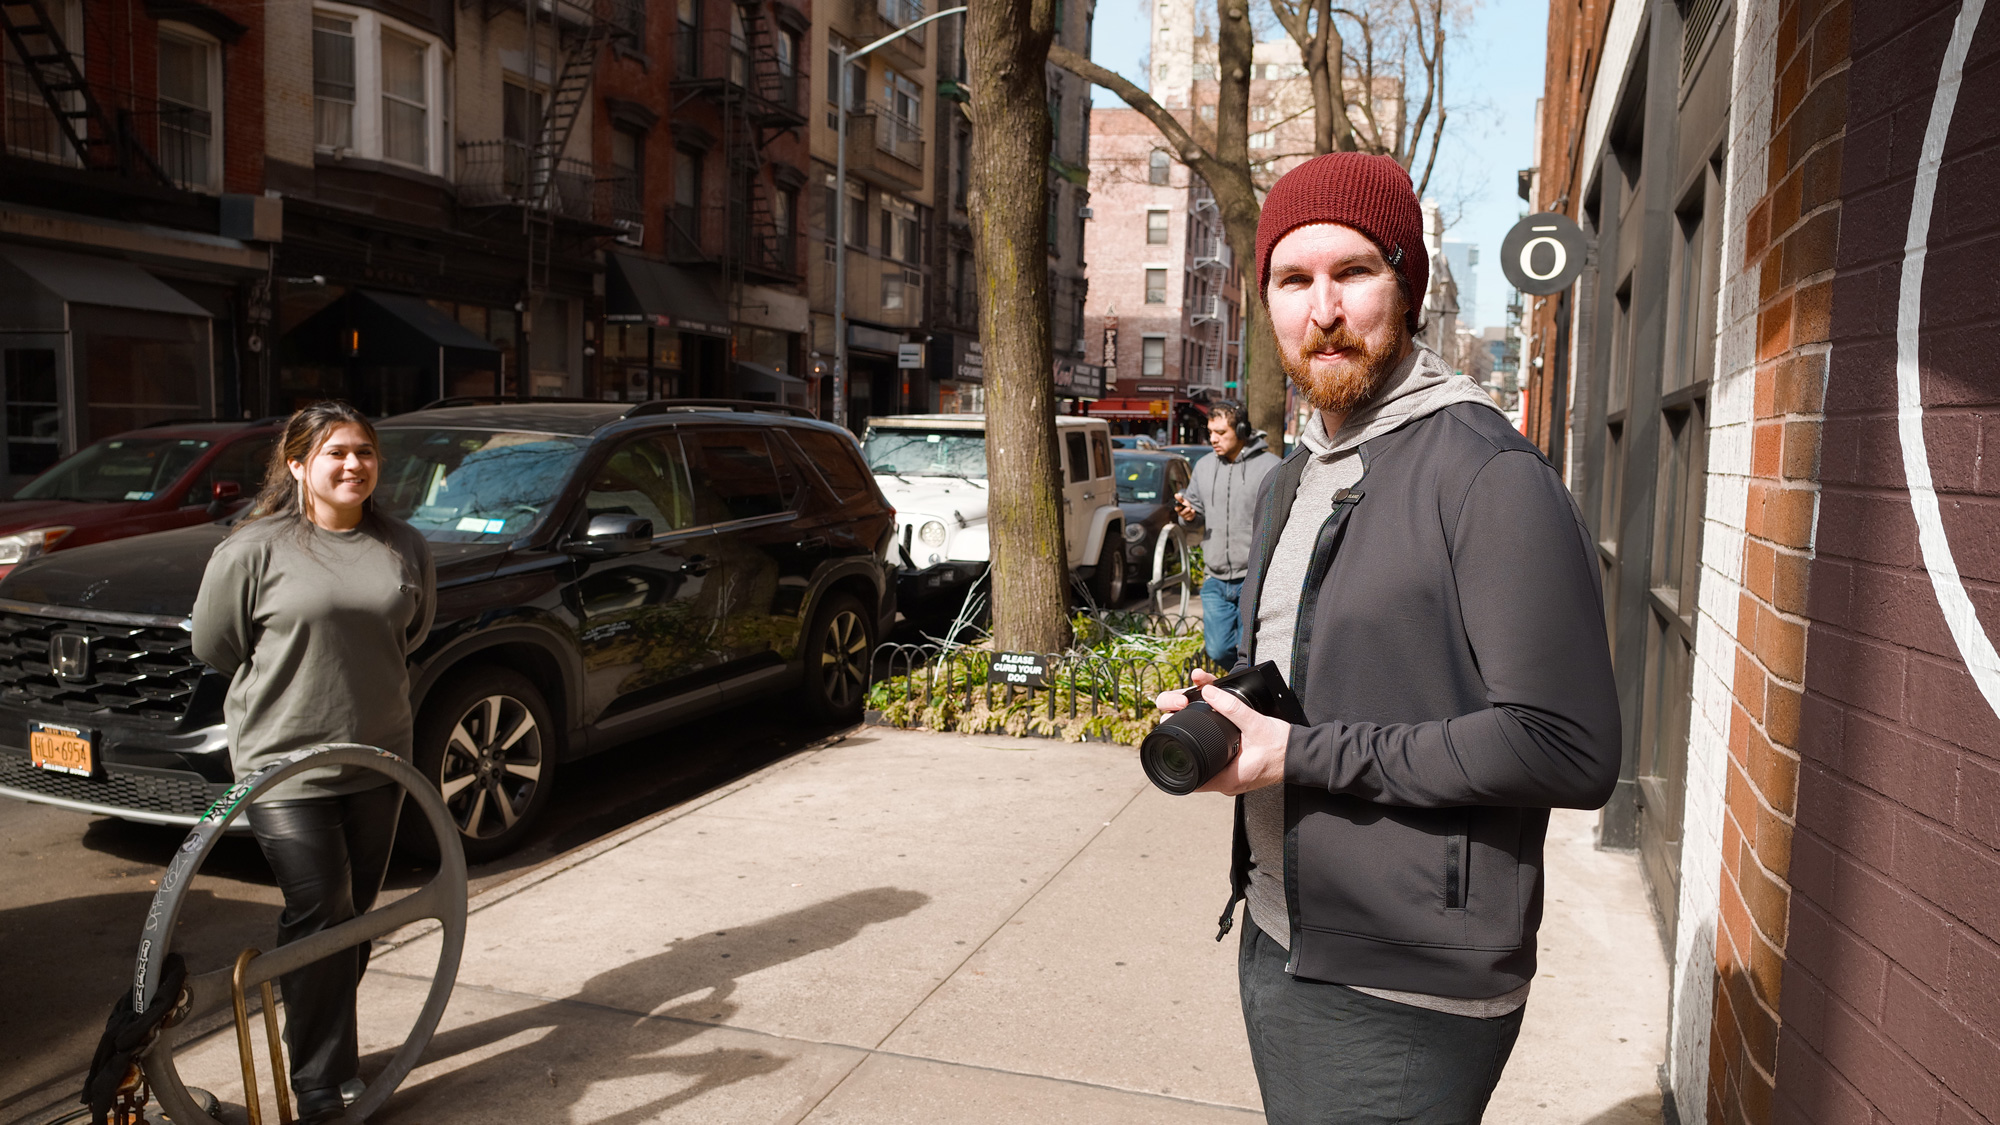
Getting used to the minimal button system on the back of the camera didn’t take much time at all. Using the dial to make quick adjustments and my personal love for the aperture ring on the 20mm F2 DG | Contemporary lens made taking some of my first street photography images feel a lot more fun than like more of a challenge.
The Sigma BF as a walkaround camera
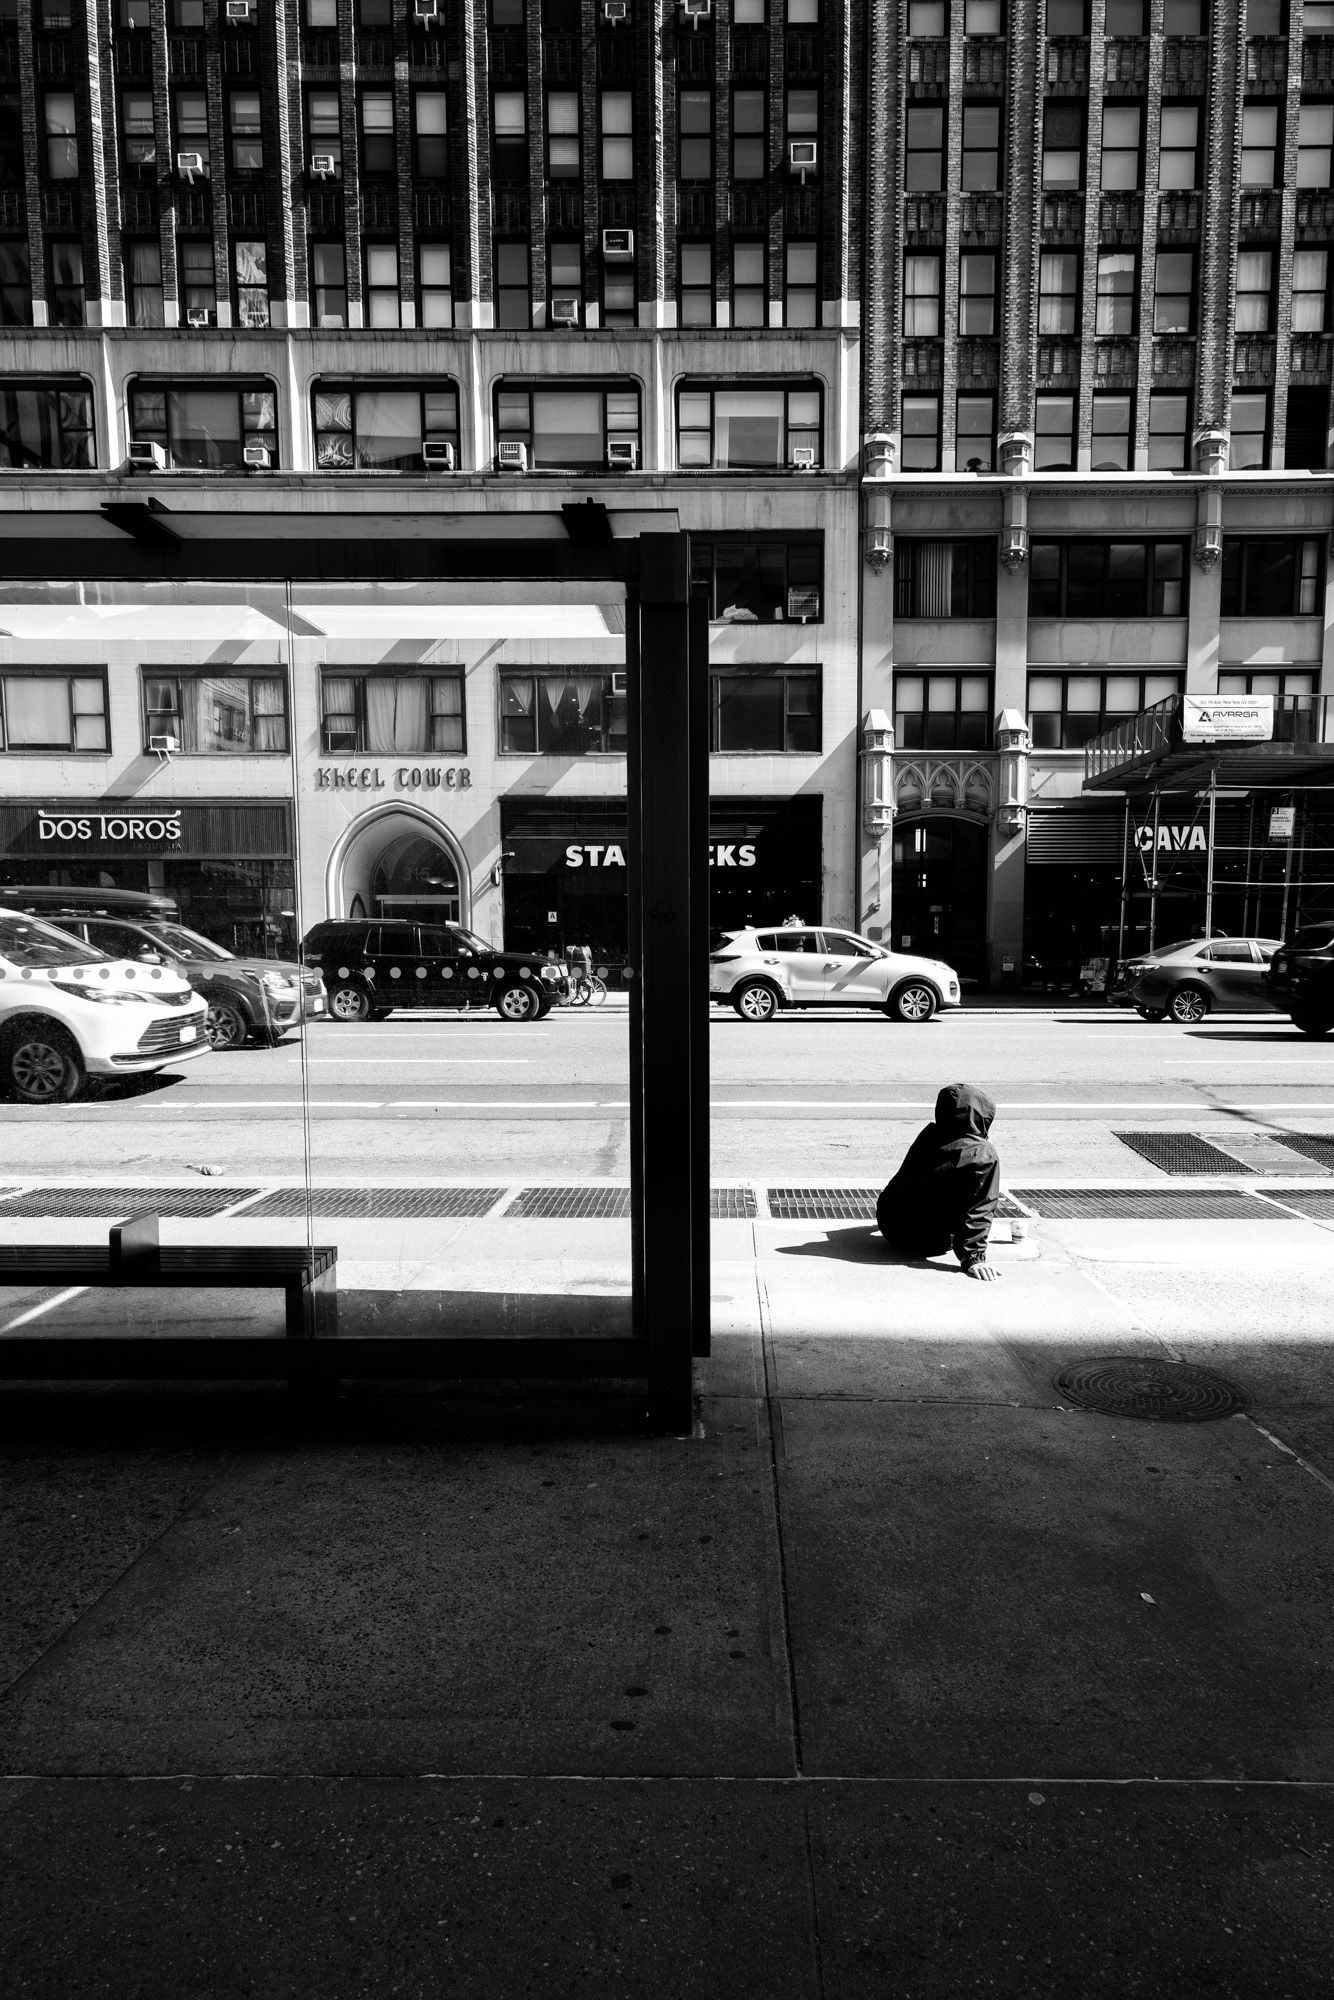
Street photography in particular is a genre I’ve had a special appreciation for when viewing someone’s work. It looks easy, but like so many things, only when it’s done well. I was a bit unsure about what to photograph, or if what I was photographing was any good, but I was having fun. And, at least personally, I was really enjoying the images I was capturing, too.

20mm F2 DG | CONTEMPORARY
F8, 1/1000s, ISO 400
20mm F2 DG | CONTEMPORARY
F8, 1/250s, ISO 400
20mm F2 DG | CONTEMPORARY
F8, 1/500s, ISO 400
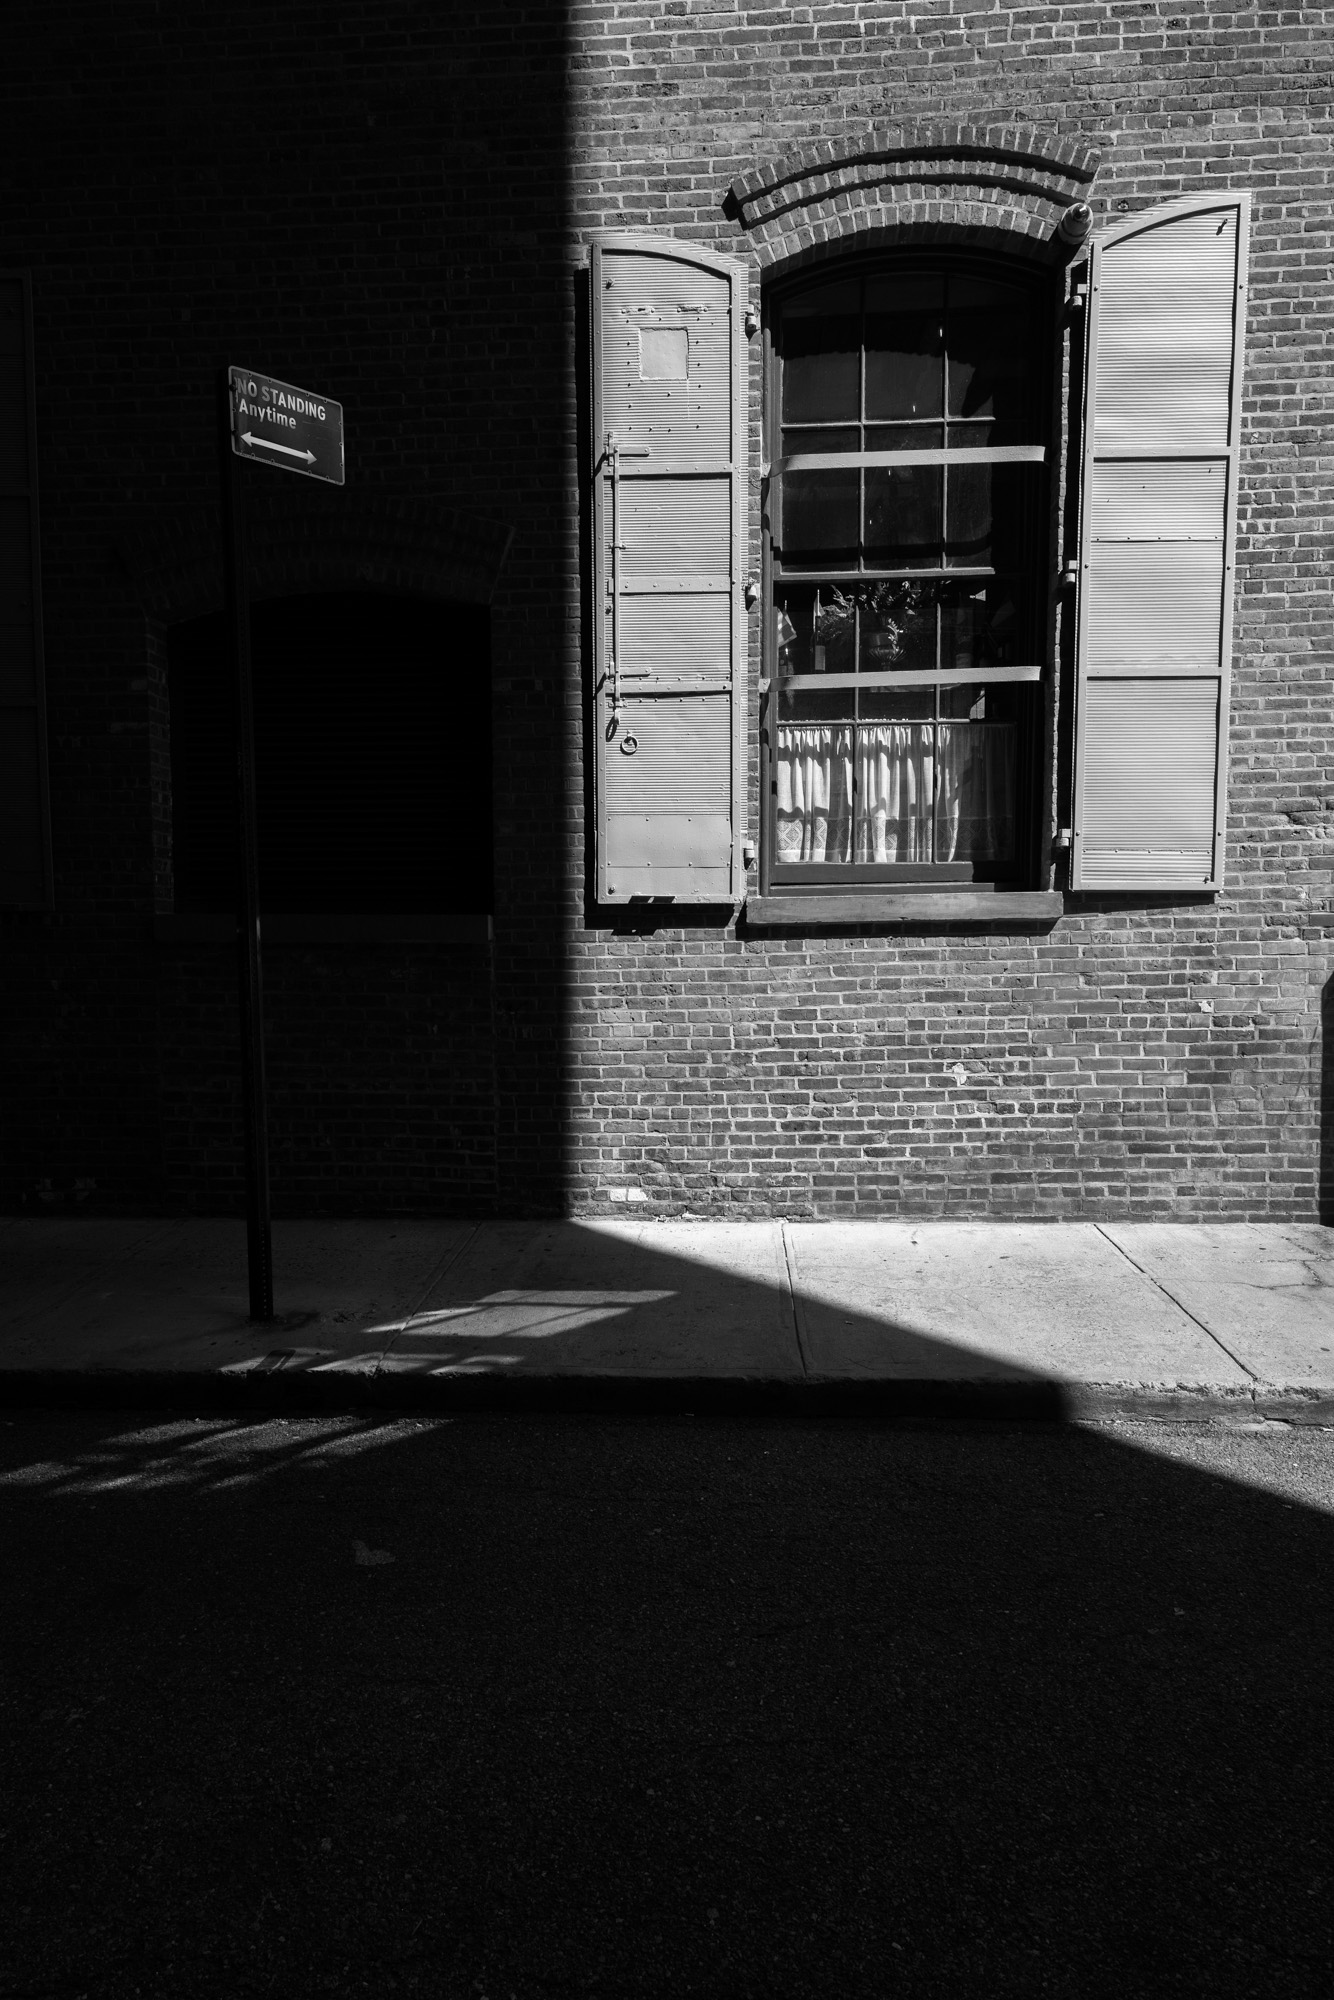
I didn’t wait long before heading back out with the BF. This time, I made my way to Princeton, NJ, again with the all-metal 20mm F2 DG | Contemporary, hoping to take some black and white architectural images. The built-in monochrome color mode helped me do just that, although other color modes were just a flick of the wheel away. Just walking around with a wrist strap and this new minimalist camera, I found myself looking at everything to try and find the perfect frame. These new (for me) genres of photography felt fresh and exciting.

20mm F2 DG | CONTEMPORARY
F9, 1/80s, ISO 100

20mm F2 DG | CONTEMPORARY
F9, 1/400s, ISO 100
I worked my way all the way around buildings, up close and from a distance, watching the back of the camera to find that perfect angle or just waiting until something felt right. That’s such a special feeling when that happens while you’re out photographing. It means you’re completely present in the moment and paying full attention to finding that perfect composition.

20mm F2 DG | CONTEMPORARY
F8, 1/125s, ISO 100

20mm F2 DG | CONTEMPORARY
F9, 1/30s, ISO 100
I found myself occasionally using the screen to use the tap to focus feature and other times just getting into that zone of snapping away as everything moved through the frame. Admittedly, autofocus is not a feature I’m often concerned with for astrophotography, but it felt extremely fast and accurate on both of my outings.
Exploring a genre outside of my comfort zone and not having to worry about things like autofocus performance or getting lost in menus, really allowed me to find that zone of being present and immerse myself in shooting.
Trying the Sigma BF for astrophotography
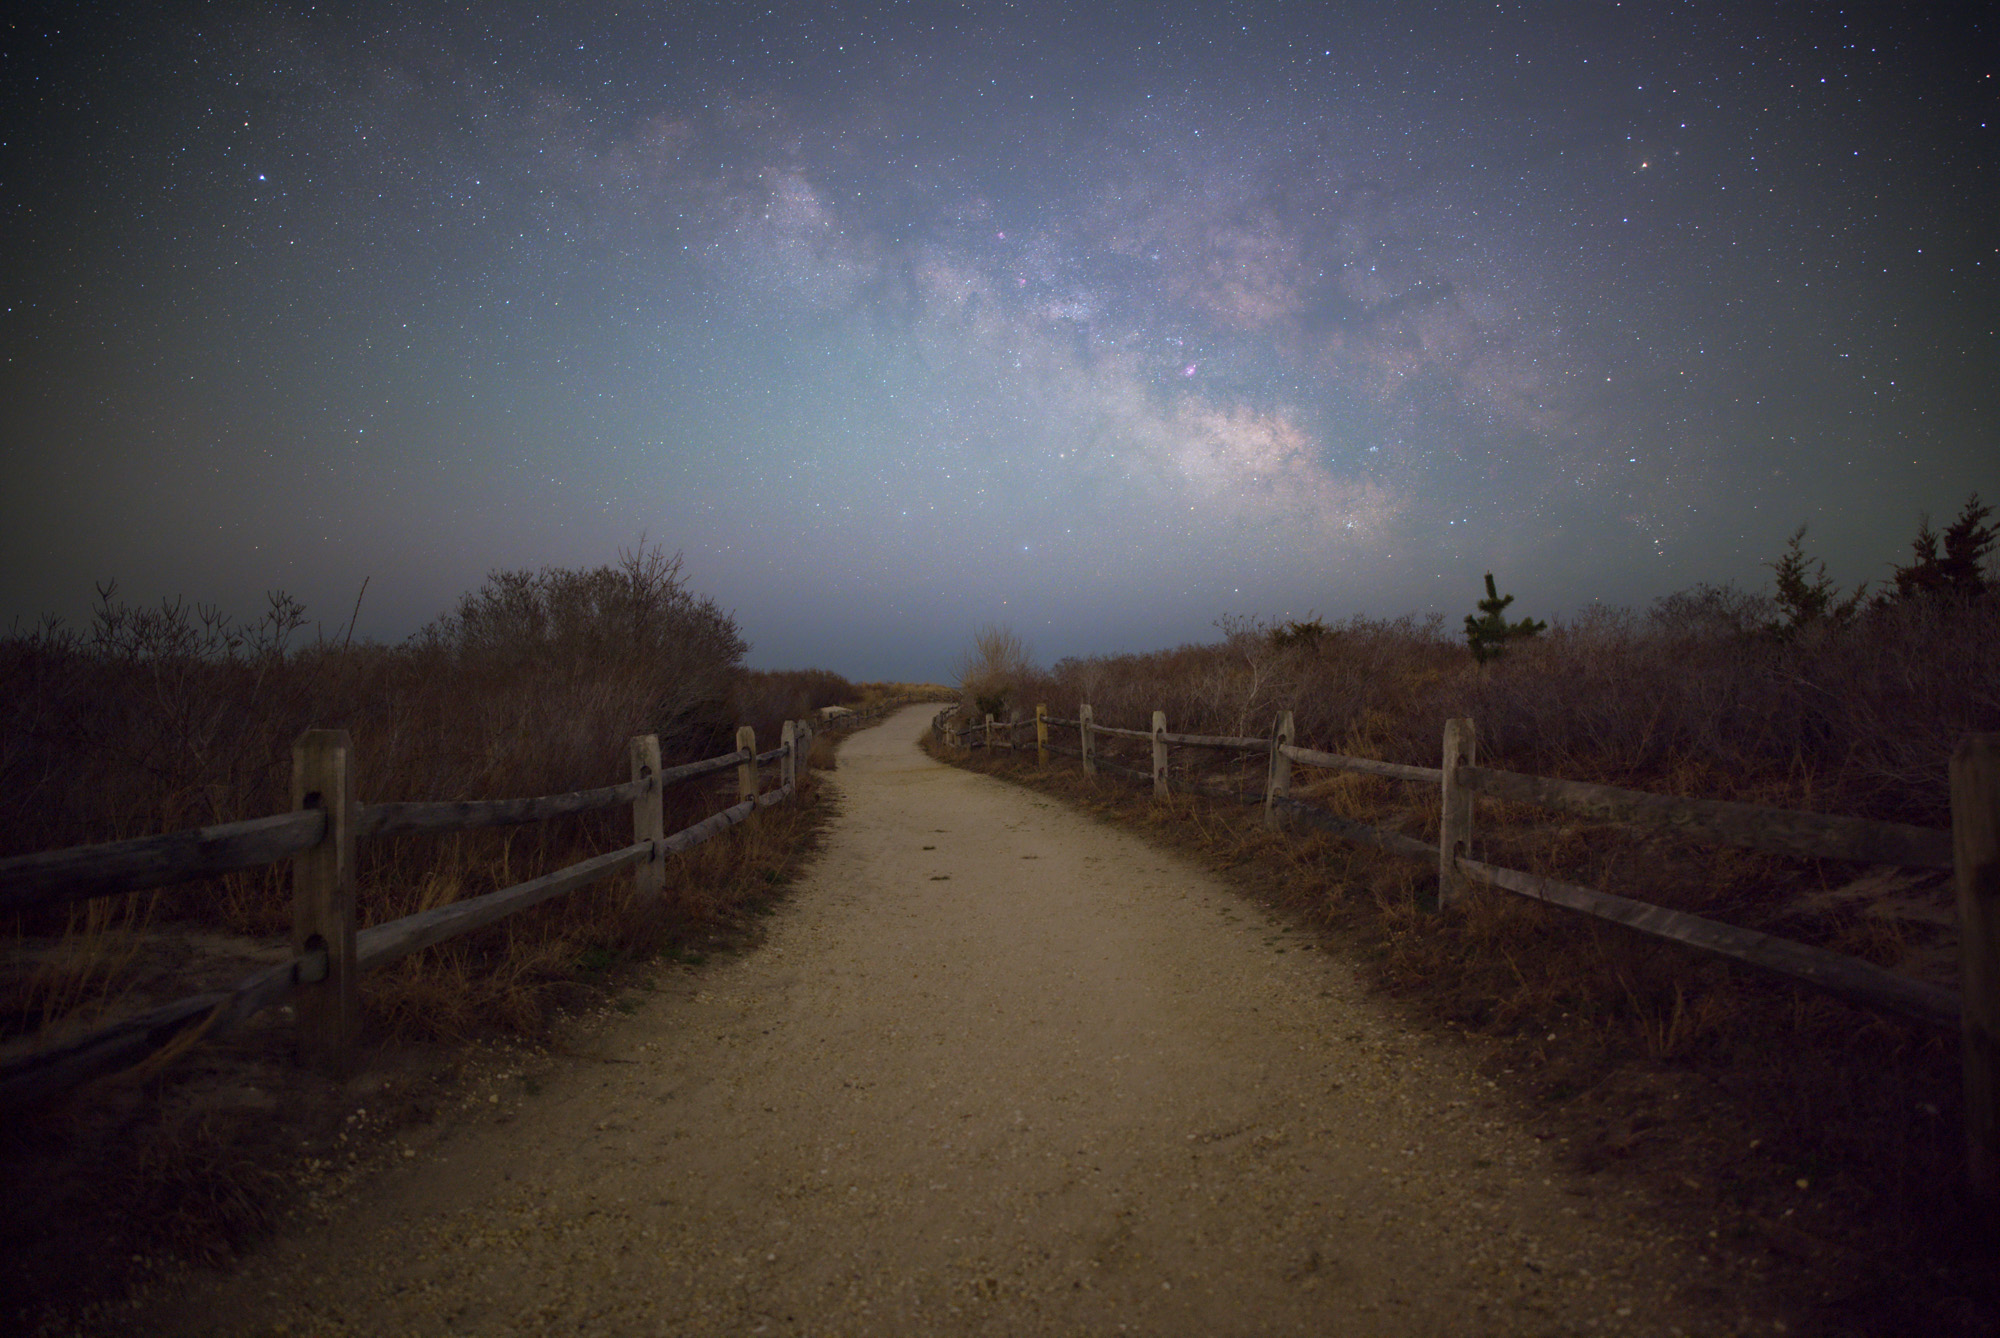
After a few days out in busy streets, I really felt like it was time to head out under the stars. With clear skies in the forecast for the entire night, I arrived a few hours before the Milky Way would be rising. I took a handful of test images as I wandered to find the compositions I would be shooting once the core of the Milky Way was sufficiently visible above the horizon.
One of the first things I noticed was how easy dialing in that very precise infinity focus on the stars was with the LCD screen. Even more importantly, one of the things I didn’t notice were the buttons on the back of the camera. It wasn’t until well after I was shooting the Milky Way that I had even thought about them. After two outings during the day, I think easily navigating a new camera in complete darkness speaks to how thoughtfully it was designed.

I ended up shooting far longer than I anticipated using a number of different techniques ranging from stacking to separate foreground exposures. While admiring an image of the back of the camera is one thing, the real test for those high ISO captures is viewing on a much larger screen…

20mm, F2, 13s, ISO 3200 (NO NOISE REDUCTION)
Working my way through the images and seeing how far I could push the files was probably the biggest surprise of my experience with the BF. It wasn’t that I didn’t have high expectations, it was a matter of those expectations being surpassed. Pushing astrophotography images while editing, bringing back detail in the shadows and trying to pull out detail in the sky, can often result in a very noisy final image. Shooting at these higher ISOs can also mean that your image lacks a bit of sharpness or just doesn’t have much depth to the color you captured, especially in the foreground. Not only was I able to push the files to bring out an incredible amount of detail through the image, they all felt very sharp and full of rich color.

20mm F2 DG | CONTEMPORARY
F2, 156s, ISO 1600
20mm F2 DG | CONTEMPORARY
F2, 156s, ISO 1600
The Sigma BF for wildlife?
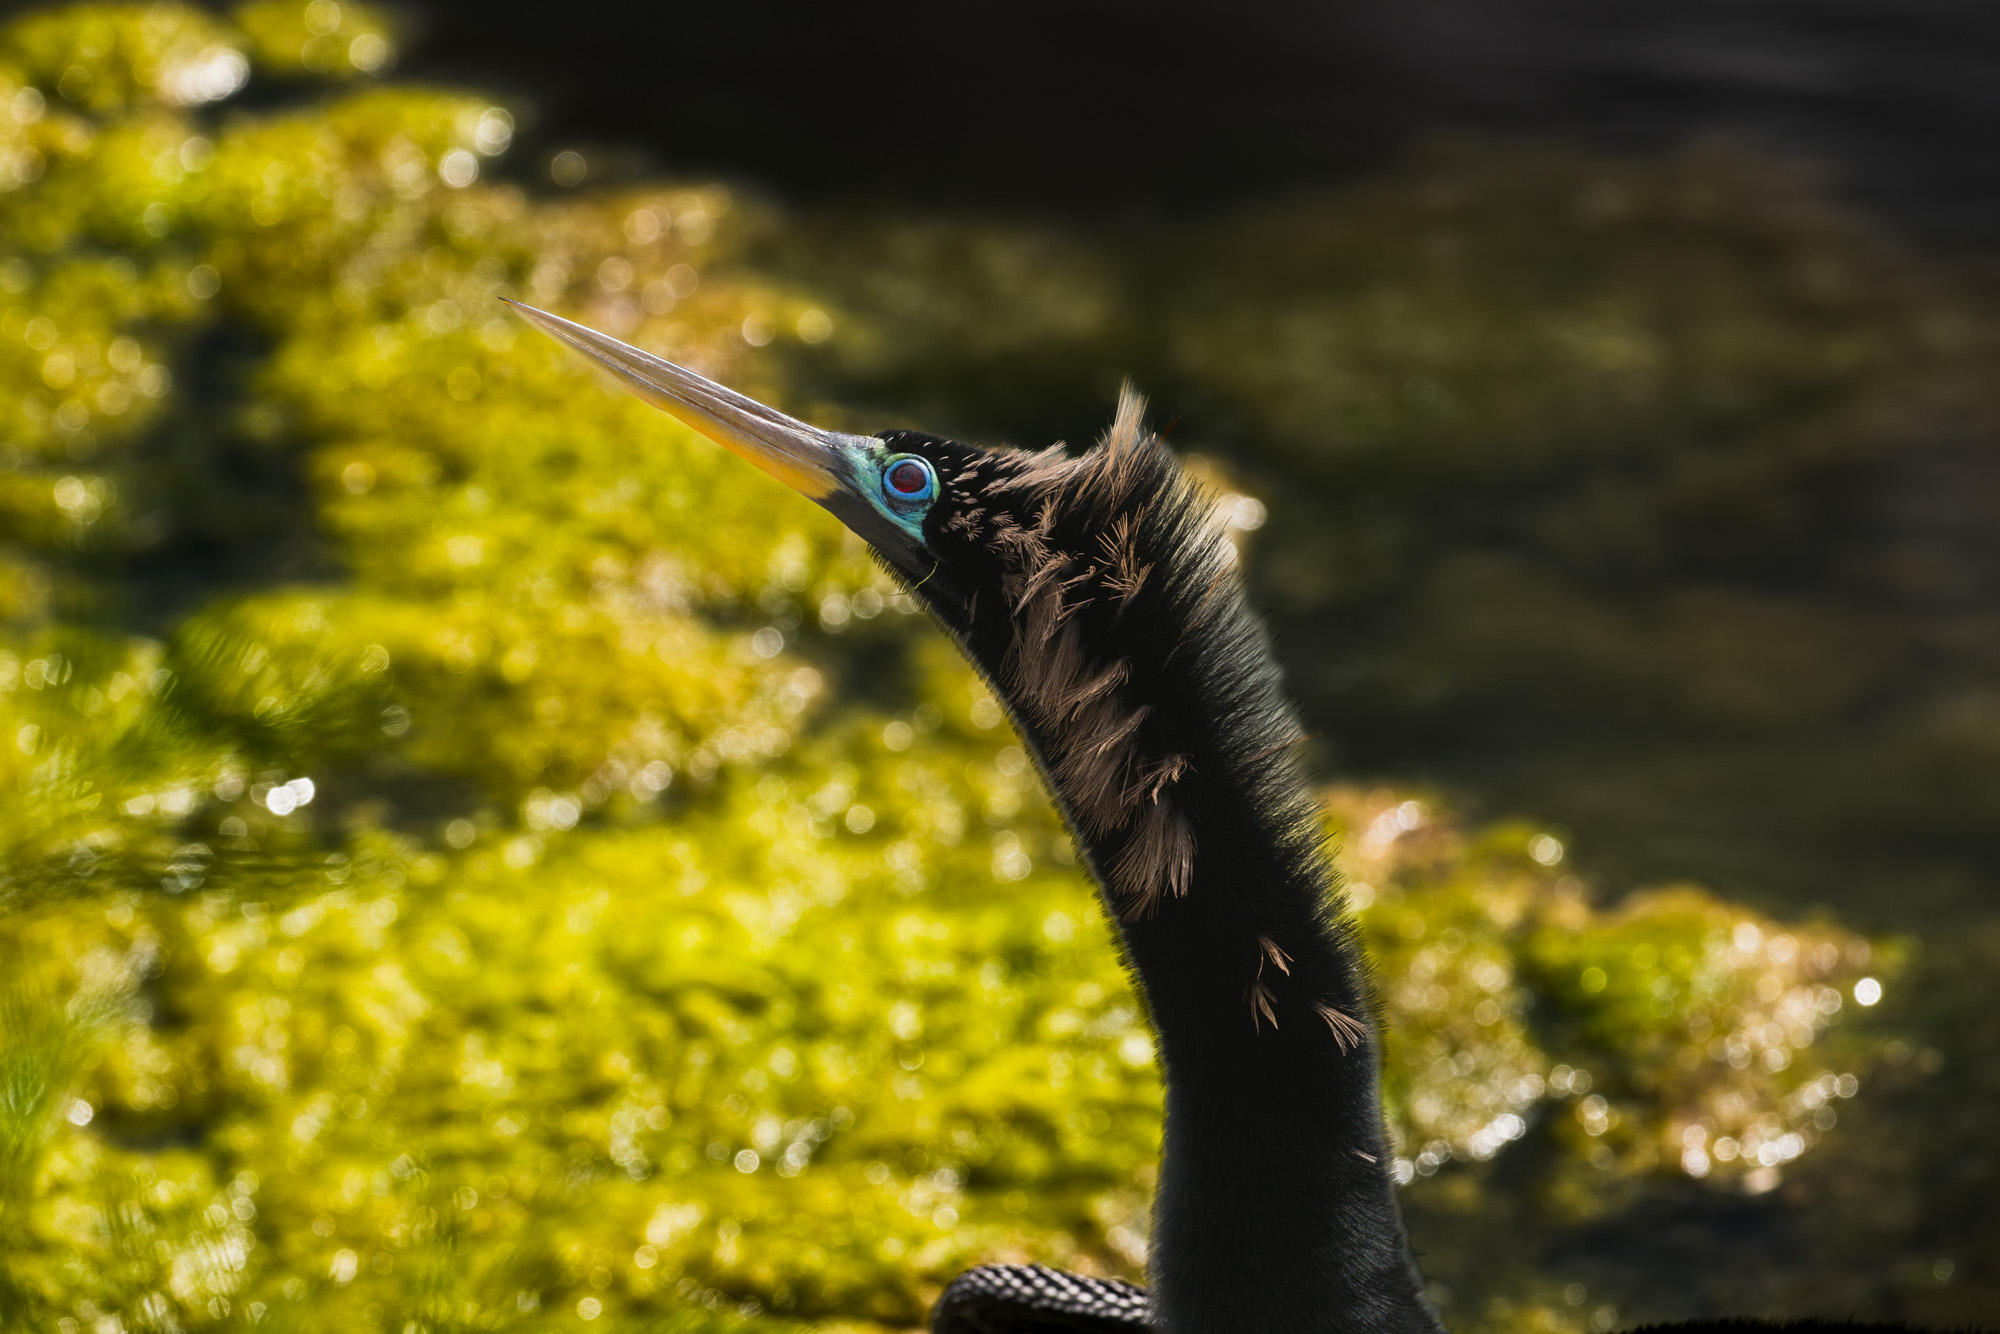
After my night under the stars, I had one more test for the Sigma BF. Wildlife. This was also a test for myself, as aside from a few fox photos about a decade ago, this was not something I had ever given a try. I found myself near Myrtle Beach, South Carolina with the BF and the Sigma 500mm F5.6 DG DN OS | Sports. I wandered Huntington State Beach Park with the hopes of photographing alligators. As I kept my eyes on the water, I saw a variety of different birds that I figured, “why not?” and did my best to take some photos along the way. Again, while this was a new genre of photography for me, I think the simplicity of the BF allowed me to just enjoy being in nature. The autofocus was quick to lock in, and while I didn’t attempt any in-flight shots, I was pretty happy with the results!

500mm F5.6 DG DN OS | Sports
F8, 1/320s, ISO 800
500mm F5.6 DG DN OS | Sports
F13, 1/400s, ISO 400

500mm F5.6 DG DN OS | Sports
F13, 1/250s, ISO 400
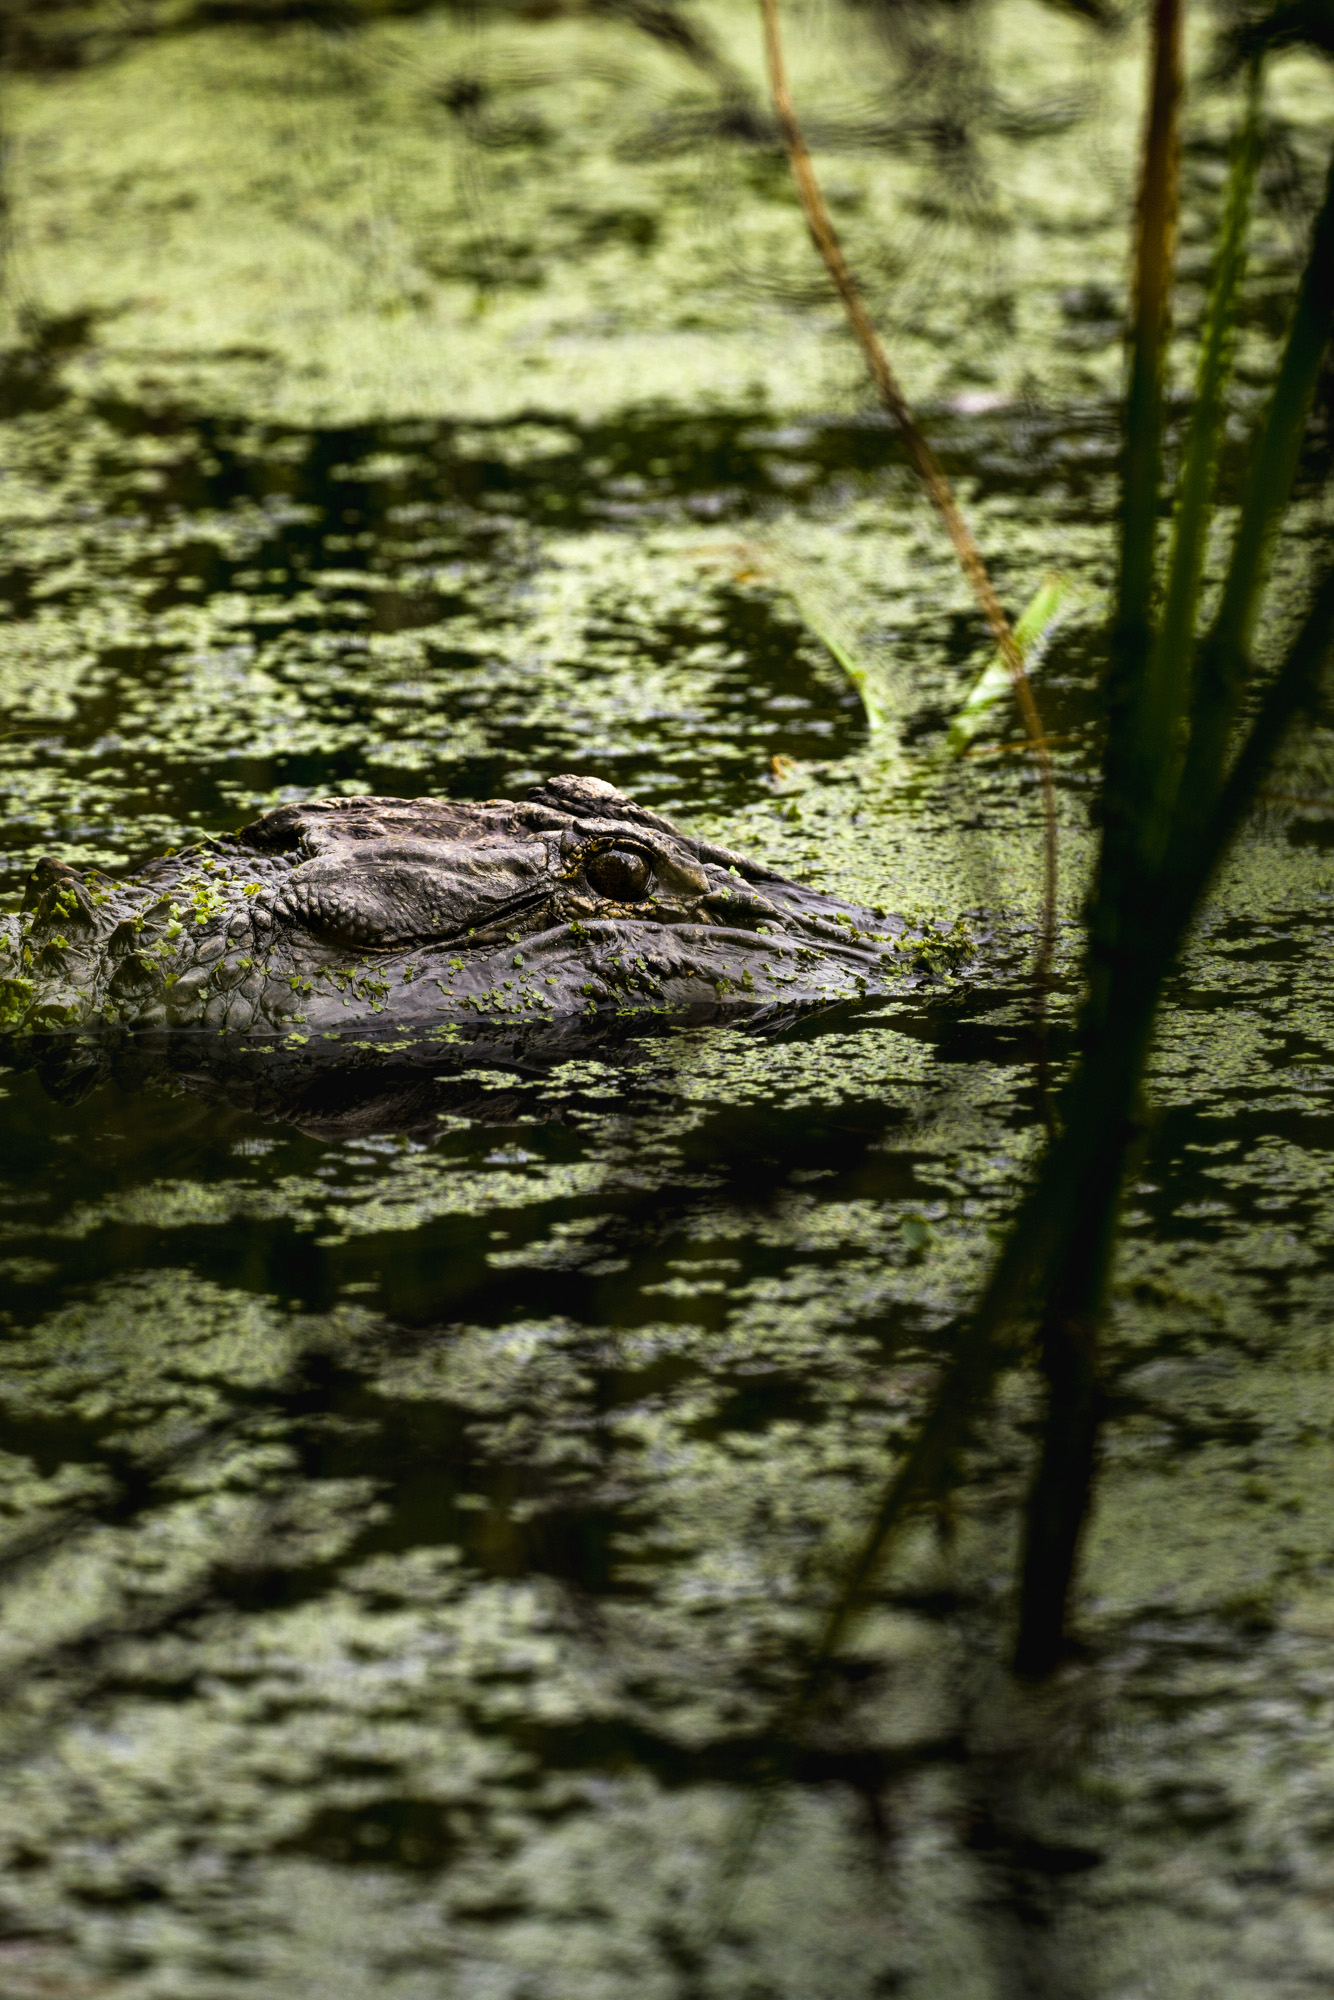
For better or worse, the only gators I saw were just peeking out of the swampy waters. Which at first, felt like a bit of a bummer, but I didn’t end the day feeling like I had checked something off a list. If anything, it felt like I was starting a new list.
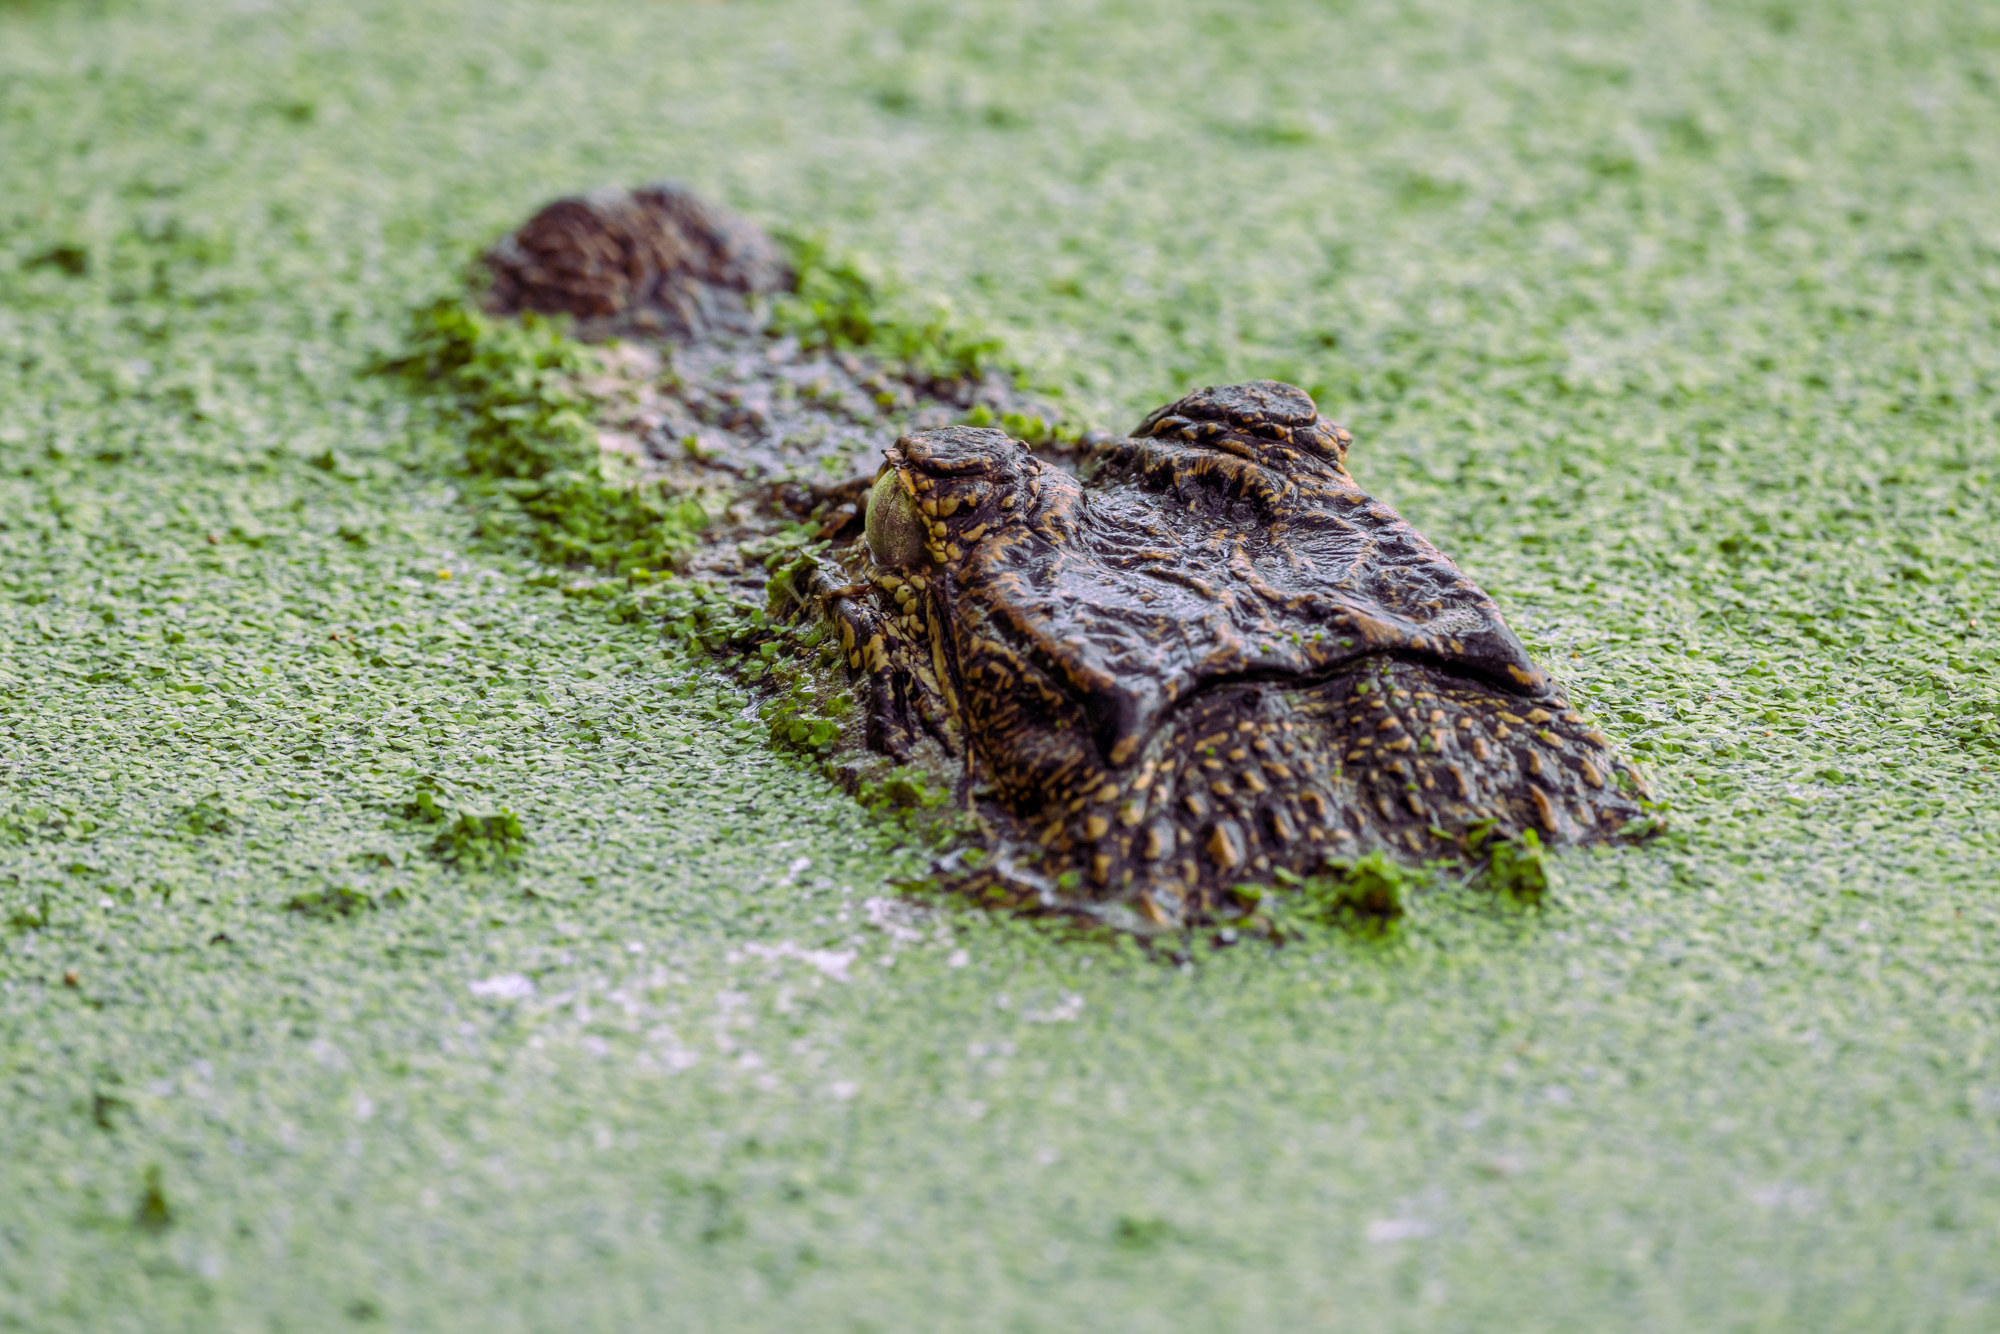
500mm F5.6 DG DN OS | Sports
F8, 1/320s, ISO 800

500mm F5.6 DG DN OS | Sports
F13, 1/125s, ISO 800
500mm F5.6 DG DN OS | Sports
F8, 1/500s, ISO 800
Maybe after a decade of shooting only astrophotography, a few days with the Sigma BF had inspired me to look at things a bit differently again. I’ve been out shooting more styles of photography in the span of a month than I ever have before. I think sometimes, whether it’s intentional or not, a bit of a reset can be a really helpful process to go through. Just taking a second to look at things differently and use that opportunity to step out of our routine.
I’ve always felt, as a photographer, the best gear is whatever helps me focus on creating first. While the world after a photo is taken demands our constant attention with excessive beeps and notifications, it feels refreshing to have those moments where I’ve connected completely to creating art. I think the BF is a camera that does just that, by encouraging you to look at things different and without distractions.

[ad_2]
Source link