[ad_1]
One of the greatest decisions you’ll ever make as a filmmaker heading into the field is choosing your camera rig. It’s not just about gear — it’s about committing to a creative mindset, a visual language. Like a warrior sharpening their blade before battle, your lens choice prepares you to engage with what lies ahead. And in the world of documentary filmmaking, where unpredictability is your constant companion, your gear needs to be as resilient and refined as your vision.
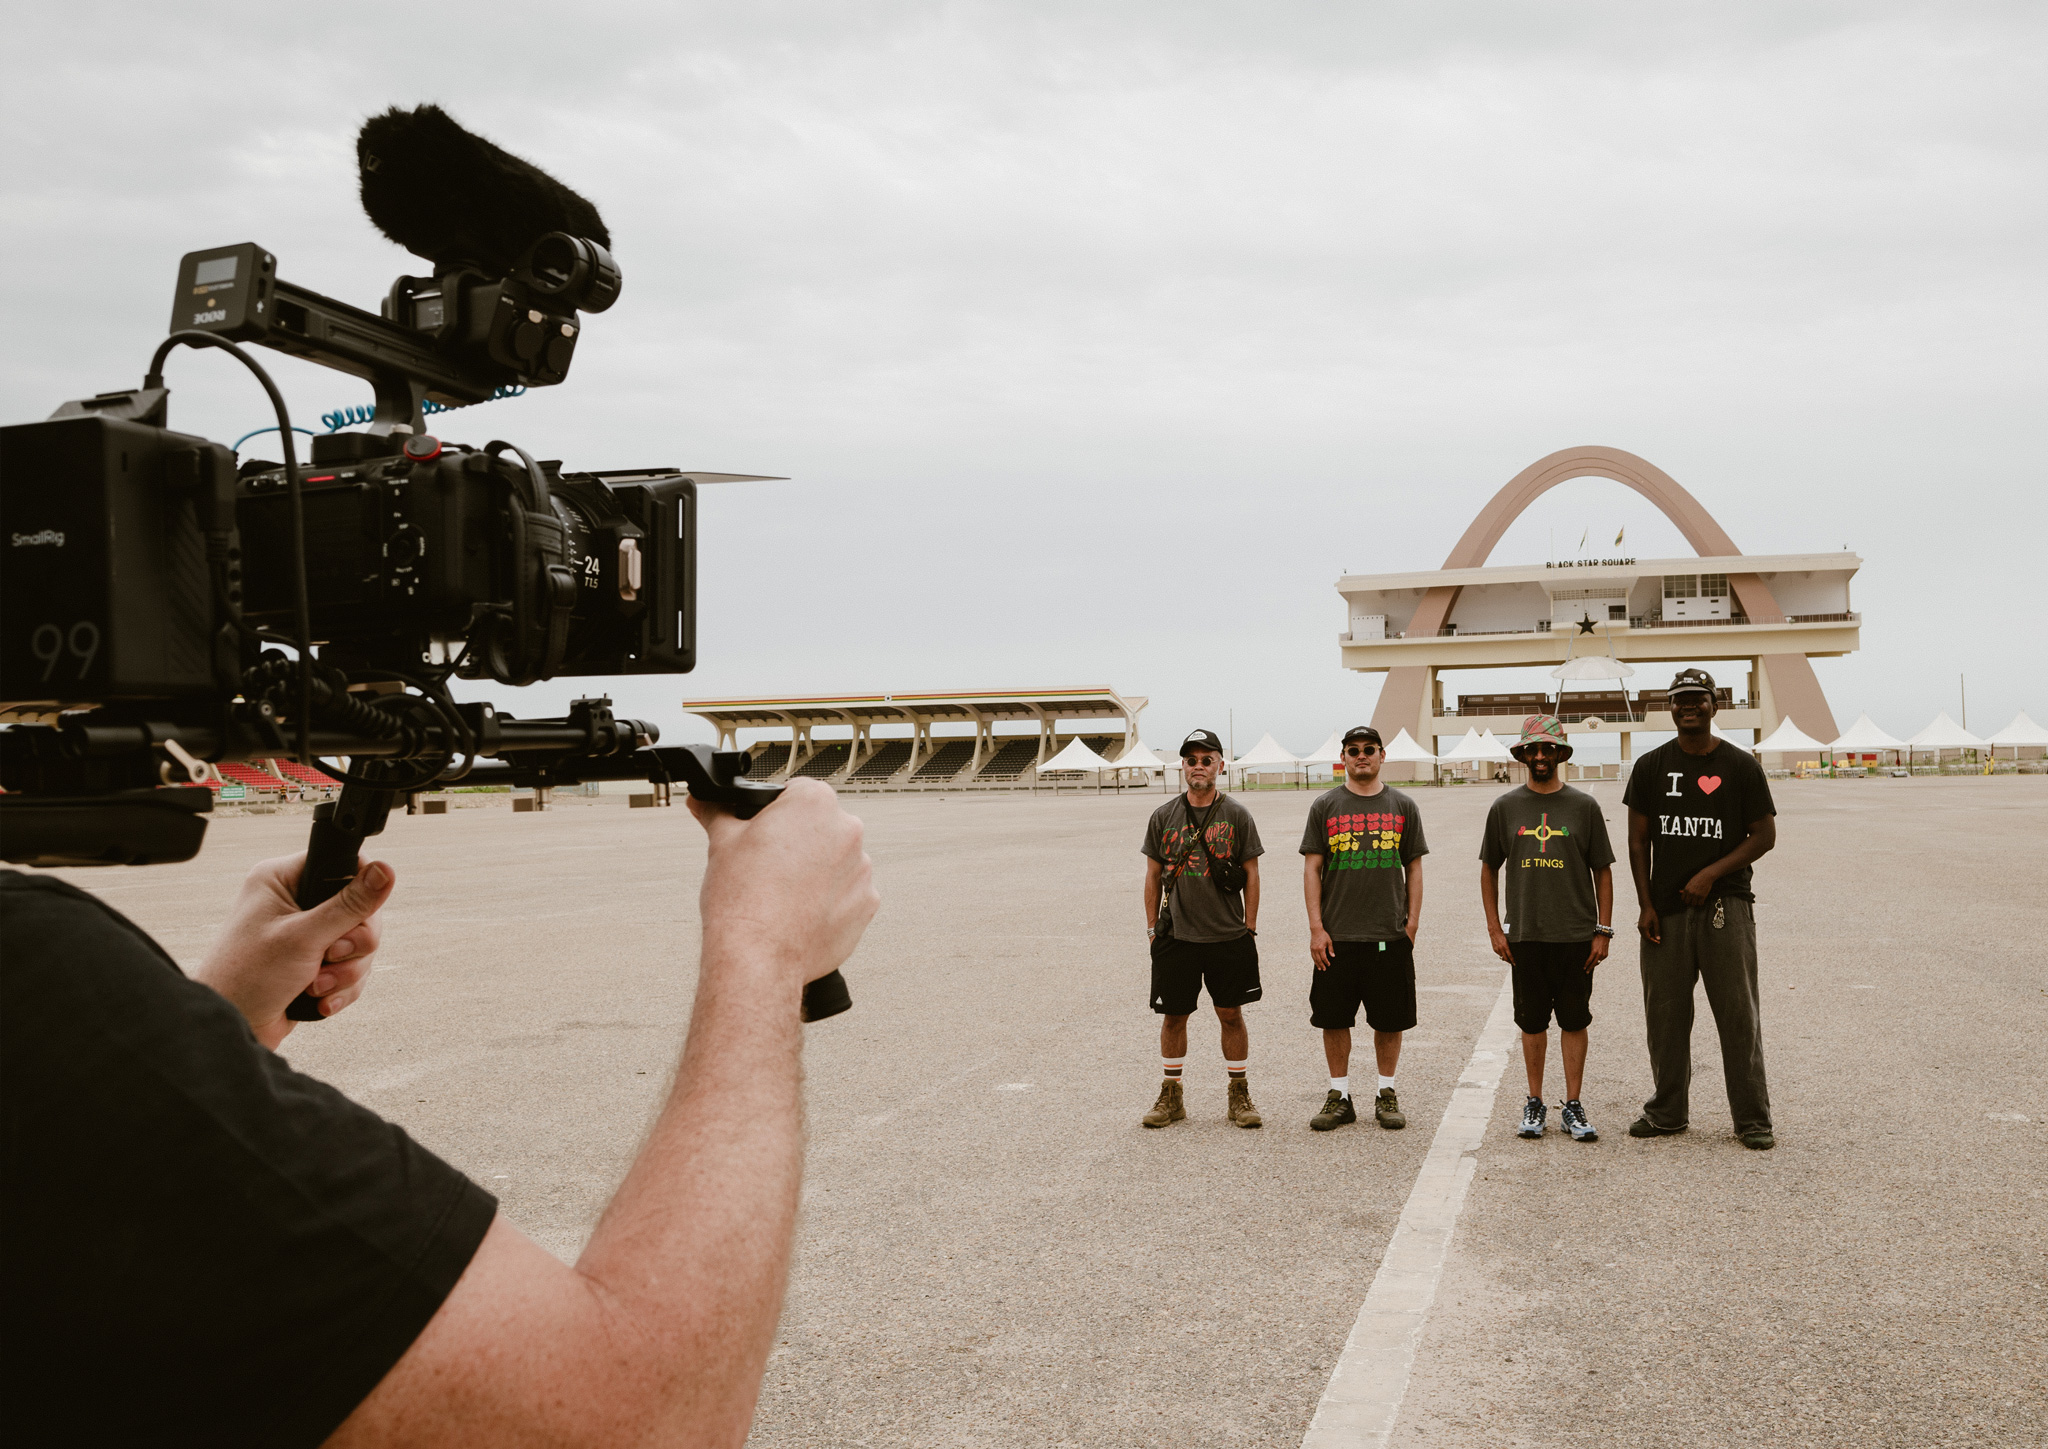
Recently, I had the privilege of joining the visionary Japanese brand, The Inoue Brothers, on a two-week odyssey across Ghana and South Africa. Our mission: to discover artisans whose ancient crafts would form the heart of a socially impactful new collection. It was a journey into the tactile, the sacred, and the raw — the very essence of storytelling through image.
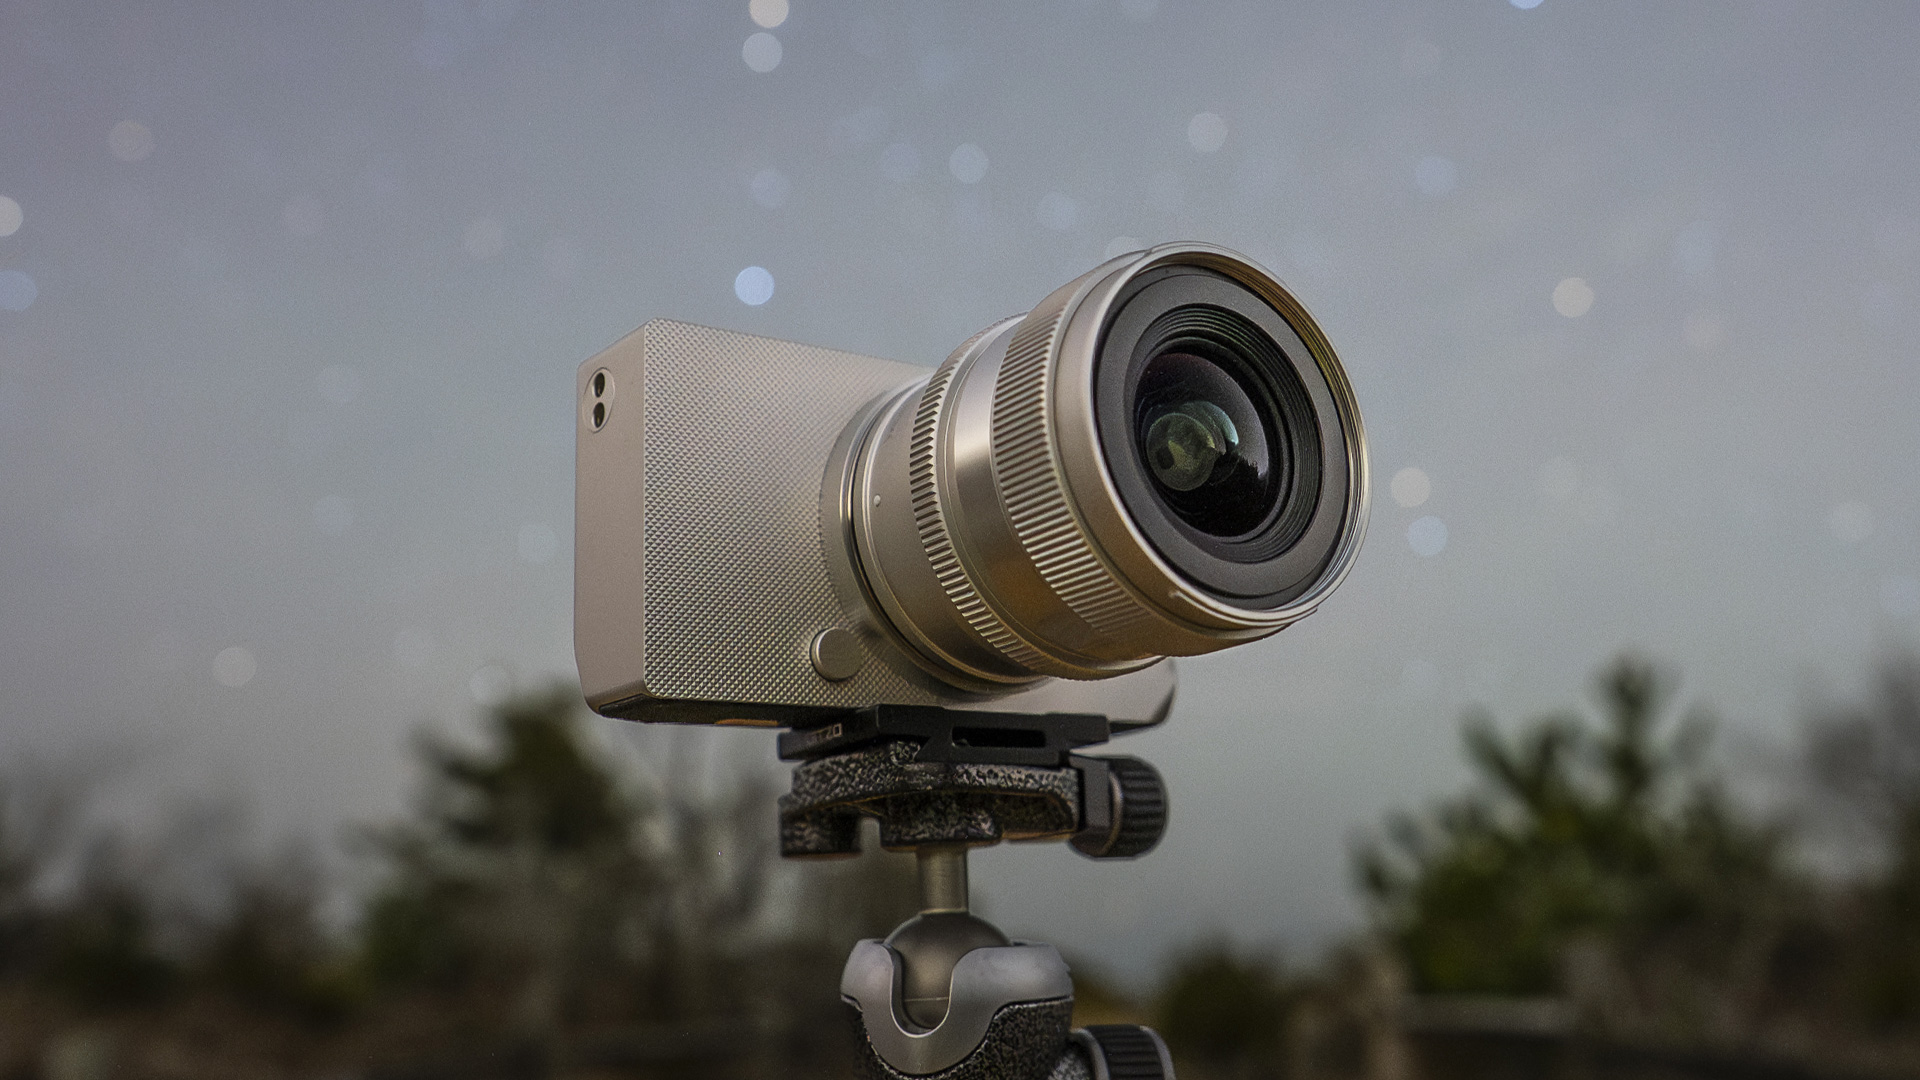
From the sprawling, chaotic arteries of Accra’s Kantamanto Market to the humid, emerald depths of South Africa’s Limpopo rainforests and savannas, we were chasing moments — those ephemeral truths that live between hands that weave, eyes that sculpt, and communities that create. Joining me on this extraordinary journey? A carefully curated set of four Sigma Cine prime lenses.
Into the Labyrinth: Kantamanto Market, Accra
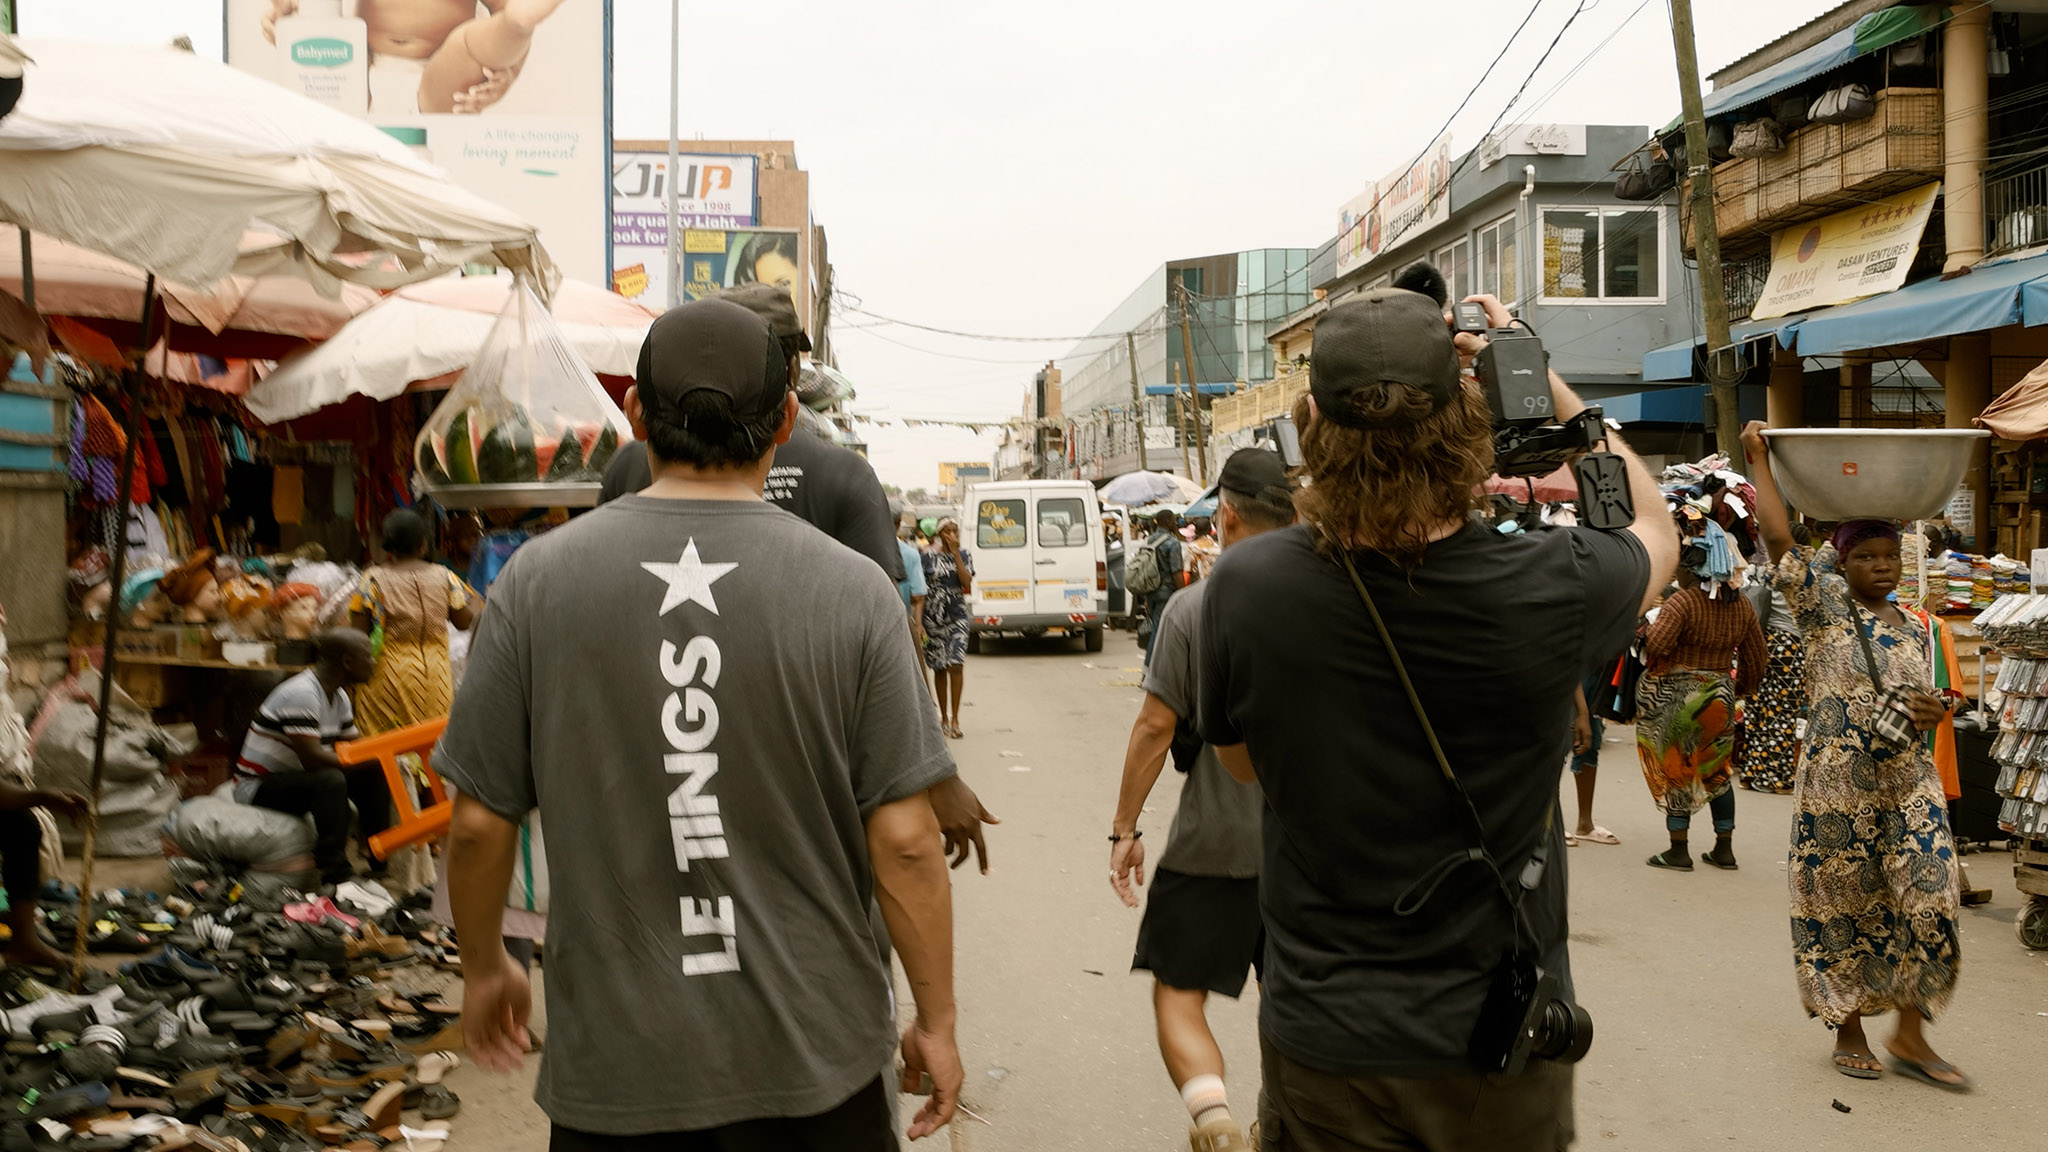
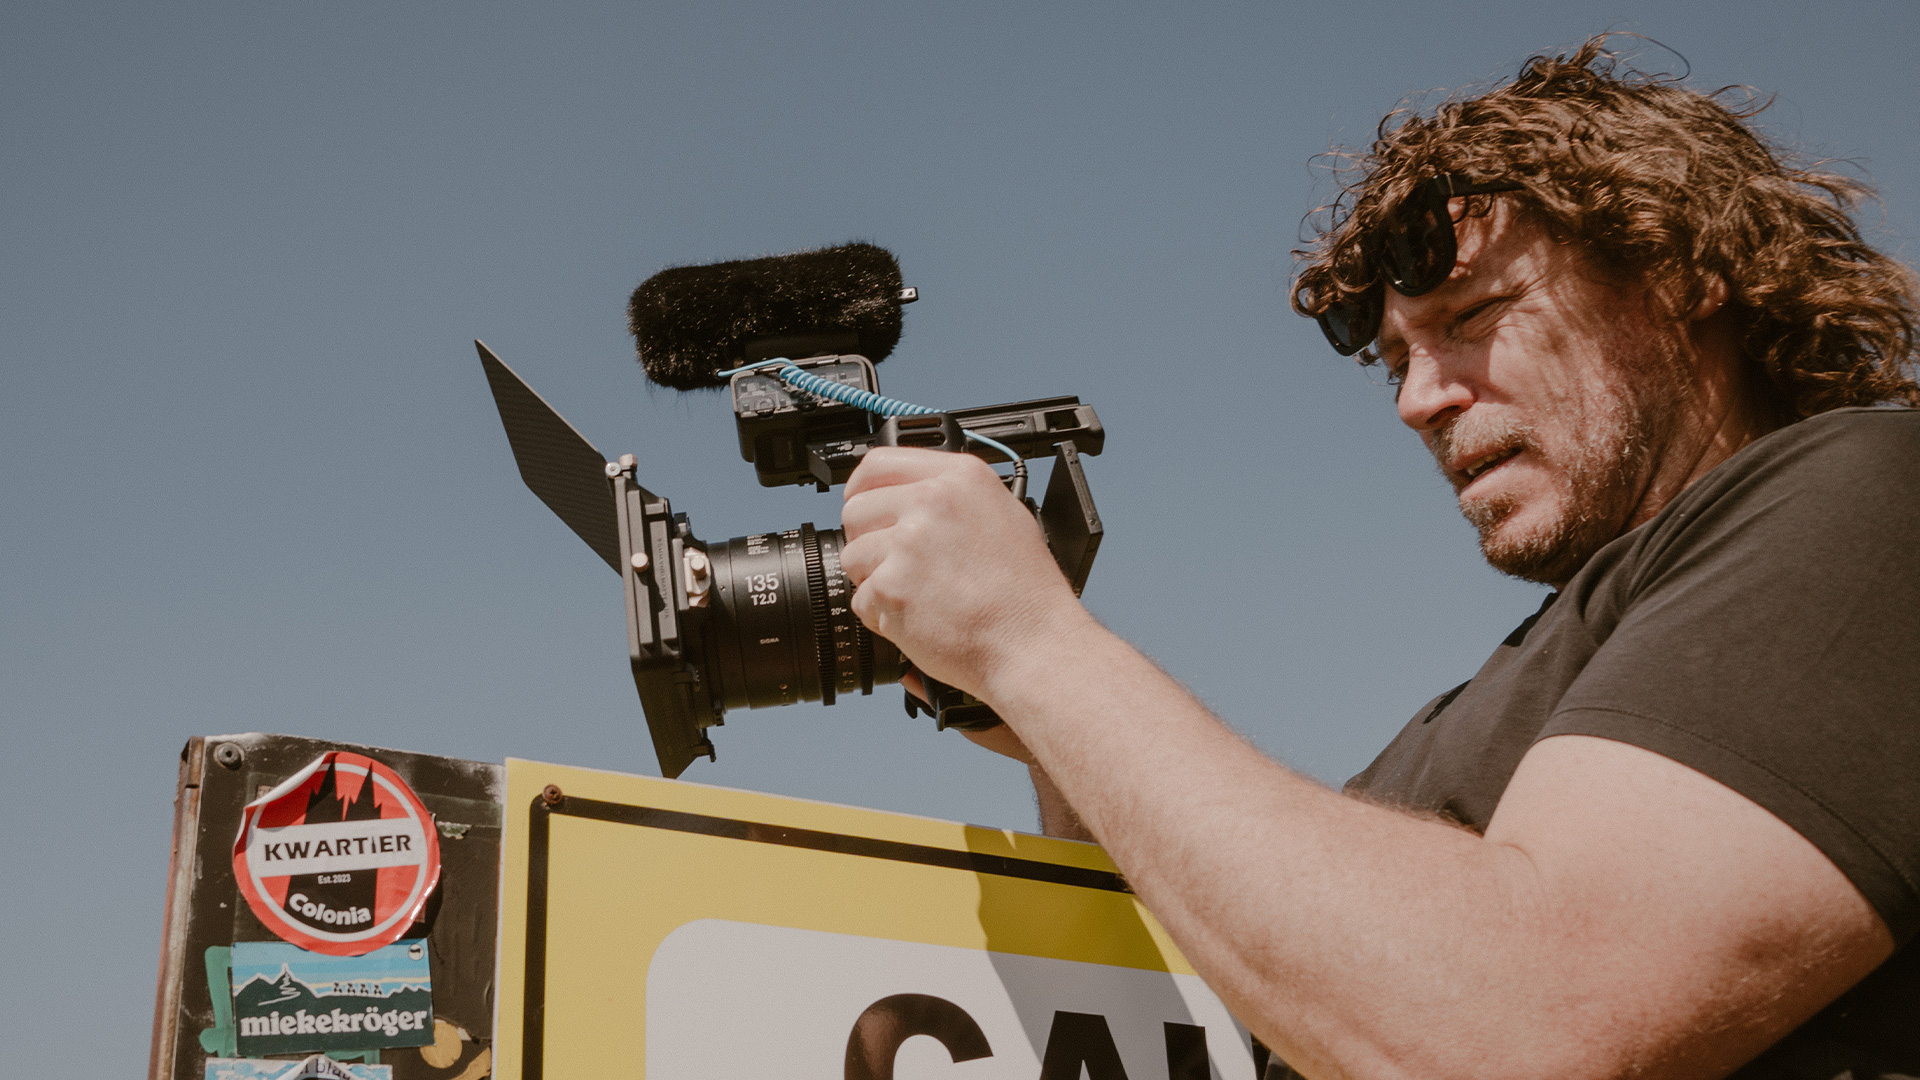
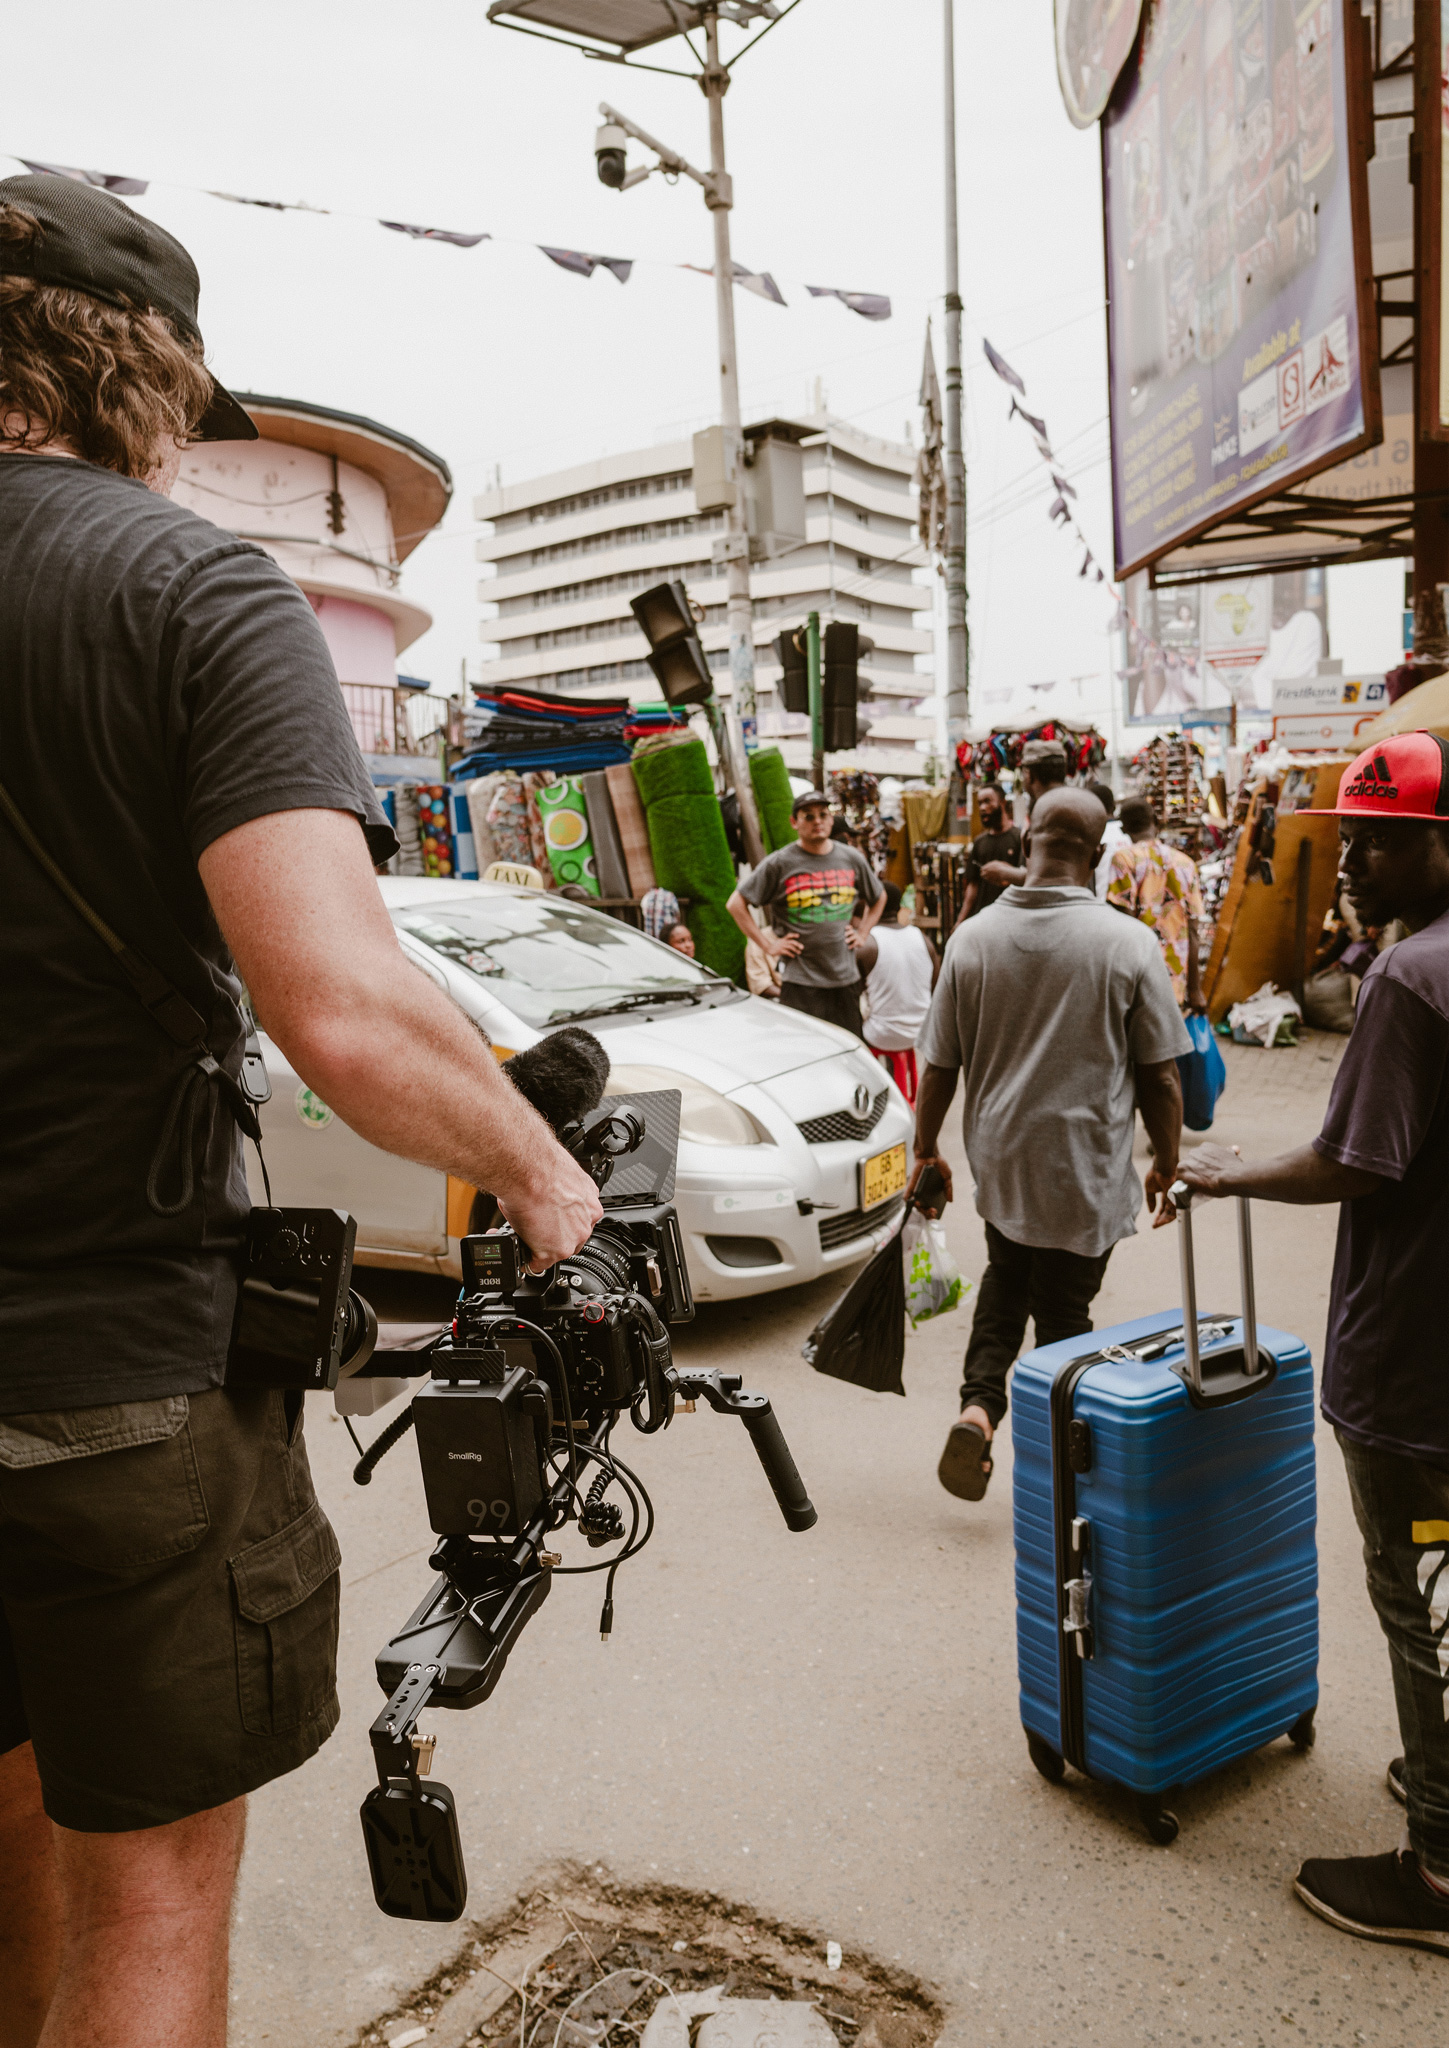
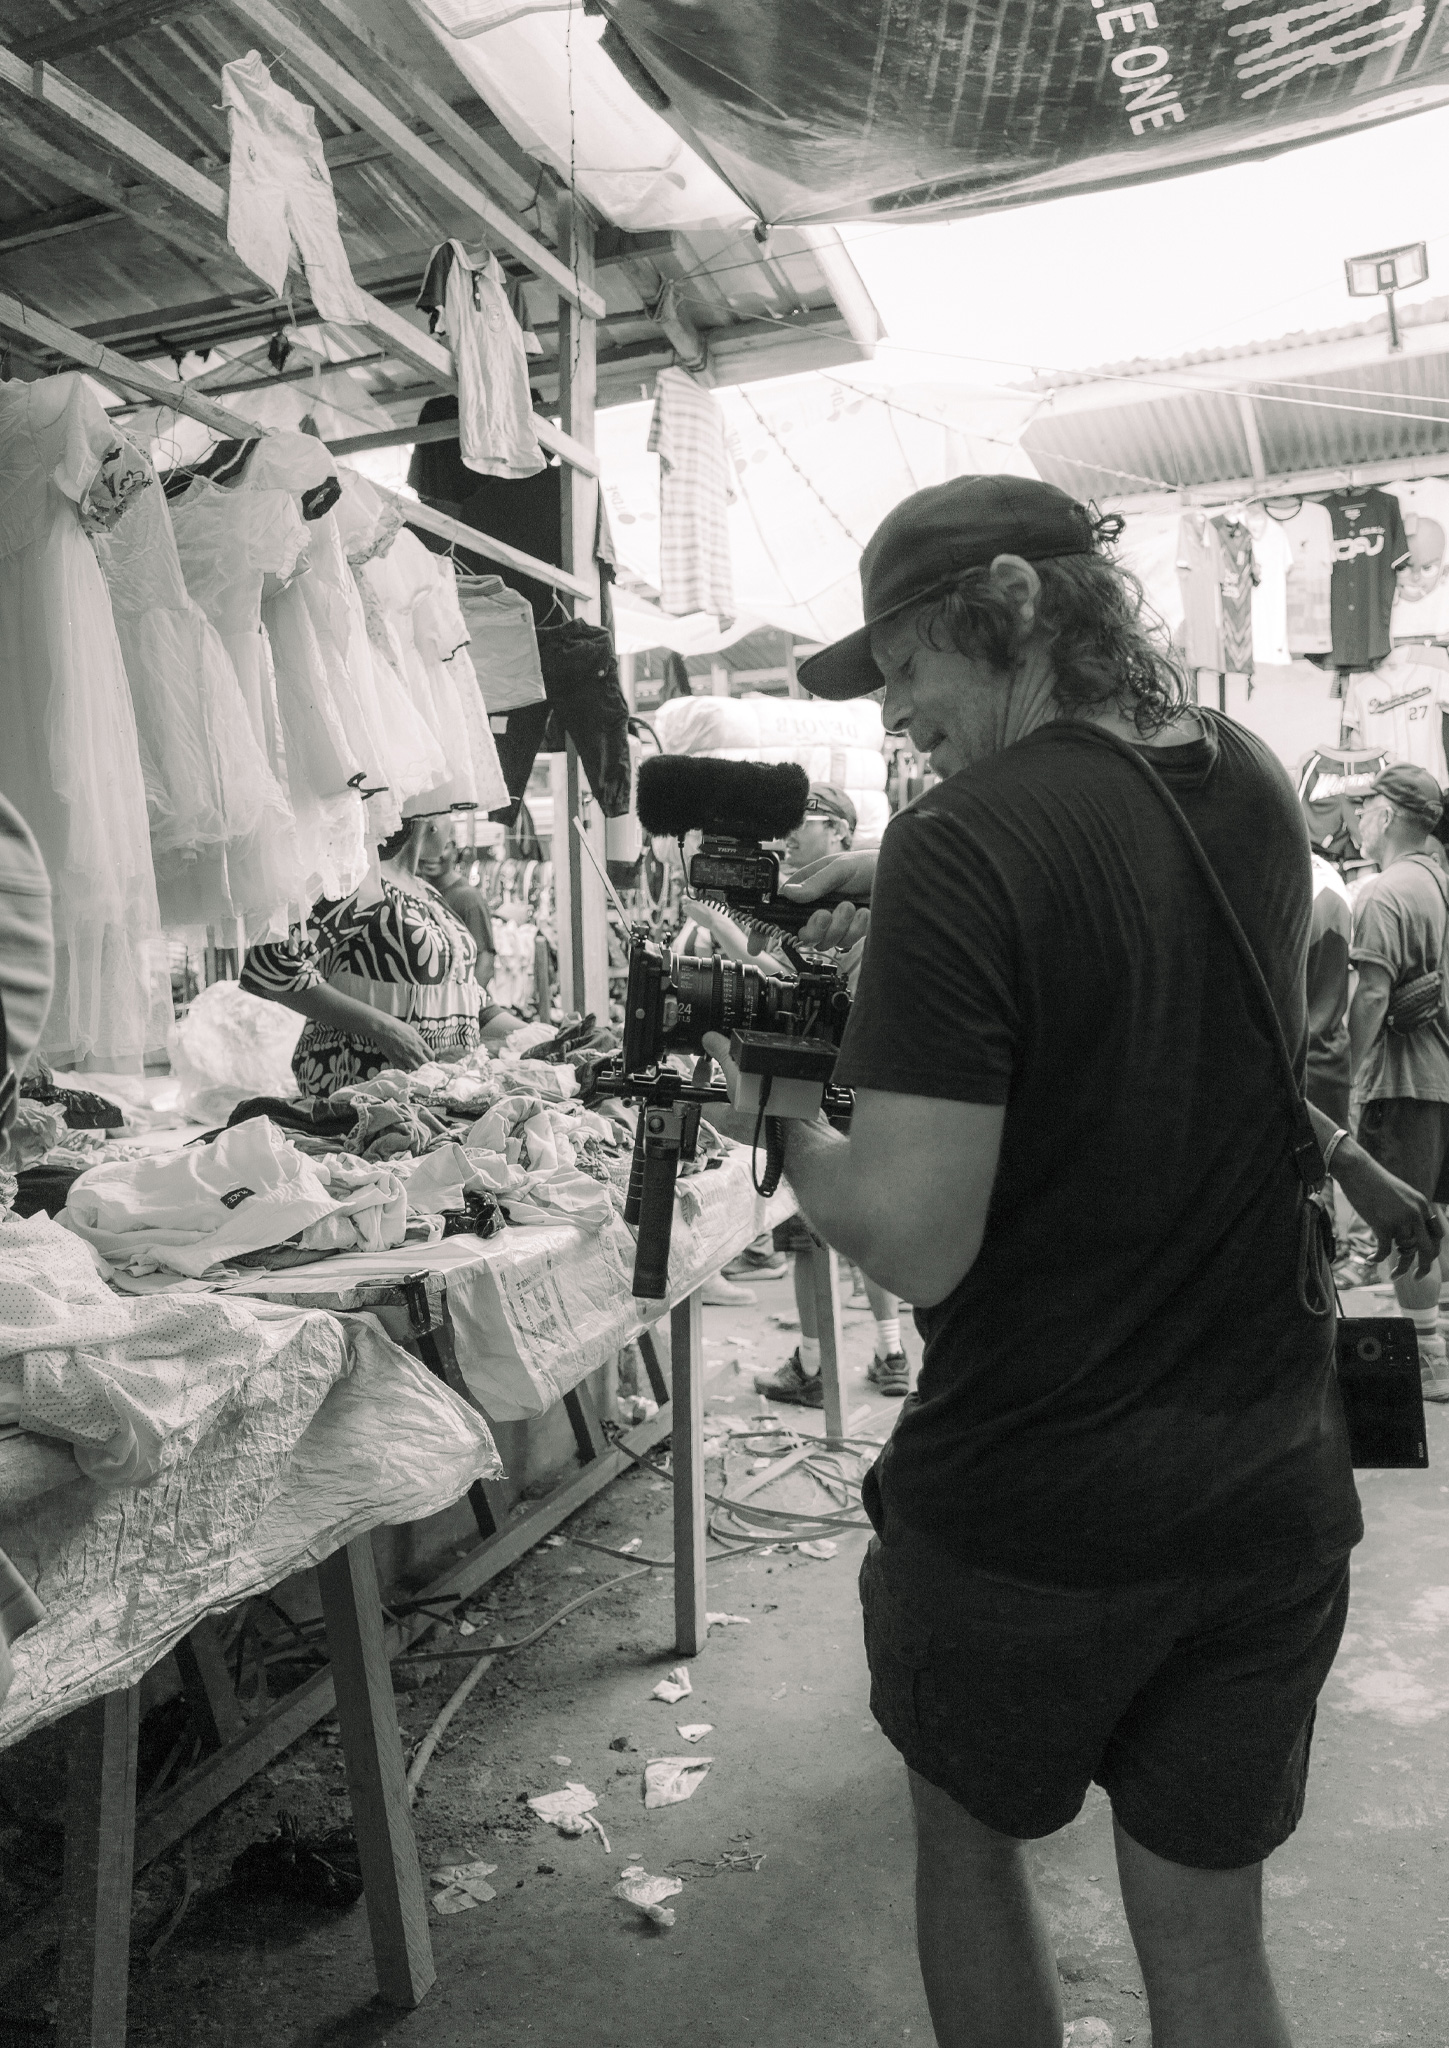
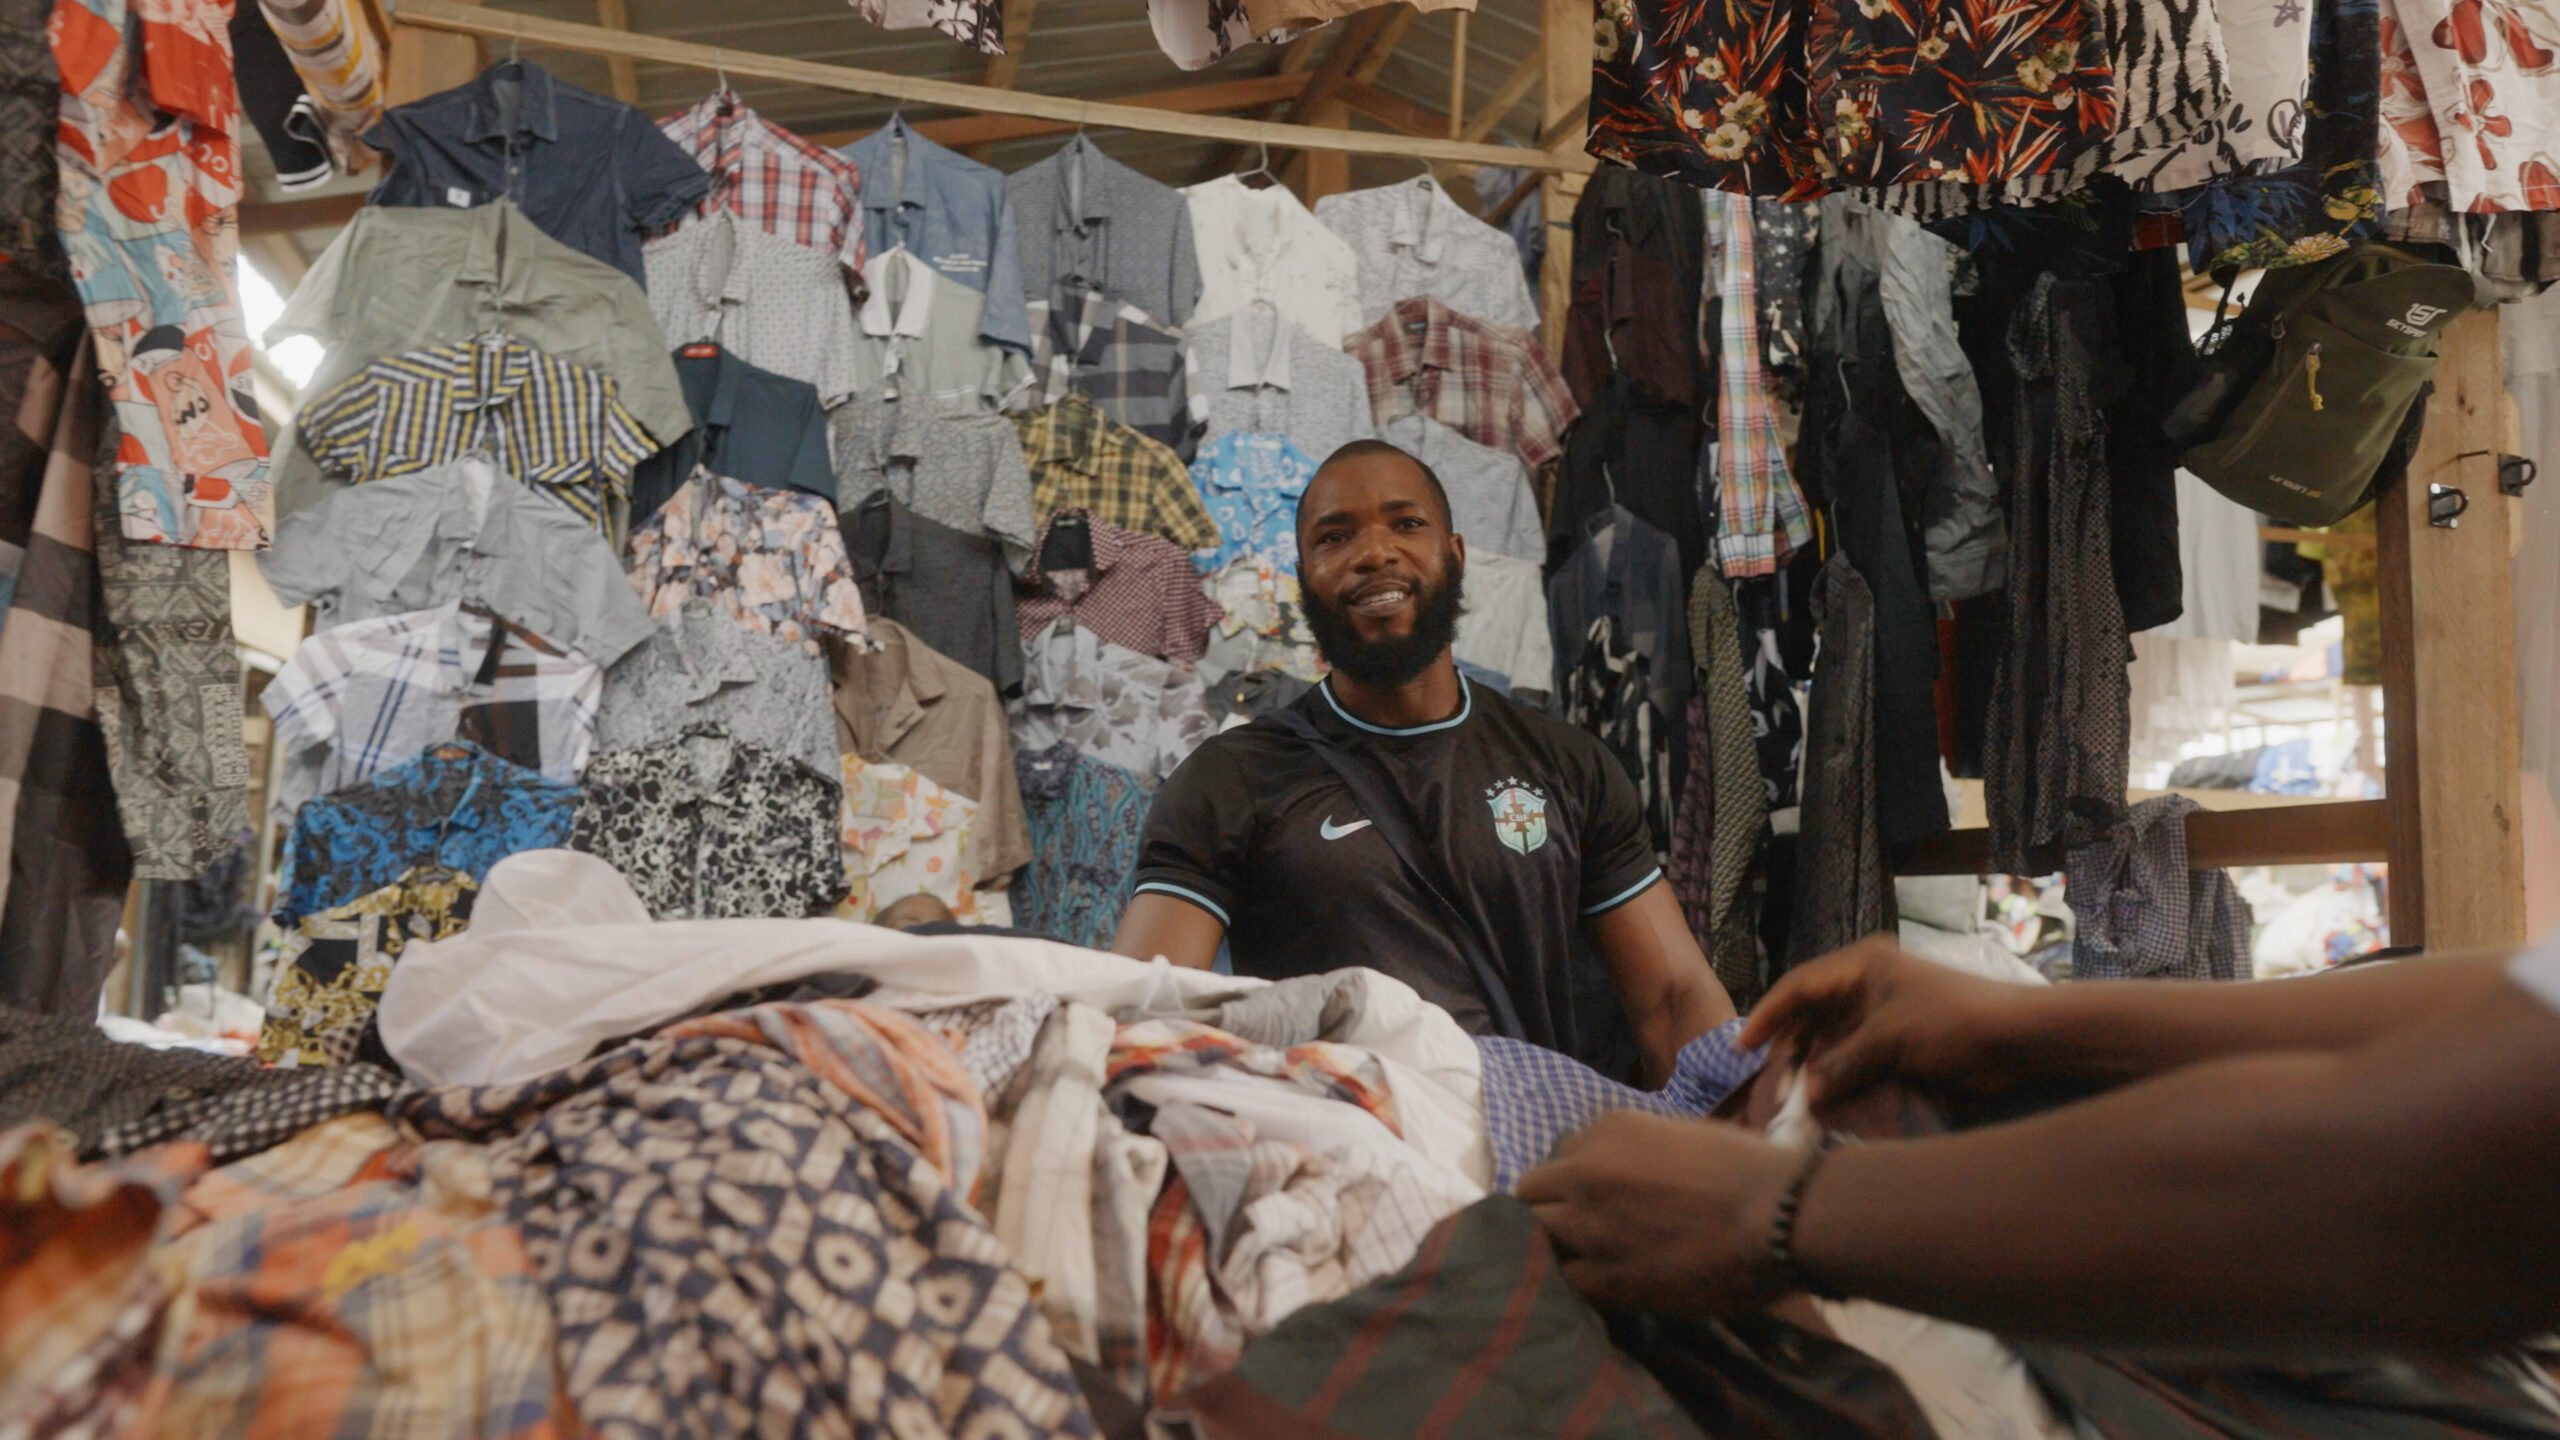
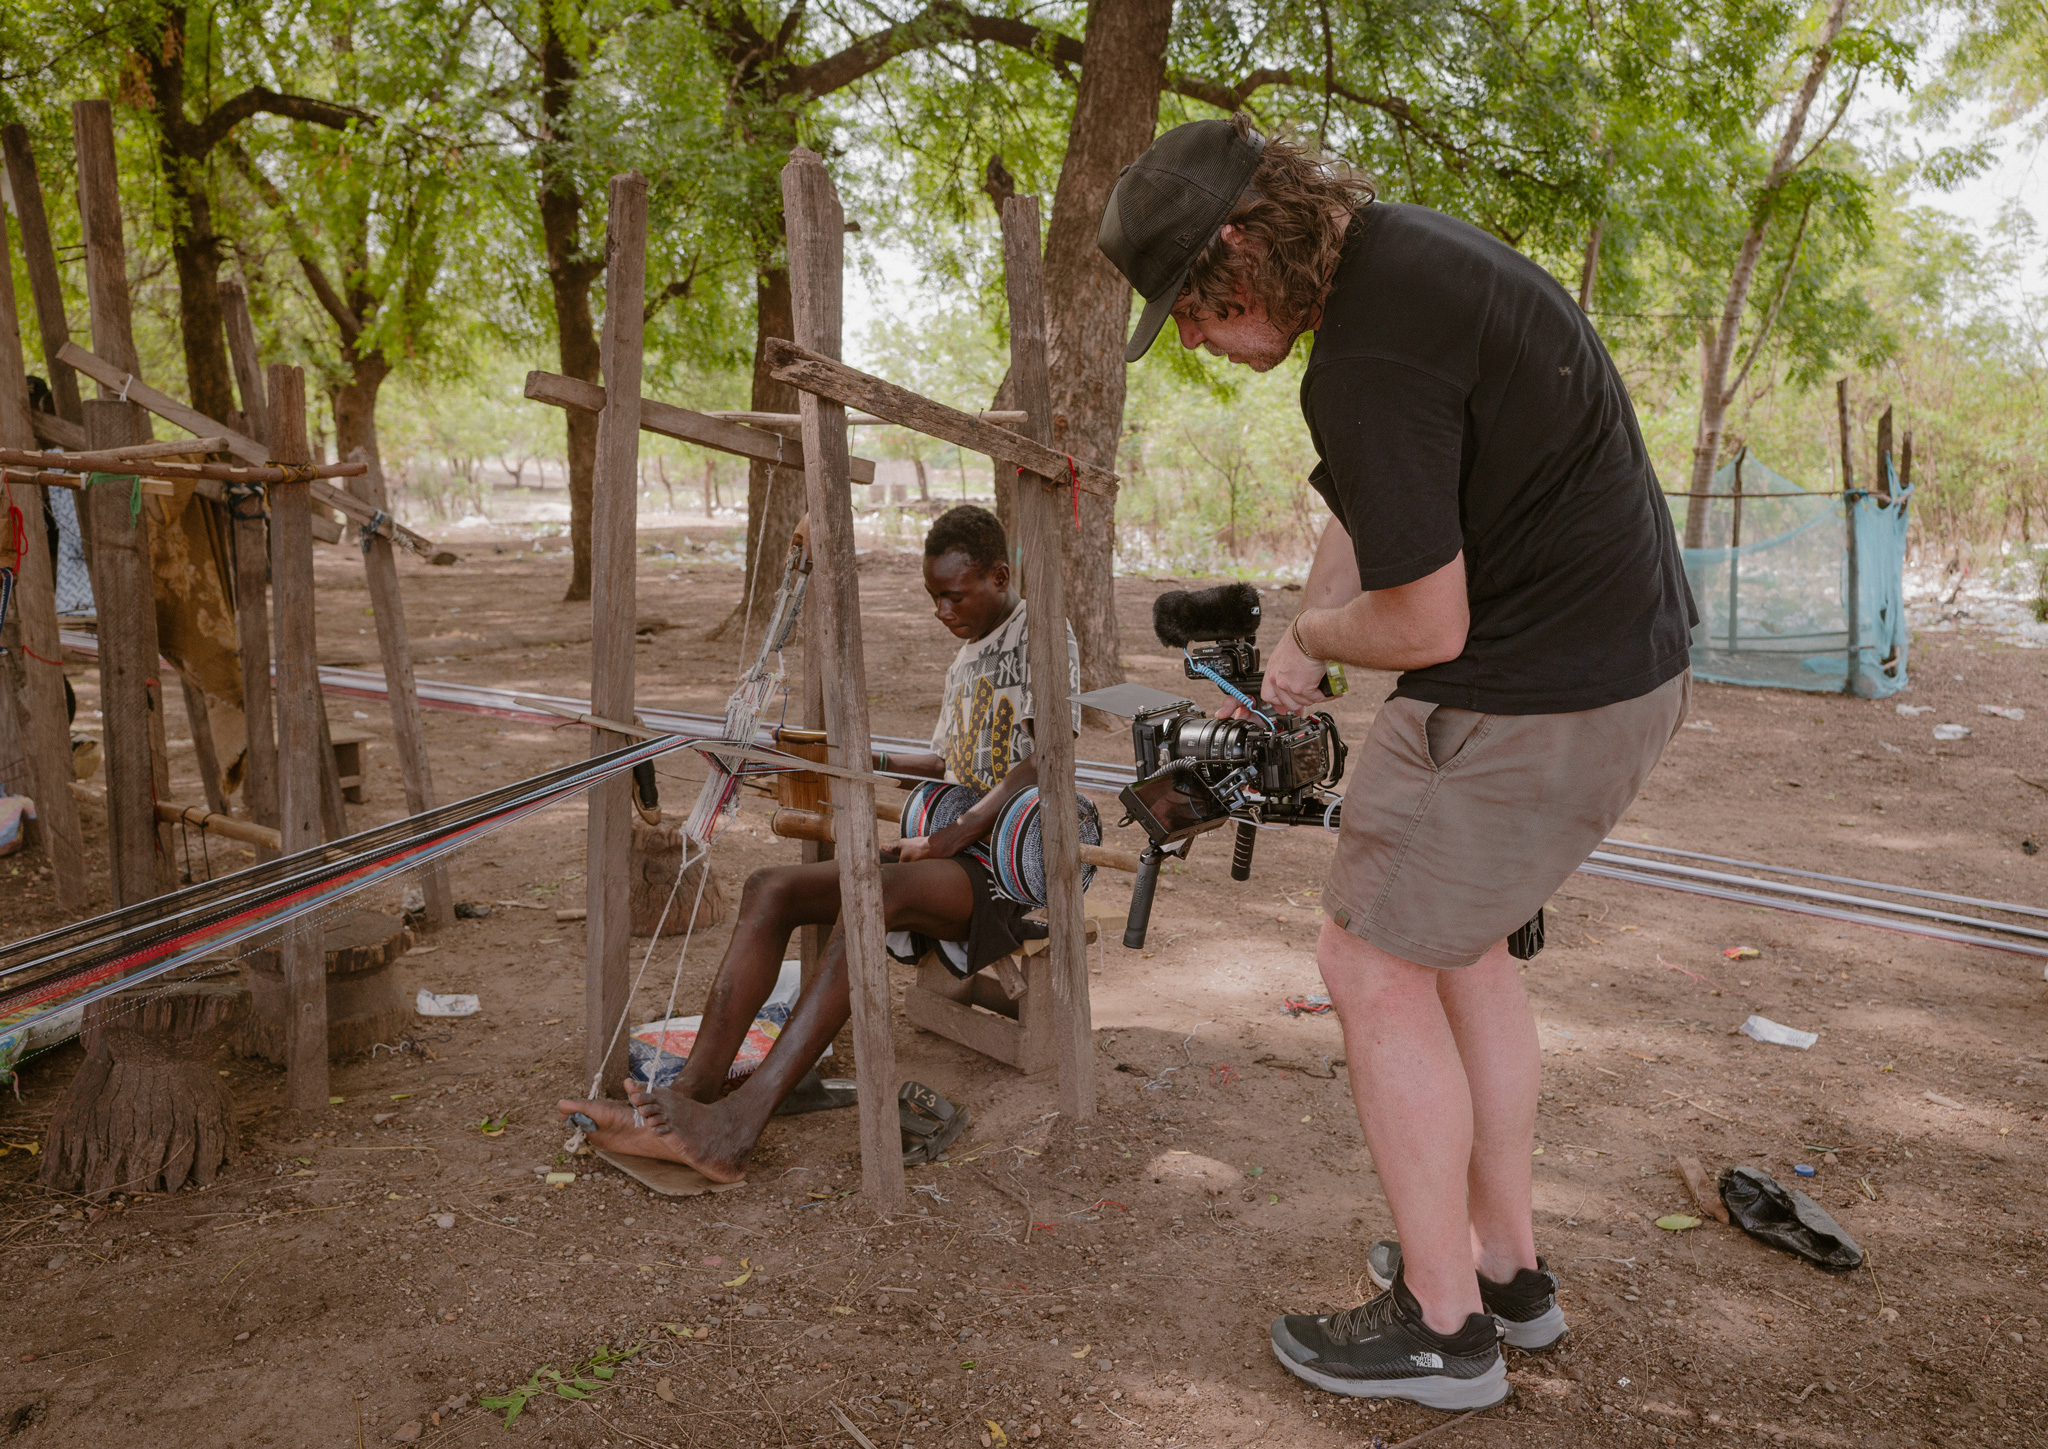
Our journey began in Ghana, inside the living organism that is Kantamanto — the largest secondhand clothing market in the world. Tens of thousands of people flowed like rivers through a dense labyrinth of textile and trade. I initially leaned into my favorite lens, the Sigma Cine 35mm T1.5 FF, which to me is the storytelling workhorse. If I had to shoot an entire feature film on one lens, this would be it. It’s intimate, true, versatile, and cinematic.
But Katamanto demanded something wider. The sheer scale of humanity and chaos unfolding before us called for a broader perspective. That’s when the Sigma Cine 24mm T1.5 FF became indispensable. It allowed me to glide through crowds, to duck into alleyways and stalls, and to capture the scale and intensity of human movement. With it, I could place the viewer right there in the midst of the fray — smelling the smoke, hearing the barter, seeing the faces.
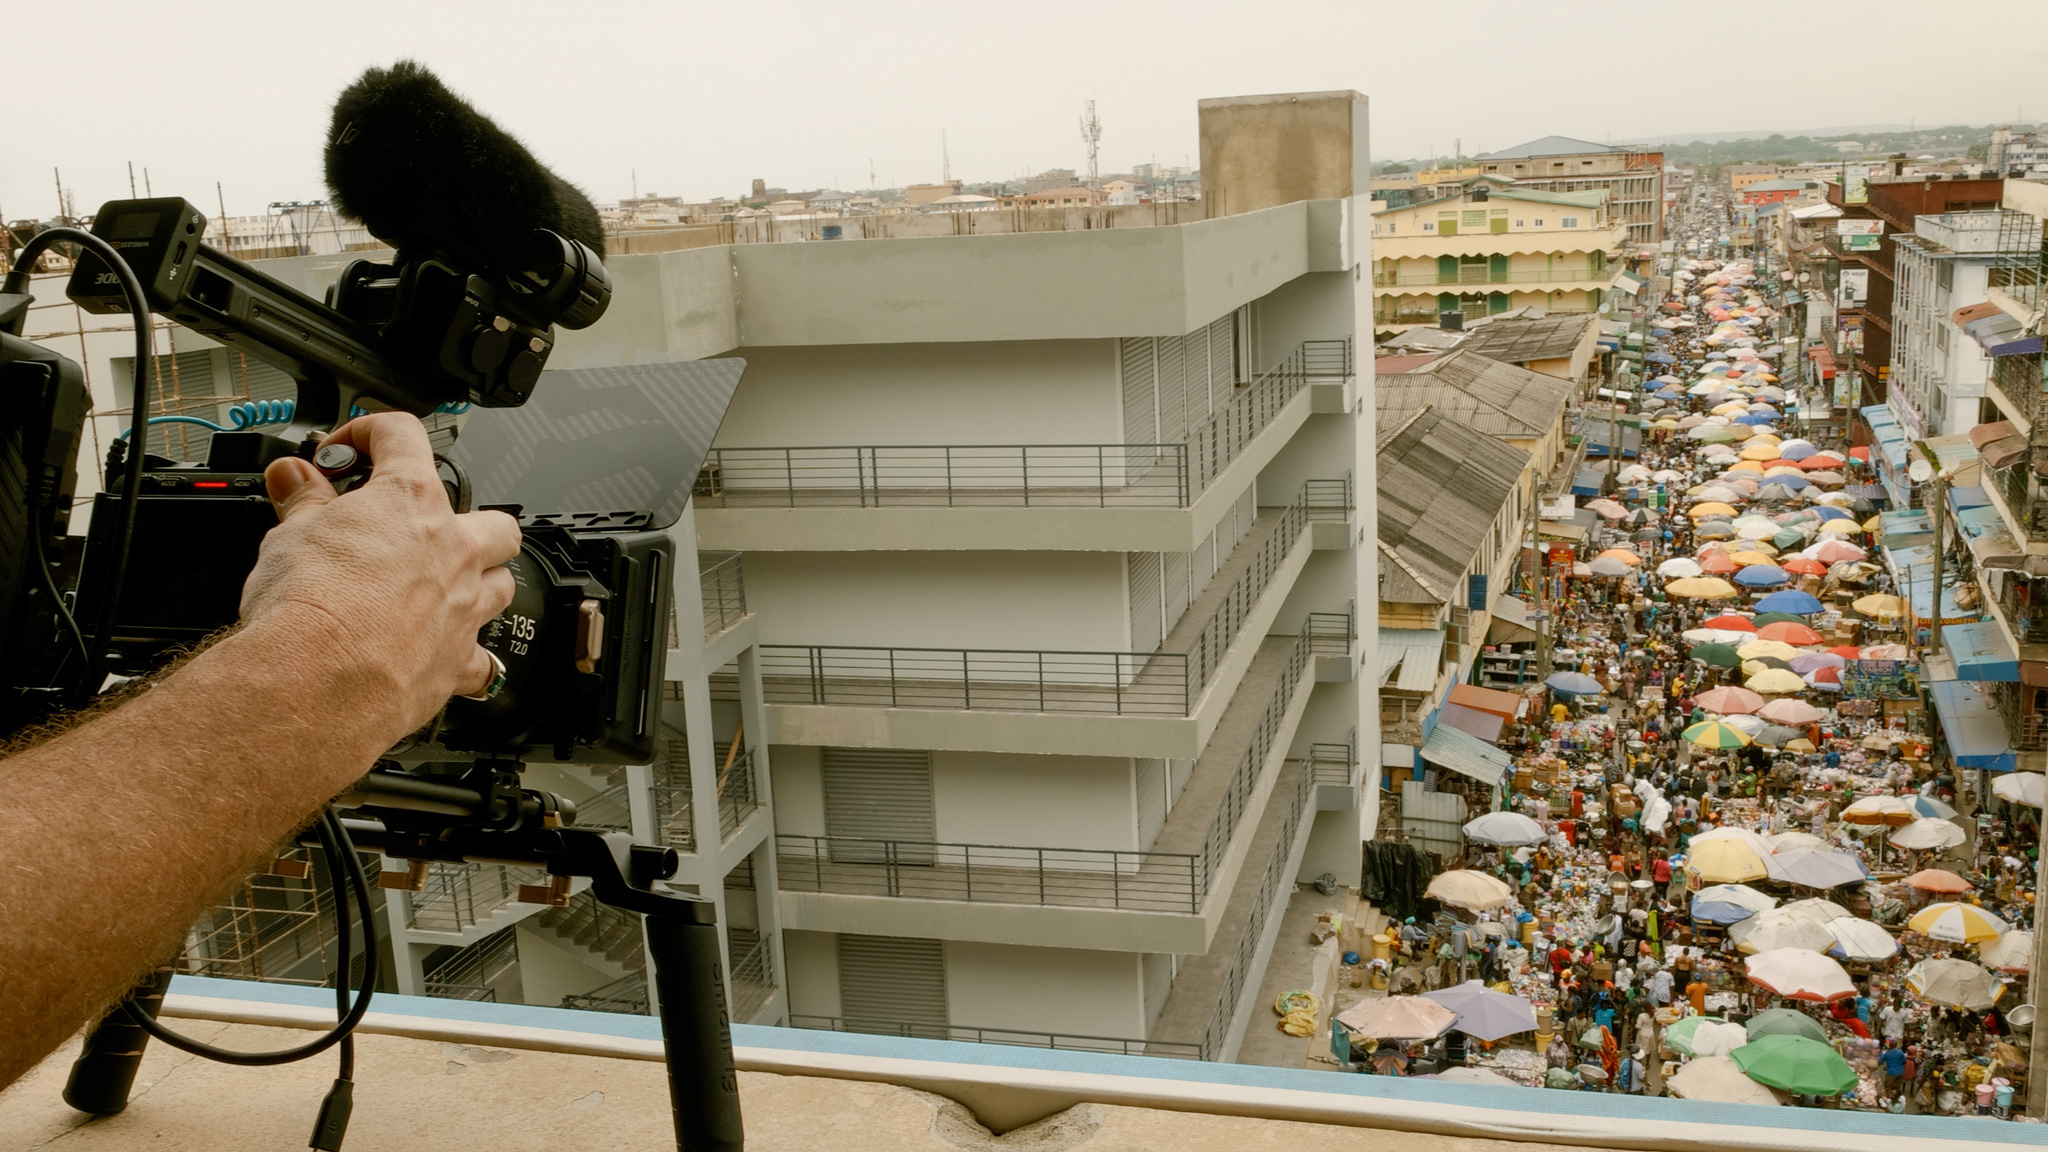
One particular moment remains etched in my mind: standing on a rooftop, gazing out across Katamanto’s sprawling chaos. I wanted to tell the story from above — of scale, of movement, of patterns. The Sigma Cine 135mm T2 FF was perfect here. It allowed me to follow individuals threading their way through the maze, painting a canvas of human navigation from a distance.
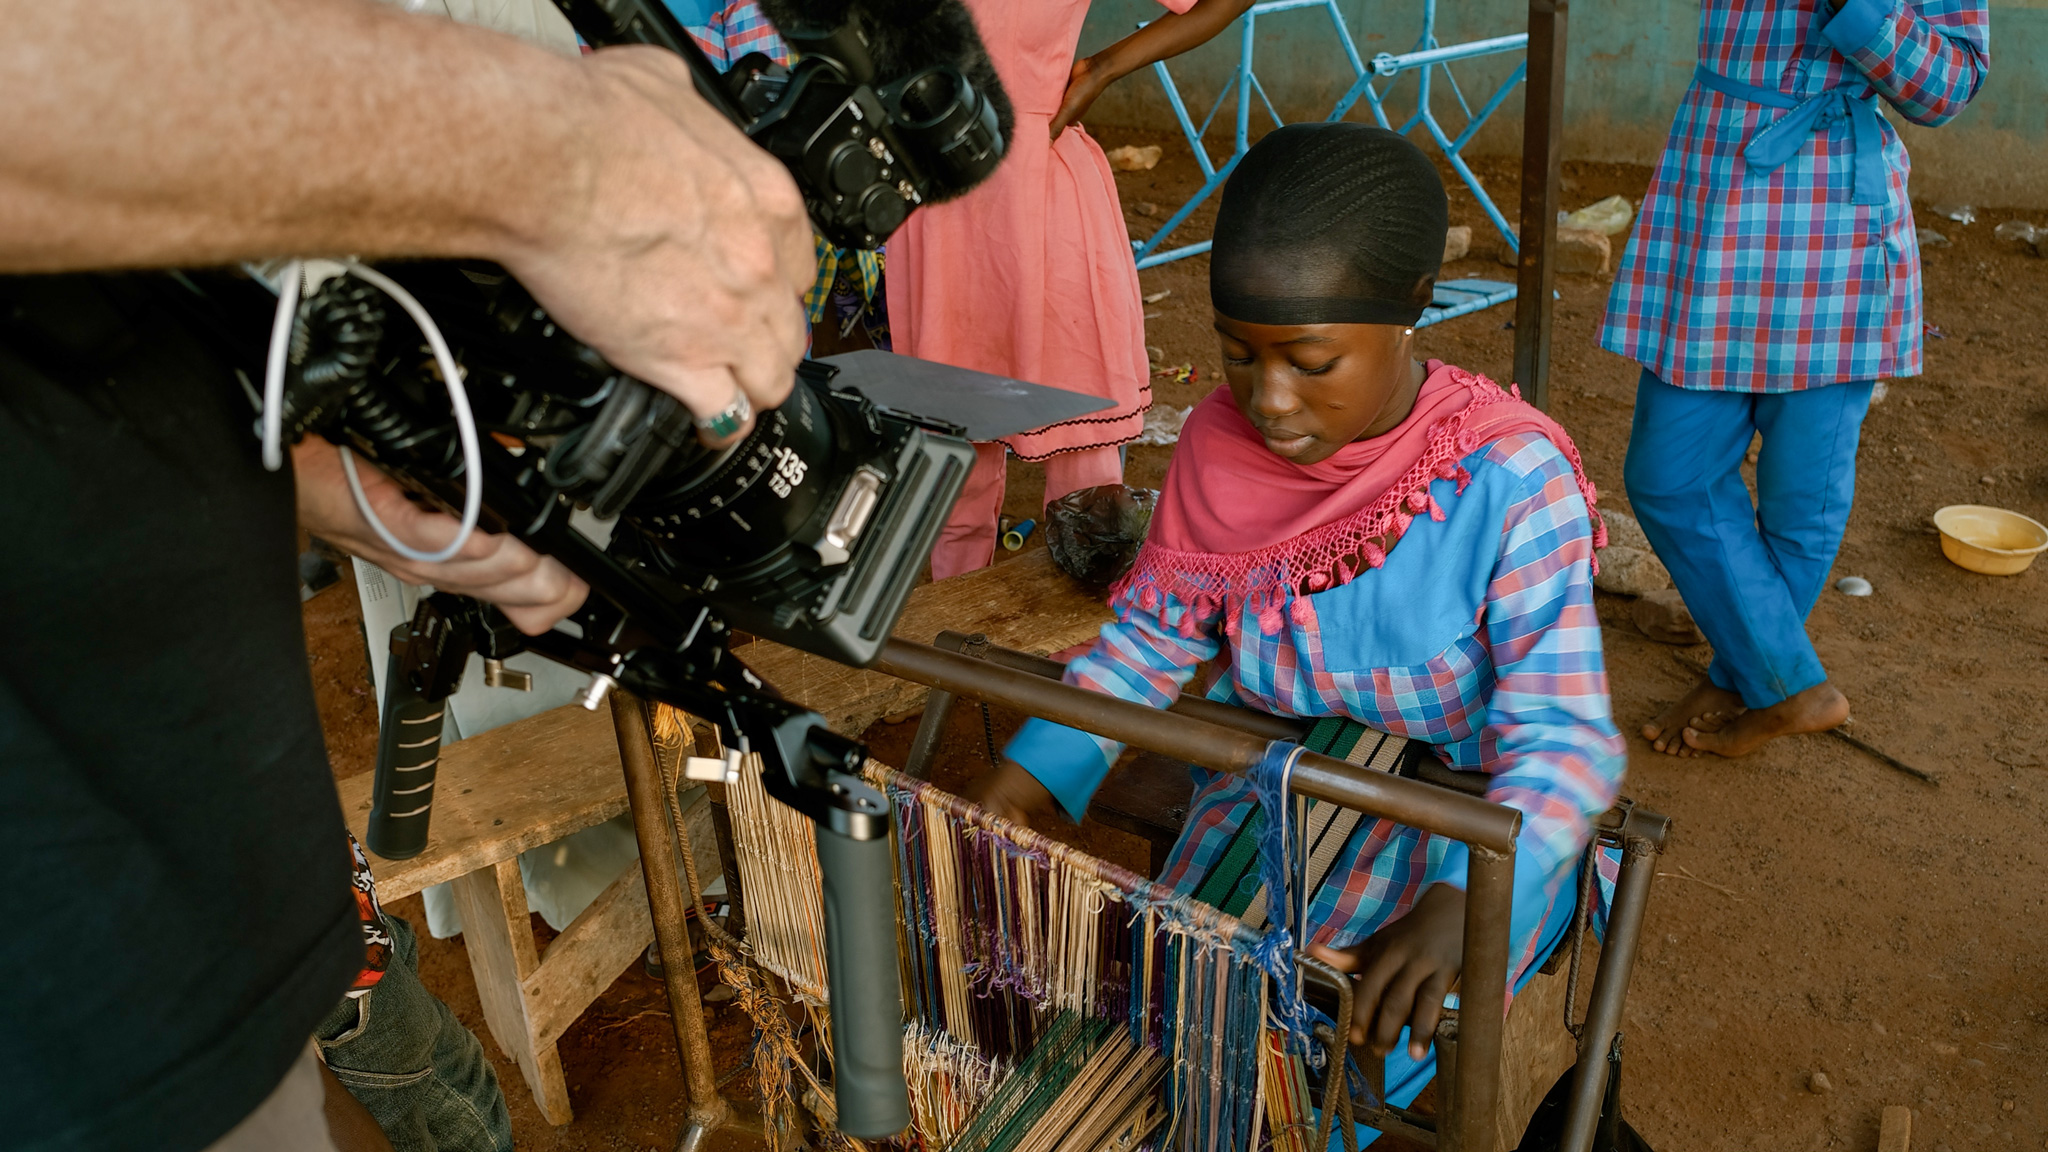
From the vivid rhythms of Accra, our journey carried us northward to the Tamale region, where the air grew dense with heat and time seemed to slow. We crossed wide rivers by canoe, venturing deeper into a land where centuries of tradition breathed through cloth and ceremony in a place where it felt that time had stood still. In a remote village known for its indigo and kente, we were received with quiet caution by the elders. But as trust and mutual reverence took root, the elders opened a sacred portal — revealing a world where each gesture, color, and woven thread felt guided by an unseen, divine hand. It was as if the very landscape had conspired to show us beauty in its purest, most deliberate form.
Into the Trees: Limpopo’s Afro-Montane Forests
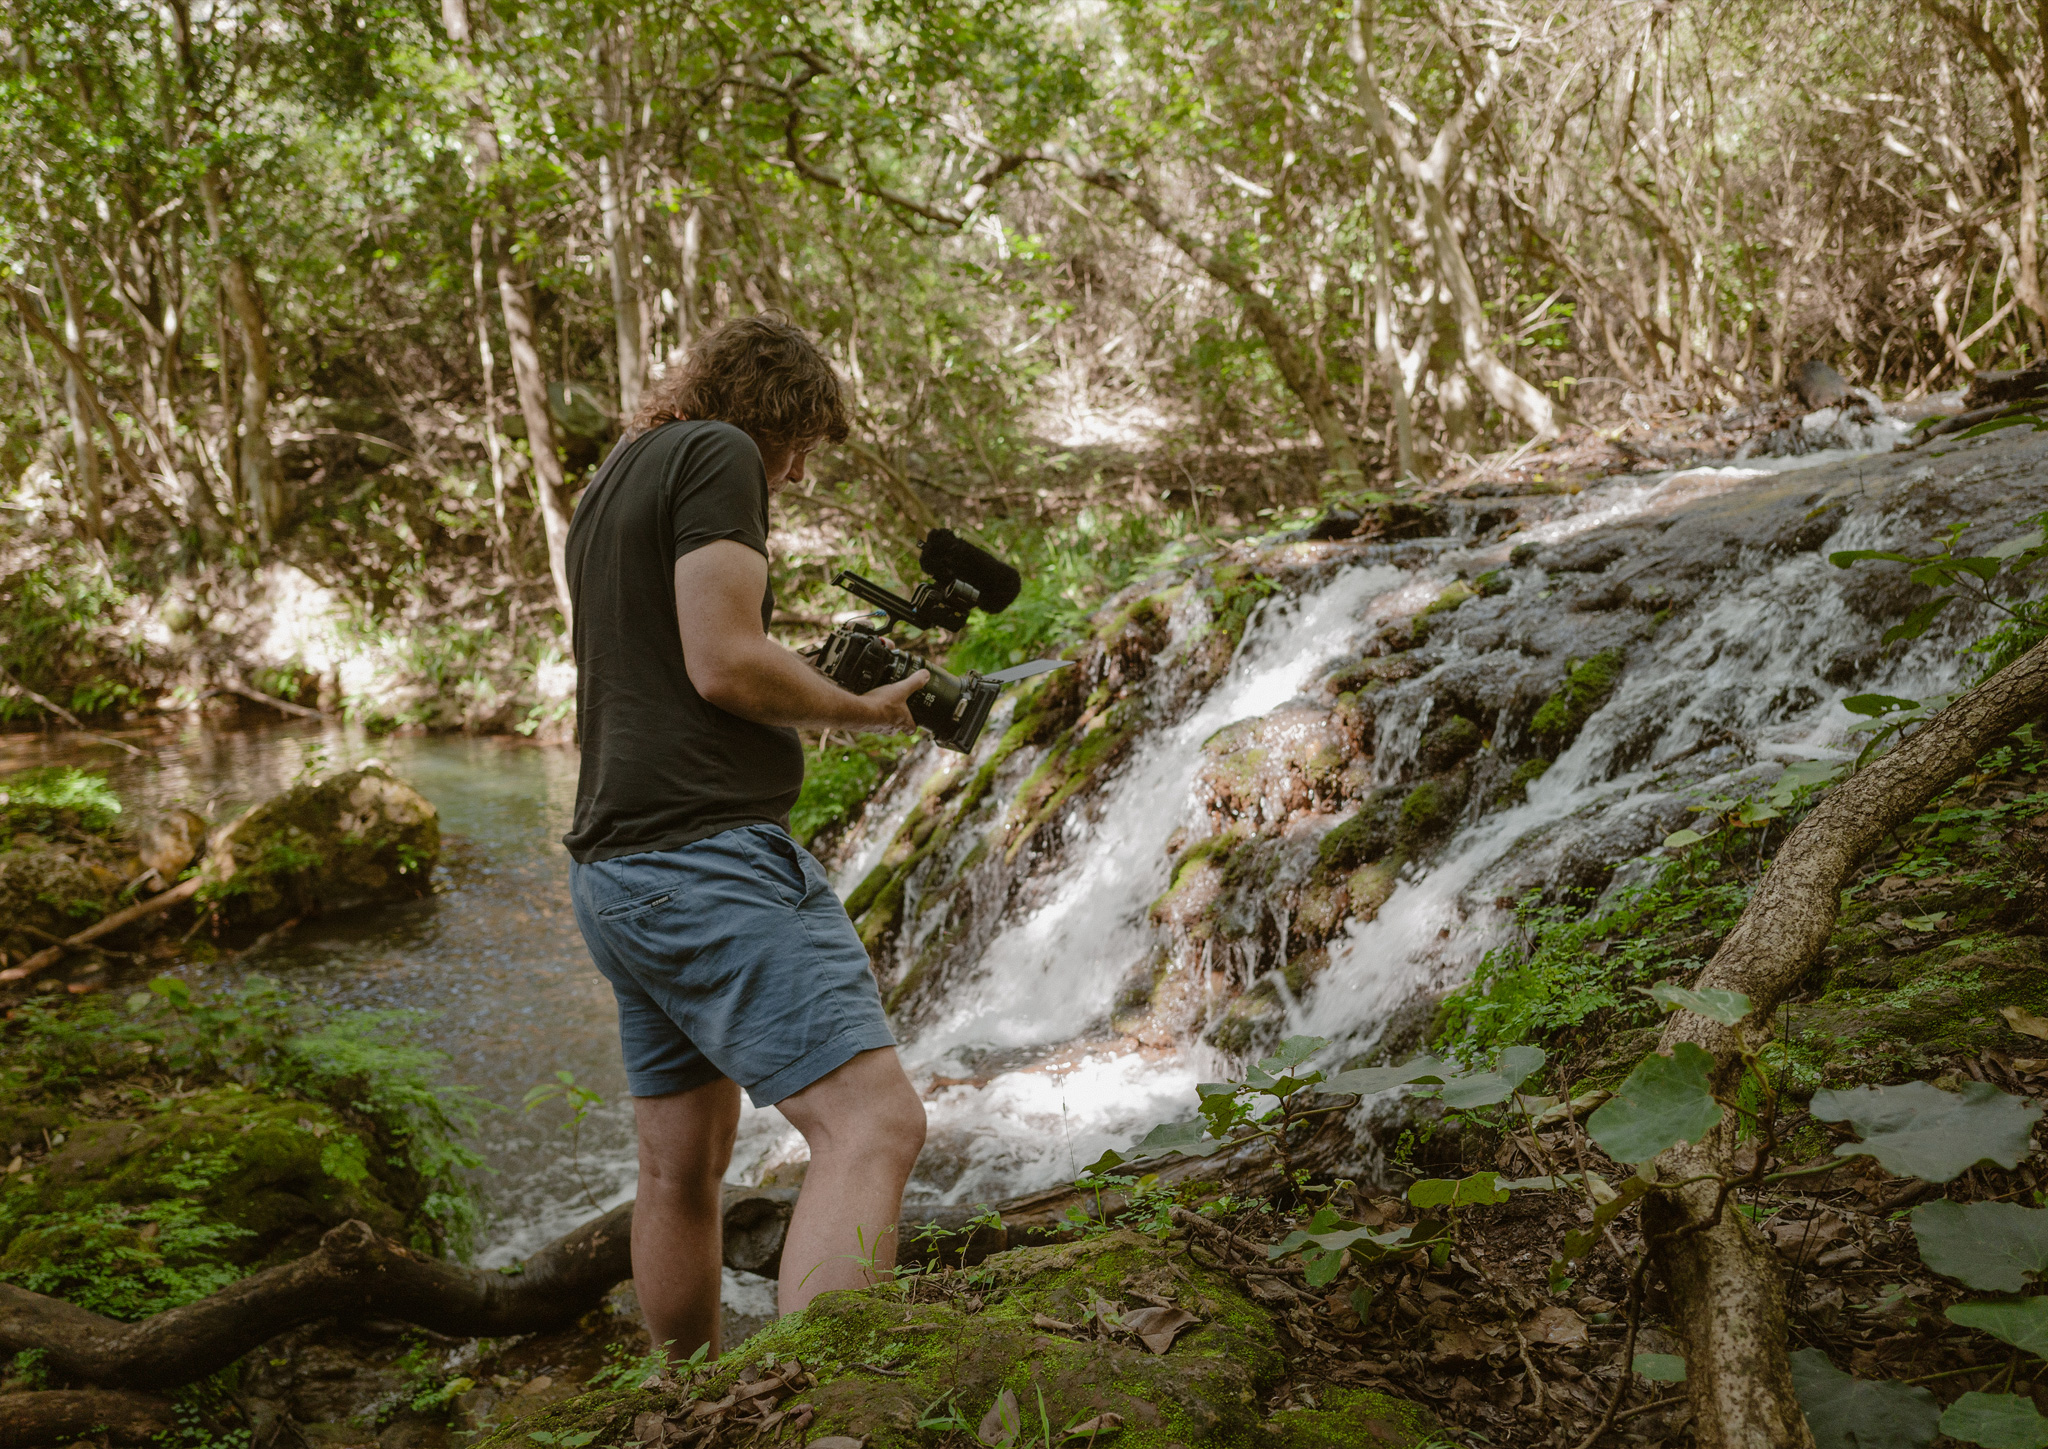
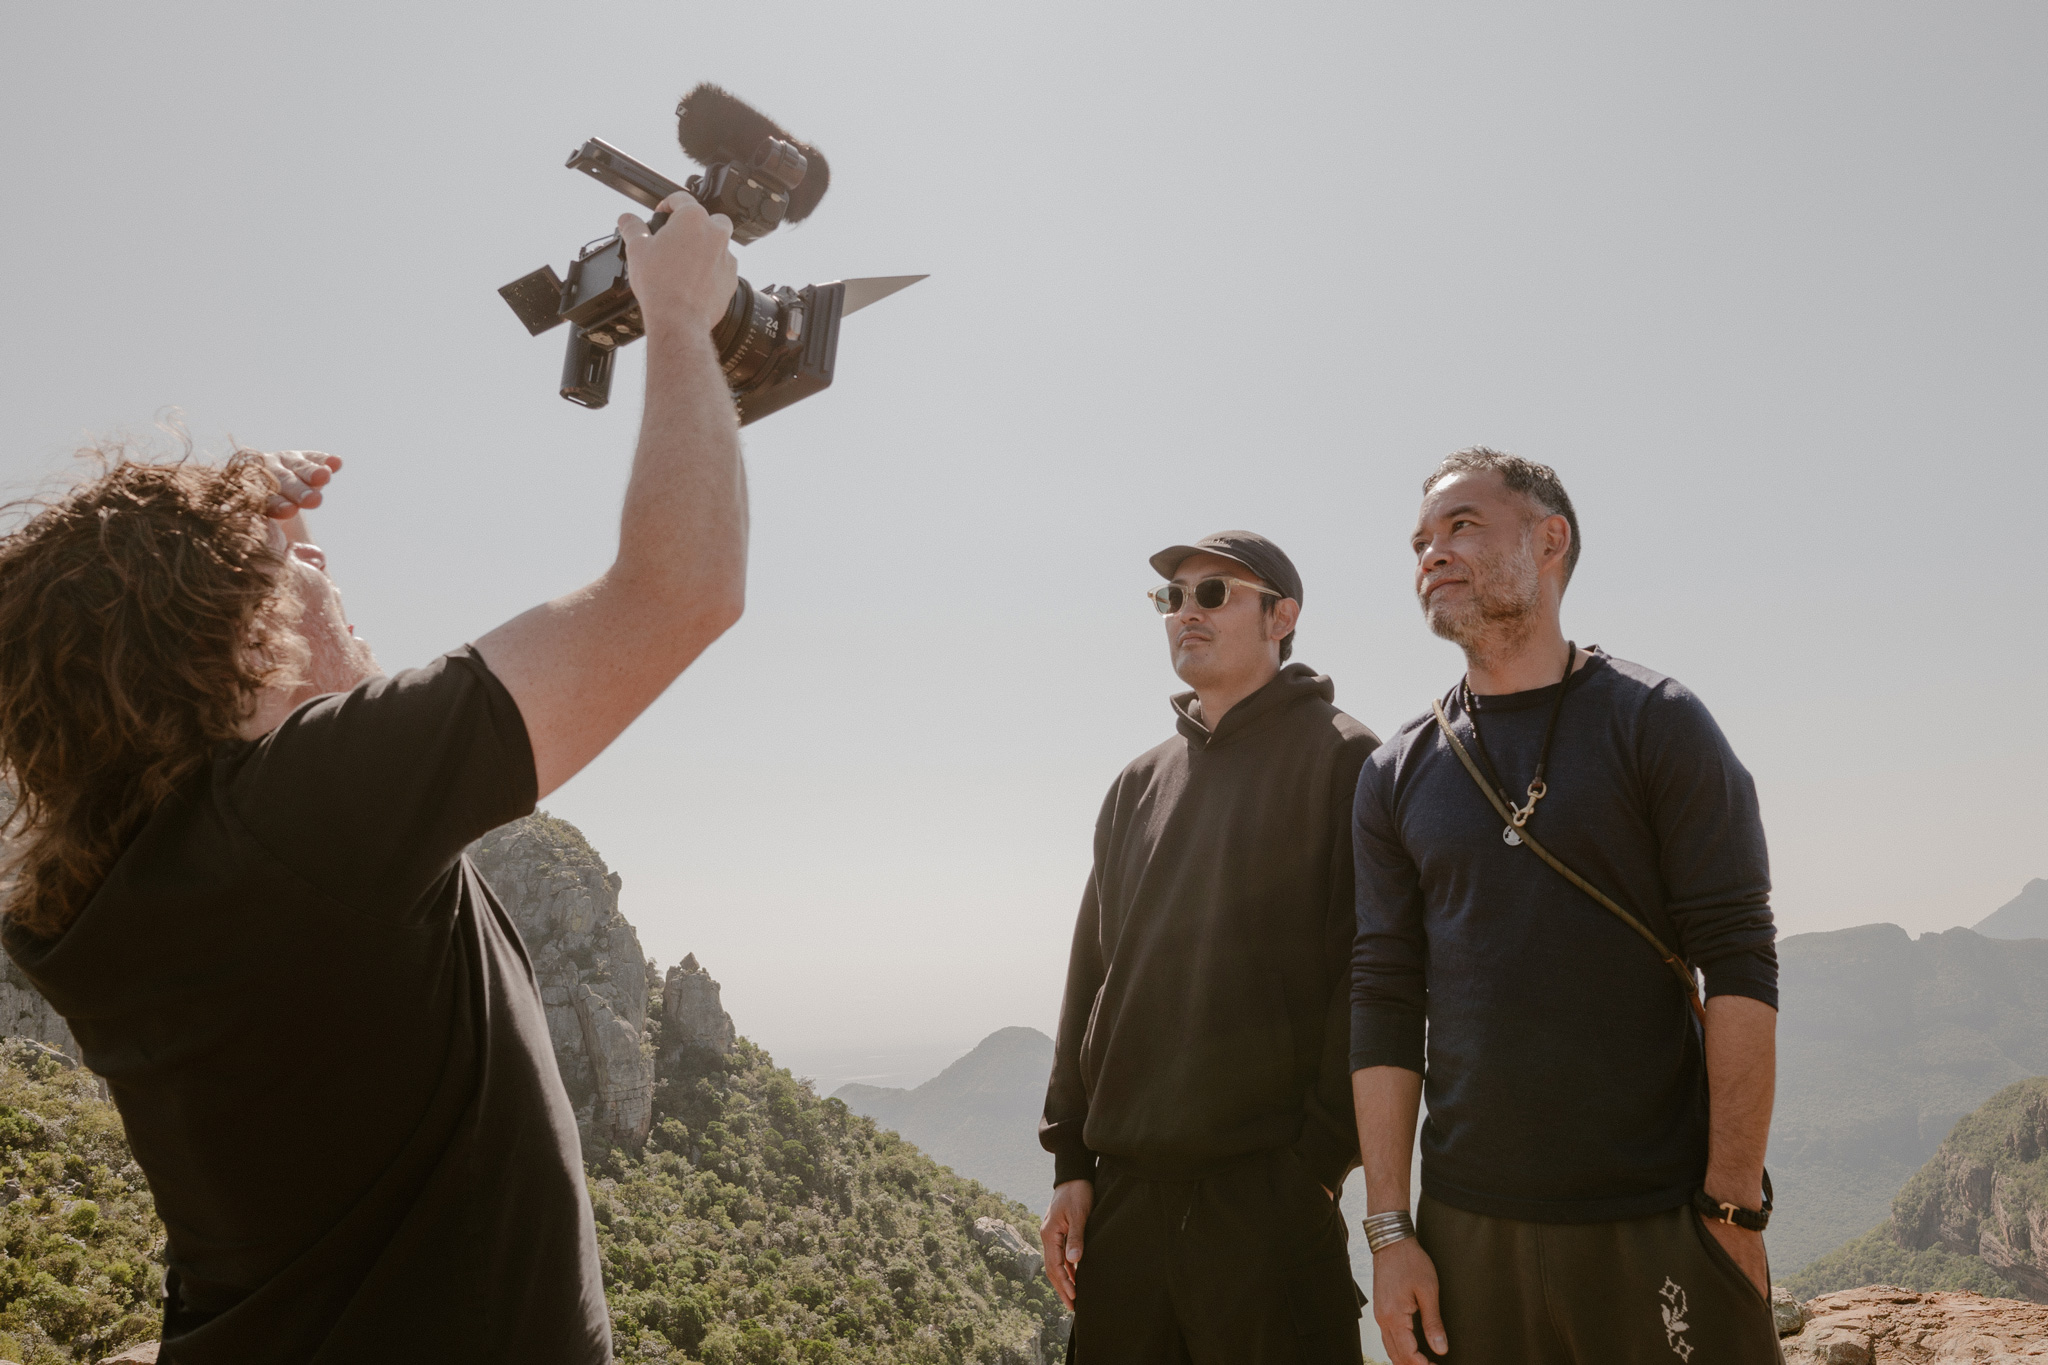
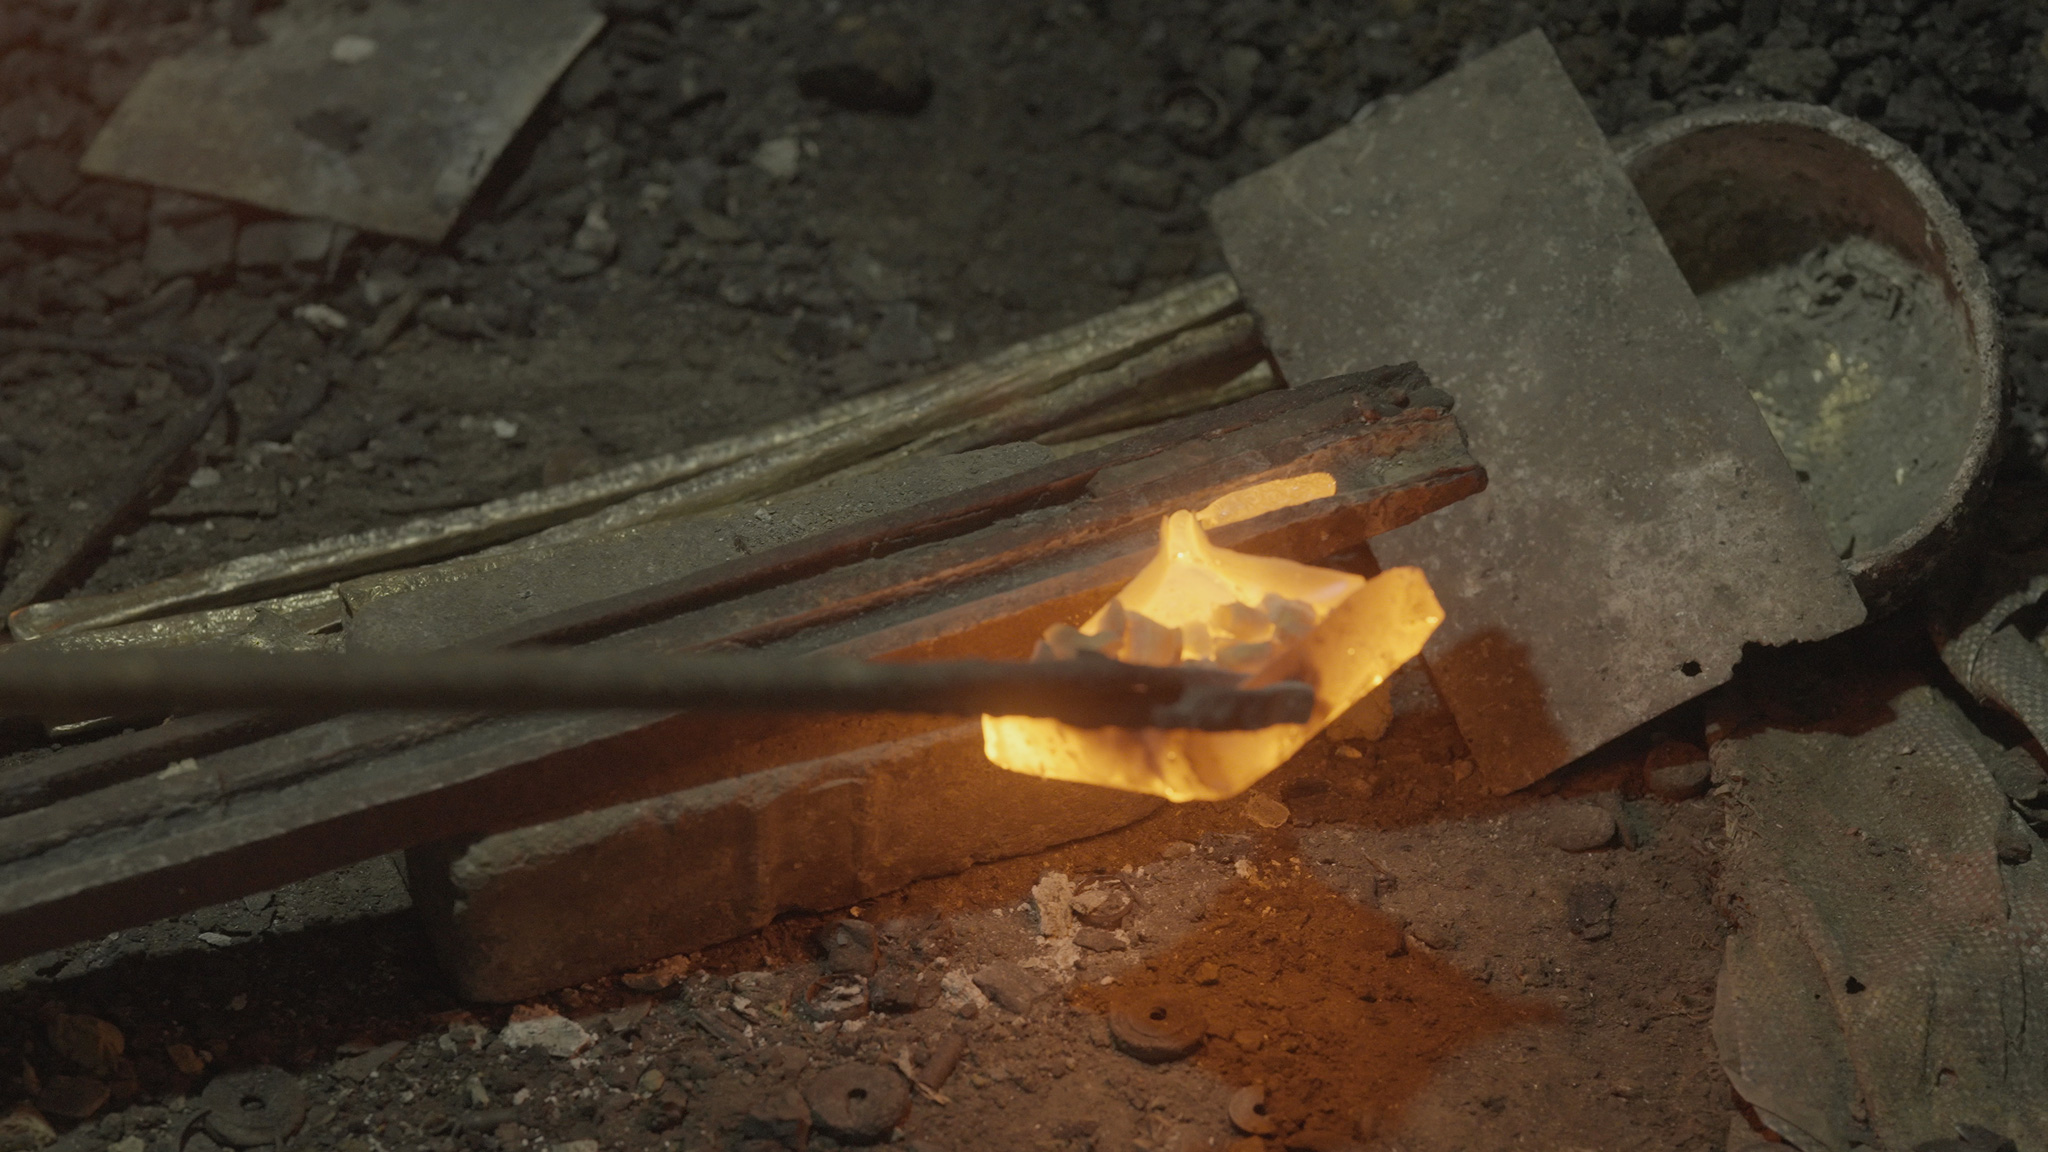
We journeyed south into the haunting beauty of the Limpopo province in South Africa. The rainforests here feel ancient and watchful, while the savannas are bountiful with wildlife. Truly the closest thing you could experience from the visceral natural worlds of The Jungle Book and The Lion King. In the ancient afro-montane rainforest, trees towered like cathedrals and mist curled through the canopy like whispers. We met artisans working in the bush — carvers whose hands moved like dancers, beaders stringing stories into color with heartfelt tales of how the project they formed a part of changed their lives.
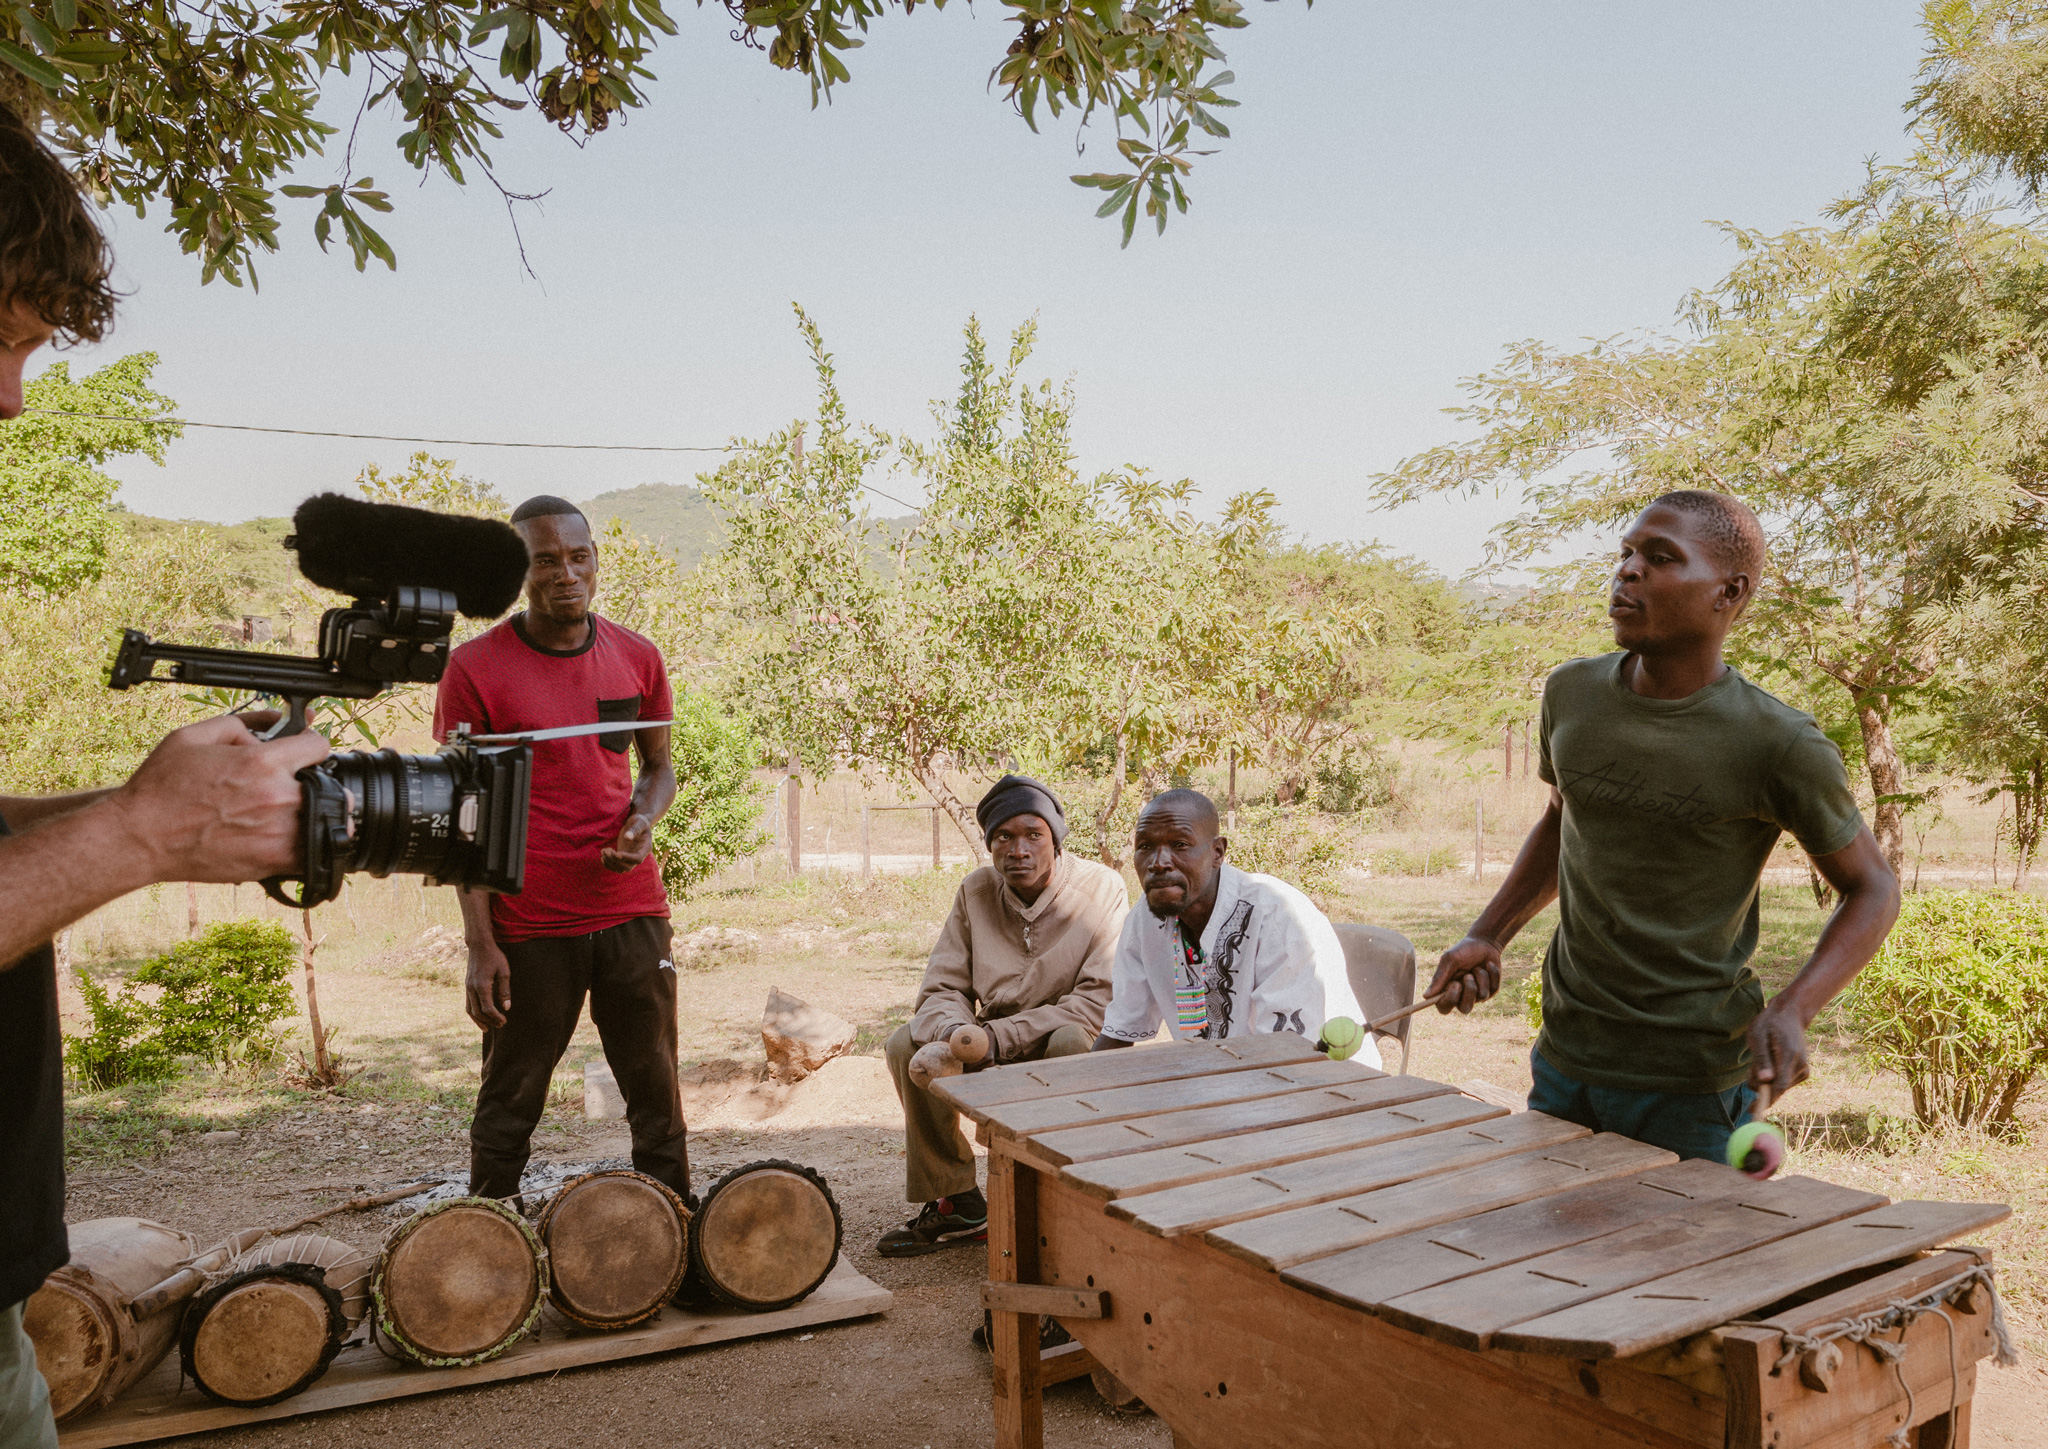
For these intimate moments, I turned to the Sigma Cine 85mm T1.5 FF. It’s the poet of the kit — rendering shallow depth-of-field closeups with such sensitivity that the viewer could feel the texture of wood being carved, the rhythm of a needle pulling thread. It revealed the sacred in the everyday.

Minimal Rig, Maximum Impact
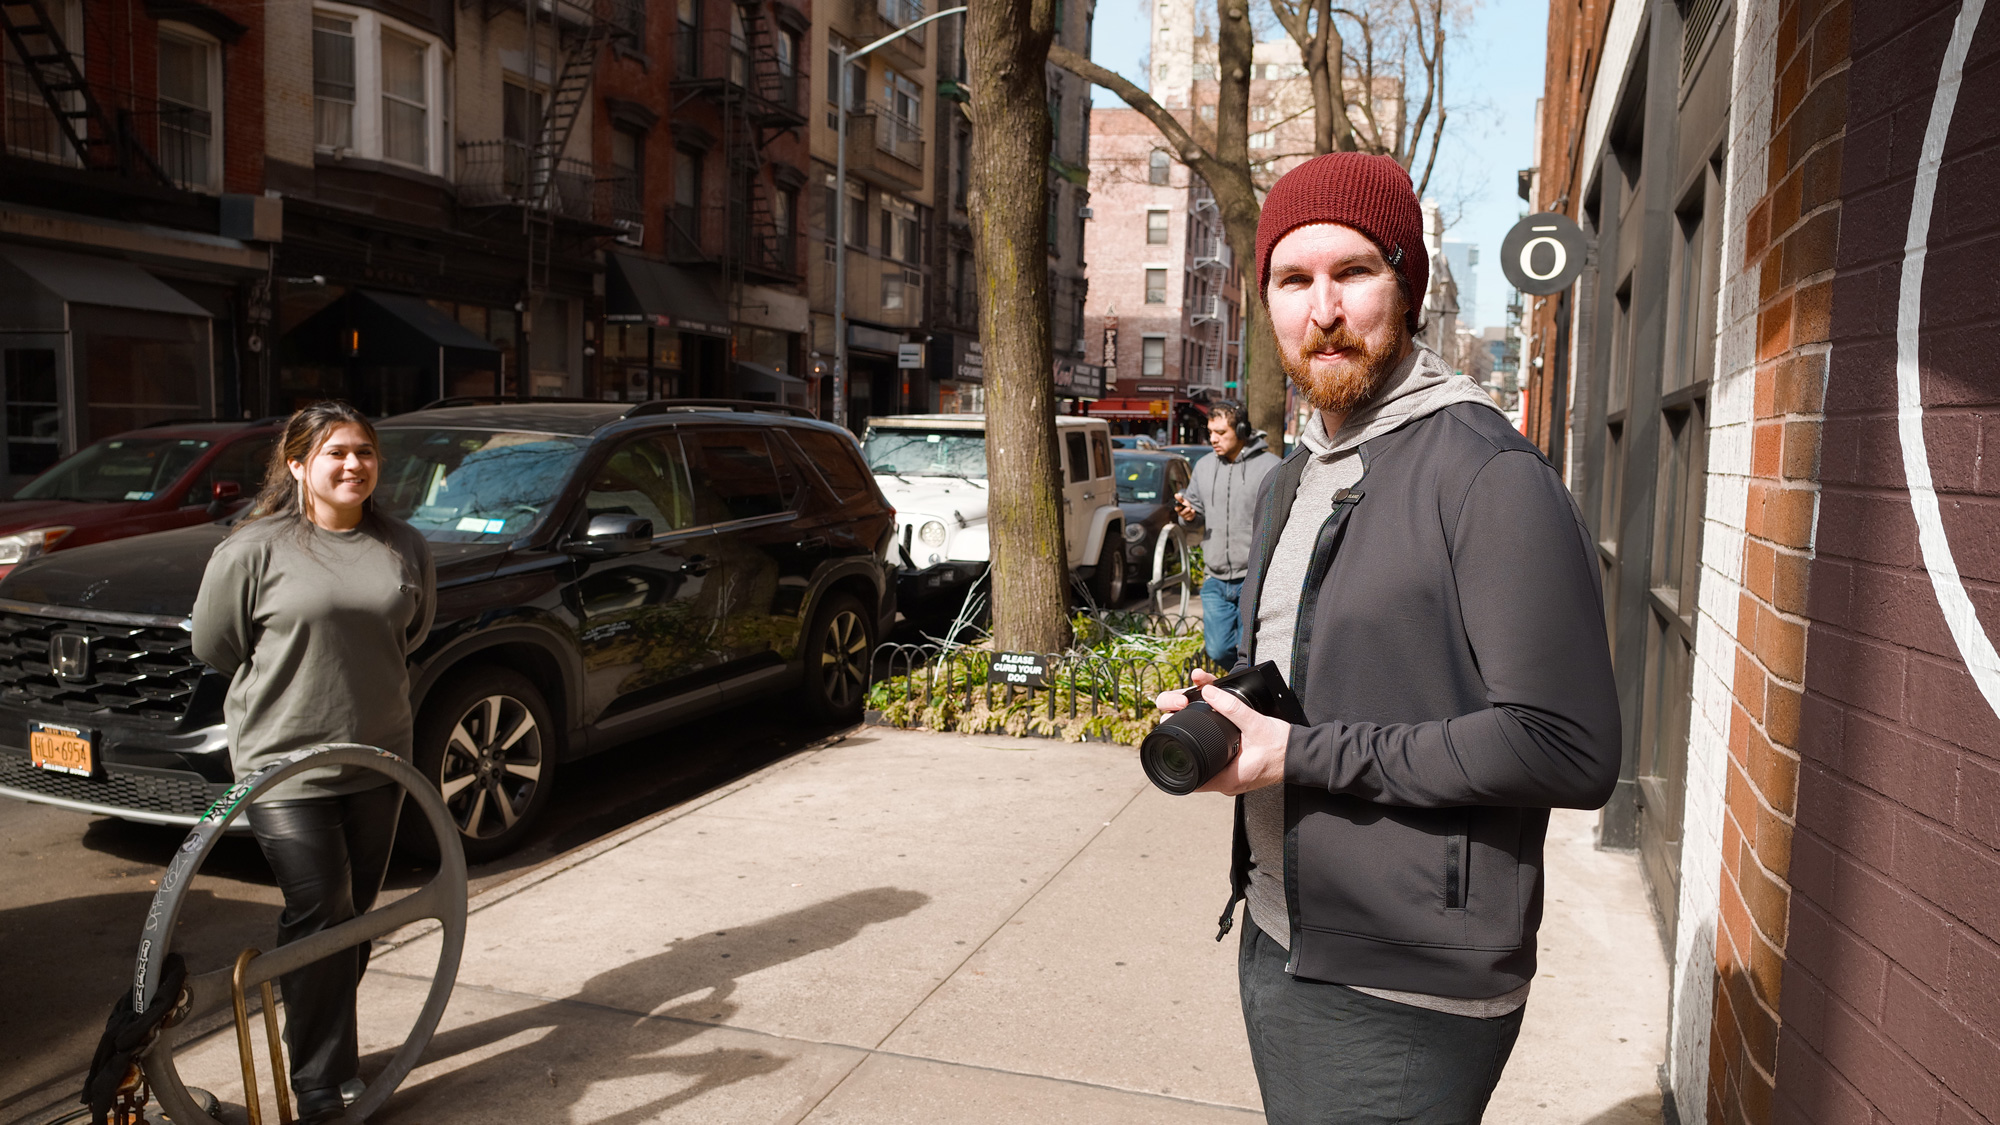
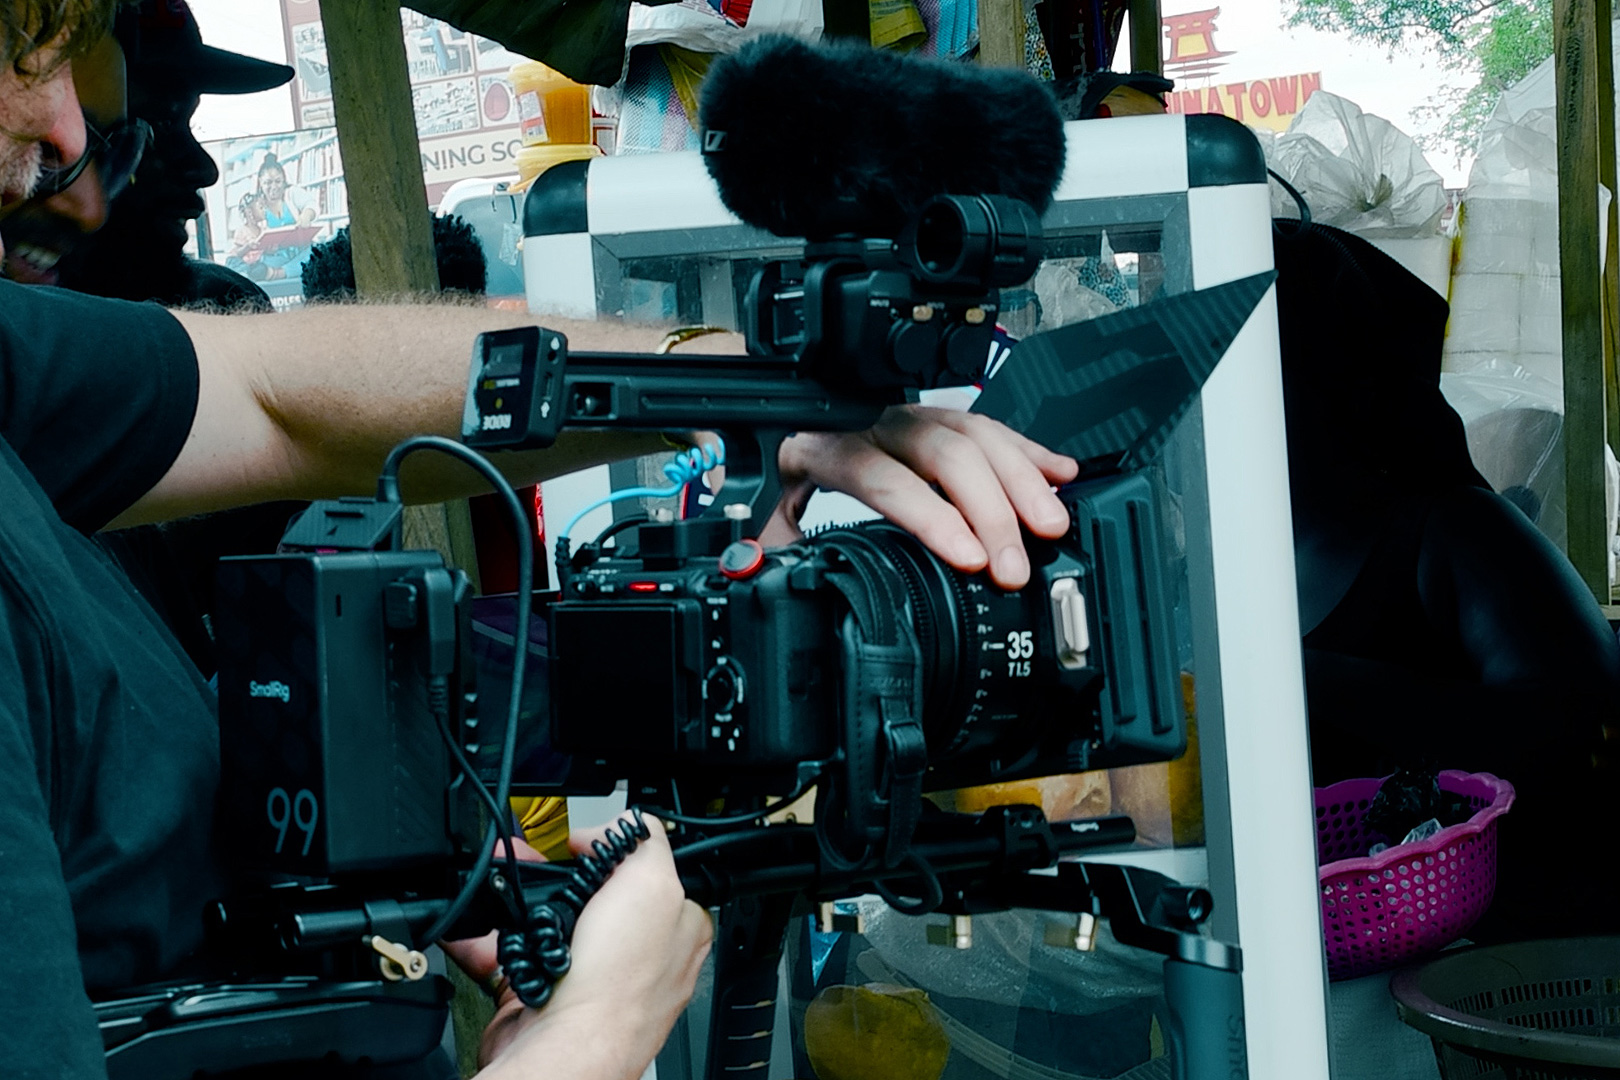
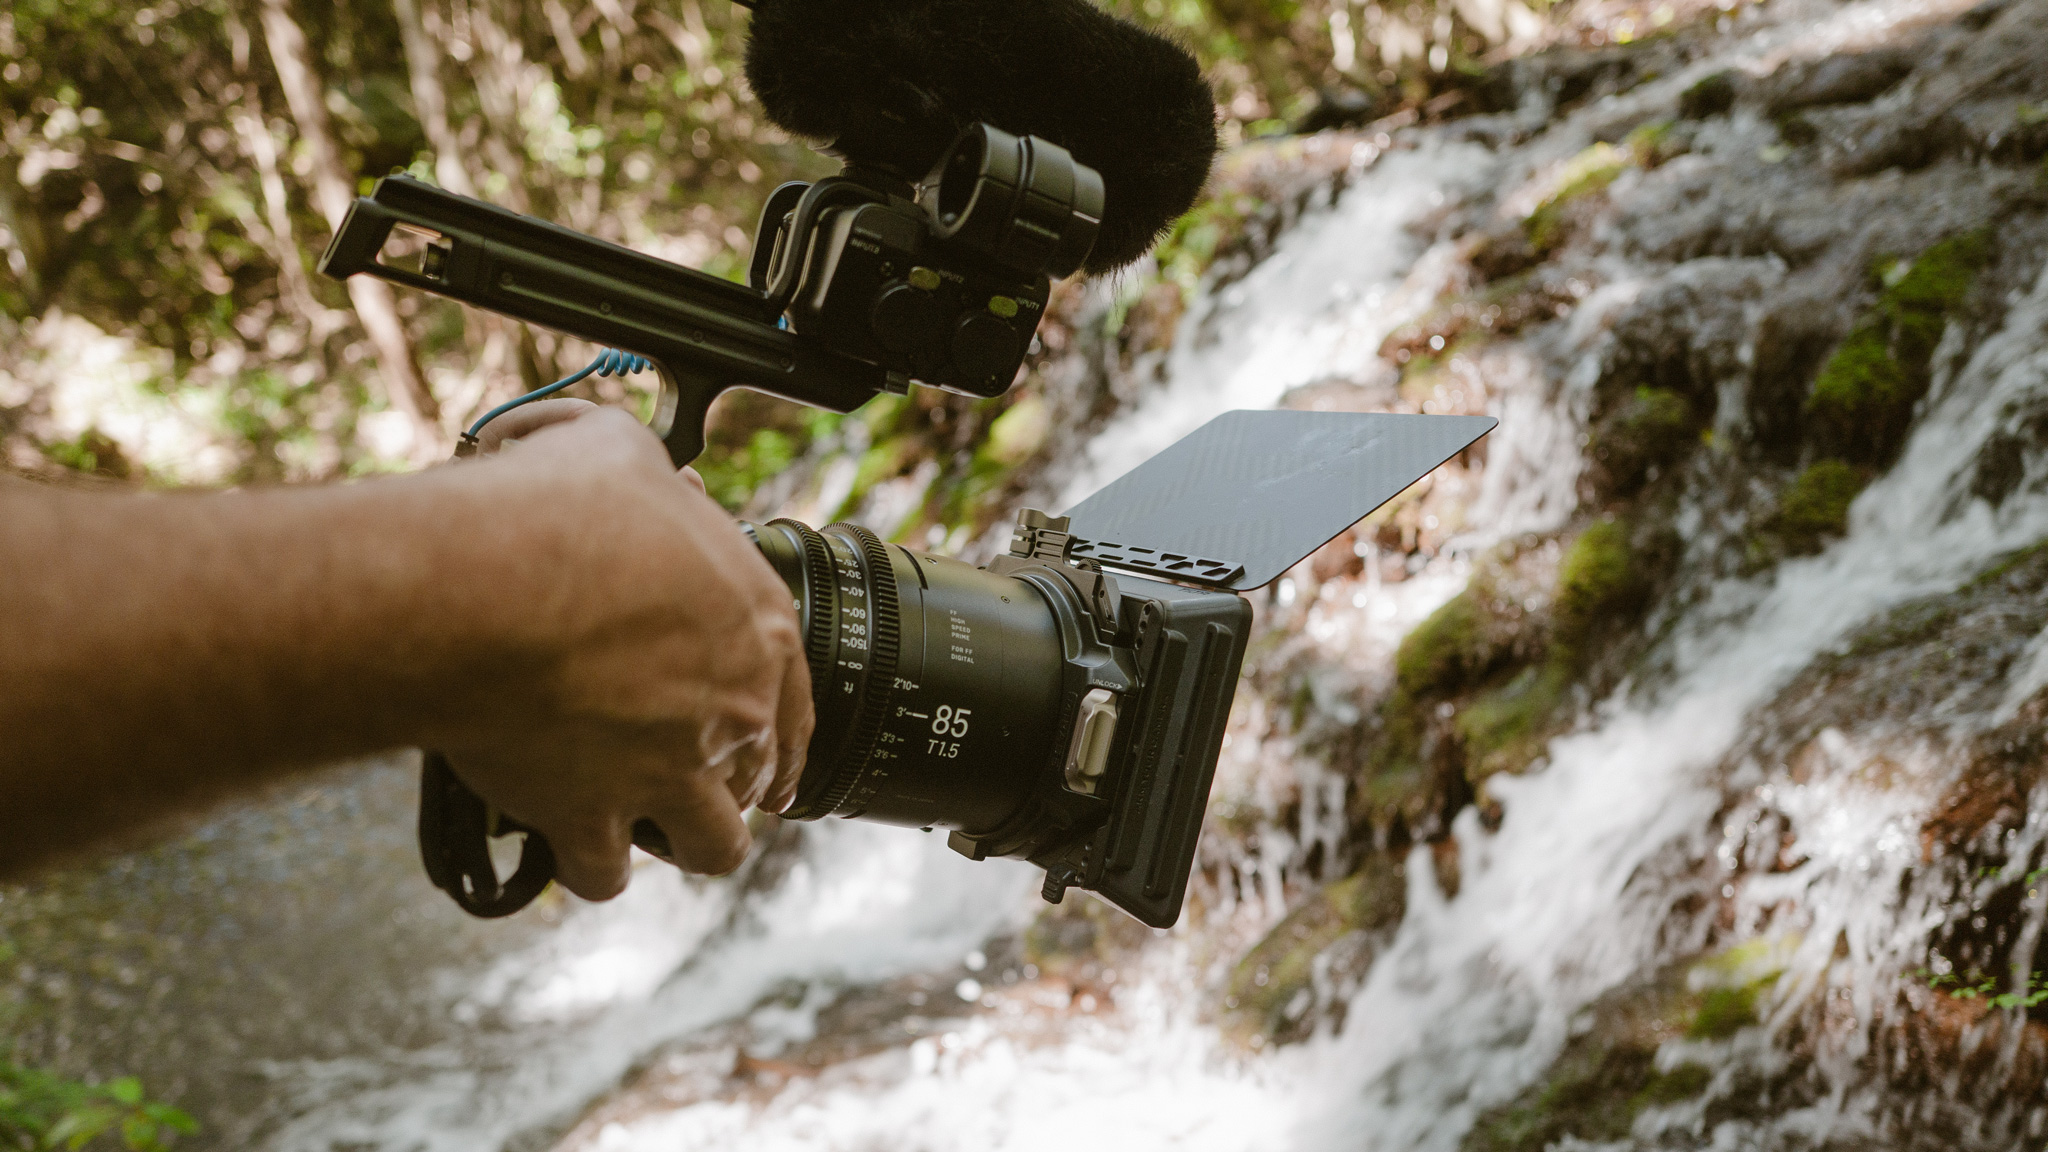
Given the nature of this shoot — remote locations, constant travel, unpredictable conditions — my rig had to be agile. I ran with a skeleton crew and no focus puller, which meant everything had to be hand-operated. The Sigma Cine High Speed Prime lenses, with their robust build and smooth, long barrel rotation, were ideal. Pulling focus manually felt less like a compromise and more like returning to the purest form of filmmaking — intuitive, reactive, human.
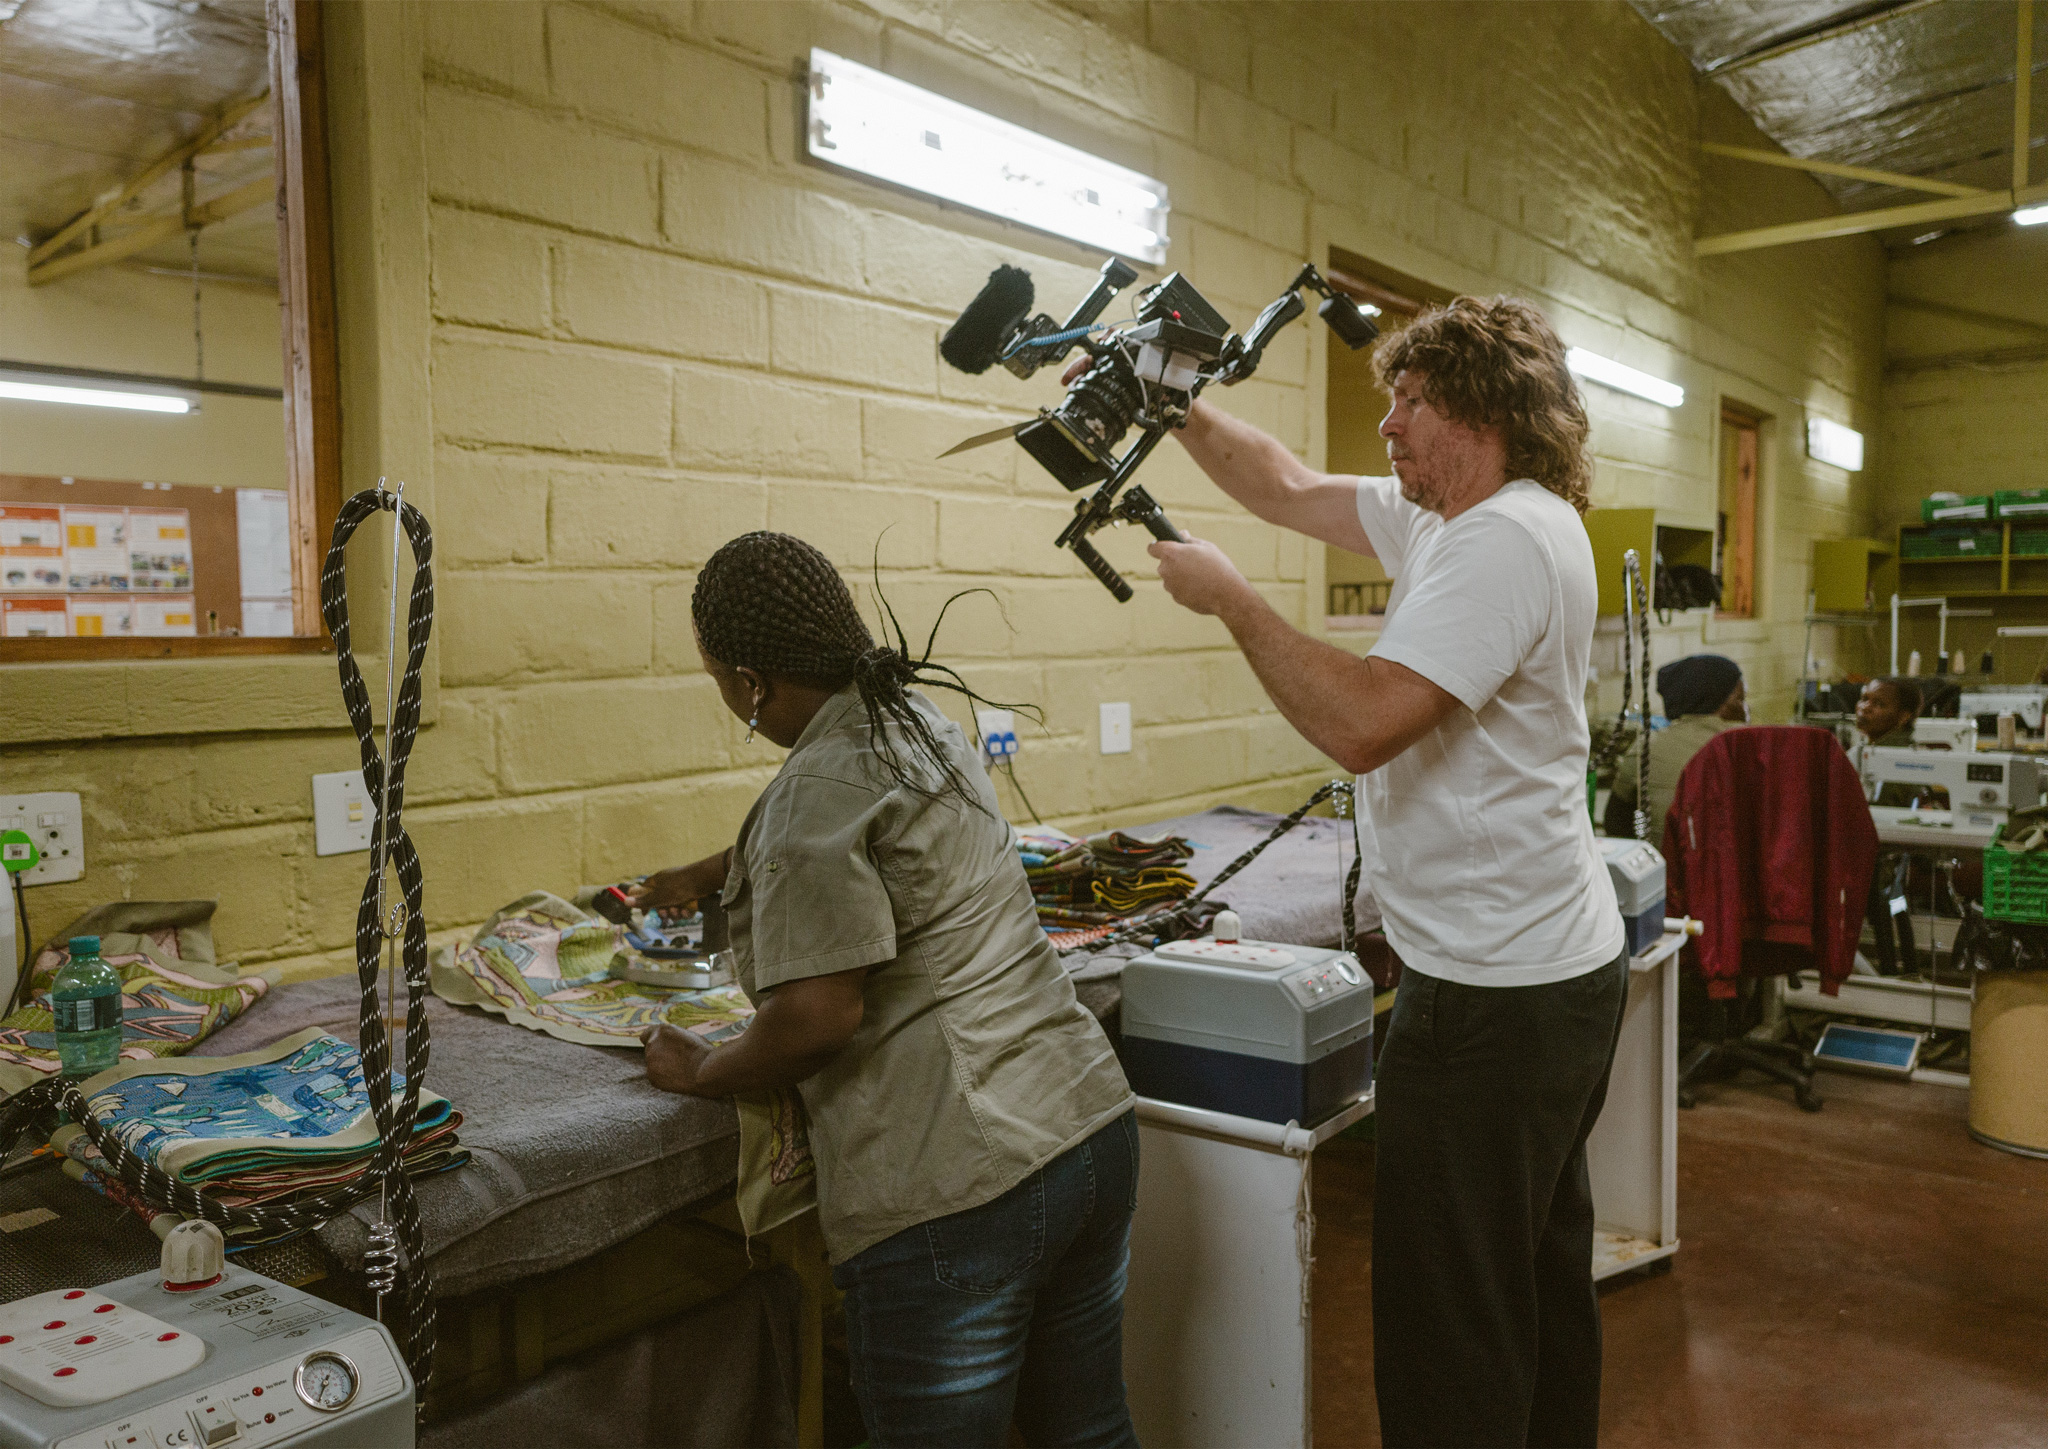
I considered using the Sigma Cine Classic series for their vintage character, but in the end, opted for diffusion filters to get the soft glow I wanted. The T1.5 and T2 primes, with their lighter build and compact size, were the real heroes — easy to pack into a backpack and carry up mountains, yet still delivering uncompromised cinematic quality.
These lenses braved extreme heat, stifling humidity, dust storms, and even sudden rainforest downpours. They never flinched. And that’s the kind of reliability you need when your story demands that you move — fast, light, and with reverence.
Tools as Philosophy
There’s something deeply philosophical about limiting yourself to a few tools. It forces you to think, to adapt, to find poetry in constraints. Each focal length became a way of seeing — a relationship with the environment and with the people we met.
In our search for artisans, we found not just collaborators, but storytellers in their own right. Carvers, blacksmiths, weavers, embroiderers — their craft is their lens on the world. Through Sigma’s High Speed FF Cine Primes, I hoped to do justice to the depth and dignity of their work.

In the end, this journey wasn’t just about creating content — it was about connection, legacy, and purpose. The Inoue Brothers’ commitment to ethical fashion and social design aligned with a deeper narrative we were there to capture. The Sigma Cine High Speed Prime lenses didn’t just help tell this story — they became part of the story through Sigma’s own commitment to social impact and the support of craftsmanship in the region of Tohoku, Japan.
If you’re a filmmaker drawn to wild locations, intimate human stories, and visceral visual language, there are few companions as dependable, poetic, and robust as these lenses. Trust your tools. Trust your vision. Prepare meticulously and then succumb to intuition.

Learn more about Sigma Cine
[ad_2]
Source link