برچسب: Beginners

  • An Absolute Beginner’s Guide To Film Photography

    An Absolute Beginner’s Guide To Film Photography


    Film photography has never really gone away. Sure, it’s declined massively since the arrival of digital, however these days increasing numbers of newer photographers are trying their hand at film photography.

    I have written several articles about shooting film here at Light Stalking, yet I have realized that there may well be an entire section of you that know little to nothing about it.

    Many of you will have developed your photographic skills through the digital age, and whilst understanding the existence of film photography may be daunted by trying it out for yourselves. So today I am going to look at the absolute basics. Cameras, films, processing and shooting on film. Let’s get into it by looking at film.
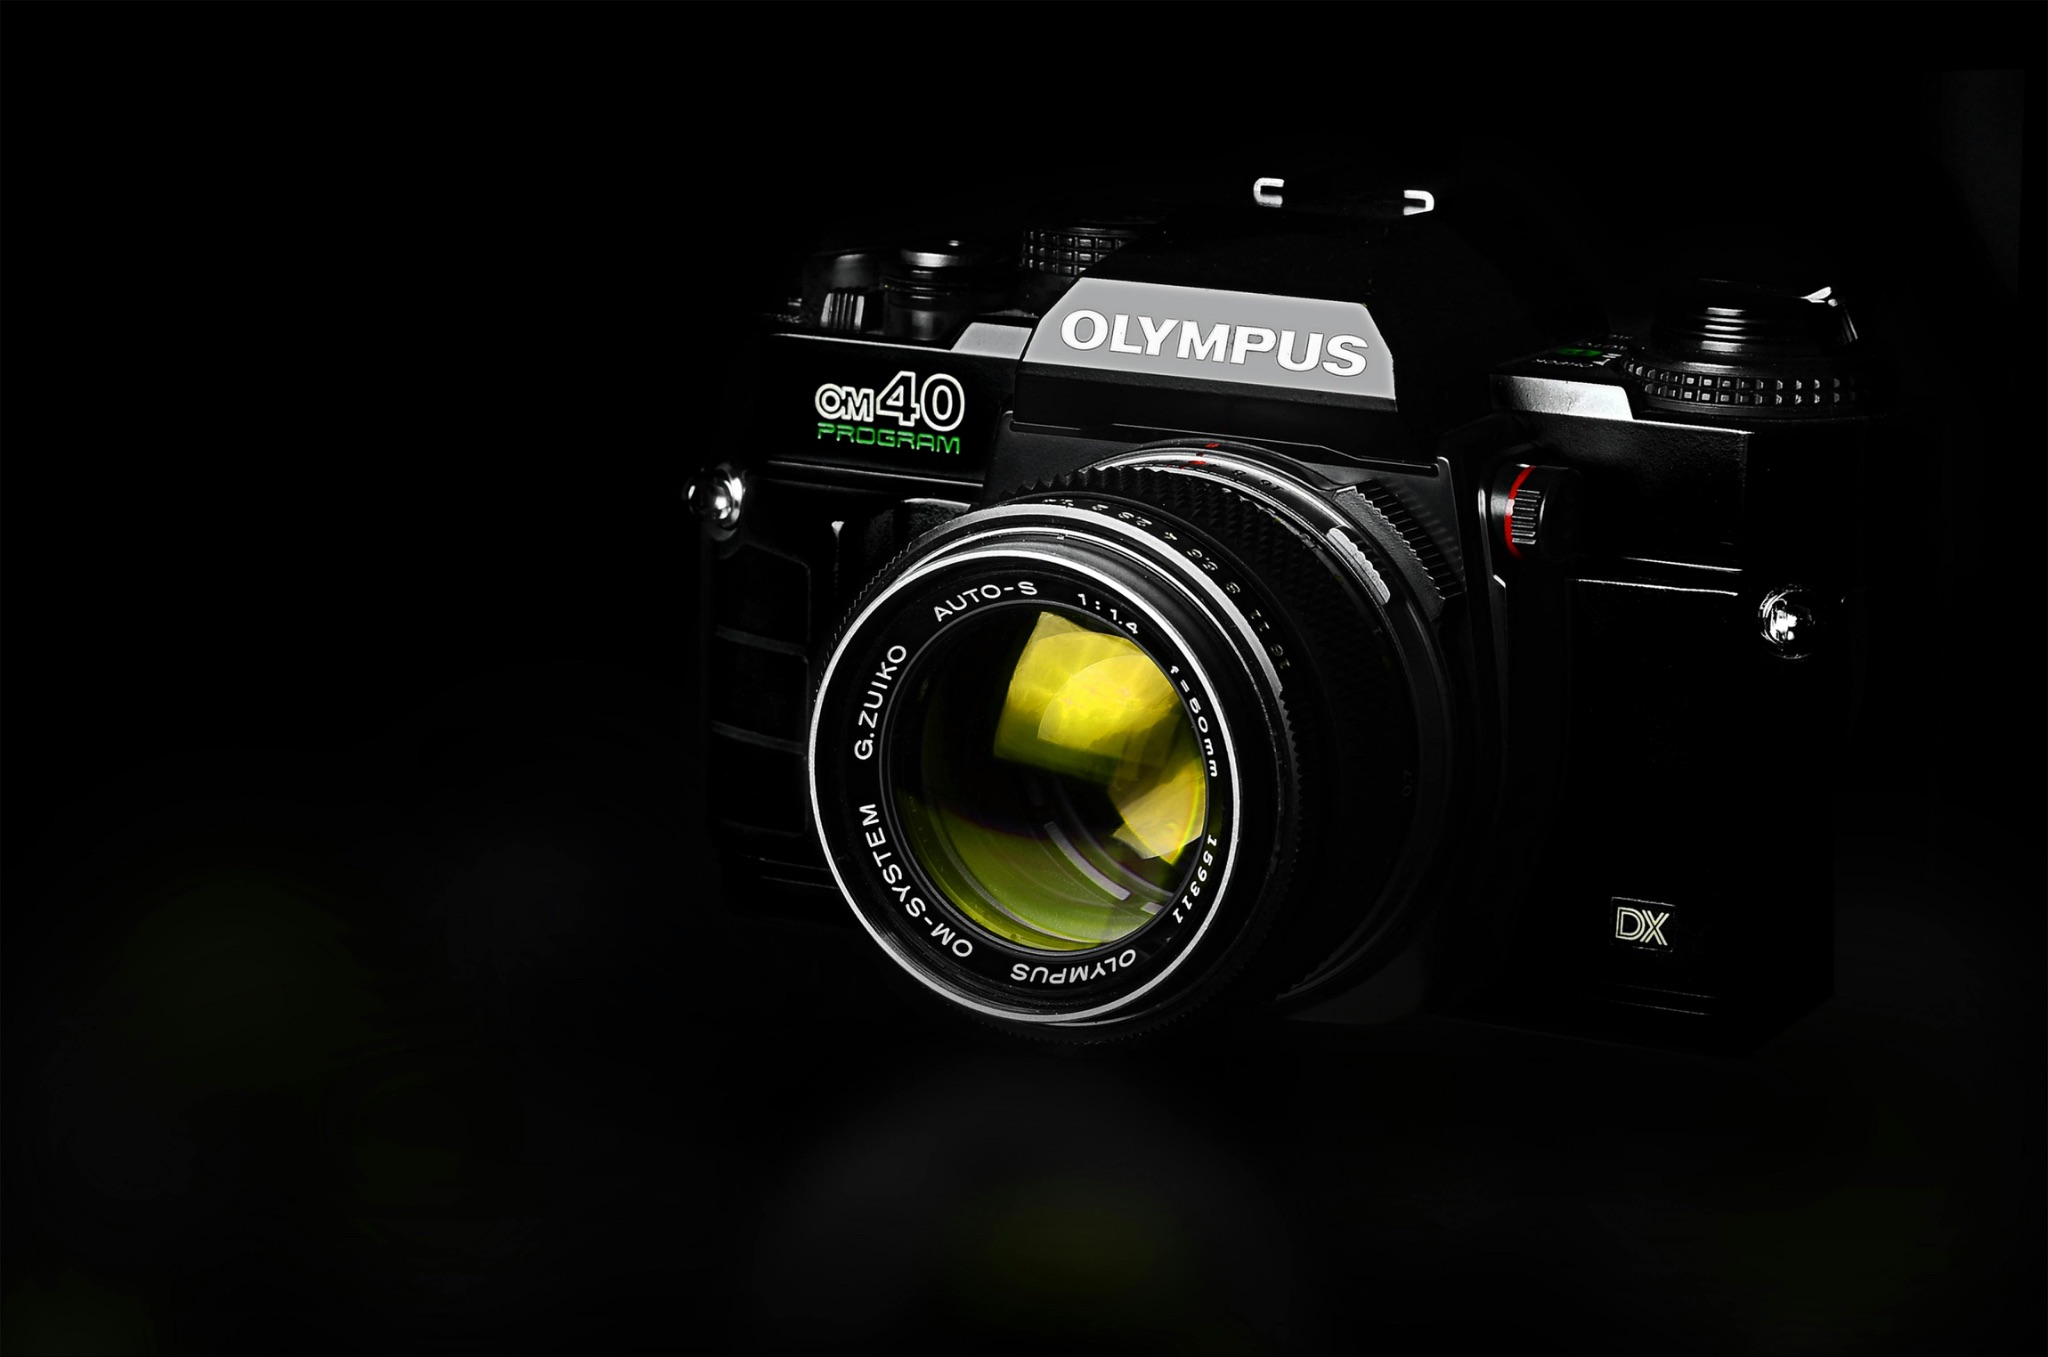
    Beautiful black Olympus OM40 film camera with Zuiko lens
    There are a plethera of film cameras available for all budgets. By Mali Maeder on Pexels

    Photographic Films

    Photographic films can be broken down into three main types. Black and white negative film, colour negative film and colour transparency film also known as slide film.

    Negative films do exactly as the name suggests, they record a negative image to the film. Blacks and whites are reversed, primaries become secondaries on colour negative film. Some of you might have seen processed colour negatives and wondered why they are orange. This is simply to mask the imperfections of the dyes in the film.
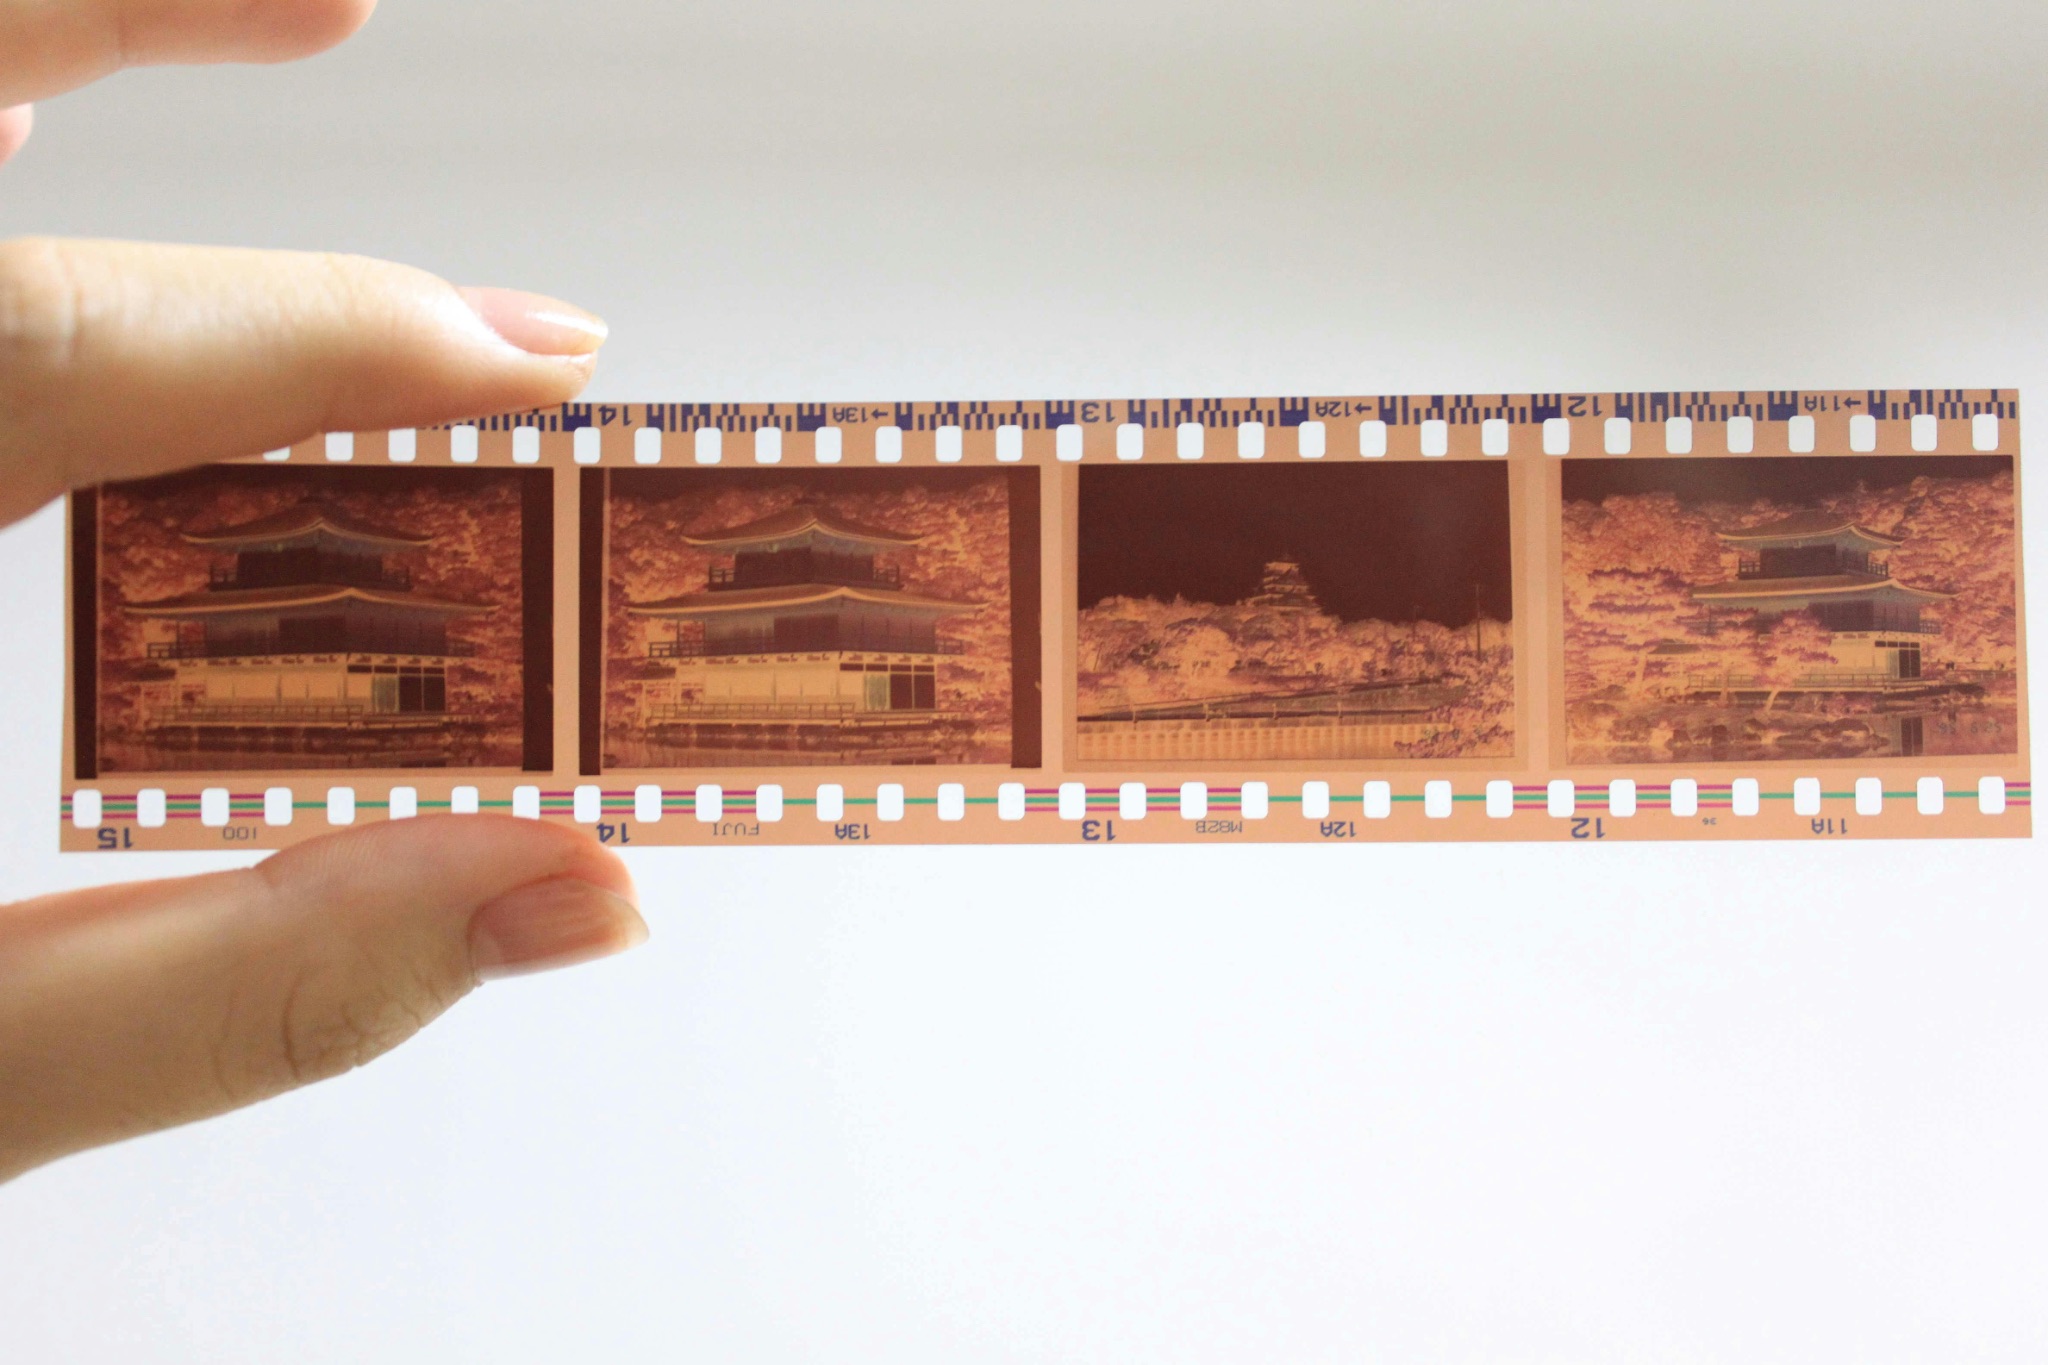
    Hand holding a colour negative strip against a white background
    Colour negative film has an orange base. By Luriko Yamaguchi on Pexels

    Negative films are made so because they are designed for printing. When you expose a negative onto photographic paper, you get a normal, positive image.

    Transparency film is designed to be projected rather than printed, much like you would have watched a film in the cinema before the advent of digital projectors. It is much less tolerant to incorrect exposure than negative films. It used to be able to be printed via an Ilford process called Cibachrome, however that has been discontinued. As far as I am aware, the only way to print transparency films these days is to digitise them.

    What’s also important to note, especially for digital photographers is that the ISO, also known as ASA, is fixed. A film will have a speed rating such as 100, 200 or 400 ISO and the camera must be set to that ISO to shoot. There are ways to change the ISO through the film processing, however that’s not for this basic guide.

    I should note that photographic films and processing are relatively expensive these days compared to the film era. This is a simple supply and demand issue, whilst film is seeing a resurgence, it’s nowhere near large enough to bring prices down. Typically you will pay $8-10 for a roll of 35mm black and white film plus $15-20 for processing and scanning.
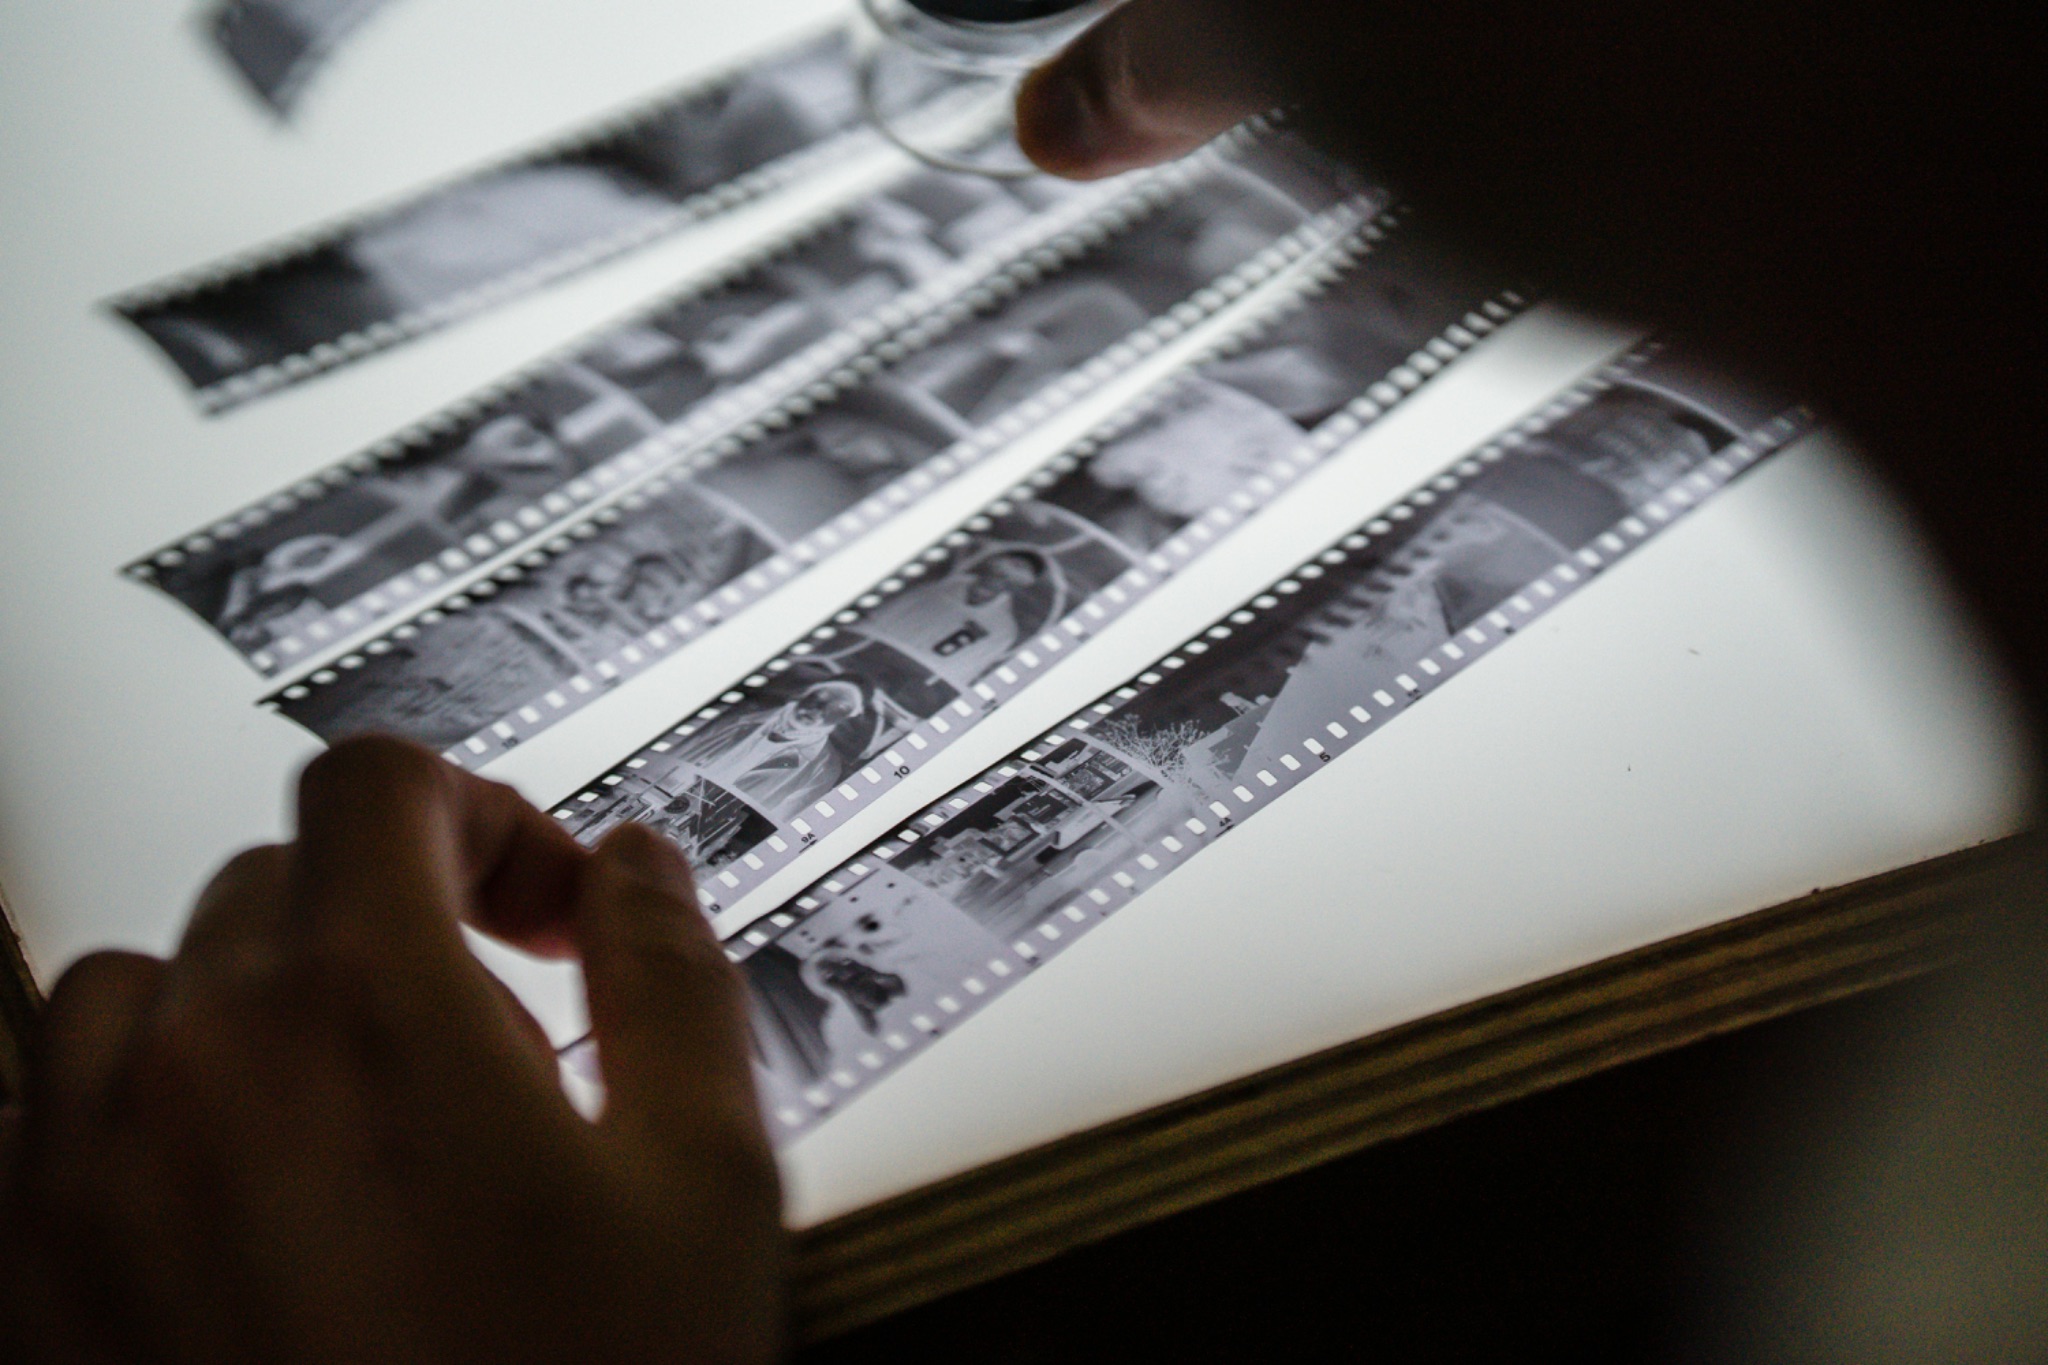
    Strips of black and white film on a lightbox with loupe
    Black and white is the easiest to home process. By Annushka Ahuja on Pexels

    Film Sizes

    As digital photographers you will be aware of different sensor sizes, from the very small ones on our phones to the medium format sensors of Hasselblad and Fuji. Film cameras are very much the same. At the peak of film photography in the 1990s, the smallest commercial film was Disk Film, this was really tiny and as the name suggests, each frame was placed around a disk rather than a roll.

    Next came 110 and 126, before we got to the ubiquitous 35mm. From there we stepped up to 120/220, both the same width of film but 220 being able to take twice the number of exposure. These are commonly known as medium format. Above that we had 5×4 and 8×10 sheet film used in plate/field style cameras.

    Returning to the modern day, 35mm, 120 and sheet films are still made and available, the smaller films are now obsolete.
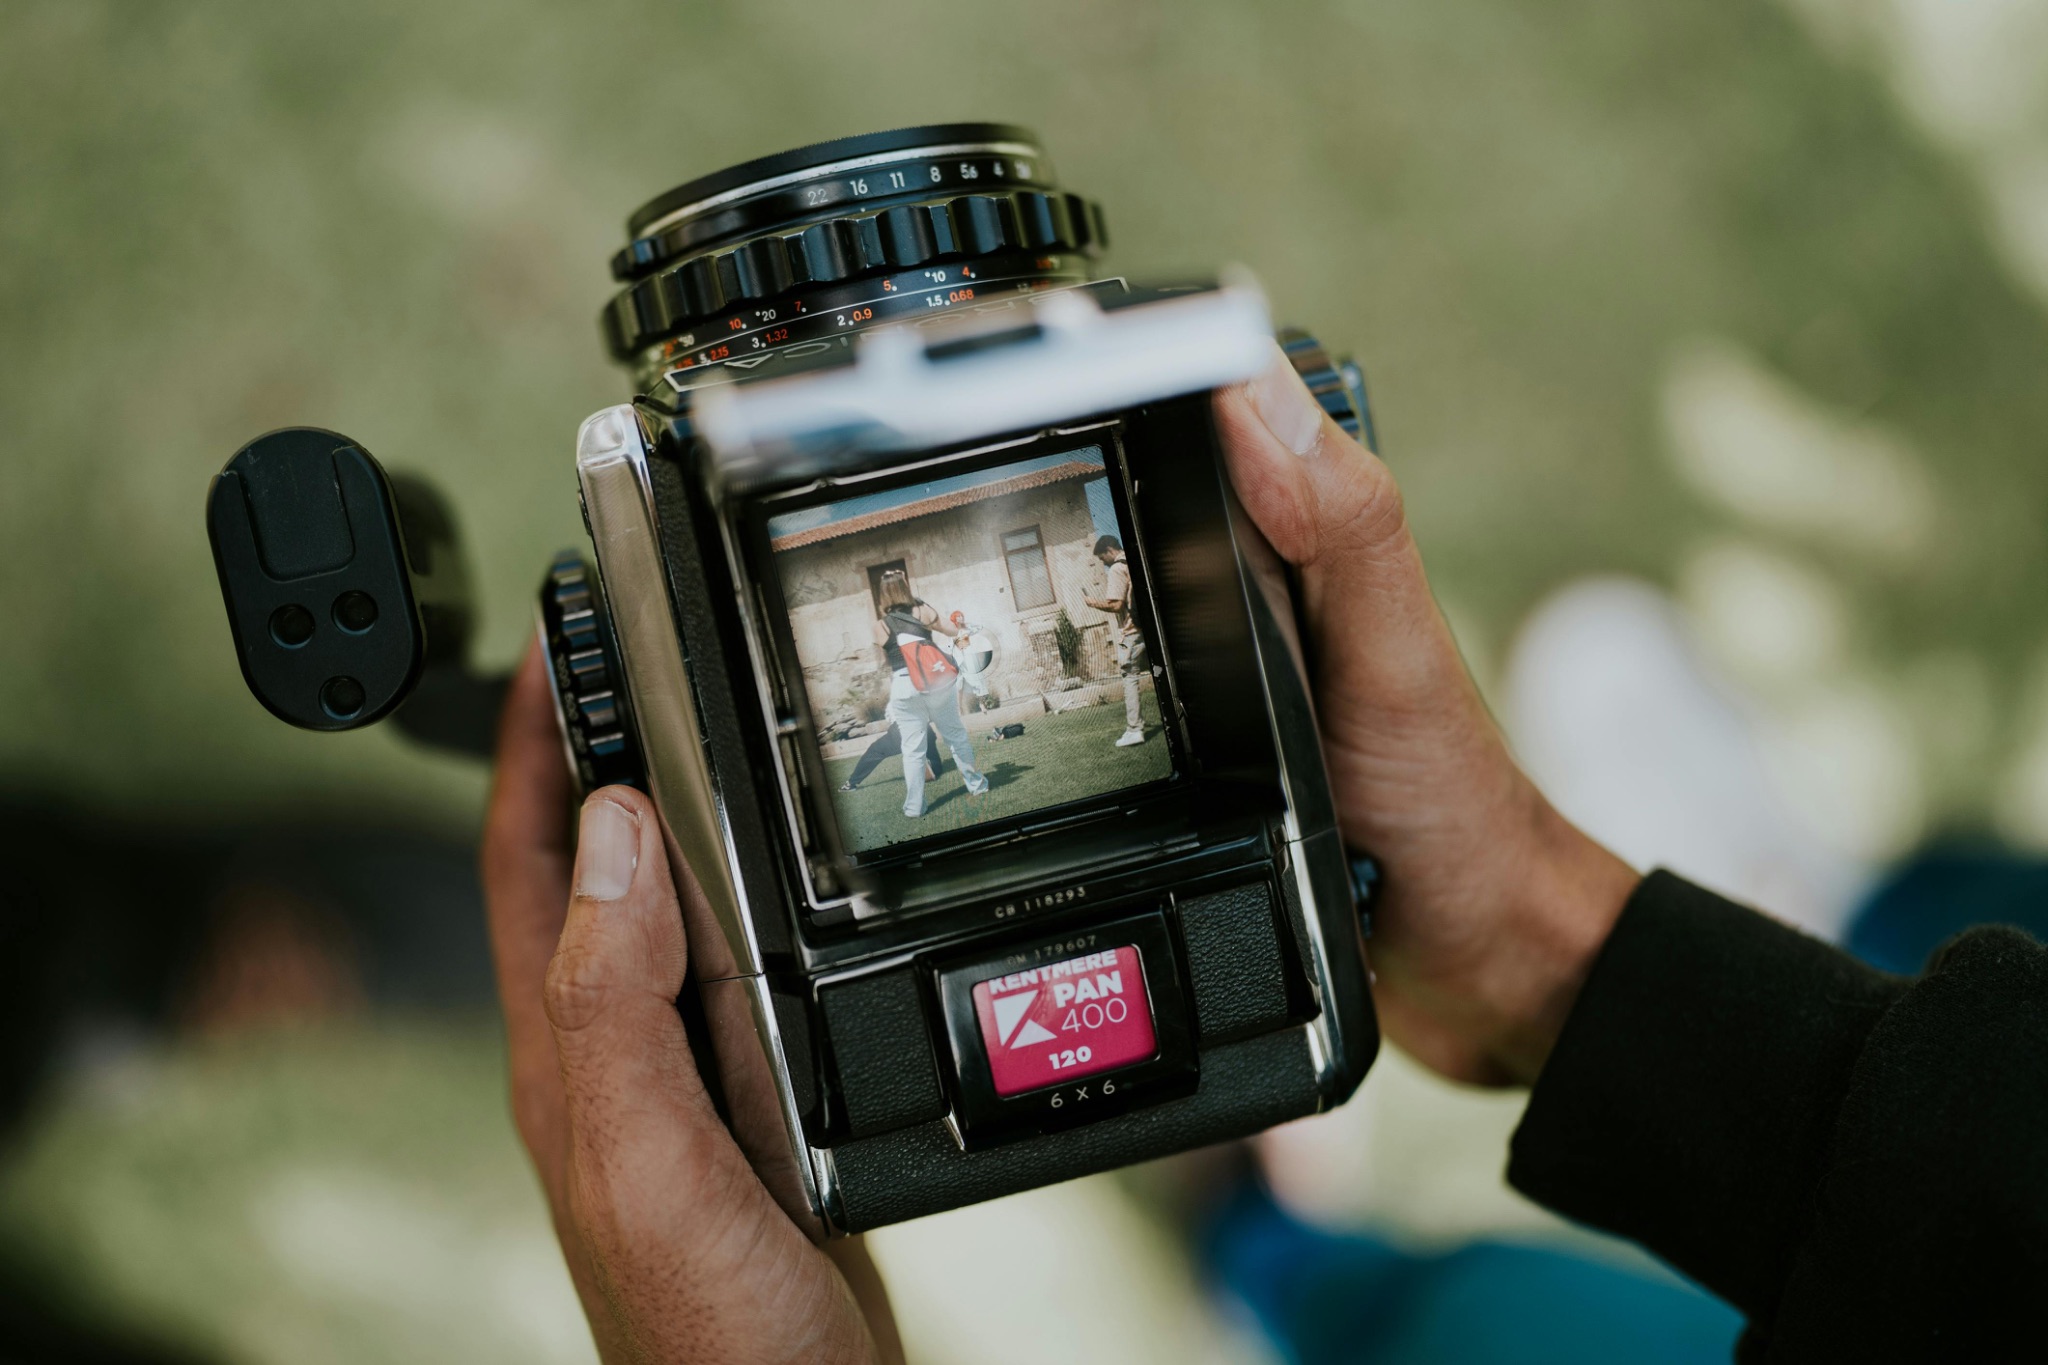
    POV image of person holding a Bronica medium format film camera
    Medium format is within reach of many. By Amar Preciado on Pexels

    The Cameras

    Apart from a few speciality companies, film cameras are not mass produced anymore. However there is a massive secondhand market for these cameras. The recent resurgence of film photography has pushed up the price of these significantly, however they are still bargains compared to modern mirrorless cameras.

    As you might guess, the camera you buy determines the film that it requires. By far the most commonly used format is 35mm and there are two main camera types you will find. The SLR is the direct predecessor to the modern DSLR and shares a lot of the same ergonomics. Secondly there are the compact, rangefinder cameras. These can be as simple as the excellent Olympus Trip all the way through to Leica Ms with their interchangeable lenses.
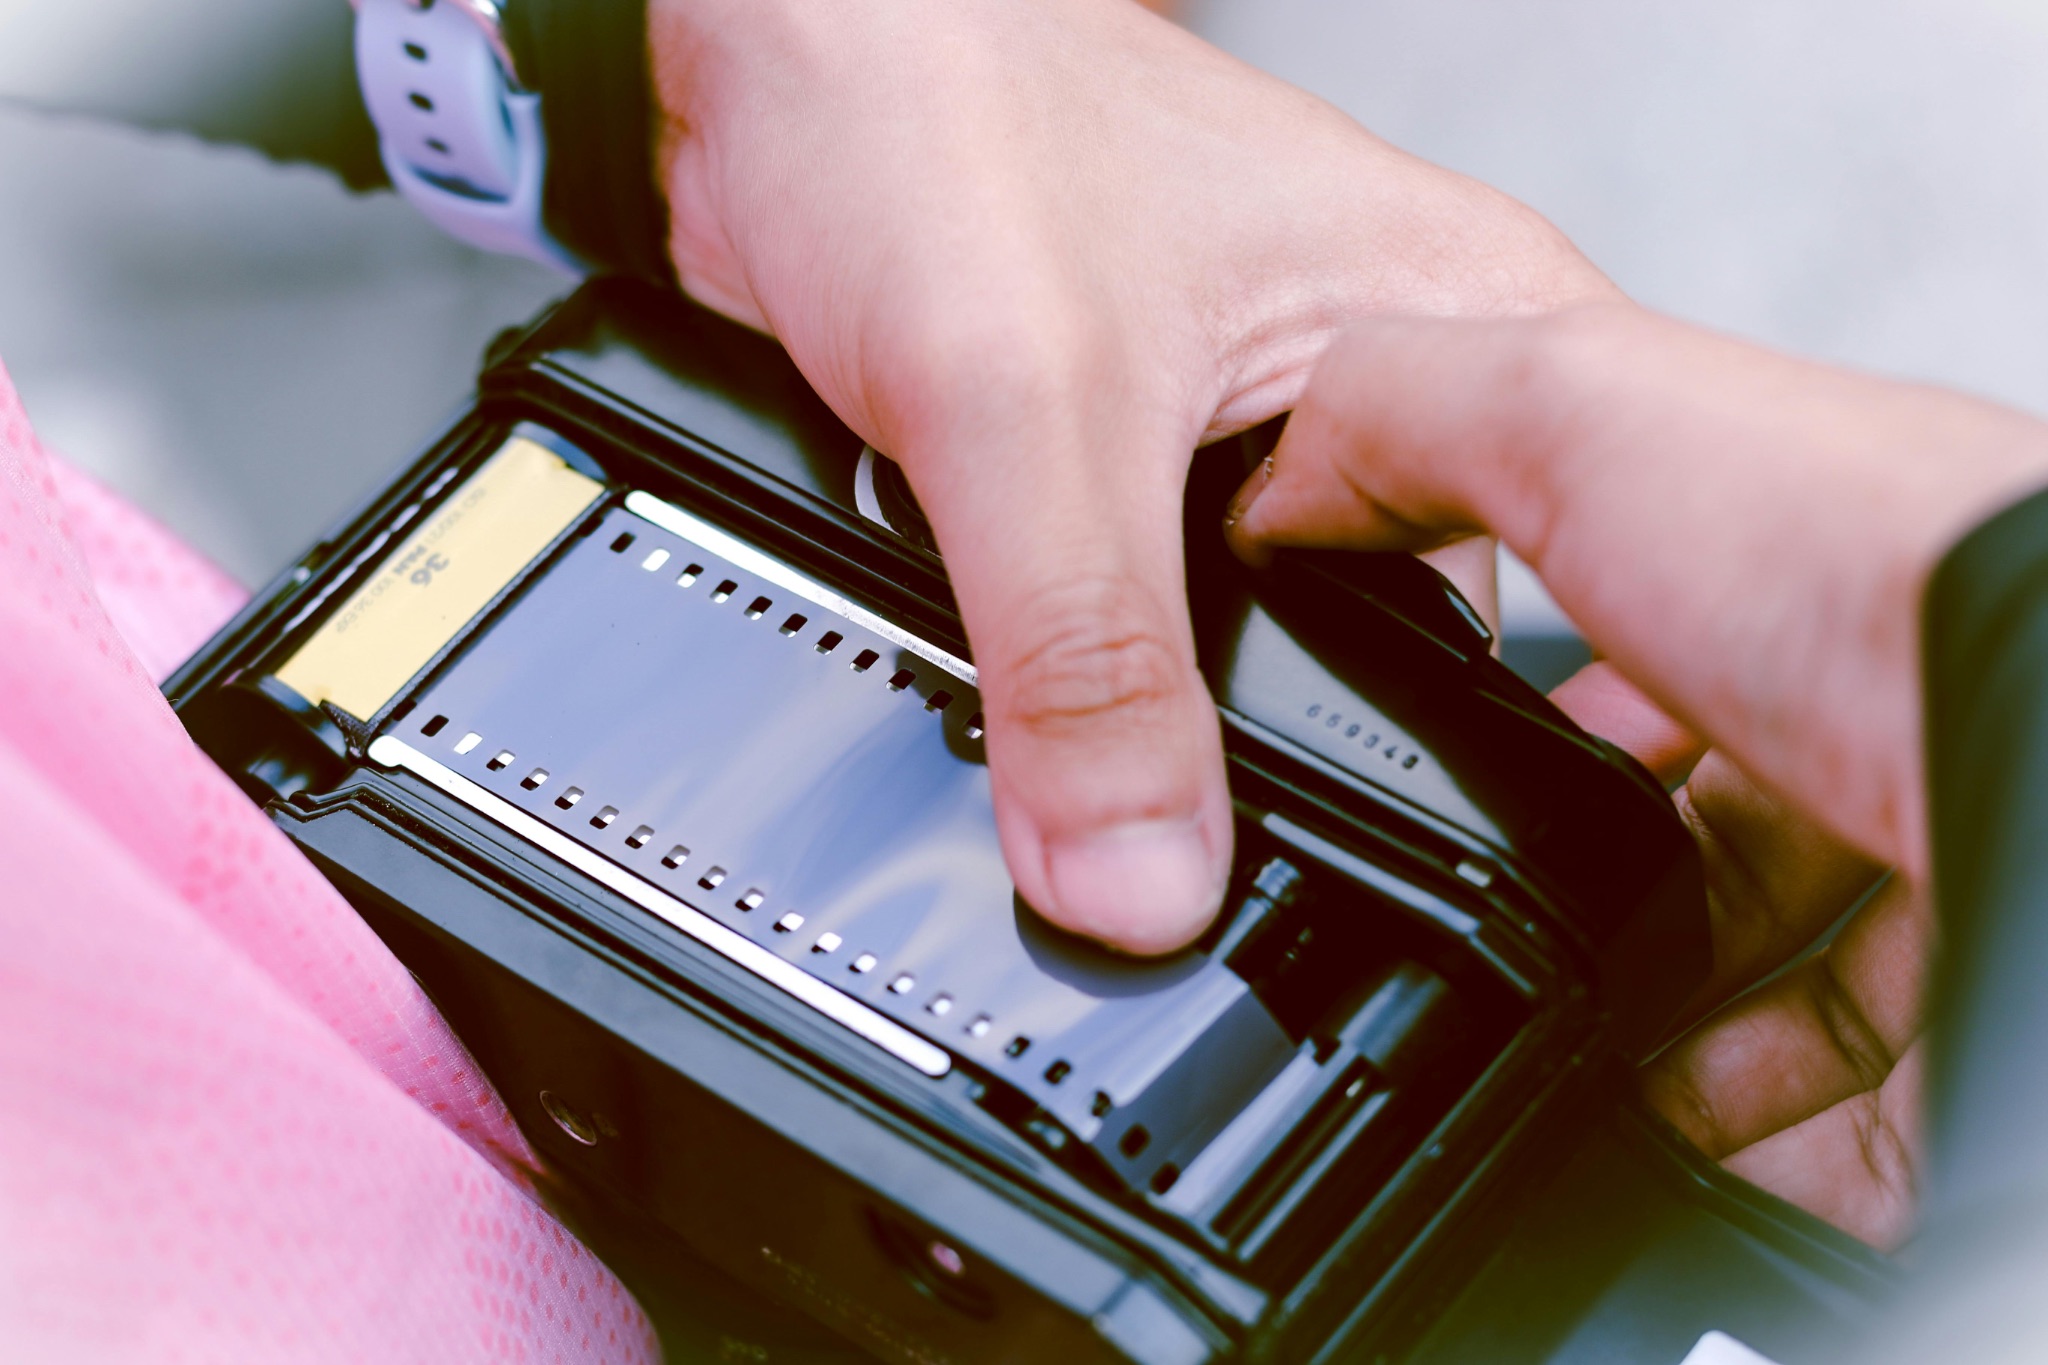
    Person loading a 35mm film into a camera
    Loading film takes some practice. By Vinh Vo on Pexels

    Medium format, 120 film gets a little more complicated and a lot more expensive, even used. The smallest medium format cameras are 645. These take 15 images on a roll of 120 and as the name suggests the frame size is 6 cm by 4.5 cm. Next we step up to 6×6, the most common medium format, then 6×7 and 6×9. Generally all these formats use different cameras. For example Mamiya did a compact 645 camera and a 6×9 Press camera whilst Hasselbald were famous for their 6×6 cameras.

    As a newcomer to film photography, I would strongly recommend a 35mm SLR camera. These are the cheapest and most available. Buy from a reputable used dealer rather than eBay or marketplace. This will ensure that the camera is in good working order. Things to look out for are light leaks, slow running shutters and electrical issues.

    You can also break down SLRs into two main eras. Pre 1990s, cameras were mainly manual focus, manual film wind and with fairly rudimentary exposure meters and modes. The 1990s saw the introduction of many of the features we see in modern cameras such as matrix metering and autofocus. They also often had motorized film advance built in.

    Shooting With A Film Camera

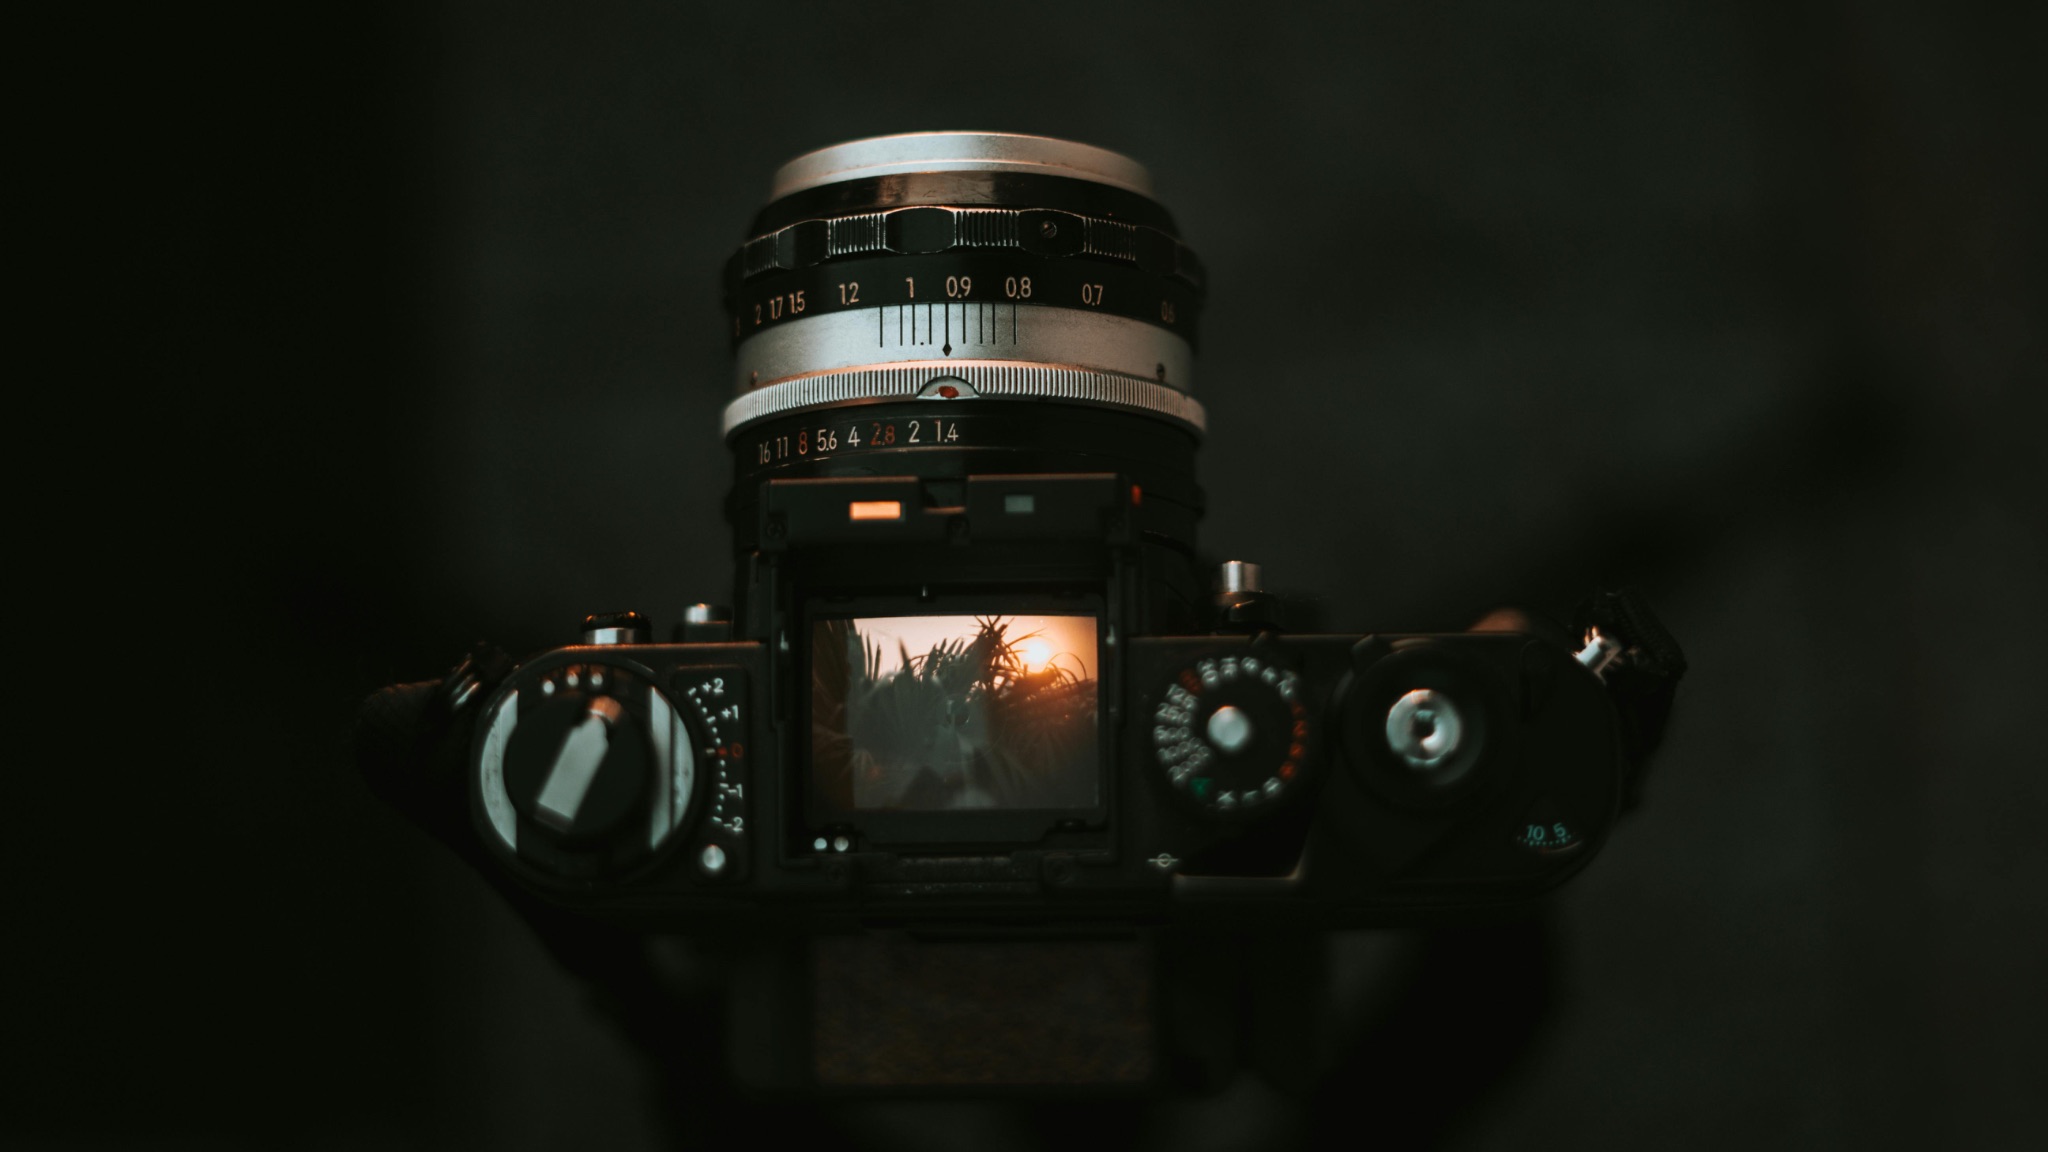
    Those used to modern digital cameras will be in for quite a culture shock. The first thing you will notice is how bright the viewfinders are, before realizing that the information in that viewfinder is severely lacking, often just an exposure scale.

    There will be a dial on the exterior of the body for setting ISO and this is very important to set as the wrong ISO will give you incorrectly exposed images. Plus of course, you cannot see that the images are incorrectly exposed.

    top down view of film camera with pentaprism removed
    Shooting on a film camera is a culture shock. By Pratik Gupta on Pexels

    On older cameras, focussing can be quite a challenge. Even more modern autofocus film cameras were slow and unreliable. Focusing manually, you would have the viewfinder’s fresnel screen or split screen. If you have less than stellar eyesight, this can be quite a challenge.

    Loading film requires dexterity and practice. Getting the end of the film into the slots on the spool can be hard and often different cameras have slightly different ways to achieve this. One tip for manually wound cameras, is to watch the film rewind lever after loading the film. If this turns as you wind the film on, it is loaded correctly.

    You are going to need to get used to shooting either 24 or 36 frames before needing to change the film but more importantly not 100% knowing whether you have nailed the shot until you get the films processed. Speaking of which.

    Film Processing and Printing

    At the top I mentioned the three main types of photographic film, colour and black and white negative film and transparency. Each of these has a different way of being processed. Standard black and white film is actually pretty easy to process yourself, however you need to have a dust free environment to do it. You don’t actually need a darkroom as you can load the film into a processing tank inside a dark bag. This can be a bit fiddly at first but becomes second nature with practice. Once the film is in the drum you can do the actual processing in light.

    Both colour negative and slide films require much more complicated processing that are really best suited to a professional lab. Slide/transparency film, in particular, is very prone to colour variations when processed.
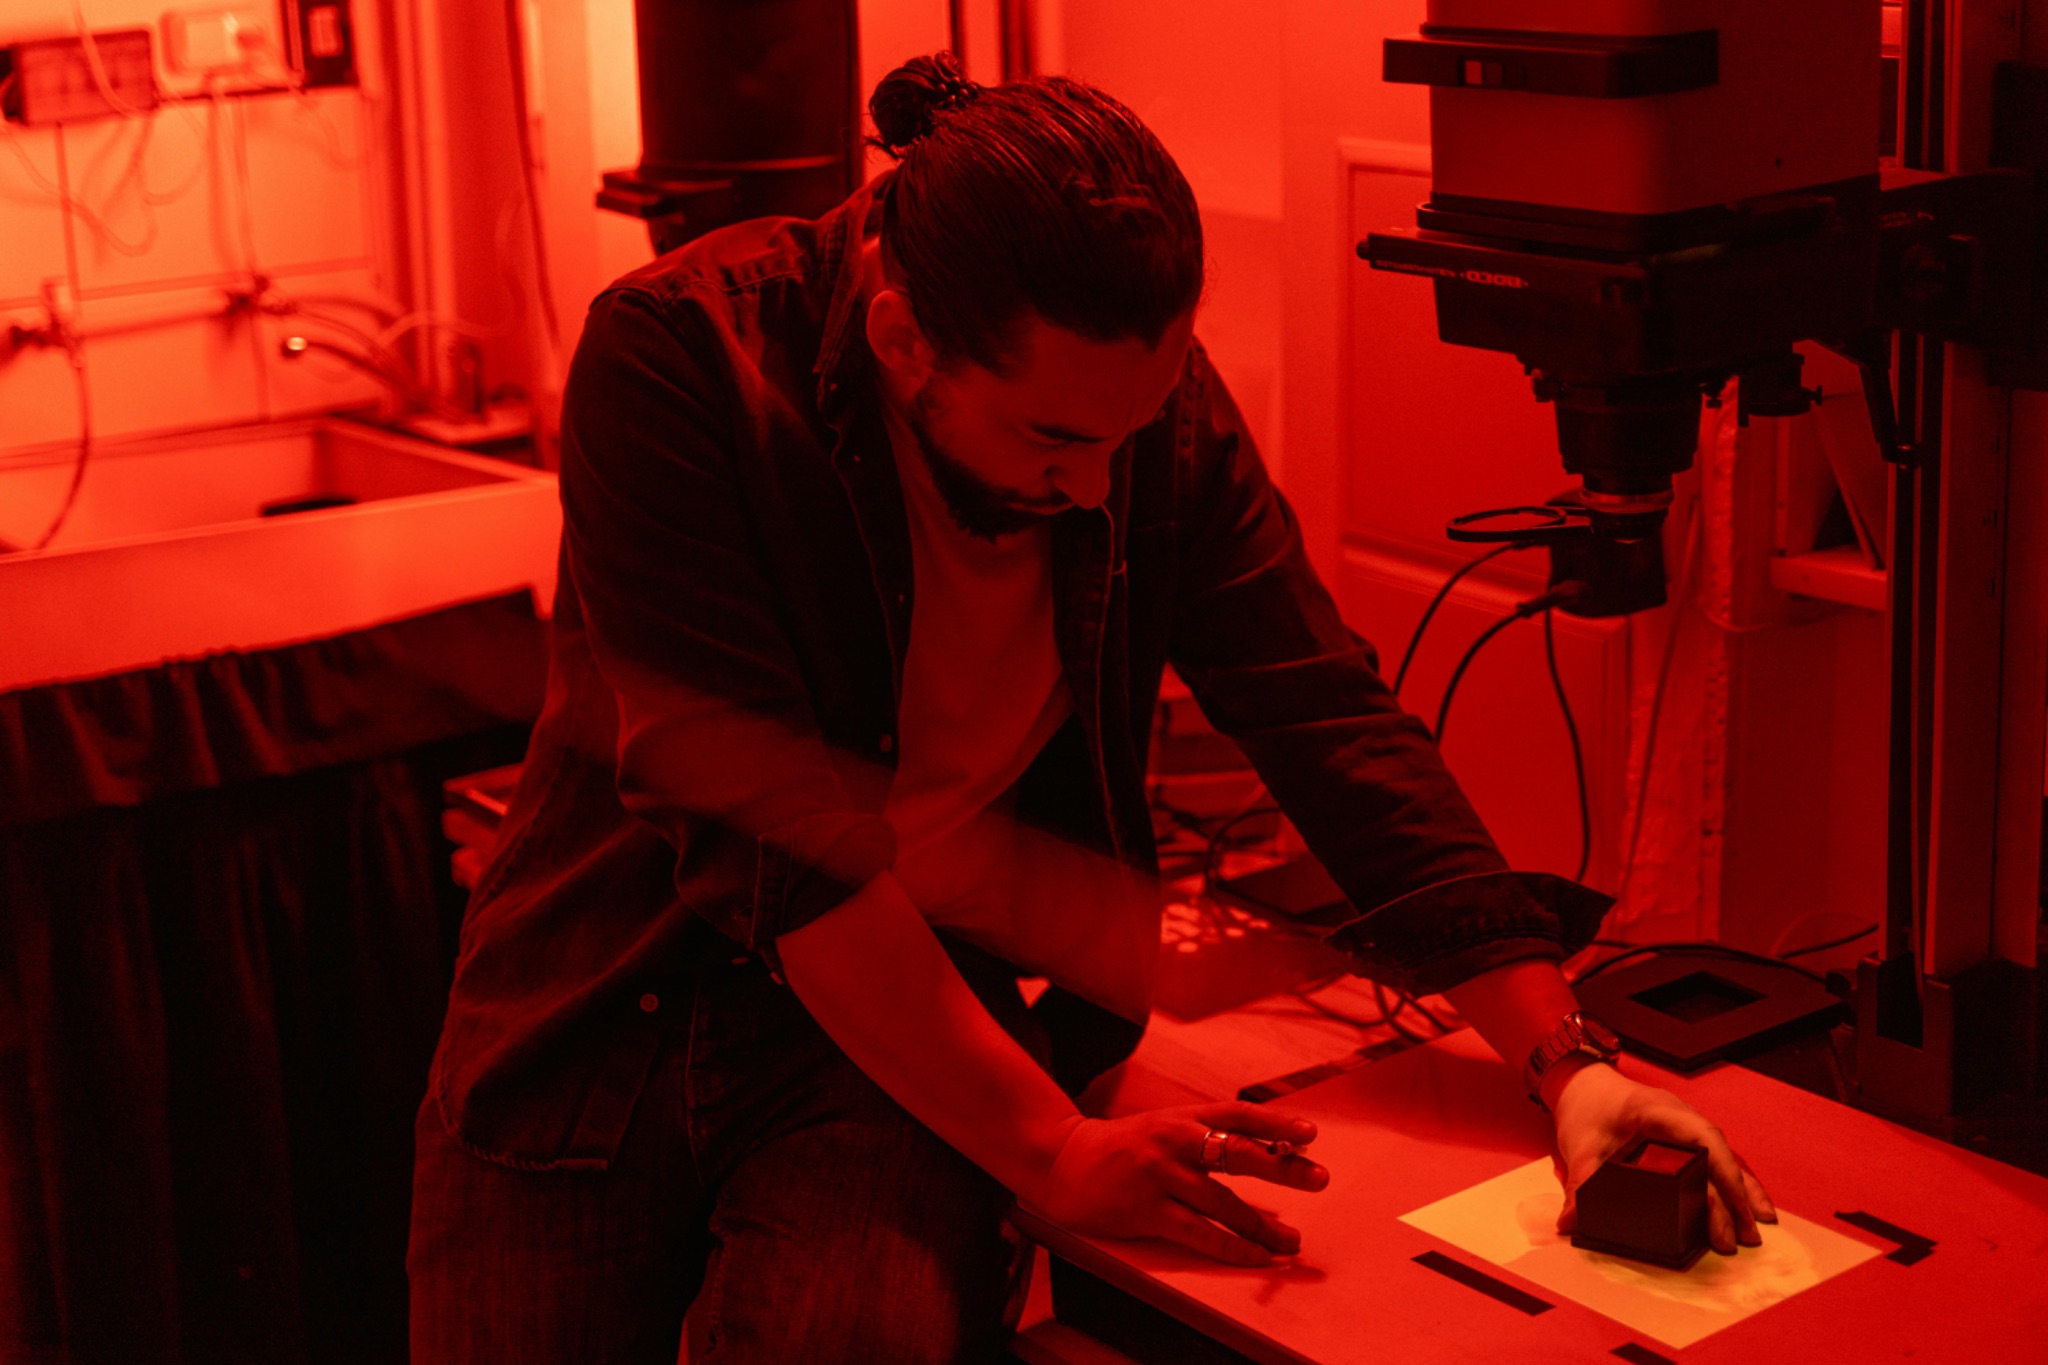
    Man in darkroom preparing to print black and white film under red light
    Black and white processing and printing is not hard. By Tima Miroshnichenko on. Pexels

    If you do not want to go down the home processing route, most labs will also offer black and white processing. These days there are plenty of processing labs available although they are unlikely to be local. You usually have to post your film in, and wait a week or two. The lab will probably offer processing and printing or processing with scans only.

    Printing colour or black and white negative films has two options. You can print directly from the negative onto photographic paper, or you can scan the negative and print on a home printer. Most modern labs will actually be scanning your negative although that scan will be output to real photographic paper.

    The more ambitious amongst you might want to try printing black and white at home. Although you can print under a red light, your darkroom must be completely sealed from any external white light.

    Enlargers and processing trays are readily available, and most decent camera stores stock the processing chemicals. It’s not a difficult task to print black and white yet, immensely satisfying.

    So that’s my brief beginners guide to film photography. Film photography is a wonderful medium that can teach you patience, the value of an image and a deep understanding of exposure. It can be relatively expensive compared to digital but can give great satisfaction.


    Source link

  • The Importance of a Beginner’s Mind in Photography — Mikko Lagerstedt

    The Importance of a Beginner’s Mind in Photography — Mikko Lagerstedt


    As a professional landscape photographer, I’ve had the pleasure of capturing breathtaking images of nature, traveling to some of the most stunning locations, and sharing my passion for the beauty surrounding us. However, my journey didn’t begin overnight. After graduating from a graphic design school in 2008, I decided to immerse myself in the world of photography. When I started, I focused on the technical aspects of photography. I photographed everything and anything. No constraints. I was testing out different settings and following my inspiration.

    Over time I realized that maintaining a beginner’s mind is one of the most essential factors in my growth as a photographer. And when I feel uninspired, it’s usually because I get caught up with doing the same things repeatedly. Then I remind myself to start again with a beginner’s mind, following my inspiration. Sometimes I might start it with either a new location or technique.

    While researching for this blog post, I came across the concept of “beginner’s mind,” an ancient Buddhist principle known as “Shoshin.” This way of thinking emphasizes the importance of approaching our experiences with an open, curious, and humble mindset, regardless of how advanced we may become in our chosen fields.

    In this post, I will share how embracing a beginner’s mind has shaped my photography journey and how it can benefit photographers, artists, and creatives of all levels.

    Maintain Curiosity

    One core principle of a beginner’s mind is maintaining a sense of curiosity. When I first started photography, I was eager to learn everything I could about the craft. Over time, I’ve found it essential to keep that curiosity alive, continuously exploring new techniques, subjects, and perspectives. This constant drive to learn has allowed me to grow and evolve as a photographer. It has not always been easy. And at times, I have lost that spark or inspiration. But then I know I need to focus on being a beginner again and find that curiosity.

    • How can you expand your creative horizons by exploring new subjects or techniques you haven’t tried before?

    • What resources or learning opportunities can you seek to deepen your understanding of your craft further?

    Embrace the Unknown

    Throughout my photography journey, I’ve found that embracing the unknown and stepping out of my comfort zone has led me to some of my most memorable experiences. One story comes to my mind: My initial idea was to capture some seascapes, but on my way to the coast, I saw a massive cloud of smoke. I started driving towards the smoke. Finally, I arrived near a field where I saw prescribed burning. While taking photographs, I saw a man standing amid it all, taking pictures of the area. I took a photo I still can’t believe is a single frame where birds were flying perfectly with the composition I chose.

    A beginner’s mind encourages us to take risks and experiment, leading to unexpected discoveries and growth. In those moments of uncertainty, like venturing into unfamiliar locations or trying a new technique, I’ve often found my most creative and unique ideas.

    • What fears or hesitations might discourage you from trying something new in your photography or creative work?

    • Can you identify a specific project or idea that pushes you outside your comfort zone? How might you approach it?


    Source link

  • Best Tips And Tricks for Beginners

    Best Tips And Tricks for Beginners


    Volcano photography is an enriching hobby. Even though a lot of work goes into the process of capturing the best volcano pictures, the experience makes everything worth it. Yes, it’s risky but it’s an experience like no other.

    To photograph a volcano, you’ll need a quick shutter speed to freeze any motion. Set your speed to 1/1000th, then change your ISO and aperture as necessary. Shooting volcanoes from the air, ground, or sea captures dramatically different outcomes and a better view of the lava source. 

    Read on to learn the best tips on photographing volcanoes and how to do it safely. 

    [table id=34 /]

    Best Ways to Locate Vantage Points

    Best-Ways-to-Locate-Vantage-Points
    guidetoiceland

    If you want to make the process a lot faster, you can ask a local to take you to the best vantage points. When photographing volcanoes, it’s not enough to see the areas in photographs or hear stories from other people. You’ll need to visit them and see them for yourself. Just don’t forget to take the appropriate lens for each possible viewpoint.

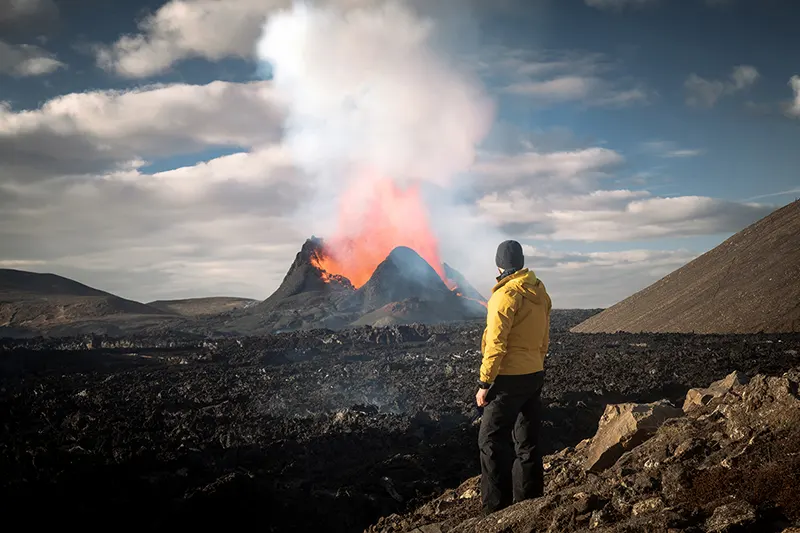
    When you go to an erupting volcano, take some time to observe the explosion from a safe distance. Determine the eruption’s strength and the direction in which the hot lava is moving for your safety. As we all know, it’s not safe to get near an erupting volcano.

    Photographing Tips During the Day

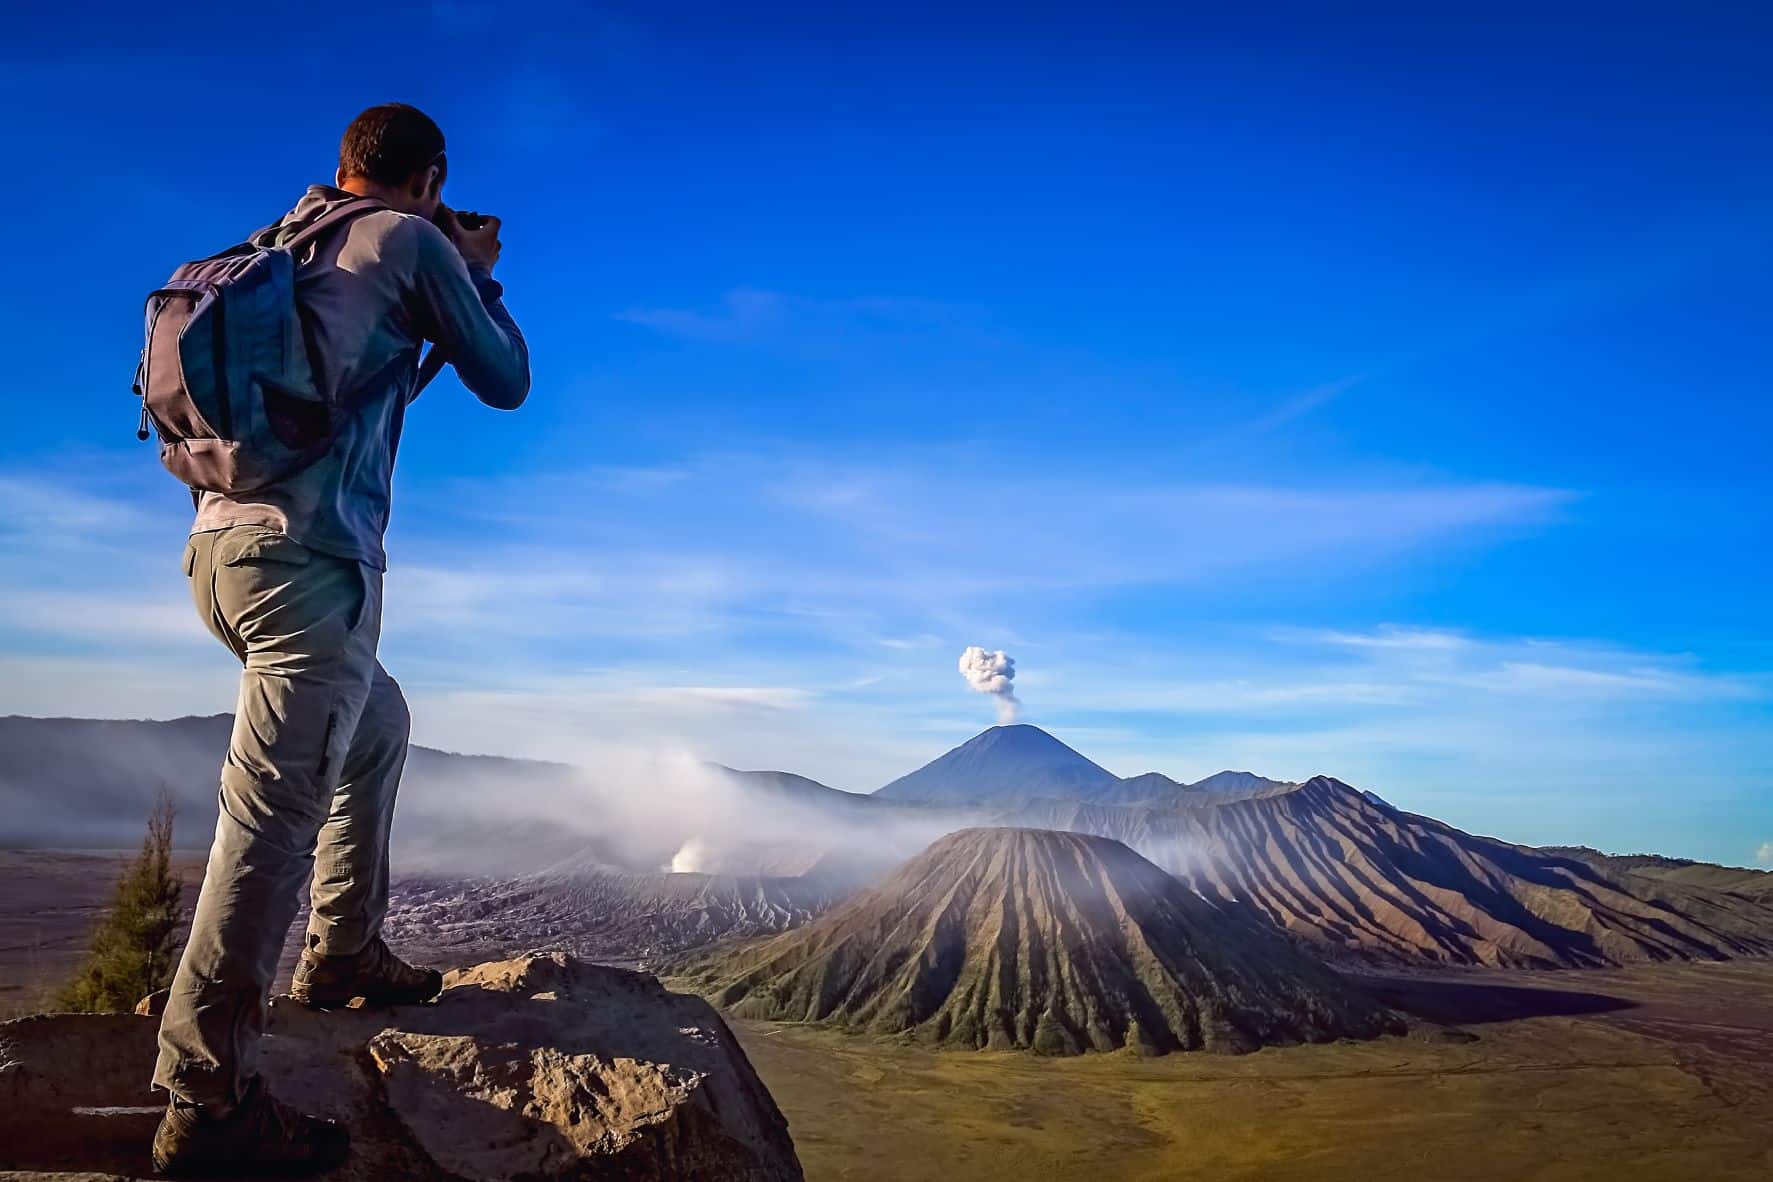
    You can catch the most powerful volcanic eruptions and ash clouds by shooting photos of volcanic explosions throughout the day. Shooting lava is an option as well. Your most probable lens will be a 24-105mm lens. A long lens is ideal if you are far away.

    You may either try to freeze the motion in daylight photography or create some motion blur.

    1. Freeze the motion: You will need quick shutter speeds to freeze falling lava bombs, or pyroclastic flows captured on camera. Set your speed to 1/1000th, then change your ISO and aperture as necessary. The ISO is probably at or over 1000. You should typically use an aperture of f/8 while taking landscape photography. You may need to use a bigger aperture as it grows darker.
    1. Motion blur: Slower shutter speeds, which may blur motion, are at the other extreme of the shutter speed continuum. Shutter speeds of 1/20th are required to capture the appearance of action. Use this with ash clouds if you can. Shutter speeds of one second or longer are perfect for recording lava movement. Use an ISO of 100 and a narrower aperture to obtain slower shutter speeds. Add a graded neutral density filter if necessary.

    Photographing Tips At Night

    Photographing-Tips-At-Night
    news18

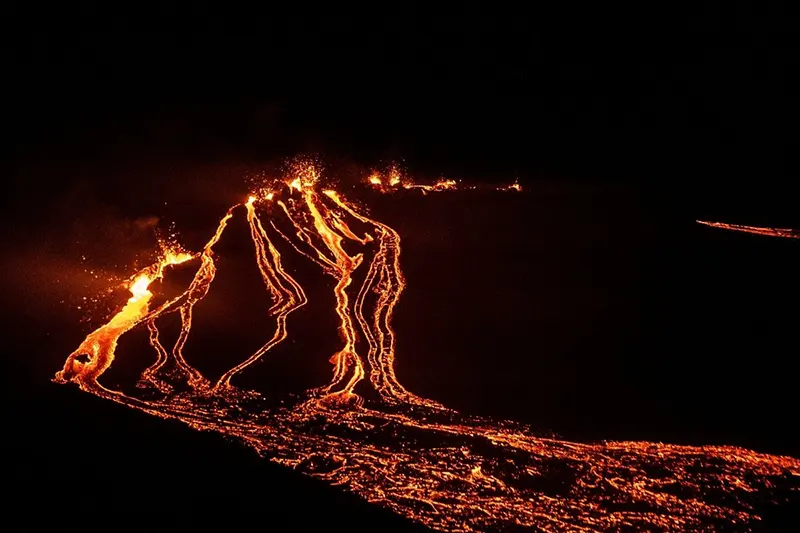
    Nighttime is one of the loveliest periods to try taking photos of lava. You will be able to detect the glowing lava much better.

    The ideal time to take photos is during the late blue hour. You have a higher chance of detecting the volcano’s foreground features. The lava will seem brighter in the picture the later you go into the blue hour. The rocks will become shadows against the lava once wholly dark.

    For this reason, you need to try to take pictures while the moon is full. Bring a powerful flashlight so you can illuminate molten rock during the exposure. Look to expose for up to 10 seconds if you want to get the lava streaks. 

    ND filters are also valuable for blue-hour situations. You may shoot the volcano with prolonged exposure and six- to eight-stop neutral density filters.

    Use the same general procedures as when shooting a typical landscape. When feasible, bracket your shots and shoot in RAW. Exercise delicate processing to guarantee that the image you capture is as accurate as possible. Make sure your lava has a red and orange gradient and lessen the brightness. 

    Protecting Yourself and Your Gear

    You will need gear to protect yourself and your photography equipment before anything else.

    Safety Gear

    Volcanoes pose a wide range of hazards, particularly if you want to approach a volcano or lava flow up close. Most photographers covering volcanoes have a few specific things in their gear.

    • Helmet: Falling rock is one of the main risks around volcanoes (or lava bombs). 
    • Heat-resistant clothes: Wear heat-resistant clothes since it might be dangerous to approach the lava. 
    • Gas masks: The area surrounding volcanoes may contain deadly gases.

    Note: None of these items will shield you from pyroclastic flows. 

    Photography Gear

    The following are the camera gear you need for taking volcano pictures. 

    • Camera body: A must-have is a sturdy camera body and weather and dust-sealed. 
    • Lens: You must carry a wide-angle lens while taking landscape photos, especially for dormant volcanoes. Mid and long focal lengths are preferable for an active volcano. 
    • Tripod: Make sure the tripod is robust and heat-resistant.
    • UV filter: A UV filter protects from different debris present in an extreme environment. 
    • Camera blowers or towels for cleaning

    Hiking Gear

    Some volcanoes are located in very rugged terrain. That suggests you also need the following on top of the appropriate safety gear. 

    • Hiking boots 
    • Walking poles
    • Water and rations
    • Tent or sleeping gear
    • First aid kit 

    Dormant Volcanoes Photography

    Dormant-Volcanoes-Photography
    greatvaluevacations

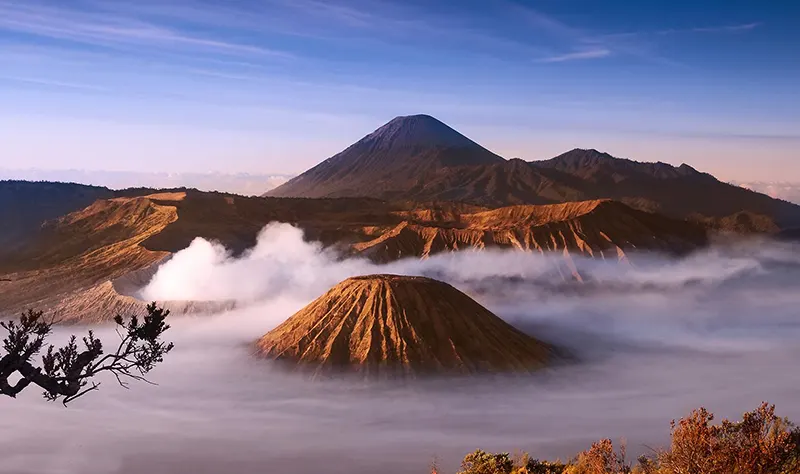
    Even when they are not erupting, volcanoes are breathtakingly gorgeous. They are excellent photographic subjects because of their rough geology and features like crater rims. For times when the lava isn’t flowing, here are some other photographic locations:

    • Trekking up the volcano: It’s advantageous to climb a volcano when it’s dormant. Deep ravines and leaking gas will still provide challenges. Though even when it is not an active volcano, there are safety risks. 
    • Acid lakes: Acid lakes form when escaping sulfur gas combines with a crater lake. These lakes are highly picturesque and have an odd, otherworldly sense. 
    • Geysers: Geysers are nature’s fountains and make excellent picture subjects.
    • Sulfur mines: Sulfur mines also make for a compelling photo. 

    Photographing From The Ground

    Photographing from the ground is challenging and poses some particular difficulties. First, it takes a lot of frames and a little luck to get all parts to line up at once. 

    Don’t forget to get wide and detailed shots when shooting from the ground. Photograph between 14mm and 500mm, and be sure to have all your lenses on hand and keep an eye out for various compositions. 

    Examine several shutter speeds to determine which effect you like. A 1-second exposure often produces the most remarkable results. 

    When the blue hour is winding down, there is a perfect balance of light for 15 to 30 minutes. Because it moves quickly, you must be sure that you have chosen the best composition for the excursion at that point.

    It’s feasible for your tripod and camera equipment to melt while taking close-up photos with a wide-angle lens. Surprisingly far, lava flows transmit heat.

    Photographing From The Air

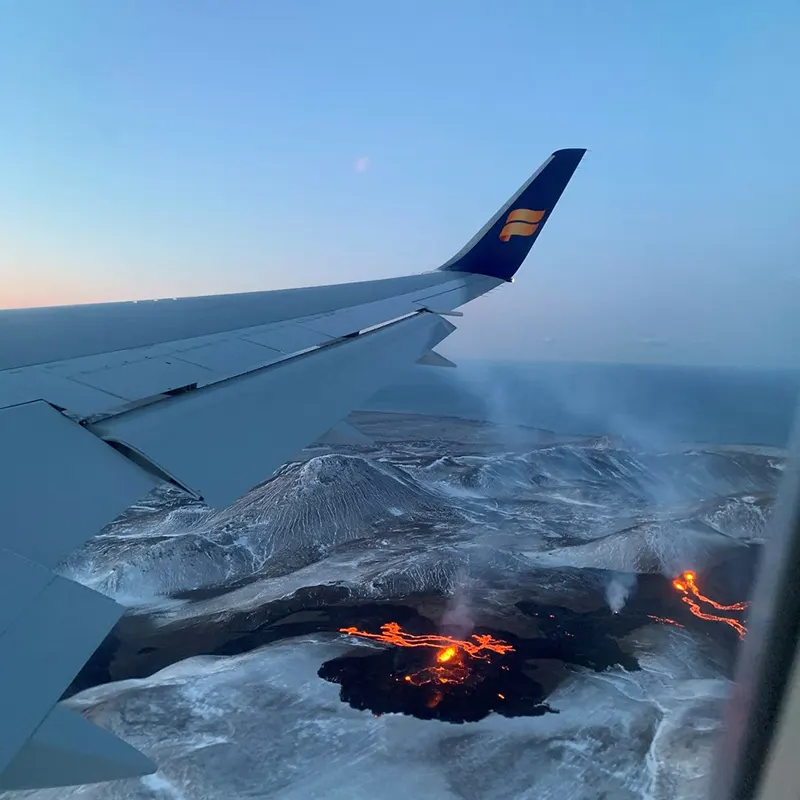
    Since many volcanoes are unreachable by land, it is better to have a broad notion of capturing the volcano and setting up your camera correctly in advance. 

    When the shutter speed is less than 1/500th of a second, vibrating aircraft like piston-engined helicopters tend to produce blurry images. If possible, set shutter speeds to 1/750th or even 1/1000th of a second; however, you may get away with 1/500th if your lenses have image stabilization. 

    Volcanoes Photographing From The Air
    @Icelandair

    A fast (f/2.8) lens is advantageous in this situation since you can often shoot wide open and still have everything in focus because the explosive eruptions are far away.

    ISO is the only setting you have to work with to get the proper exposure with a wide-open aperture and 1/750th of a second – this is where your camera’s “auto ISO” feature comes in useful. 

    The last factor is ensuring that the camera chooses the appropriate exposure for you. Use “highlight-weighted metering” if your DSLR has it. Volcanic photography in dark regions is easy to work in a frame with better exposure.

    For helicopter safety, do not switch lenses while the plane is in the air. In light of this, keep two camera bodies: one with a 24-70mm lens and the other with a 70-200mm or 80-400mm lens. Keep the camera’s strap connected, and wear them around your neck the whole trip. 

    Photographing From The Sea

    You should certainly see the lava from a boat to get a close-up view while it is entering the water. It is a fantastic view position that makes for a very immersive experience. 

    A 70-200mm lens (full frame) is ideal for capturing the hot lava trickling into the water in fine detail. A shutter speed of at least 1/250 second was necessary to freeze the motion due to the rocking boat and splashing waves. 

    Where Are the Best Volcanoes to Capture?

    Most of the world’s volcanoes are in tectonically active regions, such as in the country of New Zealand, the Philippines, Japan, Kamchatka, Alaska, and the western coasts of North and South America. 

    Indonesia, Italy, Iceland, Hawaii, and other places in Africa also have incredibly beautiful volcanoes. 

    Before going, look at the volcanic eruption history and ask locals about the actual eruption. Consider hiring a guide to accompany you as well.

    Find out whether the volcano generates potentially harmful pyroclastic flows. If so, find out which way they often travel.

    Conclusion

    Taking images of volcanoes is a ton of fun, and the results will blow you away! If you are interested in volcano photography, ensure you have the right gear and a good guide who knows the area well to get some great images. 

    Lightroom Bundle Presets


    Source link